1967 Neptune Blue Deluxe

Early Bay Forum

Help Support Early Bay Forum:

This site may earn a commission from merchant affiliate links, including eBay, Amazon, and others.
Hi Sparky,
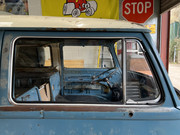
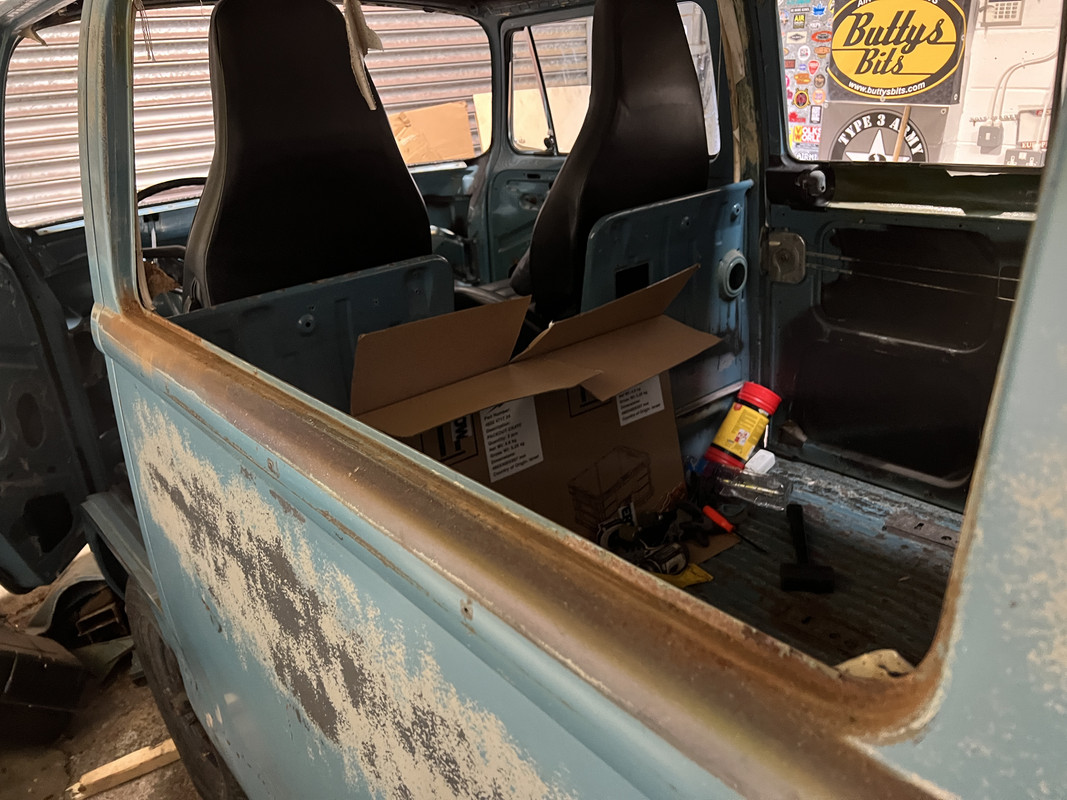
Is that a Butty's Bits air freshener peeking out there? :ROFLMAO::ROFLMAO:
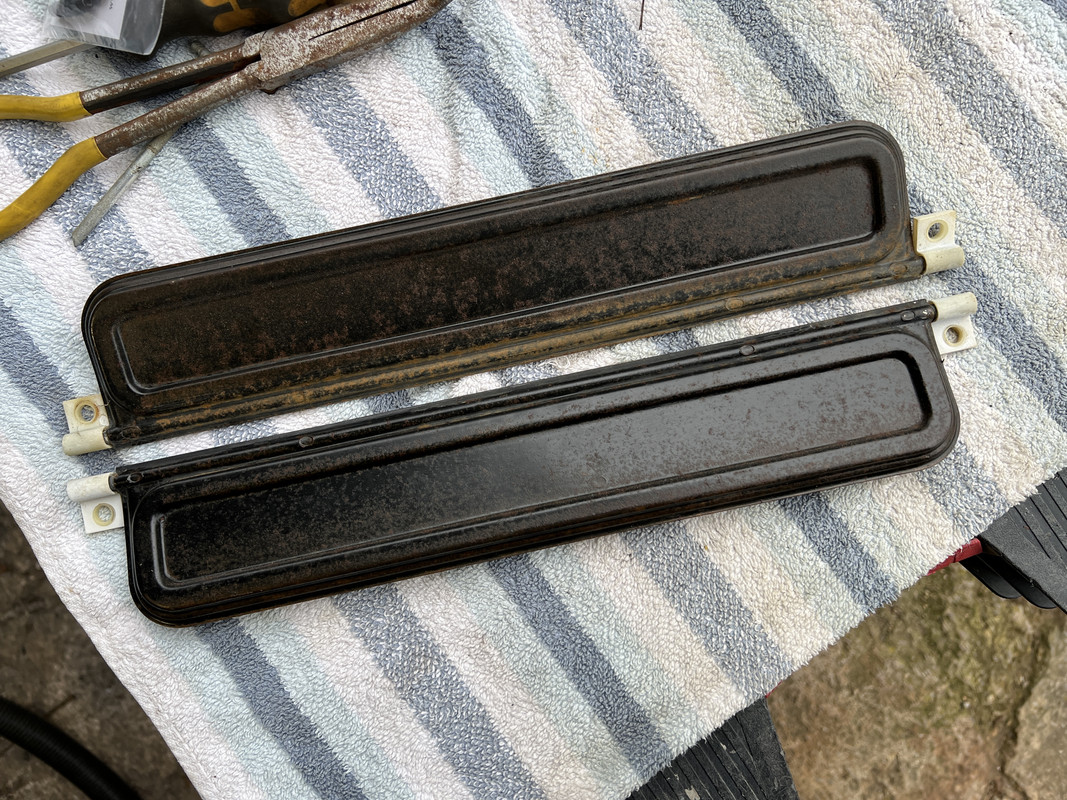
Interested to know what paint you are using for the final colour and is it from a can?
Great work by the way on both your parts.

J & P
:D:D:D
 
Finally got off my arse, opened a pack of motivation and started some work on the deluxe.
Cleaned up, primed and seam-sealed the engine hatch frame.


The whole bus needs a damn good clean and all the remaining roof lining and glue removing.
Then I can make a plan of where to start.
Do I want to get the roof lining replaced first, which will mean removing all the windows, or start on seats and cab/dash, etc.....
I reckon to do as much of the inside as you can while you have loads of access. I don’t necessarily think you have to remove the windows to get your headliner in but it is a choice thing, I’ve seen a few very excellent jobs done that are just fitted and glued and squidged behind the rubbers by ten mill or so, saves on clips too. Great time to carcass out for electric stuff right now as well, as yo very well know. I’d toy with the idea of losing that wheel well right now too, that leaves a nice space in the noisey cupboard for extra go fast brm brrrrmmm stuff which undoubtedly will be going in the big hole / noisey cupboard. :)

Ozziedog,,,,,,,,,,, X Citing Innit :)
 
Lost motivation once again due to cold, damp and the massive amount of work to do.
But made a start on mounting the tombstones.


Removed the existing seat runners and have a couple of lengths of 50mm x 50mm square section tube.


Trimmed and tacked in place.


It's a bit tight between the steering wheel and seat base, might need a quick release boss for the steering wheel now.
 
Seat mounts welded in place and a coat of primer on them and the tubs.


It'll get a top coat of paint, then after the seat mounting holes are drilled a layer of sound mat and carpet. While the paint's drying I started on the cab door.
Sound deadened


inner scraper


outer scraper


What a pita they are, nearly 2 hours just to get the scrapers fitted. :mad:
Scrapers and door rubbers were stripped from the sow's ear.
Glass cleaned and back in


and window mech put through the parts washer and cleaned.

 
Door build continued. Still a pain.
Got the window mech and glass loose in the door, undid the first two clips on the inner scraper and installed the quarter light and glass felt channels.
I then took the felt channels and quarter light out again, breaking the channel clips in the process, because the window mech had slipped down inside the door and wouldn't go past the quarter light bar.

Right then let's try again, window mech loosely in position, glass in door, rear lifter channel in place, quarter light installed, felt channels with new clips fitted, inner scraper refitted.


Because the bus had rodent infestation in the headlining the edge of the roof sections over the doors and windows needed treating and painting.


Then onto a couple of smaller jobs.
Stripped the fresh air flaps.


They're in quite good condition, but the bellows were rotted and the rods have been cut.


I found the washer jets, so installed these with some new silicone hose before I lose them again.

 
Windows out


apertures don't look too bad, just a little paint loss in the n/s middle and a lot of Colorado sand.


Spent the rest of the day removing the remainder of the headlining and glue ready for the new one to be fitted, and then gave the interior a proper clean.
 
Last edited:
Door build continued. Still a pain.
Got the window mech and glass loose in the door, undid the first two clips on the inner scraper and installed the quarter light and glass felt channels.
I then took the felt channels and quarter light out again, breaking the channel clips in the process, because the window mech had slipped down inside the door and wouldn't go past the quarter light bar.

Right then let's try again, window mech loosely in position, glass in door, rear lifter channel in place, quarter light installed, felt channels with new clips fitted, inner scraper refitted.


Because the bus had rodent infestation in the headlining the edge of the roof sections over the doors and windows needed treating and painting.


Then onto a couple of smaller jobs.
Stripped the fresh air flaps.


They're in quite good condition, but the bellows were rotted and the rods have been cut.


I found the washer jets, so installed these with some new silicone hose before I lose them again.

I bet it's nice when you remove stuff and find good news! Gives you a nice bump to push on!

Good idea about the new washer jet hose - that's a job on my list :)

Just wondering why somebody would cut the rods?

And as for replacing the window mech - that's not a job I want to do again in a hurry :D
 
Progress is slow....
"Spot" primed the cargo floor and engine tray.


Found the box with the door rubbers in, so fitted the o/s door one.


Started on the vent windows, only planned to do a clean up and change the fossilised rubbers.


Well, that escalated slightly.....


While the paint's drying I cleaned the headlining bows of rodent urine corrosion.


Can anybody give me the length of the shorter rear bow that I'm missing please?
 

Latest posts

Top