You are using an out of date browser. It may not display this or other websites correctly.
You should upgrade or use an alternative browser.
You should upgrade or use an alternative browser.
1969 Arctic Explorer
- Thread starter snow_pikey
- Start date


Help Support Early Bay Forum:
This site may earn a commission from merchant affiliate
links, including eBay, Amazon, and others.
snow_pikey
Well-known member
Thanks for the Props 
The lacquer should be 100% water proof and non porous the best bit is I should be able to polish it with a mop the same as the outside of a car............. I think it'll be good :lol:
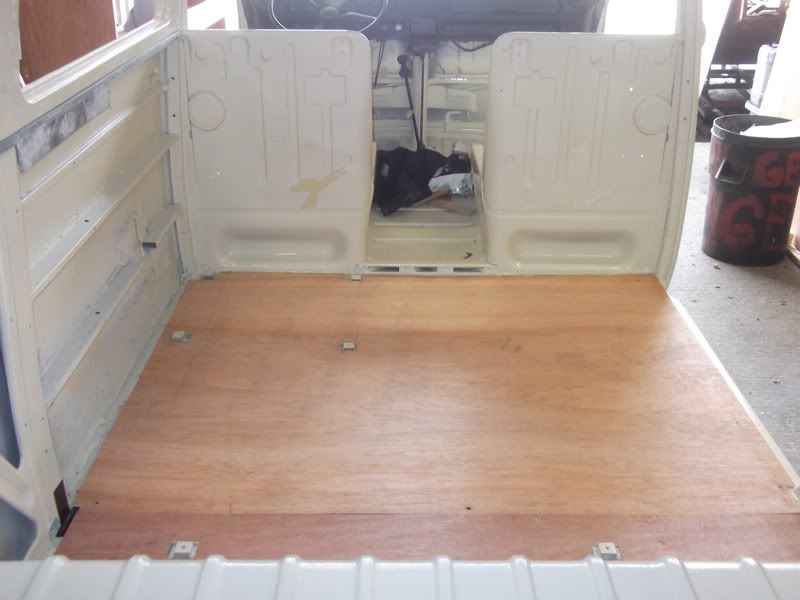
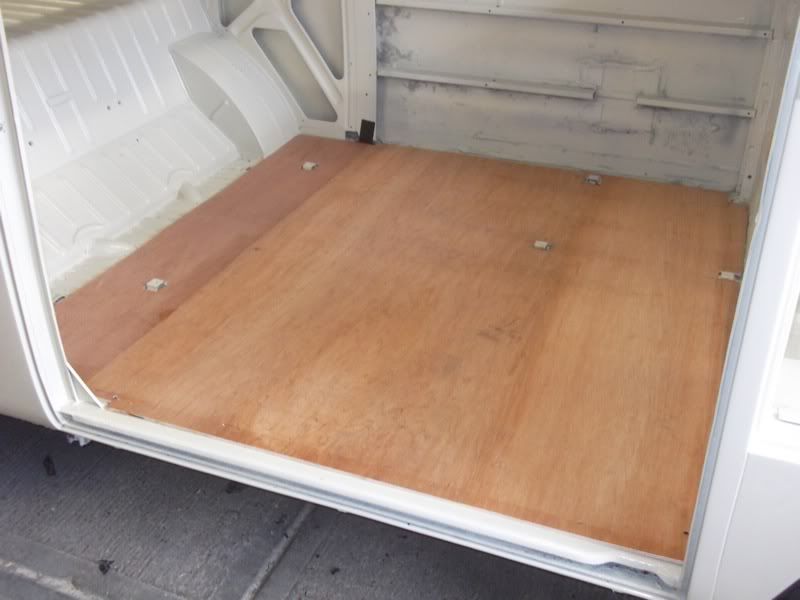
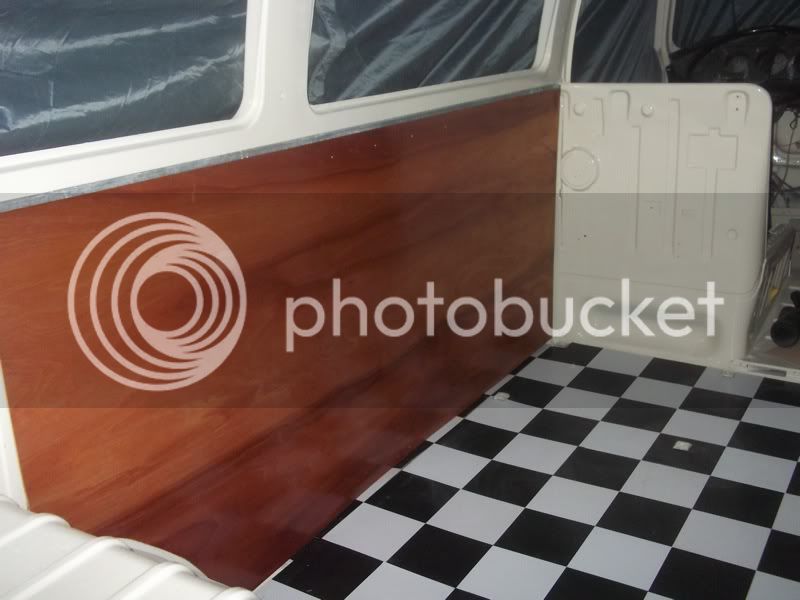
I fitted the new floor that I cut yesterday. I'm not a fan of drilling holes in a good floor but I had to because I used thinner wood. It's down with counter sunk stainless screws, so should be better for the bus.
I marked a square line down the center as a start point
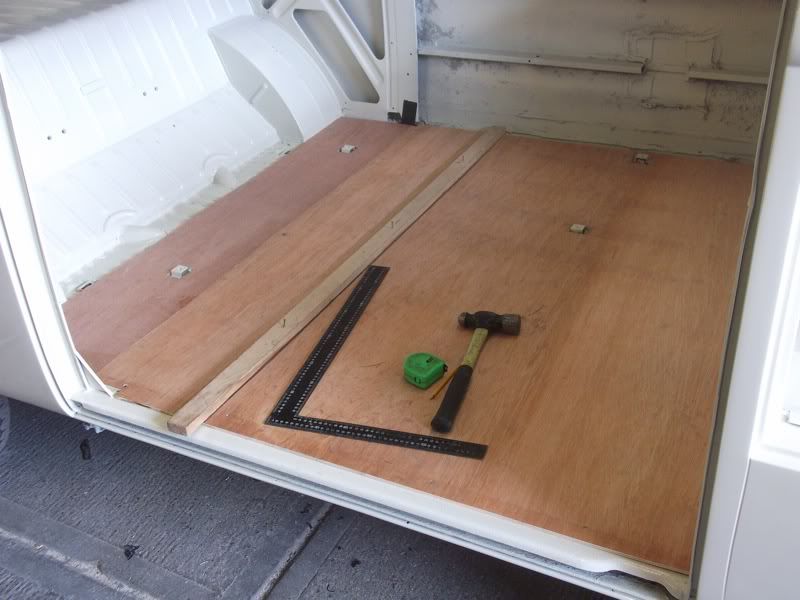
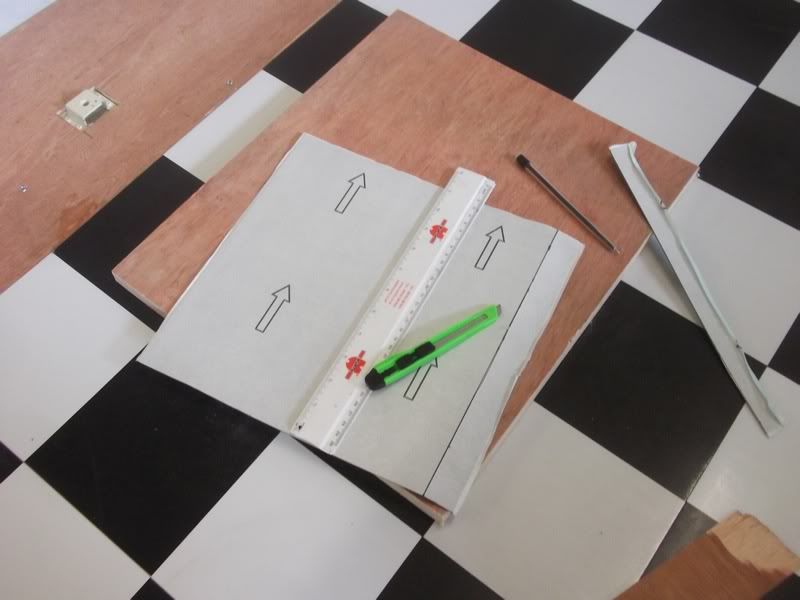
Then worked out to the sides until I couldn't fit anymore whole tiles. Hopefully it all lines up square with the furniture (fingers crossed)
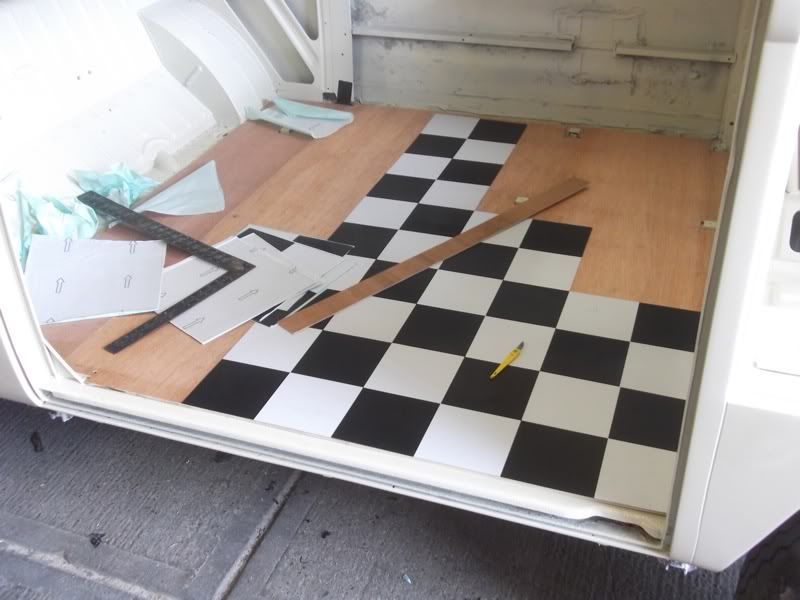
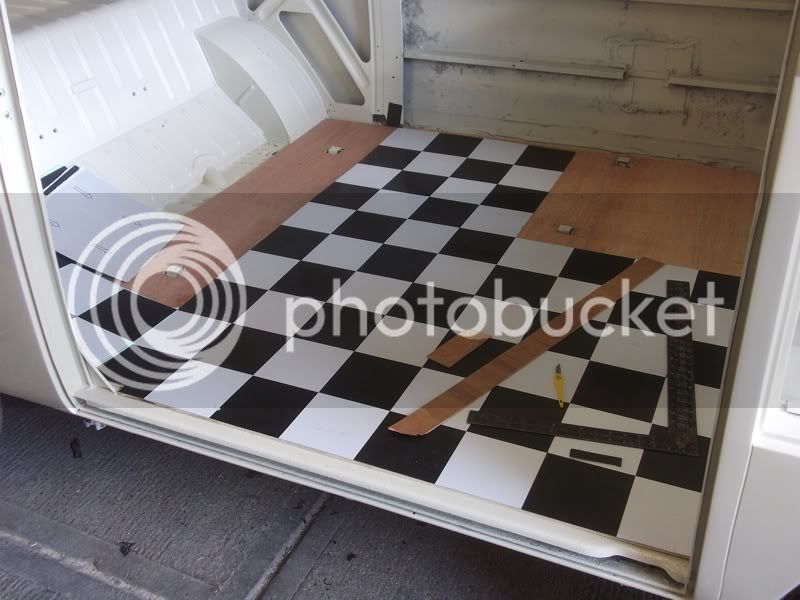
Then cut the fiddly bits
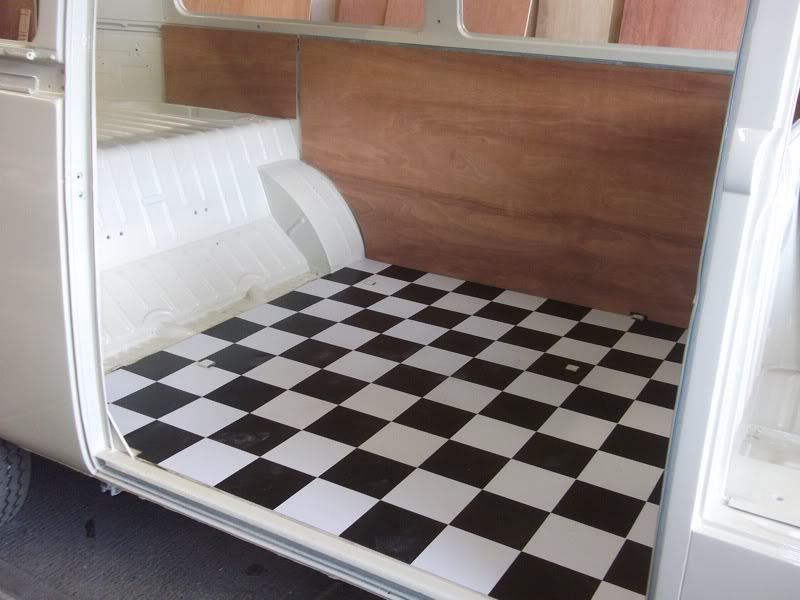
The finished article I just rested the side panel up to have a glimpse at what its going to look like
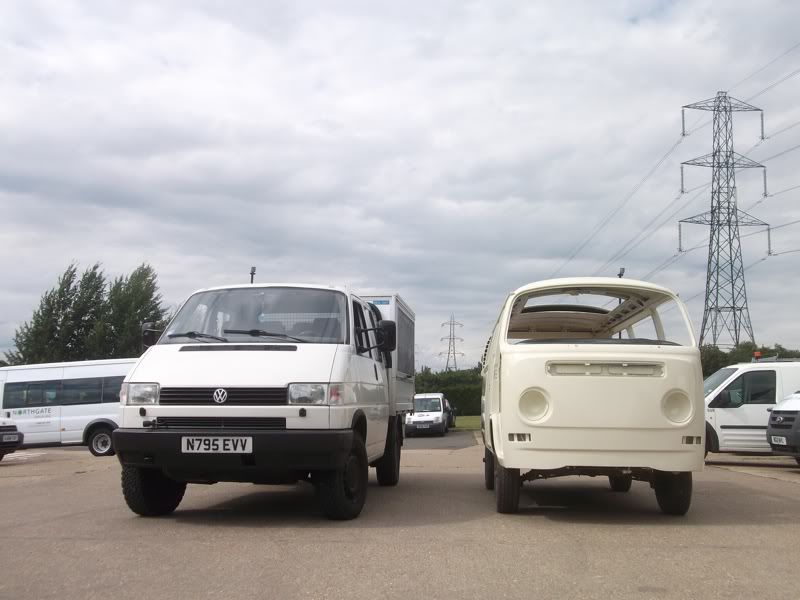
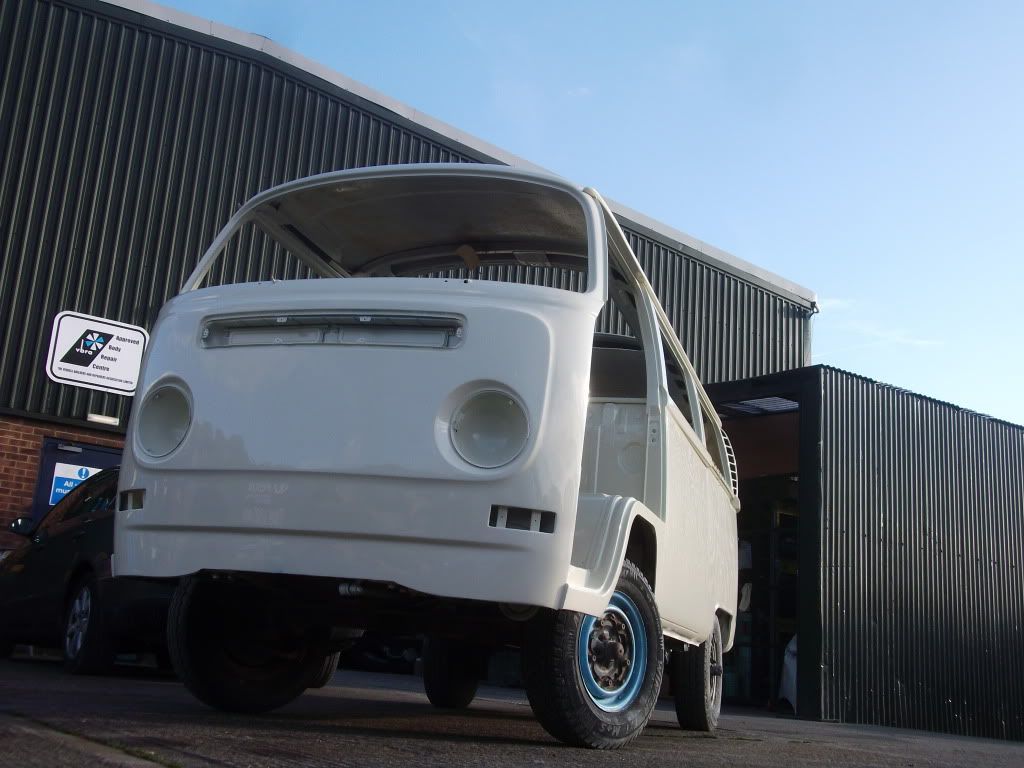
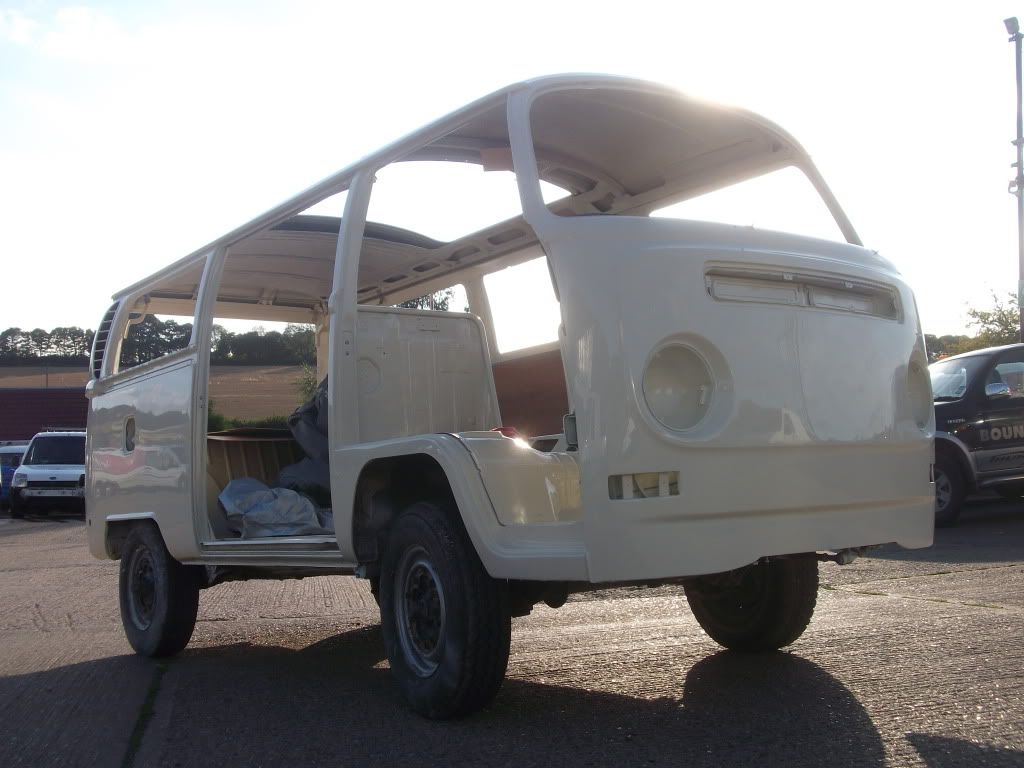
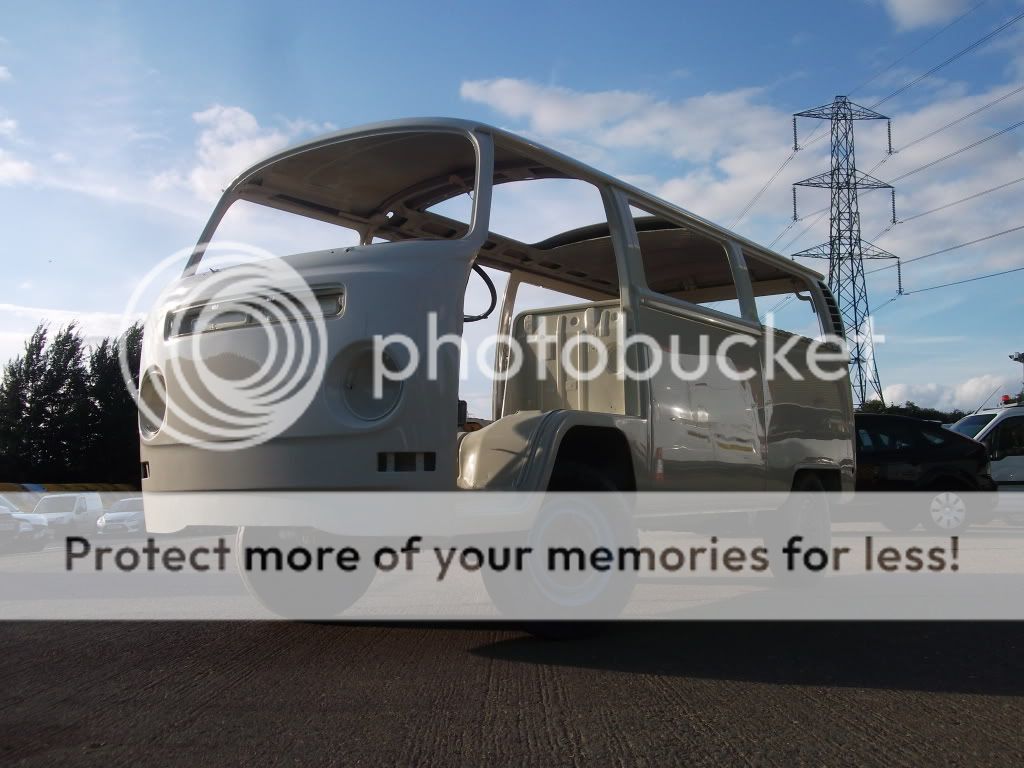
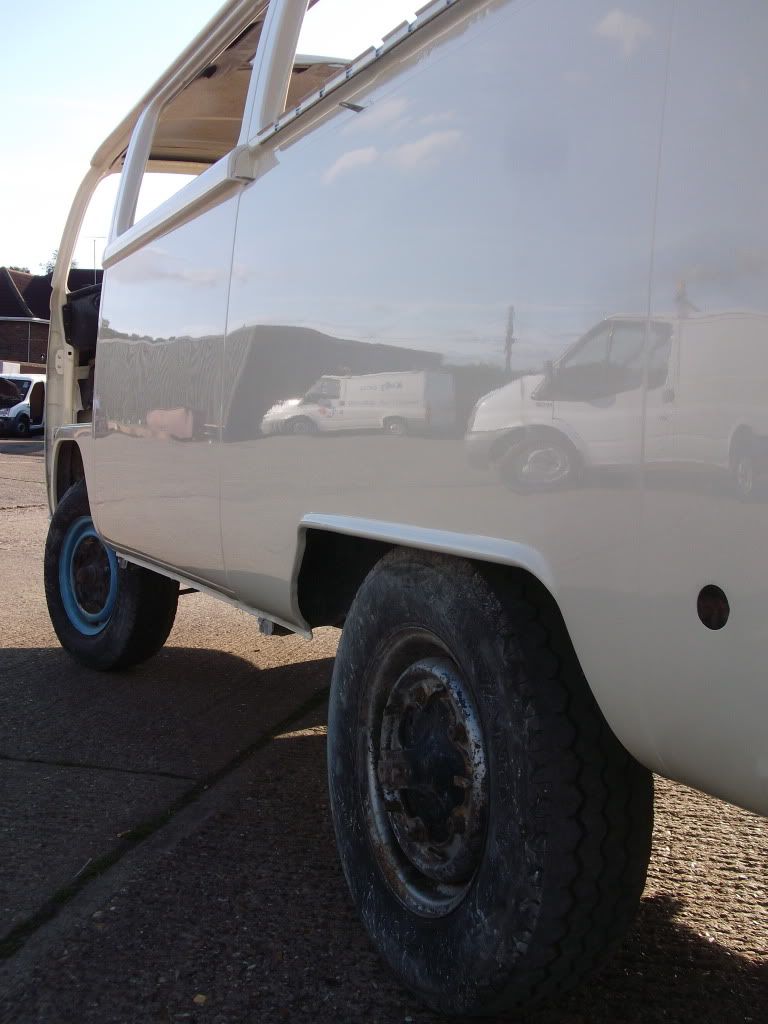
Here's Missy next to my Syncro. I know the Bay is empty but you can see the ground clearance and how they are excellent off road!! (My Syncro is Jacked up 50mm on the suspension and about another 50mm with the wheel and tyre combo)
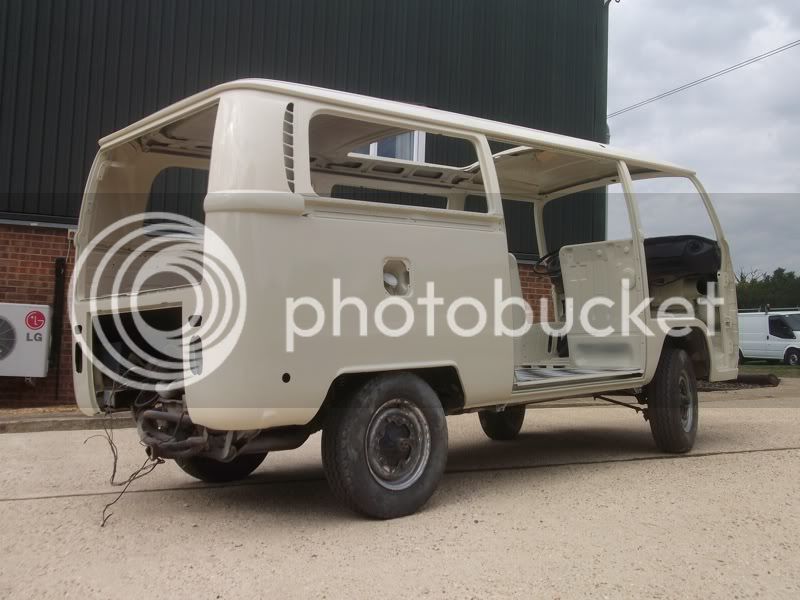
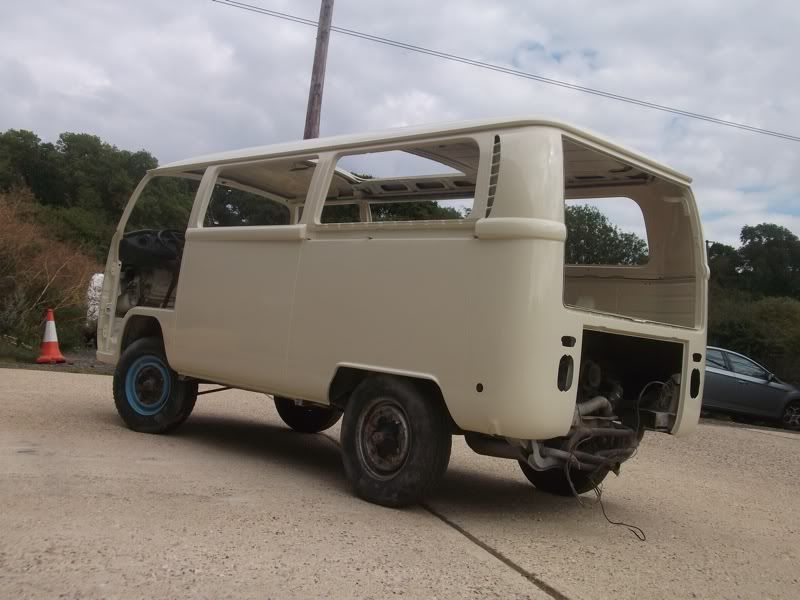
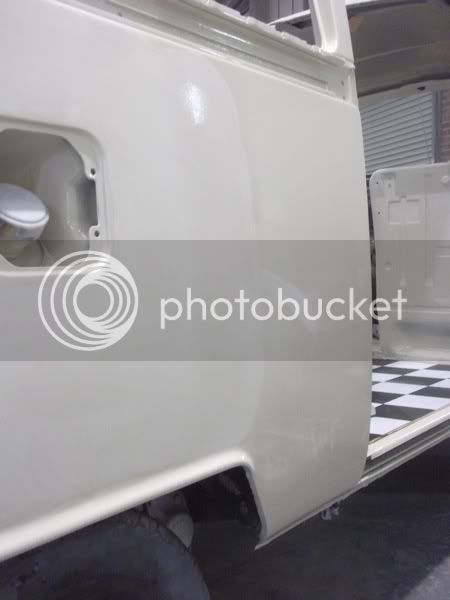
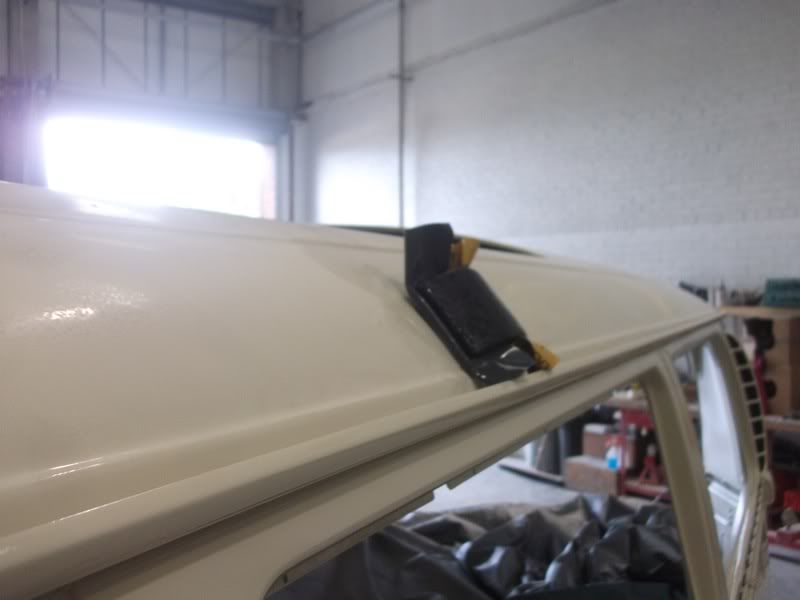
So out in the Sun you can see whats what. Its not as shiny as the roof from the gun so will need a flat and polish but I'm still happy with it.
Getting there......


The lacquer should be 100% water proof and non porous the best bit is I should be able to polish it with a mop the same as the outside of a car............. I think it'll be good :lol:
I fitted the new floor that I cut yesterday. I'm not a fan of drilling holes in a good floor but I had to because I used thinner wood. It's down with counter sunk stainless screws, so should be better for the bus.
I marked a square line down the center as a start point
Then worked out to the sides until I couldn't fit anymore whole tiles. Hopefully it all lines up square with the furniture (fingers crossed)
Then cut the fiddly bits
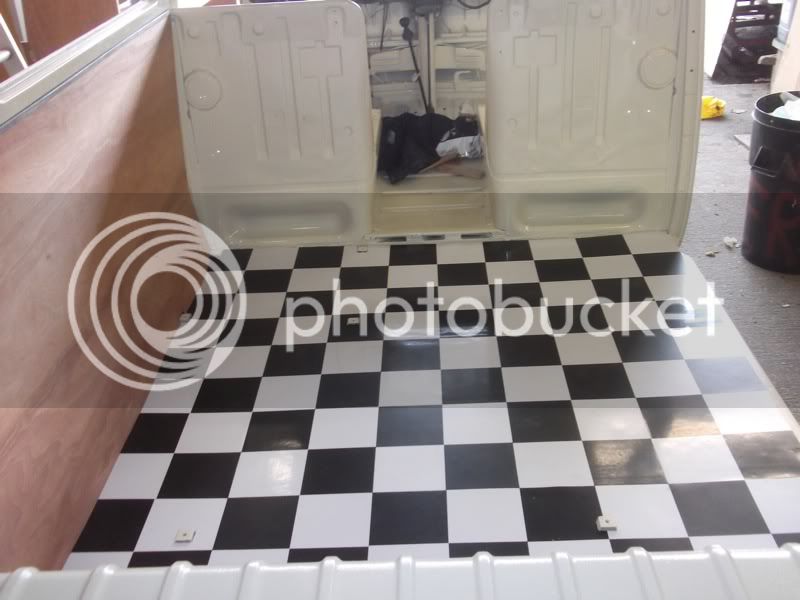
The finished article
I just rested the side panel up to have a glimpse at what its going to look like
Here's Missy next to my Syncro. I know the Bay is empty but you can see the ground clearance and how they are excellent off road!! (My Syncro is Jacked up 50mm on the suspension and about another 50mm with the wheel and tyre combo)
So out in the Sun you can see whats what. Its not as shiny as the roof from the gun so will need a flat and polish but I'm still happy with it.
Getting there......
snow_pikey
Well-known member
Really Happy!!
Bit dumb but I keep looking at my Bus and thinking 'wow cant believe I did that'
Work is quiet I've shuffled round my service schedule so I dont need to be on site till Thursday. I'm taking 3 days off to work on Missy in the bodyshop. Most their staff are on holiday this week so I get to have a play
So....
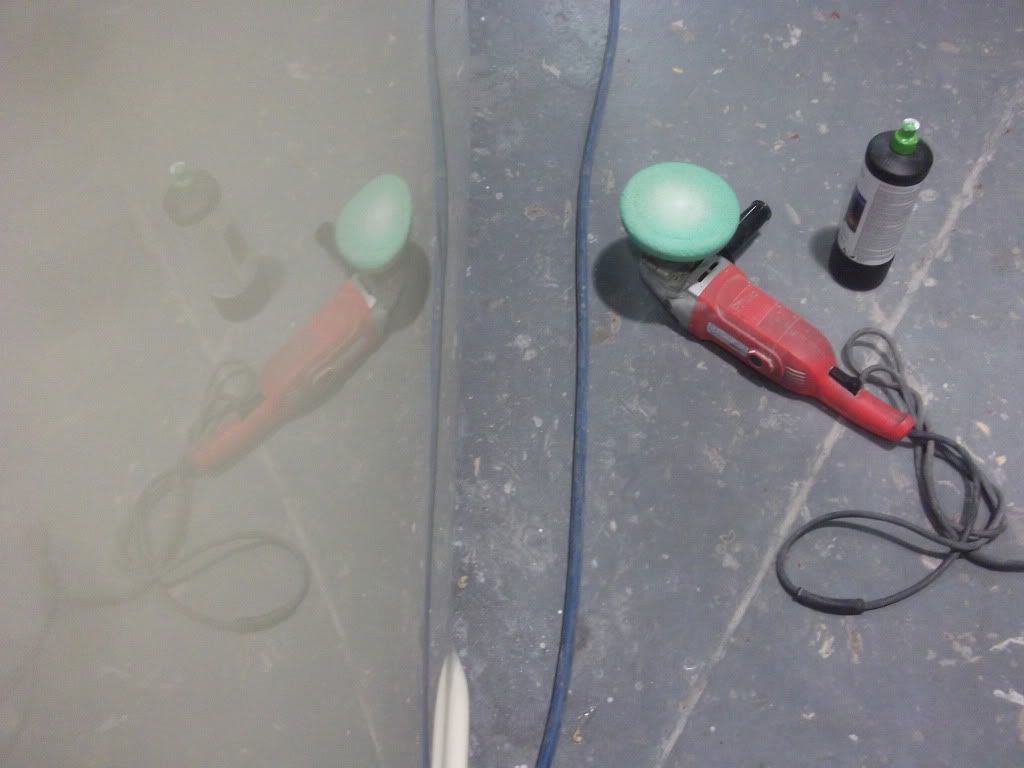
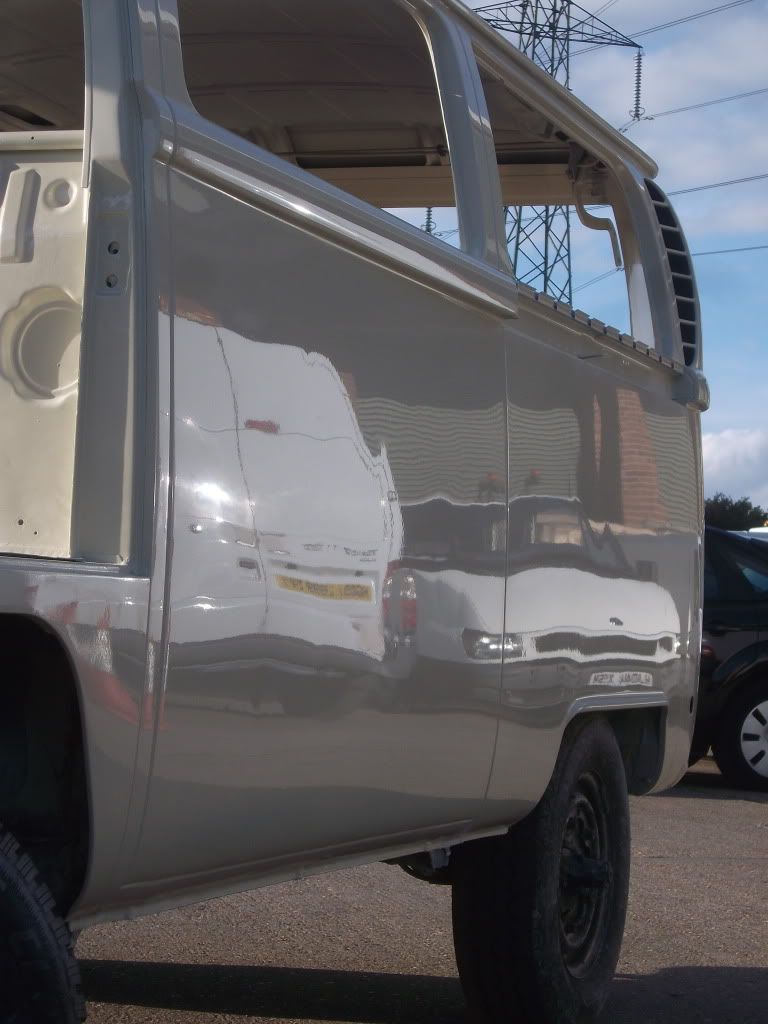
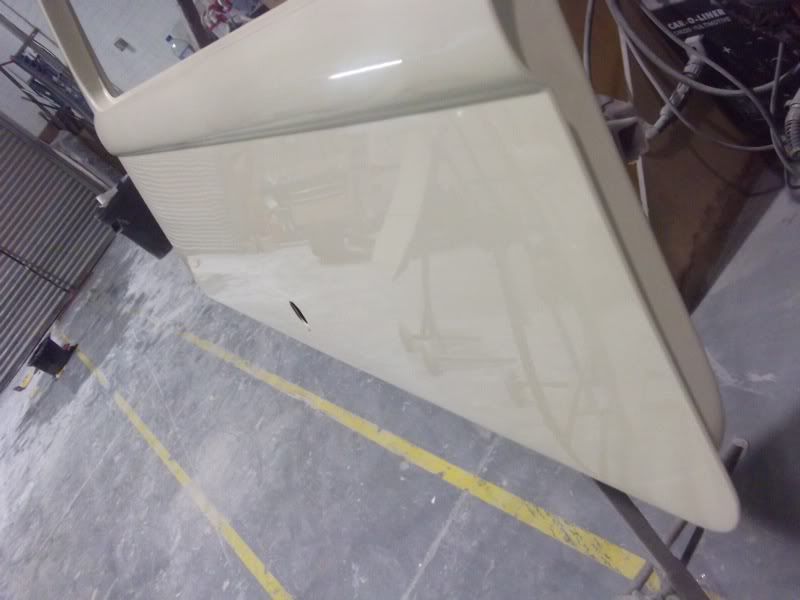
On the advise of people who know better I've cut out the runs and started to flat and polish before the paint goes too hard. I now know there is no such thing as a quick flat and polish :lol: blimey what a task 10hrs straight to get it to 3000grit but looking good polish tomorrow.....
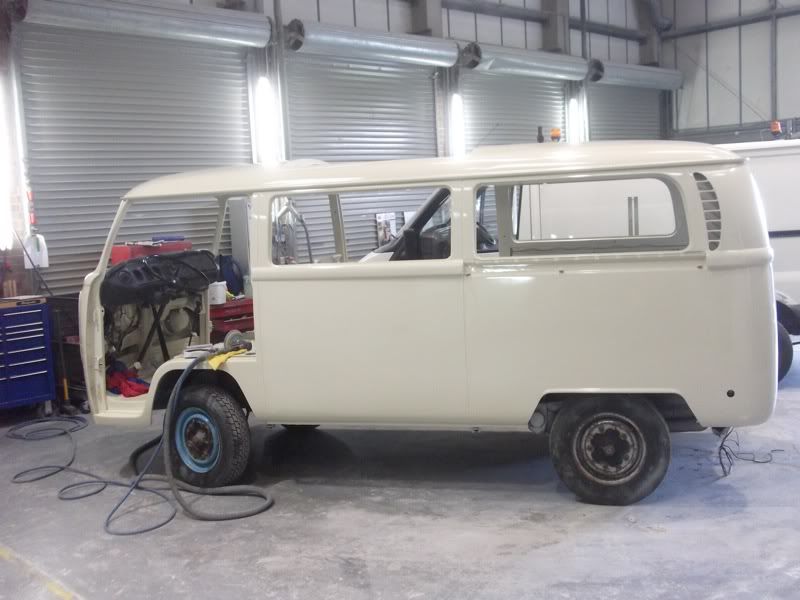
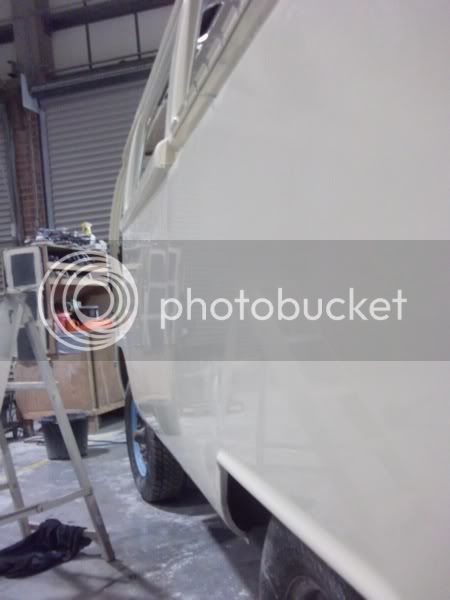

There's a good straight reflection and thats without polishing. I started out with a 1500 dry flat on a DA with a soft pad then the rest by hand, a couple of wet 1500grit, then a couple of 2000grit wet and finally a wet 3000grit Maybe tomorrow a dry 3000 before polishing.
Bit dumb but I keep looking at my Bus and thinking 'wow cant believe I did that'
Work is quiet I've shuffled round my service schedule so I dont need to be on site till Thursday. I'm taking 3 days off to work on Missy in the bodyshop. Most their staff are on holiday this week so I get to have a play
So....
On the advise of people who know better I've cut out the runs and started to flat and polish before the paint goes too hard. I now know there is no such thing as a quick flat and polish :lol: blimey what a task 10hrs straight to get it to 3000grit but looking good polish tomorrow.....
There's a good straight reflection and thats without polishing. I started out with a 1500 dry flat on a DA with a soft pad then the rest by hand, a couple of wet 1500grit, then a couple of 2000grit wet and finally a wet 3000grit Maybe tomorrow a dry 3000 before polishing.
mychatype3
Well-known member
Love it, that will be a lovely van, thumps up.
Greetings from Holland, mycha
Greetings from Holland, mycha


$10.00
Volkswagen Genuine VW Driver Gear VW Logo Specifications T-Shirt Tee - X-Large - Black
wolframitersqga


$32.04
Airfix Quickbuild Volkswagen Light Blue Camper Van Brick Building Model Kit, Multicolor
Amazon Global Store UK


$9.37
Empi 4429 Ivory Sun Visor Clips for Vw Bug 1965-1967/ Vw Bus 1968-1979, Pair
MOORE PARTS SOURCE


$25.00
Airfix Quickbuild Volkswagen Camper Van Red Brick Building Plastic Model Kit J6017, Multicolour
Amazon Global Store UK


$7.91
$15.33
Door Panel Clips, for VW Aircooled Door Panels, 50 Pieces, Compatible with Dune Buggy
Appletree Automotive


$9.94
$10.95
Empi 00-4428-B VW Bug, Beetle, Sun Visor Clips, Type 1, 68-79, Black, Pair
MOORE PARTS SOURCE

$37.99
Window Sash, 1 Piece Windows,for Beetle 58-64 & 68-77, Pair, Compatible with Dune Buggy
Texas Air Cooled LLC


$58.00
$69.99
Revell 07674 VW T1 Camper 1:24 Scale Unbuilt/Unpainted Plastic Model Kit
ChoiceToysUS


snow_pikey
Well-known member
Cheers
Spent the day polishing..........
Starting the doors tomorrow.....
Spent the day polishing..........
Starting the doors tomorrow.....
- Joined
- Apr 2, 2007
- Messages
- 478
- Reaction score
- 26
- Location
- Berkshire
- Year of Your Van(s)
- 1972
- Van Type
- Danbury
Looking spot on.... Well done you! 8)
snow_pikey
Well-known member
Cheers Dan
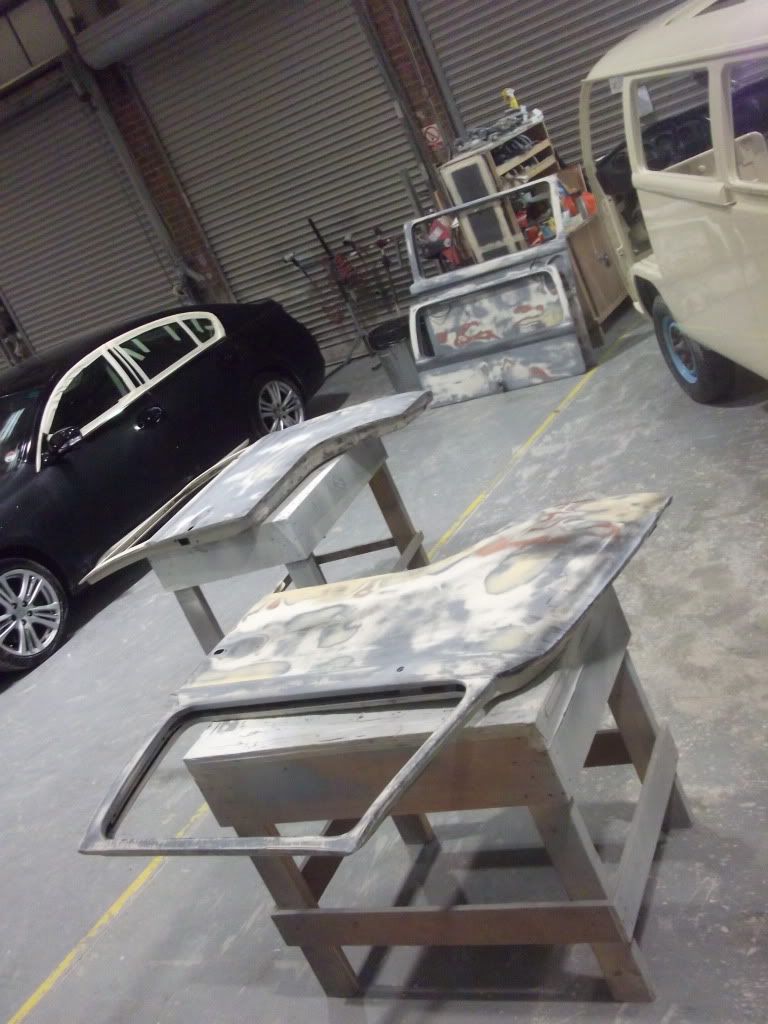
Just spent another day filling and flatting getting the doors as straight as I can. Then I sprayed on a coat of sealer so hopefully no probs' when I prime on Friday..... then I can start the fun job of blocking the high build, maybe optimistic but I would like to have the doors painted friday so I can polish and bolt them on Saturday.
Shame I have to go back to real work tomorrow.....
Haveacamper
Well-known member
- Joined
- Oct 2, 2007
- Messages
- 2,069
- Reaction score
- 4
Absolutely incredible. just spent my whole hr lunch break reading this thread. its been one i've noticed has had alot of interest recently, and i have been meaning to find time to read it all in one go. just so annoyed i put it off for so long.
the journeys and the stories are amazing. couldnt believe that someone actually photographed your bus in banff nevermind a PO actually finding the thread haha. although there are loads of pics of your journeys i bet its just a fraction of the tales and laughs you've had along the way.
the resto is awesome and will now be watching this very closely to track the progress. this is most definitely new favourite of mine!!!!!!!
NaFe
snow_pikey
Well-known member
Thanks NaFe glad you enjoyed the thread and yes too many V-Dub adventures to mention but its good to use your bus for what they were made for I'm already lining up the next trip soon as Missy is registered here in the UK
Gninnam I am well Lucky to have the chance to use the body shop, making the most of it just clocked another 17hr day!! I've learnt a lot as well asked lots of questions. Its been 4months and 4days since I started this thread and I'm very happy with the progress but wont miss all the late nights :lol:
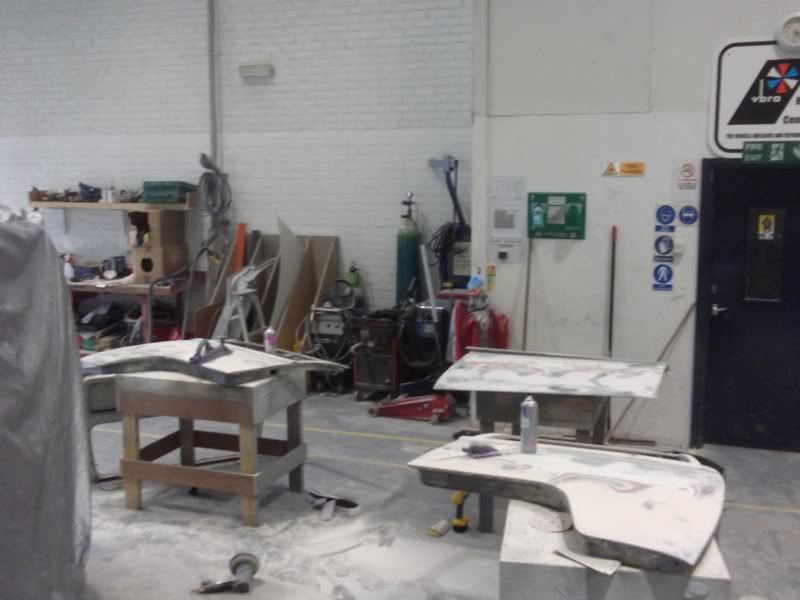
So today I got some more painting done.......
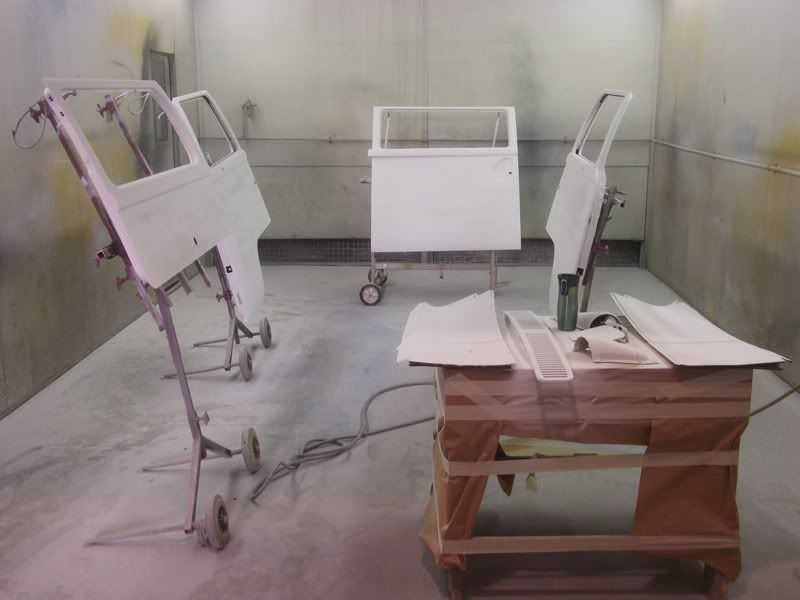
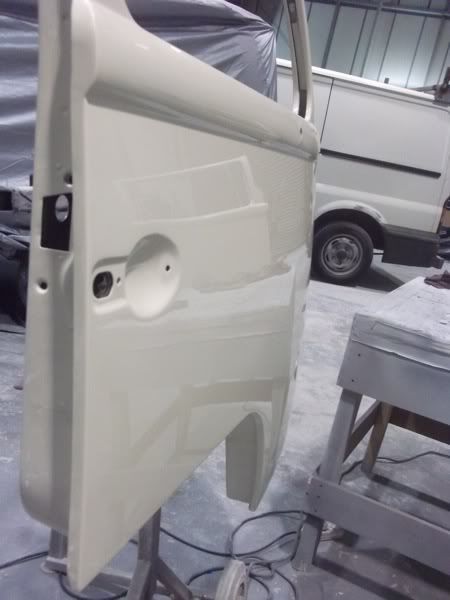
after priming I spent best part of 2hrs per door getting then as straight and smooth as poss
Anyone else think this looks like a dinosaur chasing a squirel?????
Too many late nights :lol:


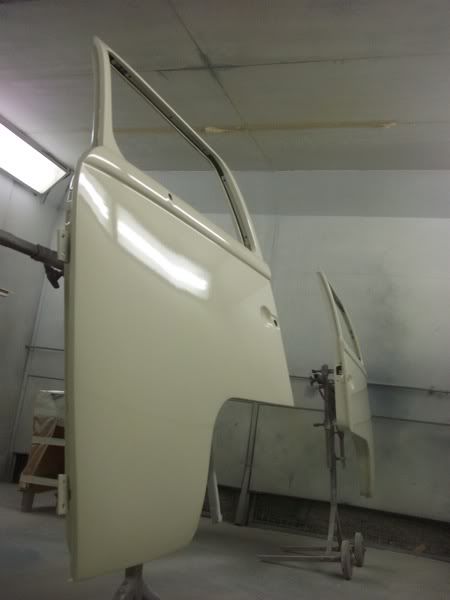
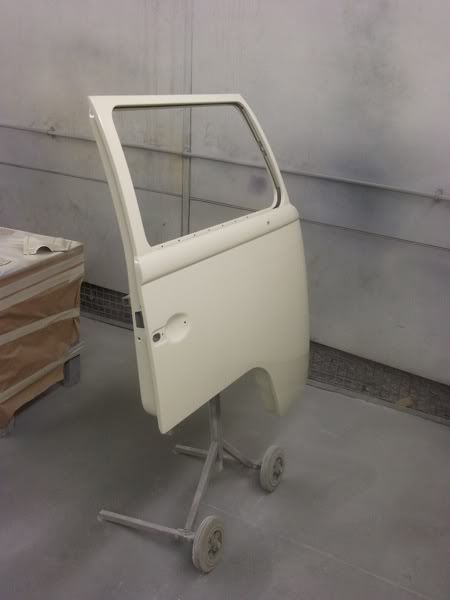
All turned out good! much happier I think all the practice is starting to make a difference feeling a lot more confident with the paint.
Tomorrow I'll flat and polish the doors and maybe fit if I can get someone to give me a lift, also I want to try and lacquer up the wood panelling.
Gninnam I am well Lucky to have the chance to use the body shop, making the most of it just clocked another 17hr day!! I've learnt a lot as well asked lots of questions. Its been 4months and 4days since I started this thread and I'm very happy with the progress but wont miss all the late nights :lol:
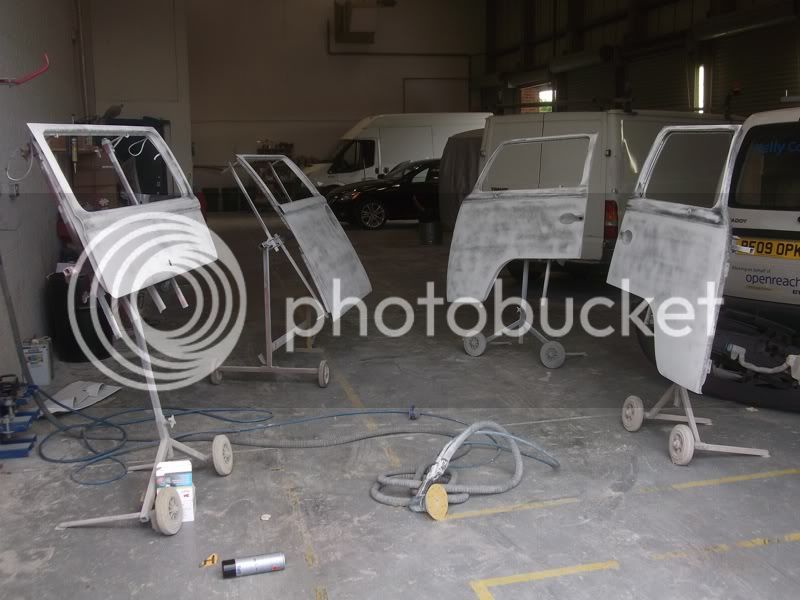
So today I got some more painting done.......
after priming I spent best part of 2hrs per door getting then as straight and smooth as poss
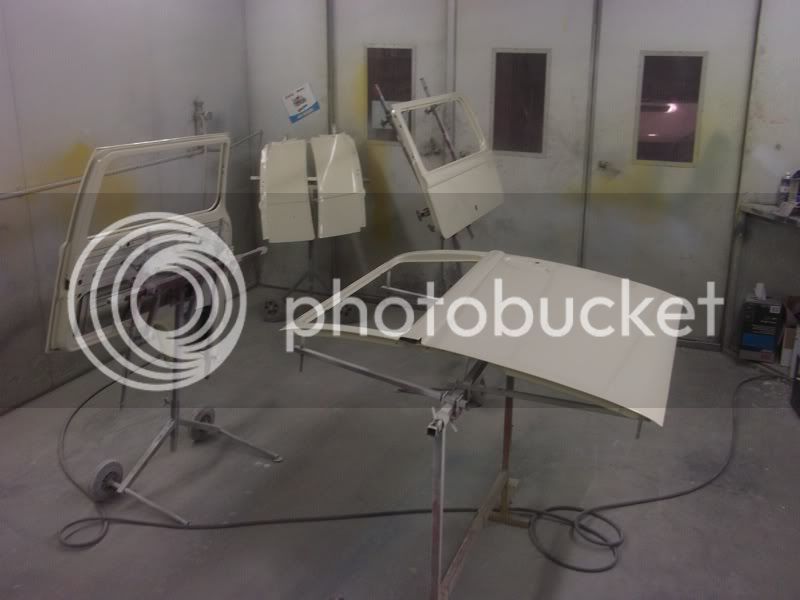
Anyone else think this looks like a dinosaur chasing a squirel?????
Too many late nights :lol:
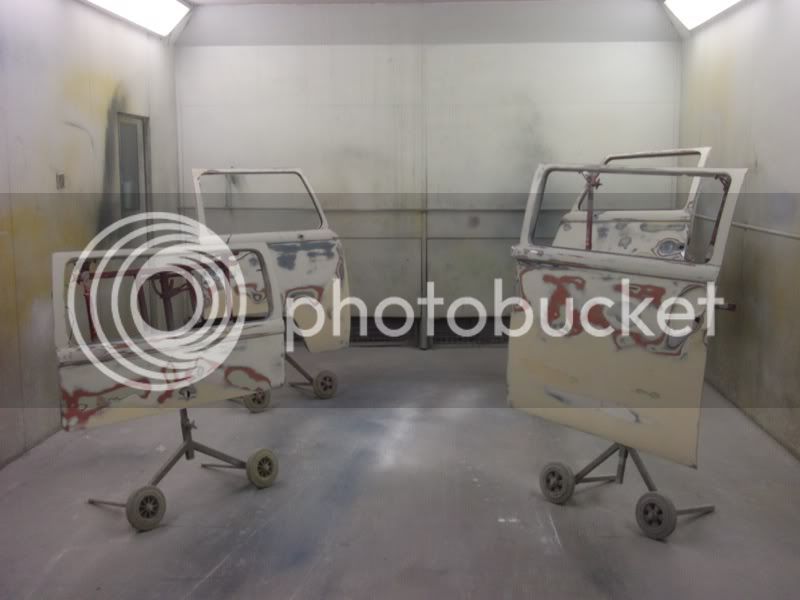
All turned out good! much happier I think all the practice is starting to make a difference feeling a lot more confident with the paint.
Tomorrow I'll flat and polish the doors and maybe fit if I can get someone to give me a lift, also I want to try and lacquer up the wood panelling.
Trikky2
Well-known member
Thats looking very good. You certainly seem to have picked up the paint and body skills
I know what you mean about the rubbing down, it takes forever. Thats where all the money goes when paying for a re-spray, the actual painting by comparison is very quick and requires little effort, just plenty of skill.
I have to admit the last re-spray job I did I "cheated" and payed a professional to spray on the 2 pack top coat. For a couple of hundred this saved me all the after painting work since the finish he got straight from the gun was excellent and required no further work.
By the way, I dont recognise the two panels in the background - where are they from?
Good thread this. I (and many others) are following your progress with interest - thanks for posting
snow_pikey
Well-known member
Thank you I did consider paying someone else to do the paint but thought I would just go for it, apparently a good paint job is al in the prep so I dont think you cheated.
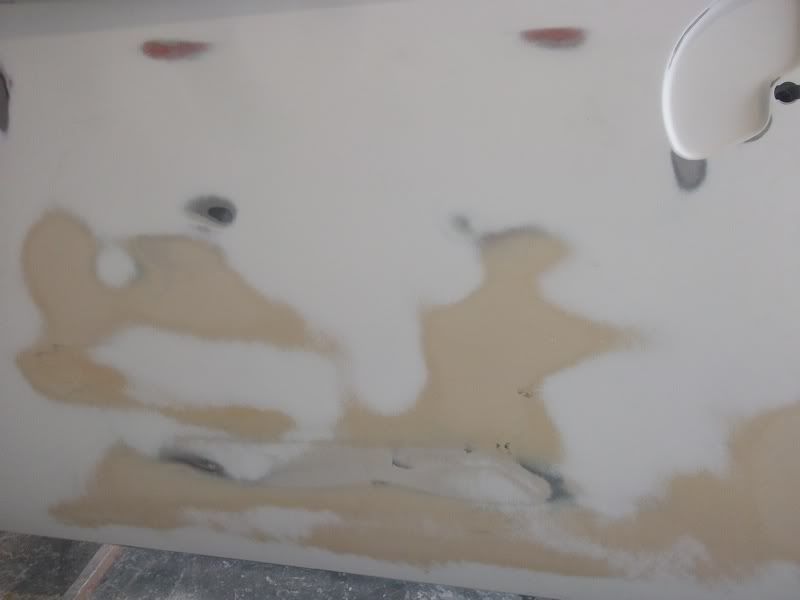
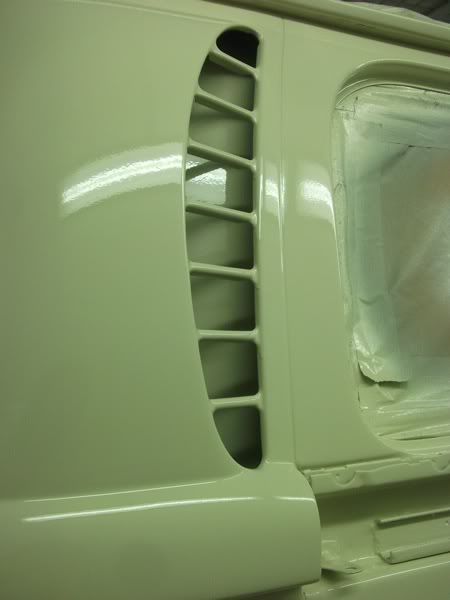
The two panels fit in the rear of the bus, behind the air vents for the engine but inside the bus (left and right as you look in the rear hatch)

I took one off thinking I could paint the bit behind the grills. WRONG! :lol: so I just ended up passing a block up through the engine bay and using two fingers through the grill to flat that area....... I wonder how other people get a good shiny coat of paint in there?
Whilst one was off I thought I'd do the other and paint them off as the rivets weren't painted I guess VW added them after painting the shell they have sound deadening fixed to the back. I don't know if it is a deluxe or Westy thing, maybe for US type approval :?
I did consider paying someone else to do the paint but thought I would just go for it, apparently a good paint job is al in the prep so I dont think you cheated. The two panels fit in the rear of the bus, behind the air vents for the engine but inside the bus (left and right as you look in the rear hatch)
I took one off thinking I could paint the bit behind the grills. WRONG! :lol: so I just ended up passing a block up through the engine bay and using two fingers through the grill to flat that area....... I wonder how other people get a good shiny coat of paint in there?
Whilst one was off I thought I'd do the other and paint them off as the rivets weren't painted I guess VW added them after painting the shell they have sound deadening fixed to the back. I don't know if it is a deluxe or Westy thing, maybe for US type approval :?
Trikky2
Well-known member
Ah thanks for the reply. I have only seen trimmed panels there in the past and never realised/noticed they were metal :lol:
I think you must be right about it being for noise. I have considered in the past making some trim panels to go there but was not sure if it would make much difference to the engine noise levels. I guess yours, being metal, would indicate my idea of simple trim panels would not be sufficient to make any worthwhile difference.
Spraying inside the air intakes is a pain (intakes on a beetle are too). I didnt spray mine since, having been dinitrol coated, they were still in perfect condition under the wax and dust. I remember many years ago making a U shaped brush to apply the wax sealant to the inside backs of the grills too [obsessive smiley] :lol:
snow_pikey
Well-known member
Anti rust precautions are always a good idea :idea: I zinc paint inside panels and will be wax oiling after everything is done. I was chatting to someone the other day and he was saying his Grandad swears by pouring old engine oil inside doors or any hole it'll run into.
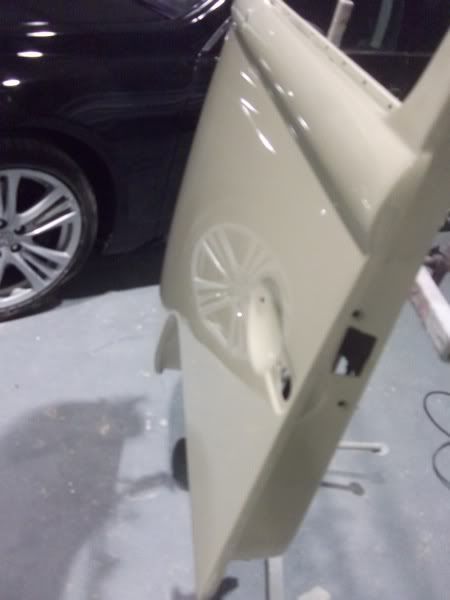
I got the wood sanded to 500grit and lacquered. Also the doors sanded up to 3000grit and part polished as they were a bit wobbly on the stands.
The wood was cheap 3mm ply and I only needed 1litre of lacquer to paint 2 coats on everything.... Bargain that looks ACE!!
Great reflection and colours
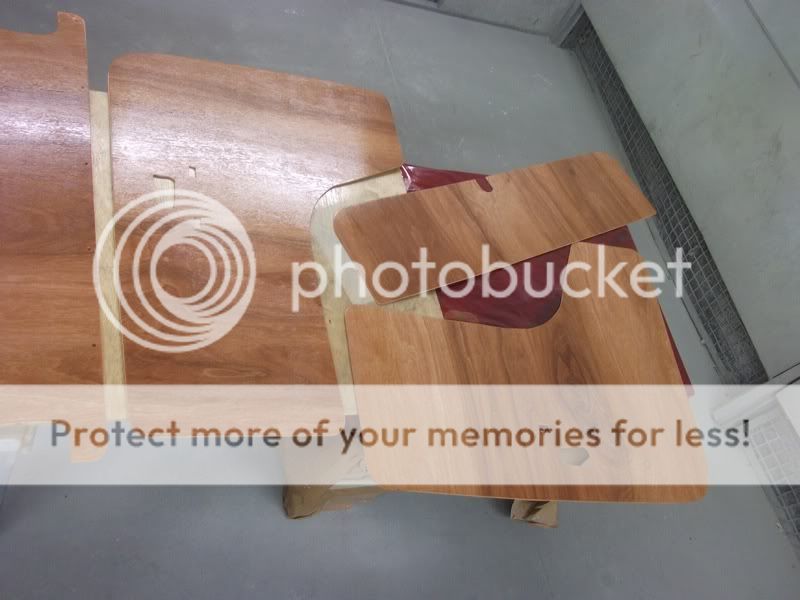
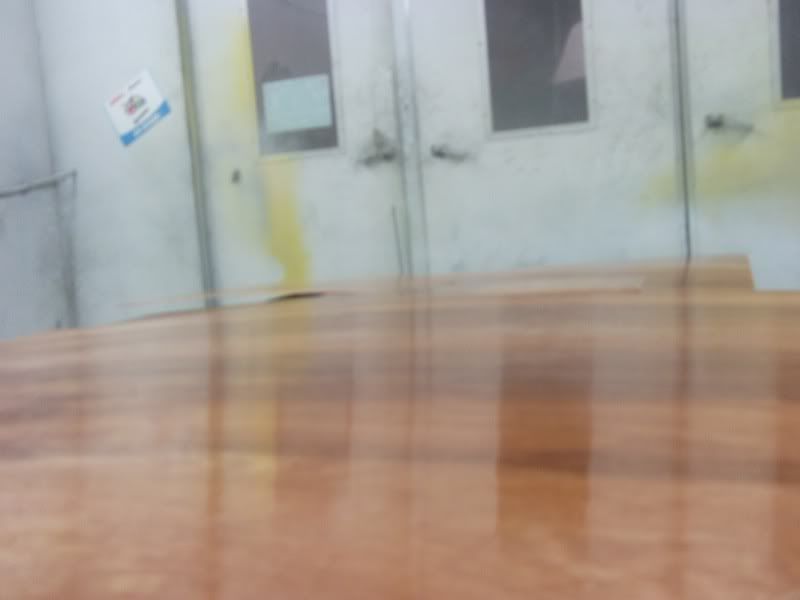
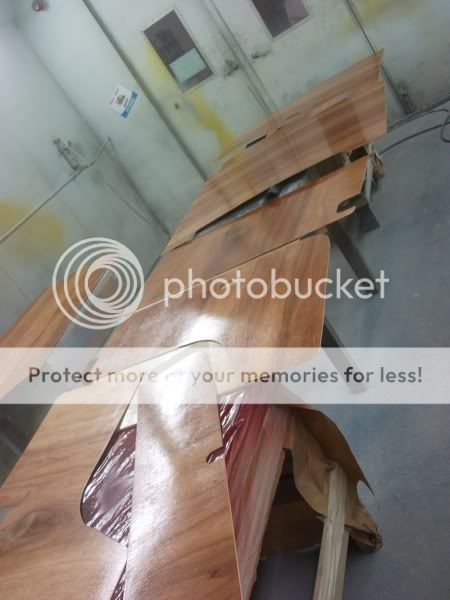


^ The above picture the flash went off making it look a bit darker colour ^
I got the wood sanded to 500grit and lacquered. Also the doors sanded up to 3000grit and part polished as they were a bit wobbly on the stands.
The wood was cheap 3mm ply and I only needed 1litre of lacquer to paint 2 coats on everything.... Bargain that looks ACE!!
Great reflection and colours
^ The above picture the flash went off making it look a bit darker colour ^
Trikky2
Well-known member
snow_pikey said:Anti rust precautions are always a good idea :idea: I zinc paint inside panels and will be wax oiling after everything is done. I was chatting to someone the other day and he was saying his Grandad swears by pouring old engine oil inside doors or any hole it'll run into.
Nice finish! The ply you got looks great
The stuff they sell over here is not as nice, having much less grain, nearly white and rather soft, unless you buy the upmarket "marine" stuff.Your friends grandad is not wrong - using engine oil used to be much better than doing nothing, though there were issues with smell, dust and dirt sticking and the fact that on horizontal surfaces, like the bottom of the doors for instance, water would get under the oil. Then, back in the 1960's wax based preservers we use today were developed - I think it was the Scandinavians who were the first.
Personally I prefer the thinner products because they are more liquid and will creep and penetrate into the seams properly before becoming more "set".
By the way, dont belive those who say to warm up Waxoil - yes it sprays and goes on well when warm but it cools on hitting the cool metal and hence will give an unnecessarily thick coating and will not creep into small seams. However, I found that if you thin Waxoil with white spirit, so its about as thick as milk, then it works just fine - though it is a bit more smelly than dinitrol and similar products for a couple of weeks :lol:
I have a 65 beetle that's never been welded and doesn't need it that was preserved by spraying with old engine oil. It does work.
But I think it would be frowned on today - driving round dripping oil everywhere is, I believe, against the law. Shame. :lol:
But I think it would be frowned on today - driving round dripping oil everywhere is, I believe, against the law. Shame. :lol:
snow_pikey
Well-known member
Thanks for the tips!! but doesn't everyone in an aircooled V-dub drive round dripping oil :lol:
snow_pikey
Well-known member
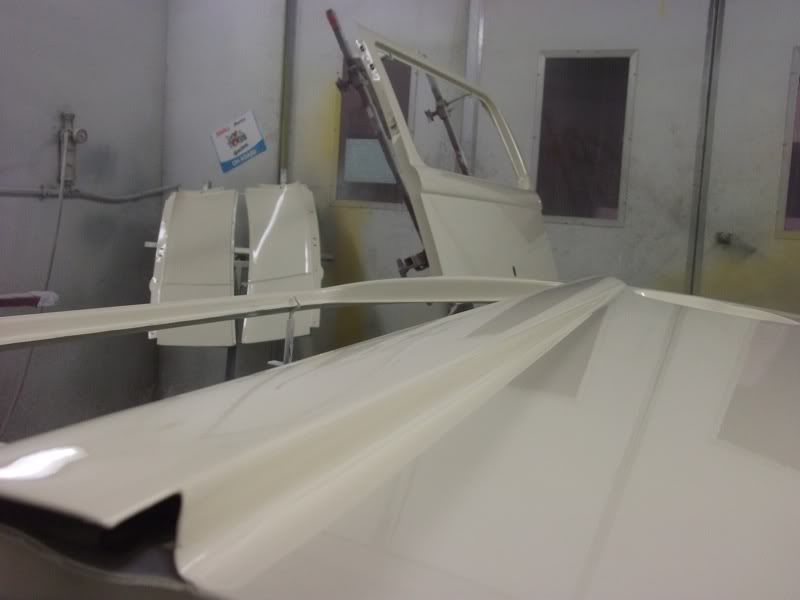
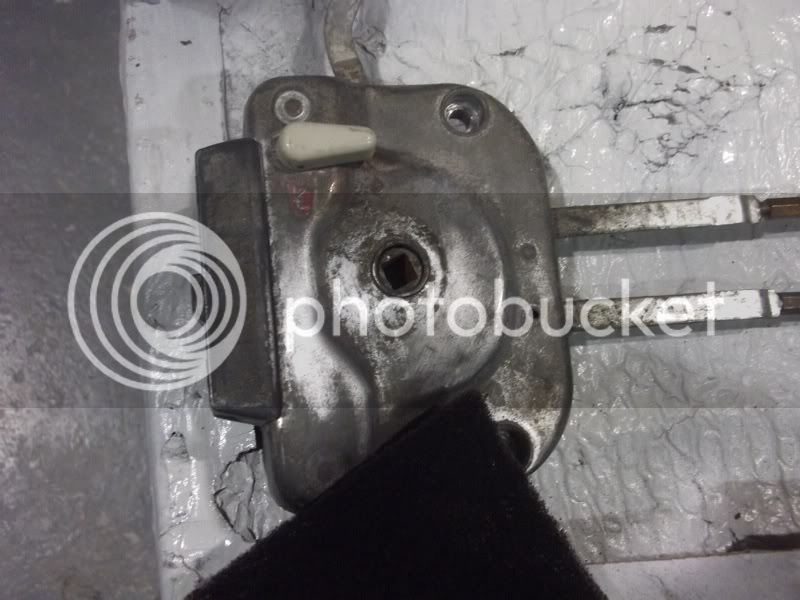
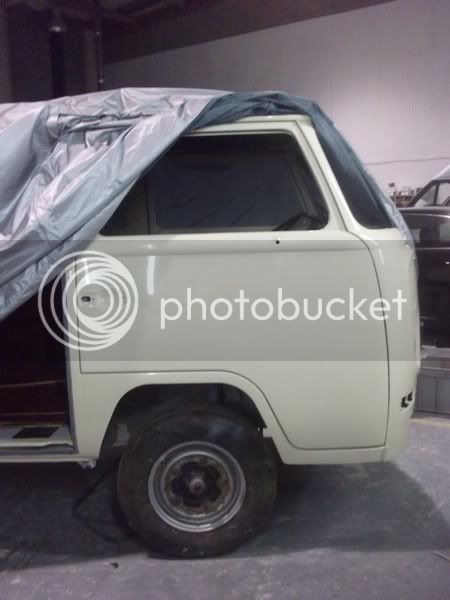
Cleaned up all the silver metal bits with a scotch-pad (industrial kitchen scourer)
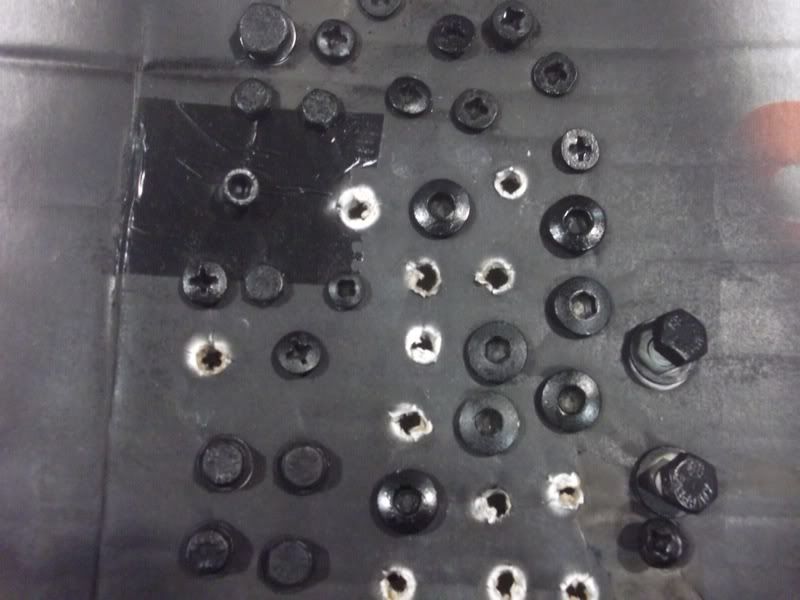
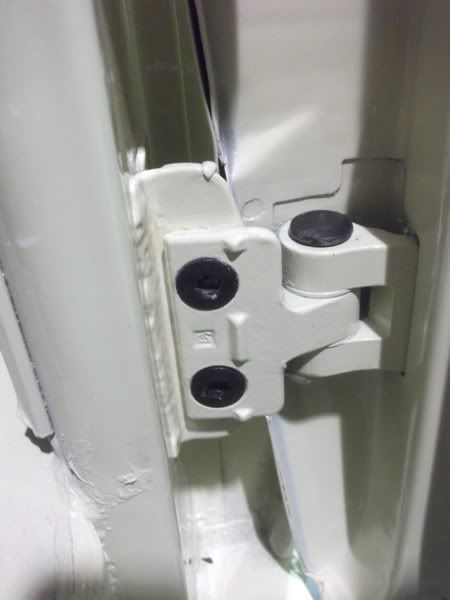
Painted all my door screws satin black to make uniform dead easy and you wouldn't notice on the bus but guess thats the point. I also saved all the original bungs and plugs to go back on like the hinge bungs....
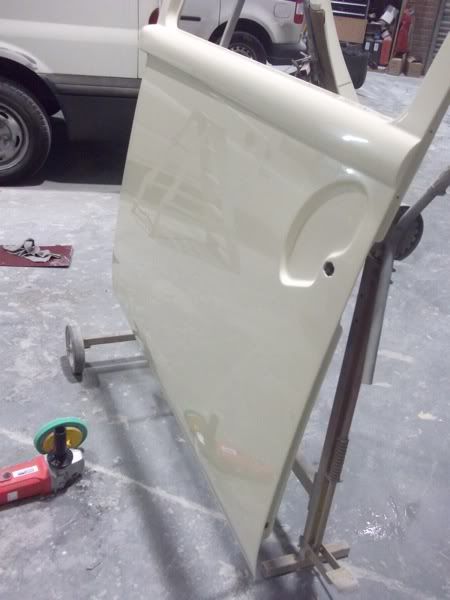
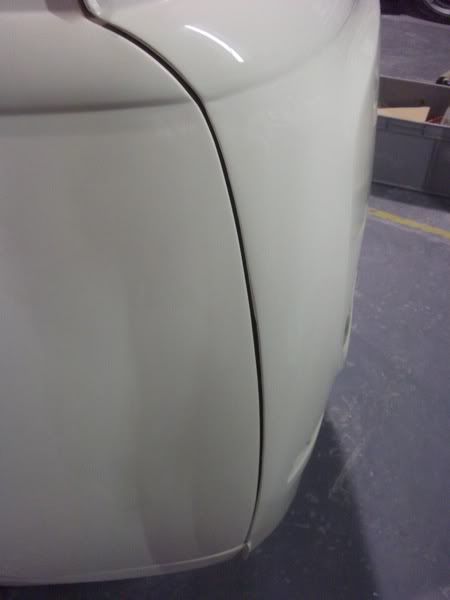
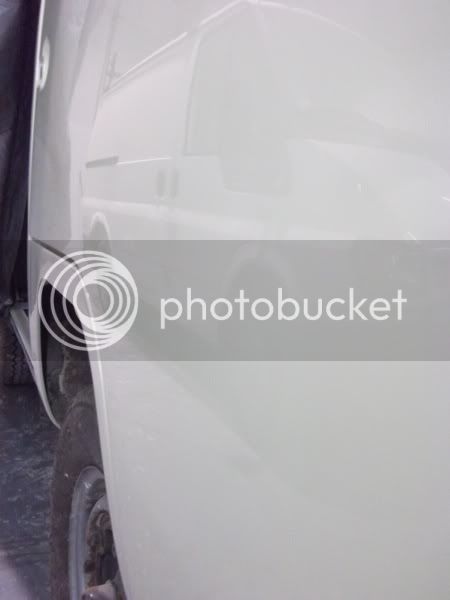
I spent quite a bit of time making sure my doors fitted right before I removed them to make sure I had good gaps....
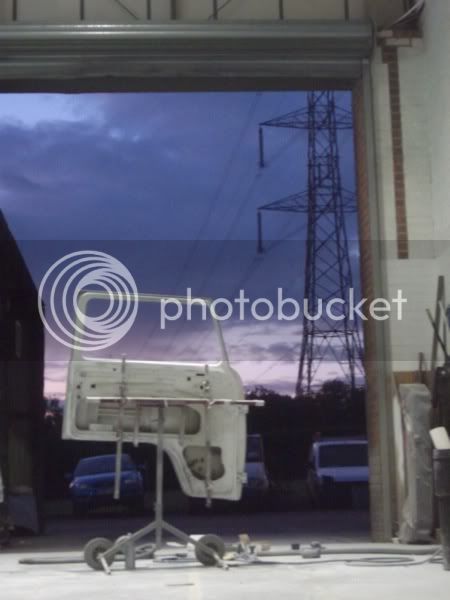
All the doors went on well except the sliding door it looks twisted on the bus either its warped being baked or someone has bent it in the panel rack at work, either way pretty gutted and just left it. Maybe tomorrow night it will be clearer rather than damaging some thing.... best sleep on it.
Painted all my door screws satin black to make uniform dead easy and you wouldn't notice on the bus but guess thats the point. I also saved all the original bungs and plugs to go back on like the hinge bungs....
I spent quite a bit of time making sure my doors fitted right before I removed them to make sure I had good gaps....
All the doors went on well except the sliding door it looks twisted on the bus either its warped being baked or someone has bent it in the panel rack at work, either way pretty gutted and just left it. Maybe tomorrow night it will be clearer rather than damaging some thing.... best sleep on it.
Similar threads
- Replies
- 2
- Views
- 2K
- Replies
- 29
- Views
- 2K
- Replies
- 7
- Views
- 1K
- Replies
- 3
- Views
- 2K