1969 Arctic Explorer

Early Bay Forum

Help Support Early Bay Forum:

This site may earn a commission from merchant affiliate links, including eBay, Amazon, and others.
snow_pikey said:
All the doors went on well except the sliding door it looks twisted on the bus either its warped being baked or someone has bent it in the panel rack at work, either way pretty gutted and just left it. Maybe tomorrow night it will be clearer rather than damaging some thing.... best sleep on it.

Cant see how a paint oven could get hot enough to warp the sliding door.

Are you sure its out of shape? It can often seem like it when its not closed correctly against the door seal rubber or the seal is uneven. Another problem area can be the adjustment of the latches and rollers, sometimes the adjustment spacers get forgotten/ lost/mis oriented etc and can make the door sit unevenly. It takes quite a lot of force to bend a sliding door.

If your still having trouble - maybe post up some picks to show where the mis alignment is?
 
Fantastic work with the panels 8)

Tricky's right about the oven - wouldn't (or shouldn't) get hot enough to warp the metal :?
 
Where about should the spacers go?

Under the 2 bolts on the bottom roller?

I got the door shutting but its not right or anywhere near as good as it was.....
 
The spacers vary, more so if the vehicle has been repaired or the door replaced in the past.

Normally theres some spacers where the bottom roller bracket bolts onto the bottom of the door which adjusts the height at the front of the door. Theres often also some behind the latch on the B pillar too which adjust the insertion depth of the central locating latch for the front of the door.

The top roller is obvious.

The trick is to get the front latch and top and bottom rollers set so the front of the door lines up correctly both up/down and in/out.

Then you adjust the rear latch. The part inside the door allows for small adjustment forward/backward and up/down of the rear of the door.

The stop on the rear rail will also affect/set forward backward closed position since it controls the point at which the swivel U bracket starts to turn, though this would not normally be disturbed unless replacing a door. Then finally the latch post on the c pillar adjusts the rear in/out when the door is fully closed. This pin should not be used to increase the height of the rear of the door when fully closed.

If the front of the door is correctly aligned then the rear will pull in to the right position when you raise the handle to pull it into its second click on the rear latch since the rear of the door is only supported in the middle.

It seems complex when you start but once you get your head round how it works its quite simple if a bit fiddly. Take your time. If your still having no joy post up some pics of the problem. :)

ps. Found this for you which may help with pictures :) http://www.thesamba.com/vw/forum/viewtopic.php?t=446358" onclick="window.open(this.href);return false;
 
Excellent Advice!! Thanks for that I will give all of the above a go this week and have a hunt about in the various jumbled up tubs with bolts, screws etc to see if I have any shims :)

I finally got Missy home :D in one piece but only just.....

I borrowed a mates trailer and he came along to give me a hand to get the Bus. We went to collect the trailer and the lock had seize on the tow hitch it took nearly and hour to free it off as all we had was WD40 and 2 lumps of angle iron....

Then in Maccy D's car park we came out to find 2 Gipos with a transit pick up wanting to take the trailer. Finally got to work, whilst loading the RH rear wheel cylinder burst and the pedal went to the floor and I just managed to stop it on the backed off handbrake before it went straight off the front smacking into the winch post......

f14a3237.jpg

10b36453.jpg


Once safly loaded it was and uneventful 45min drive home with my Syncro pulling well and guzzeling petrol :) arived late and woke up half the street ( Ooops :roll: )

Whilst unloading the ramp snapped at the top and some how got a pedal on the brakes again it stopped with the RH rear tire right on the edge :shock: Crazy because there was no pedal before or after LUCKY!! we winched it back and jacked up the bus pullled out the ramp, jammed it in. Then I negotiated the track by torch light :lol: all in all a pretty funny late long and eventful night :lol:

78c7b195.jpg

65d93eb6.jpg

5ac81ee1.jpg


After winching it back..... I dont think she would have bumped down ;)

dd84c6da.jpg

761b111d.jpg


On a more interesting note I got a peek at Ben's new early bay he just dragged back from Slovakia. A deluxe on wide 5's with an Eastern European Custom sSStyleeeee

decfcd48.jpg

0ee5d523.jpg


Nice exhaust exits

9e43c47e.jpg


Interesting bulkhead..

930ff821.jpg
 
:shock: Sounds scary getting the van off the trailer but glad you made it :D

That van below - well, very different and fugly :lol:
 
Thanks for telling us about your, erm? 'eventful' :shock: journey home, thank goodness it all came good in the end :D

And have to agree, the rear lights on that slovakian bus are fugly...but it has potential 8)
 
Again only just read this thread on and off between work over the last 2 days and what a read and a great story, resto is looking brilliant and keep up the good work and keep the pictures coming.

Had my fair share of incidents when offloading buses, last one when a winch cable snapped and I was on my own, left a nice dent in the side of my MKII Golf GTI, the one egotrippin now owns, so if you see it around a Delta Green Deluxe caused the damage,
 
Thanks Graham, and yes moving a Bus can be potentially disastrous!!

The Slovak Bus is Fugly!! you just know who ever did it put a lot and time and effort into it as the work on the lights is done to a good standard, sad but true.

Now I have Missy back home I am victim to the british weather once again, not cool! but hopefully the bank holiday is bright dry and sunny (wishful thinking)

But in the meantime I have managed to do a little.....

I've cleaned up the front mat's and started detailing the front, painted the peddles etc... and got to fit some new parts from my boxes of bit that have patiantly been waiting in the garage :D

1c25cda8.jpg

70aa3c8c.jpg


I collected a new set of tyres for the bus.....

18ef8c93.jpg


And tonight I have been removing the flakey bits of undersealish' type coating that had been applyed to the bus early on in its life as there's lots on new looking shiny paint underneath its like a plastic coat.

796b5456.jpg

f016eac7.jpg


This is the most solid V-Dub I have owned for sure!!! cleaning it up for a nice coat of black stone chip.

d888cdc0.jpg

96b1d1da.jpg

3461c2a9.jpg

f6800537.jpg

5108f481.jpg

bb1b3f0a.jpg
 
Looks like that plastic type stuff has done a very good job of preserving things under there.

Must have been well applied back then. Heres hoping your new stuff will do as good a job. :)
 
It really has and I'm sure the new stuff wont be anywhere as good! I'll do my best but the other stuff is probably bad for the planet now, and would make penguins beaks fall of and dolphins grow hoofs.

Man the weather sucks in Bedfordshire today cover off, cover on, cover off, cover on..... you get the idea..... :idea:

Still in between the thunder and lightening I got my headliner fitted which took a fair bit of fettling to get in right but its a great fit and looks better than I imagined it would. Making sure I kept the original lighting in the same positions.

( better pictures to follow just it was raining )

All the other dash bits got painted as well as the dash again and the windscreen got fitted in. Defiantly a turning point in the project :D

c2d8a36f.jpg


7924374e.jpg

e58f3d5d.jpg
 
Had a productive day :D

Here's a few pic's of Missy with doors and a screen...

e40cd80f.jpg

bb2a38db.jpg

6754a7ab.jpg


And the headliner, never thought I would be getting reflections out of wood. I think I'm becoming a reflection junkie!! maybe my rat days are done......

76249bdb.jpg

58c2f62d.jpg

11d58b2d.jpg


Heres the sound deadening panel at the rear, before/ after......

82d20c4c.jpg

cac1ed0f.jpg


Then fitted the side window, which was a right bieeeach and covered the blanking panel and fitted it up. I thought a lot about it and went for black vynil as it matches the interior and I will use silver screens not curtains....

f0a33566.jpg

4e135e07.jpg

61b4ea60.jpg

70fd935d.jpg


starting to make a dent in the back of my Syncro (shed)

c3435407.jpg


I gave all the furinture a wipe with thinners to get the grime off then polished with silicone free car polish, you can see the half that I polished in the first picture. It worked really well......

a375e3b0.jpg
390eb83b.jpg

a38cada4.jpg

17e6f1cf.jpg


The wood matches quite well....

d7d35d47.jpg


Bus getting emptier.....

5804d896.jpg

63b73de6.jpg


236e8f63.jpg

34cfcea6.jpg

66442ecb.jpg

be9b68ad.jpg

efe0b8f1.jpg

76f3469f.jpg

5ec4dca4.jpg

ab72f7b8.jpg

d9112f2b.jpg


At some point in the Buses life it got that vent cut into the seat. I intend to mount my inverter there as it will stay cool

16eadb9c.jpg


The table got the thinners and car polish treatment.....

667430a8.jpg


And lucky!!! but the leg of the table hits the middle of the tiles....

0c54a2e4.jpg
 
Hi,

Looking very good indeed - the plywood you have lacquered, is it just normal plywood, or anything special like birch ply, which i think is what the original is. I need new wood for mine, and if i can get similar result with normal ply i will be stoked!

Look forwars to seeing more progress as you go, the interior is looking fine!

Cheers,

Alistair
 
Thanks peeps :D

I'm really pleased with how quick its all coming together, its like Roy Castle said "dedications what you need"

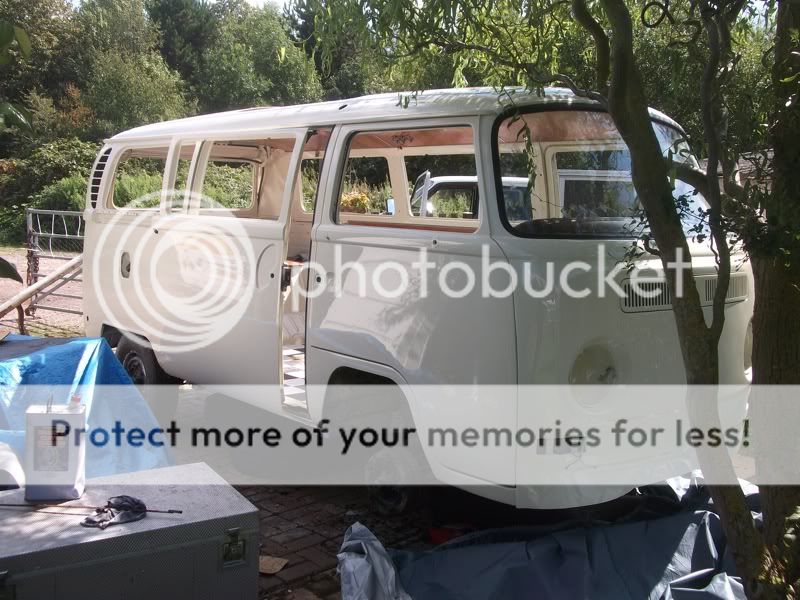
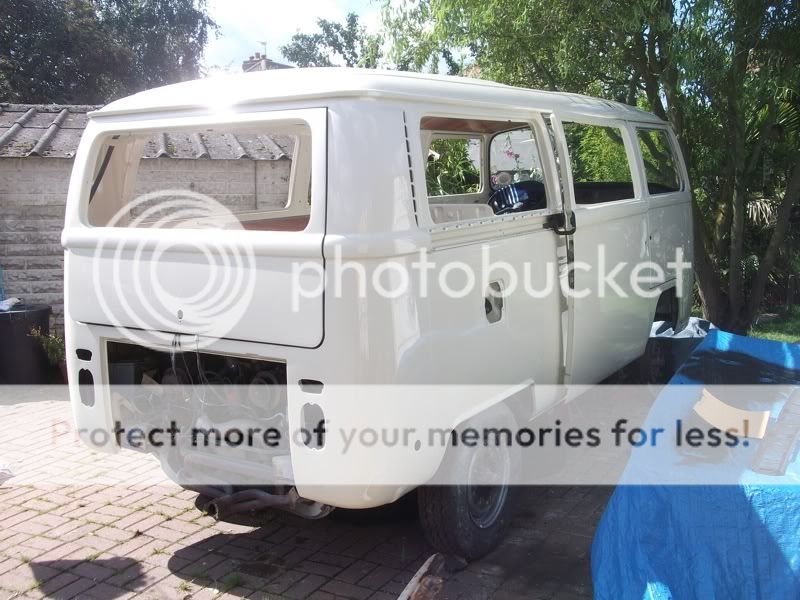
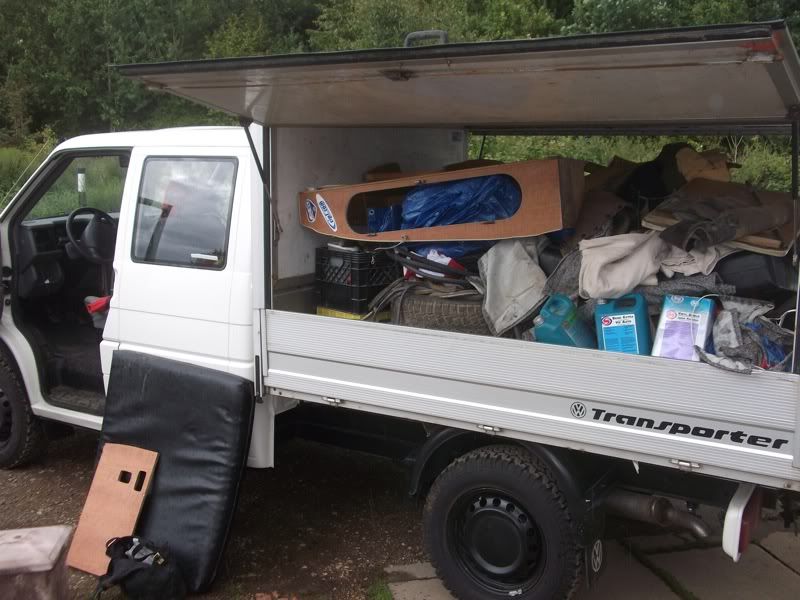
I've put in a lot of late nights and do something on the Bus everyday/night..... still a load to do before the MOT but now I'm on the home stretch.

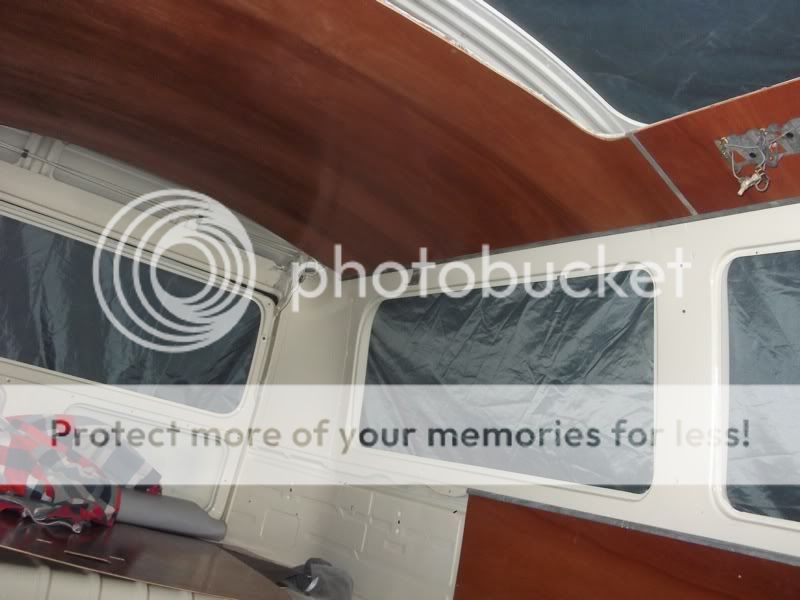
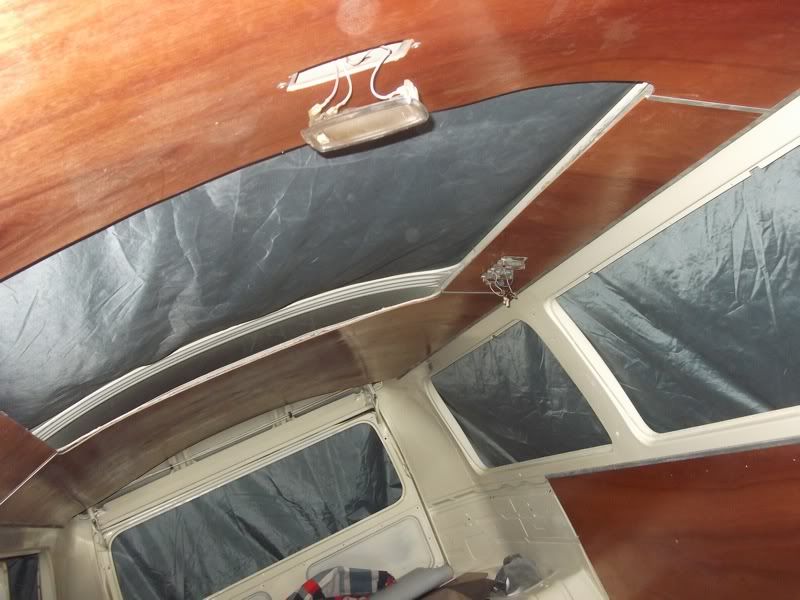
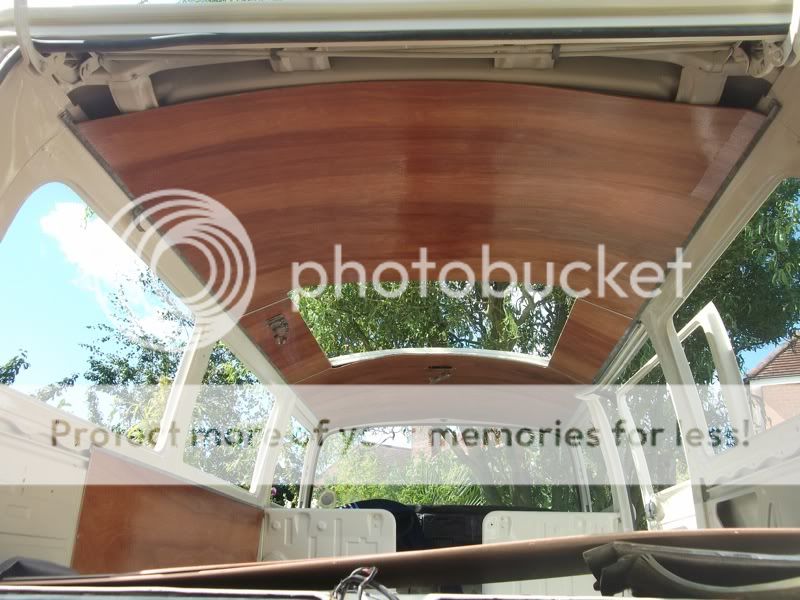
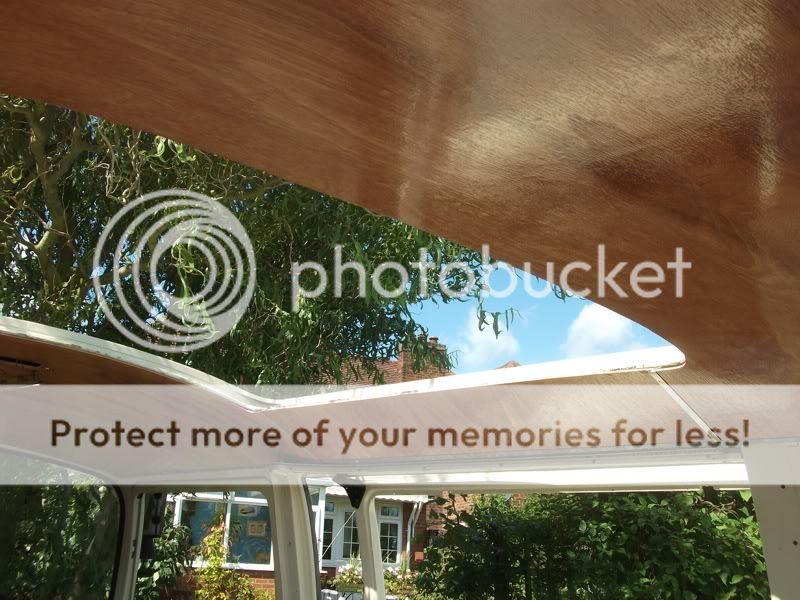
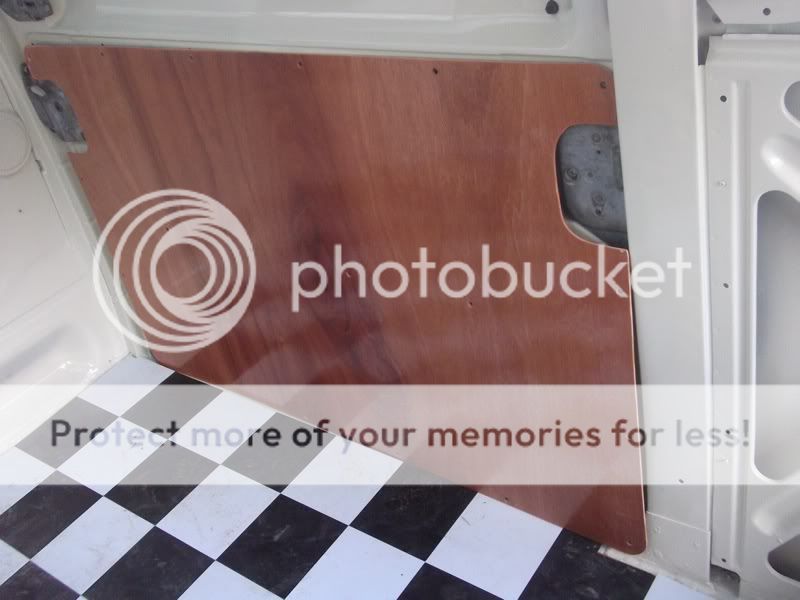
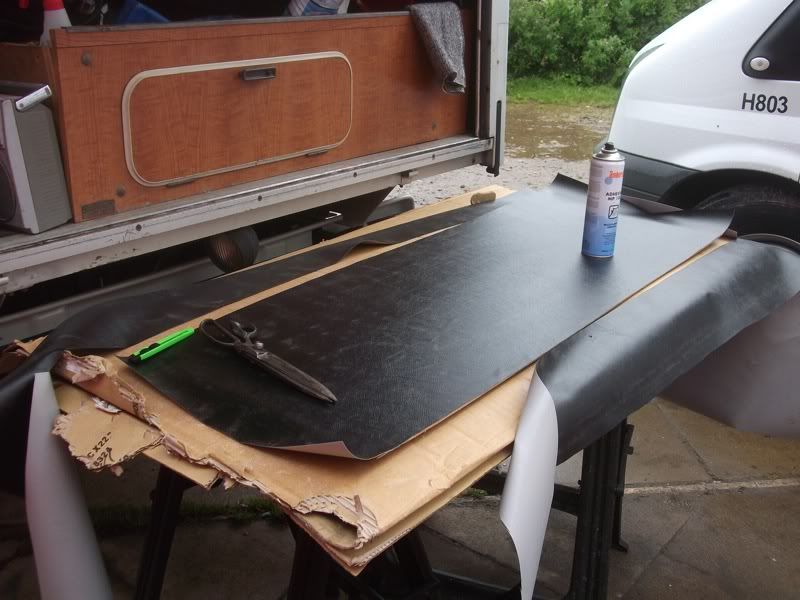
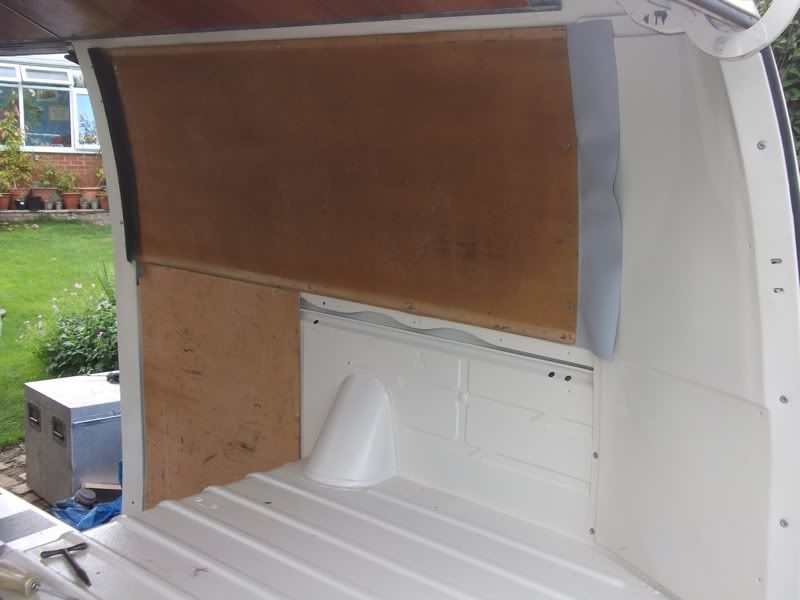
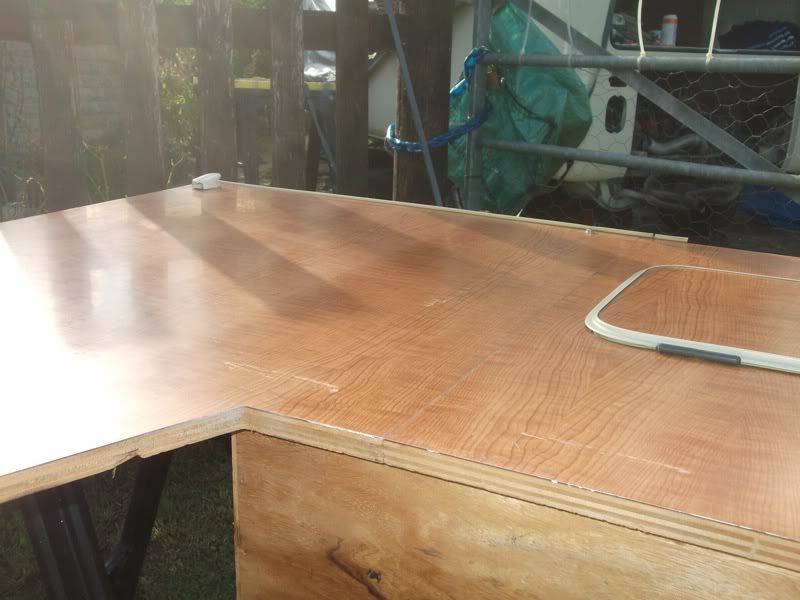
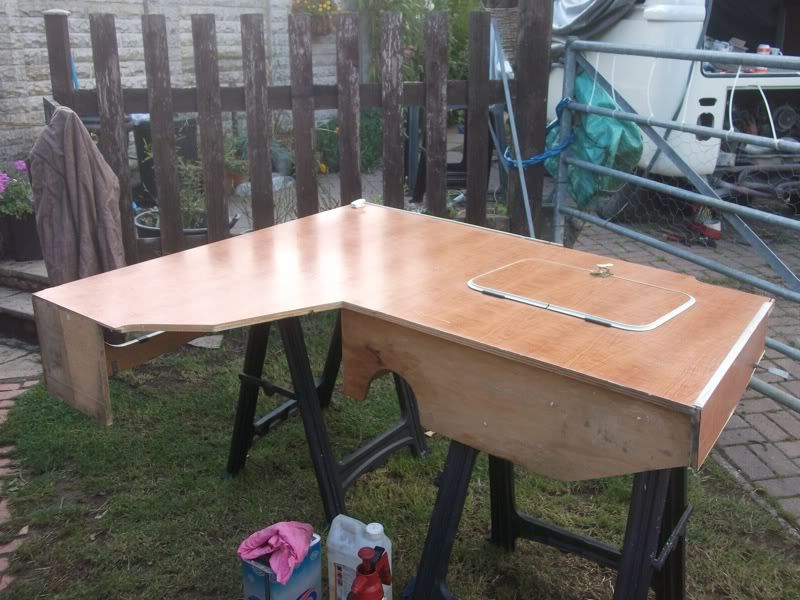
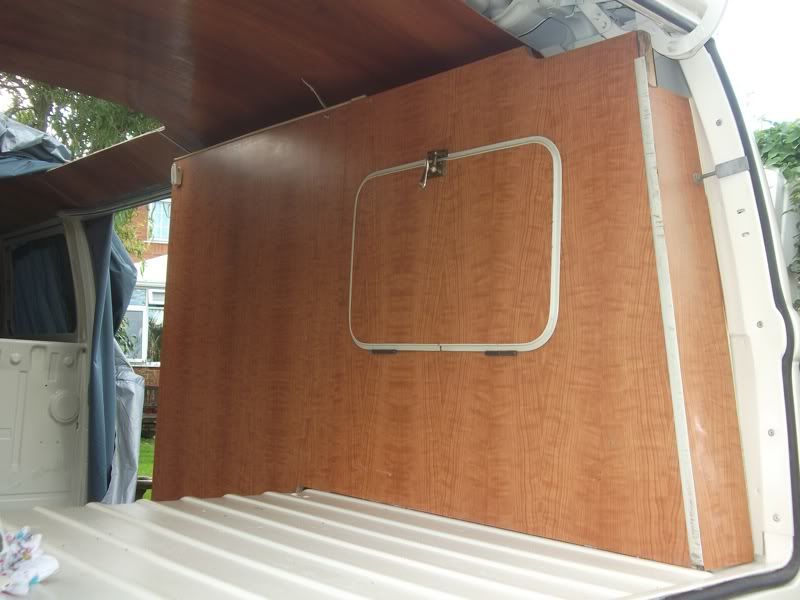
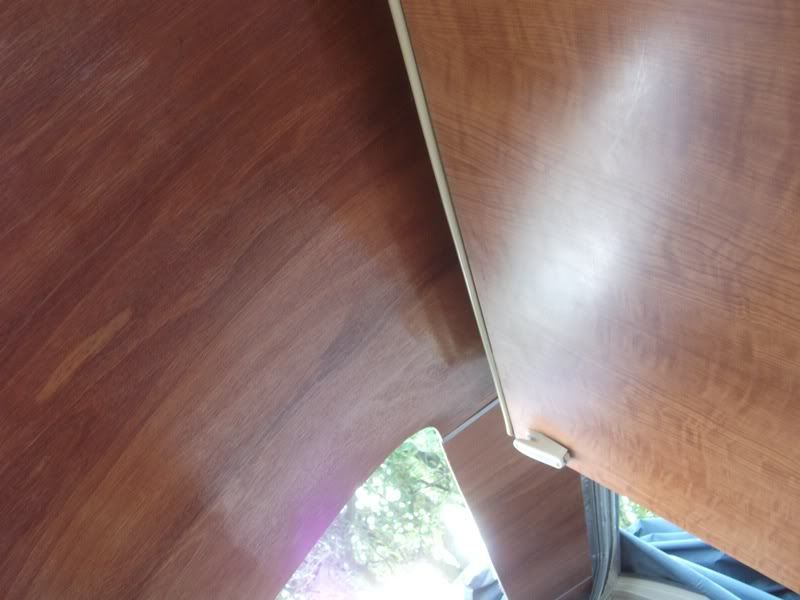
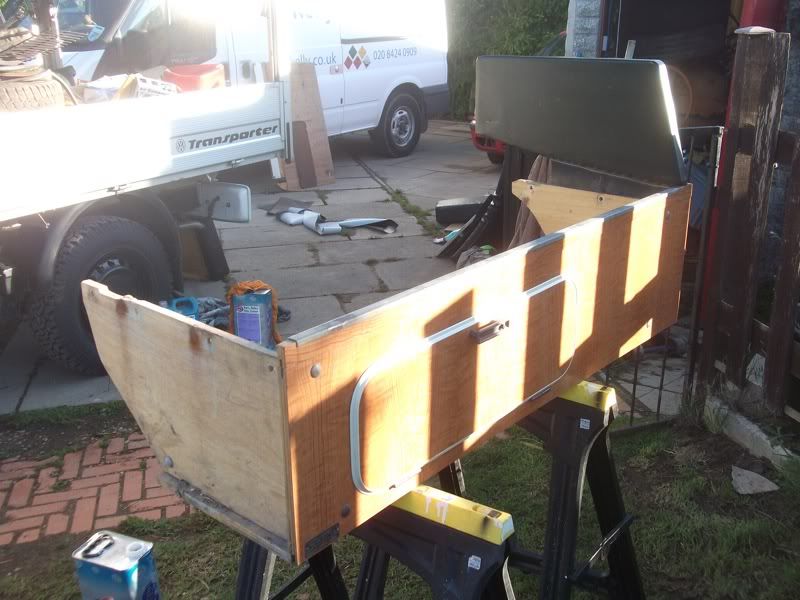
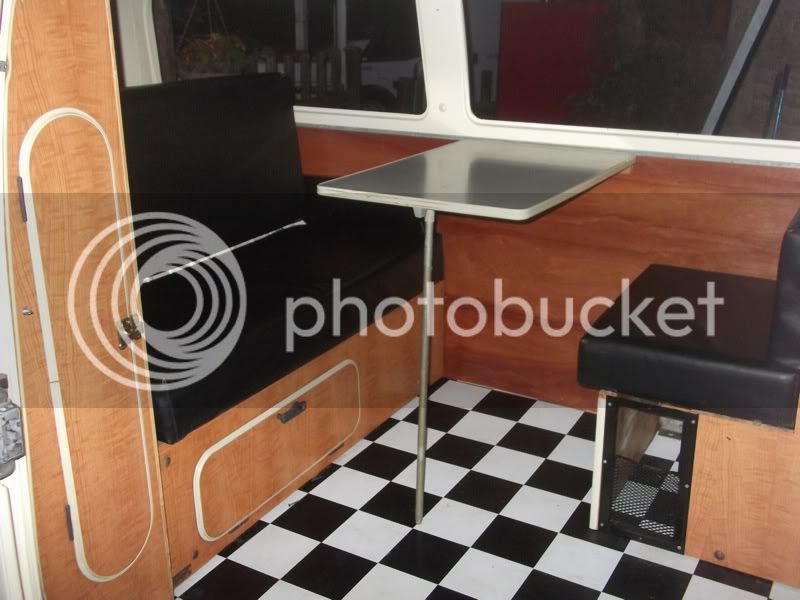
The wood for the interior I ordered though a chippy I see at work. As far as I know its just standard ply, I thought it was 3mm but I just ordered another sheet and whilst he was on the phone he said 3 and a half mill ply, really dont think its birch or anything fancy.

I've not got that much done over the weekend as I was at VW ACTION on Saturday, if anyone was there you may have seen my T4 Syncro.

9e5f0524.jpg


I spent Friday night looking for parts that I removed and put in a safe place! AKA lost! for example my new cab door seals, and 1/4 light seals.... I'm sure loads of people must do this :roll:
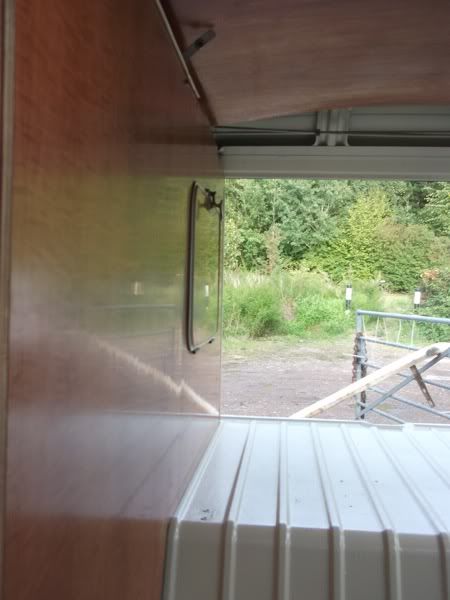
I built up the doors as much as I could and finally found the drop glass which was down the side of the green house but then I could only find one window mech :lol: *idiot* (sure these bits will turn up)

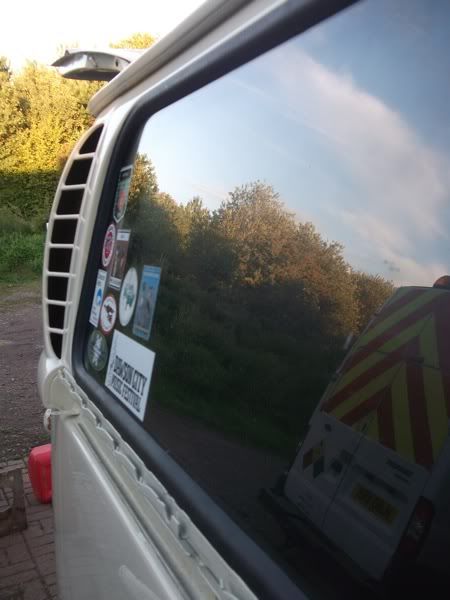
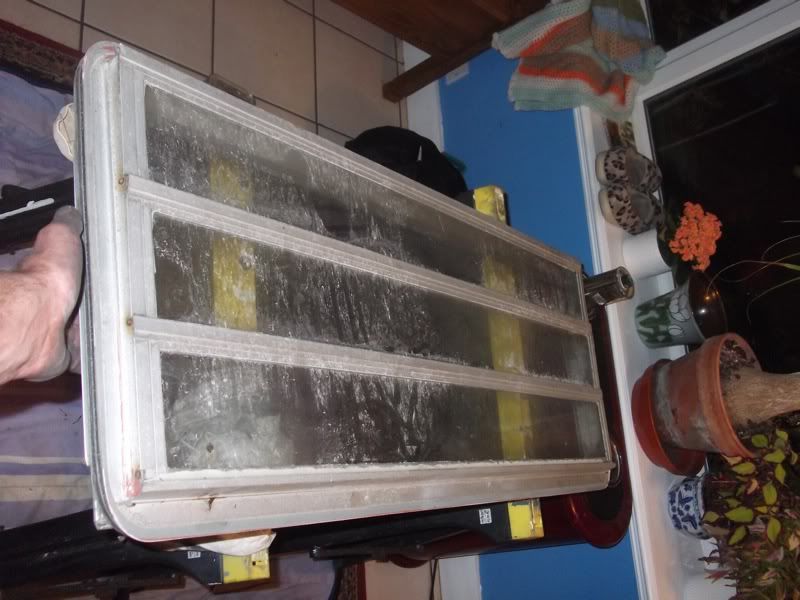
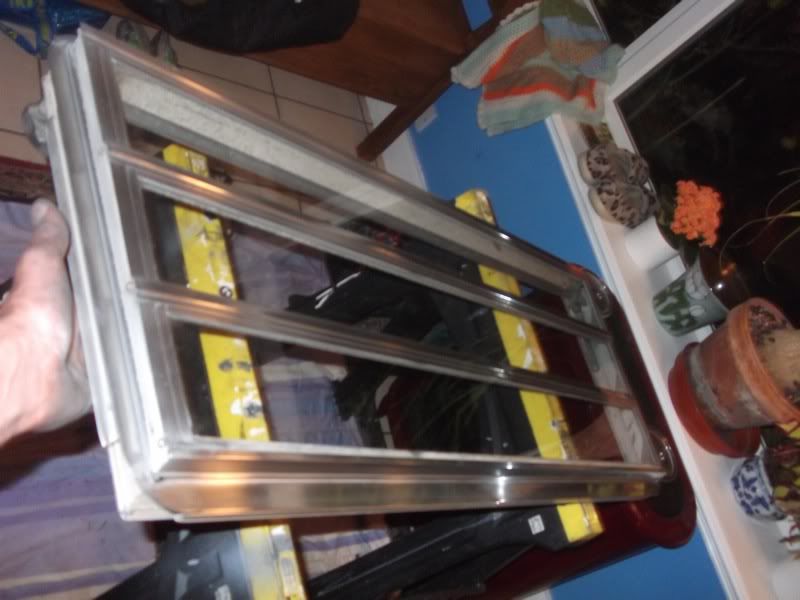
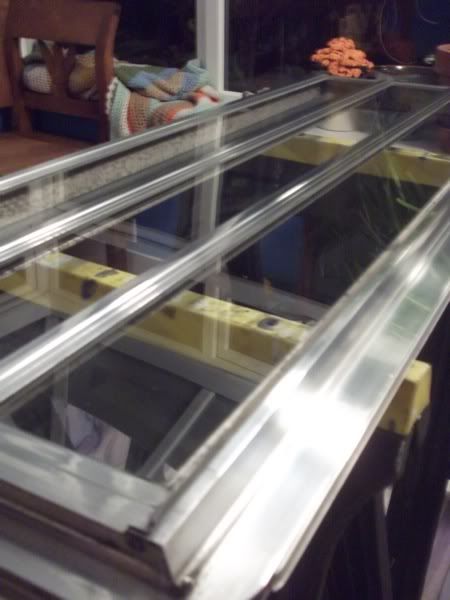
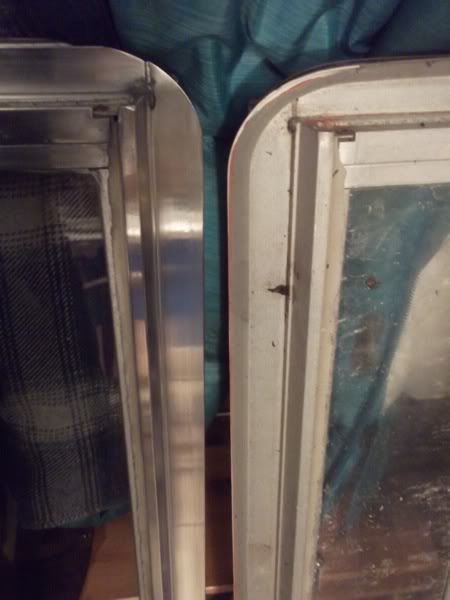
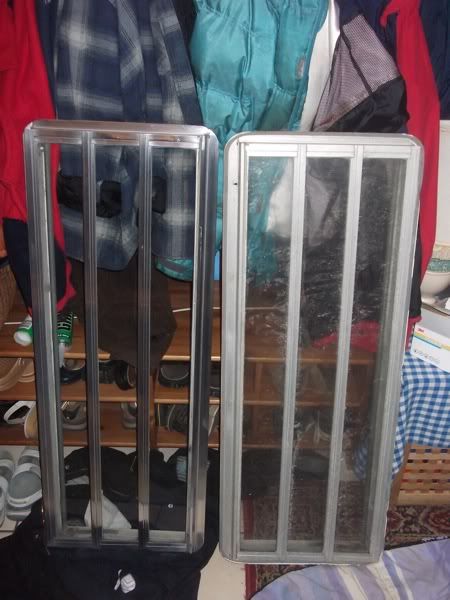
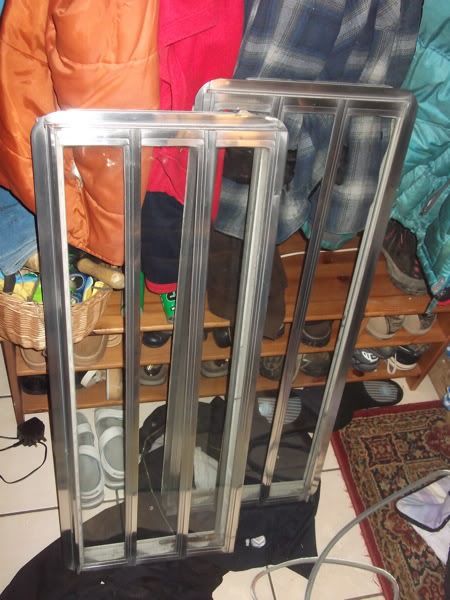
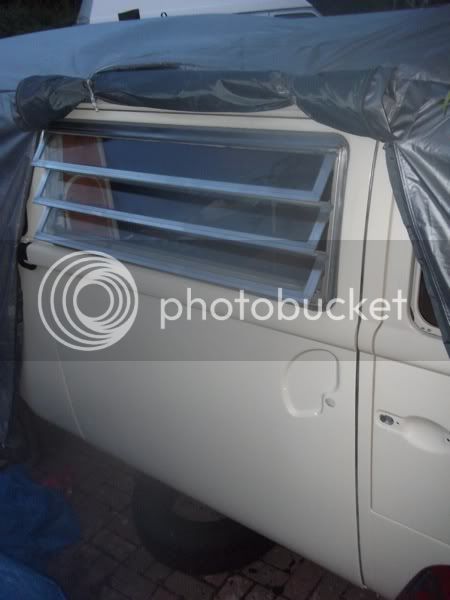
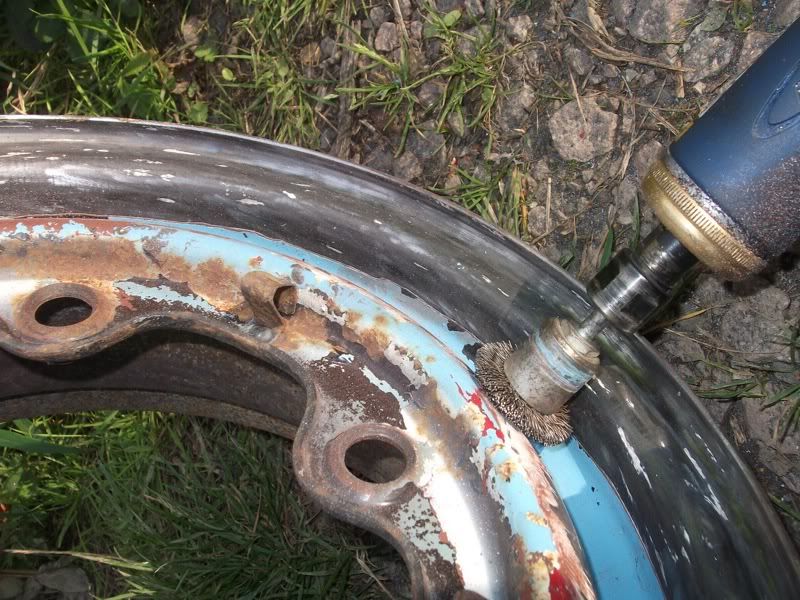
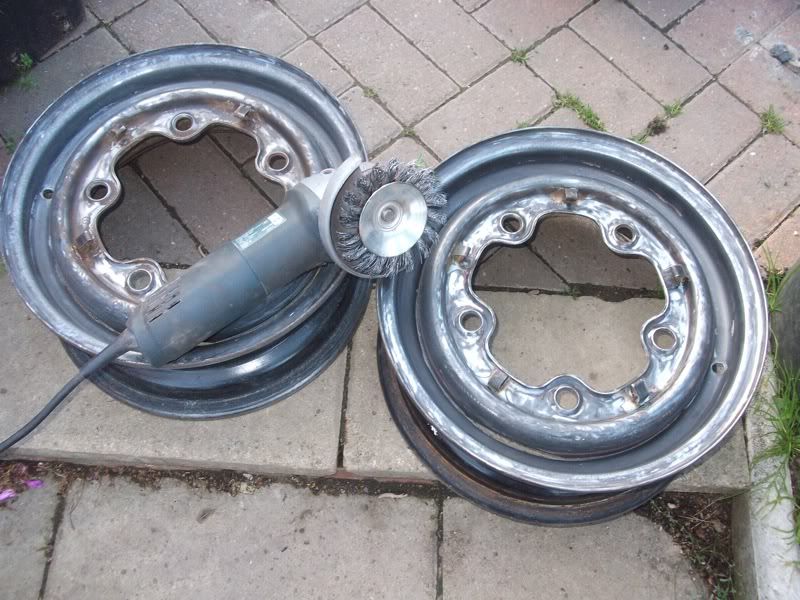
I've polished up my louvered windows, which was REALLY BORING!!

There's probably loads of ways of doing it. I was trying solvol and a mop on a die grinder a while back but I didn't get very far it was a bit rubbish. This time I used Wilkisons 99p metal polish, a scotch pad, 240grit disc's, 3000grit trizac pads then polished with a rag. In that order.........

7bbfee0f.jpg

3912d9f7.jpg

5fe98021.jpg

282435b6.jpg

fed6fd75.jpg

3af580ce.jpg

376b3b83.jpg


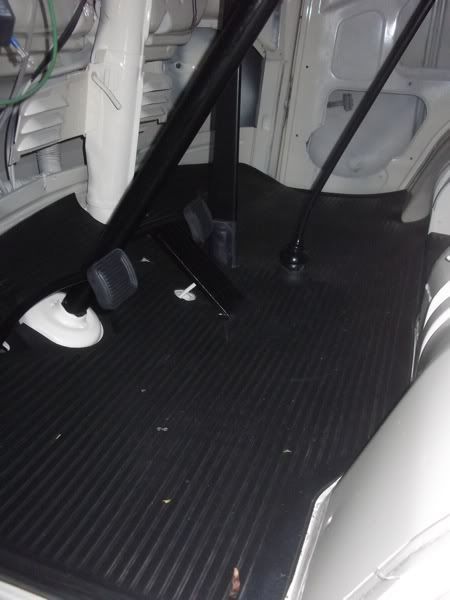
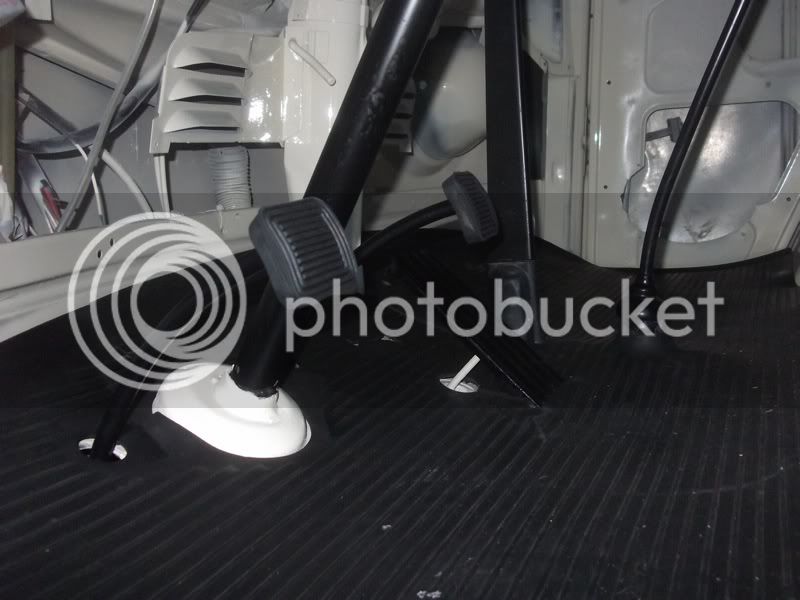
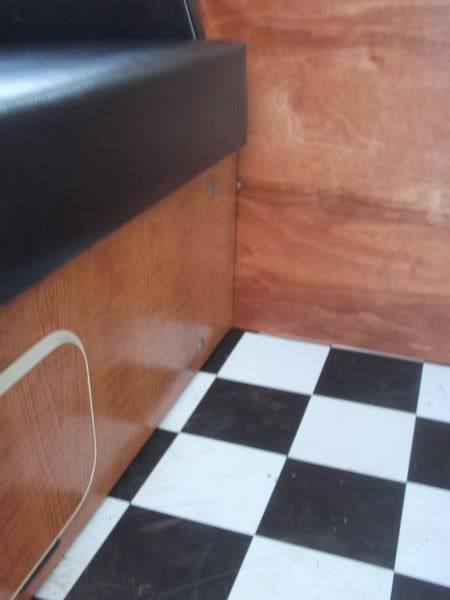
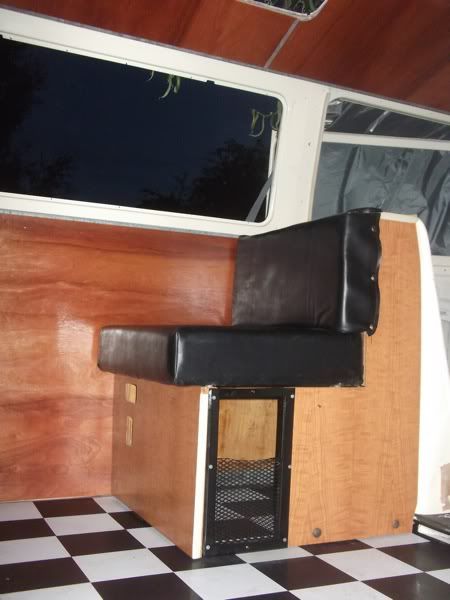
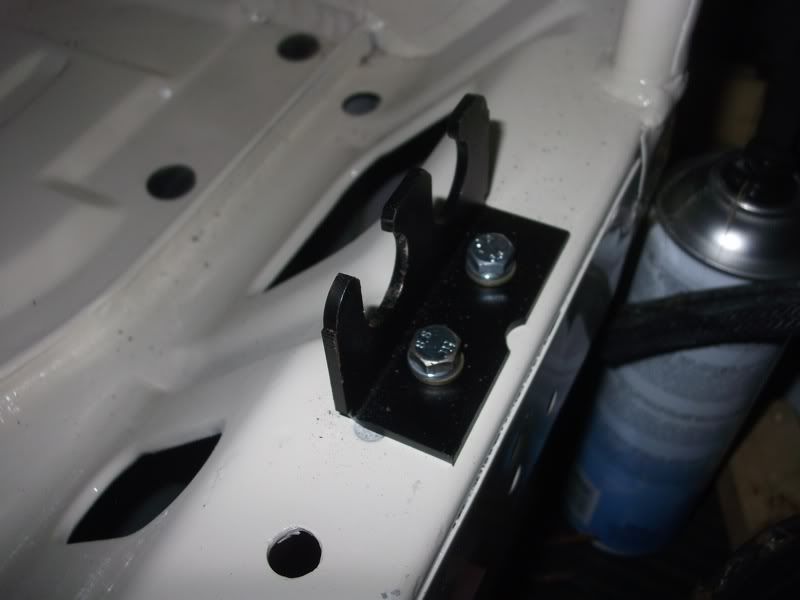
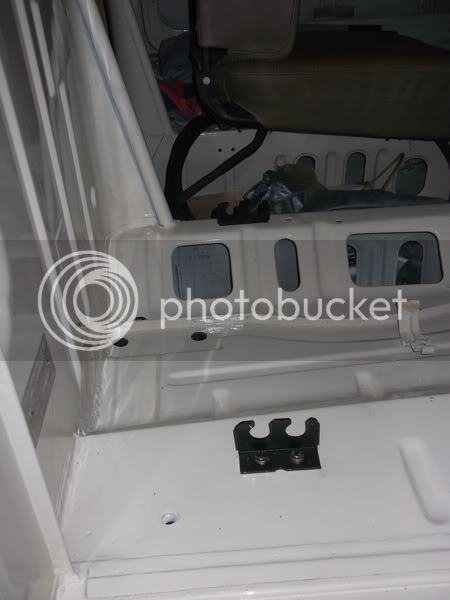
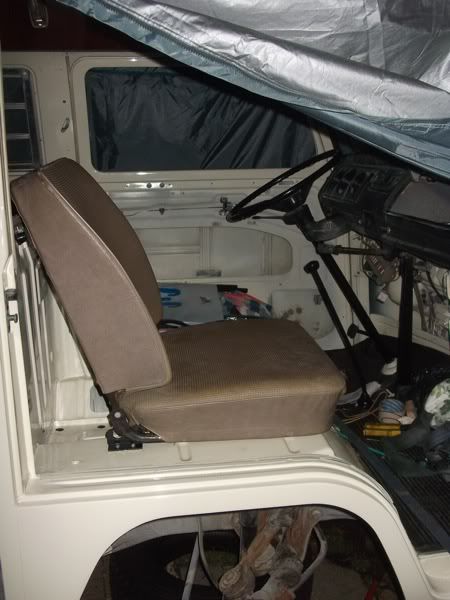
I also got the brackets in for the passenger seat. I brought them from karmann Konnection, really good quality!

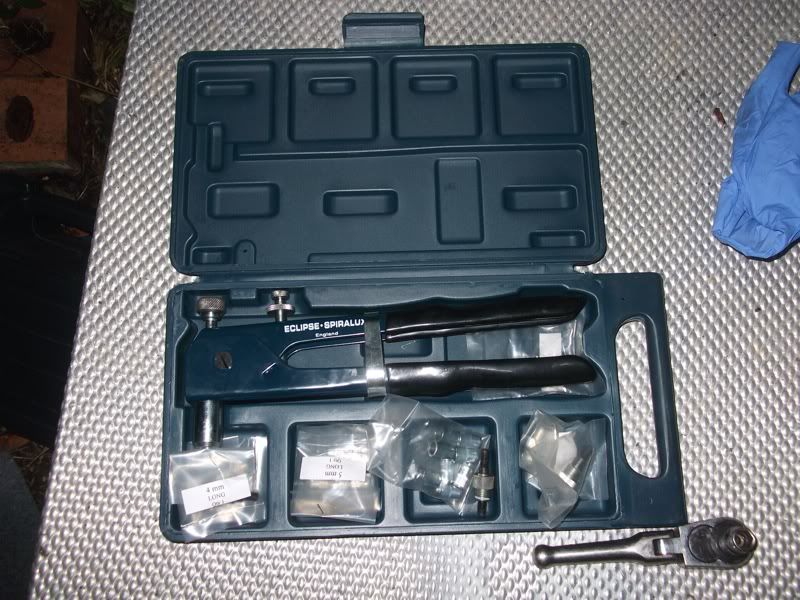
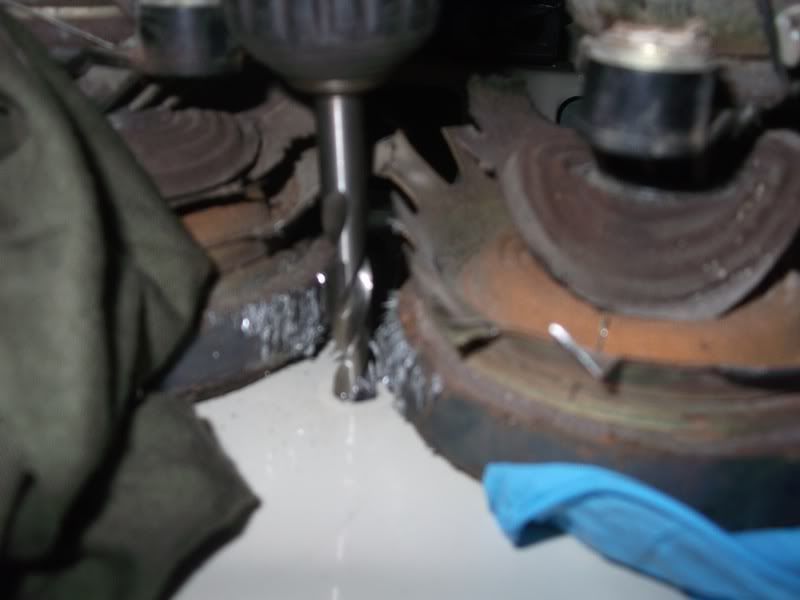
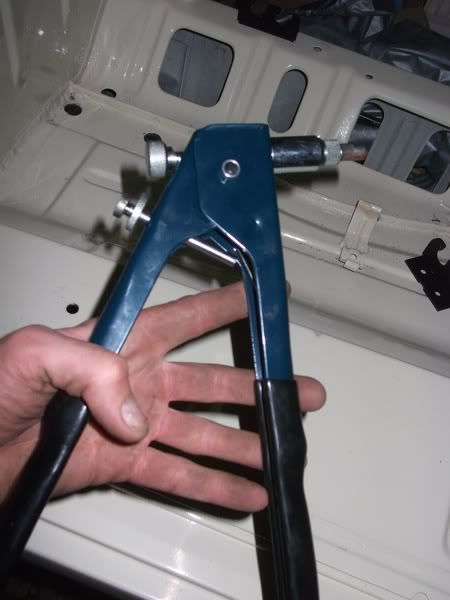
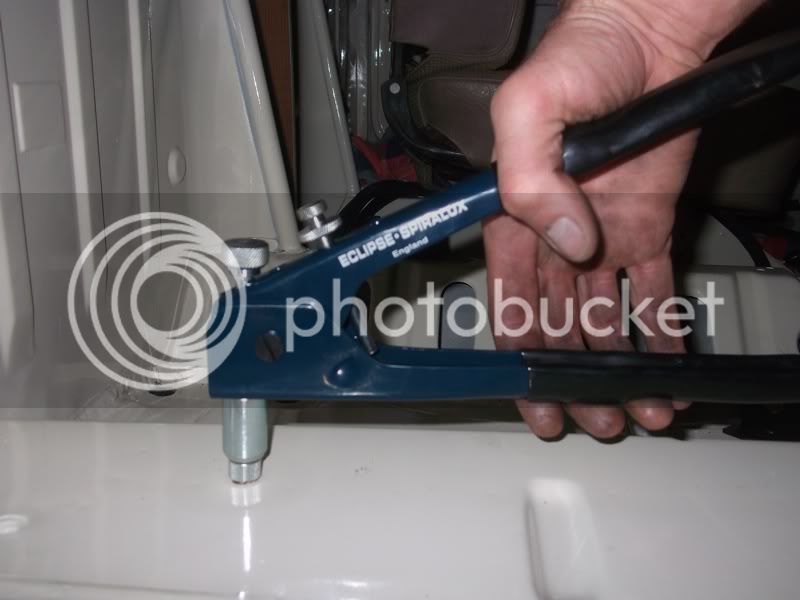
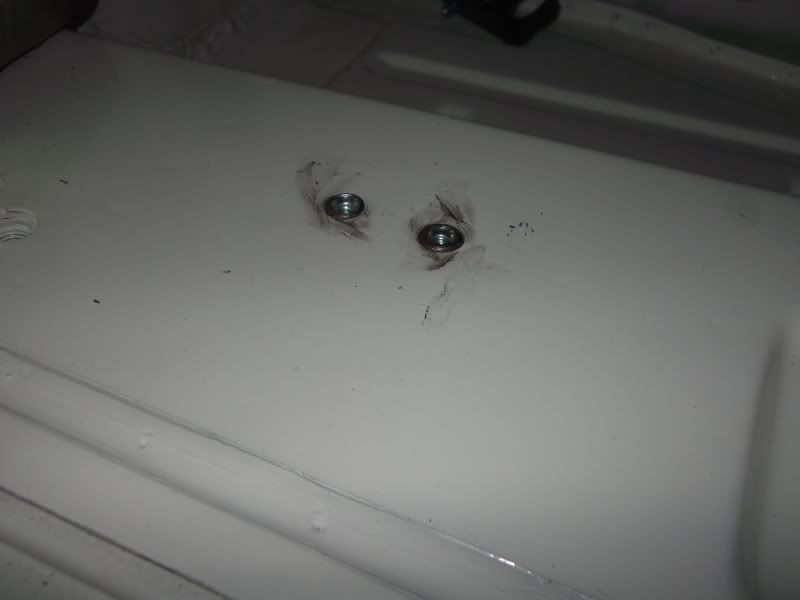
First I bolted in the one on the inside, offered up the seat to see the position on the second one. I obviously didn't want to weld in one at this point, I didn't want to nut and bolt so I used these inserts/tool. I think it looks a lot better.
(I drilled with the magnets to stop hot swarf ruining the paint)

e48a6434.jpg

17849333.jpg

a32af744.jpg

0417d9f1.jpg

00aaff53.jpg

64bd5a39.jpg

94c1cf55.jpg

(Thats copper grease smeared on the paint)
c735c15f.jpg

77a613c5.jpg

ad6a43a8.jpg


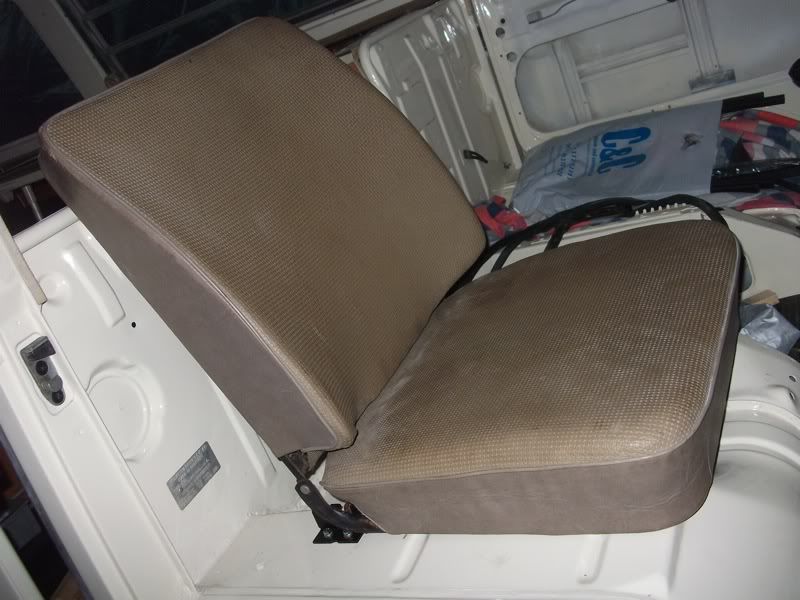
Next I need paint the seat frames and repair the drivers seat base. Then treat both to a good clean and some vinyl seat restorer.

Whilst I was mindlessly polishing the windows....... my mind had time to wander off..... and I got thinking about how I used to get my little brother to "help" (DO) any tedious jobs. This is when we were younger, just kids and as payment I'd buy him a radio cassette from Woolworths for weekends work :lol:

So I dug out some old pictures.....

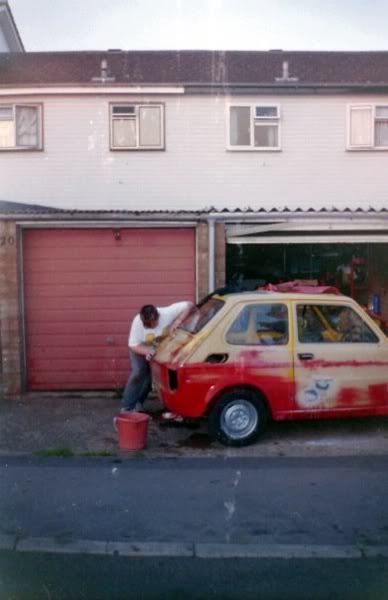
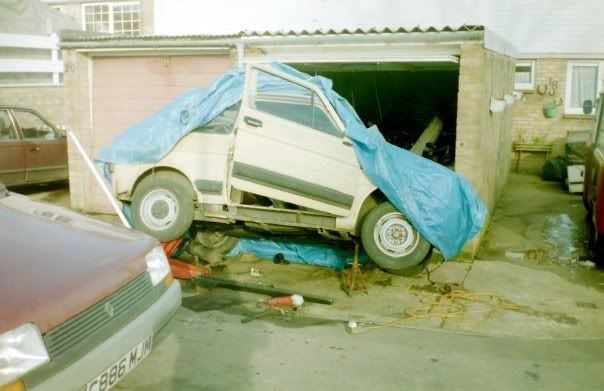
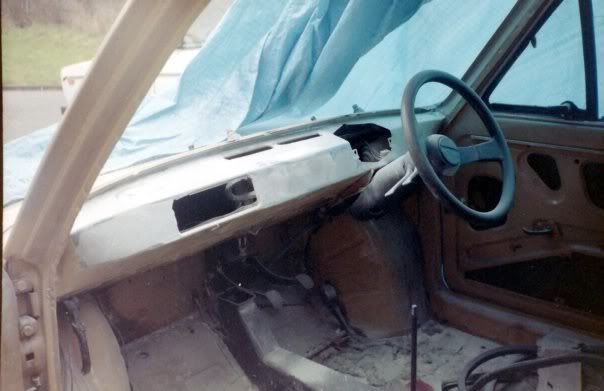
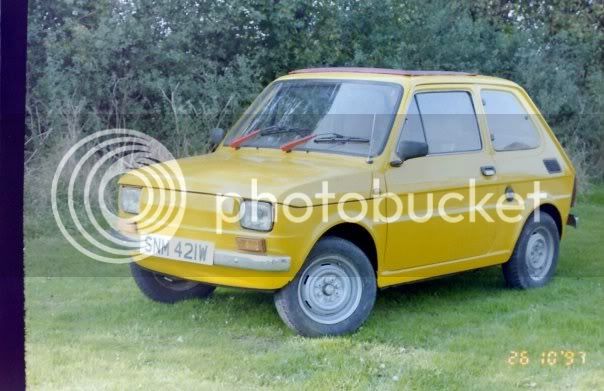
This is my brother flatting down the first project I ever built (with lots of help from my Dad I will add) it took 3 years between 1991 and 1994

a6998e11.jpg


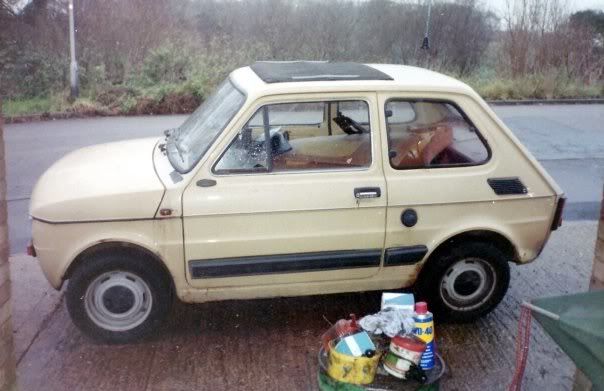
Funny how magazines have an influence, I didn't have a beetle but I wanted a Cal-Looker and someone gave me a Fiat 126 cant remember who?? it was aircooled and had the engine in the back.

I was 11 when I started this so I didn't do the welding or the painting but I did all the filling, the taking apart and building up. All the ideas on the finish were mine....

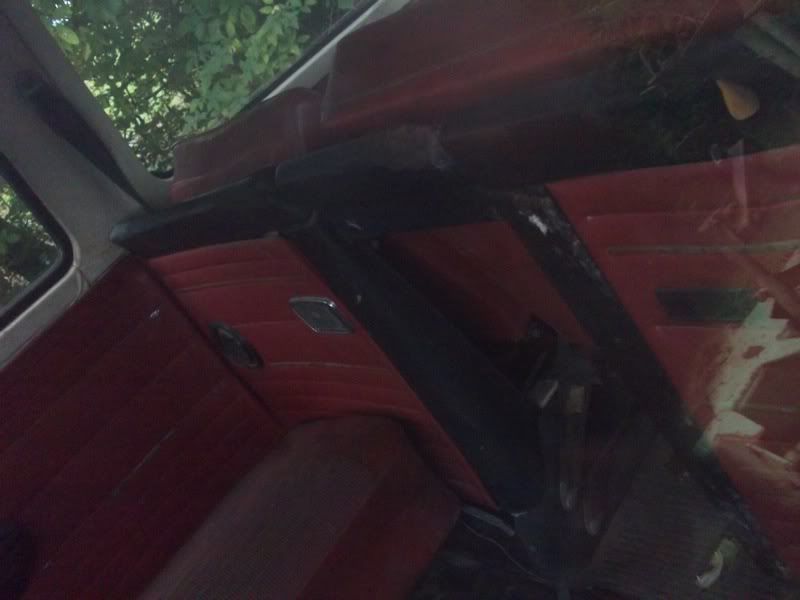
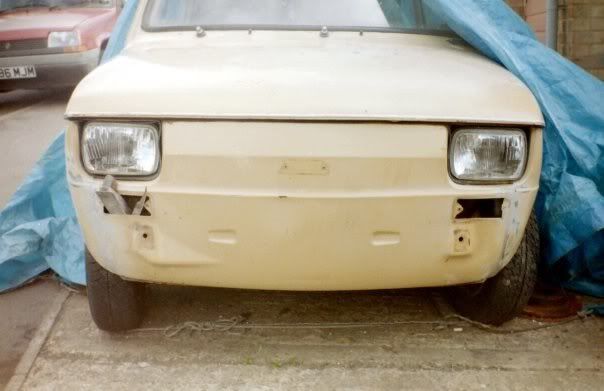
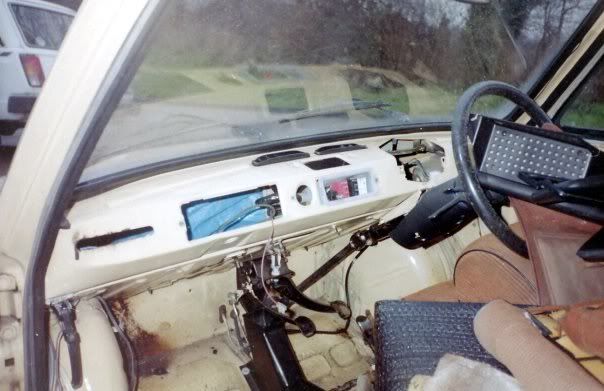
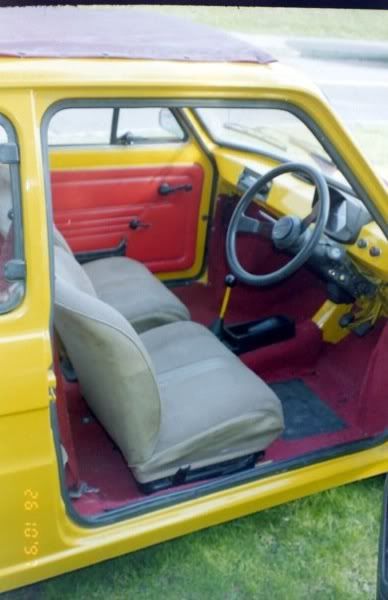
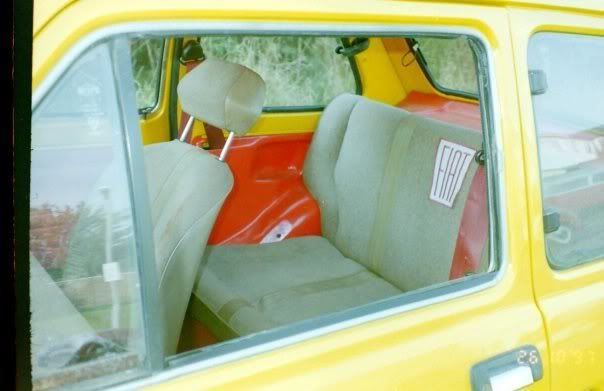
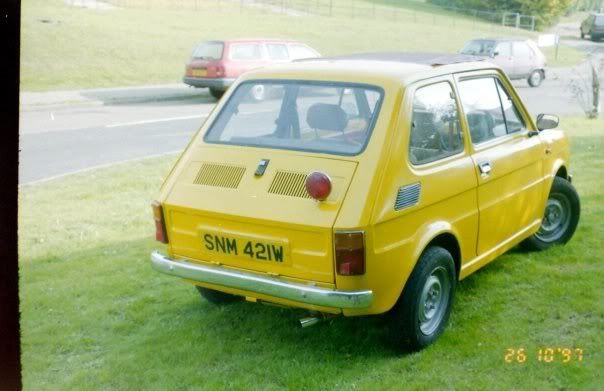
It had a smoothed dash, smoothed body seams, all the extra trim came off, I fitted early blade style bumpers. You cant really see in the finished pictures but the rag top was swapped for a red one to match the door cards which were spray painted red, the red seat belts came out of a metro and the terrible wiper arm boots I thought finished it off. There were loads of these in scrap-yards in the early 90's.

Bright yellow with a red interior I thought it was pretty cool 8)........ wish I had it now, guess it's probably been scrapped!!

a064451a.jpg

e7403a14.jpg

aa1db080.jpg

6c272b46.jpg

af2b6228.jpg

499221f7.jpg

7f40d1ee.jpg

89b437f7.jpg

71db44e7.jpg

[ignore the date camera must have been set wrong]
 
In the interest of accuracy...... and slightly off topic ;)

little bryan said:
it was late 1992 early 1993 as the ca bedford went in april 1993, and we got katie bus. we lost the instructions for that camera and could not set the date.ps it was horace gave you the s reg one and ernie gave you the w reg one

I also have a build thread on my club website http://WWW.HERTSVWCLUB.ORG" onclick="window.open(this.href);return false; and the above post is from my Dad, which reminds me I actually had two Fiat 126's when I was a kid :lol:

(side note - Horace and Ernie owned the local scrap yard)
 
I've been doing little bits here and there and working on my engine lid and rear valance (no pictures)

Stripped out the front suspension ready for new top and bottom ball joints, everything else is just getting a good clean and a coat of gloss black. I replaced all the track rods, brakes and bearings not that many miles ago in Canada.

17bbc04b.jpg

f33099dc.jpg


I also renovated my multi-coloured wheels, tried out my new tire levers and fitted my new tires.....

54e46c53.jpg

98f458c8.jpg

6ec8d622.jpg

6aaea42f.jpg

c159fb54.jpg

f0bafd6c.jpg

9cdd5018.jpg

47d0d507.jpg

fcc42adb.jpg


Silver steels and Black drums, my favorite combo..... as seen on nearly all my V-Dubs :D
 

Latest posts

Top