


dubscum
Well-known member
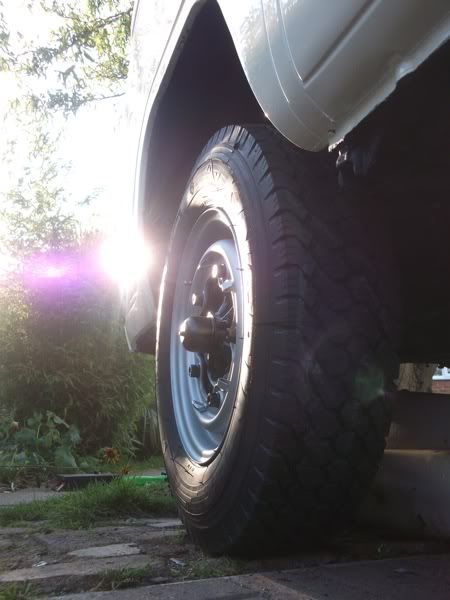
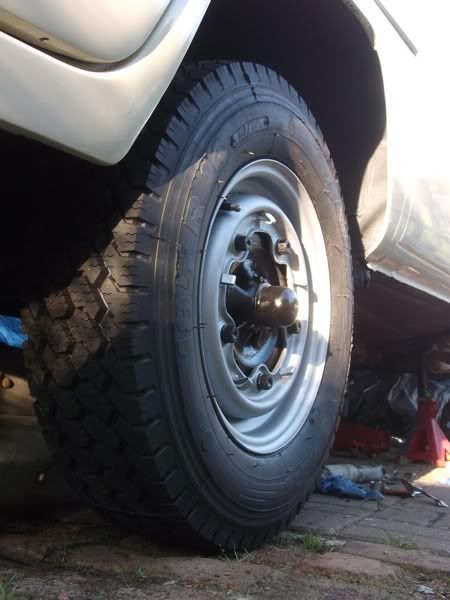
love the chunky tyres dude. I like both you rides 8)
")

snow_pikey said:
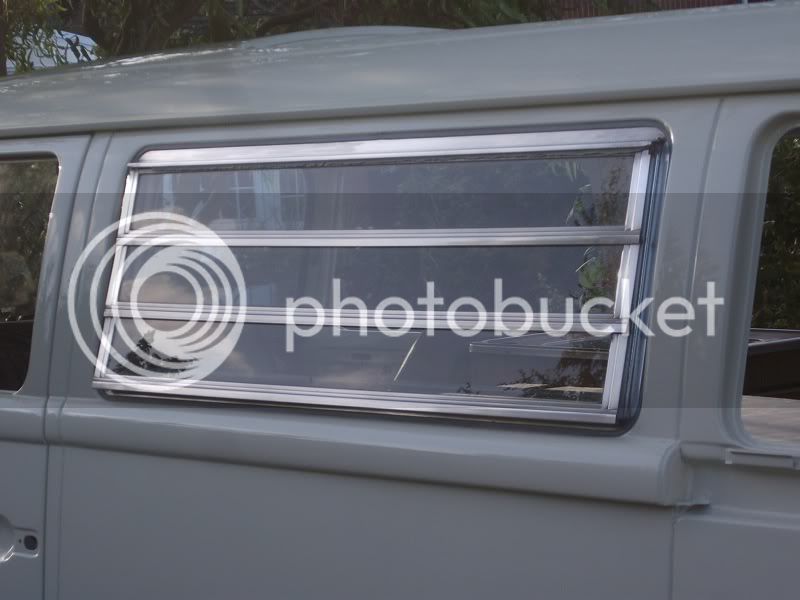
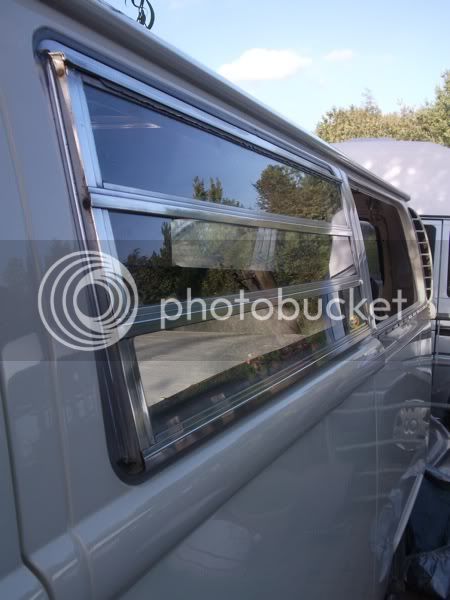
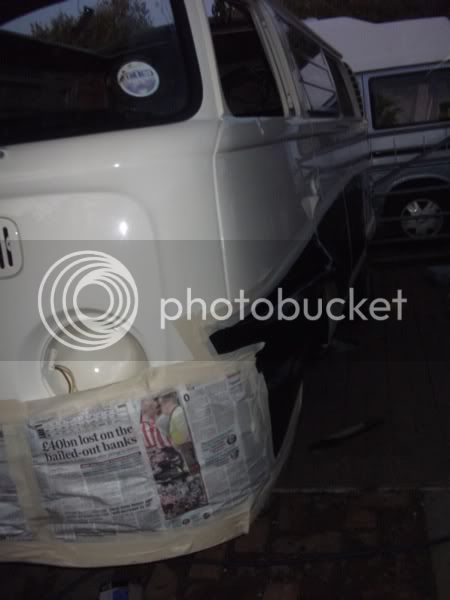
Airtime said:Really good job with the stone chip, but what I really like is the shine of your bus! It's like a mirror:
my buses normally look real shady :lol: 


snow_pikey said:This glass polish, called glass glow its amazing!!
http://www.autosmart.co.uk/Glass%20Cleaners.html" onclick="window.open(this.href);return false;

 getting there real quick!
Enter your email address to join:


