'69 Westy tintop in San Diego

Early Bay Forum

Help Support Early Bay Forum:

This site may earn a commission from merchant affiliate links, including eBay, Amazon, and others.
Cali_bay said:
Looking real good Juan. :msn4:

See you have started your sons apprenticeship. :lol:

Thank you Simon.
The little ones love to get in the way , errrr help :lol:

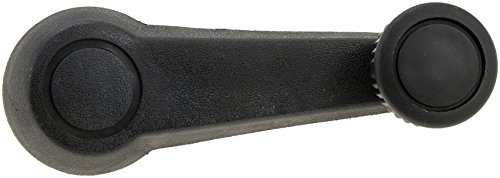
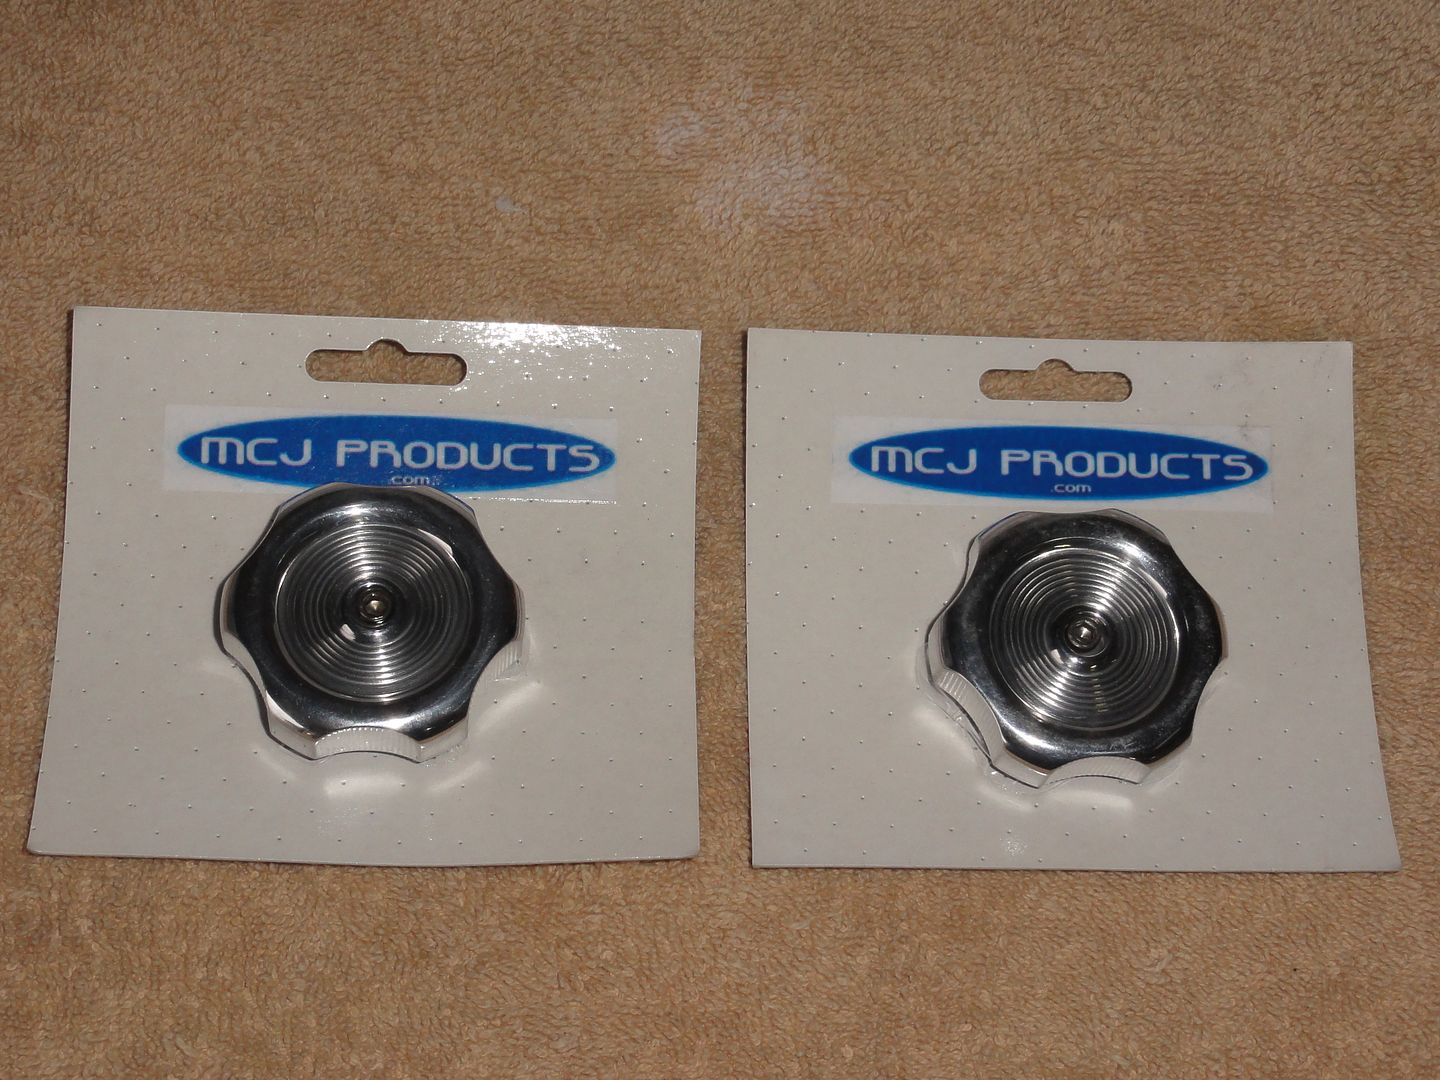
Got this westy window knobs from Mark at the Classic.

006.jpg


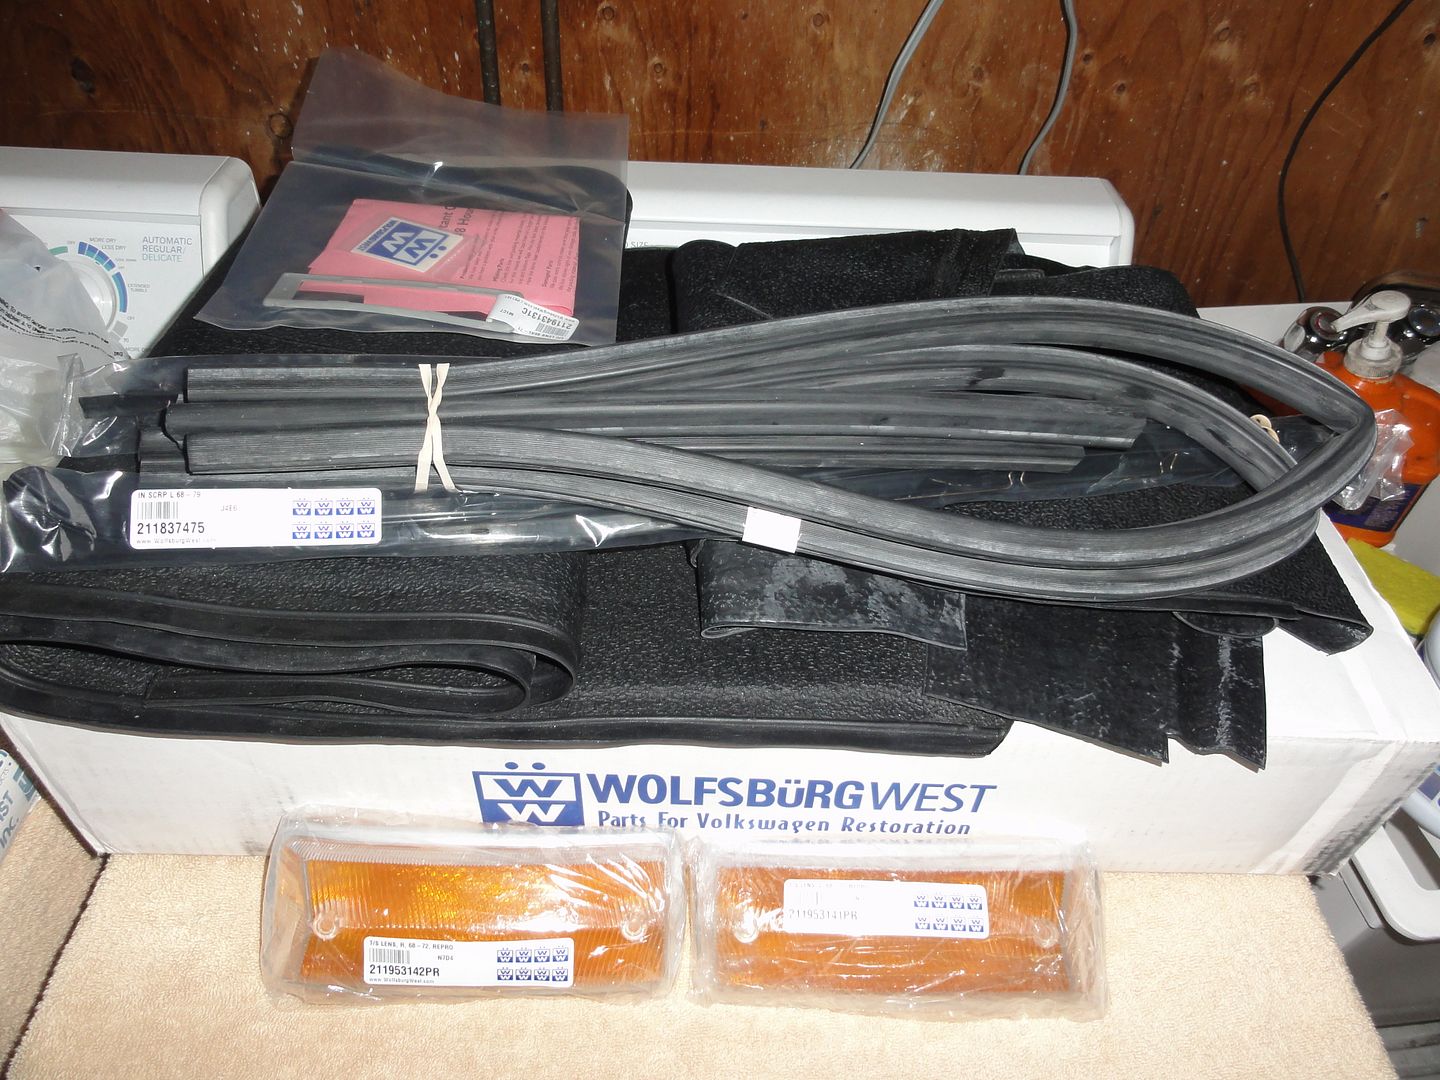
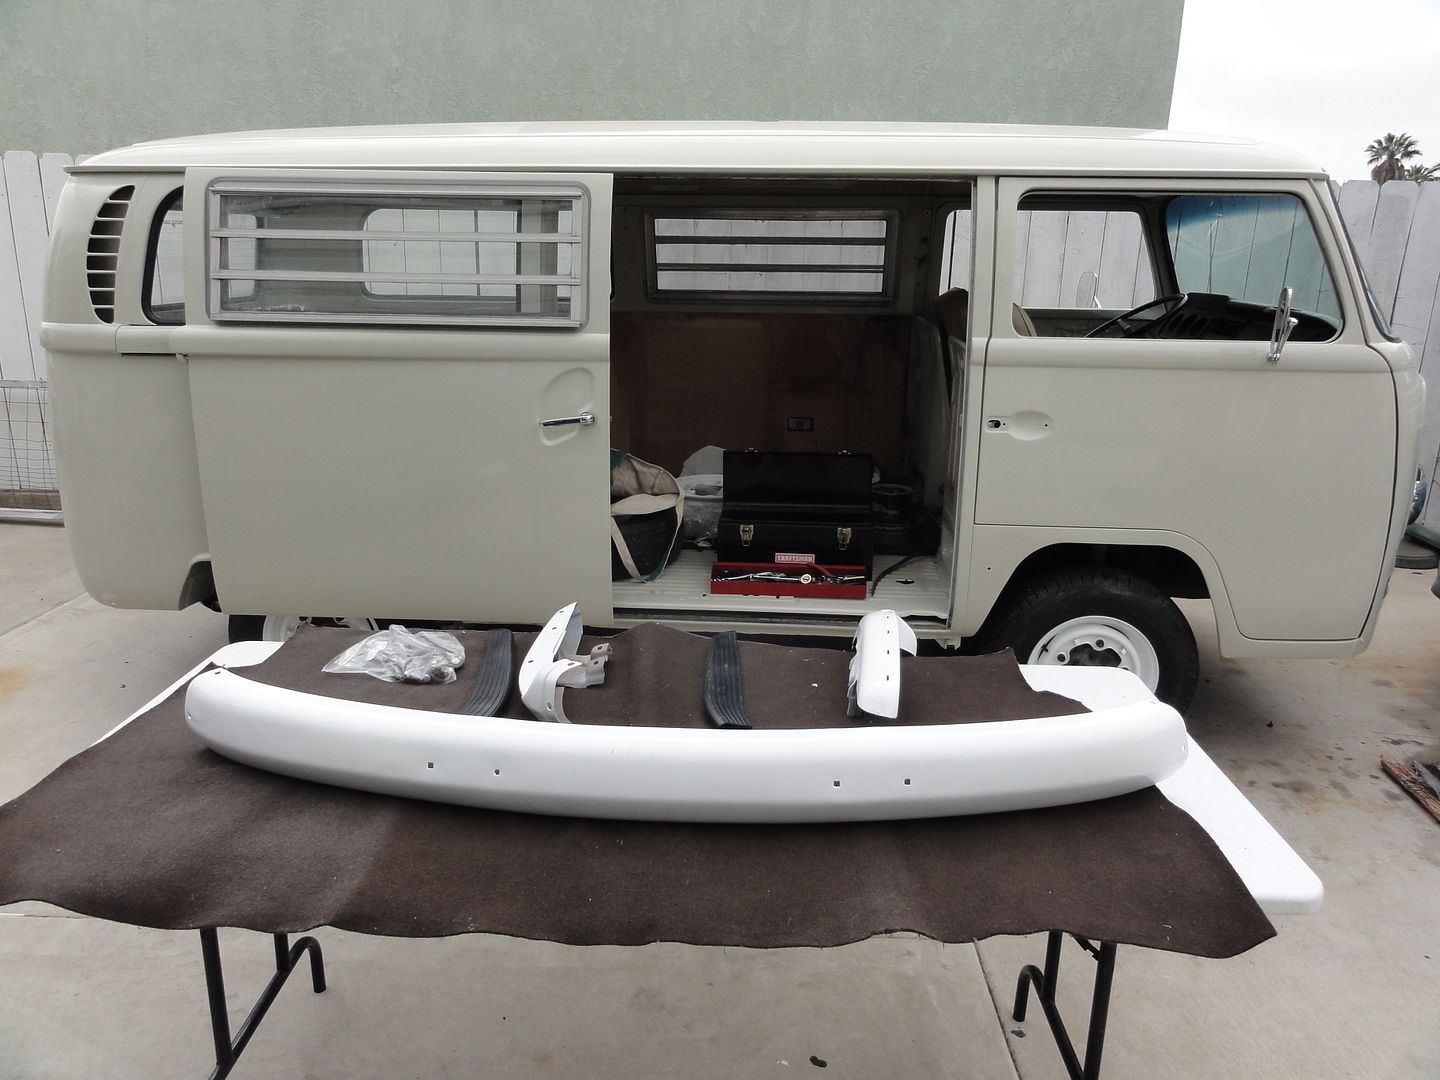
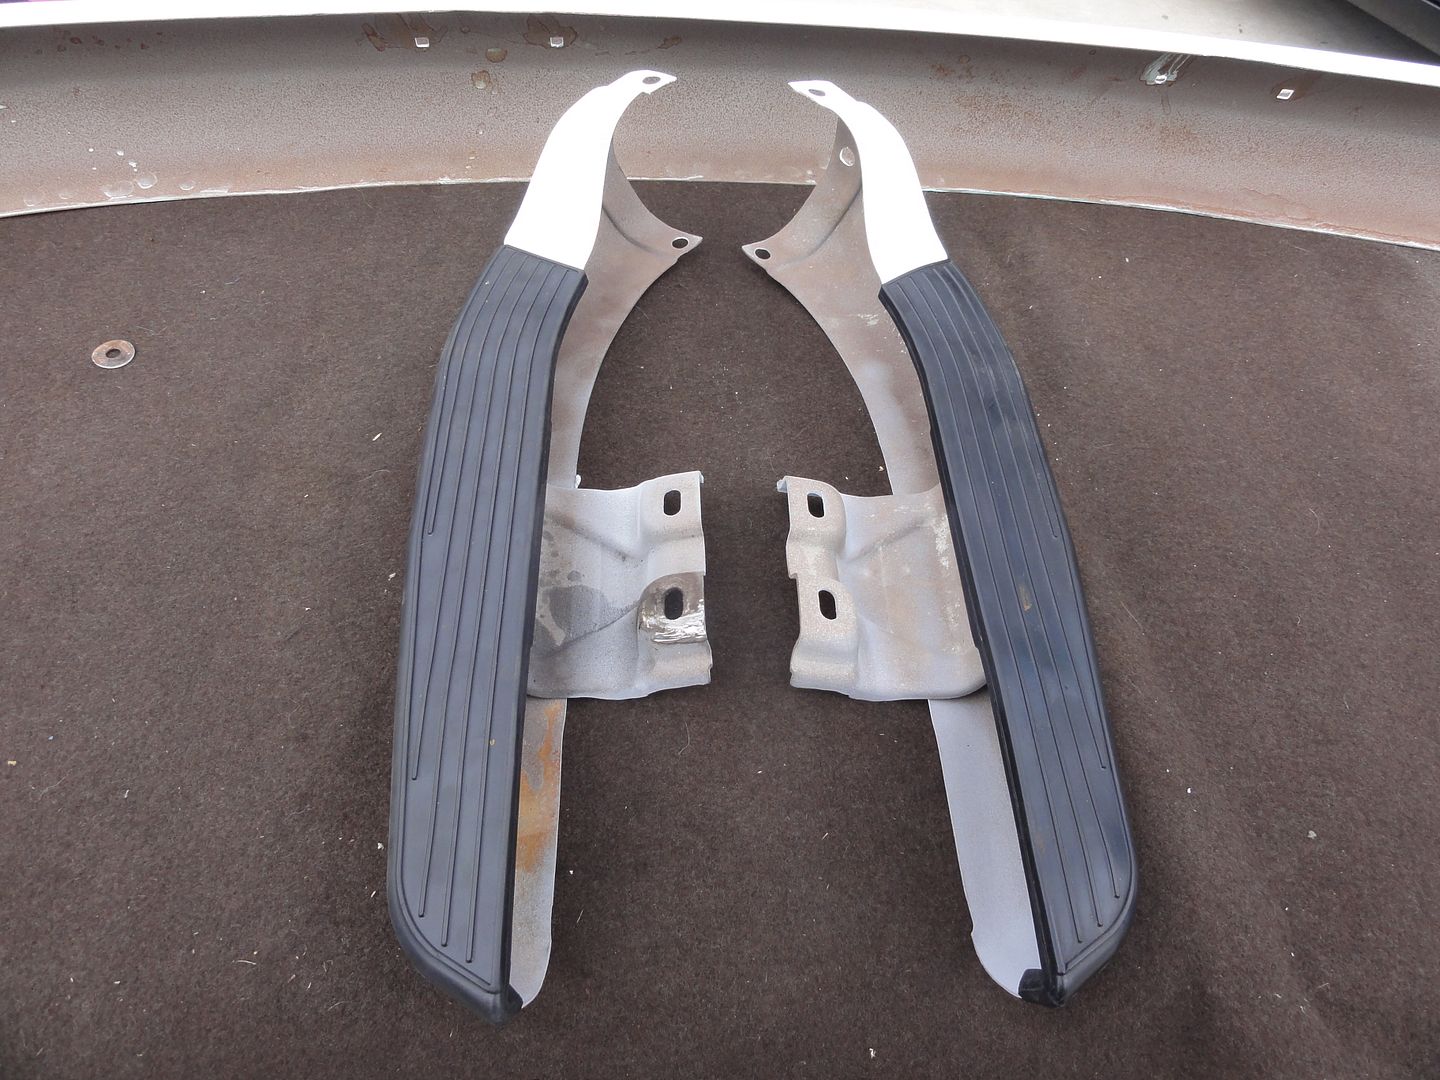
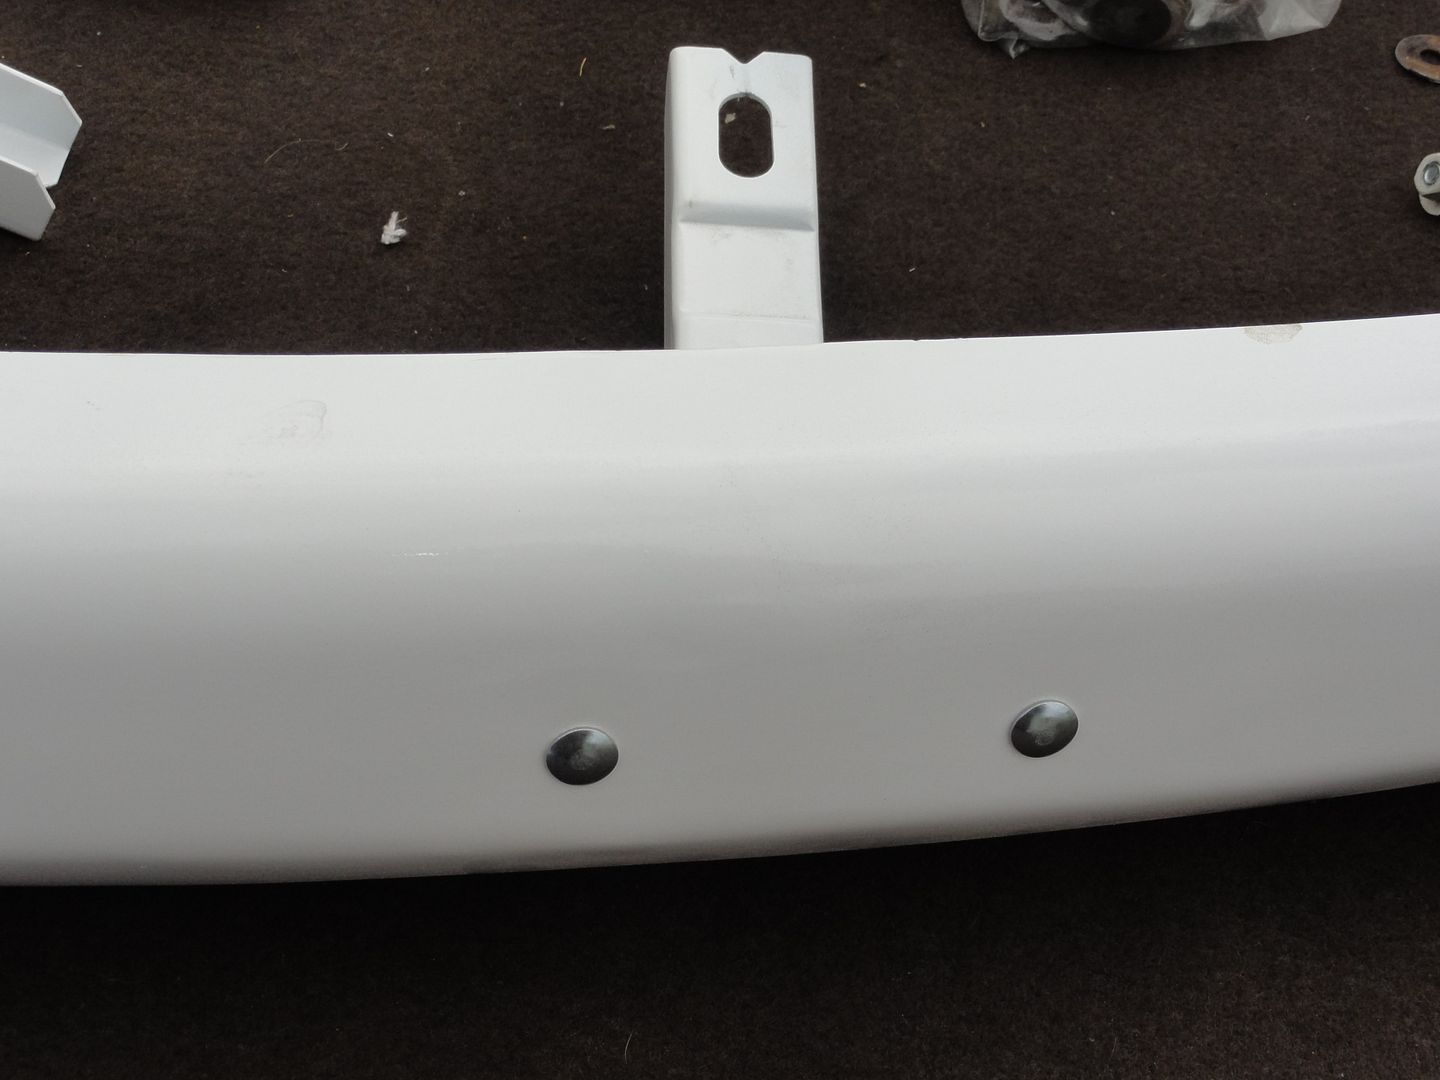
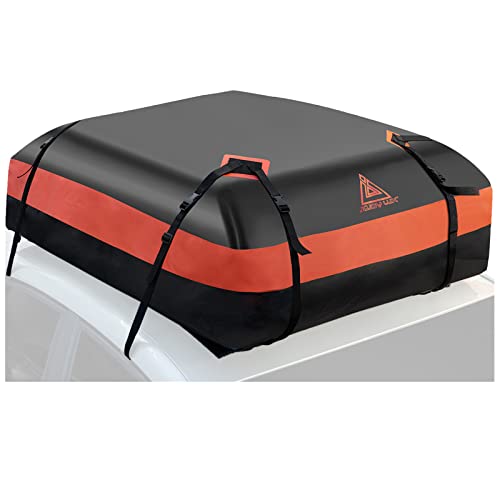
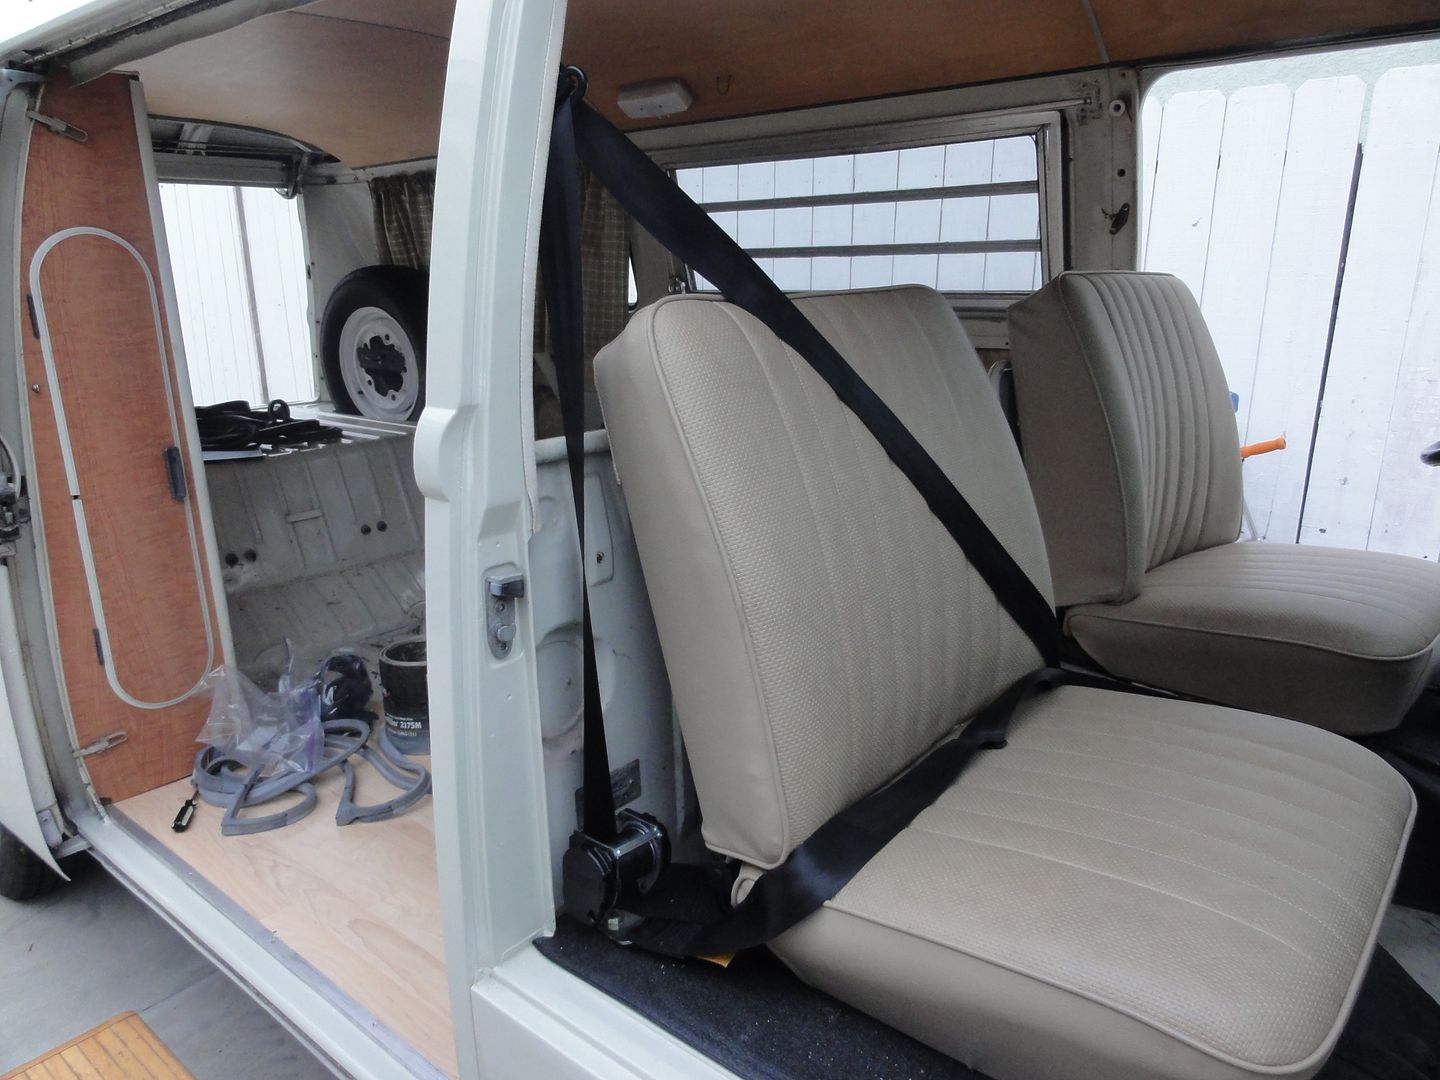
This box came in yesterday and this are some of the last bits I need to put it all together.

007.jpg

012.jpg
 
Love the curtains and cushions - very nice & retro 8)

Looks like it won't be long before its finished then.
 
Bus gettin ready for the journey home.

008-1.jpg


If you ever wondered what the busiest border crossing in the world looks like here it is , over 20 lanes to cross and in a bad day could be upto 3 hours wait , sometimes more , it was one hour for me today.
Or you can ask Graham L , like he said "you have to see this to believe it".

012-1.jpg

011.jpg

014-3.jpg

015-1.jpg


Finally home.

017-1.jpg

018-1.jpg

019.jpg


And after so much wait , I couldn't help myself start installing bits.

023.jpg

036.jpg

039.jpg

040.jpg

041.jpg

042.jpg

044.jpg
 
Up to 3 hours wait to cross the border :shock:

Looking great and the bling being put back on will be the icing on the cake 8)
 
gninnam said:
Up to 3 hours wait to cross the border :shock:

Looking great and the bling being put back on will be the icing on the cake 8)

Cheers Andy.


Got up early today to continue work on the bus , started with the rear bumper.

DSC04875.jpg

DSC04881.jpg


Exterior socket , before and after.

DSC04882.jpg

DSC04883.jpg


Rear seals installed

DSC04884.jpg


A sample of the new curtains.

DSC04886.jpg


Seat base mat.

DSC04890.jpg
 
looking damn good :mrgreen:
i need to sort out the external socket on mine - it looks just like your before shot!!
 
r73 said:
looking damn good :mrgreen:
i need to sort out the external socket on mine - it looks just like your before shot!!

Found mine on USA Ebay
http://cgi.ebay.com/ebaymotors/RV-Teardrop-120-Volt-15-Amp-All-Weather-Male-Receptical-/260598346119?pt=Motors_RV_Trailer_Camper_Parts_Accessories&hash=item3cacdf3187" onclick="window.open(this.href);return false;
 
First drive since the paint job , on my way to work had to stop and get some air hoses and a fuel filter from the local parts store. Feels good to be back behind the wheel of your bus :mrgreen:

VWClassic2011001.jpg


Tonight I decided to put a sharp drill bit to my new shiny paint job :shock: to install the front emblem , I found a "how to" on the Samba and it wasn't that bad of a project.

011.jpg

016.jpg

017-2.jpg

019-1.jpg

022.jpg

029.jpg
 
Looking really grand sir! a very Brave time on the front badge :D
 
easy said:
Looking really grand sir! a very Brave time on the front badge :D

Cheers Johnny , I got very lucky with the front badge , I measured so many times before drilling that I actually hit the original holes and drill bit went in very smooth :mrgreen:

Airtime said:
Oh wow! Looking really great, Juan! 8) 8)

Thank you kind sir ;)

How it looked like this morning with the blinkers now in place and badge.

DSC04940.jpg

DSC04943.jpg


My 2 favorite forum stickers 8)

DSC04946.jpg
 
ib-bus said:
First drive since the paint job , on my way to work had to stop and get some air hoses and a fuel filter from the local parts store. Feels good to be back behind the wheel of your bus :mrgreen:

VWClassic2011001.jpg

Wish I had one of these round the corner 8) , but then again not sure my wallet could take it. :lol:

Looking Sweet.
 
Cali_bay said:
Wish I had one of these round the corner 8) , but then again not sure my wallet could take it. :lol:

Looking Sweet.

Cheers Simon , this store is only 10 minutes away from home and it's on my way to work so it works out great for me , they are open 7 days a week so I have no excuse to not work on the bus unless my wallet says otherwise.
 
Installed laminated floor.

DSC04952.jpg

DSC04948.jpg

DSC04963.jpg


Edge trim was a bit dirty.

DSC04964.jpg

DSC04966.jpg

DSC04967.jpg


A little bench grinder love :mrgreen:

DSC04973.jpg


Floor now complete.

DSC04977.jpg

DSC04978.jpg


Sourced the original spare tire holder.

DSC04982.jpg


Westy closet now in.

DSC04988.jpg

DSC04991.jpg


Now for the retractable seatbelts , I was missing this L bracket so now that I sourced it I will no longer feel like a Kamikaze on my way to work , this should hold me down for sure.

DSC04992.jpg

DSC04993.jpg

DSC04996.jpg


One down.

DSC04995.jpg

DSC04997.jpg


Aerial view.

DSC04998.jpg
 
Top work Juan 8) , and i love the look of that VW shop, wow and open 7 days a week!, i bet they a have a drive trough also :mrgreen:
 
Looking very good 8)

Are you laying the ply directly onto the floor are have you put something in-between :?:
 
Dirty Harry said:
Top work Juan 8) , and i love the look of that VW shop, wow and open 7 days a week!, i bet they a have a drive trough also :mrgreen:

Drive thru , now that's an idea :lol:

gninnam said:
Looking very good 8)

Are you laying the ply directly onto the floor are have you put something in-between :?:

There is a 1/8 inch plywood under the laminate floor , nothing under the plywood.
Once the furniture is bolted down in to the floor it won't move.
There is a local guy that restores split westys and he's been doing this kind of floors for a while due to not being able to find a good enough match to the vinyl flooring and he's the one I went to for info.
Notice on this picture how the ply is shaped to fit on the lower lip of the floor , this is to even up the whole area , is not shown but I did this on both sides.

DSC04948b.jpg
 
Top