'71 rolling resto Cali

Early Bay Forum

Help Support Early Bay Forum:

This site may earn a commission from merchant affiliate links, including eBay, Amazon, and others.

Marvel

Well-known member
Joined
Nov 29, 2009
Messages
1,360
Reaction score
16
Location
Peterborough
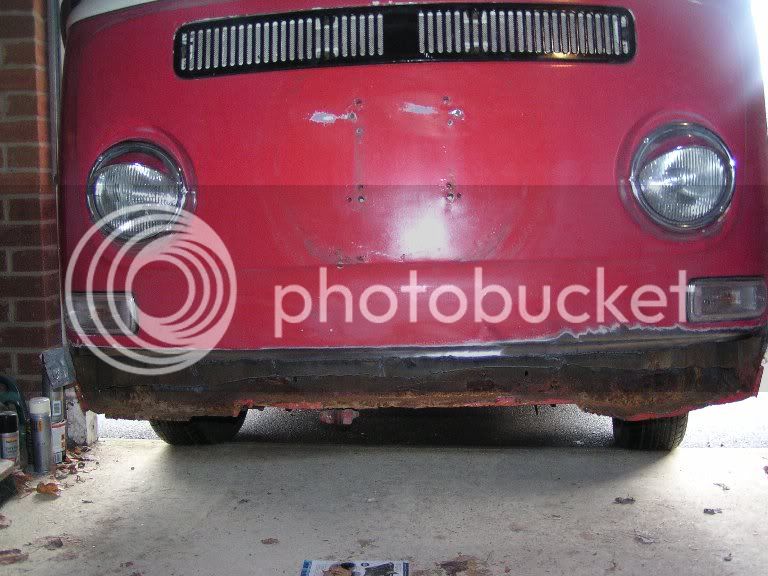
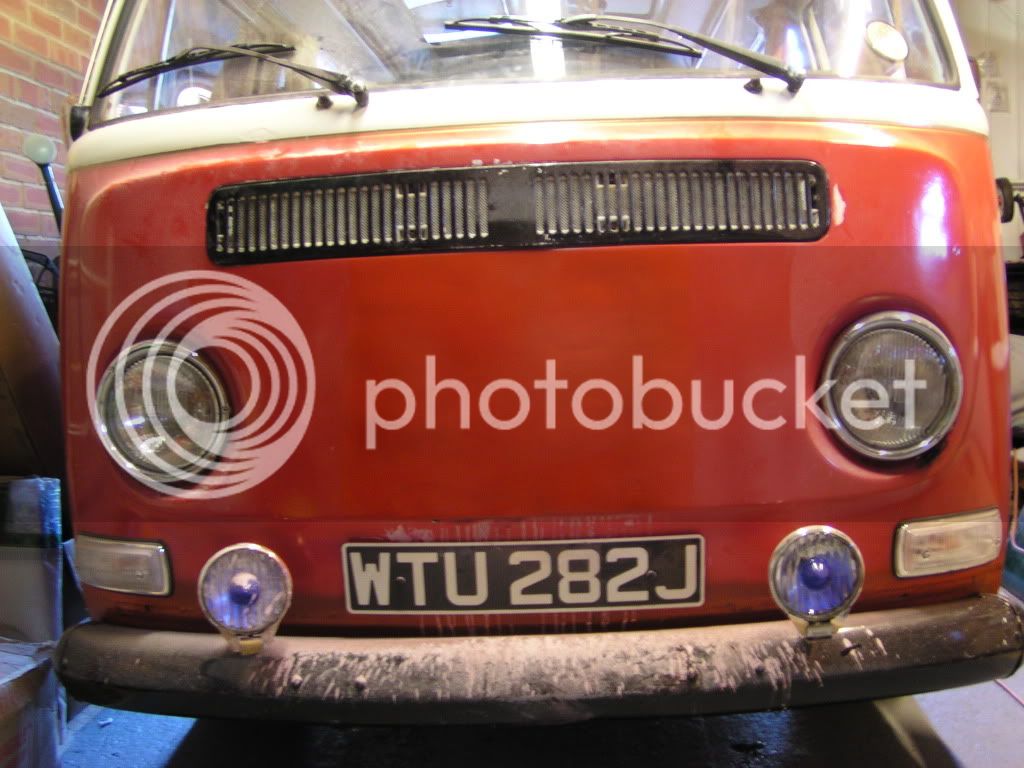
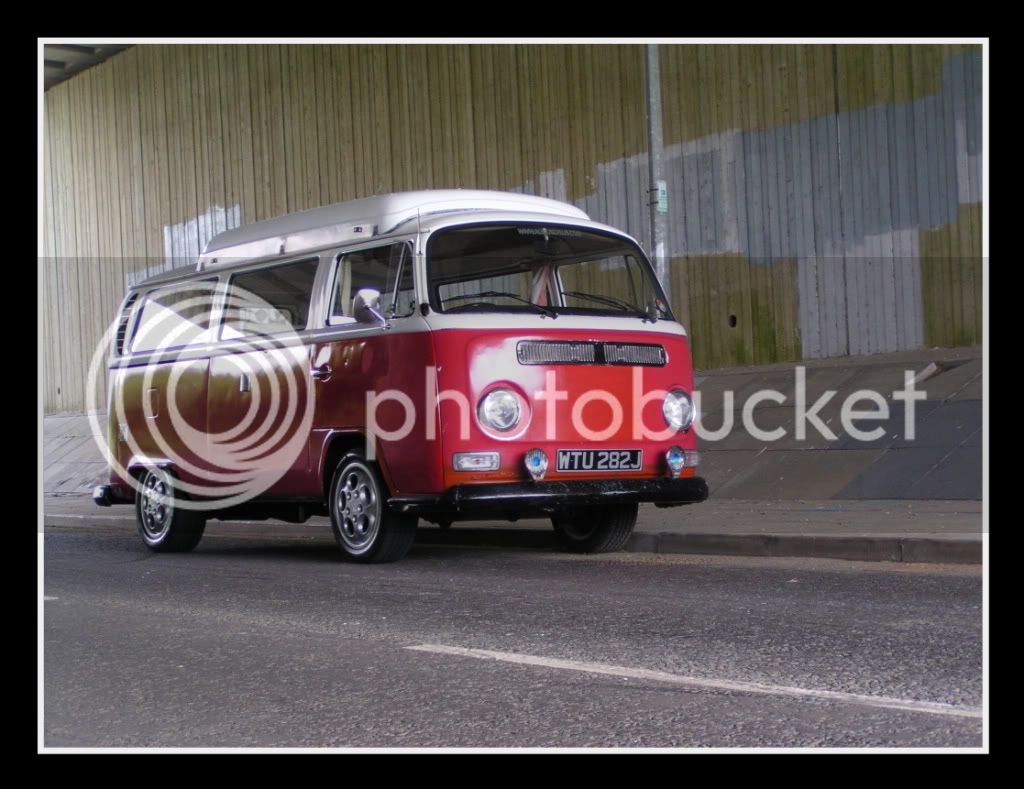
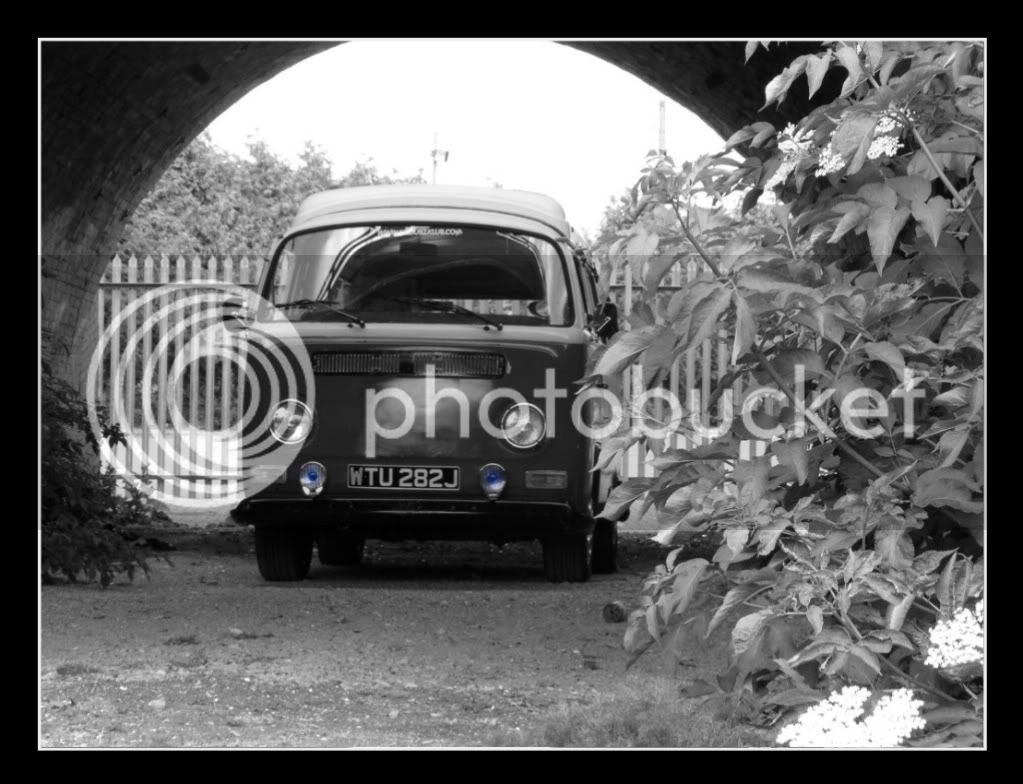
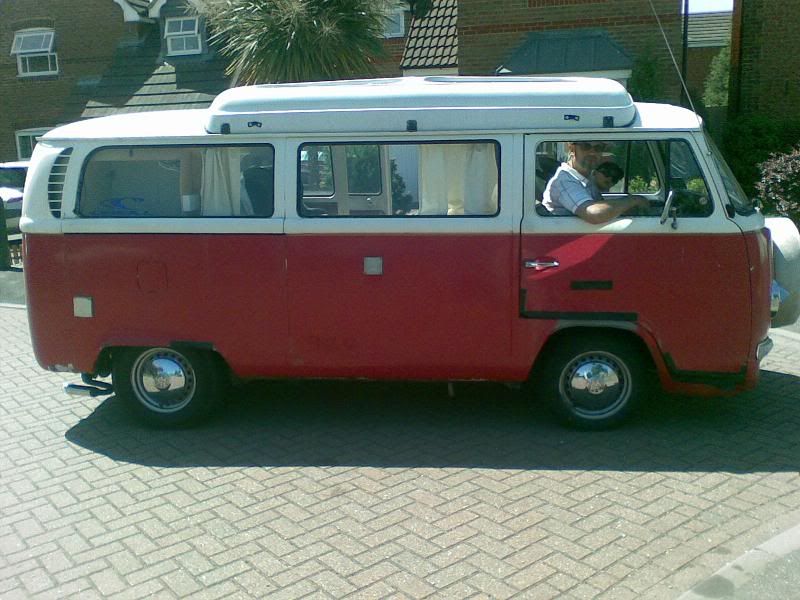
This is Wijit. Got him back in April and he is my first. This was as he was when I got him
2b34_1.jpg


The engine (1600) promptly seized on the way home from picking him up, so replaced it with a 1641. So since April I have been working on the body, the stance etc etc. I am aiming at getting him looking as close to my avatar as I can, rolling on 16inch Image custom alloys and hopefully upgrading the engine to a tuned 2litre lump with corresponding box.

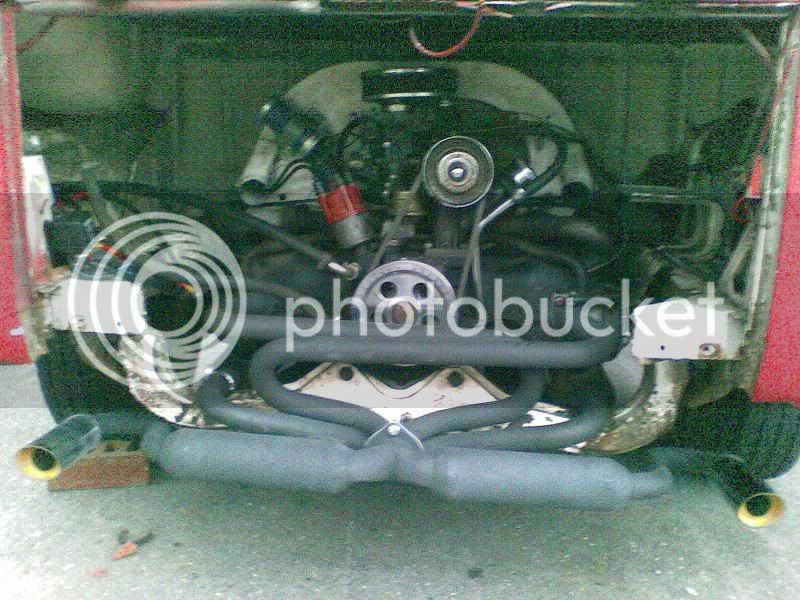
The replacement engine and exhaust
07052009001.jpg


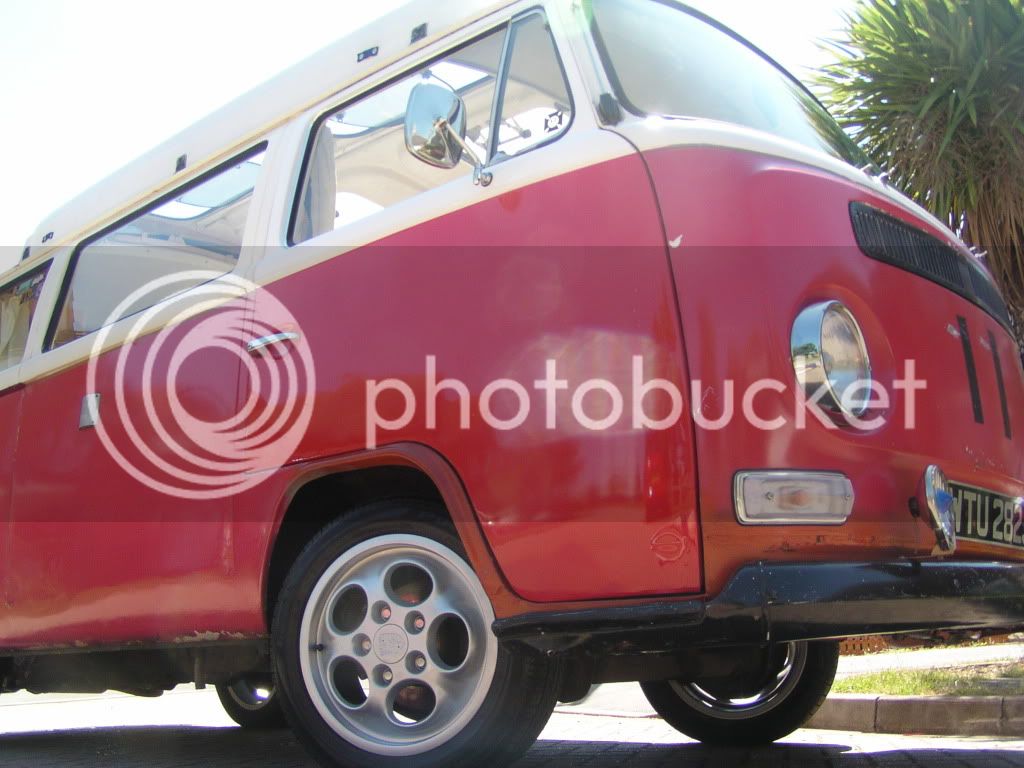
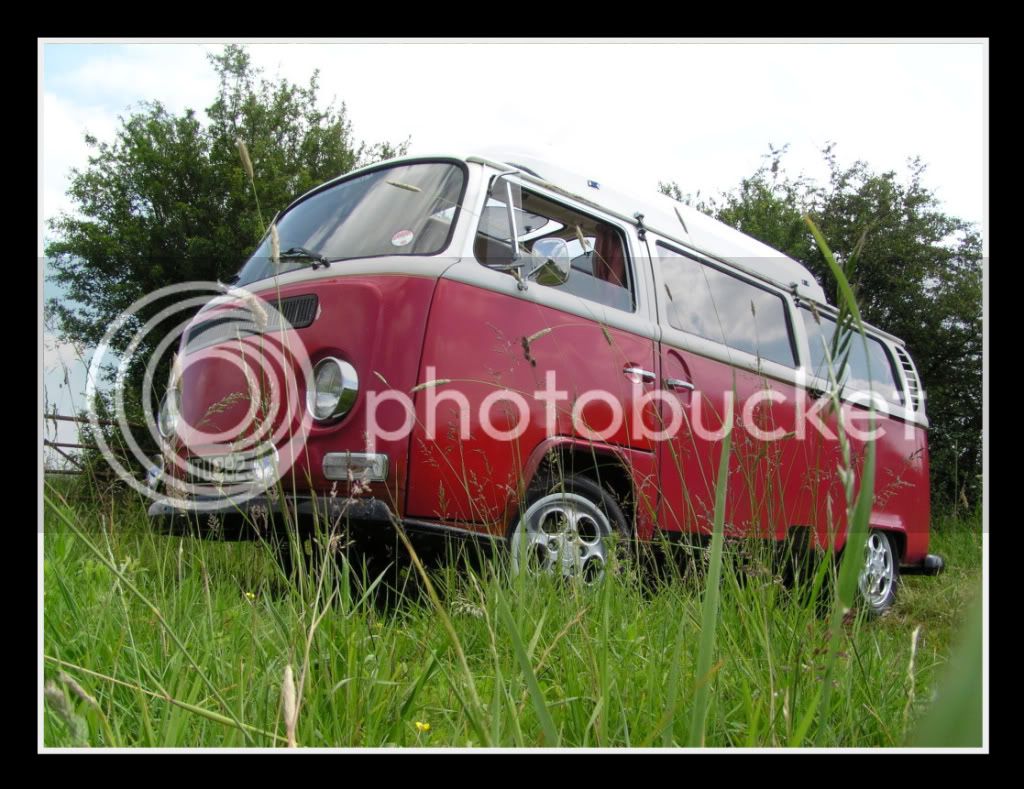
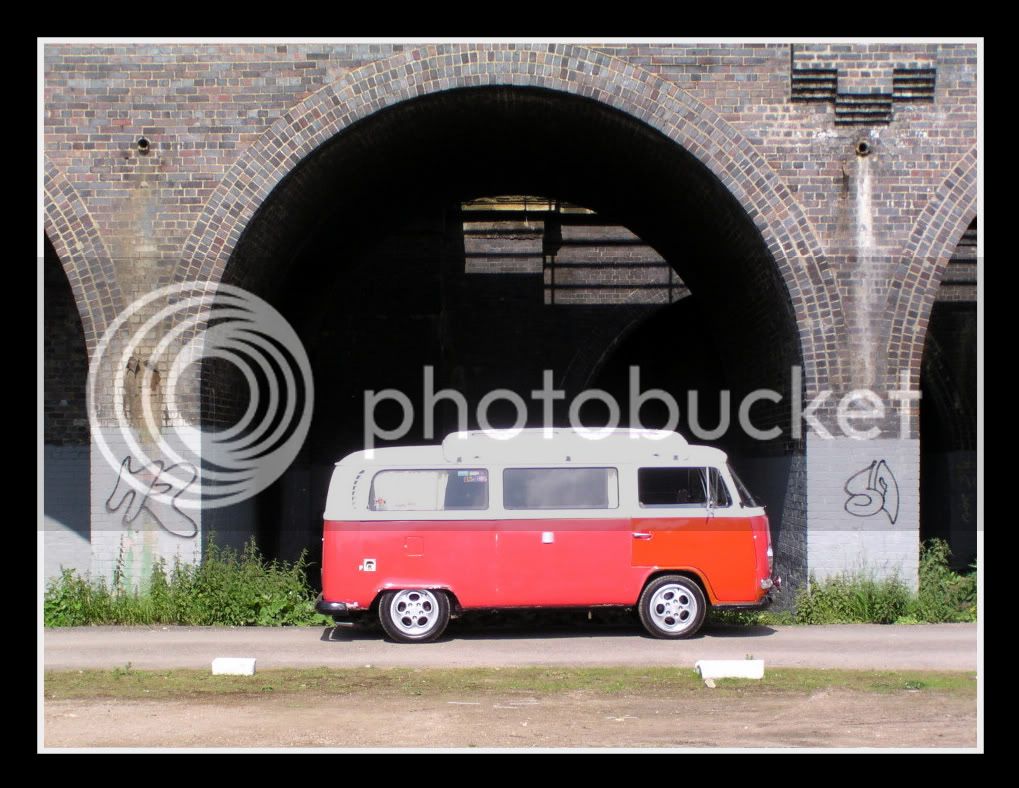
After the drop by T2D
30052009-1.jpg


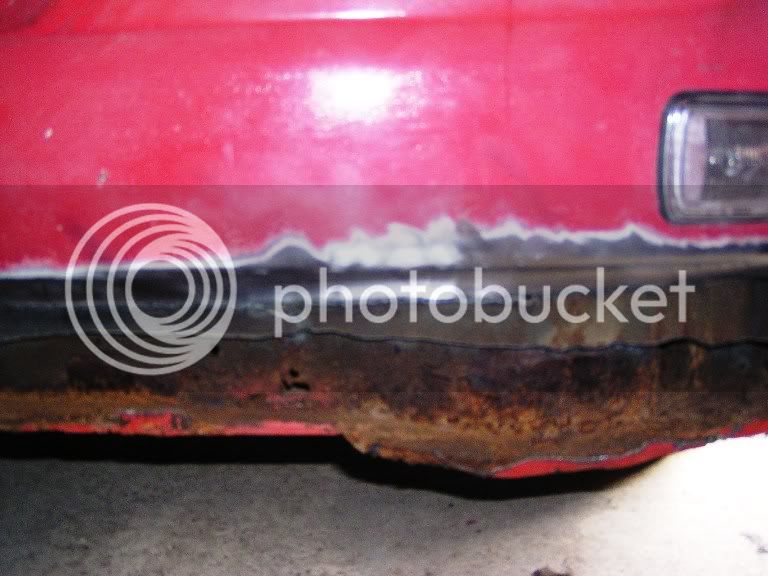
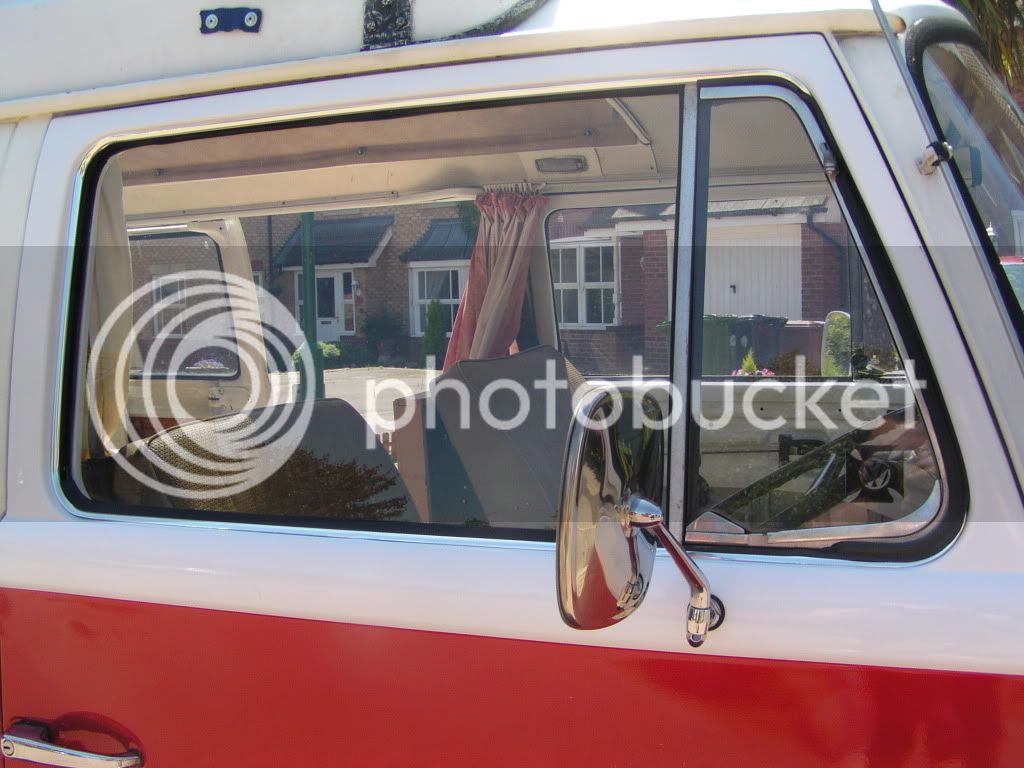
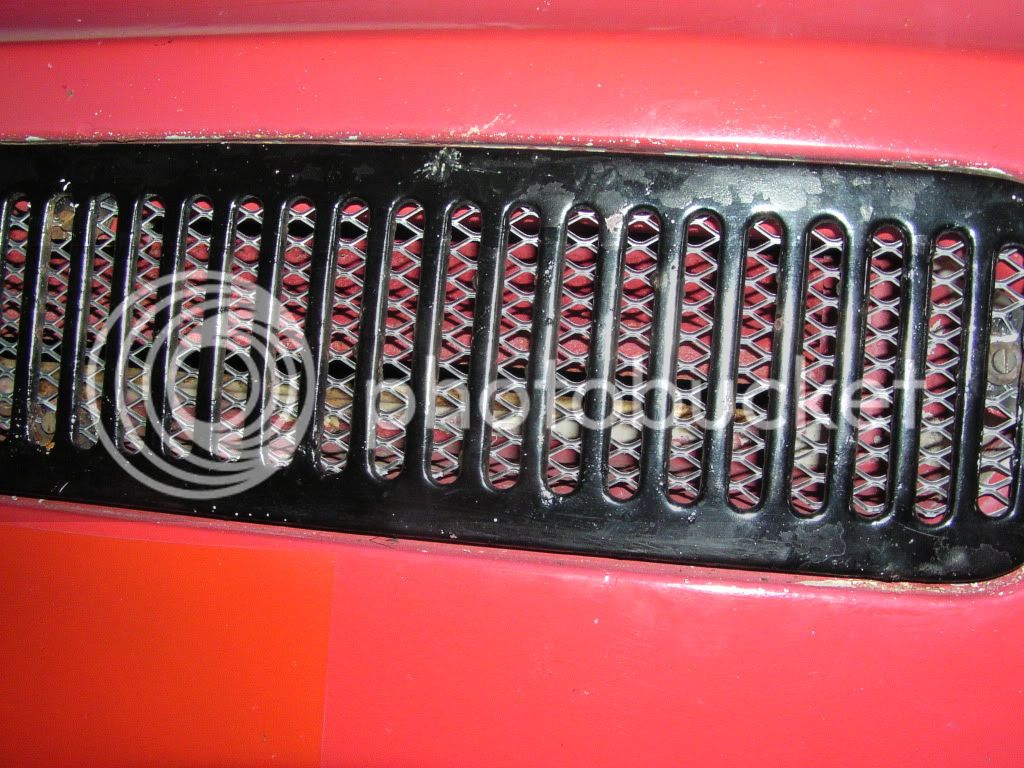
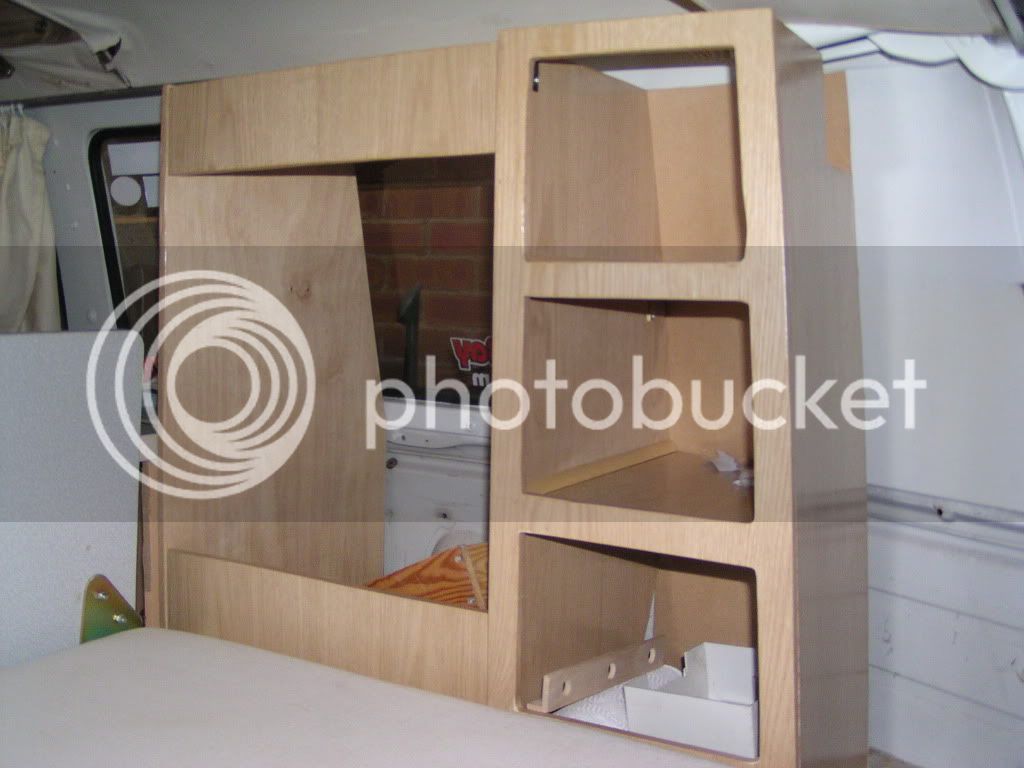
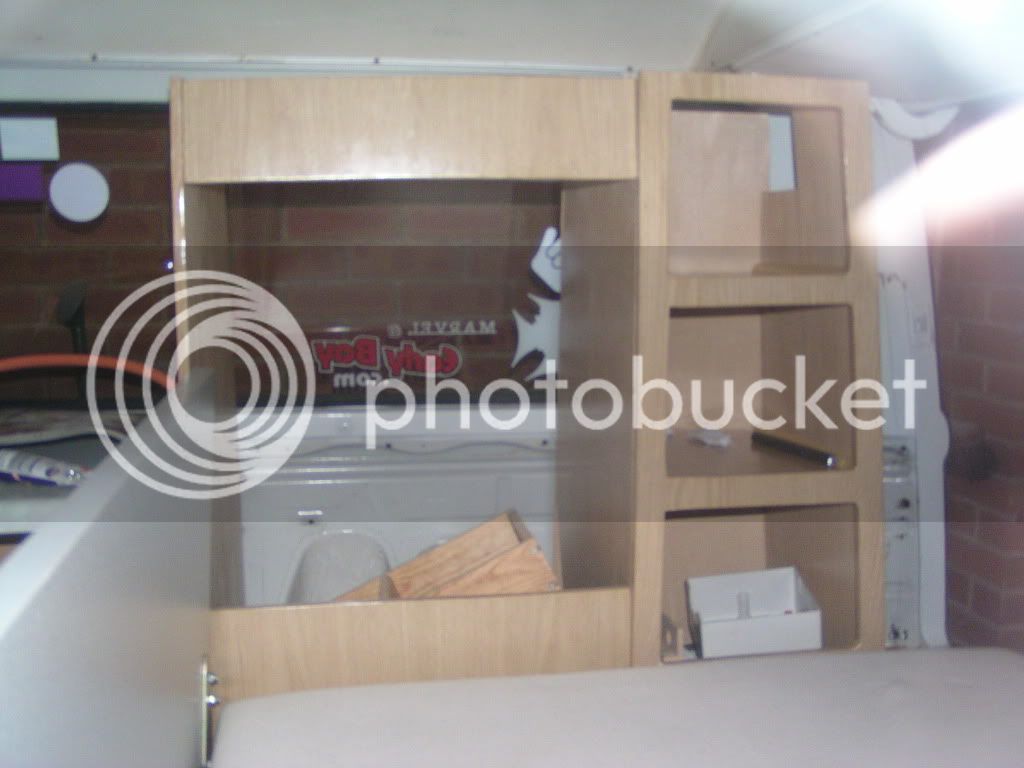
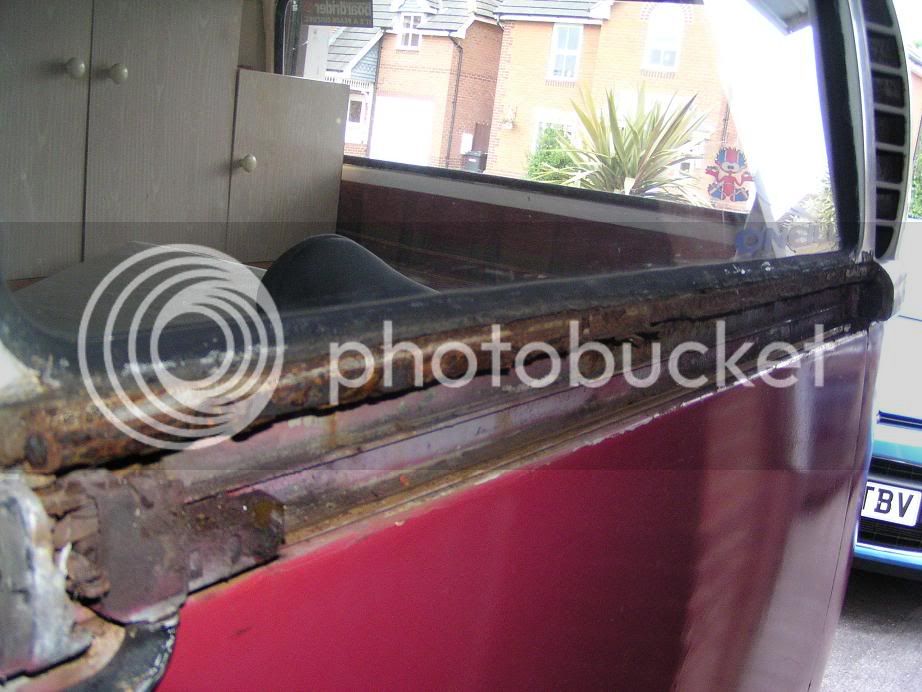
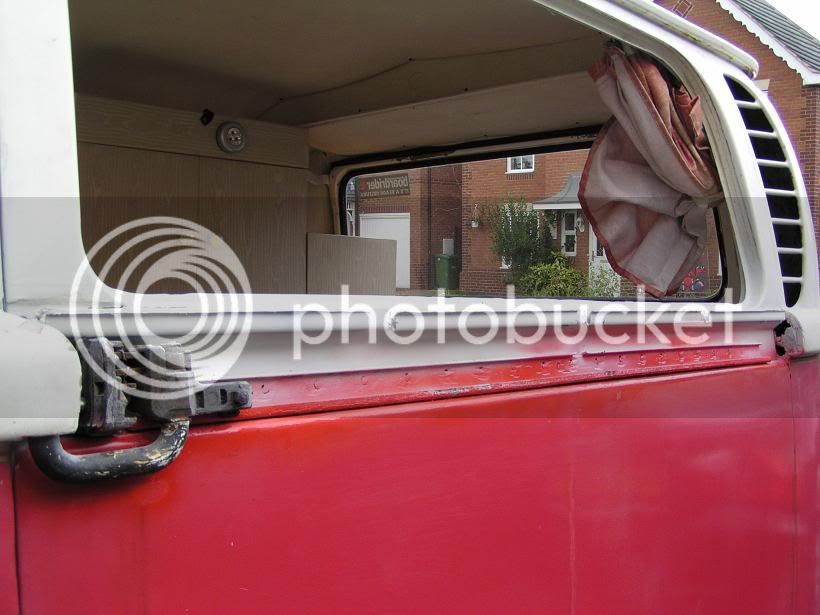
The rotted side window and repair
P6080596.jpg

P7140670.jpg


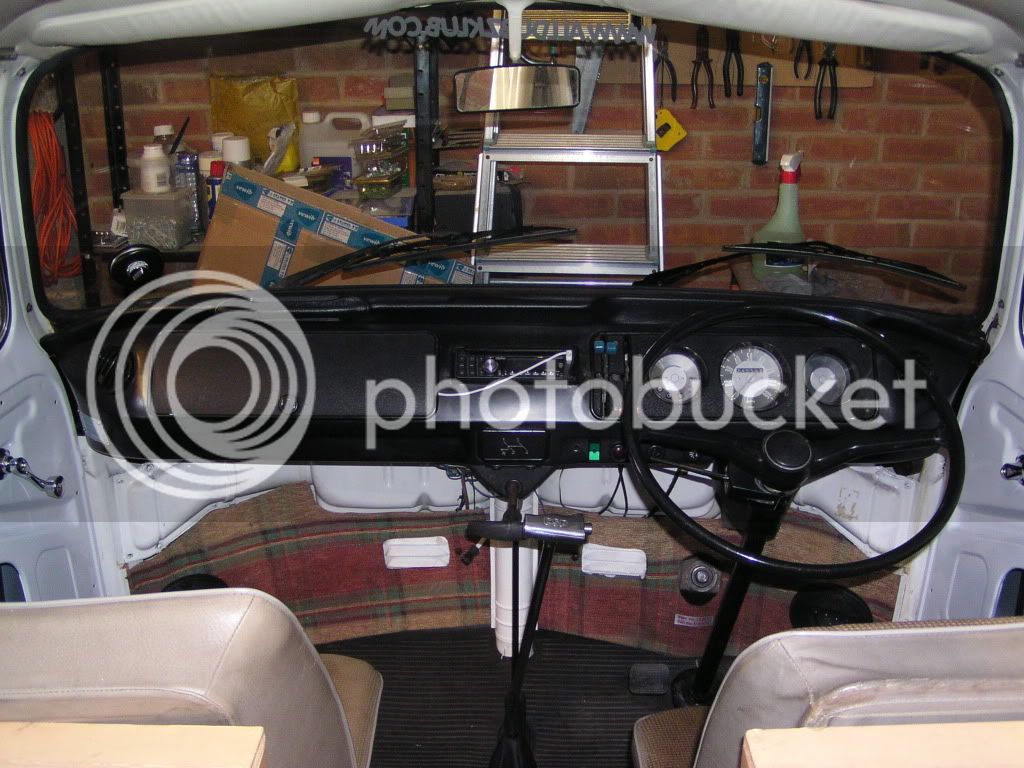
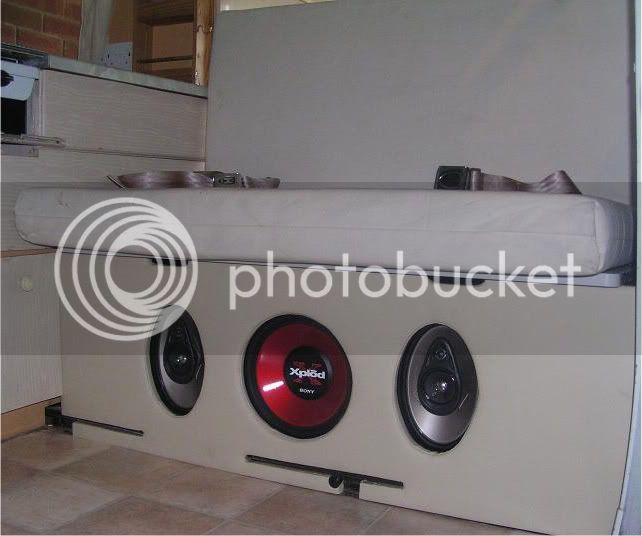
The new R&R with fitted speakers and covered by a local upholsterer
P9090005.jpg


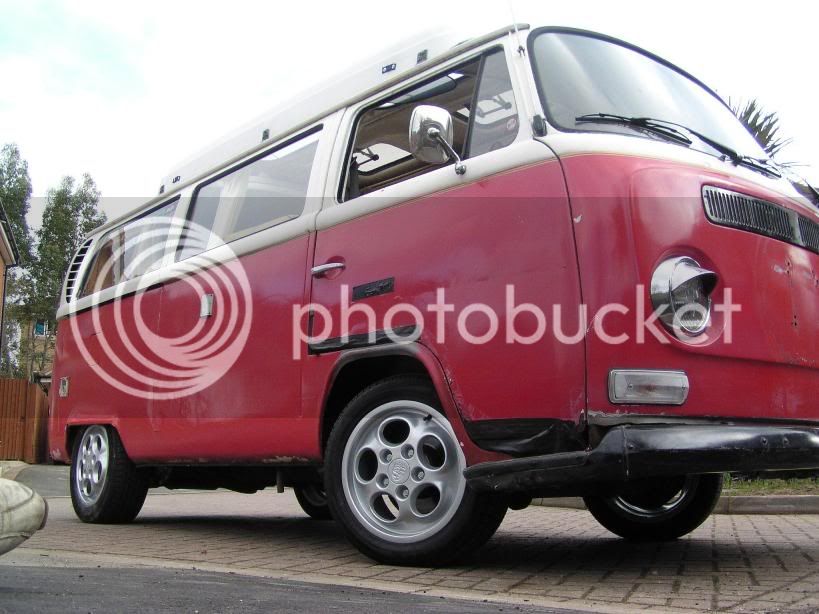
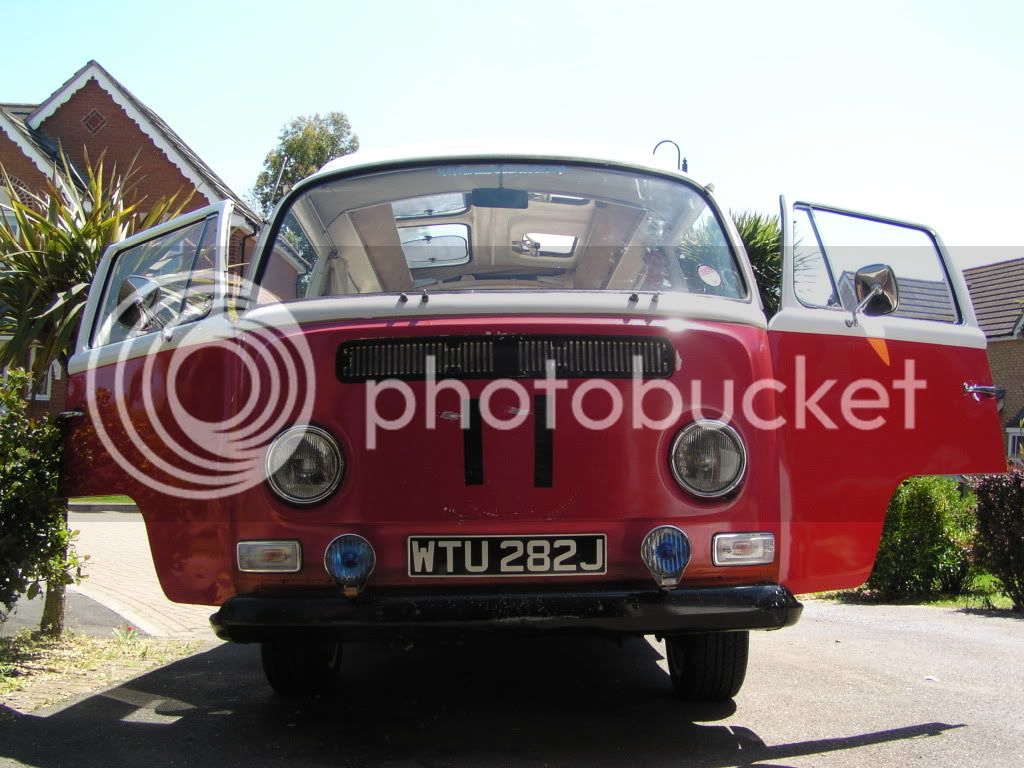
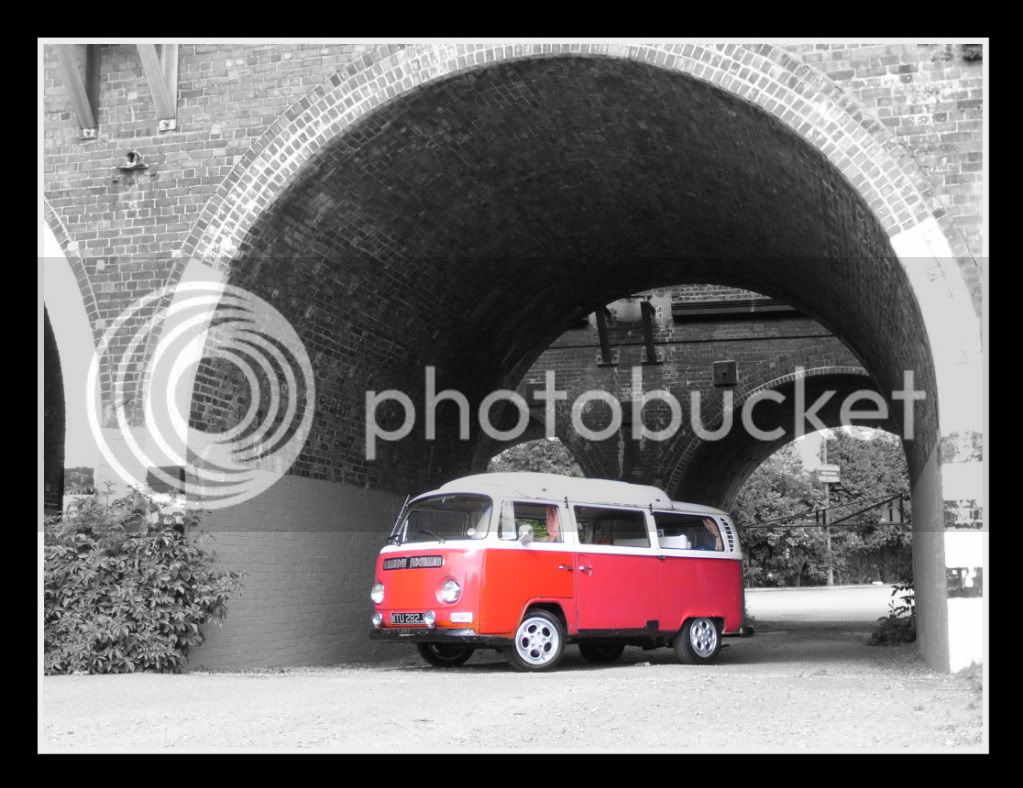
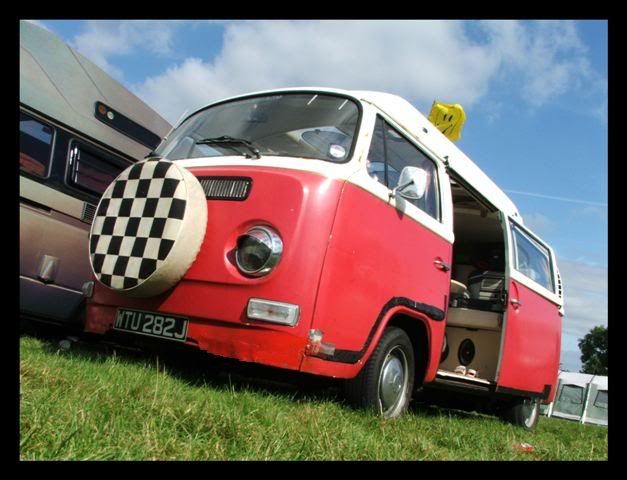
As he is now at VanFest
VanFest2009i.jpg


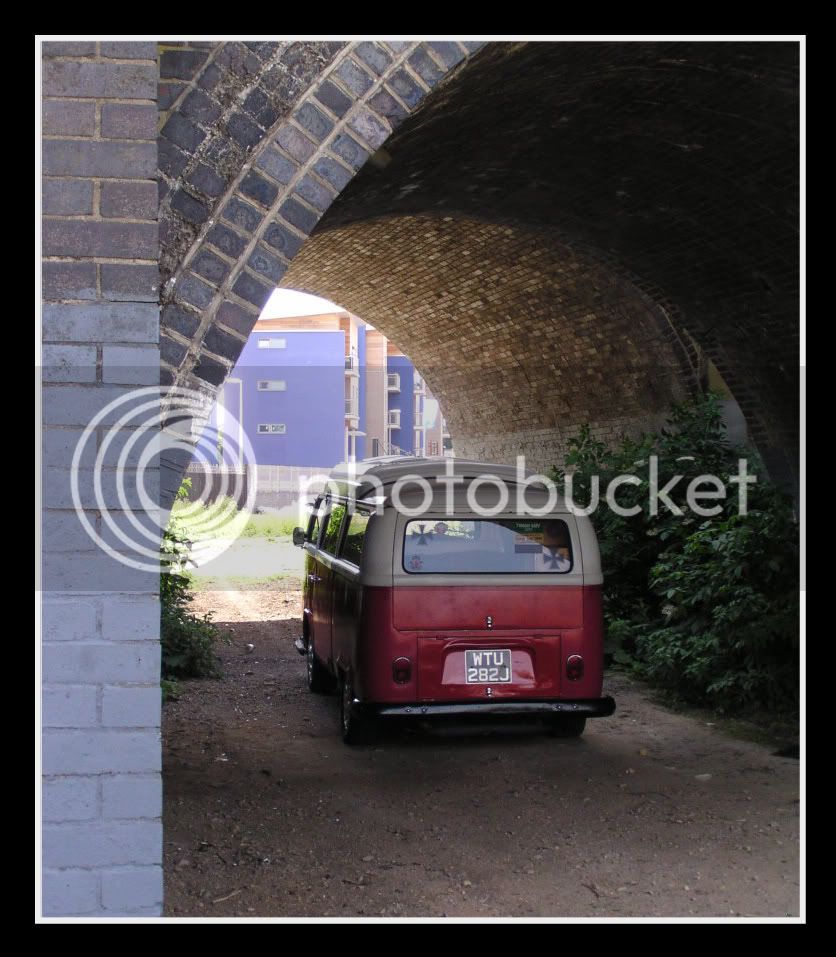
The doors as you can see are being held together with the all powerful black tape, but I have two replacement doors that have been refurbed by Surface Processing in Birmingham. These are due for respray and rubbers and will be fitted over the winter.
 
Took a skive today as my neighbour with the plasma cutter was off so we could get on with getting the old front valance off and the new panel on........ or so we thought!! :x
Plasma cutter went through it in no time to reveal, yep, you guessed it more f*£kin' bodge jobs.
PC030026.jpg


It appears the inner skin was also rust and so the PO folded some metal and created a new inner, over the rust! Swept all the rust out which probably amounted to about 3lb worth.
PC030028.jpg

PC030027.jpg


So I think I need to get on to Schofields to get another. You may have also noticed I have removed the front wheel and bracket. I think it'll look better once the valance and front bumper go on.
 
Same old story with these things - remove on piece of rusty metal to reveal yet another rusty bit.... :(

Good look and keeps us posted please. :D
 
Just bought some rims from BamberJim, so got round to fitting these today. Also fitted the bumper to hide the sharp bits until the welding of the new valance and steps gets done next weekend.
P3130068.jpg


Replacement doors have been resprayed and look ace. Just waiting for the new door rubber sets that I ordered from Status.
 
So the valance has now been replaced, but in the process realised that the new steps would have to go on as well
02042010389.jpg


02042010388.jpg


02042010391.jpg


02042010390.jpg


So we're now looking like this. (I really must get the new doors on!!)
P4250111.jpg
 
Finally have the refurbed doors, seals and mirrors on the bus at last. Bit of a rush as I had the MOT on the weekend.
P6030111.jpg


After the MOT got it back and started treating the rust around the front screen. It's only temporary but at least it should now be watertight. Gave it a rub down, treated with korust filled the holes and resprayed.
Today it was nice and sunny so got out there and gave it a jolly good wash and polish with my new polisher ready for Stonor this weekend.
P6030112.jpg


P6030113.jpg
 
CSP shifter arrived this morning. Got it out of the box and fitted it straight away (sod work!). It even came with instructions to fit and adjust, unlike some crap you get :roll:
Fitting was a doddle with easy to get to allen bolts rather than regular bolts inside the cage of the shifter (Scat). The shift is a million times better already.
From the photos you can also see the new window winders I fitted the other week from Fiftysix Delux.
P6080148.jpg


P6080149.jpg


New handles also from Fiftysix Delux and door cards to be fitted next.
 
I forgot to take some photos while I did it but I have sorted the holes out on the front panel where the bolts for the wheel bracket went. Rubbed it back, treated with kurust just in case, then used some Isopon rather than weld as some of the holes were too high to treat on the inner. Shallow skim of filler and a spray.
It's not professional but it'll make do until I get it sprayed properly.
P6150149.jpg
 
Since the weather was so nice, and the roads were quiet due to the kickball, I thought I'd take the bus out for some photos.
P6230150.jpg

P6230149-1.jpg

P6230155.jpg

P6230154.jpg

P6230160.jpg

P6230163.jpg

P6230168.jpg

P6230169.jpg
 
Just a quick 10 minute job. Bought some of the metal mesh stuff for air intakes and popped it behind the front grill today. Took a bit of trimming but fits quite nicely. Not sure whether to put the old fly screen behind it or not at the moment.
P7150110.jpg
 
Tonight fitted the new dormi bunk material. Got them from Dormobile UK, very good service, although they still don't have the original tartan, but thought I'd go for black instead anyway to fit in with the colour scheme. I shall get photos up soon.
 
Not much has been done on the body work since my last post, but I have made a start on the interior refit. The cabinets are all made from 12mm oak faced ply and each cut panel then given 3 coats of a clear varnish before being put together.

The panels just after they had been cut out.
P1010152.jpg


The rear locker assembled and in situ ready for the door which will be ordered when the other units are built.
P1010183-1.jpg

P1010184.jpg


Just got to get cracking on the gas locker and the sink unit.
 
Marvel said:
Not much has been done on the body work since my last post, but I have made a start on the interior refit. The cabinets are all made from 12mm oak faced ply and each cut panel then given 3 coats of a clear varnish before being put together.

The panels just after they had been cut out.
P1010152.jpg


The rear locker assembled and in situ ready for the door which will be ordered when the other units are built.
P1010183-1.jpg

P1010184.jpg


Just got to get cracking on the gas locker and the sink unit.

That looks the mutts :D nice wood! :oops: more pics of how it's going together?
 

Latest posts

Top