My 1970 Dormobile story so far

Early Bay Forum

Help Support Early Bay Forum:

This site may earn a commission from merchant affiliate links, including eBay, Amazon, and others.

VWAIRCOOLED

Well-known member
Joined
Jul 23, 2007
Messages
1,192
Reaction score
0
Location
Herts
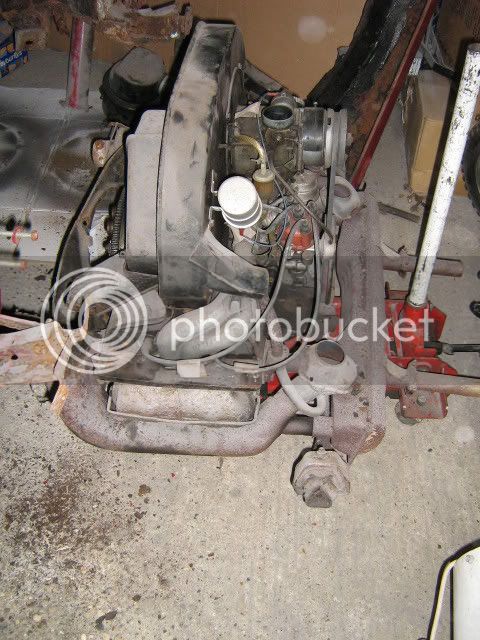
I did originally put a thread up on JK last year which has now gone with the fairies,that was before I found earlyay.Anyway I thought I'd start the story again here of what has happened to my Dormy since buying it on 06/06/06,yeah I know I didn't realise at the time,still easy to remember the date.I'll add to it as I go along.

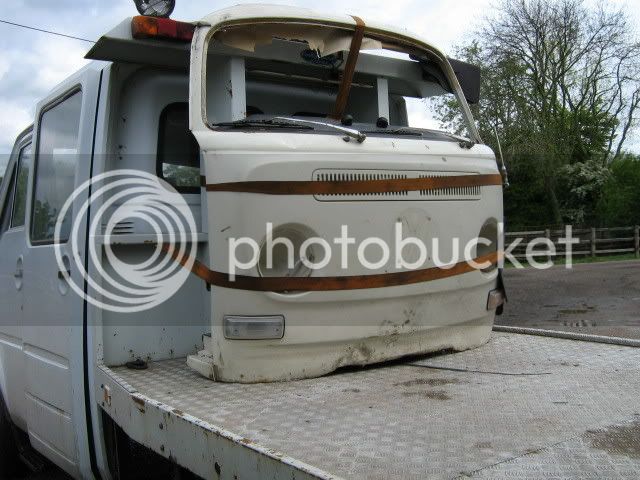
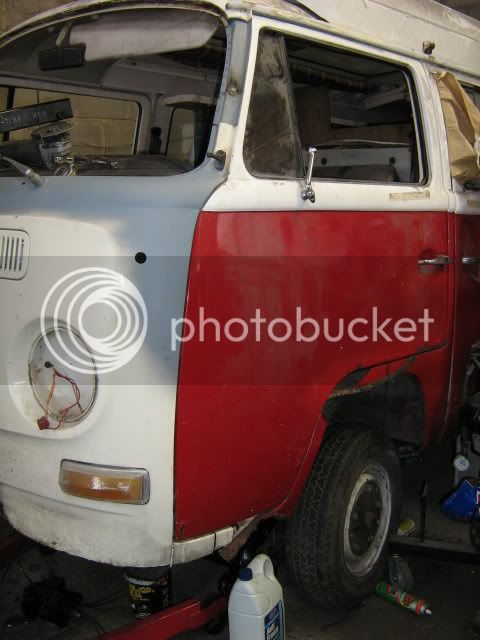
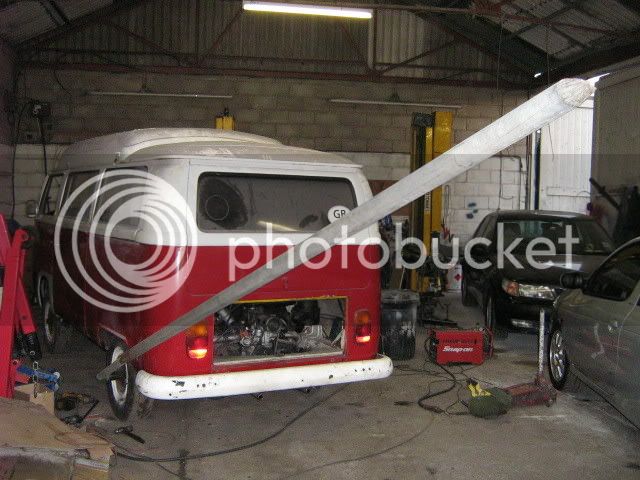
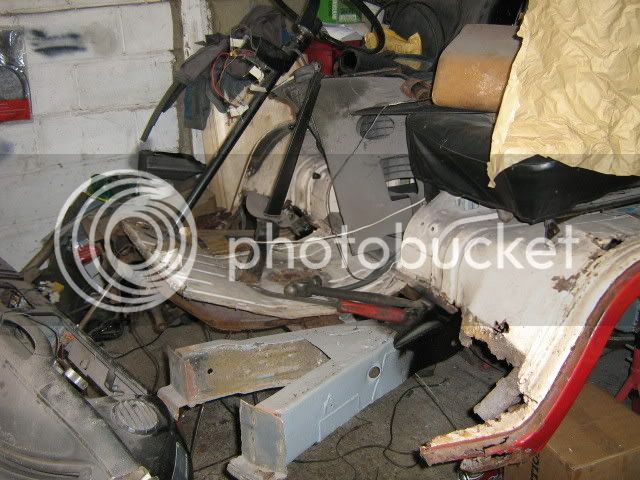
Anyway this is how it looked when I bought it (I cut the lower front panel off before doing the pictures)
front1.jpg

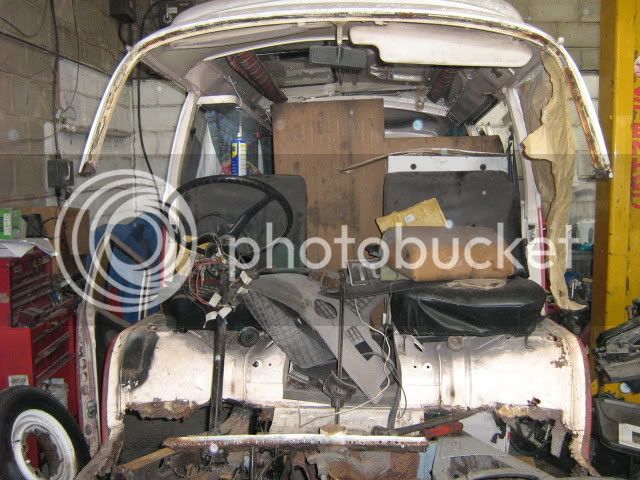
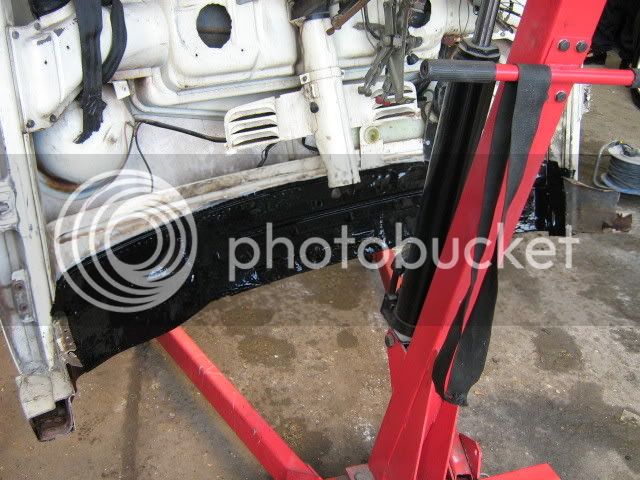
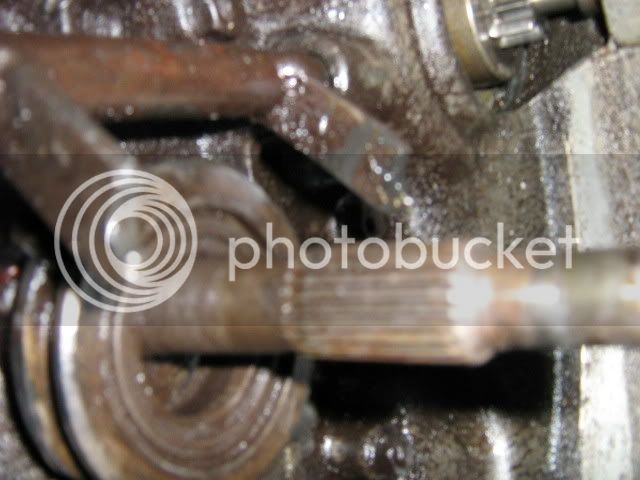
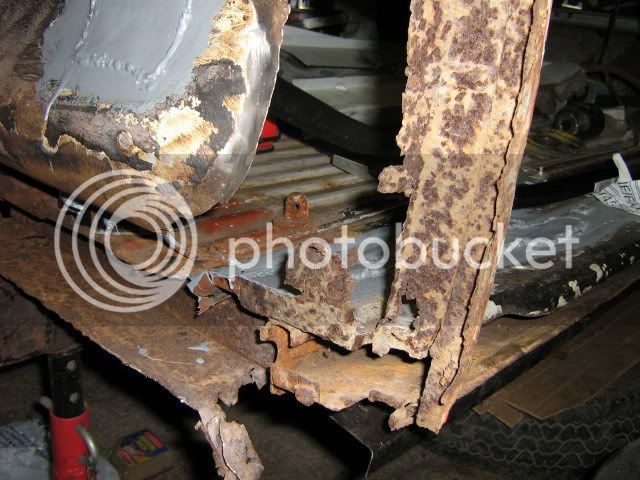
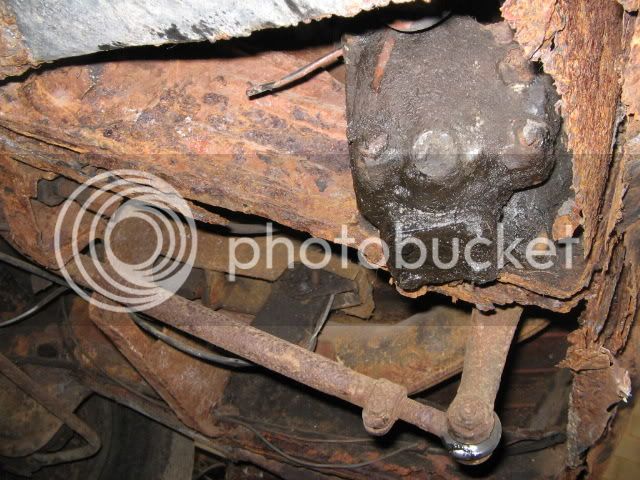
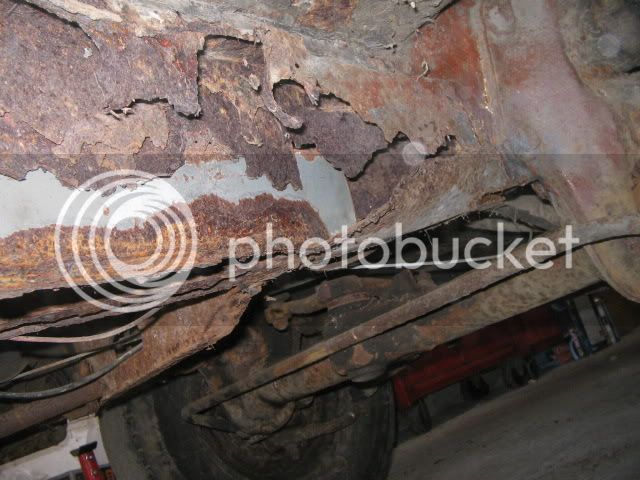
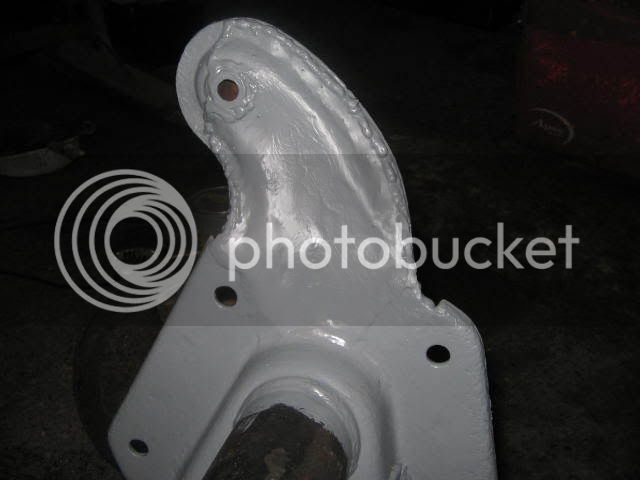
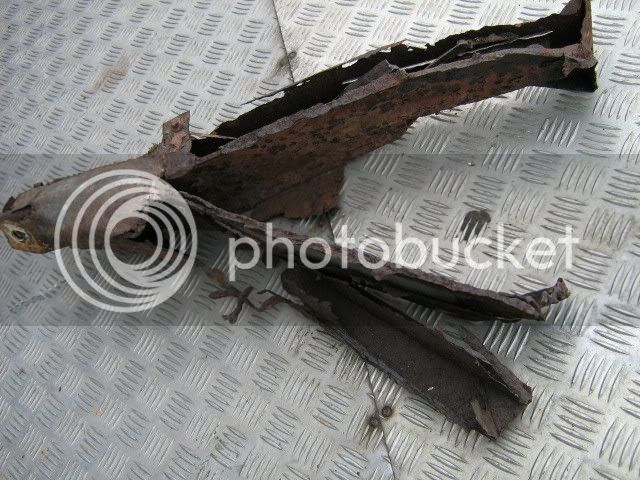
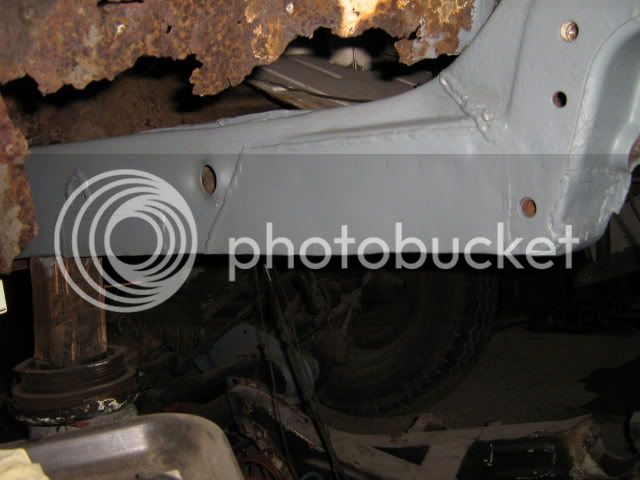
Heres whats left of the front chassis sections
chassis2.jpg

chassis1.jpg

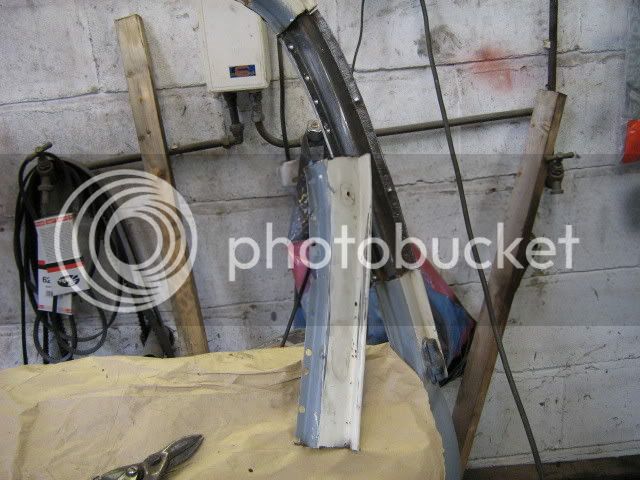
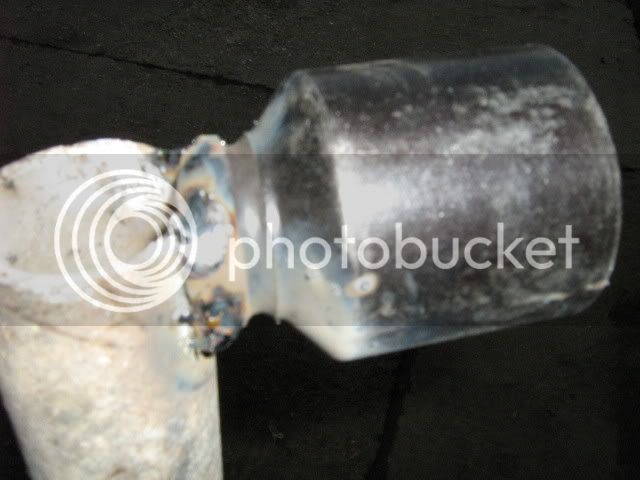
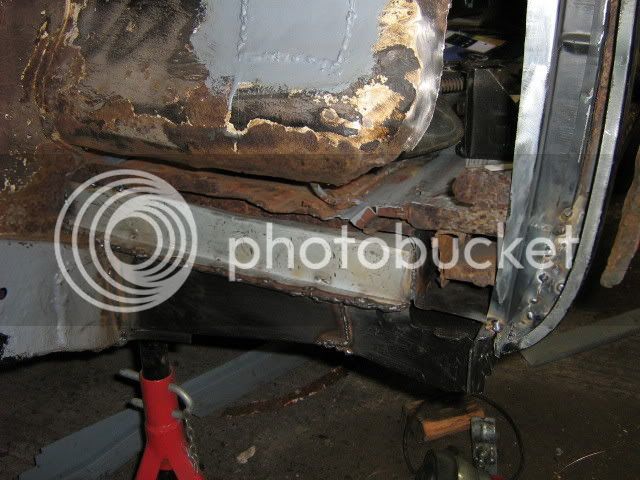
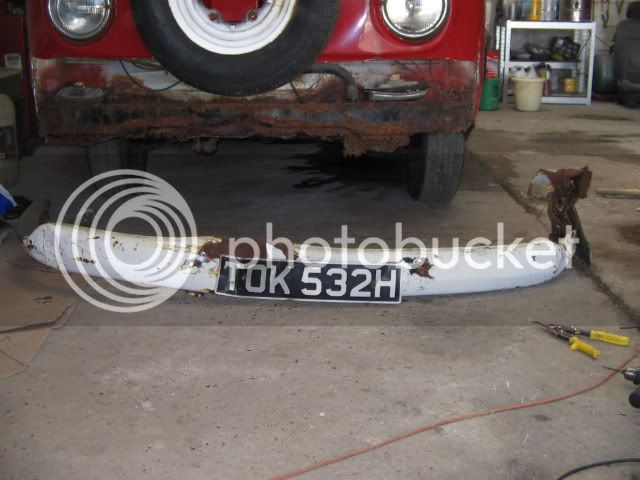
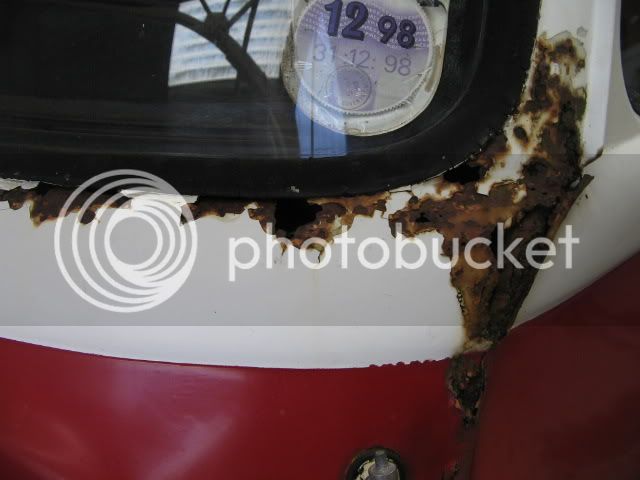
Front windscreen surround and the last tax disc (confirmed with DVLA)
frontpanel.jpg


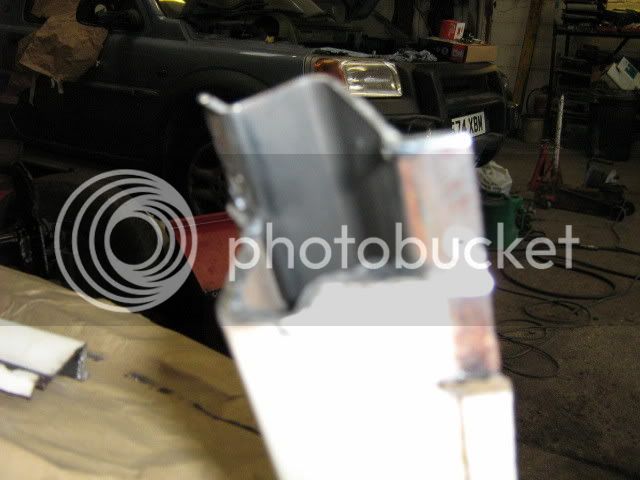
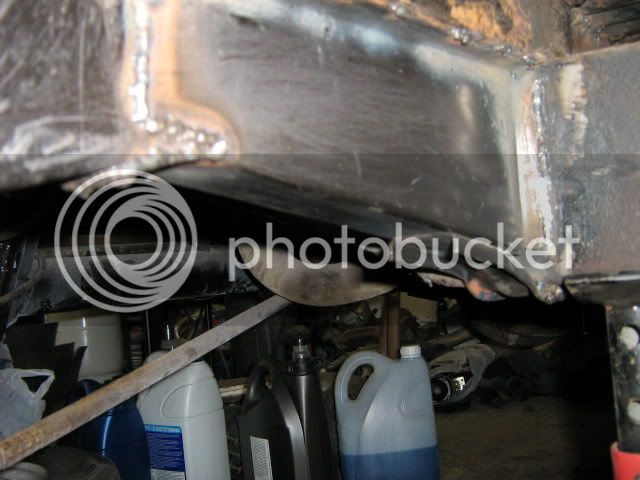
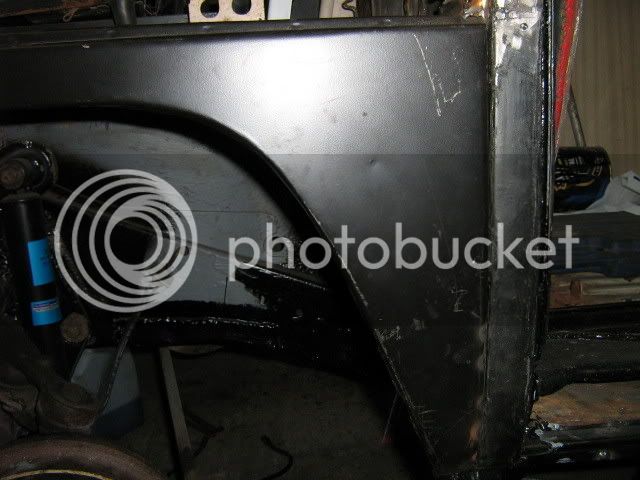
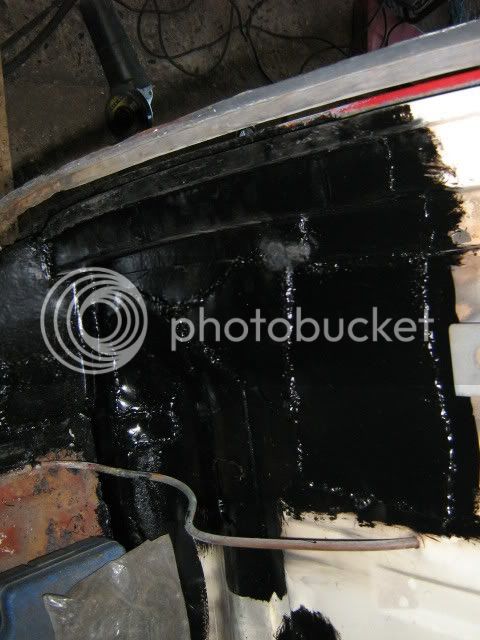
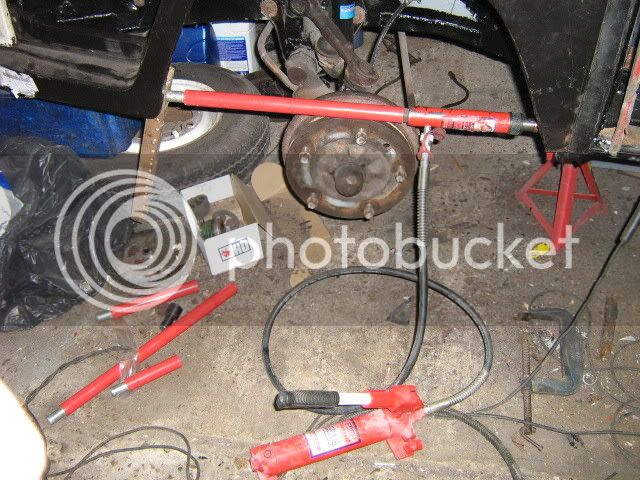
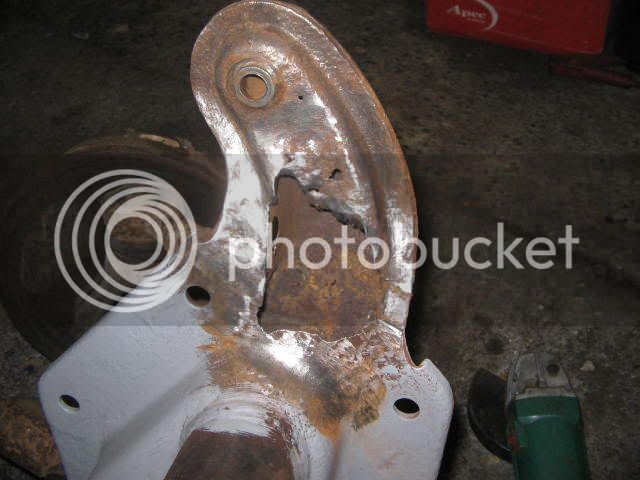
As you can see this was no 5 minute weekend job.Things always look much better on Ebay!
 
Next step was to look at what was needed,it was daunting I soon found out that getting some parts wasn't as easy as I thought it would be.Firstly I had to remove the front beam to assess how bad the chassis was.This was not easy,the gear linkage was seized so I had to cut the collar off.I welded it back at a later stage though.Also the beam needed a big bar to lever it off as it was seized on too.The beam itself had a few holes in which I decided to repair for now to get it on the road and swap it or a lowwered one later on.I couldn't find any front chassis rails they don't make them new for what I needed and no one had second hand ones like FBI Volksheaven etc.After much searching I found none and seriously thought about ending it there considering the work that laid ahead anyway.

Nasty hole in front beam
IMG_0611.jpg


Looks a bit better now welded ground back and painted.
IMG_0618.jpg
 
It probably stayed that way until about christmas 2006 time,I thought to myself at least the interior is ok, just missing the bunks and buddy seats and the engine goes and gearbox works so why not try and do it?Then I decided that I would fit some second hand later bay chassis rails,after chatting about it on Jk.But this would lead to further complications as there is a big difference between early and late chassis rails.But importantly they are the same at the beam mounting points and can be made to fit the inner front panel.But I would have to fit a late bay steering box.I also found out I would have to reconstruct and weld the accelerator linkage bracket and rod and the big pedal rod is different,so this had to be reconstructed, modified and welded.This took me a while but at least it was looking much more solid now.The left side was easier without any steering or linkages attached.Just had to take careful measurements before doing any cutting.

Here is a section of rotten chassis
IMG_0853.jpg


Here is the left hand section welded in and zinc primered
IMG_0854.jpg


You can see it better here,but it wasn't until spring this year I cut all that front off(more on that later)
IMG_0892.jpg
 
:shock: Blimey matey, that's some pretty hard work you are taking on there. Well done. But the rewards will be fantastic and you must get quite a buzz as you see each improvements. I get excited just changing a bulb! :lol:

The pic of the rotten chassis section is sooo sad. :cry: But at least your bus has a nice person like you to make it all spangly and shiny again. :D

Lots of pics please, even the sad ones!

Great work
:wink:
 
Everytime I see a resto it seems more and more drastic! your a brave man and must be commended. keep up the good work
 
*GULP*

I remember this on JK and was impressed then.
Just reminded me of the work you did before............... 8) 8)

Regards
 
Thanks everyone,it was great to make progress especially with the chassis and front end.

After getting the chassis done I was considering my options for the front panel etc.It was rotten around the windscreen inner and outer,the lower inner and outer valence was rotten away,both lower A pillars rotten also.As well as a big dent in the front.I forgot to mention that the front had been in a minor accident denting the lower front and wrecking the bumper.The spare wheel on the front didn't help,that was probably why it went so rusty and was off the road.
Anyway I could either buy new stuff,which I could see would be expensive,difficult and the parts didn't seem good quality of what was available.So I sourced a complete front cut from G'day Kombis from a 1969 Aussie single cab.This single cab had had a very heavy T-bone accident.Anyway my gain.So I carefully measured and supported everything then removed all the dash connections handbrake,heater, gear linkages,wiring loom etc etc.Then cut a section of skin going over the A pillars on both sides,cut the A pillars off,the floor pan,front wheel arches and chassis etc (a lot of it just fell off).Then I had to prepare the new front to go on,it needed a small bit of welding on the edge of windscreen a couple of small dents sorted and the lower inner valence repairing.Also had to remove the unneeded floor pan,wheel arch bits and chassis bits where it was cut off.I chose the place where to join the A pillars and made the joint in a staggered way for more strength in the join.Then it was a matter of offering the new front end up,tack welding the front on and checking measurements etc.Once all was ok just weld it on fully.It was a big relief getting that bit done! Forgot to mention,I was going to use the dash off the 1969 front,but I found the wiring was different with the fusebox in a different place so had to swap everything over too! Why did they make so many changes in the '68-'72 early bays?

New front end from an Australian donor van!
IMG_0851.jpg


Now that is what I call air conditioning!
IMG_0891.jpg


Repairing the lower inner valence
IMG_0894.jpg


Thats the front skin off one side
IMG_0898.jpg


Make pillar joints staggered for more strength
IMG_0900.jpg


Looks a bit better here,we're making progress at last!
IMG_0905.jpg
 
Like I said before getting the front on and the front chassis rails was a big hurdle for me to get over.Now it was onto other things.like re wiring the electrics etc.After this I started the engine up for the first time since I bought it.After a charged battery was offered it started right up,although it was a bit rough needing a tune and it still had stale petrol in the tank.I then connected up the clutch and gear levers etc and when I went to drive it,the clutch won't work! Goes right to the floor,last time I ran it it was ok? So after checking everything else,out comes the engine!

IMG_0940.jpg


Can you see whats wrong?
IMG_0944.jpg


I found these bits in teh gearbox bellhousing.
IMG_0945.jpg


I wanted to get the van moving so welded the clutch fork back together and refitted the engine and adjusted the clutch,all good now!

IMG_0947.jpg


So now the van was moveable,it was great driving it round the yard for the first time!
Next on the list was to make a big shopping list for the other panels I needed to replace.Also the brakes needed sorting,very spongey and old and crusty!

But first I drained all the old fuel from the tank and then replaced all the rubber pipe from the tank to the metal pipe then all the pipework in the engine bay.And rebuilt the carb with a kit which came with the bus.
 
It's been a while since I updated this.As I was saying before,I got the engine going again,although it was a little rough and unbalanced but didn't sound too bad.So I gave it a quick drive around the yard car park,which was great to do for the first time in over a year.Then next up I made a list of things which I neeeded.I can't remember everything I ordered but it was a lot and cost over £700 in the end using different companies,Schofields (I found parts ok,but I got the wrong parts 5 times in the end) so I gave up with them and used VW Heritage (2 wrong parts first time,but quickly sorted it out) JK (again 1 part wrong quickly sorted out) And also Coolair no problems with them. My personal experience was that JK and Coolair where able to deal with my order the best.VW Heritage weren't that far behind but Schofields where terrible.But maybe I just caught them on a bad week,it happens.Theyre probably usually good.

Anyway I got new front shoes and cylinders,new rear cylinders,new front flexi hoses and N/S/R flexi.New front shock,new front arches with steps.New N/S inner,centre and outer sills.New O/S seat base/wheel tub.New N/S lower B pillar section and outer skin.New Handbrake cables.
Also I got some decent used front drum back plates,can't get new ones any more.Also new front cab floor halves and front outriggers and jacking points.

I got the brakes sorted first,replaced most of the metal lines with copper pipe which I made up myself.Then replaced 3 of the flexi hoses and the handbrake cables as 1 had snapped.Then bleed all the fluid through using DOT 5 and adjusted it all up.I had to make a tool to remove the rear hub nuts,welding a socket to a scaffold bar.

IMG_1060.jpg

IMG_1058.jpg


Next It was time to tackle the body again,I started on the N/S (left) by removing the front arch and cutting some of the inner arch away.
IMG_0948.jpg


My camera got broken around this time when my youngest daughter thought it would like a cup of tea!

Oh yeah look at those back light units,more on them later.
 
That B-pillar had to go and a new lower section welded in
IMG_0961.jpg


There was virtually no outrigger and jacking point left before,so working with pictures of other peoples vans I welded on the new ones.
IMG_0963.jpg


I was very dissapointed with the quality of these wings,I tried everywhere but they where all as equally rubbish,but better than the corroded nightmare before!
IMG_1044.jpg


This is the inner section of the B-pillar and back of the bulkhead,had to make up plates here cutting all the corroded metal away first.
IMG_1046.jpg


A bit of hydraulic porta power comes in handy at times with these 'quality' wings. :x
IMG_1047.jpg


All of this stuff was going on a few weeks before Vanfest,trying to get it ready to go there.All of this stuff isn't very interesting,but it is best to start at the bottom and work up in these jobs,then get to the more exciting stuff later. :)
 
Fookin' 'ell!!! That scaffolding pole is HUGE!!!

I'm gonna tackle my drums soon, does it really need to be that long??? (said the actress to the bishop) :lol:

Cheers

Ian
 
billybradshaw said:
Fookin' 'ell!!! That scaffolding pole is HUGE!!!

I'm gonna tackle my drums soon, does it really need to be that long??? (said the actress to the bishop) :lol:

Cheers

Ian

It depends how strong your back is ! The bit which I welded to was about 4' long,then I found another extension section which slotted on to make it easier.The 4' one on it's own is possible but hard work.If your bus has the small stud pattern you'll be alright as the drums come off without taking the hub nut off.
 
Amazing job your doing there. I have to admit that i would have given up on one so far gone - you are braver than I.
Its beginning to look a lot better now :)
 

Latest posts

Top