My 1971 Deluxe from the boys at Kieft en Klok

Early Bay Forum

Help Support Early Bay Forum:

This site may earn a commission from merchant affiliate links, including eBay, Amazon, and others.
Got the garage all sorted and fitted engine bracket to bench for better ergonomics.

69mm forged crank, standard rods, lightened flywheel. Cam followers cleaned, lubed & fitted.

u3upuduq.jpg


Engle 110 cam cleaned, lubed & in position. Out of time then.

8adedahy.jpg


Might get an hour in later...

y5e6urub.jpg
 
Having a brew while the permatex goes off a bit 1hr according to packet then torque sequence. Here's we're I'm at

Cam followers and bearing shells in & lubed. Permatex applied

u5u9a9a7.jpg


Left hand ready with cam cap in position..

epedu6a9.jpg


2 become 1 !! The last time for a long time I hope....

ruja4asa.jpg


Ben
 
Bit more progress this afternoon...

Barrels & pistons dry run to check deck height, unfortunately not big enough between 0.010. & 0.012" needs to be between 0.055" & 0.065" so a few barrel shims required...

bepuqata.jpg


Just put the heads on get them off the floor really need to get, some shims 0.050" would be perfect. Hope some traders will have a set at Bristol Volksfest Sunday not holding my breath though.

3ejeruna.jpg


If you see use walking around with our Bulldog Winston (he'll have a union jack bandana round his neck)...please say hello be good to put some faces to you people. Ben
 
Spent some time calculating out for the compression ratio.... As it stands my deck height is 0.010" which is definitely to tight.

Been speaking to Stateside who have been great with my queries.... Gone for a 0.040" copper head shim which by my calculations assisted by this site

http://www.aircooledtech.com/calculating_cr/" onclick="window.open(this.href);return false;

To check results


(1 Cylinder cc + Head cc + Deck cc) / ( head + Deck)
(443.5 + 61 + 8.17) / (61 + 8.17)

= 7.41 : 1

Happy with that. :)
 
0.040" cooper head shims fitted, barrels sealed, heads on & torqued.
Push rod tubes fitted, push rods, rocket arms and valve clearances set.

umygy6ar.jpg


baba2epy.jpg


Next thing is fit the deep sump only slight problem is the studs are to short which is fine I can just fit longer 1's but not the one that has a nut on the inside holding the pick-up pipe in place. The thickness of the deep sump flange is the same as the current length of the studs so they need to come out and fit longer not sure what to do with this one. Can't get a spanner on it so may have to fit a purpose made socket and open up the hole on the sump it's only 1 so not too much of and issue. Or bend the pick up pipe to get to it.... Decisions!!!

e4yga5yp.jpg


Chow for now!!!
 
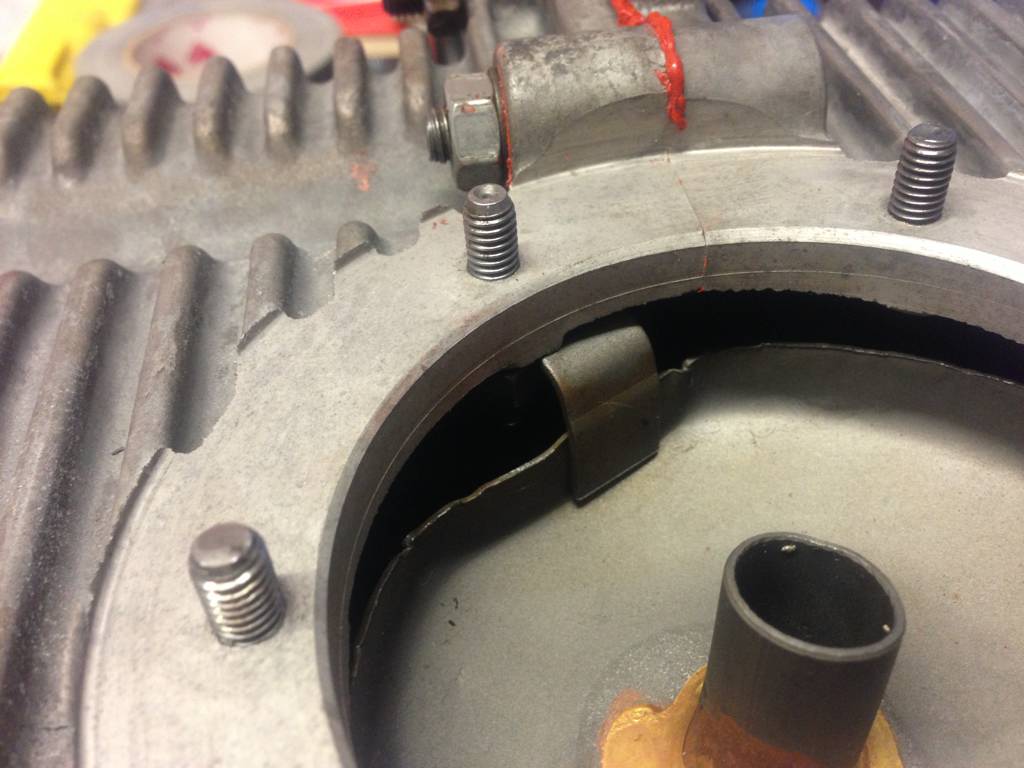
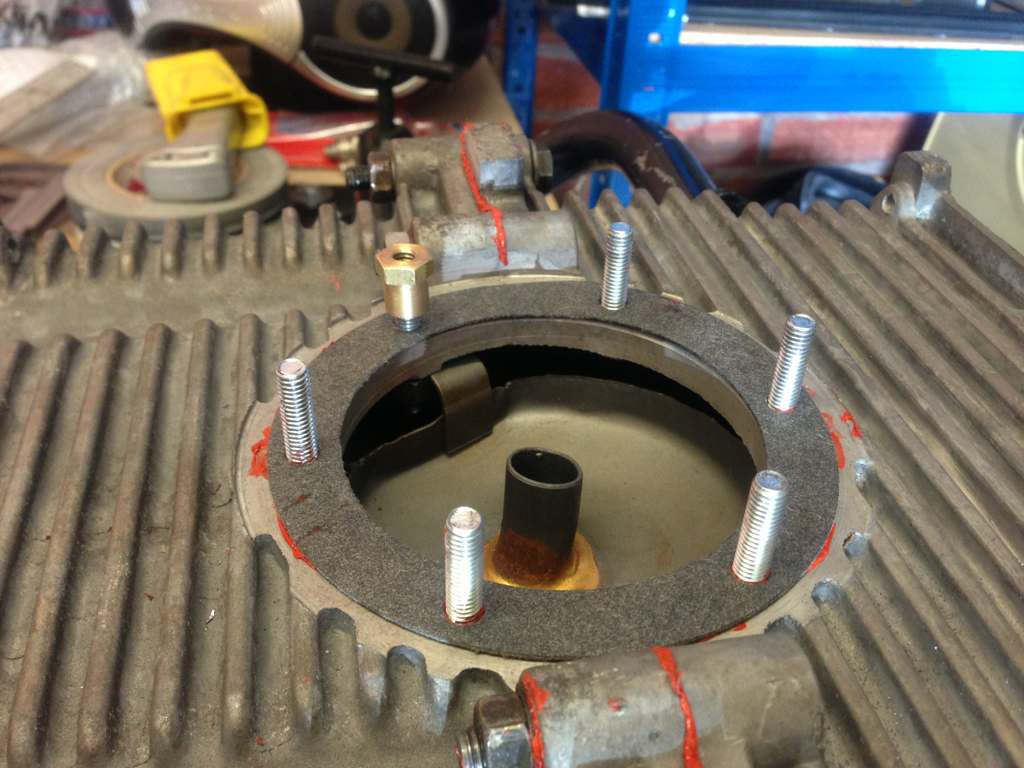
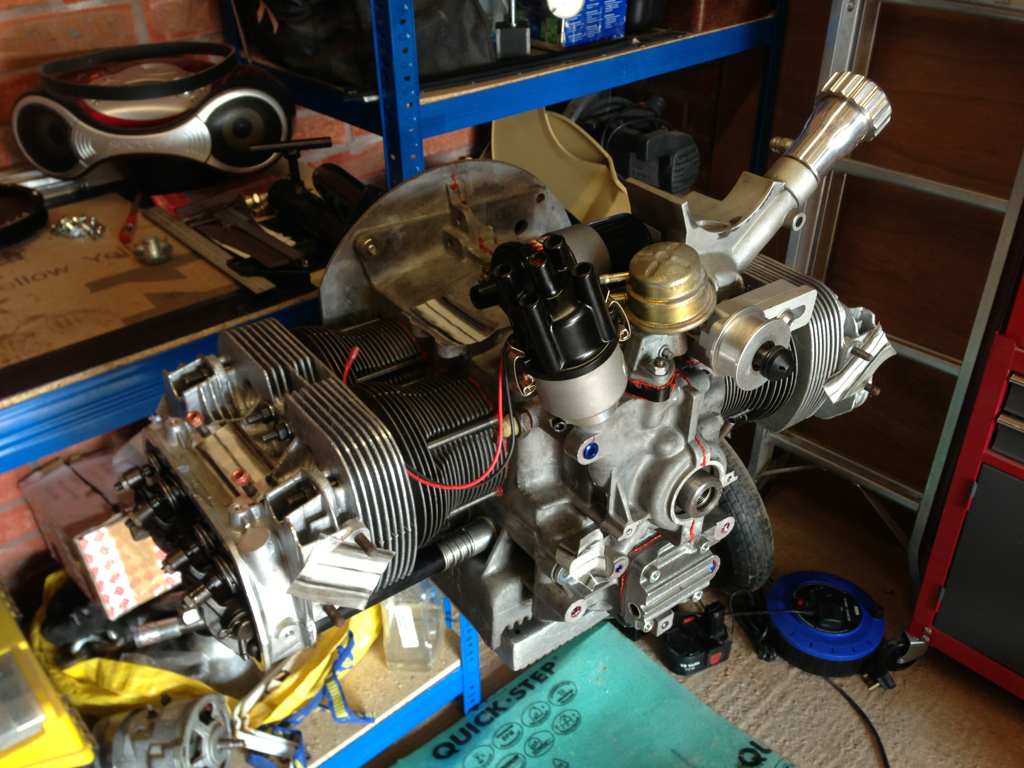
Got the studs removed & fitted longer ones for deep sump, got a socket for the short stud which is used internally to fix pick-up pipe.
Drilled the hole out in the sump to slight clearance of the socket need to find some pipe now to extend pick-up pipe before fitting sump..


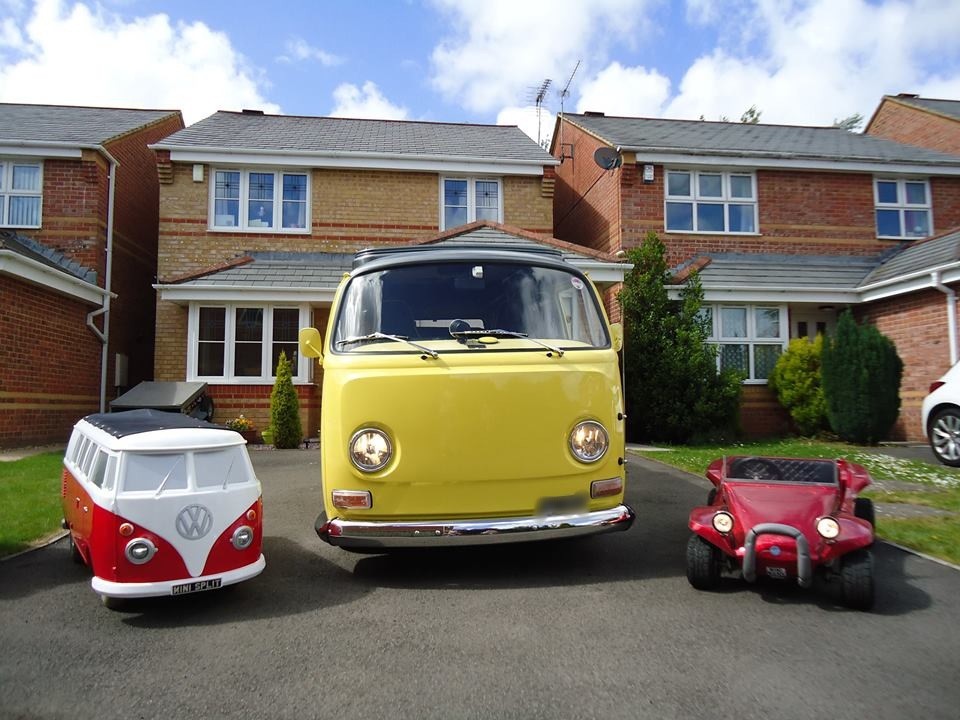
Managed to fit fuel tank in the bus tonight, got 1/4 lights from C&C so will get them built up with seals etc then built up can doors.
 
Been a productive afternoon off nights last night, off til Monday afternoon. Few ciders tonight...

Fitted deep sump, oil pump, alternator stand, fuel pump and coil mounted. Tinware to be picked up Friday. Received my fire suppression kit today, vintage speed exhaust 2mo and vinyl for covering dash, which is being done by my mate Nick.... Update on his mobility split is finished, got iPod dock, speakers, lights indicators the lot it's awesome.. Here's a pic

te7y5ezu.jpg


Hope he don't mind

Here's the motor

udy7emeq.jpg


ne3yhury.jpg


Not sure whether to fit old original oil cooler or I have a new one, what are these replacements like? I'm sure faux had one fail!!

That's enough from me where's the cider!!! ;-)
 
34 ICT main and idle jet exchange...

This is the starting point

nypabapa.jpg


Remove the idle jet, it's the large brass screw top left corner of pump. REMEMBER THE GRUB SCREW!!!

3y6egega.jpg


The jet is the nipple in the end

4y9enuby.jpg


Remove the three remaining screws as one fixes to the filter stack

ypajybah.jpg


This is what you find underneath, together with items removed

myzupumy.jpg


This shows three items
1) Air corrector size 160 underneath Is the emulsion tube. On the joint.
2) Pump exhaust size 40. The shiney lower fitting
3) The main jet size 145. In the centre of the bowl.

epa6u8a9.jpg
 
Unfortunately I was sent the wrong type main jet so cannot complete today
Main jet is unbagged.

e5egubam.jpg


I checked the float settings as below

5mm to 6mm close & 12mm to 13mm open measure from the joint to bottom of float.

e3uzyted.jpg


4u6a5any.jpg


Have set the butterfly valve to 0.008" now I'll have to wait for the mains to arrive..
 
Just had some goodies turn up.....

9a4a7e2a.jpg


With some J tubes, real good quality.

vahevyzu.jpg


Looks awesome, can't wait to fit it. This means I can get rid of my old one.
 
Got the carbs finished, unfortunately studs in the heads to bolt the manifold on were to short so cut some set screw bolts to size and fitted.

tu8u6ete.jpg


Had a phone call all the tinware plus some other bits bumper irons, engine brace etc..will be ready to pick up tomorrow.
So hoping to get some time to finally finish this motor, looking forward to seeing it done now. It hasn't been the most stress free of things I've ever done but I've learnt loads and recommend everyone to have a go, get some good books and read about it first. The proof will soon be in the pudding when it gets fired up, not looking forward to that bit, especially the cam burn. Anyway thats enough from me, Ben.
 
Great engine build 8) . Just completed mine and running it

Looking good. The vs exhaust is a work of art and sound great too.
 
Really shaping up now Ben great thread that engine and exhaust looks soo good !
Think when the mrs sees this bus she will want to get rid of my OG paint Grrrrr!!
 
Thanks guys it nice to get some good comments as these things really push your patience some times. the most mentioned and best tip from other EB guys is when all's not going good shut the garage and call it a day, i found this out the hard after not stopping drilling my case.
There has been a lot of work put in by my friends to Andrew(body & paint) and Nick who does everything else including being a spark which is good. Got the tinware back from my mate Pete @ Napstock customs will get some pics up later. Thanks again Ben
 

Latest posts

Top