rusty old nail to sow's ear

Early Bay Forum

Help Support Early Bay Forum:

This site may earn a commission from merchant affiliate links, including eBay, Amazon, and others.
sparkywig said:
Yes, lid's fine mate. I've straightened the bottom edge and there's a pinhole at the bottom on the inside that needs a blob of weld along with the numberplate holes. Just needs a wipe of filler in those dings along the bottom and it'll be cock on. :D

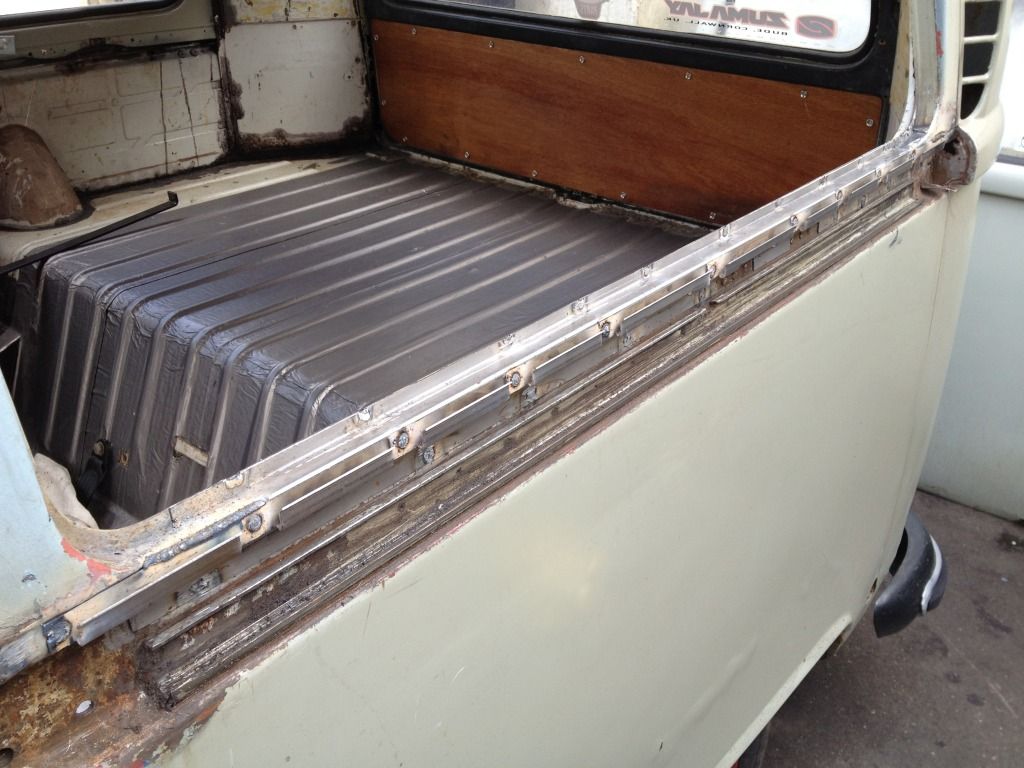
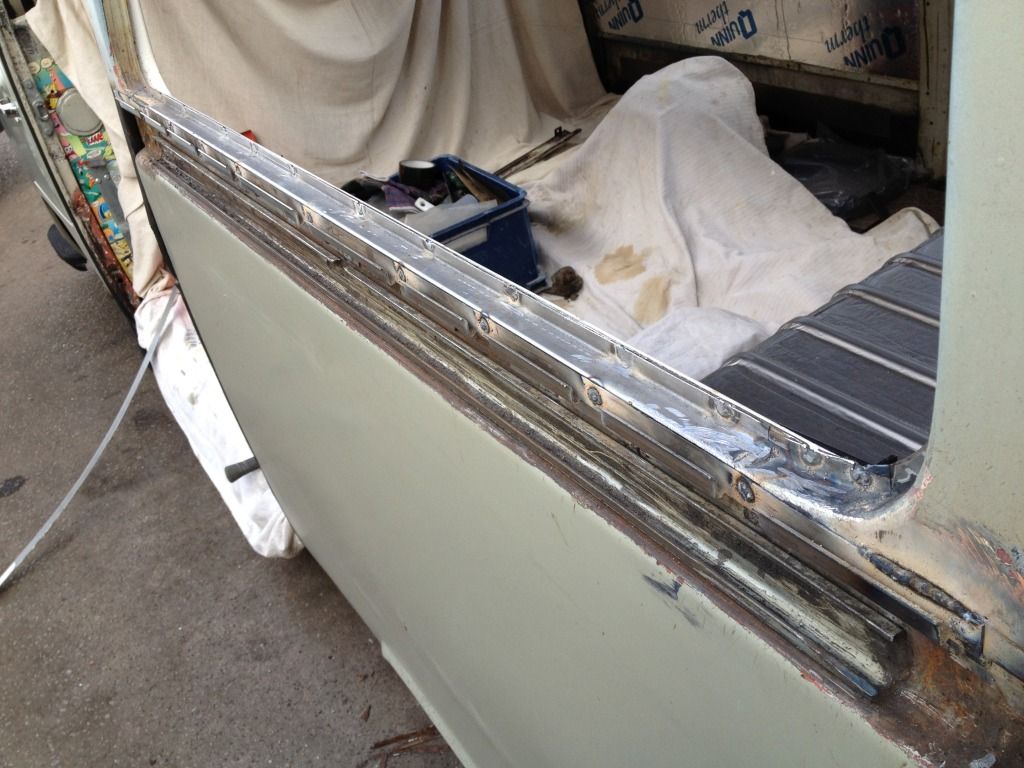
The condensation was all along the side panels both sides of the insulation, and behind the carpet on the engine bulkhead. I suppose I wrung about a pint out of the cloth that soaked it all up.

Thats a result on the lid in my book 8)

As for the water.............thats worrying
 
Having a chuckle about the condensation (generally - nothing personal). I don't understand the wish to stuff your van with it. Wasn't needed in the 70's and frankly with all those single glazed windows anyway I can't see the point... Are we going soft?
 
VkHQW.jpg


MJX9m.jpg


What a difference 4 years makes......


.....and still not finished. :lol:
 
Almost....

OQpSz.jpg


7hqgP.jpg


qo4iF.jpg


FRu4g.jpg


Decided after a bit of consultation, that because TH drop spindles are going on the beam, to fit the adjusters so that the stock height position is central. The last thing I want after fitting a king and linkpin beam is to have the tyres rammed up inside the arches and no adjustment.
I've got that already.... :lol:
 
As the weather was pleasant today I decided to take the sliding door track cover off and reveal the horrors beneath.
Easier said than done though, track cover decided it liked being fixed to the bus so out came the grinder.

LDu6E.jpg


aC2T6.jpg


OK inside though.

RtdnD.jpg


A8clO.jpg


CBuHG.jpg


Overall not as bad as I was expecting. :)
Be nice to be at this stage though.

bnIr1.jpg
 
Part deux...

Repair panels went in very nicely, but a bit of a fiddle at the back end.

FejYP.jpg


neNSa.jpg


FDowK.jpg


Q3ELb.jpg


Bit draughty coming home up the motorway, but it was a nice day and the heat exchangers are wired fully open.
Then spent the rest of the day trying to get the many coats of paint around the window ready for some colour, quick swipe of filler and cover on ready for the bad weather forecast for tomorrow.

UAahb.jpg


EUVlN.jpg


Time for a cider or three now. :D
 
sparkywig said:
Part deux...

Repair panels went in very nicely, but a bit of a fiddle at the back end.

001-65.jpg


002-80.jpg


003-77.jpg


004-65.jpg


Bit draughty coming home up the motorway, but it was a nice day and the heat exchangers are wired fully open.
Then spent the rest of the day trying to get the many coats of paint around the window ready for some colour, quick swipe of filler and cover on ready for the bad weather forecast for tomorrow.

005-50.jpg


009-24.jpg


Time for a cider or three now. :D

:D looking good mate, would have loved to have seen you going down the motorway window less :lol:
 
You're the only one to notice that Ash. :lol:

Not too bad with only one window out, when I drove it down the motorway with the perspex removed from the hole in the roof it nearly blew the rear hatch open.

Weather conspiring against me today, so only got a rub down and a coat of hi-build primer on. Not too keen on this new stuff that I've been supplied, needs another rub back before top coat.

l8dyU.jpg
 
sparkywig said:
Thanks Shaun. It'll look even better when I can get all the panels the same colour.... :lol:
Why on earth would you want to do that?!
Your bus is cool as it is mate 8)
 

Latest posts

Top