Working on our 71 Devon

Early Bay Forum

Help Support Early Bay Forum:

This site may earn a commission from merchant affiliate links, including eBay, Amazon, and others.

woz

Well-known member
Supporting Member
Joined
Nov 13, 2012
Messages
261
Reaction score
0
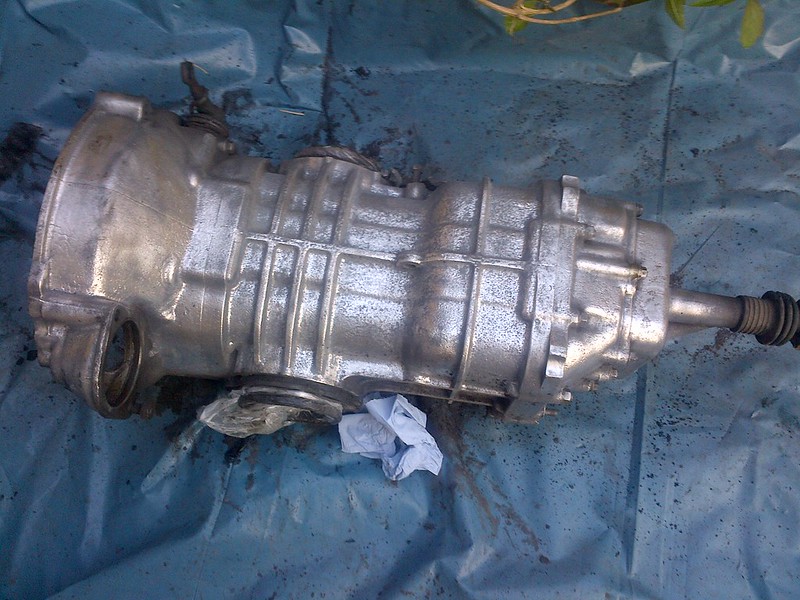
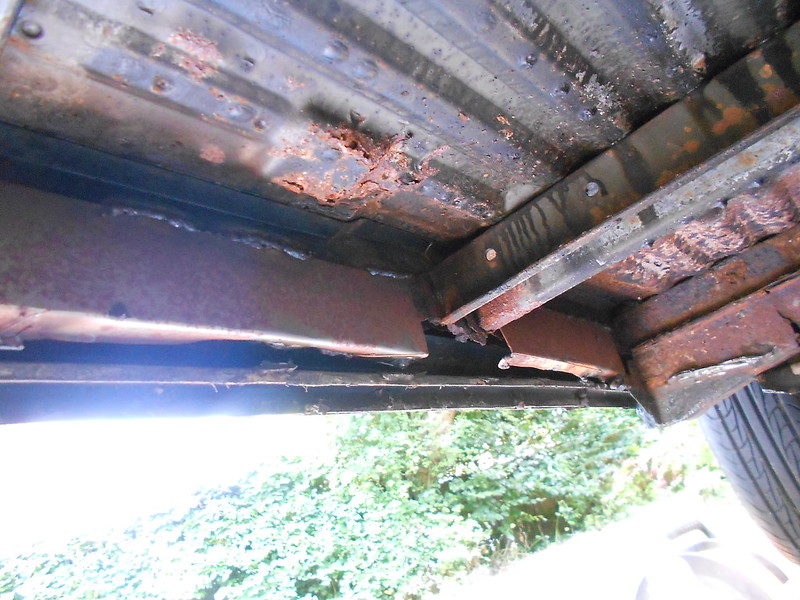
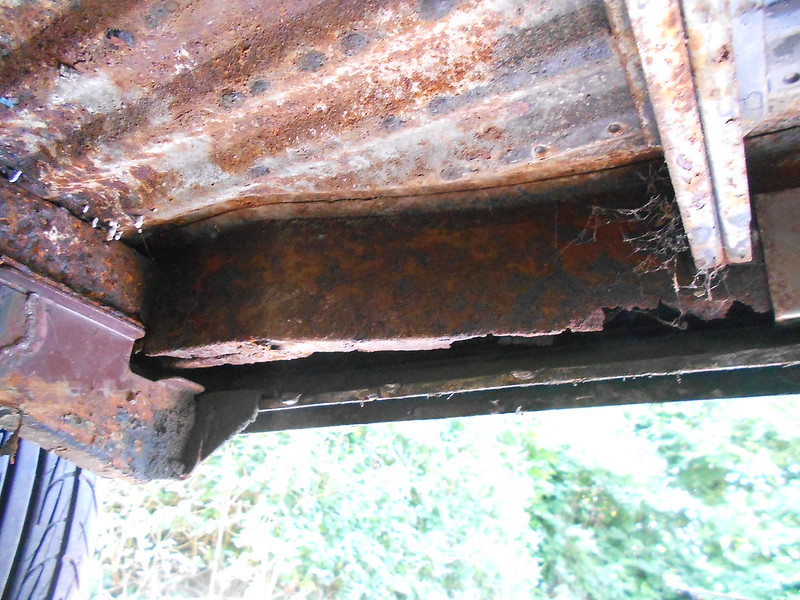
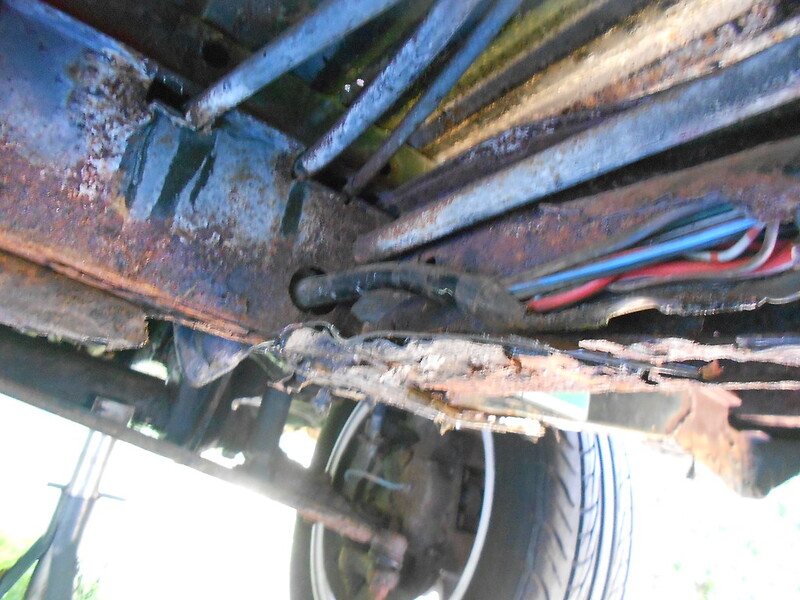
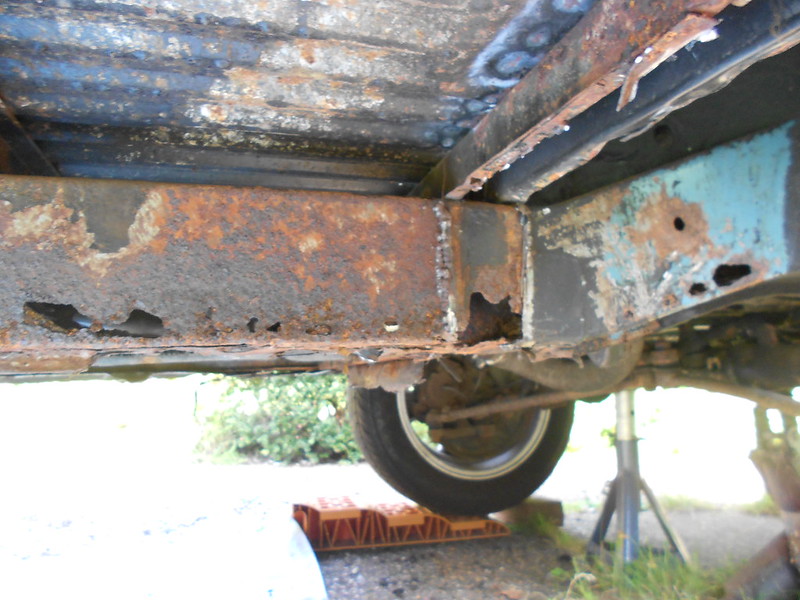
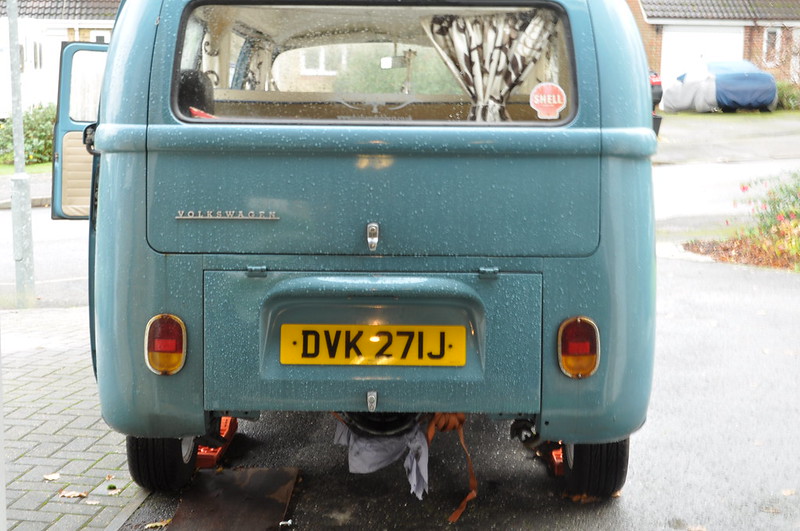
Following on from my hello thread yesterday (thanks for the comments and warm welcome) I said i would start a thread of the work i have been doing to get it on the road and reliable.

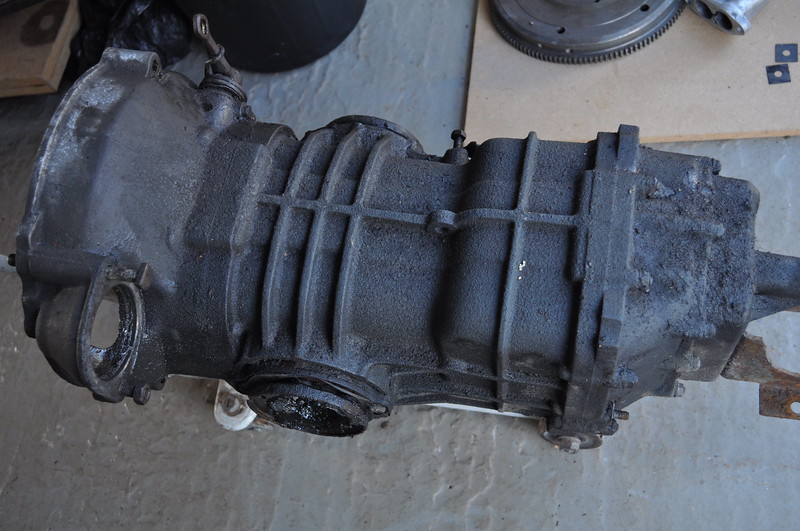
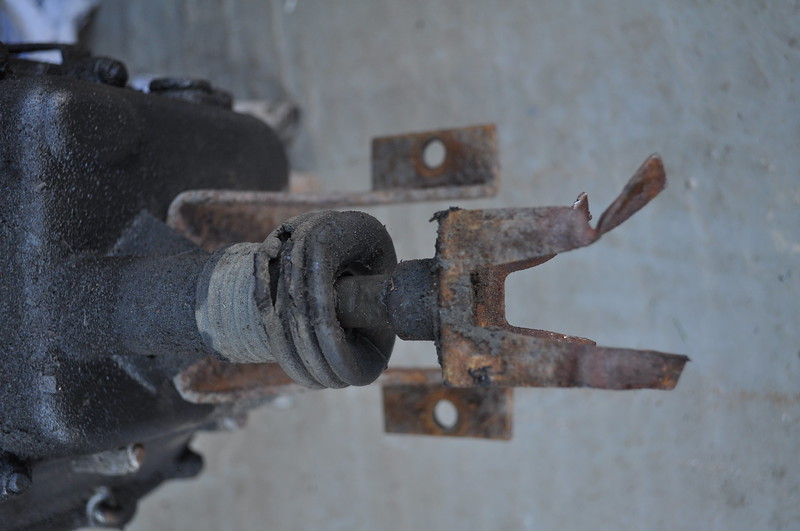
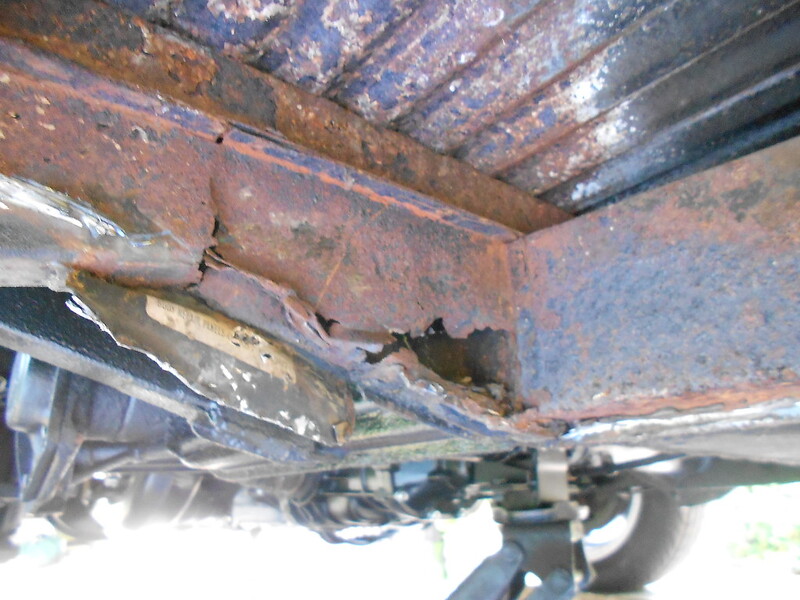
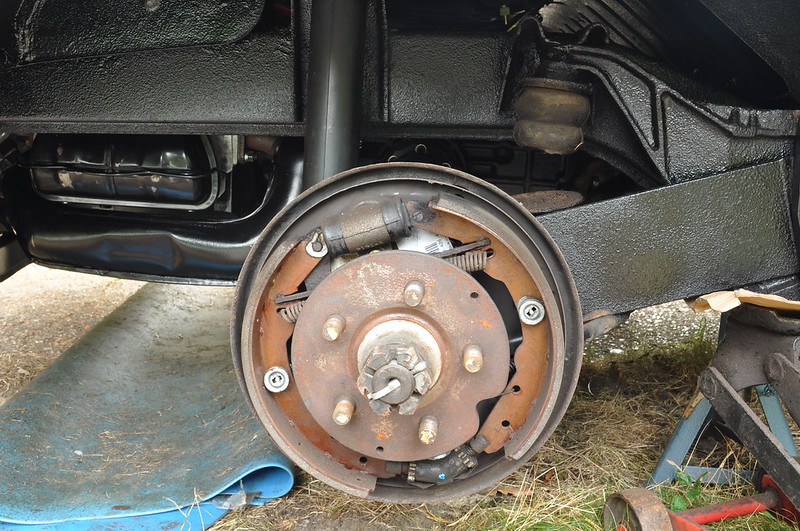
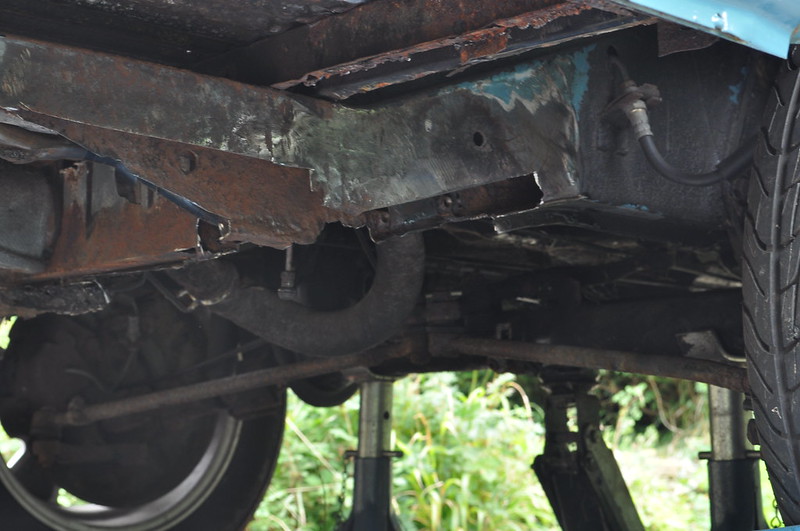
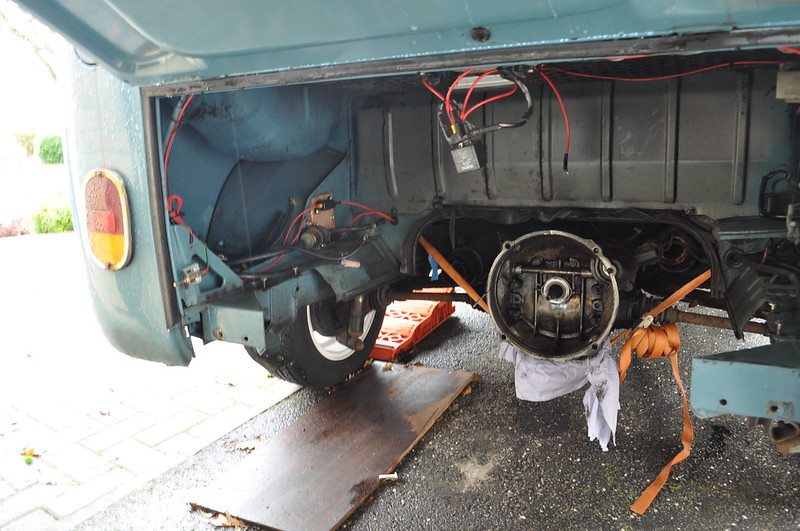
When i bought it the PO told me about the end float, and he wasn't wrong! so first job was to remove the engine and see what was going on. this is the first VW i have owned and never had a go at any major engine work before but just fancied trying to sort things myself as much as i could and have a friend that knows all things air cooled to help. Anyway cant be any more difficult than working out how to post pictures! (easy when you know)

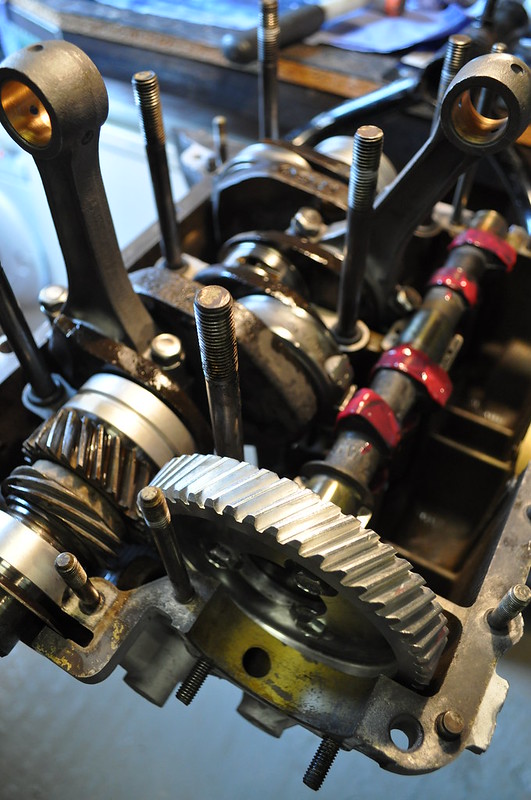
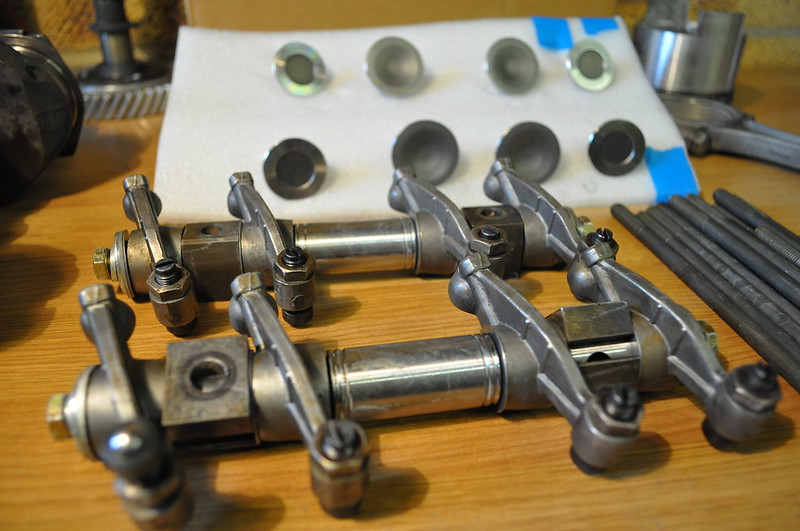
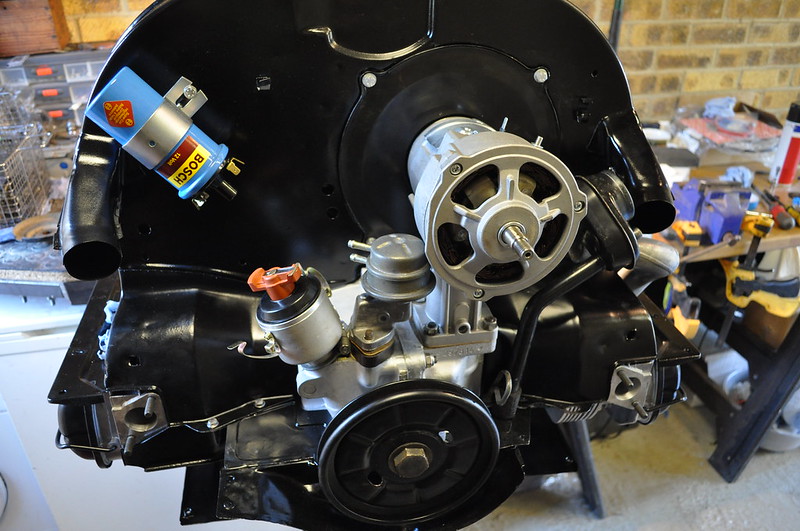
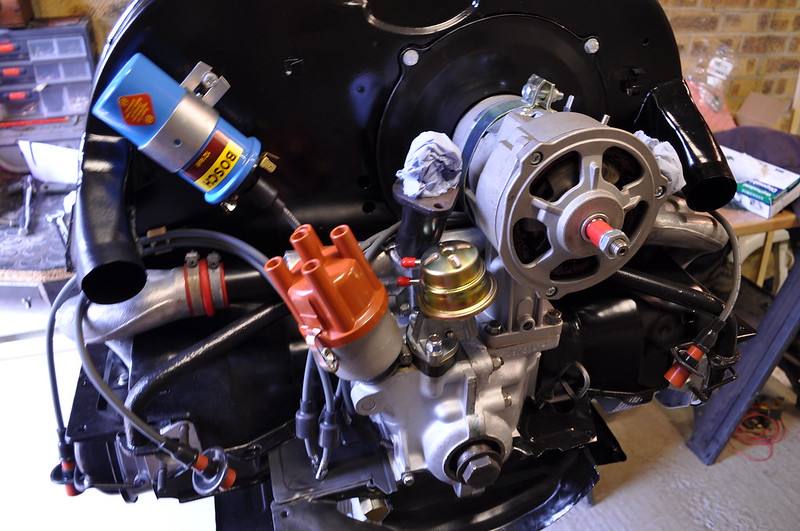
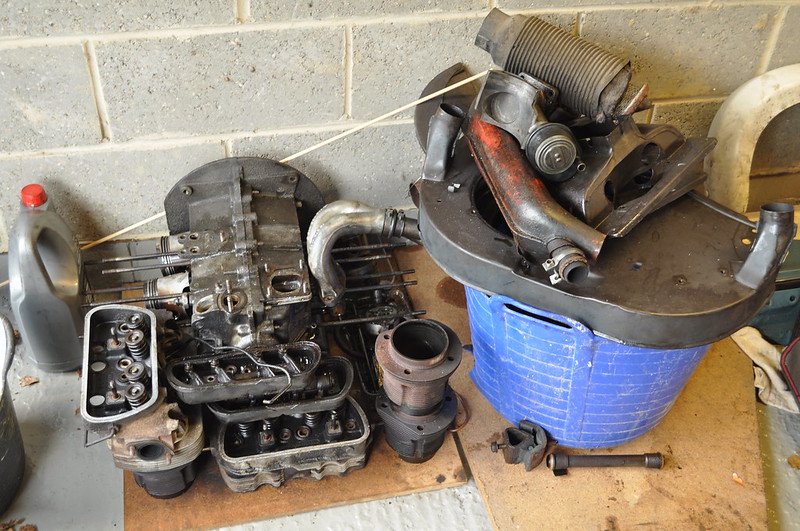
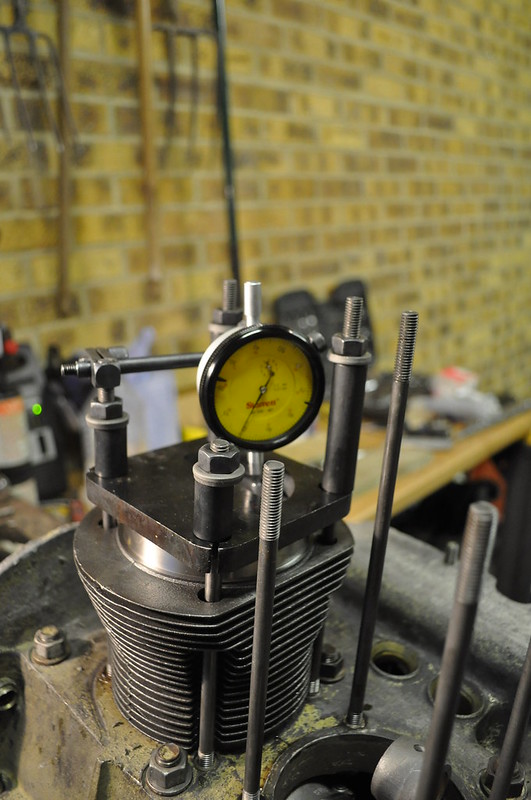
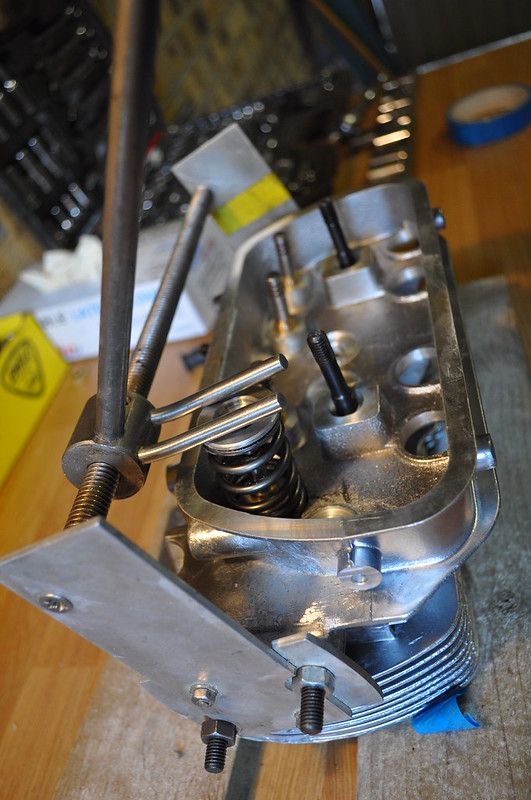
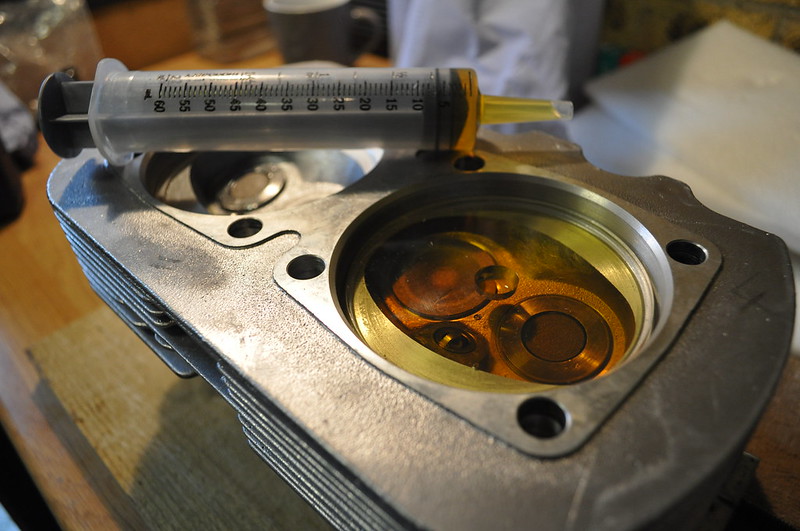
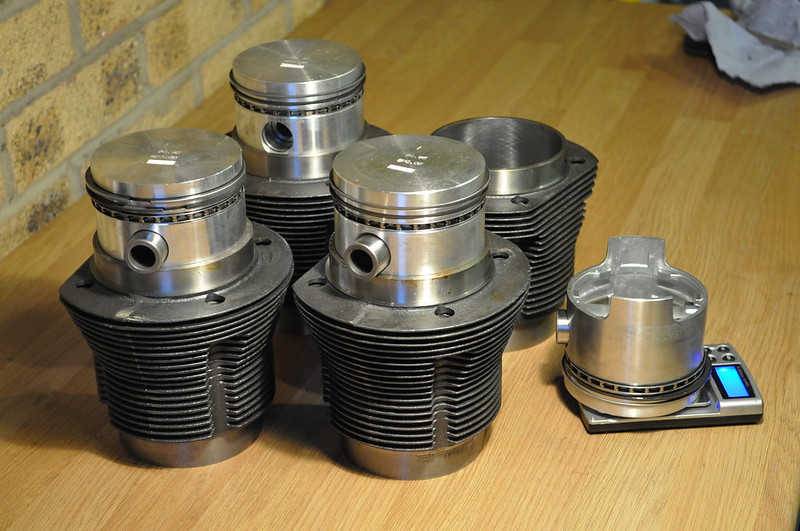
The more the engine came apart the more the scrap pile grew, it seemed a shame as i think the engine had a lot of work done on it but one of the rocker cover gaskets had been put in badly (very) and this must of lead to it overheating badly. i had been given a spare case which i took to the engine shop and had align bored and whilst there i asked them to sort it for full flow. i was going to build a 1641 as this was my first go thought this would be best.

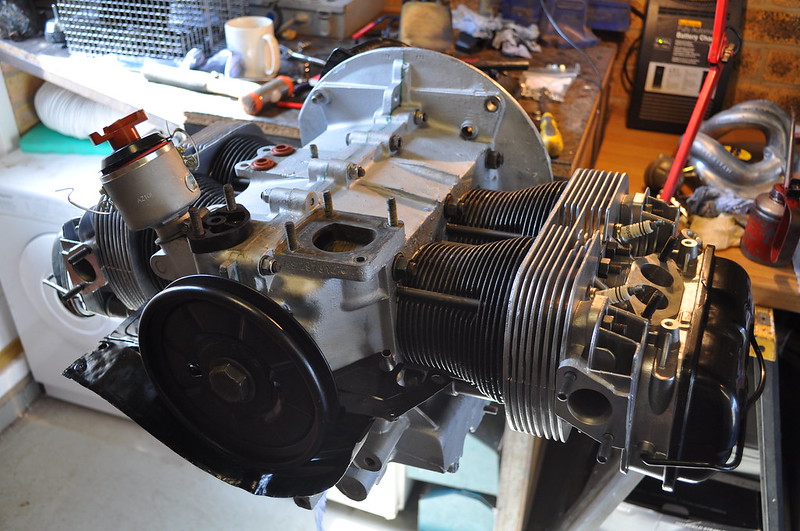
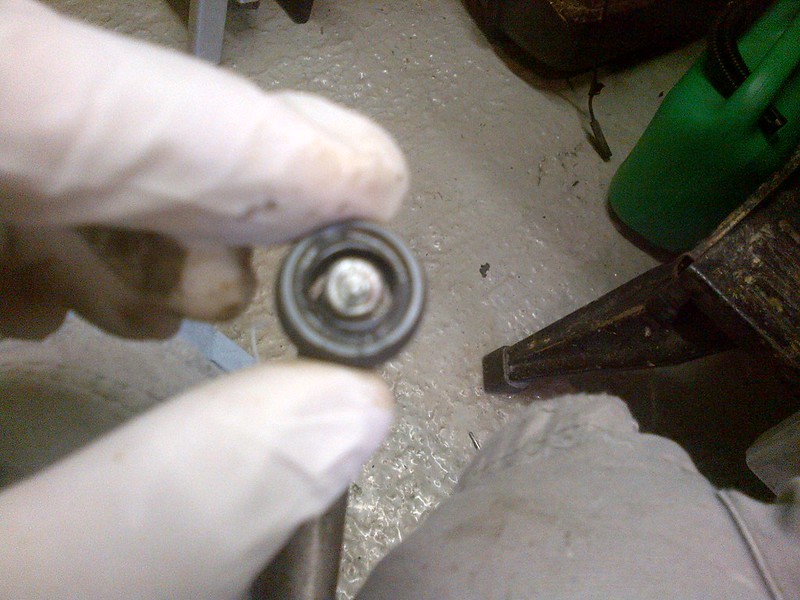
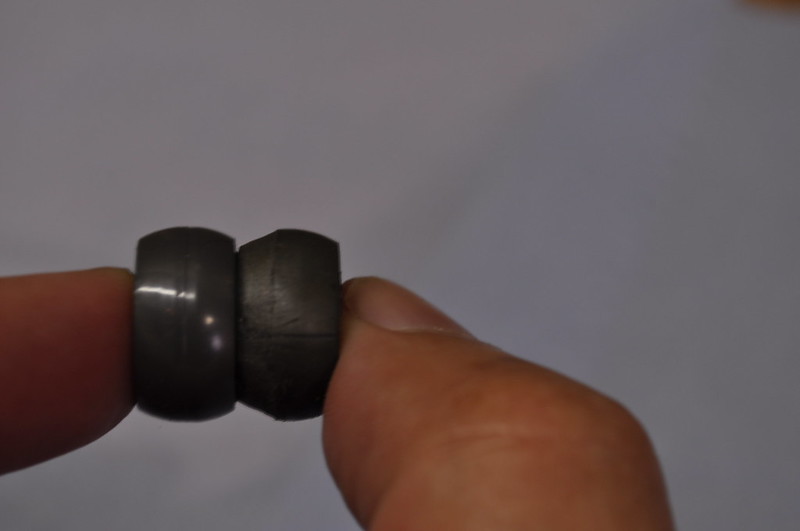
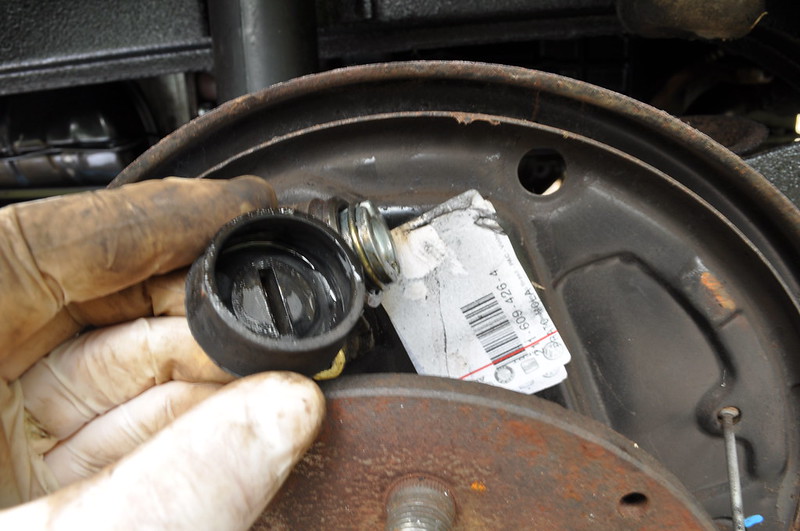
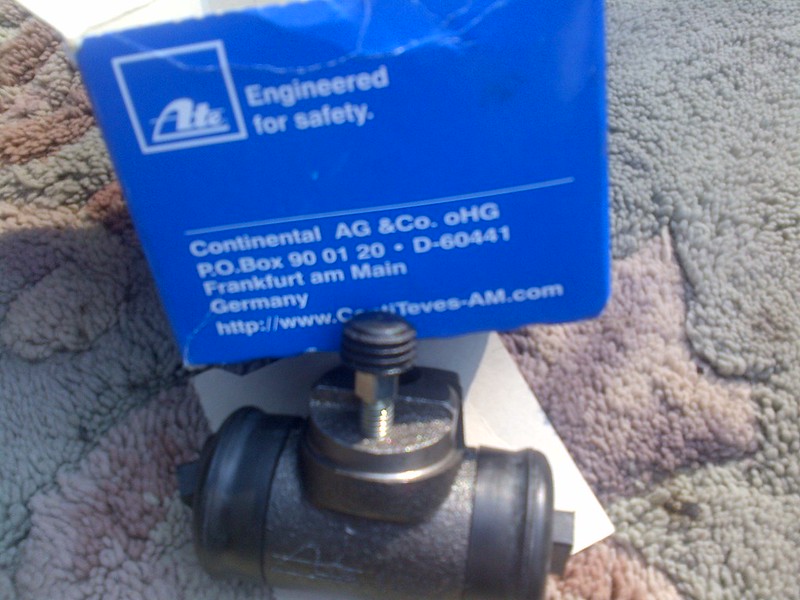
Here are some pictures I will post more of the build over a few days as it takes a while to do each time. quality of pics is not great and some have been taken on my phone, but gets my thread started.

9523969954_edd28a6070_c.jpg


9523985318_26c0a45888_c.jpg


9523977882_d50e8a8e24_c.jpg


9521175217_319d44c108_c.jpg


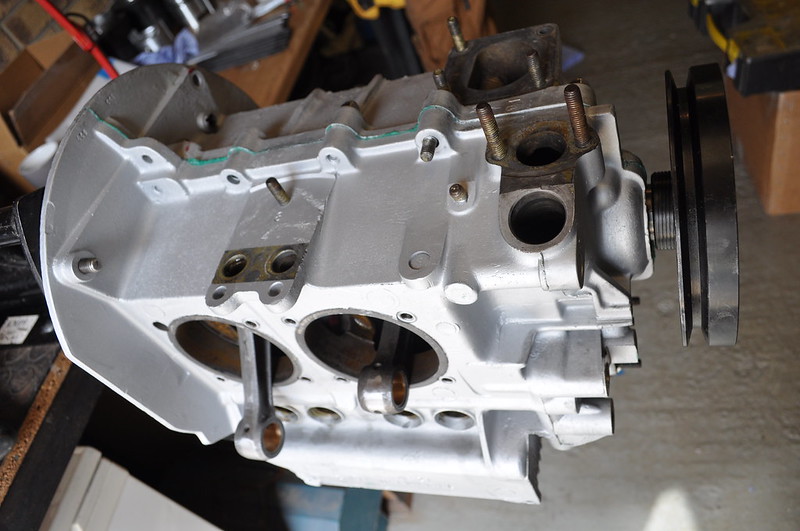
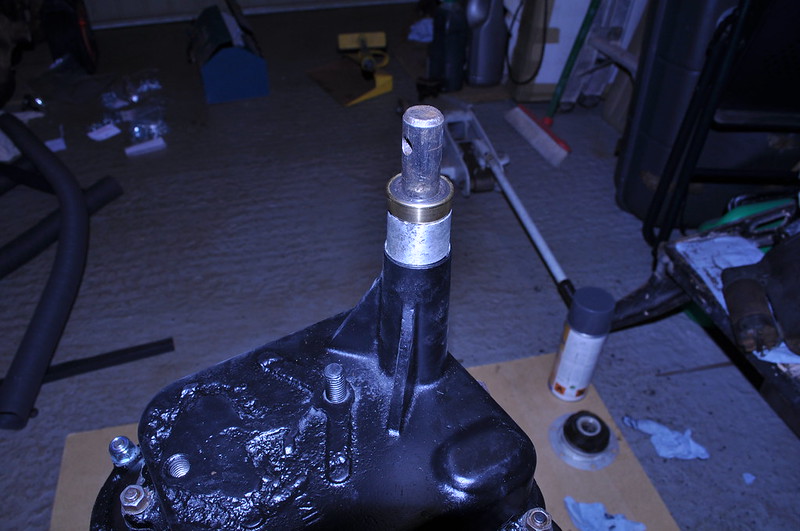
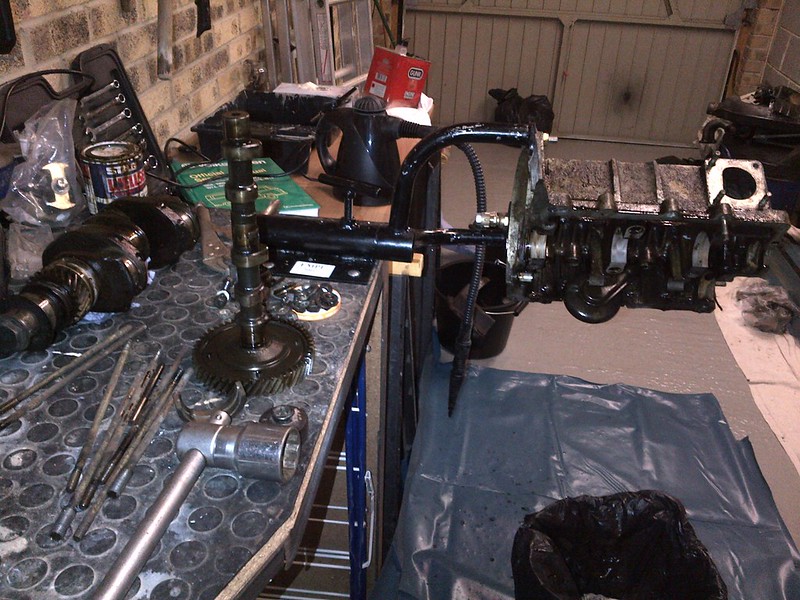
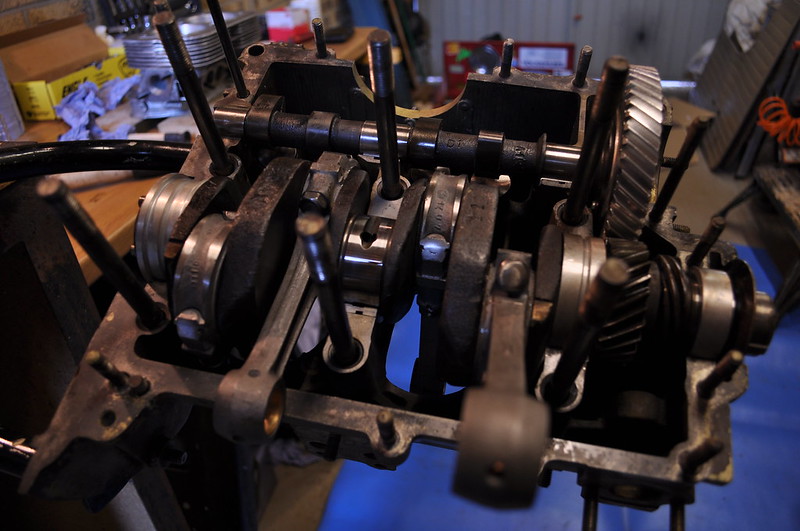
This is the case after i got it back from align boring

9521165917_ea9524befc_c.jpg


9521157093_27ec372fa2_c.jpg


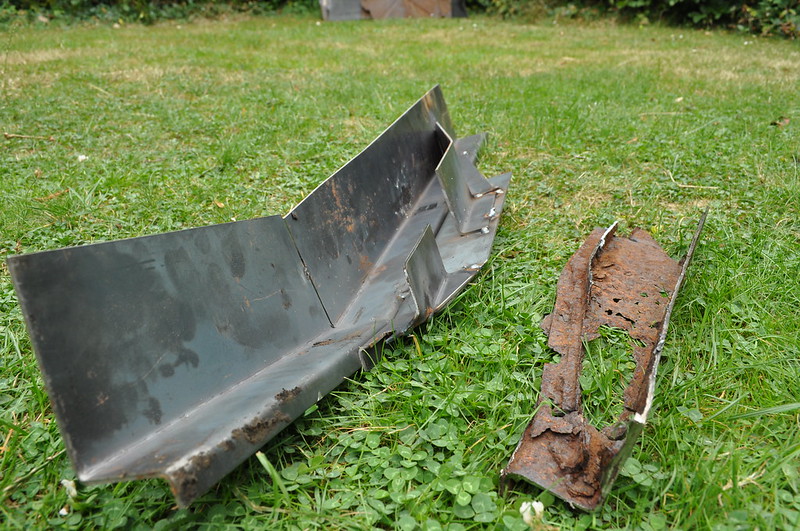
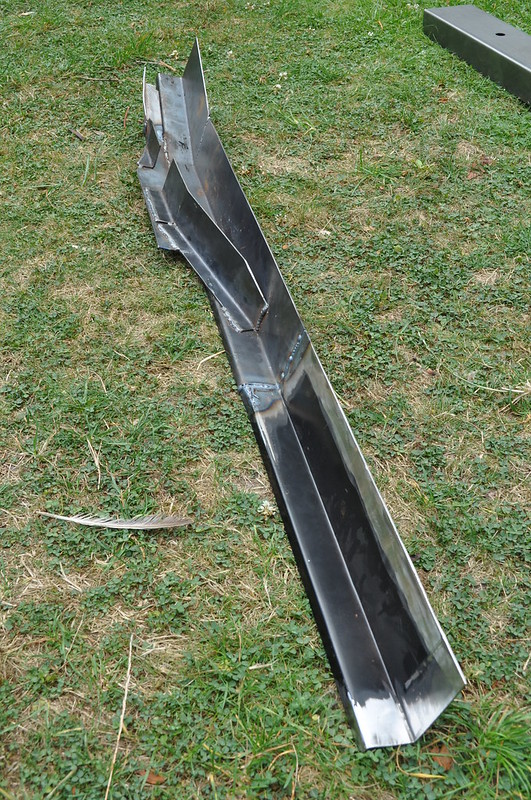
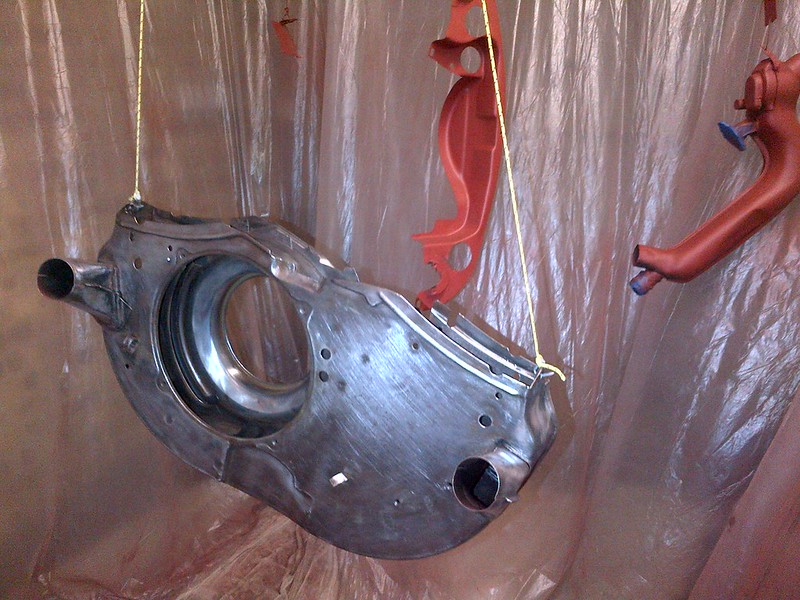
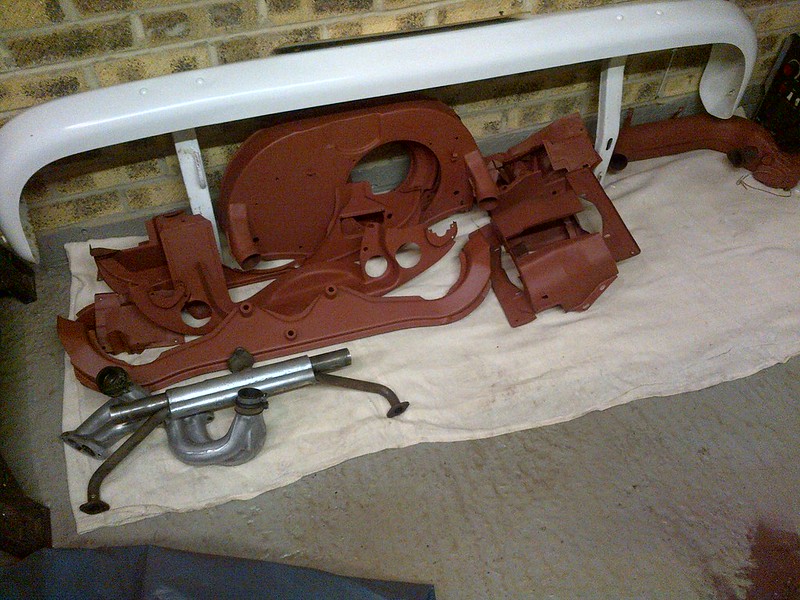
Started to try and make the tinware look a bit better, just having a go in my garage so took forever and next time im going directly to shot blasters.

9521155105_0d4a554c39_c.jpg
 
Started to put things back together so that i could take some measurements, deck height and the cc of the heads. I'm not sure if this was totally required for my small engine build but got to say i really enjoyed it and started to understand the engine. May be useful if i build something a bit bigger at some point :msn4:

Also weighed the pistons to get them all the same weight. wish i had gone for slightly/a lot better quality as they were 15g different which was a shame but managed to remove some material and get them closer.

pushed the tinware on a bit more, have a friend thats going to 2k it for me.

9546895070_70746188ae_c.jpg


9546879036_7a10d65877_c.jpg


9546867768_017a275fa7_c.jpg


9546852976_b583c030ea_c.jpg


9546841644_7fefbc0290_c.jpg


9544038857_88d4ded194_c.jpg
 
cubamiller said:
:lol: Nice valve spring compressor, Who made that !

Thanks Mr Cuba and thanks for all your help :D

LaineyW said:
Nice progress :) Keep the pics coming!

Lainey

Thanks Lainey, will try and keep posting pics but have to say it takes a while uploading and sorting them out

Anyway heres a few more

9552383145_b18191ba6b_c.jpg


9552396247_84232009fc_c.jpg


9555161948_8ef5e19cee_c.jpg


9552334677_5cc60bc40b_c.jpg

Decided at this point i would remove the gearbox as i wanted to change all the bushes on the linkage and put a new ball in the nose cone on the hockey stick
9552361755_b96fcb4f07_c.jpg

Getting the box out was a pain. at some point the scew on the bottom of the cage had been welded on. and the seal was damaged because there was a self tapper through the floor into it :shock:
9552345805_515bf2700e_c.jpg
 
Cracking job on the engine :D
Great when you have the right tools wen working on the engine.
 
gninnam said:
Cracking job on the engine :D
Great when you have the right tools wen working on the engine.

Thanks - ye i have been lucky and been able to borrow any of the tools that i didn't have

Here's a few more pics of progress, this work was carried out a few weeks ago just takes me ages to post!

Engine nearly there
9762953992_c886cdd539_c.jpg


Changed the fuel pump to fit with alternator
9762875161_efbeedf9db_c.jpg


Cleaned up the gearbox
9763083874_69df2ef16d_c.jpg


Whilst the engine was out i wanted to replace the ball in the nose cone, not the clearest photo but gives you the idea of how bad the wear is, imagine the play by the time you get to the top of the gear shift :shock:
9763082225_8a36b2c995_c.jpg


9763227143_bf5a860fc4_c.jpg


9763148004_21ca573e9a_c.jpg


Put new bush and seal in
9763139564_3ca5fedf68_c.jpg


Replaced the gearbox oil seal, not sure if this is the right way to remove the old one but seemed to work ok
9762909671_c4f4d6ae05_c.jpg


9763112986_eff1dbd106_c.jpg


Gearbox sorted and ready to go back in
9763111395_9cb80a2baa_c.jpg


A friend let me this ultrasonic cleaner to clean all the engine parts
9762966762_1d59789375_c.jpg
 
Ryanmck1984 said:
Great work!! Keep it up 8)
68_early_bay said:
Great work on the engine and box 8)
Thanks for your comments really appreciate it.

A bit more of an update.

some welding was required and our drive is on a slope and it wouldn't be safe to jack the bus up so decided to move it to my parents house.
10059700163_6609e8d3c5_c.jpg


10059623306_074abd6637_c.jpg


Tidied up the engine bay and sprayed some paint about
10059571195_64cd037f48_c.jpg


i had completed the welding which was anything from the back of the belly pan back to the engine bay that needed doing. i then Shultz that area must of been focused as i didn't take any photos.

re installed the gearbox and engine
10059665643_5081e55aef_c.jpg


bought hoses for the remote oil filter
10059653523_4c3bb45518_c.jpg


10059500934_6996451585_c.jpg


The engine ran straight away but badly, took a long while to work out the brand new 009 distributor was very badly manufactured the electronic ignition was fitting poorly to the center shaft. My friend lent me his 009 from his beetle and the ignition fitted perfectly.
10059594393_3667f945c5_c.jpg


Started to sort the electrics, it's really strange but when i bought the bus i'm sure it all worked!
Installed this split charge system that a friend bought me as a present :shock: nice friend! by the way it's not screwed to the battery, i stuck some timber to the battery and then screwed it to that.
10059512924_c620f07280_c.jpg


10059475584_0b52a7ec8d_c.jpg


spent ages sorting out bits like this
10059551086_27309585d8_c.jpg


This is my daughter Lottie re-wrapping the cables, she is 7 and will do anything to be out there working on it with me.
10059453174_dc7688013e_c.jpg


This is her again trying the bumper iron bolts in before fitting the bumper. she insisted on wearing trousers with holes in the knees :lol:
10059558153_a7033b6e18_c.jpg


Best put a photo of Ruby who is 5 up or i will be in trouble :? she was helping tidy things up
10059441204_b988f21083_c.jpg


nearly up to date now but next up date will show what happened when i took the belly pans off :shock: :shock:
 
So far i have found a few bits that needed welding and just put plates over, that was about to change! i keep thinking i should have a look under the belly pans so i cut them off :shock: i think the center one was original but the side ones had been replaced, took quite a long time to cut them off and tidy all the edges up. once i could see what i was dealing with it took a minute to get my head around it and then i realised i could now sort it and be confident that it would be sound.

So Chasis repairs both sides both inner sills jacking points outriggers and one crossmember (happy about that as i had previously patched it and it was a rubbish repair) + a few other small repairs including the conduit that the loom runs through where one end had completely rotted.

Ordered some new metal and started cutting. if your reading this and you still use thick cutting disks don't, buy the 1mm ones they really make the job easier

Here are a few pics

10075047024_57322cb45b_c.jpg


10075096316_01d911d49f_c.jpg


10075222803_192d3acbff_c.jpg


10075110935_4df51250fa_c.jpg


Any thoughts on this previous repair? Why would you do that?
10075193363_4fe3d211f7_c.jpg


10075103805_9cda785e2b_c.jpg


10075109836_f19fb1501f_c.jpg


10075164953_a2512262d7_c.jpg


10075179403_b7835c8f14_c.jpg


10075089246_b4178eaabe_c.jpg


10075096914_00bfefaec4_c.jpg


Couple of photos above the gearbox after scraping most of the under seal off ready for wire brushing before Shultz cant find the after pics though
10075108194_0b3d5ce584_c.jpg


10075196996_1b17de2534_c.jpg
 
Looks a bit messy.
I hate belly pans - on UK buses they tend to hide rusty chassis parts :evil:
 
68_early_bay said:
Nice work 8) belly pans are a real nightmare sometimes :( I'm not looking forward to the day I have to take mine off :shock:

I totally agree ! Nor am I :?
 
Thanks for all the comments. The belly pans had been bugging me once i got them off at least i could see what i was dealing with and sort it out.

Had to change both rear wheel cylinders, asked the question about best buys and where to get them from in the technical section. Very helpful responces this is a great platform for getting help!

Any way here are some photos of brake parts

10273110283_6ae21dd236_c.jpg


10272931096_ff8a9732e4_c.jpg


10272902916_a828dbff21_c.jpg
 
So with the belly pans off laid into it with a grinder and started cutting out the rot, tried to think about it to make life easier when it came to putting the new metal back in.

bought a chasis section and then fabricated it to suit the section that i was trying to repair, took my time and was really pleased with the result.

10273581835_8d0396b451_c.jpg


10273643003_41e64e86bb_c.jpg


10273560943_268c8a1662_c.jpg


10273329714_303d81c886_c.jpg


10273687436_d981471bce_c.jpg


10273654136_014d10e53c_c.jpg


10273627325_942b54feb6_c.jpg


Tacked some new bits in which was a result, need to make up some new flanges for the I beams

10273479023_0e852eab8f_c.jpg


10273335836_52de587ece_c.jpg


I'm going to replace the rear cross member so cut some of the floor out so that i could get to it

10273416494_bc4b9df10b_c.jpg
 
Went to Brighton Breeze we live near Eastbourne so not far for us. Couple of Pics

10274324585_6f5ed7c613_c.jpg


10274304295_6752a44f0c_c.jpg


10274179054_7c10ecffcc_c.jpg


10274246915_de05a268bb_c.jpg


10274185046_53b62c4546_c.jpg


10274073164_72f3cf25b8_c.jpg


10274113846_de1bc6e3c1_c.jpg


Girls loved the day and hopefully gave them an idea of what its like to have a camper on the road. Until then they seem content wearing their new Hayburner hats.

10274017974_bc1bfe9377_c.jpg


10273997474_f0cd3cb5ce_c.jpg


10274045646_5edac8830b_c.jpg


10274017316_346680486b_c.jpg


Fantastic day out got to speak to some nice people and see some epic vehicles!!
 

Latest posts

Top