1967 Neptune Blue Deluxe

Early Bay Forum

Help Support Early Bay Forum:

This site may earn a commission from merchant affiliate links, including eBay, Amazon, and others.
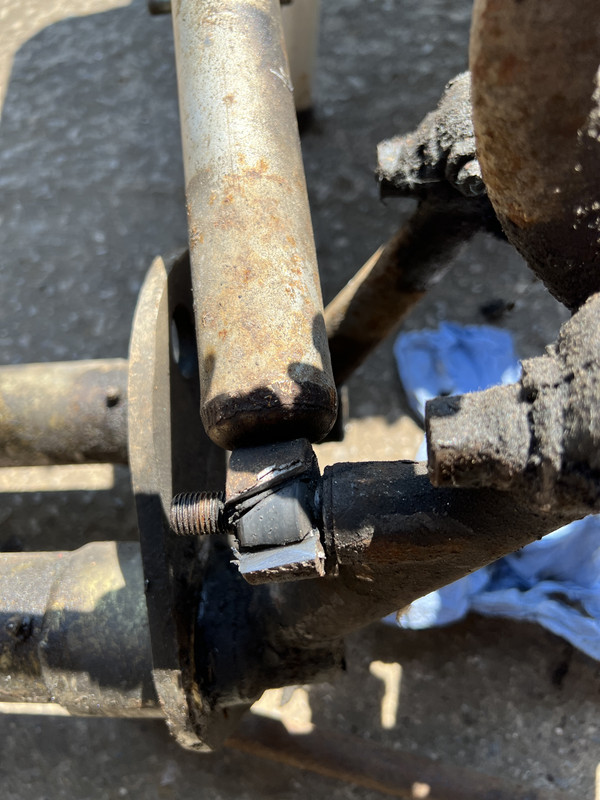
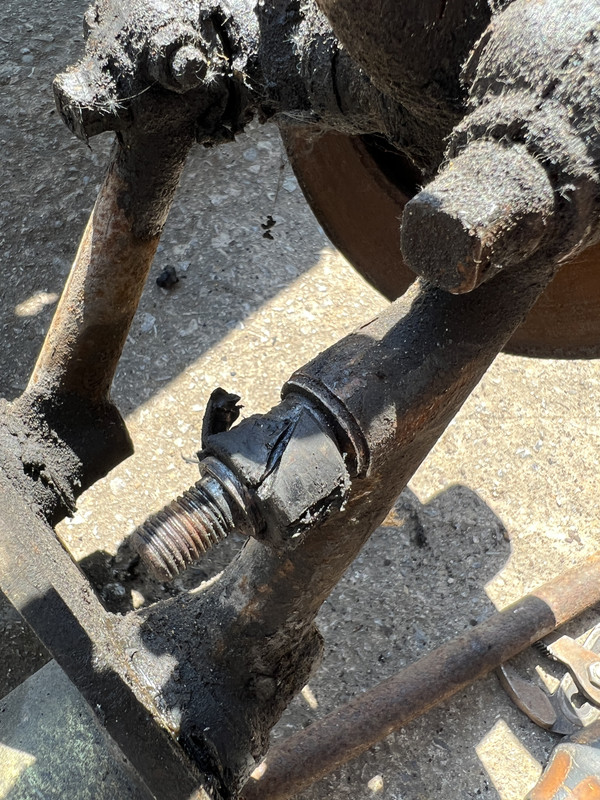
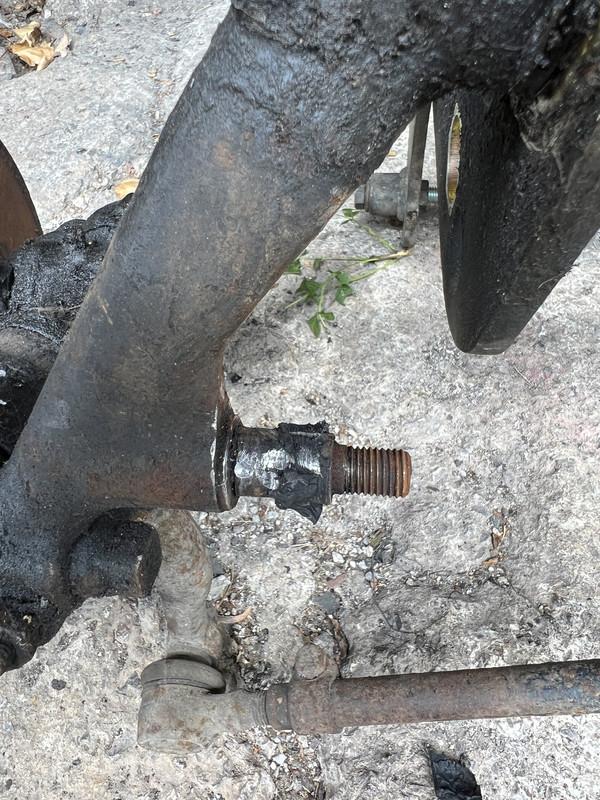
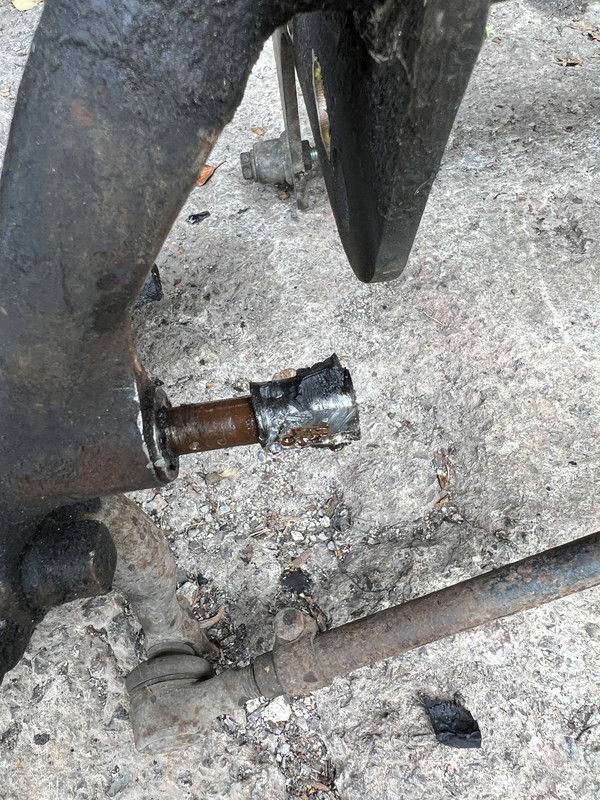
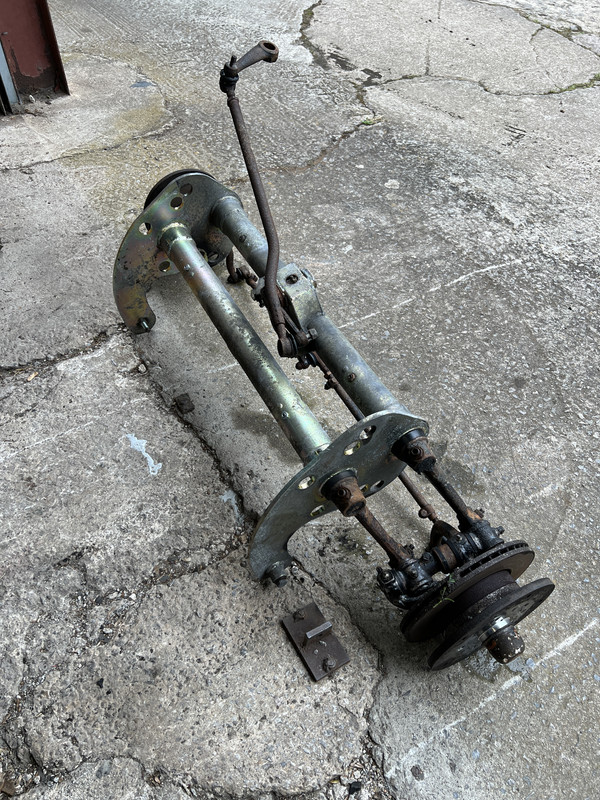
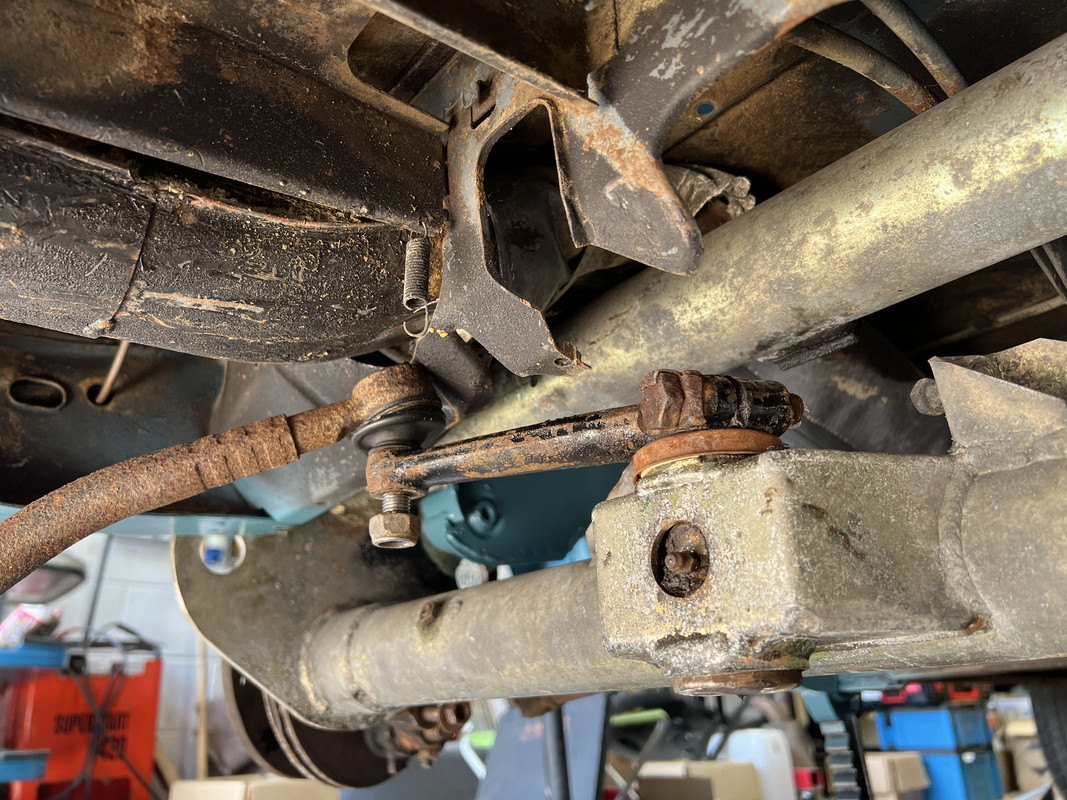
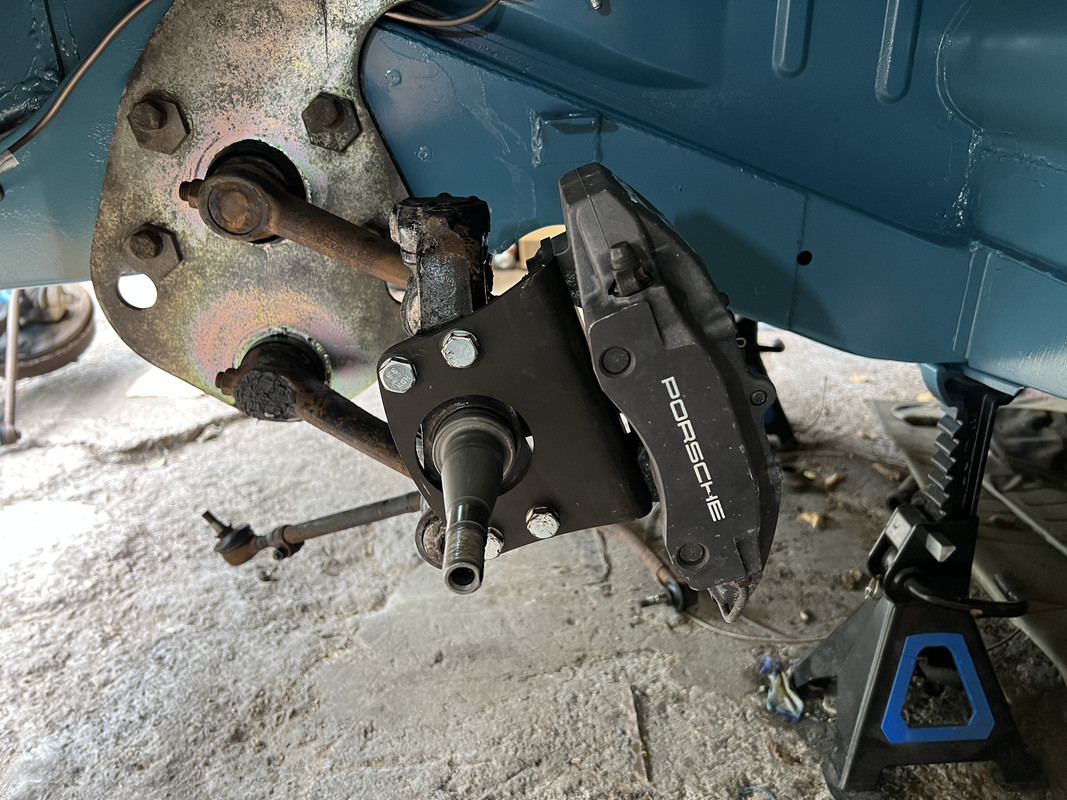
Coming together nicely, you know you'll need all those steering couplers within a year or two as they are utter shit lol

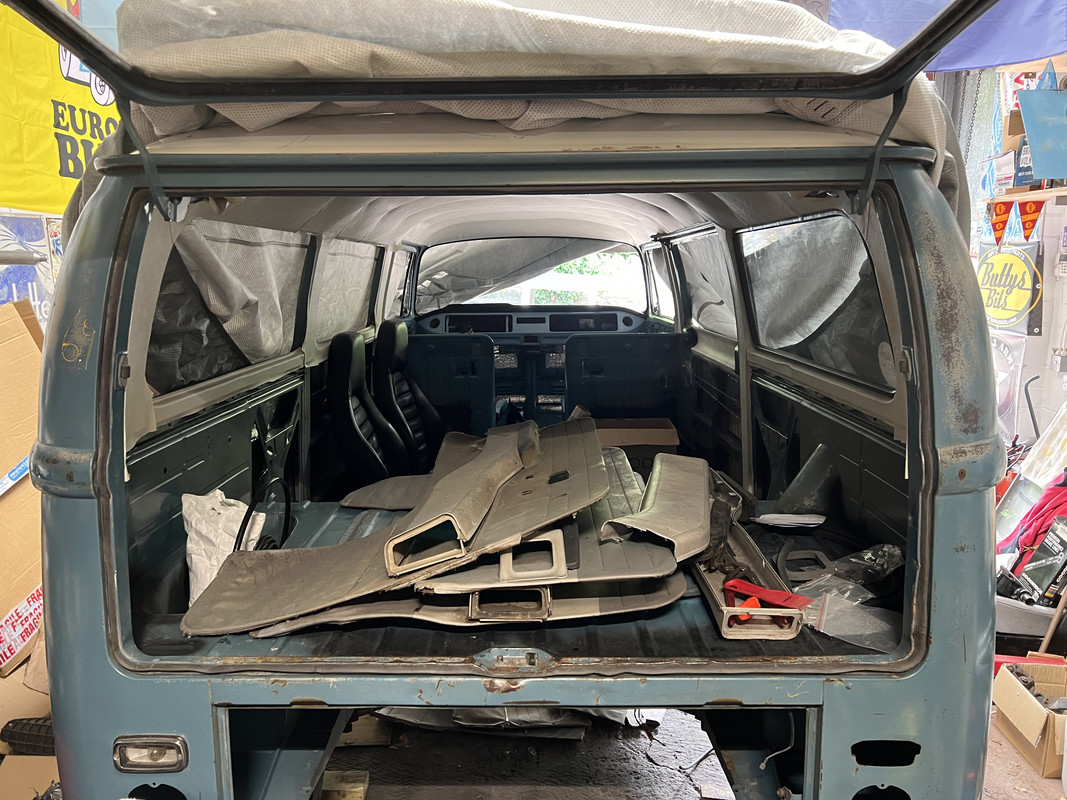
You are brave going with the quarter windows.......Plain glass for ease of fitting any day of the week lol
 
So, a little more progress.
Spent a couple of hours fighting the seized shock mounting bush on the lower trailing arm. Had to cut the shock off and leave the bush attached to the stud. Lots of heat, quenching, drilling and general swearing.


Gave the beam a degrease and pressure wash after so it's ready for a bit of disassembly and fitting to the bus.


Electrical and water connections to the washer tank, and refitted.


Then had to dismantle the steering column bracket and loosen the dash fixings to get the handbrake lever bracket installed.


And then had to remove the washer tank to retrieve the M6 x 10 hex head bolt I dropped while attempting to secure the handbrake bracket.


Hand brake mech fully installed now, and I'm leaving the washer tank out for a while.....


"And then had to remove the washer tank to retrieve the M6 x 10 hex head bolt I dropped while attempting to secure the handbrake bracket."

I lost count how many times I dropped the dash-top fixing screws/air-box spring/clips down the front panel lol!!

Keep the updates coming!! :D
 
Out with the old, in with the newish.


Old beam basically fell out when I took the fixing bolts out. Fitting the replacement is going to be a ballache on my own.

Cleaned, primed and painted the chassis legs.


Looking at the existing brake lines, it seems I need to fit them before the beam.
Anyone good at jigsaws?


New front brake pipes fitted ready for the beam install.


Well, that turned into more of a pain than I thought. Brake pipe clip bolts foul the narrowed beam, so they've had to removed. I'll drill and fit the clips to the side of the beam plates.
And the beam plates are so tight to the chassis that I had to grease the insides to stop it binding.
Not a quick job on your own, lift a couple of mm, then adjust the position, lift a little more, and so on....
Bit of collateral damage to the paintwork during installation.


Damaged paintwork sorted


The eagle eyed amongst you may have noticed I forgot to swap the steering idler from a rhd to a lhd one.


But the beam's in position, so that means the clutch, handbrake and heater cables and front shift rod can now be fitted.
 
Make sure you get the correct split bus idler arm rather than a bay 1 so you get full L/H lock.
 
Out with the old, in with the newish.


Old beam basically fell out when I took the fixing bolts out. Fitting the replacement is going to be a ballache on my own.

Cleaned, primed and painted the chassis legs.


Looking at the existing brake lines, it seems I need to fit them before the beam.
Anyone good at jigsaws?


New front brake pipes fitted ready for the beam install.


Looking good Sparky,
Just seen your first post about fitting on your own, then saw your second one......... fitted! I was going to offer my help if you wanted it at the weekend, I'll go to the pub now instead!
 
Looking good Sparky,
Just seen your first post about fitting on your own, then saw your second one......... fitted! I was going to offer my help if you wanted it at the weekend, I'll go to the pub now instead!
Thanks for the offer, but I think you'd prefer to be at the pub rather than listen to a bit of choice language.
 
But surely you're gonna remove the beam - after its dry fit - to have it painted :D
No painting, it's a phospate(?) anti-corrosive coating, been on the old bus for about 8 years.
All the Transporterhaus beams have it, same as the rear spring plates.

Rear hatch seal in, and my ever growing collection of deluxe door cards.


Removed the steering idler, and yes, it was one off a split bus.


And then stripped the Futbus front disc conversion off the spindles.

 
Not a lot achieved today.
Got a bit of a roof leak, so had to rearrange all the crap in the unit to stop it getting wet.


Wrong front hub seals arrived, so could only remove the old bearing races from the 944 hubs.


And then mocked up the 911 front calipers and mounting brackets for braided flexible hose lengths.


Nice! What wheels are you going for? Gas burners? American racing 5-spokes? Teledials (detailed) even?
 
Today I thought I'd sort a load of boxes out, but got distracted when the first box contained the walkthrough trim.
A quick clean up and then fitting.


This stuff is brilliant for plastics, etc.


The second box was full of gauges and dash pods.


Managed to assemble a complete early gauge cluster with new speedo needle.


I do need an undamaged LHD dash pod though, out of all the ones I've got not one is any good.
Time to bin a load of stuff I think.


Latest posts

Top