1967 Neptune Blue Deluxe

Early Bay Forum

Help Support Early Bay Forum:

This site may earn a commission from merchant affiliate links, including eBay, Amazon, and others.
Looking really good!
What pipe did you use?
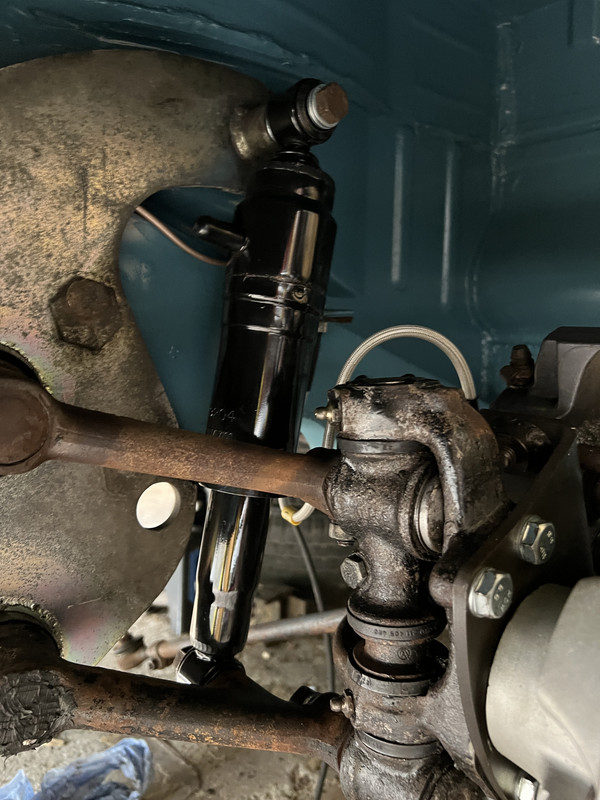
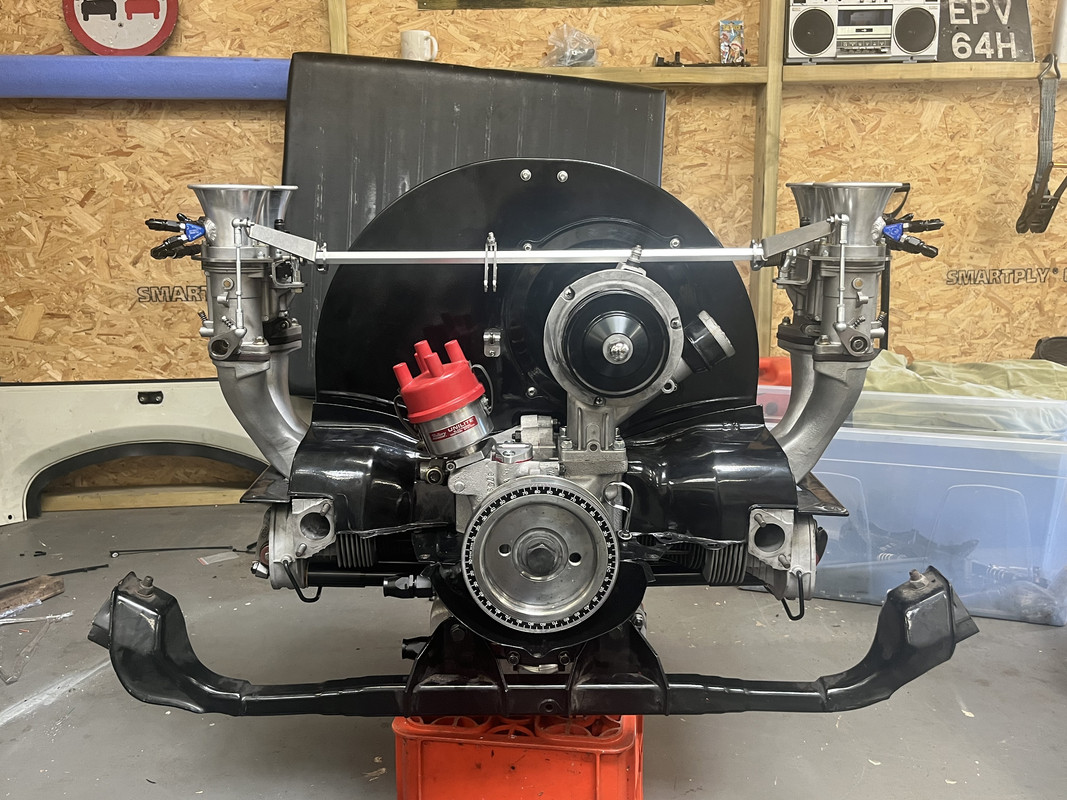
The braided lines and connectors look the business!
I bought two new brake light switches off C&C in 2013/14 and within a few years of minimal use they burst open leaking lots of brake fluid. Good thing I wasn’t going far on that occasion. Picked up some others locally and they’re much better.
Just watch some of the newer stuff, never would have thought new switches to be failing.
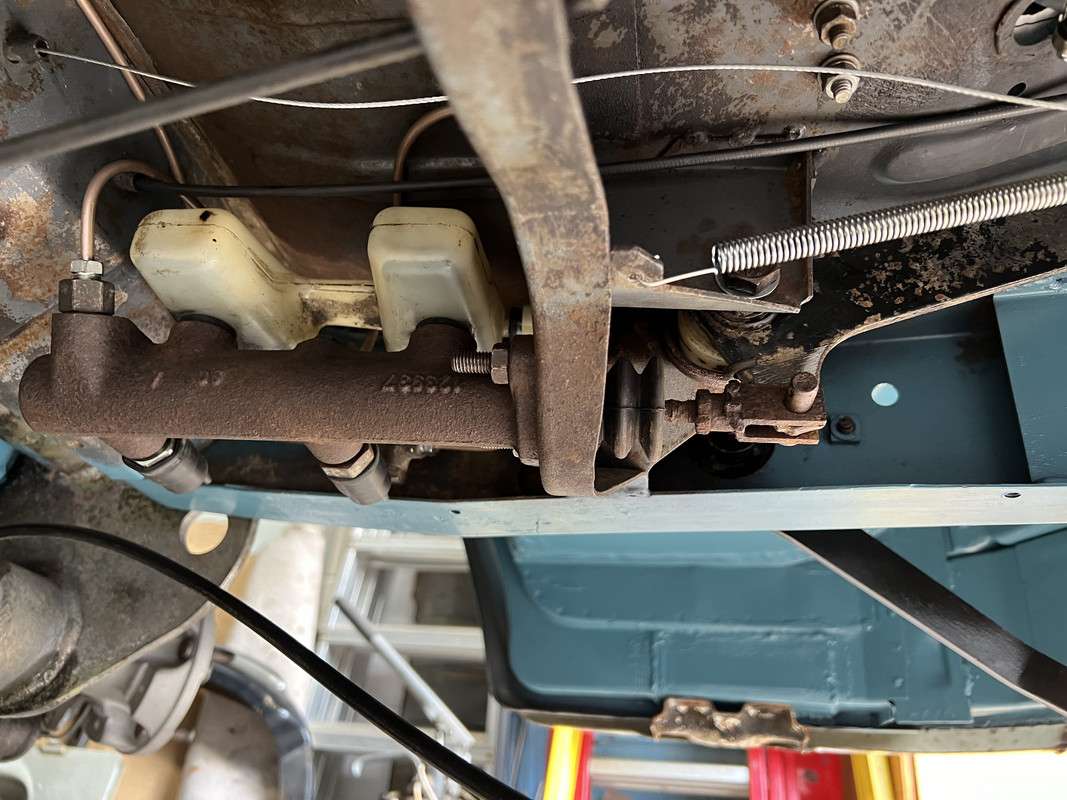
 
Waiting on more bits and pieces, so front shocks fitted with plenty of anti-seize.


Gear shift bushes and linkage re-adjusted (long story, gearbox lift is proving problematic), and shifter installed.


Having a nightmare fitting the 5mm Dodo foam insulation, it's so soft and thin it stretches when the backing paper is removed. Not happy with the finish so may have a rethink there.
 
2 steps forward, 1 step back....

Brake pedal lever back off to be redrilled for the master cylinder pushrod. Looks like 1967 buses had 8mm securing pins rather than the 10mm ones on later buses.


Back together again.


Engine case in to mock up the engine bar and mounts.


Looks like I've lost the pic with the engine bar attached, but I've got the wrong chassis brackets. Should have 72-79 1600, but it appears I have 72-79 1700/1800/2000.

And I'm missing the rear part of the clutch cable conduit that is attached to the bottom of the torsion tube, so can't fit the clutch cable to the gearbox.
 
Engine case and mount pic.


So, @Fortunate Son turned up this morning to fit the vent and 3/4 windows.
Almost complete, but the N/S rear 3/4 glass beat us.

Sliding door


N/S middle and rear vent window.


Almost a step nearer to starting on the interior.
 
Engine case and mount pic.


So, @Fortunate Son turned up this morning to fit the vent and 3/4 windows.
Almost complete, but the N/S rear 3/4 glass beat us.

Sliding door


N/S middle and rear vent window.


Almost a step nearer to starting on the interior.
What year is your bus - that support bar looks like a later one (I thought your bus was an early)?
 
Late bay 1600 engine bar for a little more ground clearance than the early moustache bar.

This is the bar you want for ground clearance, it was an option on South African & Aussie built buses for extra clearance.


Only issue is finding 1 and for sensible money 🫣 
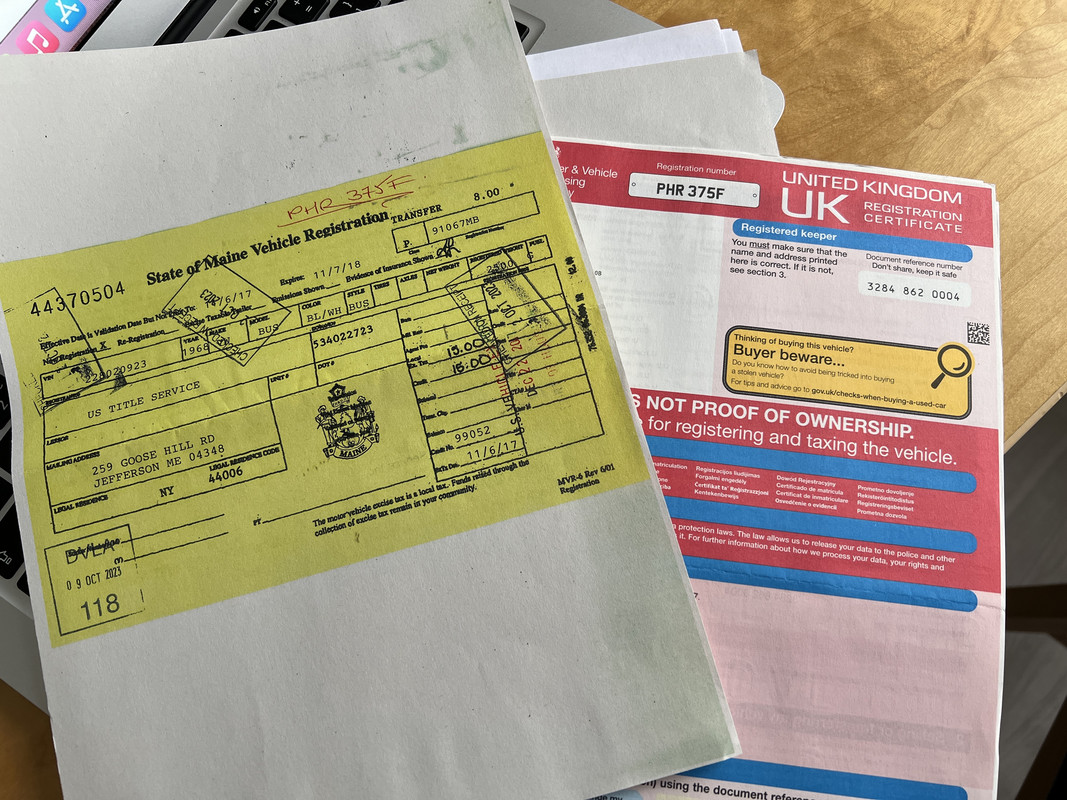
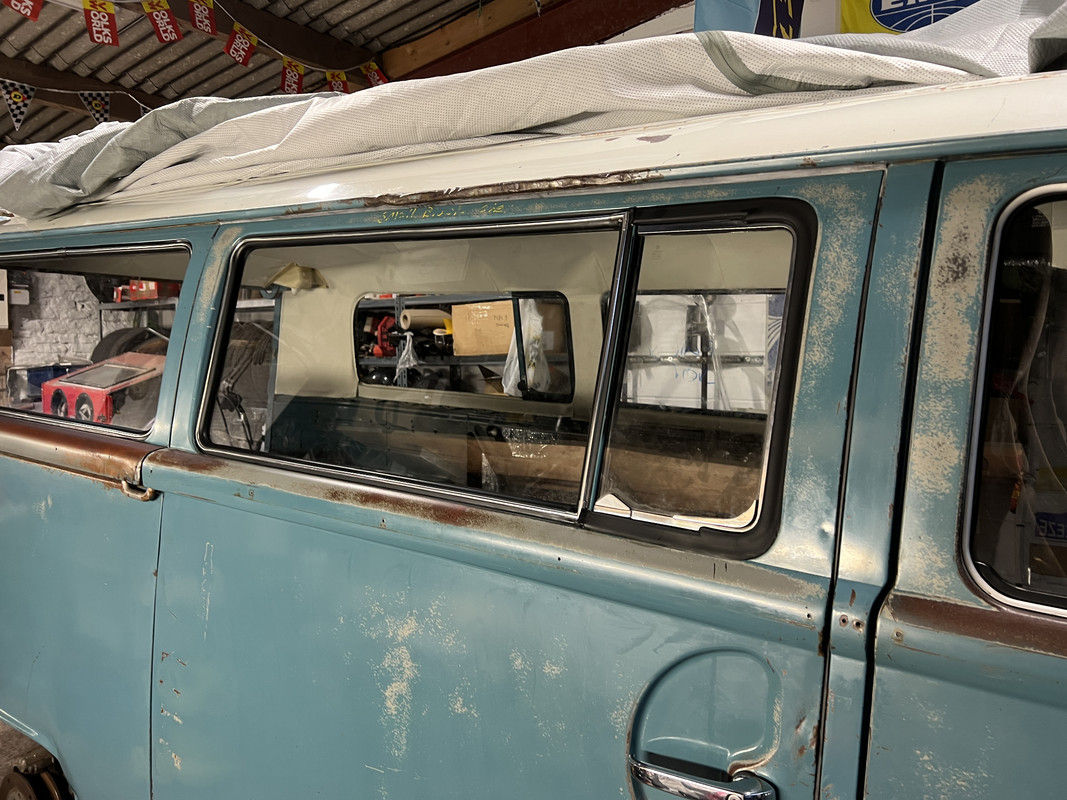
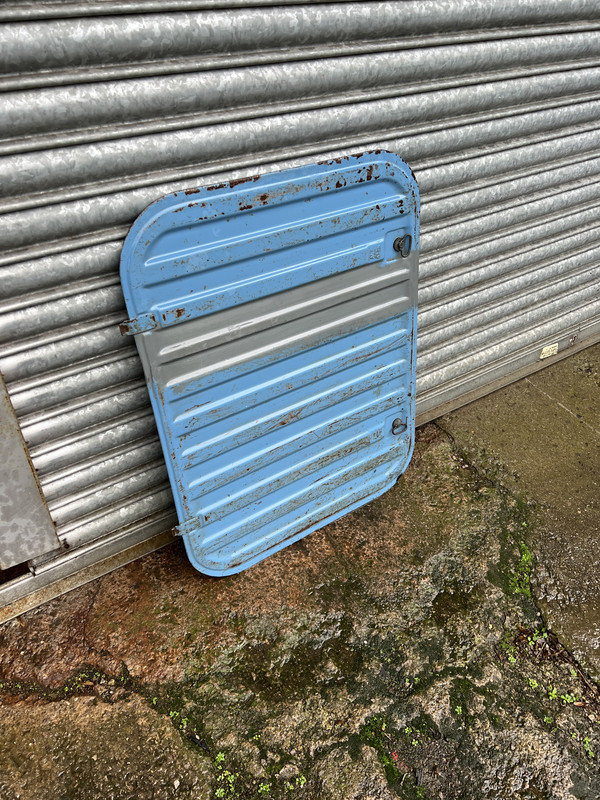
I got it cheap…. didn’t realise what I was buying and the chap didn’t realise what he was selling 🤣 some bloke crazed me to sell it at bug jam a couple years ago
 
Well, that was a struggle but the last of the windows are finally in.
Big thanks to @Fortunate Son and his thumbs.

N/S rear


Replaced the rear hatch rubber while we were there as well.
Old one half out.


Window aperture not bad, just full of dirt.


Cleaned up


New rubber in.

 
As I forgot to get the Westy bed out of storage before Xmas, it was a couple of hours catching up on other bits.
Engine hatch cleaned up and ready for paint.


And a Slough Swapmeet bargain purchase cleaned, drained and refilled with Penrite steering box lube.
It's very viscous, so it won't just pour in.

 
Have you tried dodomat? I've used it in my bus - on the recommendation of my mate who's an upholsterer. He says it's as good as Dynamat but much cheaper.
This is Soundmat, which is an unbranded version of Dynamat. Same quality, much cheaper.
 
Awaiting a delivery of plywood, so decided to add extra insulation to cargo floor and over the engine as that end of the bed always used to feel cold in the other bus.
And a '68 doesn't have the divider between the engine bay and fuel tank.


Trying to use up this awful foam dodomat as well


Engine hatch has the same


Started on the carpet, but have run out of spray adhesive.


What's up with the dodomat foam layer? I've heard it's really good for use on the floor sections etc
 

Latest posts

Top