71 Seattle Westy Restoration - Done, Time to go camping

Early Bay Forum

Help Support Early Bay Forum:

This site may earn a commission from merchant affiliate links, including eBay, Amazon, and others.
Not such good progress on my part. Started on the Louvre windows and the wire brush approach is just too slow. Need a POWER tools like a linisher I'm thinking

 
Been to the bodyshop and more progress. The doors are primed in Epoxy primer, the engine lid primed ready for flatting and more primer on the inside.


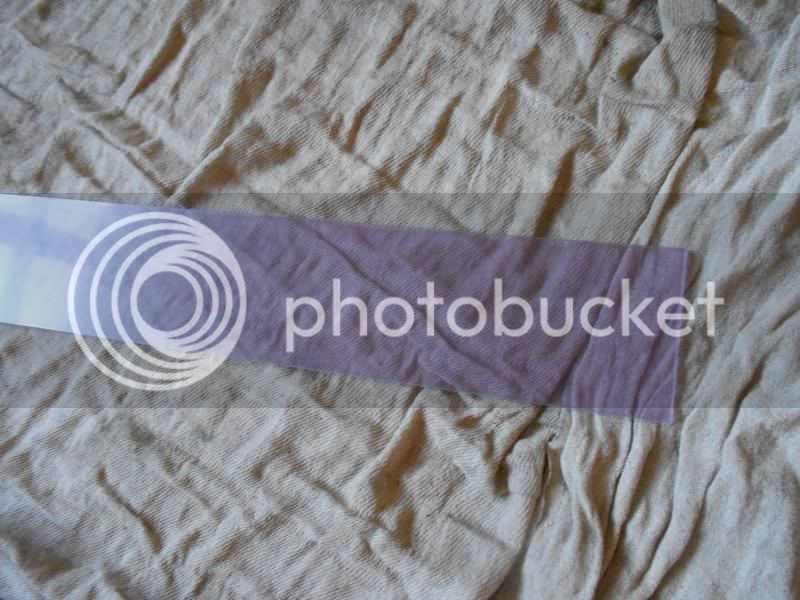
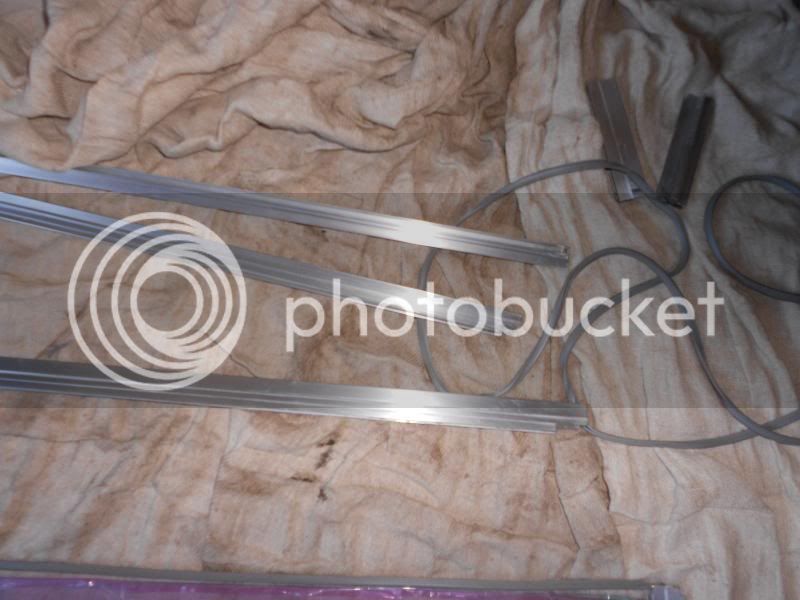
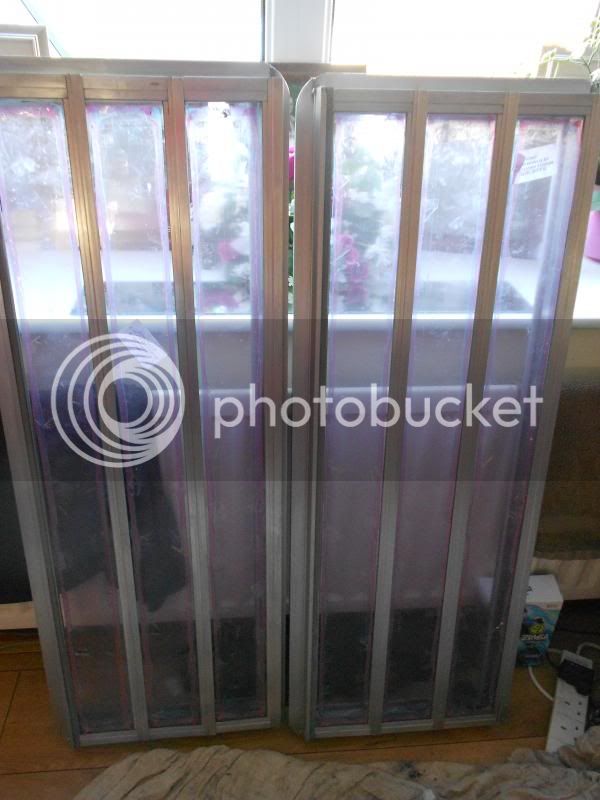
At last I've finished the jalousie windows. Turned into a much bigger job than I ever expected. Since I broke 2 panes I researched alternatives and decided to go with Acrylic with a scratch resistant coating. One side only which will be the outside. Acrylic is 17 times stronger than glass and lets more light through, so looks like glass. This stuff is massively cheaper too. I bought all 6 piece for £50 including delivery. The glass fitted by Westfalia would not pass modern regulations as it's only 3mm, effectively this is greenhouse glass. Also no one will supply proper toughened glass.

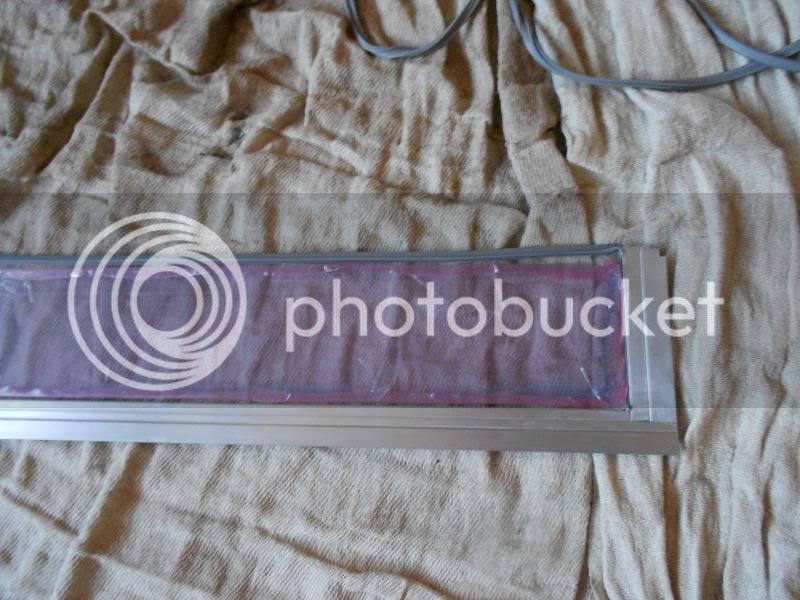
I left the film on for now to protect it until the windows are back in the van. Fitted new seals, new marine grade stainless screws and re-sealed the edges with Butyl Grey Rubber sealant as the factory did originally.

Just need to give them a once over with 0000 Wire Wool again to remove the odd mark. I decided to keep the brushed factory look and not polish them to shiny.

This is with the film still on, Pink film outside, blue inside


I pulled the film back on the edges to allow me to fit


Plenty of greasy finger prints...lol


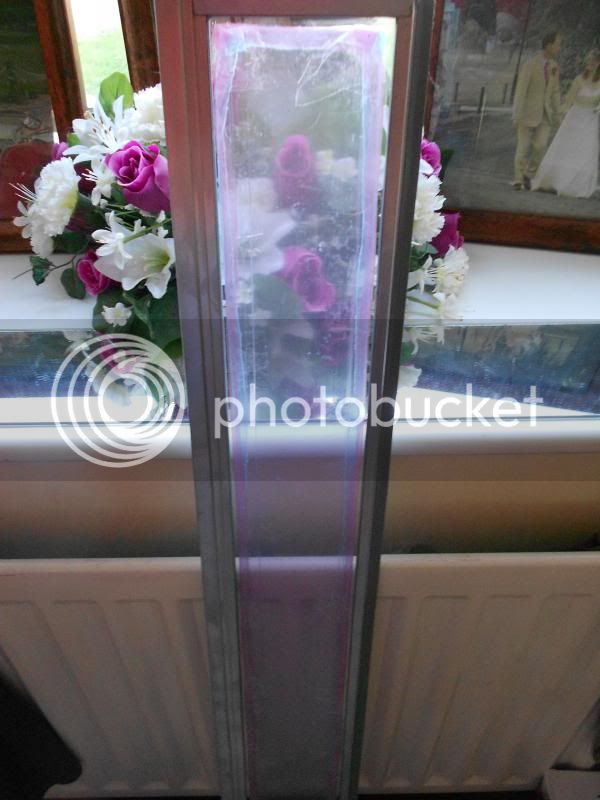
Both done, just a quick 000 wire wool and fit the new outer seals
 
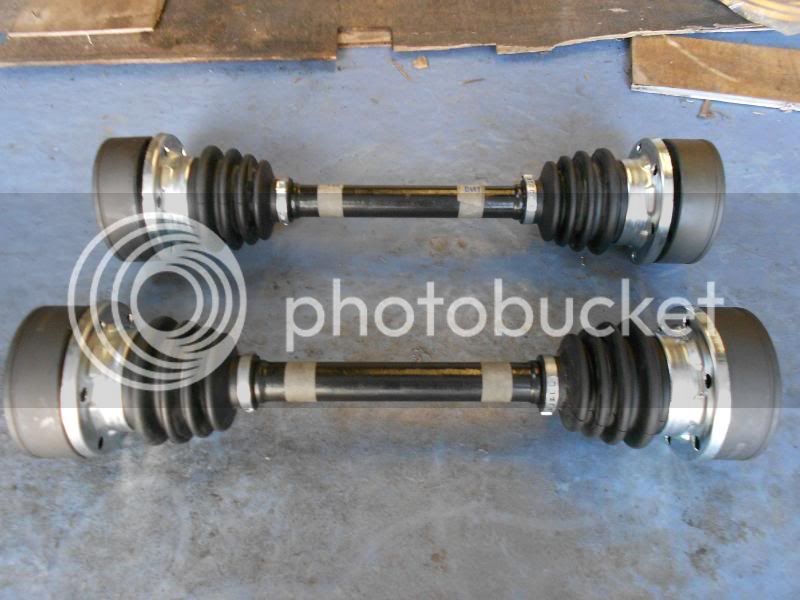
Driveshafts rebuilt with new CV's and new boots. I was going to refit the CV's but found a couple of ball bearings with chips in the chrome.


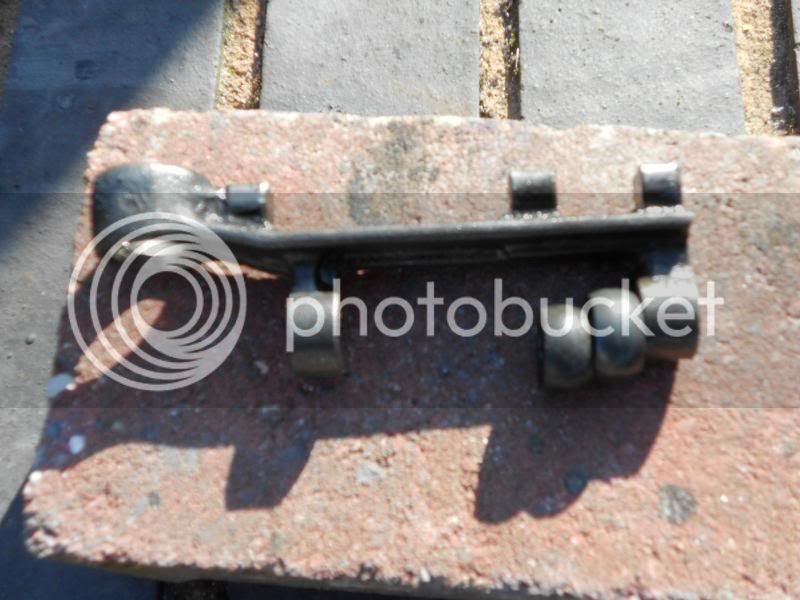
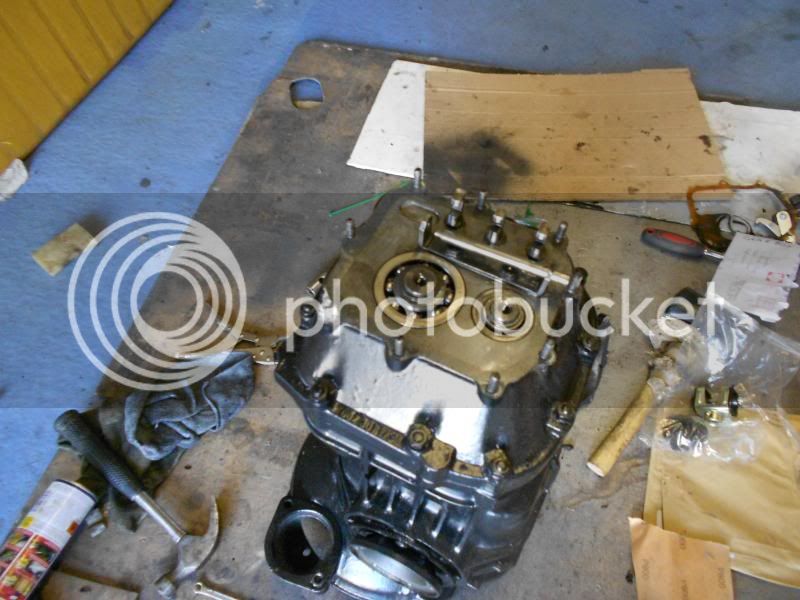
I took the nosecone off and replaced the brass bushings and replaced the hockey stick bush. The old bush wasn't too bad but a little worn. You can see the old bush on the left.


Just popped over the the bodyshop and great progress. The pop top is off and wood being replaced. The interior is glossed and the tailgate and sliding door are primed.


Also taken all the tinware and various parts to be Powder Coated.
 
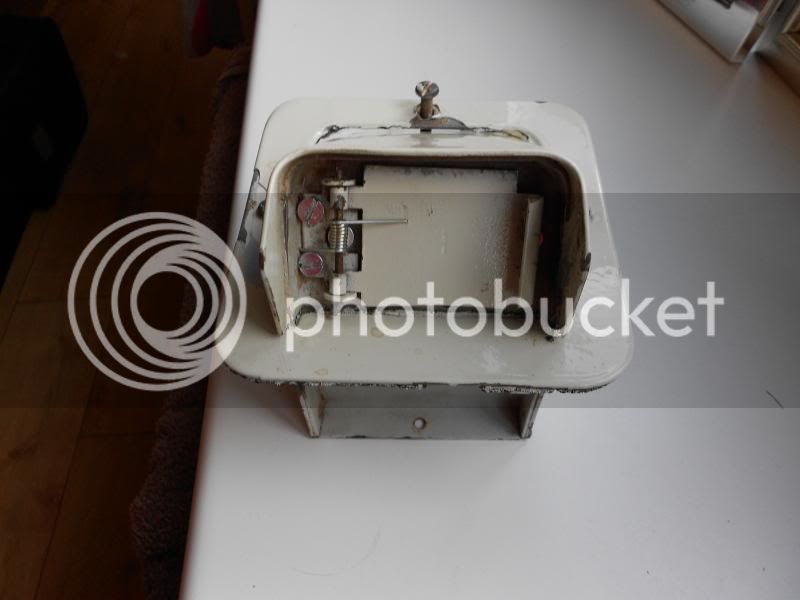
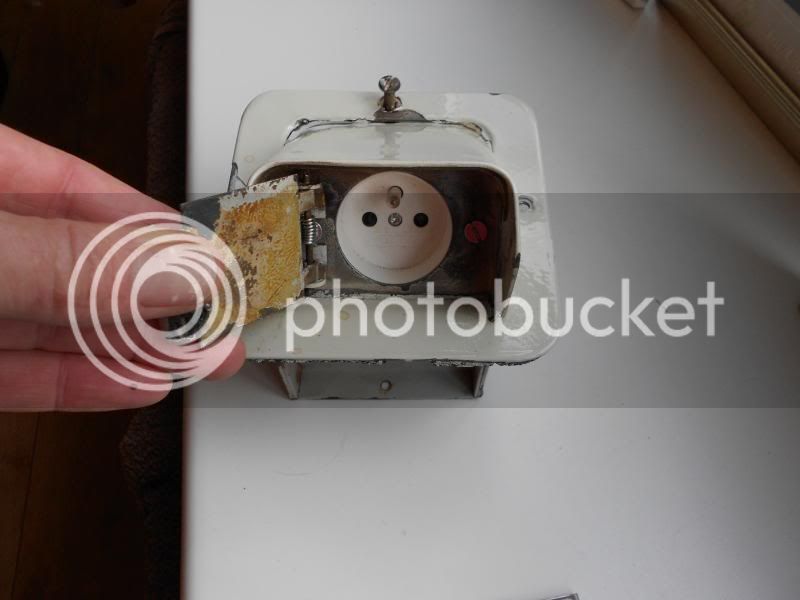
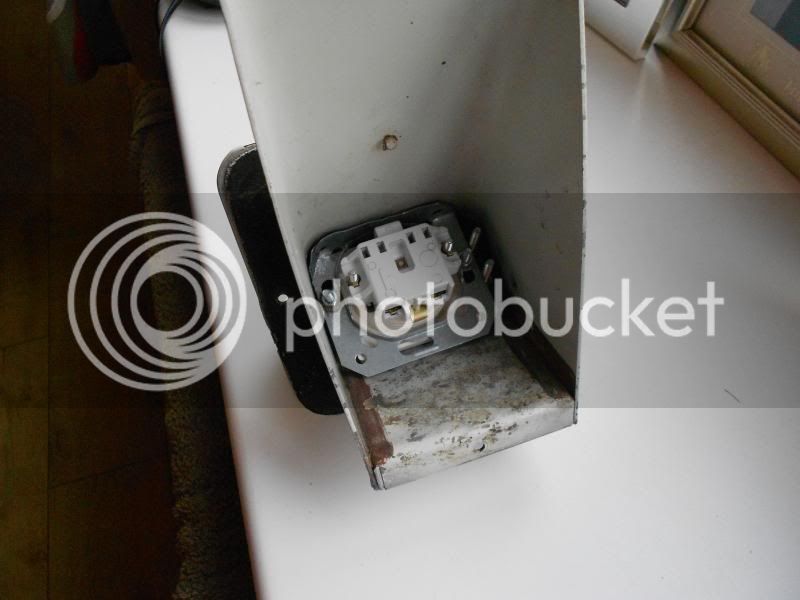
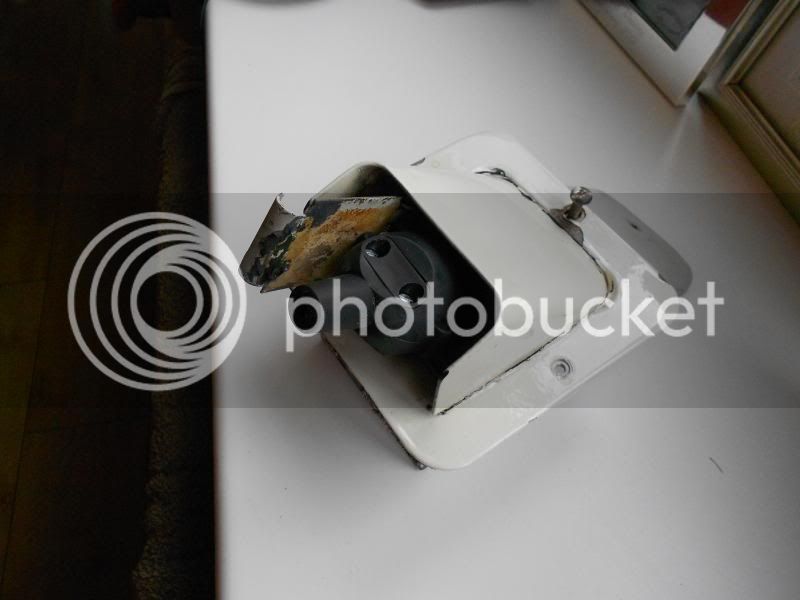
My solution to the electric hook up. I wanted to use the existing mount but wasn't happy using a 40 year old rusty american socket. So I worked out that a euro style socket could be mounted inside. So purchased a Siemens exterior socket from RS Components and bolted that in. Would you believe the holes are the same and the mounting holes align as well. I also drilled the rivets out of the flap and replaced the spring which had broken. The spring was from a 99p for 3 set of mouse traps...lol The screws are not right but just wanted to test assemble before it's painted. The plug is a euro external rubber one.


:D just found your thread and whooped with joy (it's the simple things) when I saw you had solved getting a new socket into the westy hook up. I've been trying to cram in a Uk 3 pin in the space with no success, and like you didn't want to chance the 40 year old bakelite...

Any chance you can post a link where you can get the rubber plug to go with the RS component...

Cheers

Paul
 
paulrobinson2010 said:
:D just found your thread and whooped with joy (it's the simple things) when I saw you had solved getting a new socket into the westy hook up. I've been trying to cram in a Uk 3 pin in the space with no success, and like you didn't want to chance the 40 year old bakelite...

Any chance you can post a link where you can get the rubber plug to go with the RS component...

Cheers

Paul

Thanks, it works a treat too. The socket from RS Components has a metal flange and you need to bend it at the top. Dead easy to do with pliers. You can see in my picture. The link to the one I bought is below. Now the plug is a Debflex Euro which I bought from France. We go over a lot, in fact we are over this weekend. If you want one then PM me you contact details and I'll pick one up for you. The plug is an external plug made of rubber which is ideal. It has a label saying 16A 250V Code 713200. I can't remember how much as I bought it at Xmas. I know it was a lot more than the internal plastic ones but probably around £5.

Socket http://uk.rs-online.com/web/p/electrical-sockets/7408183/?searchTerm=740-8183&relevancy-data=636F3D3126696E3D4931384E525353746F636B4E756D6265724D504E266C753D656E266D6D3D6D61746368616C6C26706D3D5E5C647B337D5B5C732D2F255C2E2C5D5C647B332C347D2426706F3D313426736E3D592673743D52535F53544F434B5F4E554D4245522677633D4E4F4E45267573743D3734302D3831383326" onclick="window.open(this.href);return false;
 
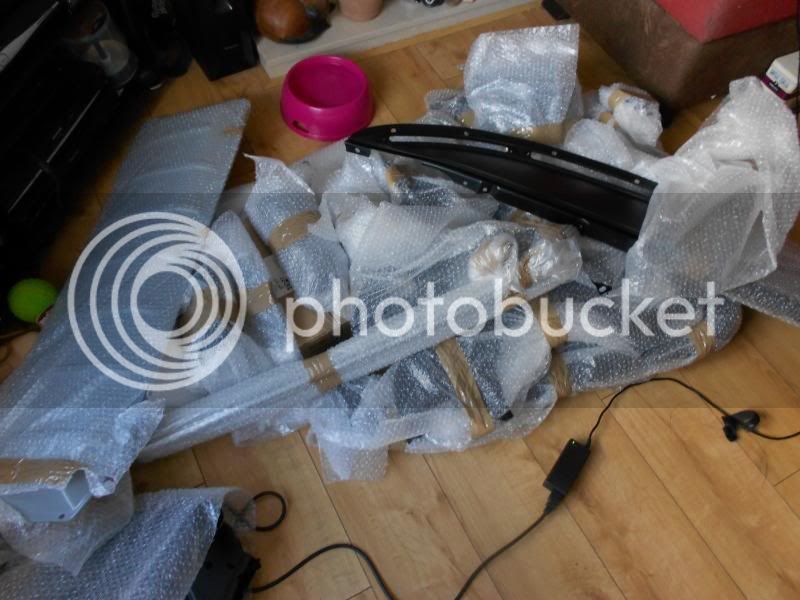
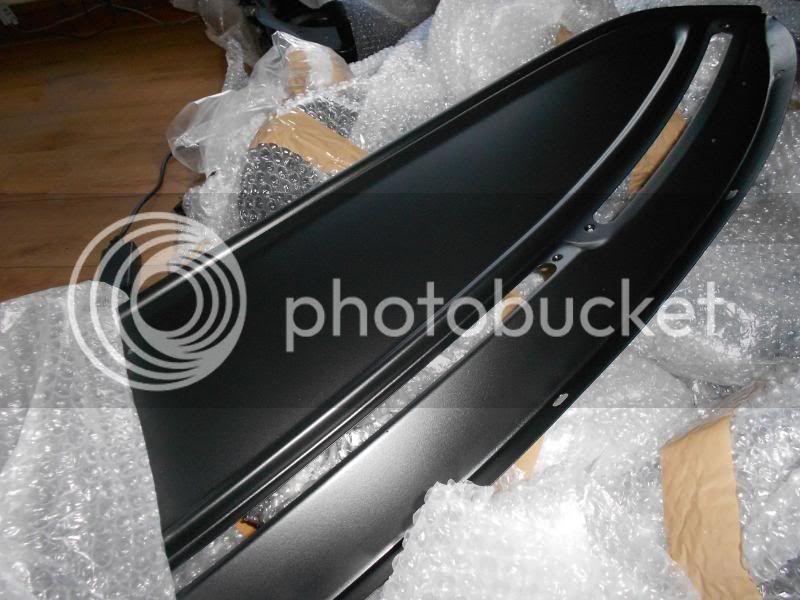
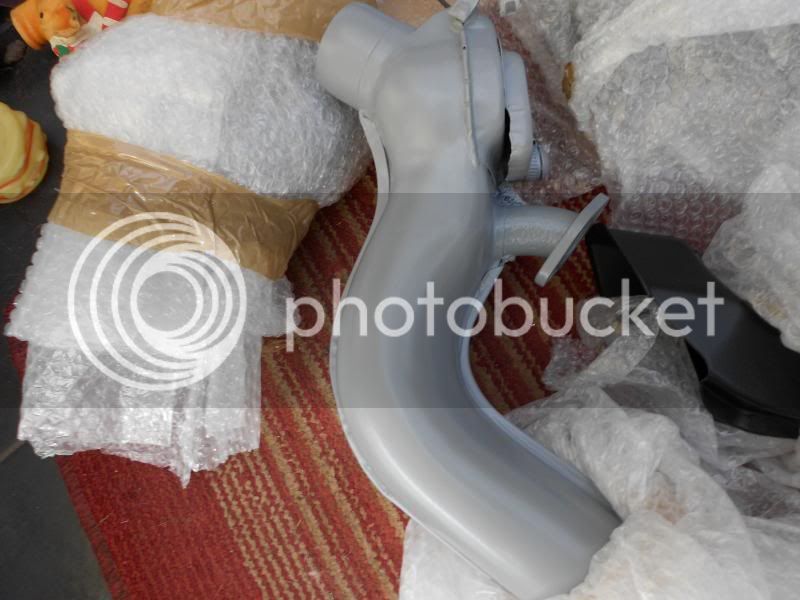
I waited till I had all the parts ready for powder coating to help get a better price, took them Monday and collected Friday morning so great service. I've had all the engine tinware done, Heat Exchangers, Bumper Irons, Splash pans, Firewall, Dash Top & Vents, Roof Rack bars & brackets, moustache bar. All came out brilliantly. The dash look like new. Next job is putting all the tinware back on the engine.


Such an excellent thread. Loving the details of the resto and interesting hints and tips. The way it should be :D
 

Latest posts

Top