Dial Test Indicator Measurement Is this / End Float - Correct?

Early Bay Forum

Help Support Early Bay Forum:

This site may earn a commission from merchant affiliate links, including eBay, Amazon, and others.
So back at this :lol:

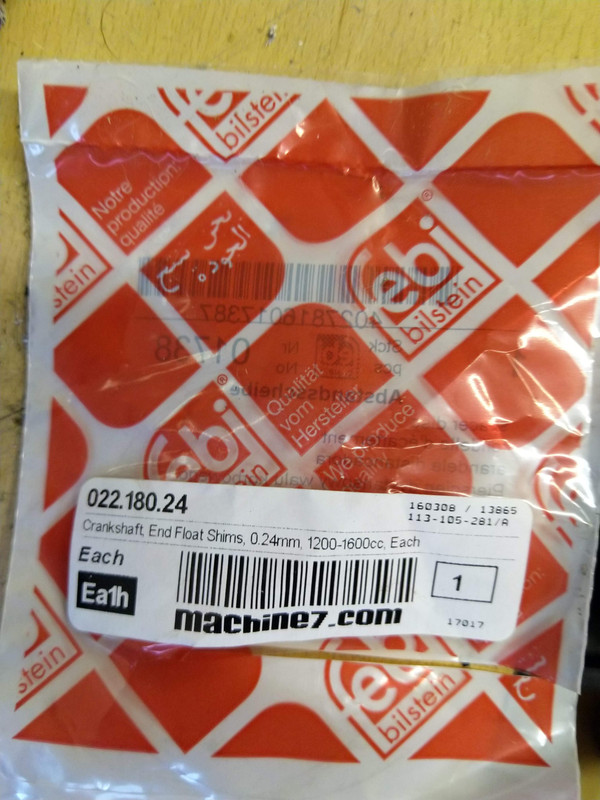
The replacement / correct shims arrived, x3 0.24mm ones.

Please could the more experienced guys tell me if I am doing this correctly as I have read and seen various ways of taking the measurement.

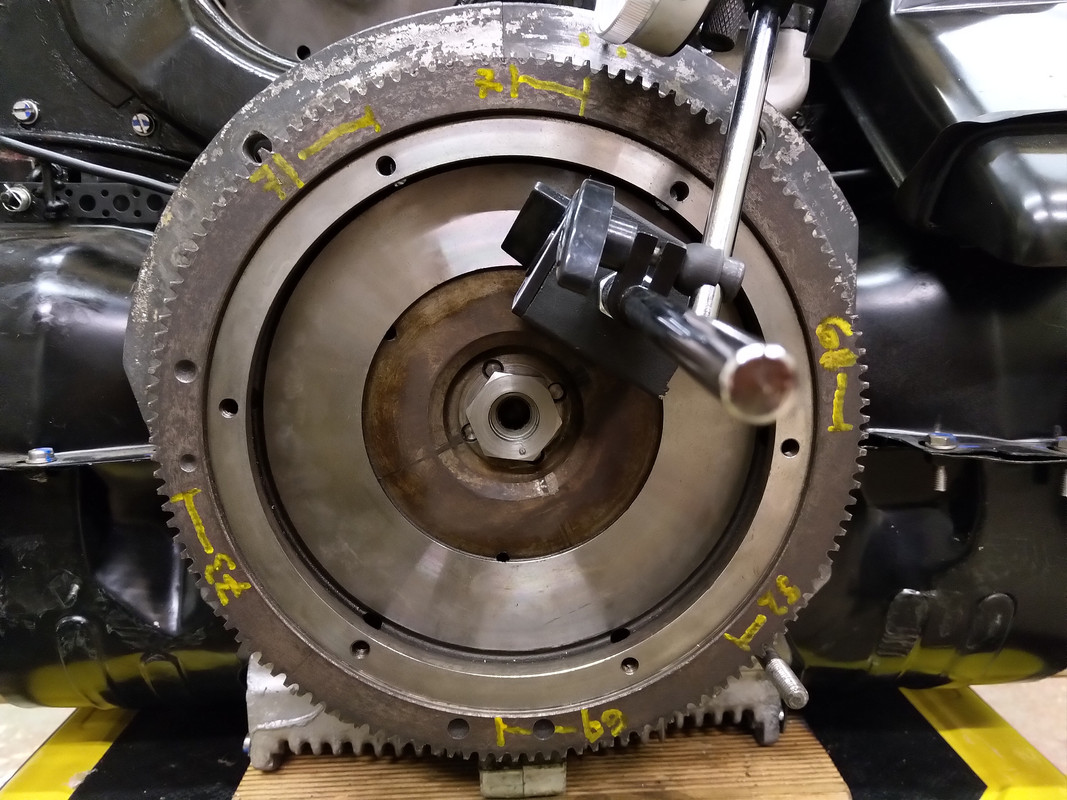
So, I am using two large flat screwdrivers behind the flywheel to pry it forward / towards me, then setting the DTI to 0, I am then pushing the flywheel 'forwards' into the case and taking the measurement. Is this correct?

IMG-20190109-190022.jpg


:sign0009: :sign0013:
 
The flywheeel flexes, so don’t push it hard or the measurements will be off.🤔
Silly question but you never know; is the belt off? It has to be.🤪
Just push and pull the flywheel without too much force, you must measure the “clunk” which is the movement that it does freely. I set my endfloat just after closing the case, so with no pistons and barrels it’s easier and less likely to get a false reading😃
Abel
 
In the end , after being unable to tell if it was the flywheel flexing or the crank movement,
I took the grease off the shims tightened up to spec and was then able to measure better. Finally took apart greased and reassembled.

Use a magnet to get the shims out while keeping the oil seal in place.

When you get the correct movement with the guage. You'll find its ever so small a movement when you pull on the pull, only just detectable by hand. Good luck.
 
atafonso said:
Silly question but you never know; is the belt off? It has to be.🤪

Yup! :mrgreen:

atafonso said:
The flywheeel flexes, so don’t push it hard or the measurements will be off.🤔

See below>

atafonso said:
Just push and pull the flywheel without too much force, you must measure the “clunk” which is the movement that it does freely. I set my endfloat just after closing the case, so with no pistons and barrels it’s easier and less likely to get a false reading😃
Abel

I have to put a lot of force into pushing the flywheel into the case with my hands at 8 and 2 o'clock, or the DTI moves insignificantly. :shock: :?

I wonder if that is because the engine is built up / long block, and it would have been easier to set it as a short block as you say. I know exactly the 'clunk' you are referring to as I played with it backwards and forwards when I was installing the crank as I thought something was incorrect, but then realised that WAS the end-float.

When putting a lot of force into it, it goes up to 0.11mm, with less force I it goes to 0.04 - 0.08mm. When I let go of the flywheel, the DTI returns to 0-ish.

What do you think? :poke: :worship:
 
Hubs said:
In the end , after being unable to tell if it was the flywheel flexing or the crank movement,
I took the grease off the shims tightened up to spec and was then able to measure better. Finally took apart greased and reassembled.

Use a magnet to get the shims out while keeping the oil seal in place.

When you get the correct movement with the guage. You'll find its ever so small a movement when you pull on the pull, only just detectable by hand. Good luck.

Thanks, it's not the easiest as there isn't a pre-defined 'force' to put onto the flywheel to know if you are pushing / pulling too little or too much, to then get the correct reading, plus to make it worse we are working with such a small unit of measurement. :sad0049: :roll: :lol:
 
block of wood and a lump hammer centre of flywheel and then pulley end of crank. You don't have to hit it hard just a firm thump.
 
atafonso said:
Just push and pull the flywheel without too much force, you must measure the “clunk” which is the movement that it does freely.

I was thinking about this all day and came to the conclusion that the measurement cannot be correct, it is requiring too much force to take a measurement that it must be too tight.

So, I took the shims out again and started pushing the flywheel back and forwards, but this time using far less effort and waiting for the 'clunk' movement. This time when the flywheel moved, I stopped pressing on it and read the Measurement.

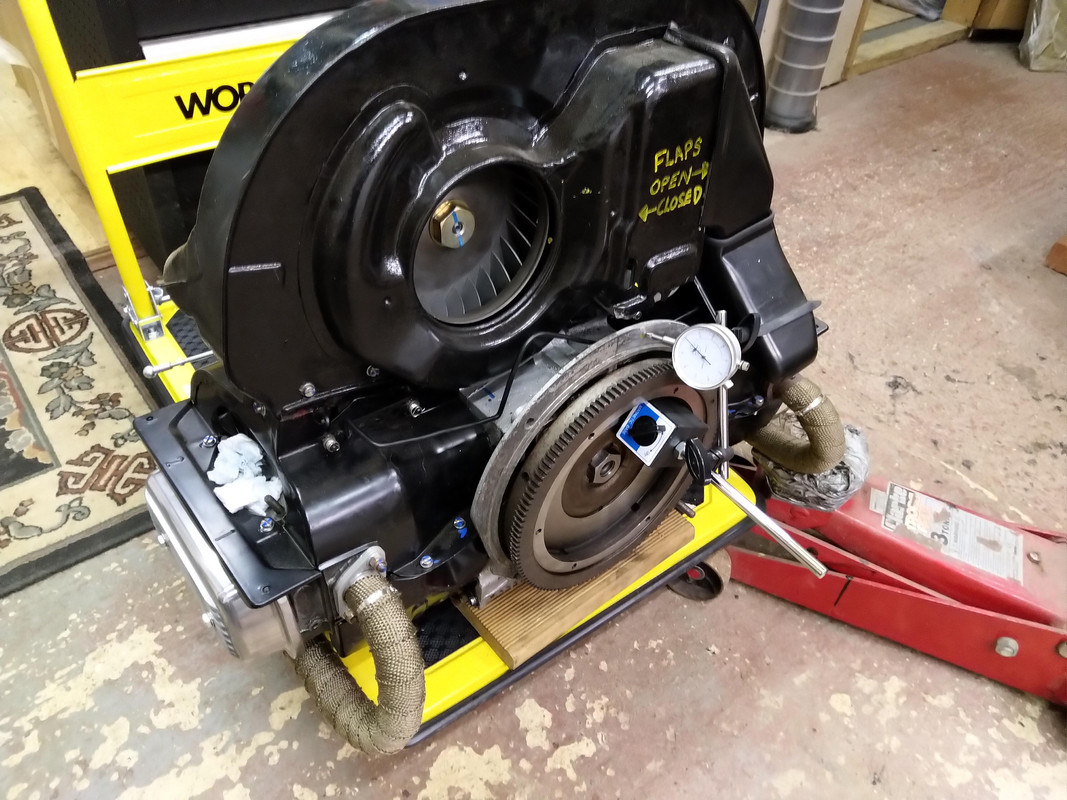
I repeated the process and took a measurement from different points of the flywheel, measuring the same point against the case, but turning the flywheel, which annoyingly gave different results:

IMG-20190111-200135.jpg


It varied from 0.68 to 0.73mm. I guess you could take 0.70mm as an average?

Anyway, if you take the target of 0.07 from 0.70mm, you get 0.63mm.

However, I have x3 0.24mm shims, which I believe are the thinnest available, adding up to a total of 0.72mm.

This makes me think that with the shims in, there is no end-float and the measurement I was taking was just flex of the flywheel, especially as I was having to use a lot of force to get the DTI to move.

Does this mean I need to get the flywheel shim-face machined down?

If so, by how much? 0.10mm?

:sign0013: :popcorn: :sign0001:
 
cunning plan said:
atafonso said:
Silly question but you never know; is the belt off? It has to be.🤪

Yup! :mrgreen:

atafonso said:
The flywheeel flexes, so don’t push it hard or the measurements will be off.🤔

See below>

atafonso said:
Just push and pull the flywheel without too much force, you must measure the “clunk” which is the movement that it does freely. I set my endfloat just after closing the case, so with no pistons and barrels it’s easier and less likely to get a false reading😃
Abel

I have to put a lot of force into pushing the flywheel into the case with my hands at 8 and 2 o'clock, or the DTI moves insignificantly. :shock: :?

I wonder if that is because the engine is built up / long block, and it would have been easier to set it as a short block as you say. I know exactly the 'clunk' you are referring to as I played with it backwards and forwards when I was installing the crank as I thought something was incorrect, but then realised that WAS the end-float.

When putting a lot of force into it, it goes up to 0.11mm, with less force I it goes to 0.04 - 0.08mm. When I let go of the flywheel, the DTI returns to 0-ish.

What do you think? :poke: :worship:
It looks like you measuring the flywheel flex instead of the endfloat.😨

I see that your flywheel has been reground, so it's possible that they also reground the area where it meets the crank, that would explain using only 3x0.24mm shims still gives you not enough play.🤔
A solution would be to use two shims. Nothing wrong with that as long as you use the correct thickness and material, the hardened ones.
On aftermarket cranks sometimes we have to use 4 shims as the play is more than stock and impossible to set correctly even with 3x0.40mm which is the thickest shim available.

Abel😁

Ps: i don't see the gland nut washer on your pic🤔
 
Hubs said:
In the end , after being unable to tell if it was the flywheel flexing or the crank movement,
I took the grease off the shims tightened up to spec and was then able to measure better. Finally took apart greased and reassembled.

Use a magnet to get the shims out while keeping the oil seal in place.

When you get the correct movement with the guage. You'll find its ever so small a movement when you pull on the pull, only just detectable by hand. Good luck.
Craig that is a good point i forgot to ask, are you greasing/oiling the shims? They have to go dry while measuring and without the flywheel o'ring. After you happy with the amount of play, you oil the shims, oil the seal and install, oil the o'ring and install, a bit of Loctite on the gland nut and 300ft lbs of torque.

Abel😁
 
atafonso said:
Craig that is a good point i forgot to ask, are you greasing/oiling the shims? They have to go dry while measuring and without the flywheel o'ring. After you happy with the amount of play, you oil the shims, oil the seal and install, oil the o'ring and install, a bit of Loctite on the gland nut and 300ft lbs of torque.

Abel😁

Yes, I have kept the shims are dry for the measurement taking. :anim_19:


atafonso said:
It looks like you measuring the flywheel flex instead of the endfloat.😨

I see that your flywheel has been reground, so it's possible that they also reground the area where it meets the crank, that would explain using only 3x0.24mm shims still gives you not enough play.🤔
A solution would be to use two shims. Nothing wrong with that as long as you use the correct thickness and material, the hardened ones.
On aftermarket cranks sometimes we have to use 4 shims as the play is more than stock and impossible to set correctly even with 3x0.40mm which is the thickest shim available.

Abel😁

I did not ask them to grind the shim-facing area of the flywheel and it doesn't look fresh like the front is, so I assume that is not the problem, although it would explain the issue.

Everything I have read states that x3 shims are required, however, if you are happy to use only x2, then I am too. I guess the only other solution would be to grind the bearing side that meets the shims :?: No idea if this is even possible, but I am certainly not opening the case again, it's been enough work and money to get to this point. :sad0049: :lol: So, I guess the only option is to use x2.

I think if the engine would be happy with x2 as you say, then I'll use x2.

Next time, I'll have to remember to set it just after the case is closed, then if I need to split the case again, it is easier.

Regarding the material / thickness, they are:

IMG-20190112-084358.jpg


They 'ping' back when bent carefully, so I am hoping they are the ones you are talking about.


atafonso said:
Ps: i don't see the gland nut washer on your pic🤔

I didn't think it would need to be on for the measurement, but I guess I'll do it again to make sure with the spring-washer.

atafonso said:
On the type 1 the felt is inside the gland nut, next to the input shaft bearing bearing😁

By the way, you are absolutely correct (as always), with this, after looking closely at the flywheel gland nut, it does have an integrated felt seal.
 
It can only be that the flywheel has been machined before. There are 5 areas where the flywheel can be re machined, and that area where it meets the crank is one. They could have machined it there and not machined the area where the flywheel contacts the shims by the same amount or not machined at all there. The relation between those two areas and also the area on the crank whre the bearing seats is what determines the amount of shims. If that measurement has been messed with, more or less shims is the only way to correct the play.

Abel
 
atafonso said:
It can only be that the flywheel has been machined before. There are 5 areas where the flywheel can be re machined, and that area where it meets the crank is one. They could have machined it there and not machined the area where the flywheel contacts the shims by the same amount or not machined at all there. The relation between those two areas and also the area on the crank whre the bearing seats is what determines the amount of shims. If that measurement has been messed with, more or less shims is the only way to correct the play.

Abel

Got it, thank you for taking the time to explain. :party0047: :worship:

I have no idea what the history of this flywheel is, although I understand what you are saying, it is not just the area of the flywheel that presses up against the crank to think about, but also the 'ring' on the flywheel that presses against the shims. Like you say, one must have been machined without the other.

I'll take the measurement again with the lock / spring washer installed to make sure it is correct, then add a combination of x2 shims to get it as close to 0.07mm as I can. :? :)

:anim_20:
 
For anyone else reading who is in a similar situation with their engine build, I just found some interesting reading regarding the quantity of shims to use:

https://www.thesamba.com/vw/forum/viewtopic.php?t=548478&start=40

:popcorn:

Summary: It seems that Porsche only used x1 shim of various thicknesses to set end-play and some non-VW engines have no shims at all and do not seize. Other people have used a combination of shims from x2 to x4+ to set end-float with the idea being to use as many, or as few shims as you need, as long as the end-float is correct, the number of shims is irrelevant (although, I would guess that x2 would be a minimum though).
 
cunning plan said:
For anyone else reading who is in a similar situation with their engine build, I just found some interesting reading regarding the quantity of shims to use:

https://www.thesamba.com/vw/forum/viewtopic.php?t=548478&start=40

:popcorn:

Summary: It seems that Porsche only used x1 shim of various thicknesses to set end-play and some non-VW engines have no shims at all and do not seize. Other people have used a combination of shims from x2 to x4+ to set end-float with the idea being to use as many, or as few shims as you need, as long as the end-float is correct, the number of shims is irrelevant (although, I would guess that x2 would be a minimum though).
Thanks for taking the time to find the article, that will put weight in the old fart’s life experience lol🤣🤣🤣

Abel🤓
 

Latest posts

Top