Quick bit of history - i bought this off a lady a few years back, with the plans of restoring it, but never actually got round to it. It was subsequently sold on to a mate earlier this year, who also planned to restore it, but again nothing happened. He then decided to sell it as he needed the space, and i always demanded first refusal if it came back up for sale, hence it's now found it's way back to us. This time it's gonna get done, and it's gonna get done right!
So anyways, here's some pics of how it looked on return.
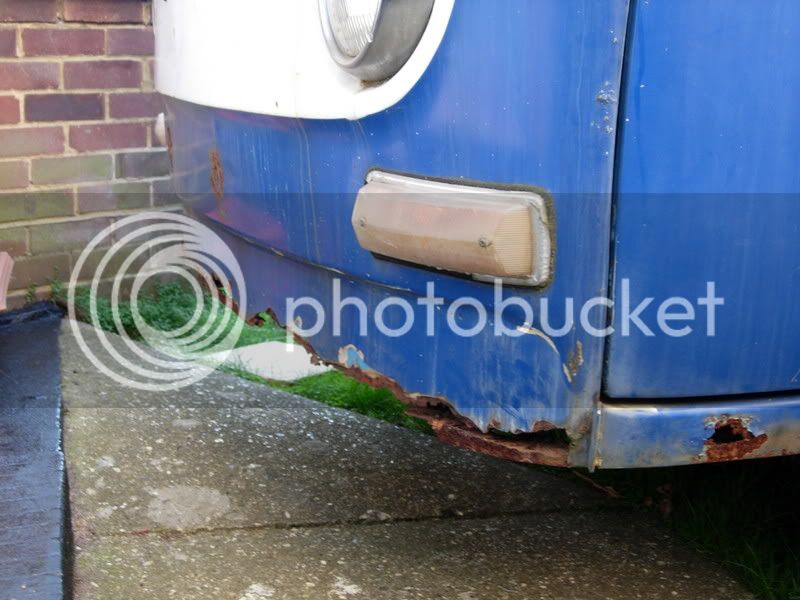
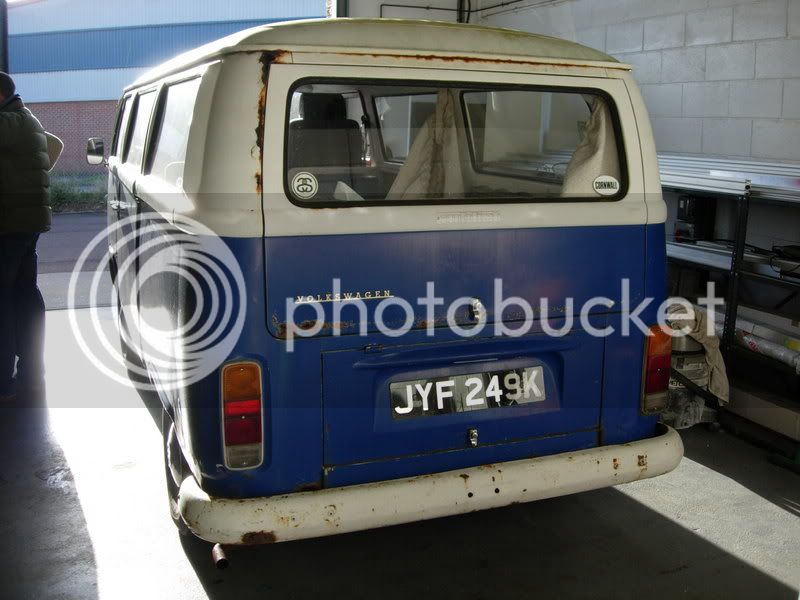
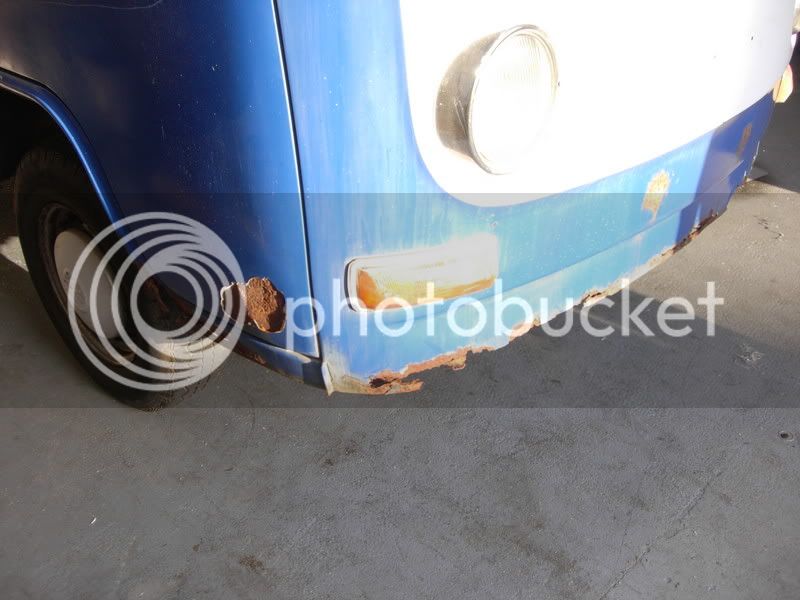
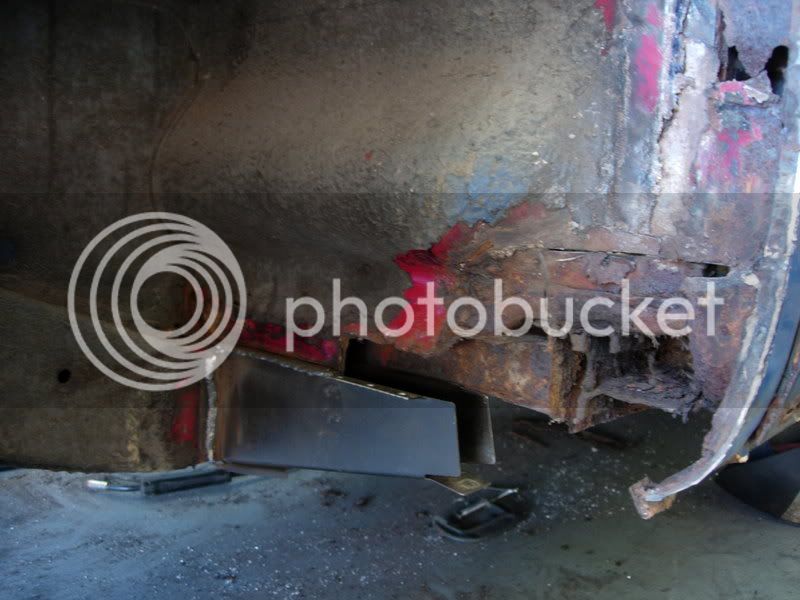
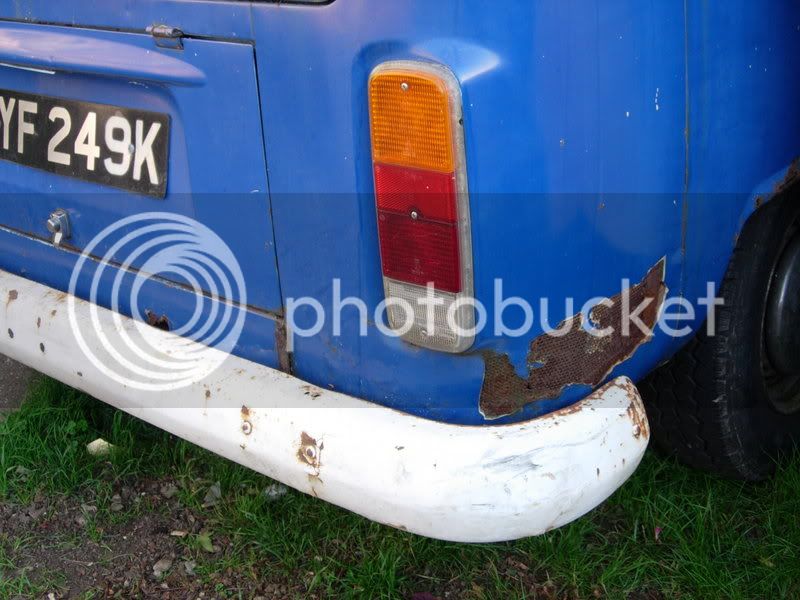
Nasty rear corner;
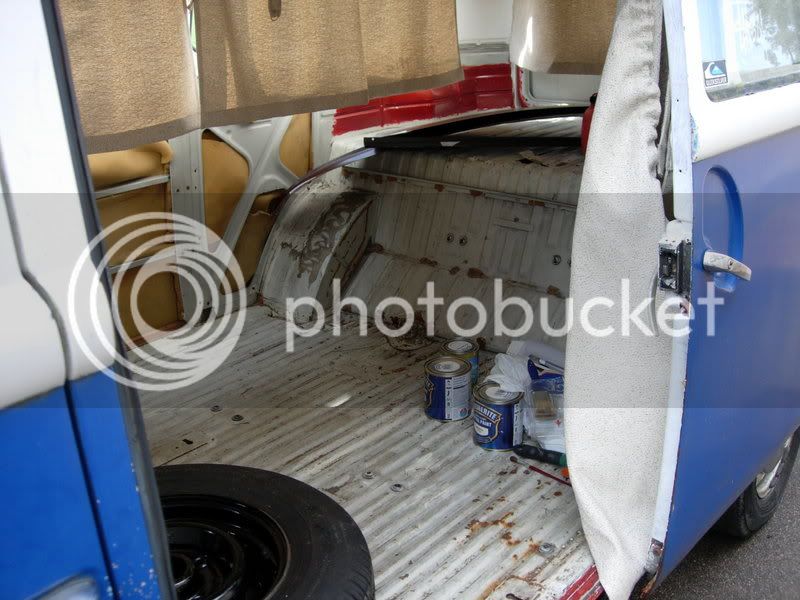
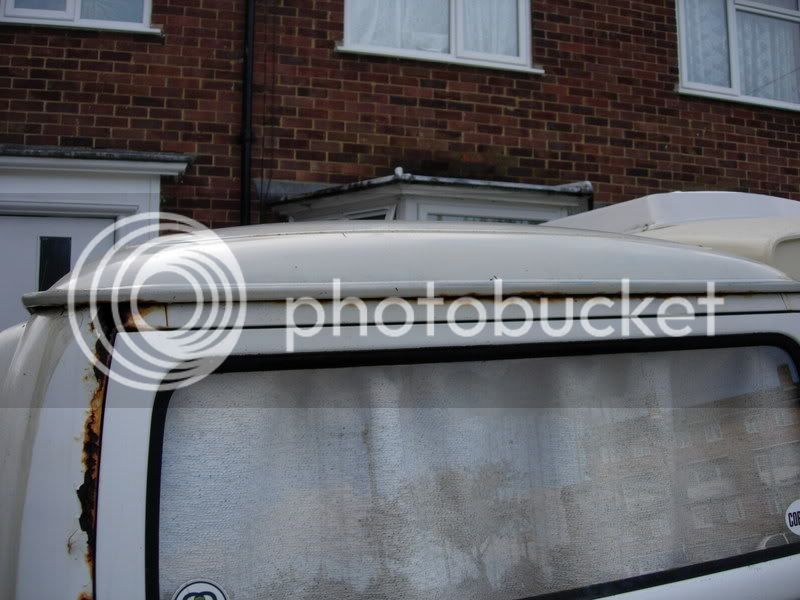
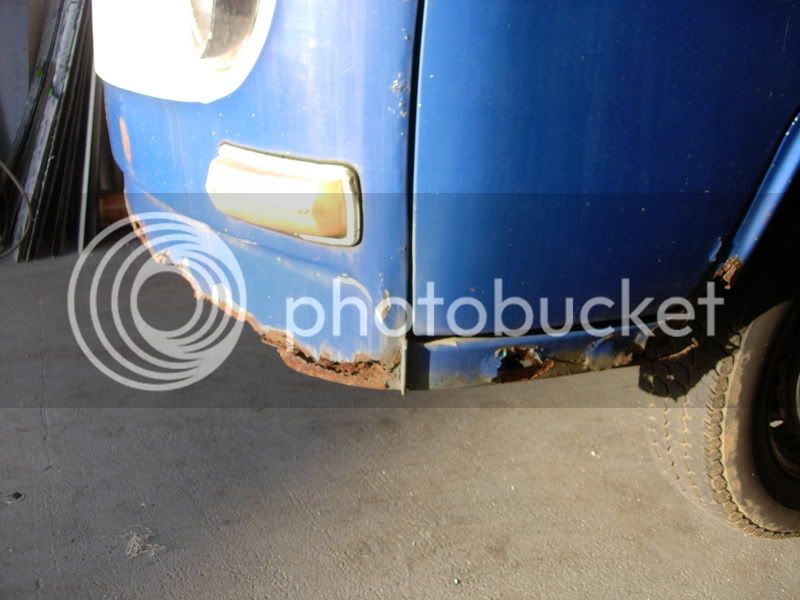
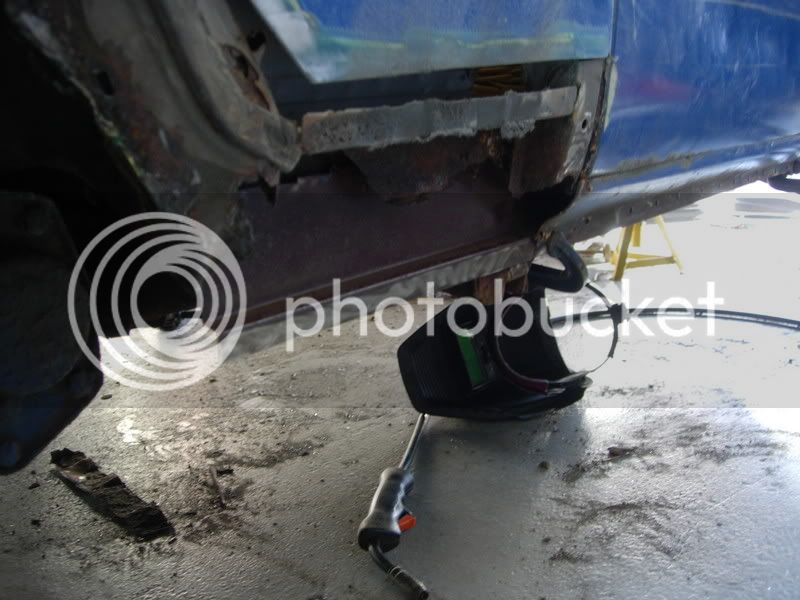
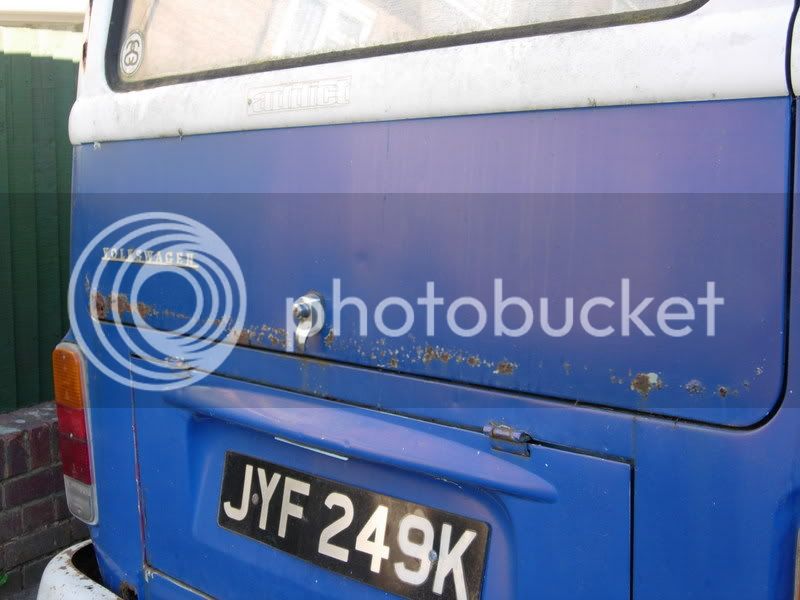
Dodgy tailgate;
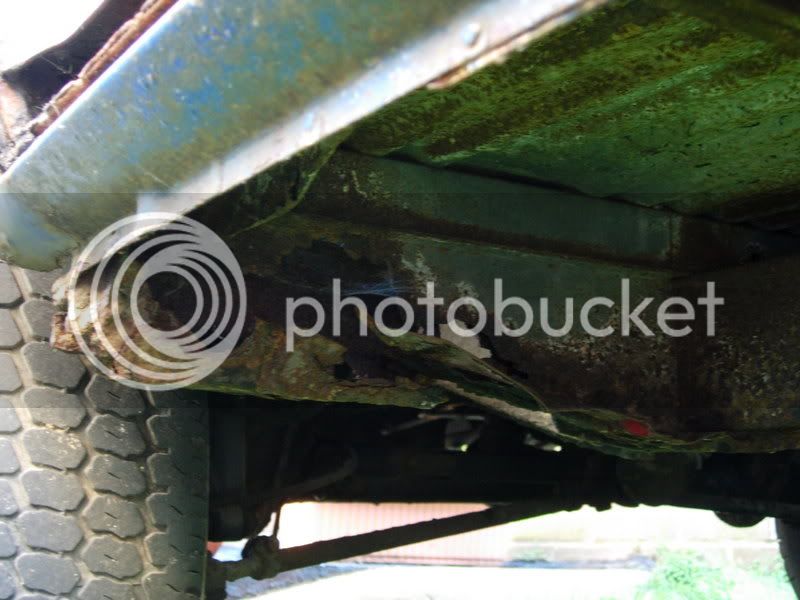
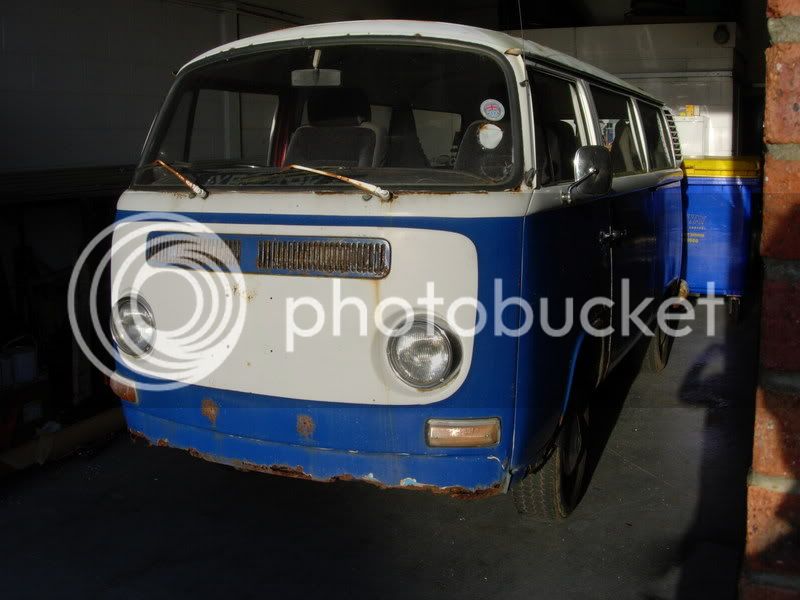
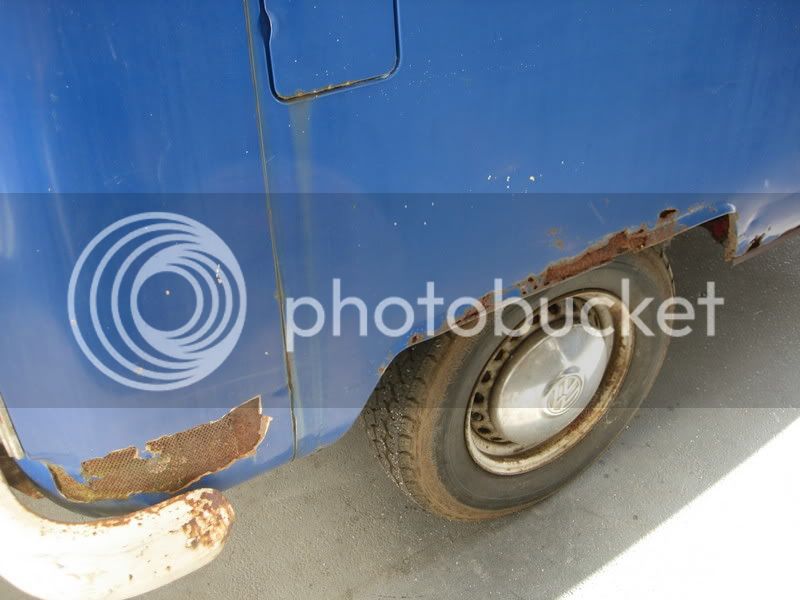
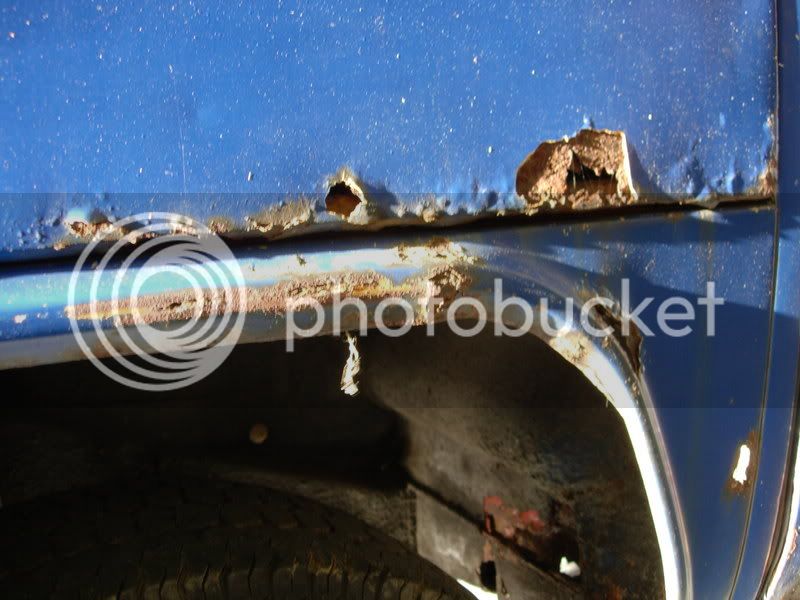
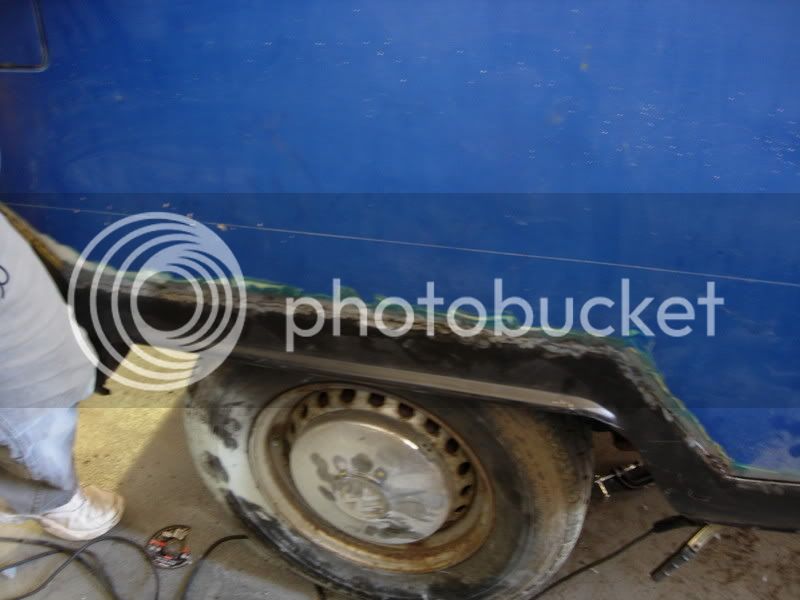
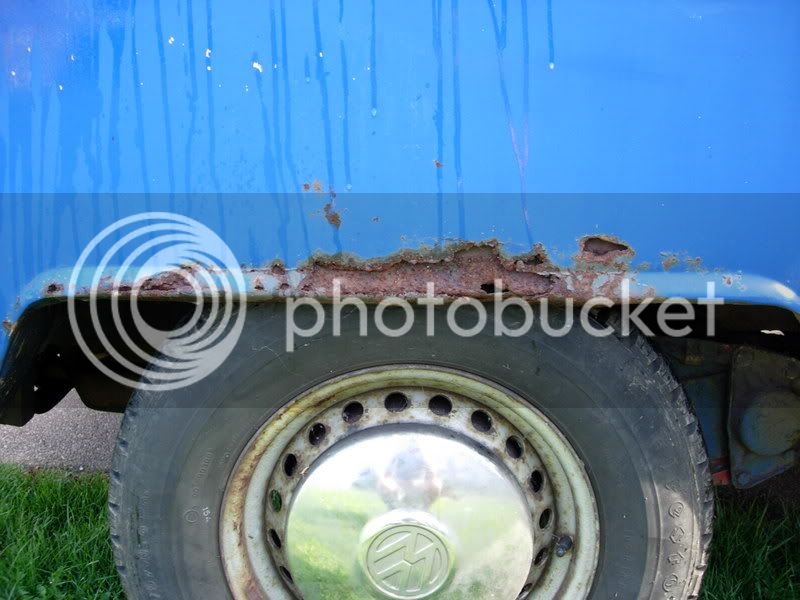
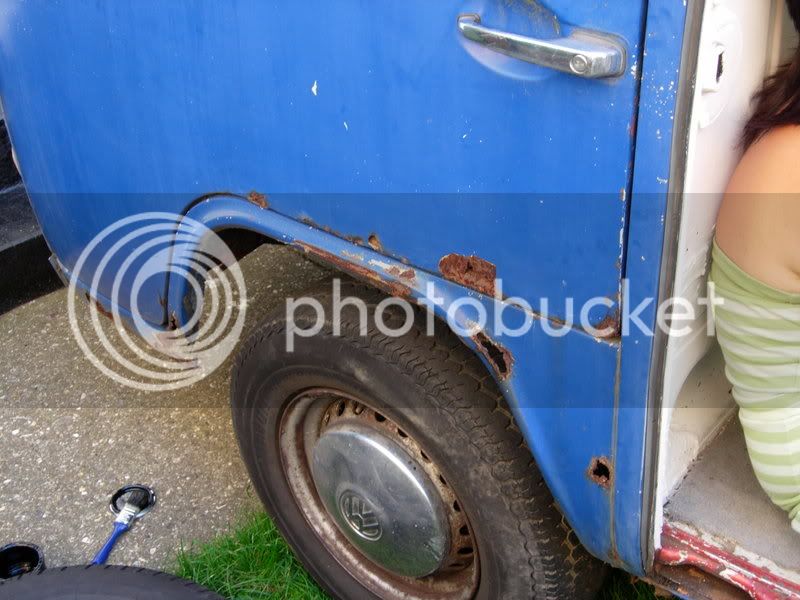
Rear arch - the other one's just as nice!;
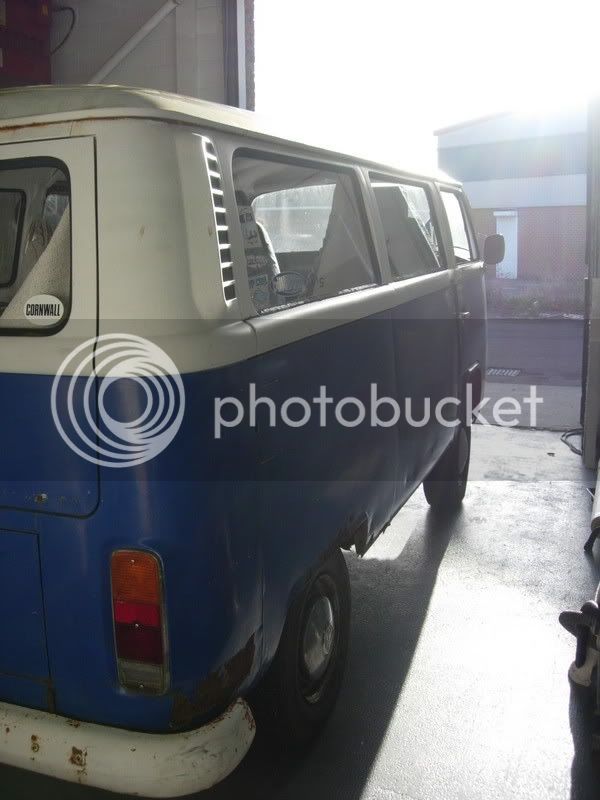
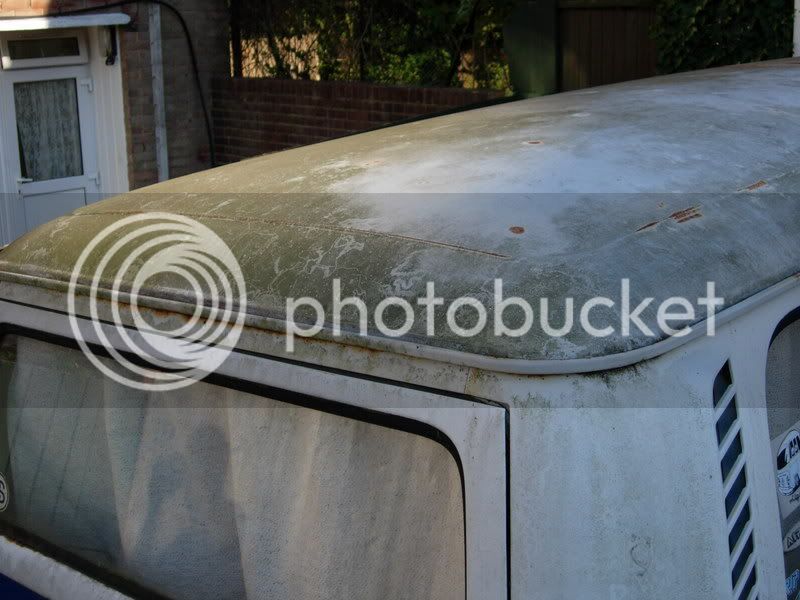
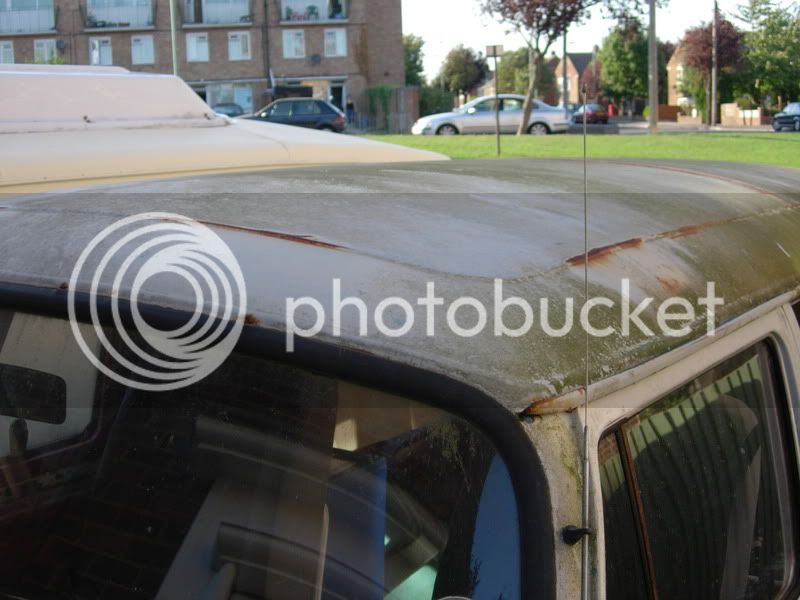
Lovely clean roof - the result of being under a tree for months;
And more;
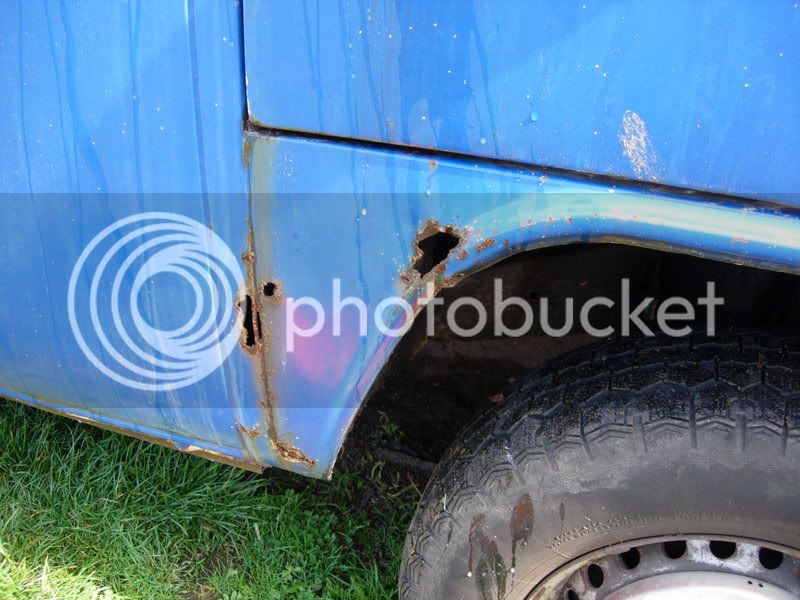
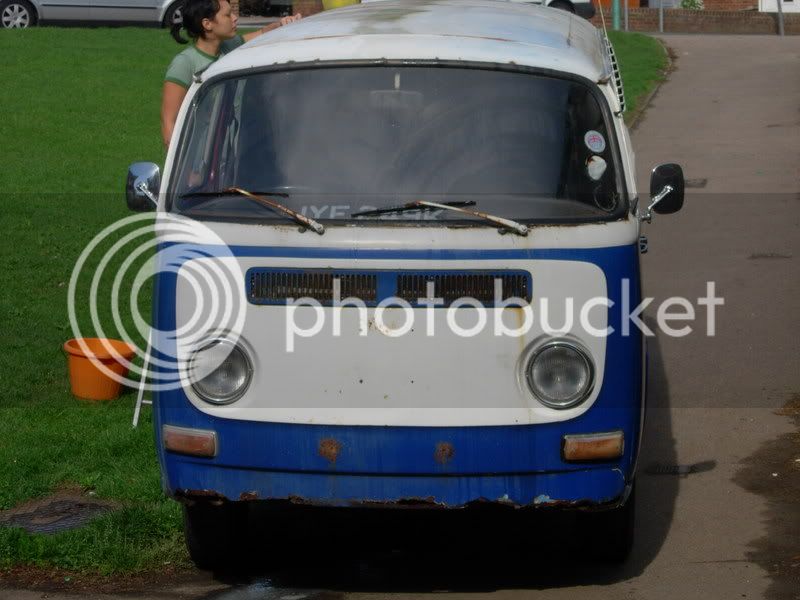
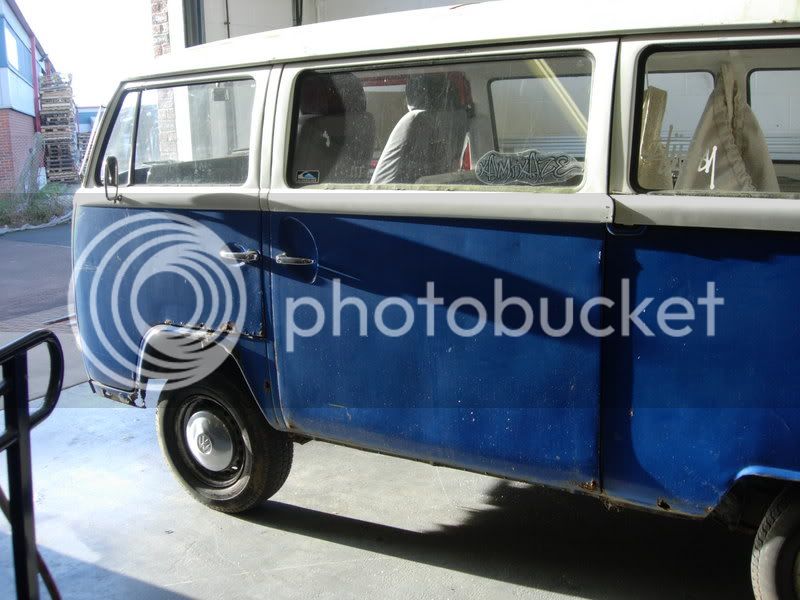
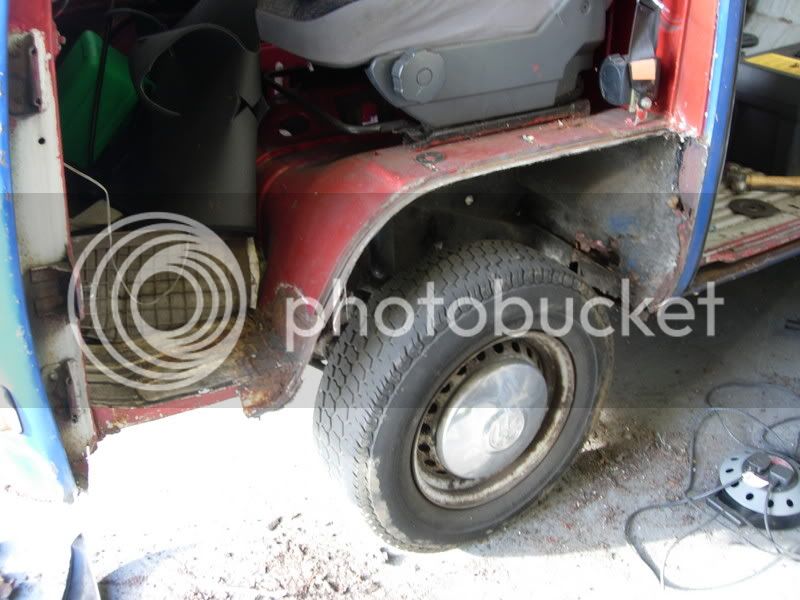
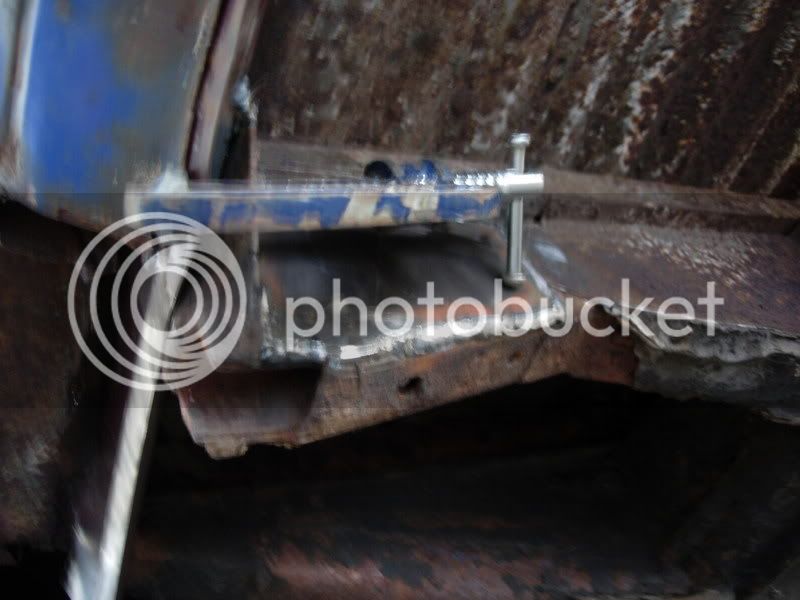
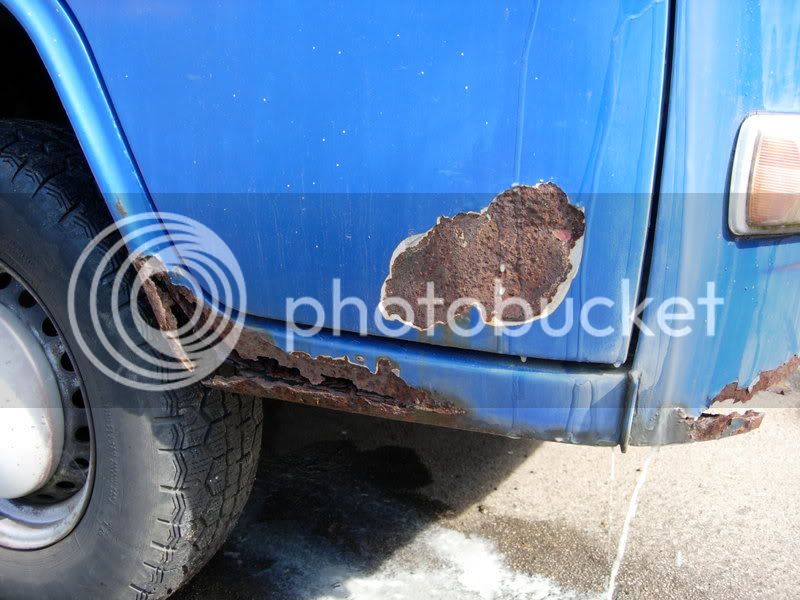
Nasty front arch;
And another!;
So anyways, here's some pics of how it looked on return.
Nasty rear corner;
Dodgy tailgate;
Rear arch - the other one's just as nice!;
Lovely clean roof - the result of being under a tree for months;
And more;
Nasty front arch;
And another!;