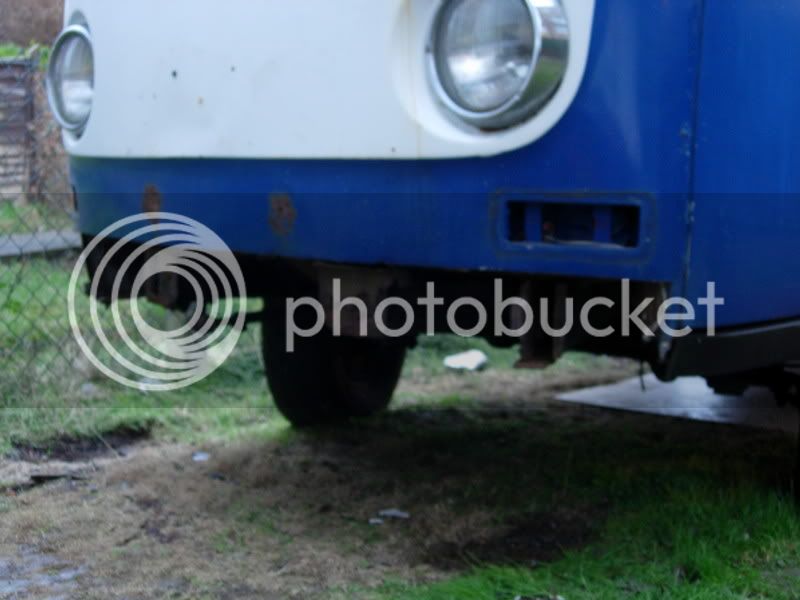
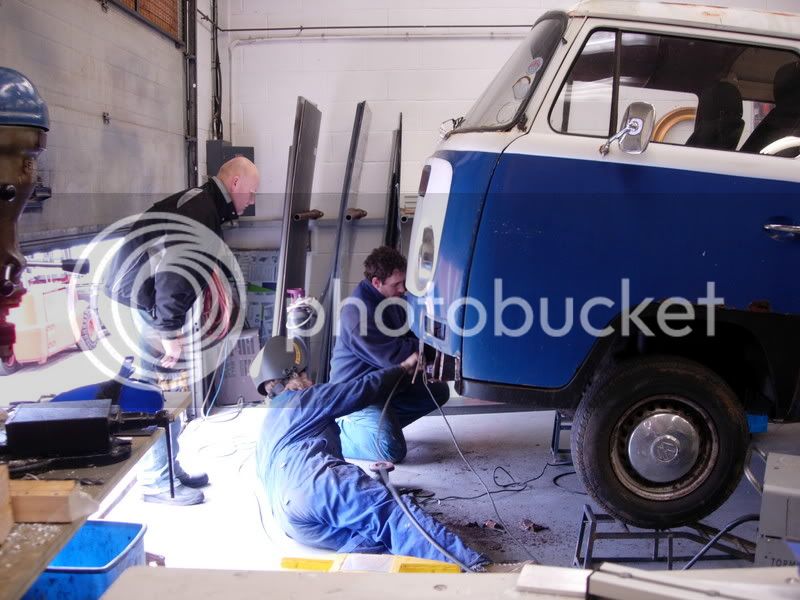
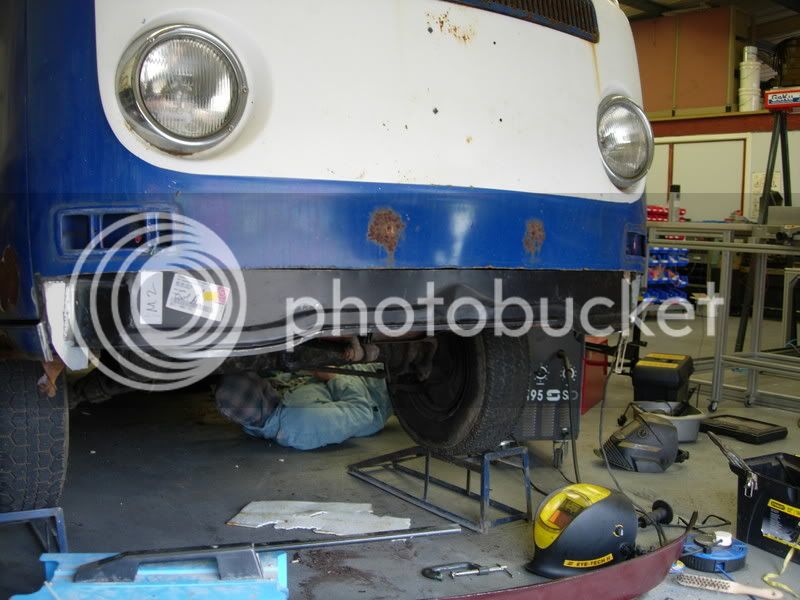
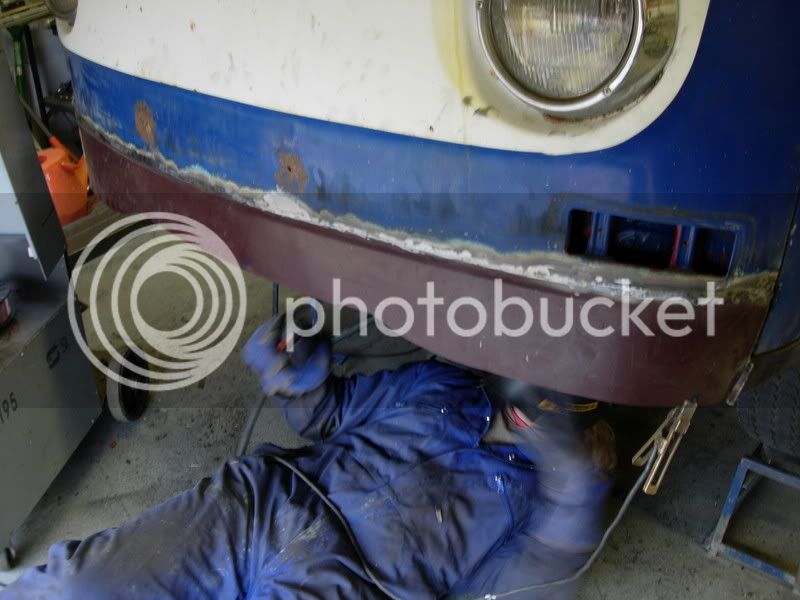
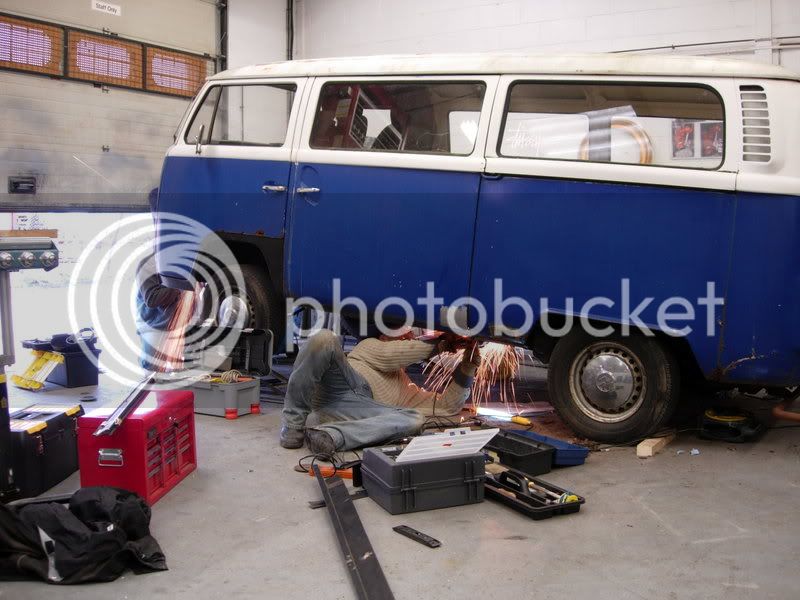
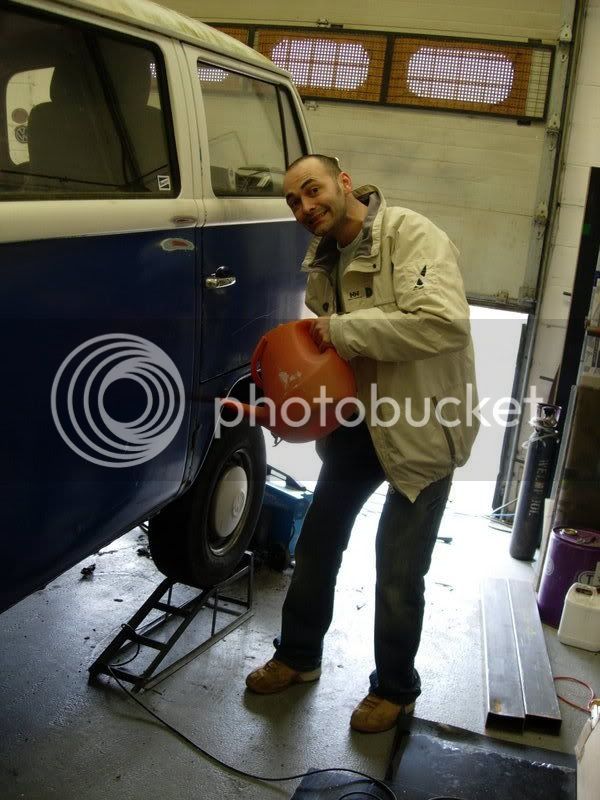
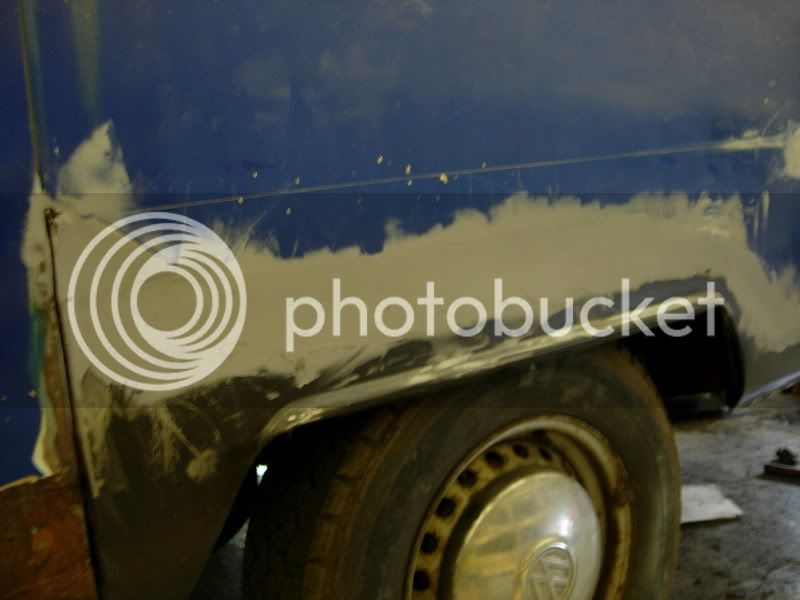
our shed (72 crossover)

Early Bay Forum

Help Support Early Bay Forum:

This site may earn a commission from merchant affiliate links, including eBay, Amazon, and others.
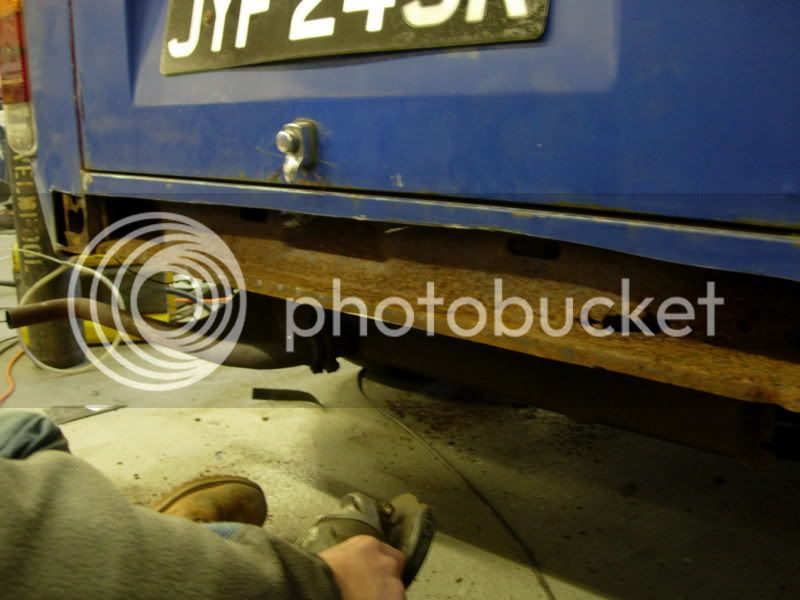
Whilst this was going on I was having the time of my life with the rear bumper! Every single bolt had to be grinded/cut/hammered/chiselled etc. Nothing's ever simple. We ended up having to remove the exhaust just to get the bloody thing off. It also means I've got the fun task of drilling out numerous bolts over the next few days, ready for when the bumper eventually goes back on.

If all else fails, hit it with a big hammer!;
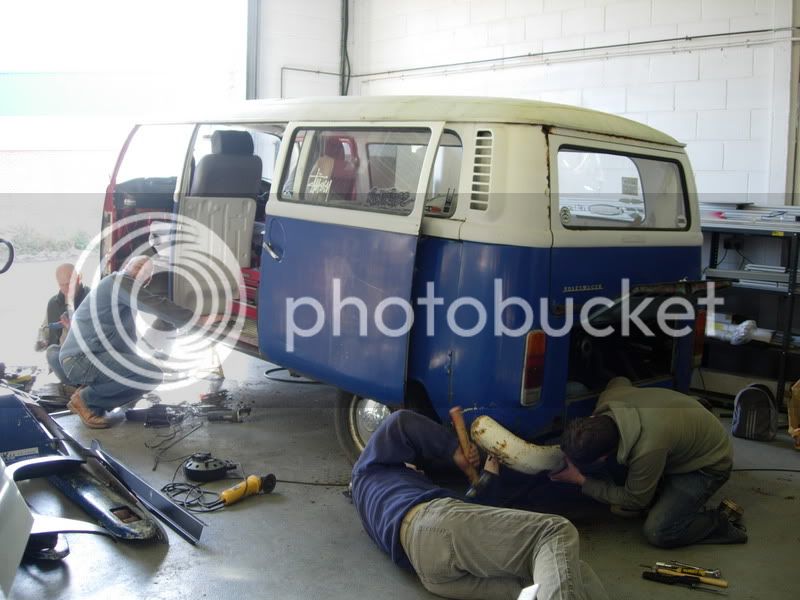
DSCN2082.jpg


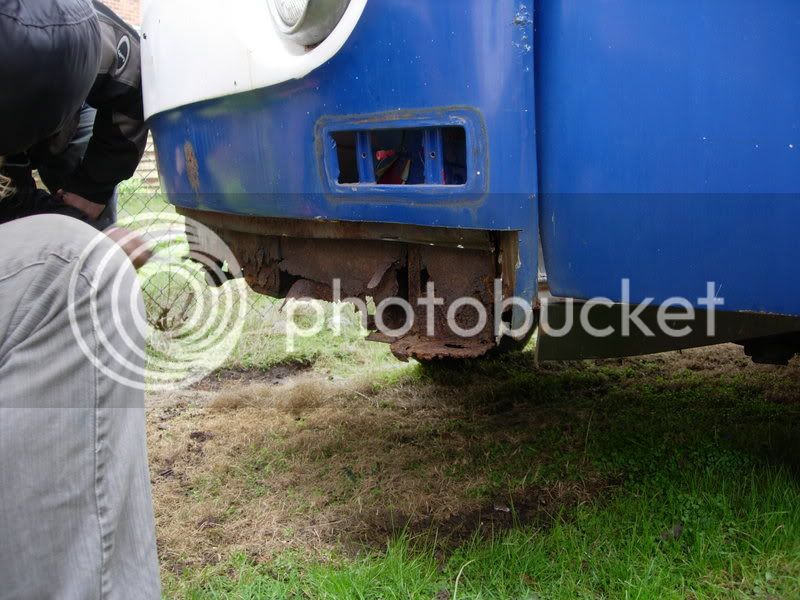
Up front Ade fabricated a replacement panel for the front arch rust area, which was then welded in.;
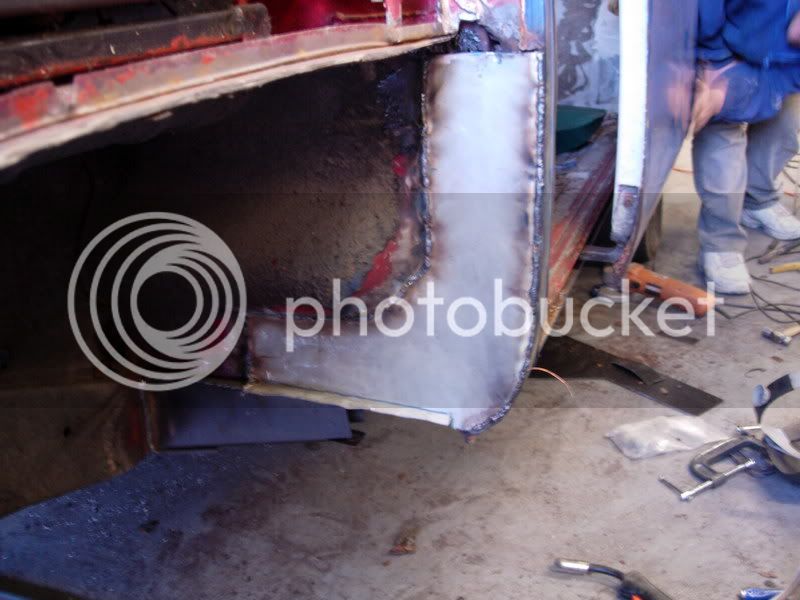
DSCN2097.jpg


Luckily, we noticed the small fire break out on the otherside of the metal just in time. :D Full credit to Russ, our chief firewatcher!

Minimal fire damage;
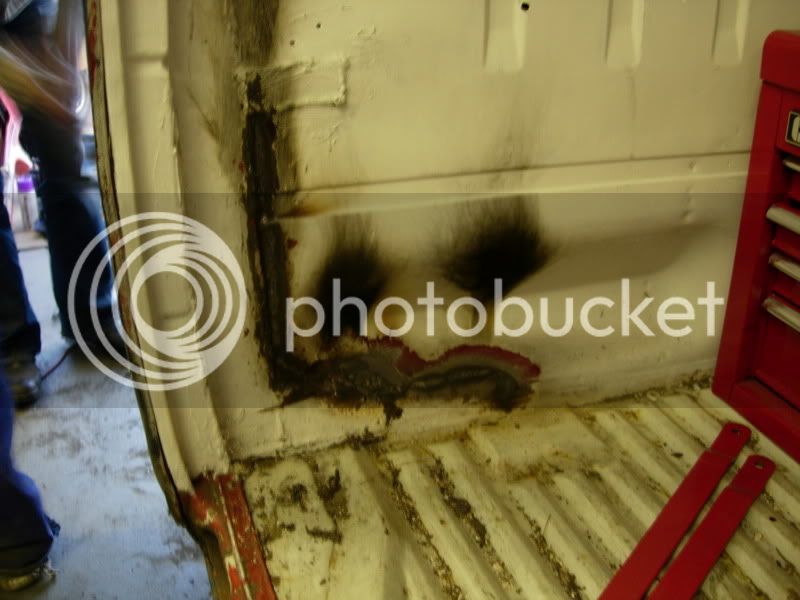
DSCN2098.jpg
 
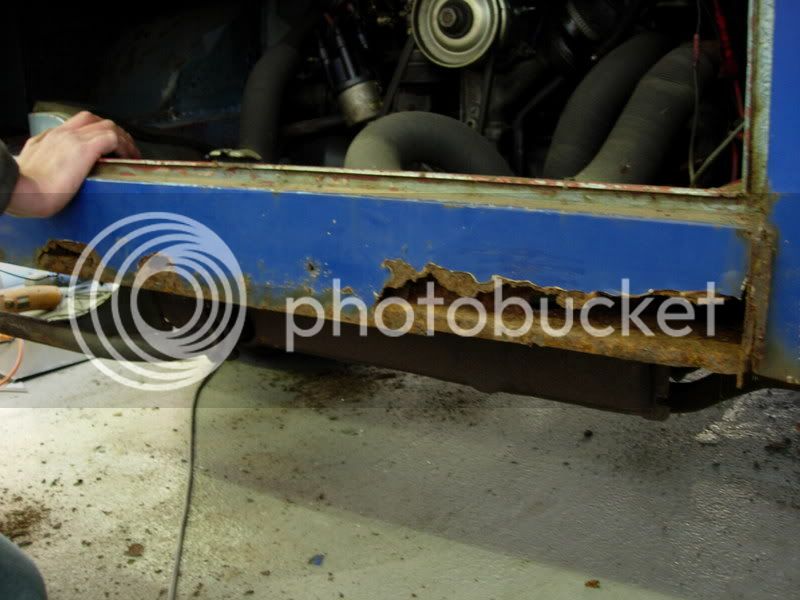
With one rear arch replaced, Kev moved onto the next one. Luckily this was nowhere near as bad as the driver's side, and only needed a small panel cut out.

Out with the old;
DSCN2092.jpg


In with the new;
DSCN2095.jpg


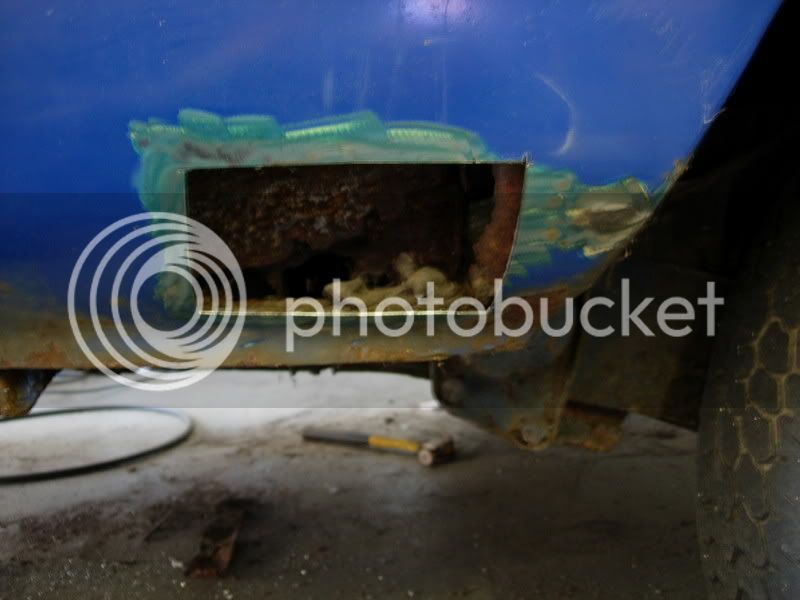
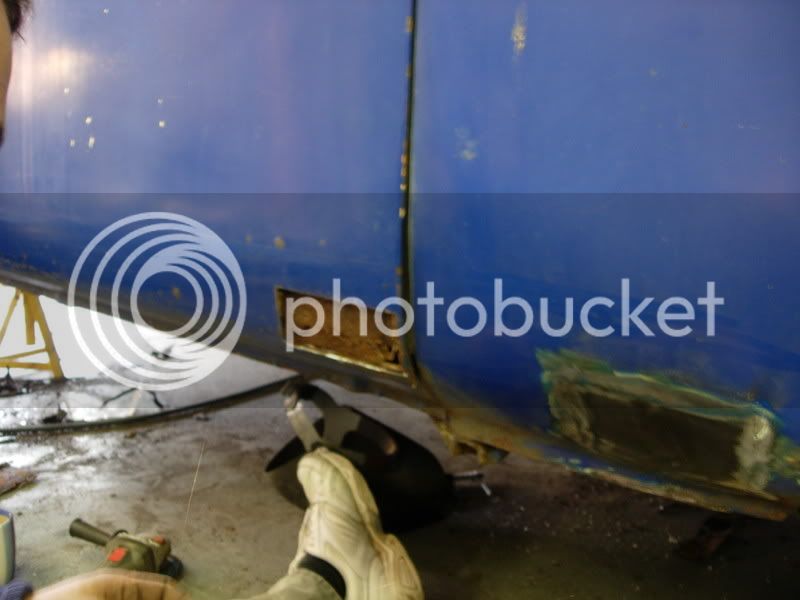
As can be seen above we also took a small panel out of the sliding door instead of replacing the whole bottom, as it really wasn't necessary.

Meanwhile Russ set about lining up the new front arch;
DSCN2087.jpg


I'll get pictures of the new arch and sliding door repair up later.
 
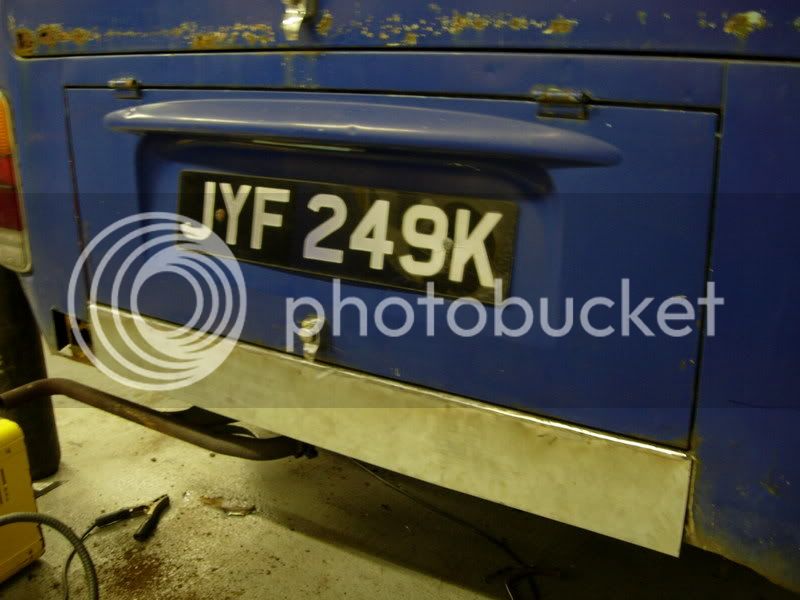
To end the day as the bumper was off, we decided to replace the rear valance, as it was pretty much rubbish. Being the cheapskates we are, there was none of this buying a panel lark, we just used some sheet metal we had lying around.

Bit rusty then!;
DSCN2093.jpg


We'll have none of that here!;
DSCN2100.jpg


Just like magic, new panel in place. We just need to roll the bottom and weld it to the corners, but that'll be done once the corner repair panels go in.;
DSCN2101.jpg


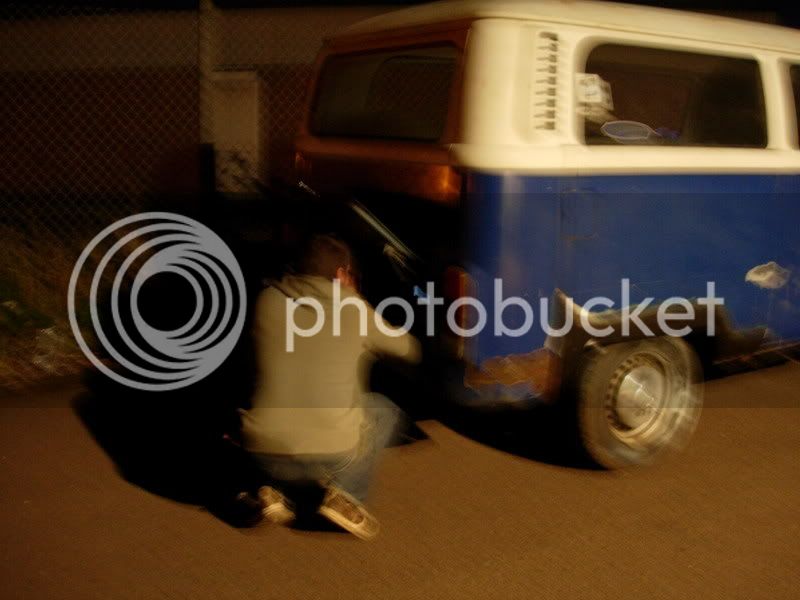
Finally, after a good 7 hours it was time to go home. Unfortunately the bus decided to play up on the way home with some charging and spark plug issues, but in all fairness it has been sitting for 4 years, so I guess it's to be expected.

Sorry for the rubbish pic, it was getting chilly and Nic couldn't stop shiverring!;
DSCN2104.jpg


Overall, I'd say not bad for a days work, a couple more days like that and the thing should be ready for paint! :D
 
Nice one dudes!

Glad to see the bus getting back to life, with a make over 8)

With a team like that it will be a matter of seconds until its back on the road notching up the miles :D

Keep up the good work 8)
 
Couple of extra pics as promised.

Sliding door repair;
DSCN2112.jpg


New front arch;
DSCN2111.jpg
 
A very good job - well done for the work so far!

Looking for the next installment :D
 
Better than camper van crisis! :D

Keep up the good work! 8)
 
Well, what a rubbish week it's been! I took the whole week off work to really get stuck into the bus, only to find hurricane season in full effect. As such we've been pretty limited in what we could do. :(

Anyways, we've managed to get a few small jobs done, so I guess some progress is better than none.

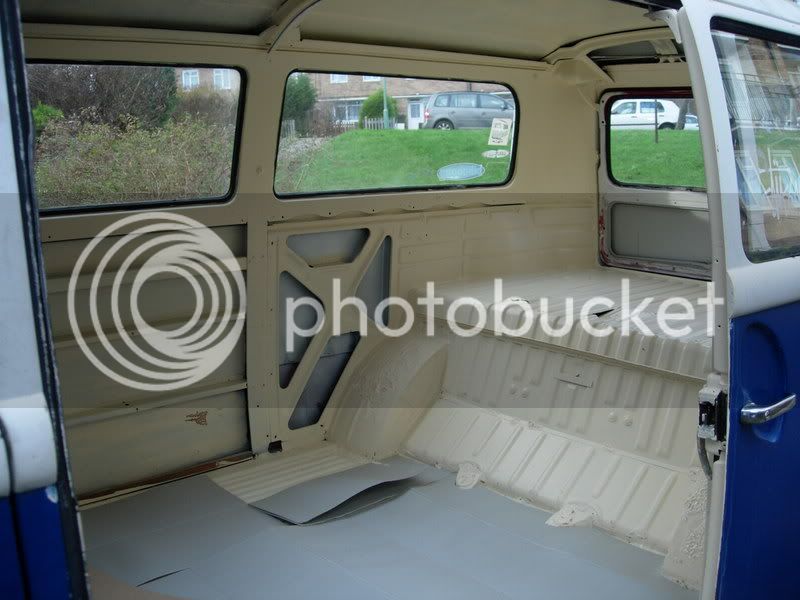
First up we decided to start tidying up the interior of the bay. Most of the metalwork is good, so it was just a case of giving everything that will be in view a quick paint over. We also removced the tired old headling ready for me to start making a new one. Whilst the old one was off we also gave the roof a quick paint just for extra protection.

Before:
DSCN2120.jpg


DSCN2119.jpg


After:
DSCN2132.jpg


DSCN2131.jpg


The rear hatch hasn't be done as we've got a replacement one sitting in the shed. We also cut the underlay for the new floor to size. Thanks to Russ for supplying us with that.

Incase anyone's wondering, those cut outs above the engine bay were done by a previous owner. It looks like they were done to replace the fuel sender. We was tempted to get them welded back up, but it actually makes accessing the tank a bit easier, plus the hassle it would have been to weld them didn't really seem worthwhile.
 
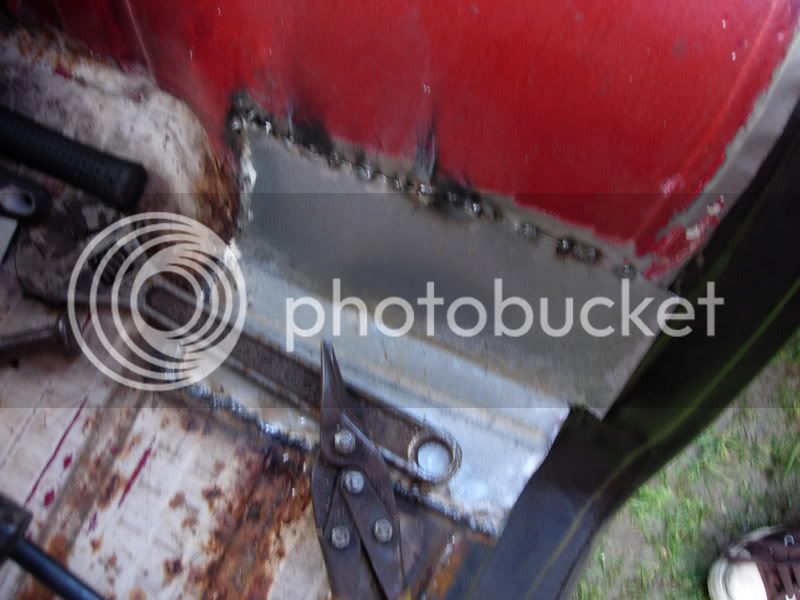
Ade also came round to day for a couple of hours and brought his trusty welder with him. Today's plan was to sort out the cab area. A new panel was welded in to cover the hole (and rust) that had been removed when we replaced the arch.

That'll do the trick;
DSCN2133.jpg


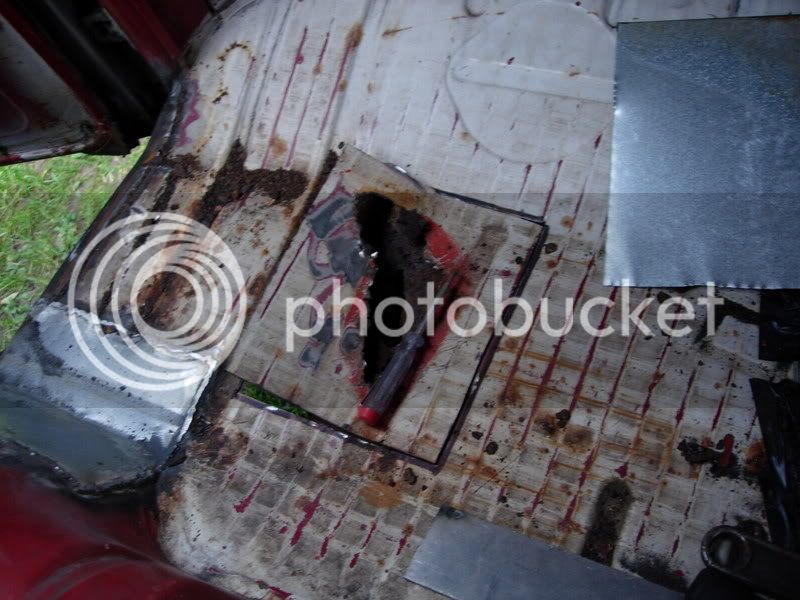
We also uncovered a bit of a bad area on the floor;
DSCN2134.jpg


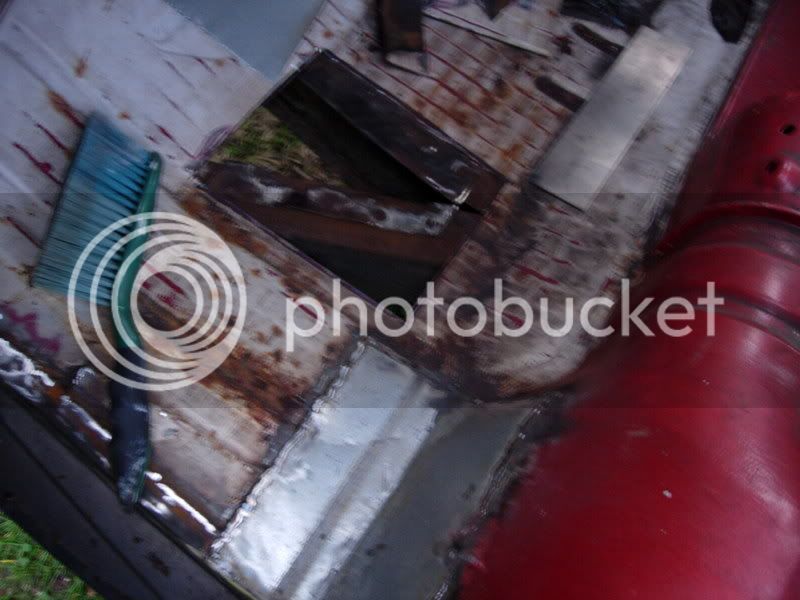
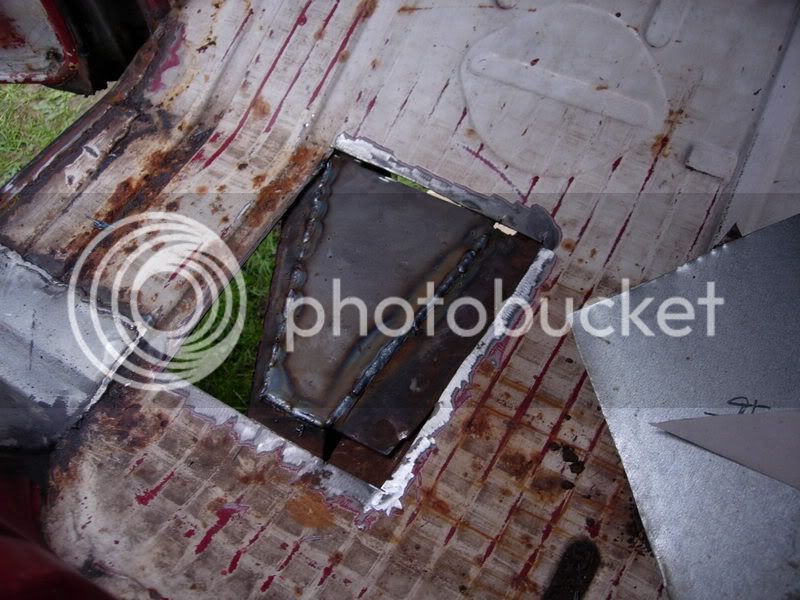
When we cut this out we found the the chassis strengthening plate had corroded, so would need replacing (as we're not sure if it was an MOT failure). So Ade's gonna make a new panel for us at work (the man truely is a star!), but for the meantime we're left with a bit of a hole in the floor! :D

Yeah, it makes it lighter so you can go faster!;
DSCN2135.jpg
 
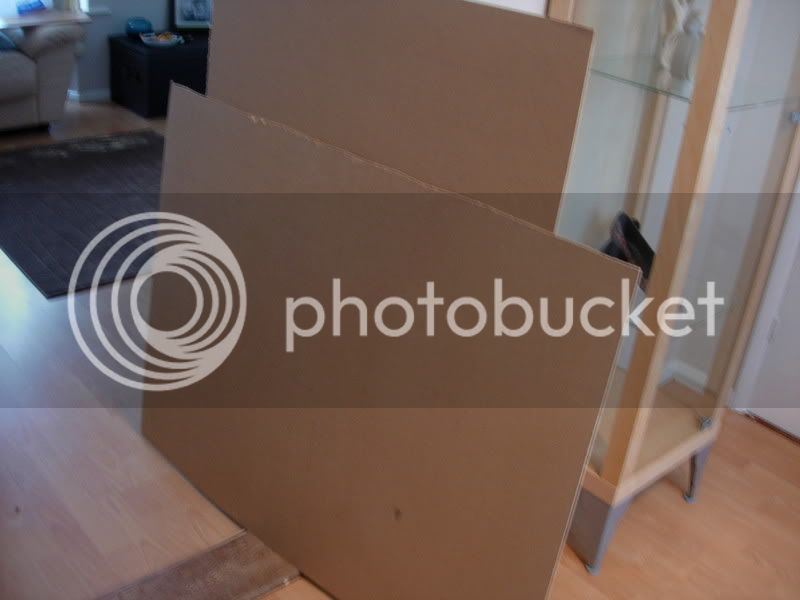
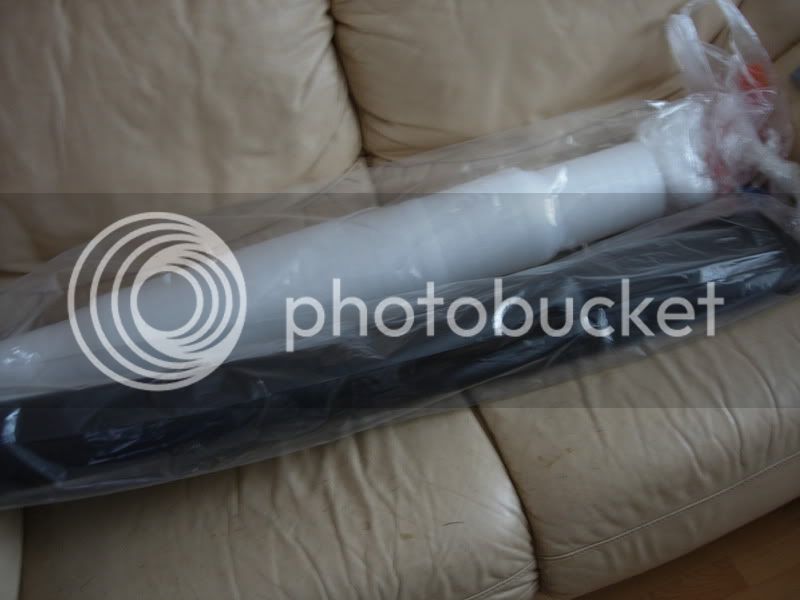
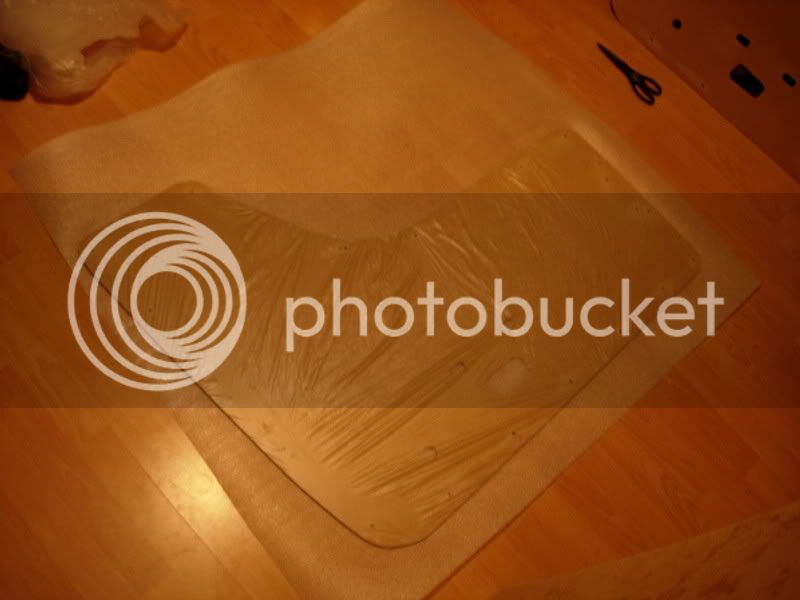
Meanwhile, whilst this has been going on I've started making an interior to go in the back. First up door cards. There's no way we was gonna pay out £400 for a full set of panels, not when we can make our own! :D So it was off to the shops to buy some wood, insulation and material. We ended up deciding on a dark brown leatherette, which should hopefully compliment the new interior colour perfectly.

Take a load of this;
DSCN2121.jpg


Add a little of this;
DSCN2130.jpg


Chuck in a jigsaw a staple gun and some glue;
DSCN2126.jpg


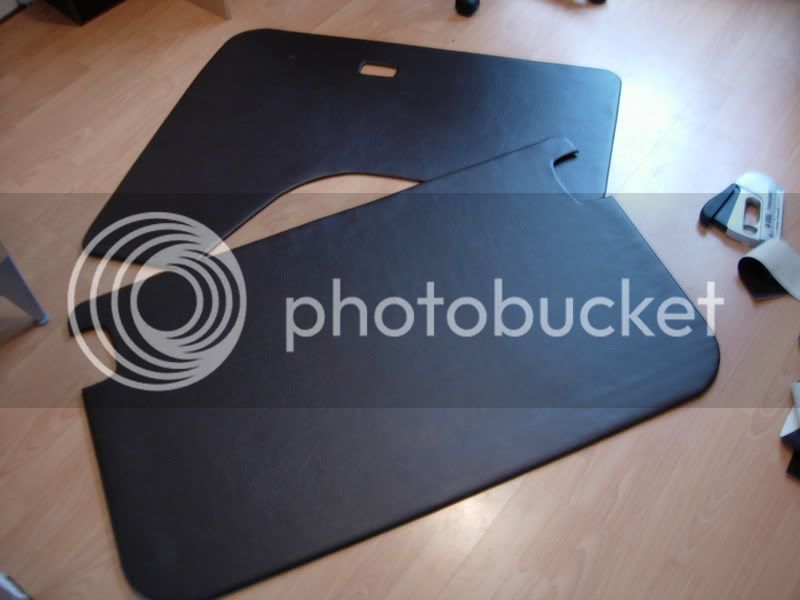
And eventually you'll end up with something like this;
DSCN2129.jpg


So far I've got the cab doors done, the walkthrough panels, the sliding door and the tailgate panel. I've just got to cover the rear quarter panels and make the one for the non sliding door.

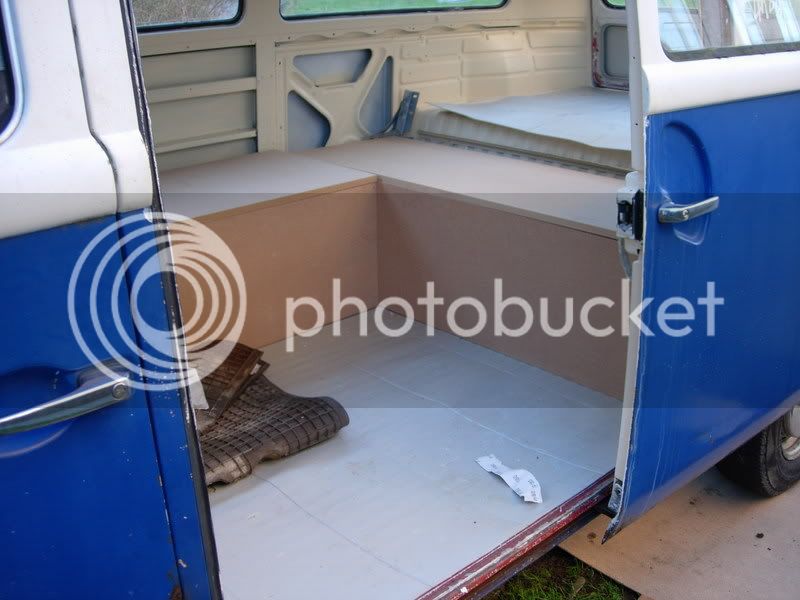
I've also made the seat to go opposite the non sliding panel, and I've started measuring up for the r'n'r bed, so hopefully (weather permitting) I can get that pretty much done over the weekend.
 
Well with the weather finally permitting on Sunday, I set about making the interior for the back.

First up was the seat to go opposite the sliding door. The plan is for the top to be hinged so we can use it for storage aswell.

Next I started on the r'n'r bed. I'm pretty sure I've managed to get the hinges all lined up so it sits at the right height I want it to (i.e high enough to clear the engine area, but also low enough so it sits inline with the rest of the seats), all I've got to do now is cut the back part.

Anyway here's a pic of how it's coming along. It's not all bolted together yet (hence why some of the lines don't quite match up), as I've still got to put all the insulation and panels back in, but you get the idea. :)

DSCN2137.jpg
 
Well, the boys were back in town yesterday (so to speak), and made a little more headway on the bus. I've gotta admit I really need to pull my finger out and plough into this now that a couple of other projects are out of the way. Anyway's, big thanks to Kev and Ade for all they've done again - I know you come for the VWs, but you stay for the cake! :D

First up Ade made a new chassis strengthener to replace the old corroded one he cut out a couple of weeks back. This was then welded in;
DSCN2207.jpg


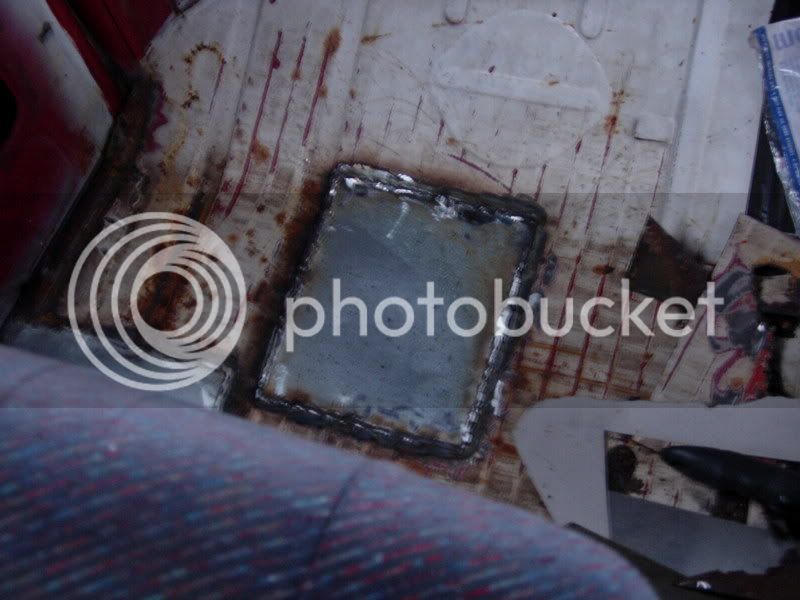
This was then followed by a plate being made for the floor and welded in;
DSCN2214.jpg


Whilst this was going on, Kev set about removing the old front valance;
DSCN2206.jpg


Followed by the inner valance;
DSCN2217.jpg


It may not look like much, but when you realise the time and effort that had to go into it, removing all the spot welds, metal cutting etc, both the floor and valance are quite a big job. Hopefully the new valances should go in a lot easier than the old ones came out. :)
 
Woah, we are slacking with the updates here!

Here's some pics and info about last weeks progress.

First up thanks again to Mikey for the loan of the workshop, and for all those that came down and helped. Muchly appreciated as always.

Last week we decided to get the front valances back on, following on from the removal in previous weeks. To make things easier we decided to stick it up on ramps, and driving it up onto them has gotta be one of the scariest expierences of my live :laugh: ;
DSCN2264.jpg


In went the new inner valance;
DSCN2269.jpg


Followed by the outer valance;
DSCN2272.jpg


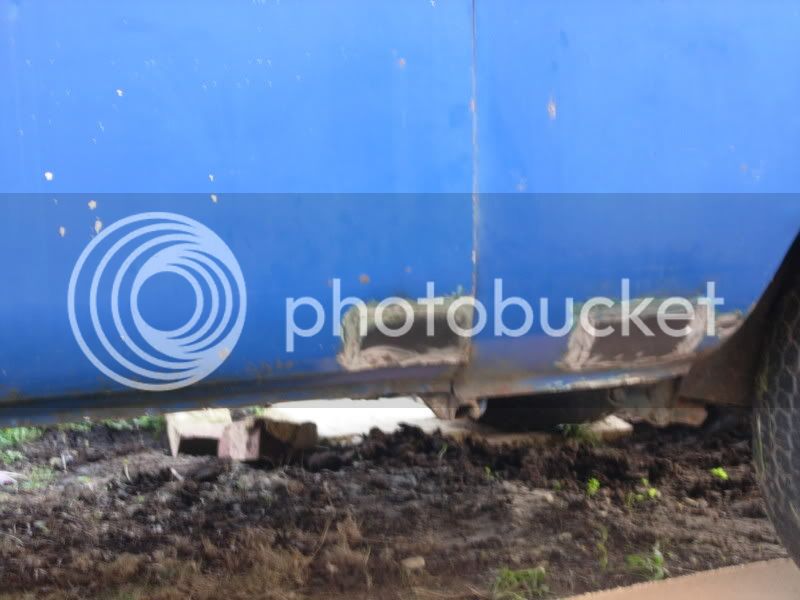
The Kev and Ade show was in full effect as always! Meanwhile Russ and Rob started on the removal of the old sill, outrigger and jacking point;
DSCN2271.jpg


Whilst other's helped in other ways!; (thats my brother, doesnt know the front end of the bus to the back, so was of no use lol)
DSCN2270.jpg


We've also started filling and smoothing the repairs that have recently been done;
DSCN2274.jpg


Slowly but surely, it's getting there! :)

scotts been working on the custom bed/seat over the last couple of days, he has bruised wrists where it collapsed on him :roll: :lol:
 
SLOWLY? If a project takes years to finish I wouldn't raise my eyebrows, I'd even expect that amount of time. You're really working in some pace man! Great job and I'm looking forward to more updates!
 

Latest posts

Top