You are using an out of date browser. It may not display this or other websites correctly.
You should upgrade or use an alternative browser.
You should upgrade or use an alternative browser.
our shed (72 crossover)
- Thread starter emerald
- Start date

Help Support Early Bay Forum:
This site may earn a commission from merchant affiliate
links, including eBay, Amazon, and others.
Well that 6 weeks came and went. 
Various other factors got in the way and the bus hardly got touched to be honest. However with a revised scheduled debut at Peppercorn, I've really got to pull my finger out. So let the updates begin.
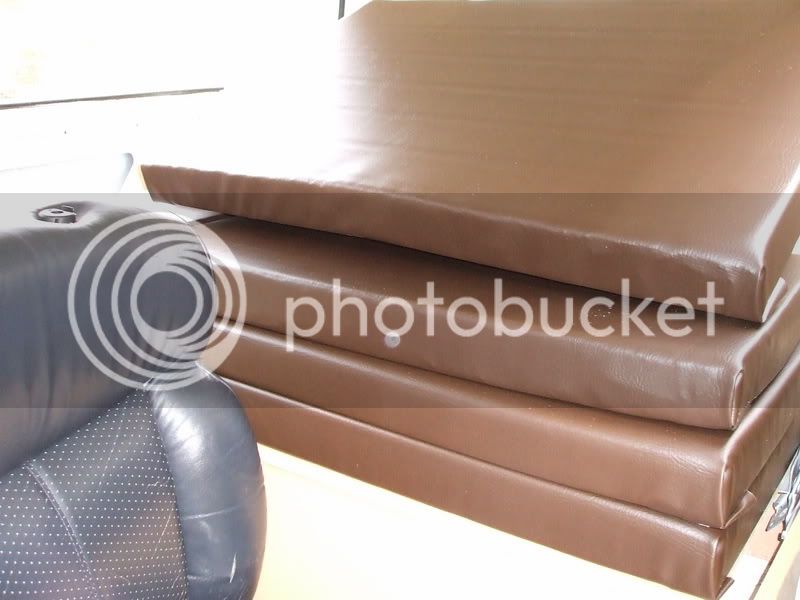
In my spare time over the last couple of weeks I set about making the cushions for the rear bed area;
I've also been collecting parts;
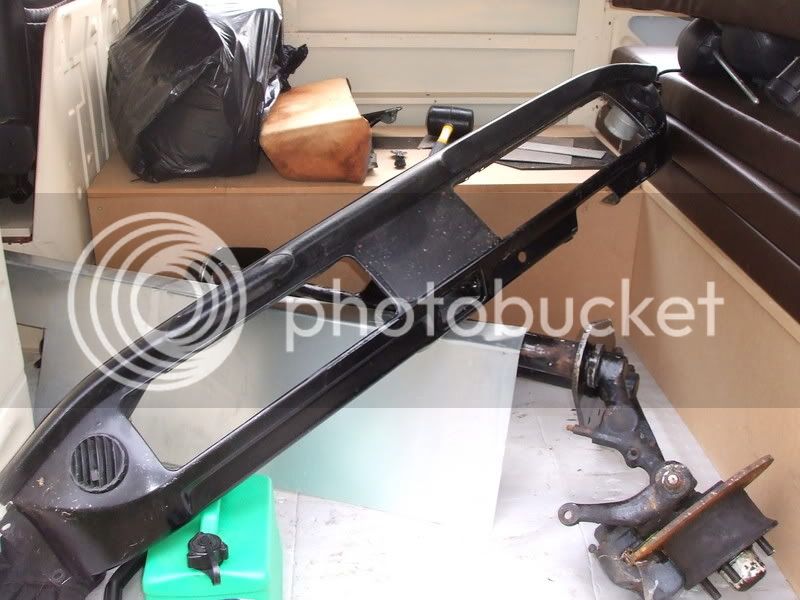
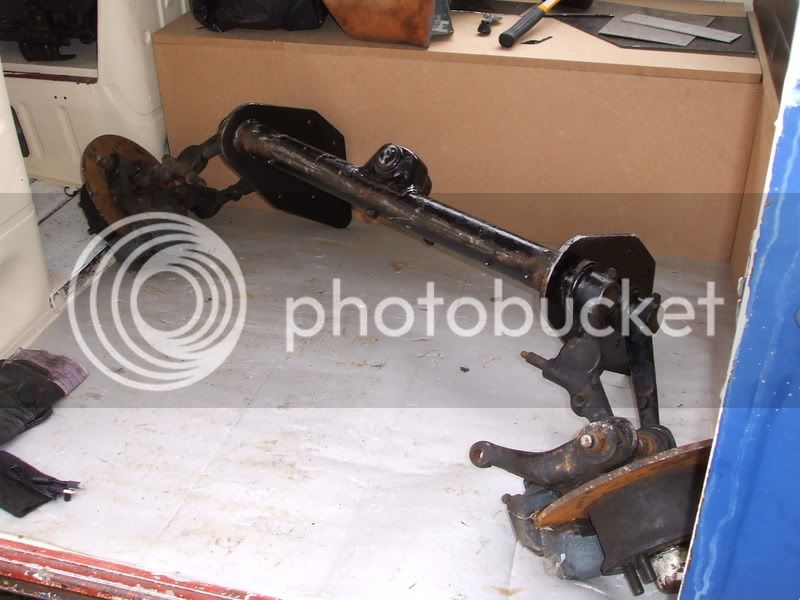
One replacement dash, one slammed and narrowed beam, and a replacement tailgate.
Various other factors got in the way and the bus hardly got touched to be honest. However with a revised scheduled debut at Peppercorn, I've really got to pull my finger out. So let the updates begin.
In my spare time over the last couple of weeks I set about making the cushions for the rear bed area;
I've also been collecting parts;
One replacement dash, one slammed and narrowed beam, and a replacement tailgate.
New front seats were also aquired;
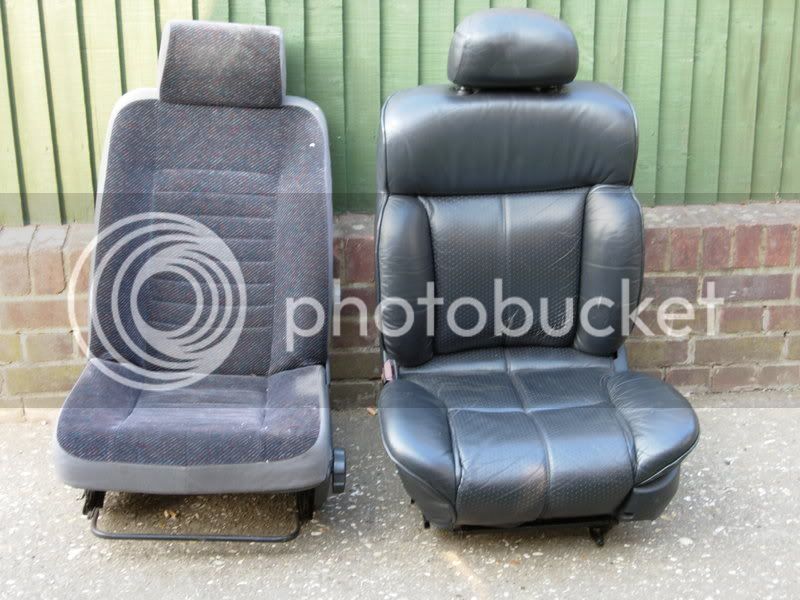
Old cloth ones compared to new leather ones with heating and full electrics.
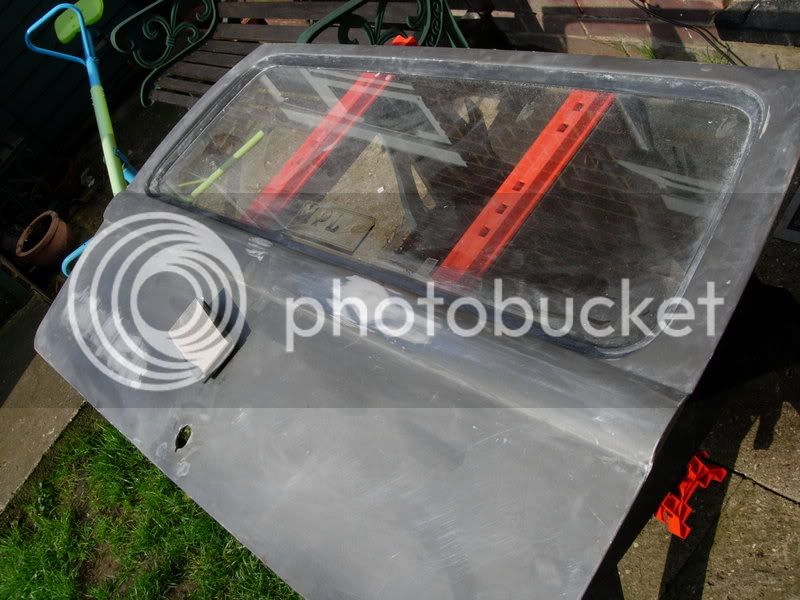
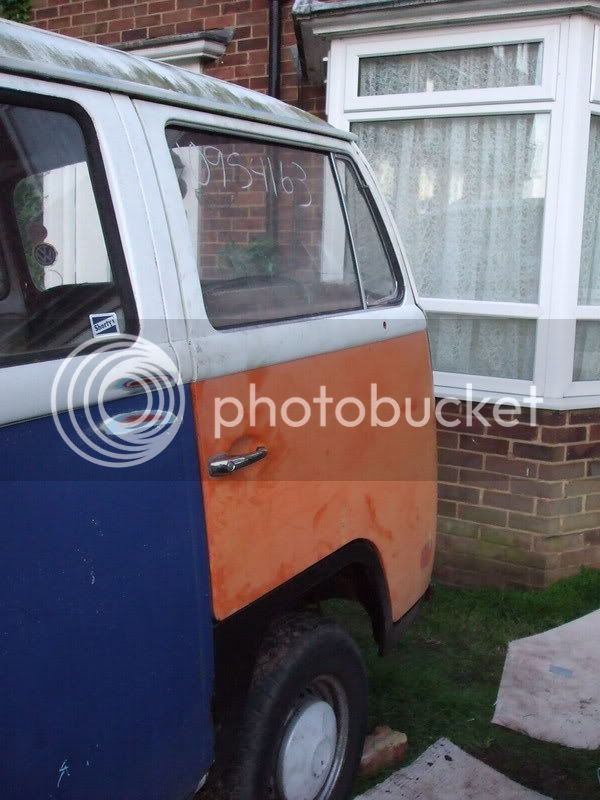
Aswell as a pair of rust free doors, which saved me a good couple of days work (and were an absolute bargain!)
Old cloth ones compared to new leather ones with heating and full electrics.
Aswell as a pair of rust free doors, which saved me a good couple of days work (and were an absolute bargain!)
Also in the last month or so it's seen Ade continue on with the cab.
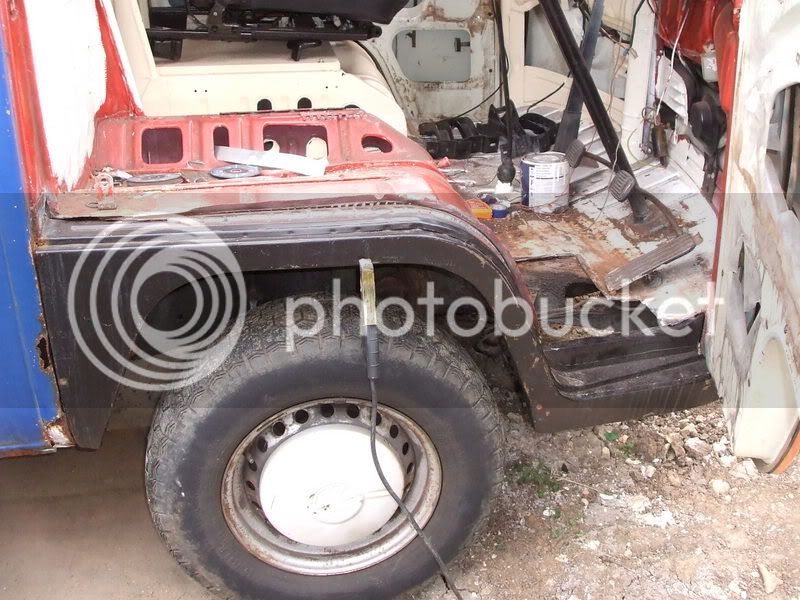
First up was the removal of the driver's side arch, only to reveal a whole load more rust. So in went some fresh metal;
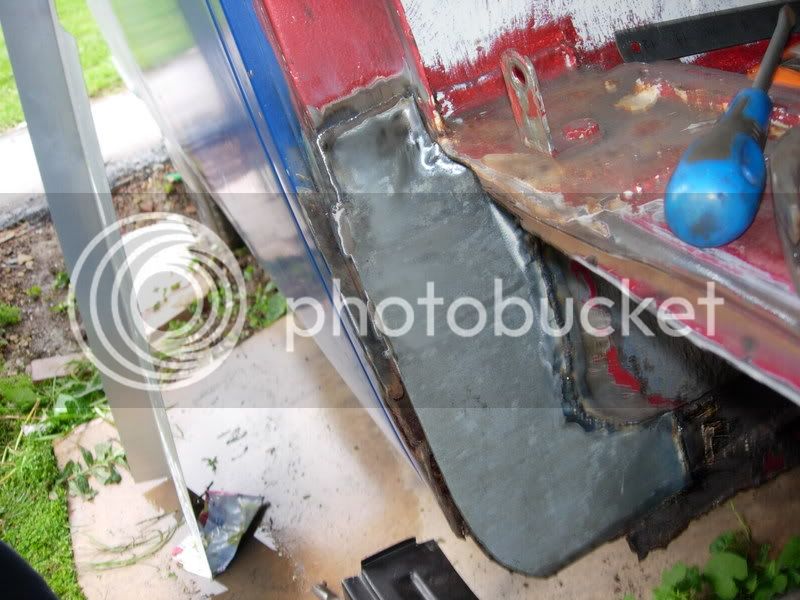
Before the new arch went on;
He also decided to start cutting about the floor;
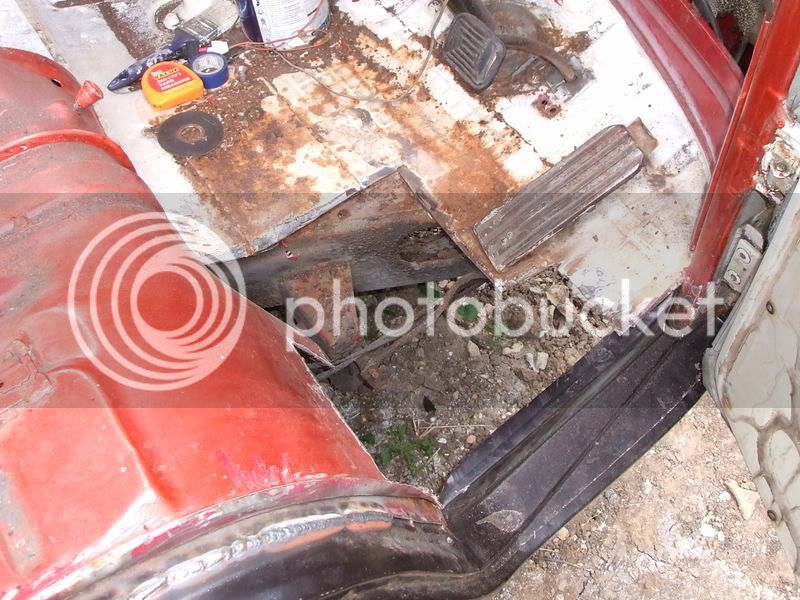
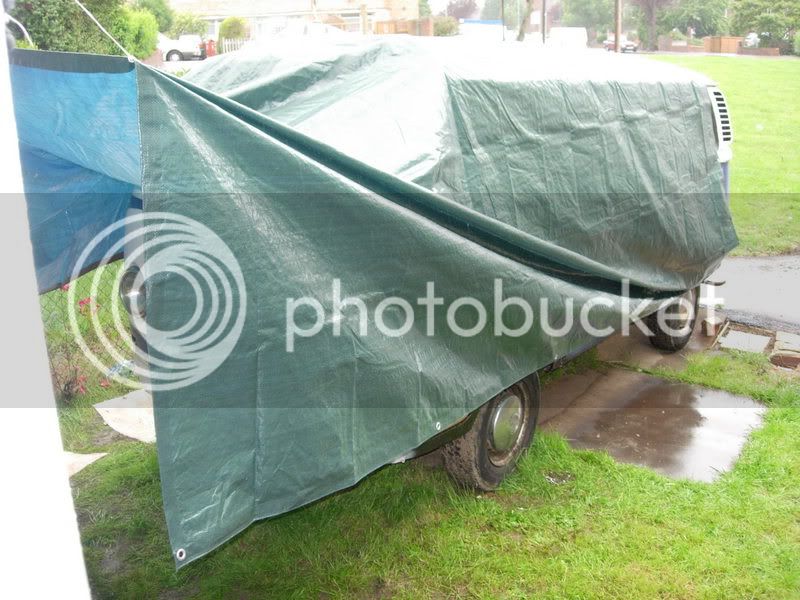
It's worth noting all this was done in the pissing hard rain, with a makeshift canopy to cover him;
What a top man.
First up was the removal of the driver's side arch, only to reveal a whole load more rust. So in went some fresh metal;
Before the new arch went on;
He also decided to start cutting about the floor;
It's worth noting all this was done in the pissing hard rain, with a makeshift canopy to cover him;
What a top man.


$7.75
Window Crank Cover, for Beetle, Bus & Ghia 68-79, Black, Ea, Compatible with Dune Buggy
Appletree Automotive

$7.99
$11.51
Dorman 76920 Window Crank Handle Compatible with Select Volkswagen Models, Black
Amazon.com


$11.28
$12.93
Window Crank, for Beetle 56-67, Black, Each, Compatible with Dune Buggy
MOORE PARTS SOURCE


$53.20
$69.99
Revell 07674 VW T1 Camper 1:24 Scale Unbuilt/Unpainted Plastic Model Kit
Amazon.com


Well today was my first of 8 planned days of work in a hope of achieving the seemingly impossible.
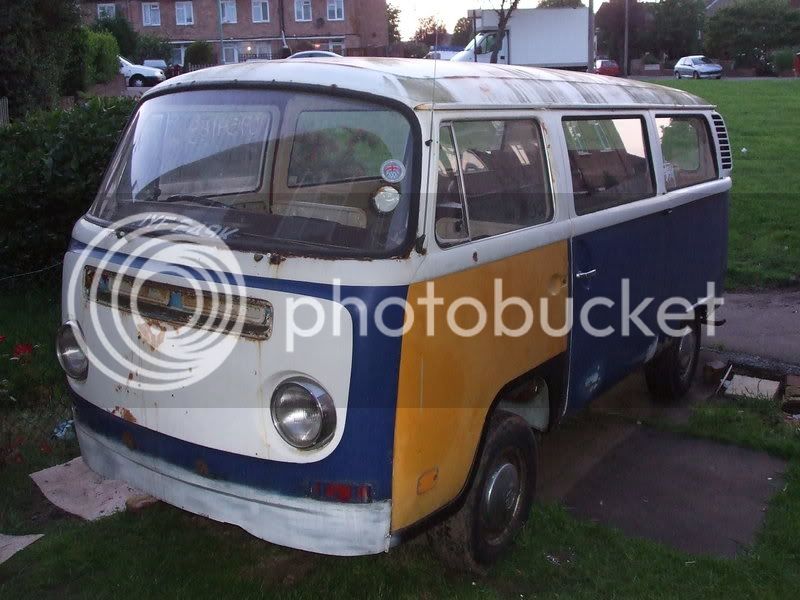
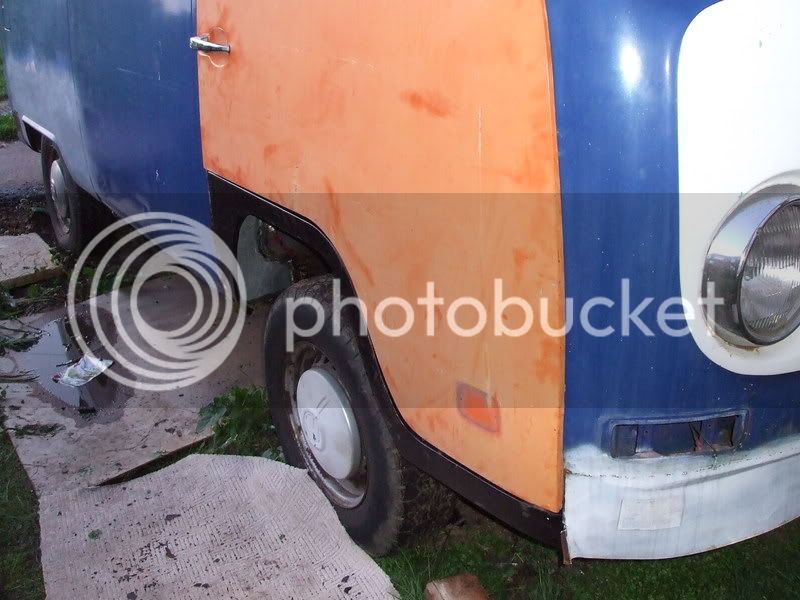
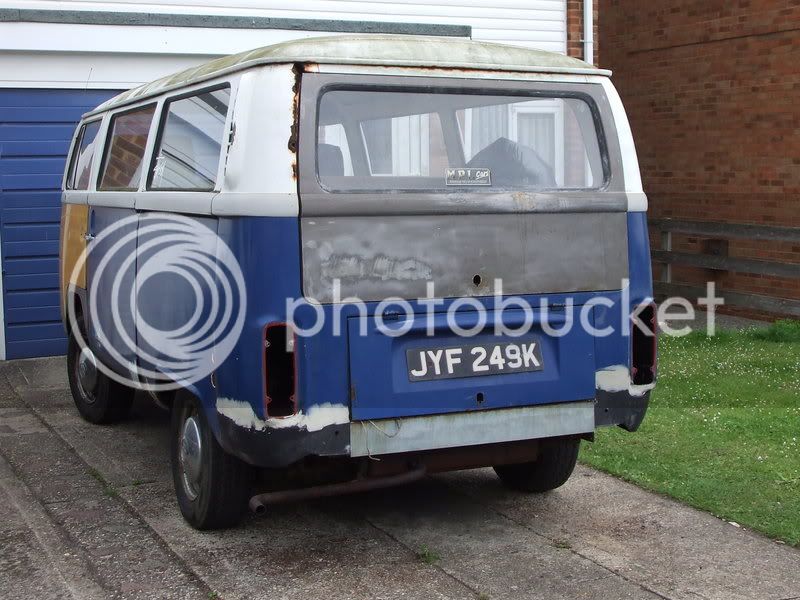
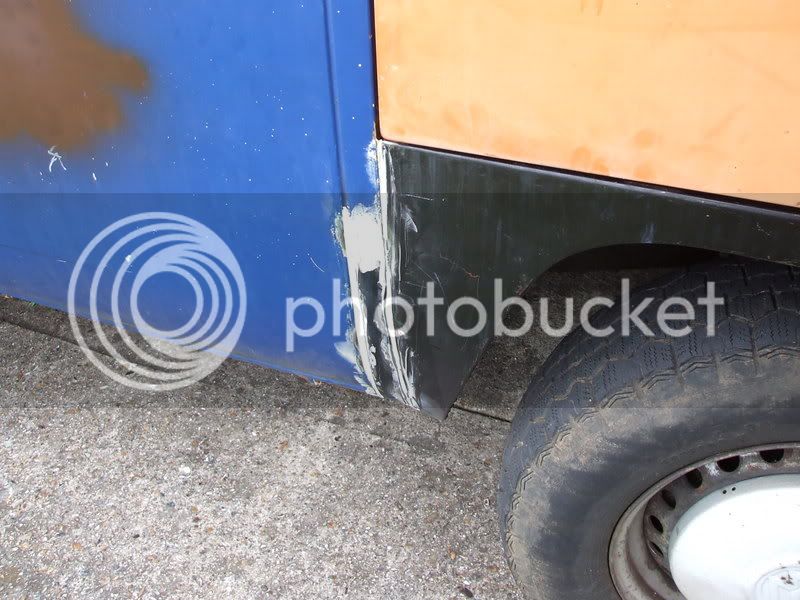
We decided to move the bus to my house as most of my tools were there, plus unlike Nic, I've got a proper driveway. Here's how the van stood at the start of the day;
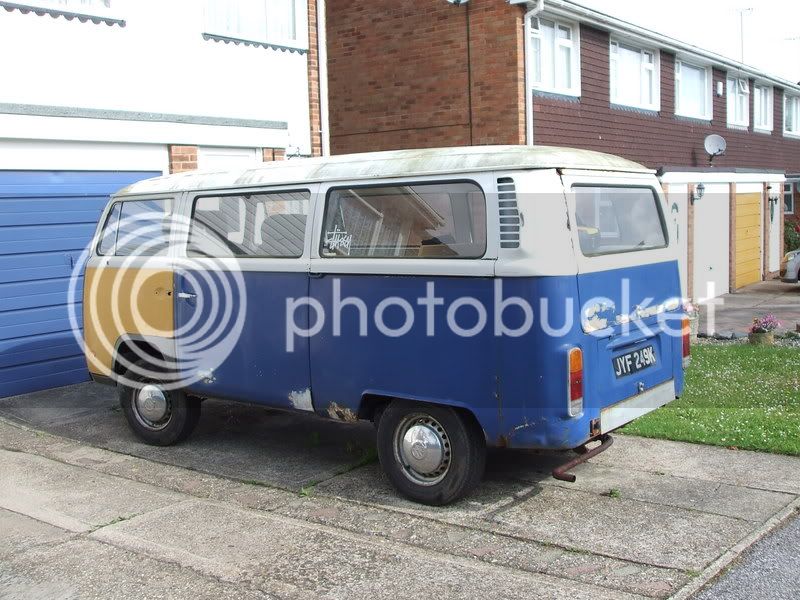
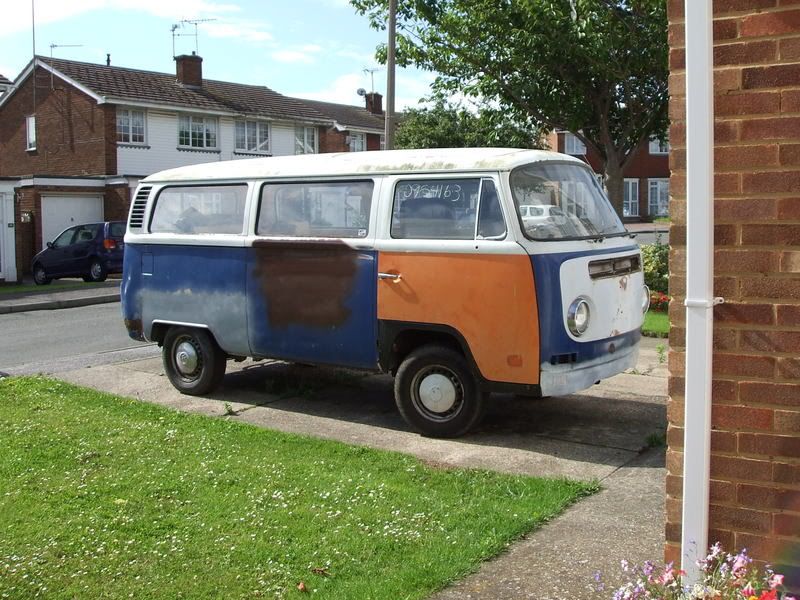
The big patch on the side was were me and Nic were choosing the colour we wanted. Brown FTW!
We decided to move the bus to my house as most of my tools were there, plus unlike Nic, I've got a proper driveway. Here's how the van stood at the start of the day;
The big patch on the side was were me and Nic were choosing the colour we wanted. Brown FTW!
jabbo said:The big patch on the side was were me and Nic were choosing the colour we wanted. Brown FTW!
Scott and I have different tastes when it comes to styles of car, i knew how i wanted the bus from day one. one night he sat here and did a bus selecta and basically come up with how id planned him
brown is indeed FTW
Grazy said:You are getting there Jabbo and Emerald looking good . Come on dudes best of luck :wink: How long till Peppercorn ???????? :roll:
2 weeks this Friday! :shock:
So, after a quick cup of tea me and my good friend Kev (and his trusted welder) decided where to start. We opted for the bodywork that remained to be welded, as it means the rest of the week I can start prepping the body whilst he's working the chassis!
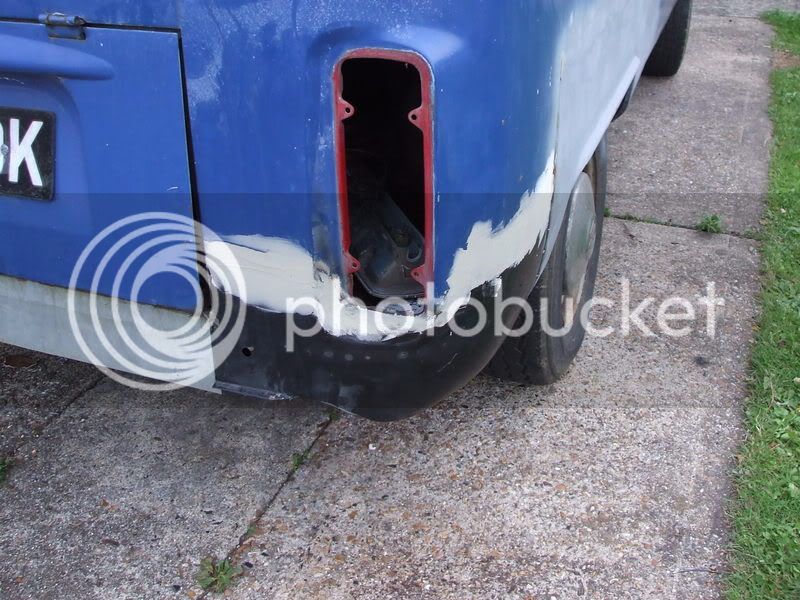
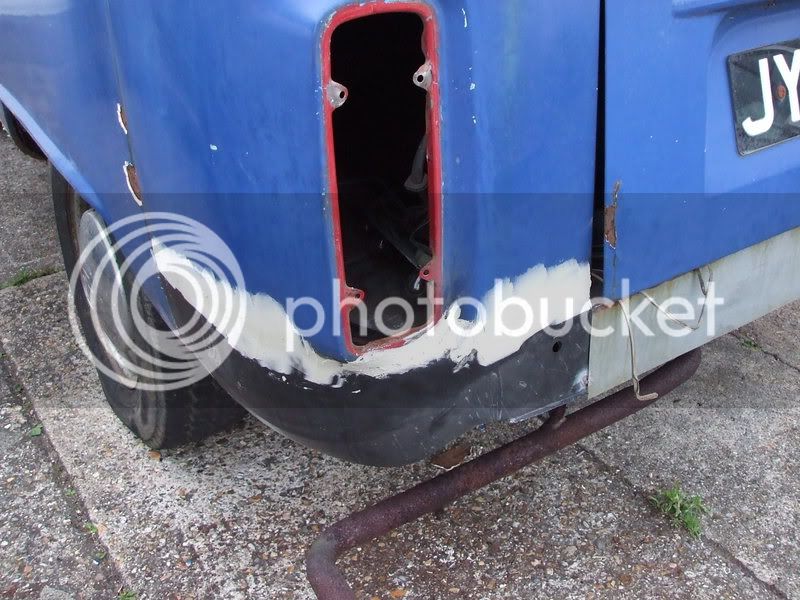
First up were the lower rear corners, so off came the rear lights. If only it was that simple! 2 broken taillight holders later and they were out. Good thing they're cheap to replace. Once they were out we took a look at the extent of the work needed;
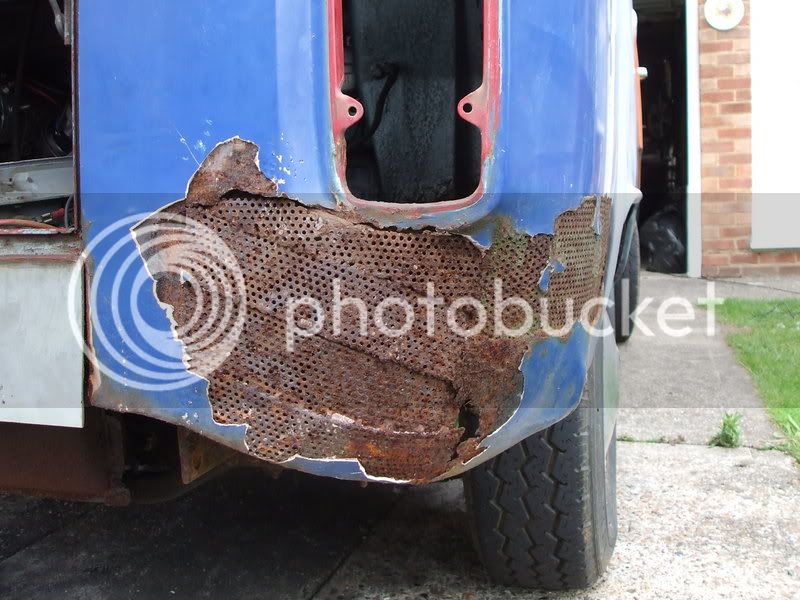
Welded together mesh has got to be the work of a genius. Surely it would have been so much easier to just use a replacement panel?!
So out it all came, along with the crappy battery tray;
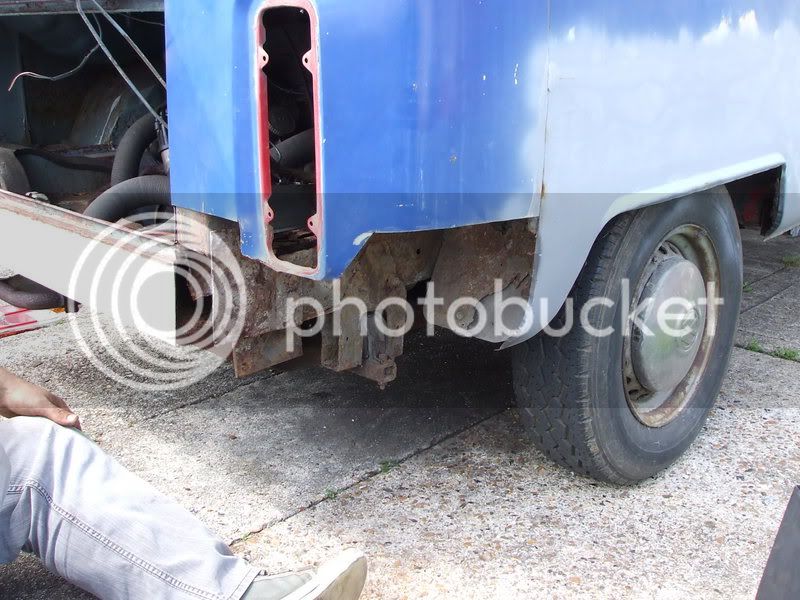
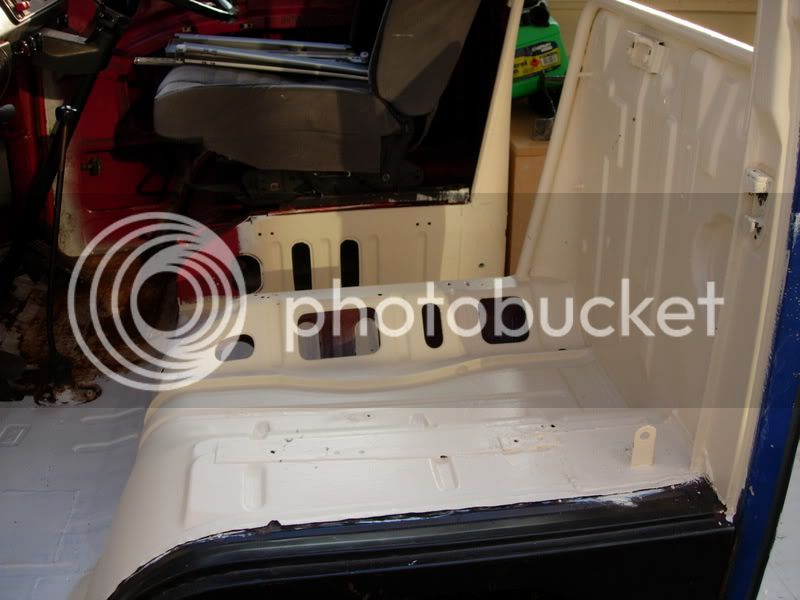
To be replaced by new metal and a quick skim of filler (still to be sanded back);
It was then on to the other side, which was slightly better, albeit not by much. Out it all came again, and in went the new;
Whilst we were out back we also fitted the new tailgate;
Jut the top of the lhs corner to sort now.
I've also got a spare engine lid I'm contemplating fitting, save trying to salvage the current one, but it's a late bay one. Would it be that bad if I stuck it on (most people wouldn't have a clue plus it'd save me a load of work).
First up were the lower rear corners, so off came the rear lights. If only it was that simple! 2 broken taillight holders later and they were out. Good thing they're cheap to replace. Once they were out we took a look at the extent of the work needed;
Welded together mesh has got to be the work of a genius. Surely it would have been so much easier to just use a replacement panel?!
So out it all came, along with the crappy battery tray;
To be replaced by new metal and a quick skim of filler (still to be sanded back);
It was then on to the other side, which was slightly better, albeit not by much. Out it all came again, and in went the new;
Whilst we were out back we also fitted the new tailgate;
Jut the top of the lhs corner to sort now.
I've also got a spare engine lid I'm contemplating fitting, save trying to salvage the current one, but it's a late bay one. Would it be that bad if I stuck it on (most people wouldn't have a clue plus it'd save me a load of work).
im not there! i dont think the boys want me around, i must get in the way :lol: instead ill stay here and bake them cakes and wait until im told i can go near him againGrazy said:oh shit , get off the pooter you two and get some lights set up on the drive and work work work ! :lol: Or just have a Beer and do it tommorow :lol:
im kind of half and half with this thread now, i want to see what they are doing but id like to see him when he comes home hopefully looking a bit different 8)
Probably for the best Emerald leave em` to it and tell him when he has painted it it`s the wrong colour :lol: :lol: It seems to be making good progress tho of late . Best of luck , following this closely now :wink:
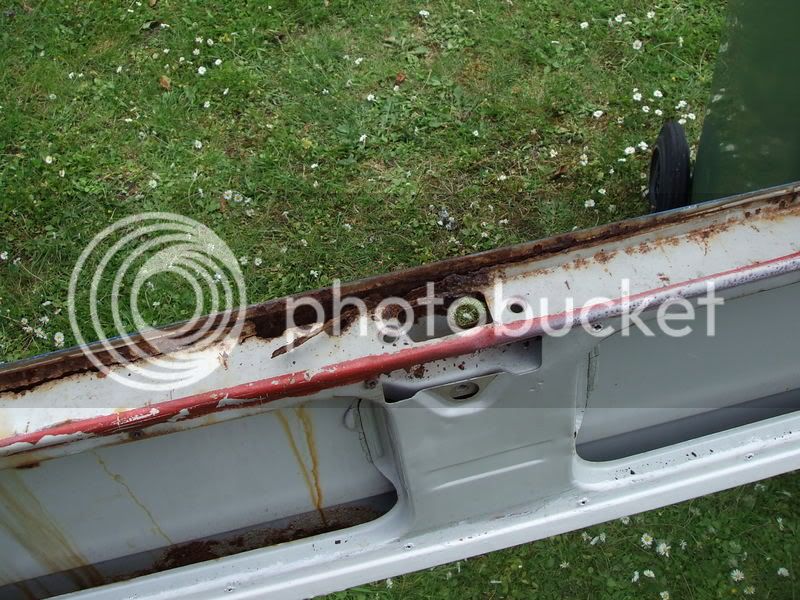
Here's how the old tailgate was looking, salvageable, but why bother when you've got a rust free replacement?!;
Next up Kev tackled the dodgy b-pillar behind the drivers door. Again out with the old and in with the new;
Unfortunately it would seem this part is originally welded from inside the bus, so as to keep a perfect looking seam. This obviously wasn't possible for us so the plan is to grind down the welds as best as possible then recreate the groove as best we can.
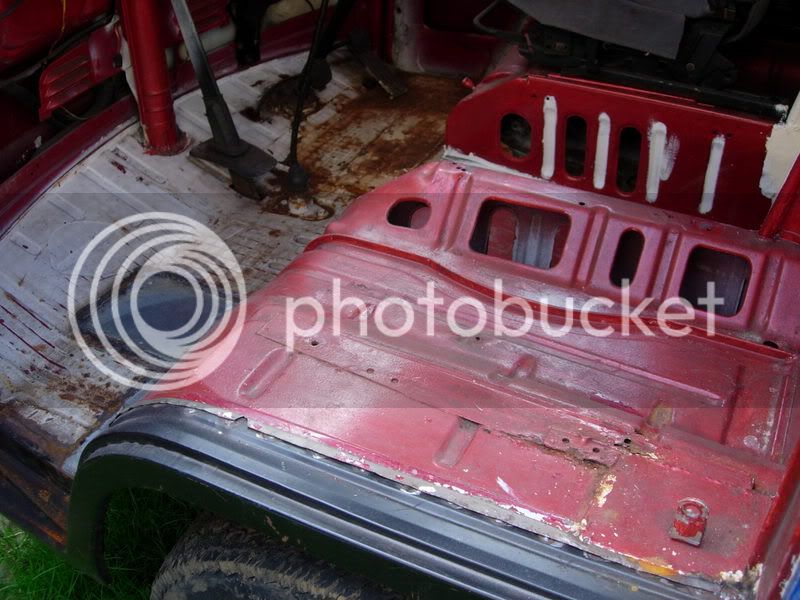
Whilst this was going on I set about removing the old rusty dash. A good couple of hours (and lots of swearing later) it finally came out;
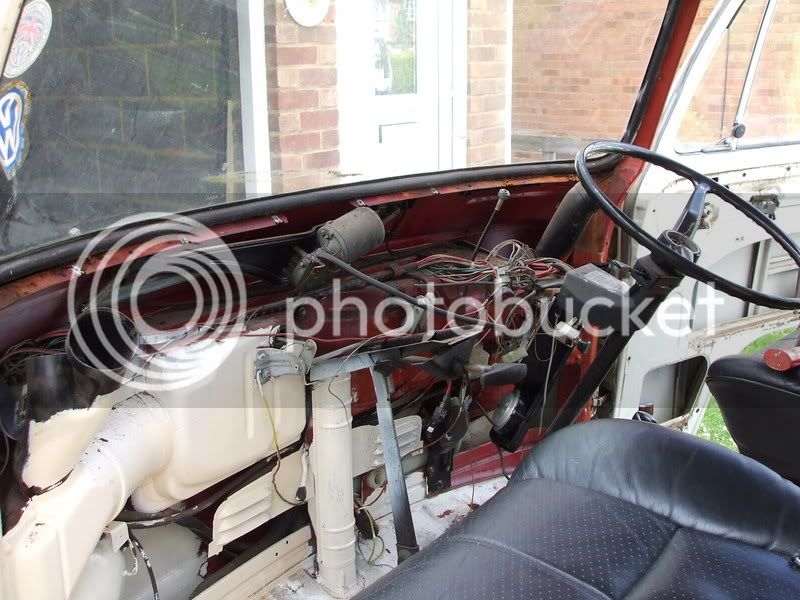
I'll start sorting the wiring tomorrow and painting the inside cab area, whilst Nic decides if she wants the dash left black of sprayed to match the inside.
Next up Kev tackled the dodgy b-pillar behind the drivers door. Again out with the old and in with the new;
Unfortunately it would seem this part is originally welded from inside the bus, so as to keep a perfect looking seam. This obviously wasn't possible for us so the plan is to grind down the welds as best as possible then recreate the groove as best we can.
Whilst this was going on I set about removing the old rusty dash. A good couple of hours (and lots of swearing later) it finally came out;
I'll start sorting the wiring tomorrow and painting the inside cab area, whilst Nic decides if she wants the dash left black of sprayed to match the inside.
As the day drew to a close Kev headed off home and I set about getting the bus ready for tomorrows exploits. The plan is to replace the remaining cross members jacking points and outriggers tomorrow, so I started by looking at the cross members;
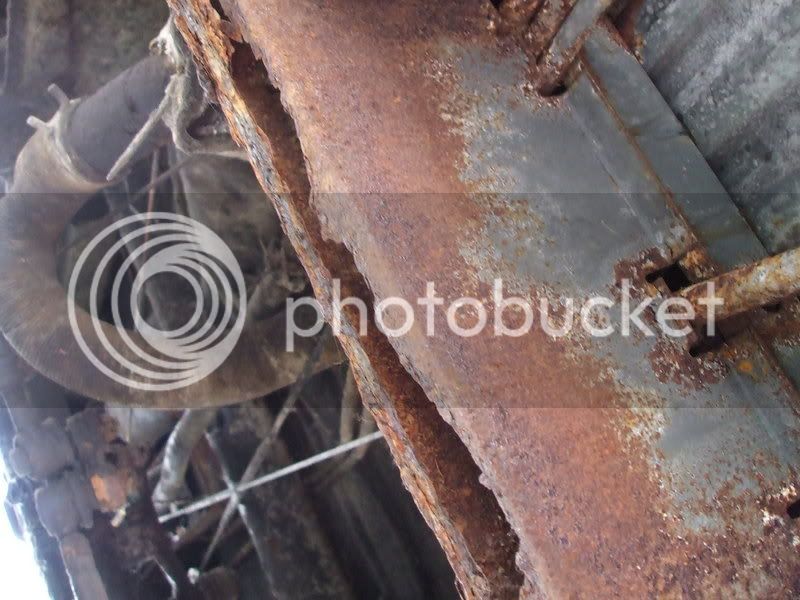
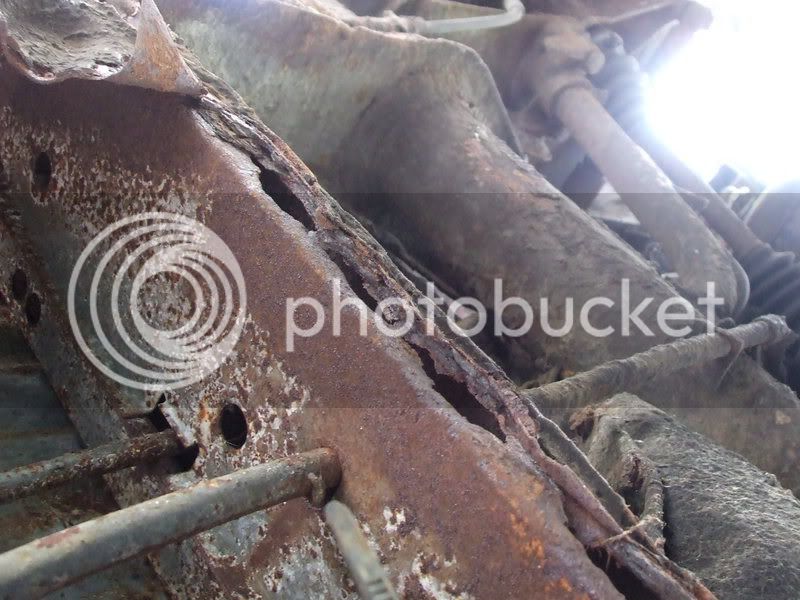
Take you're pick, neither of them are pretty. :lol: So far I've grinded out all the rot (note to self angle grinding a chassis in a tee shirt isn't the brightest idea. Sparks + Hot falling metal = Many burns), ready for welding in the morning. Just one outrigger remains to be removed (the others are already out).
And that brings to an end day one! Back for more 'fun' tomorrow.
Grazy said:Probably for the best Emerald leave em` to it and tell him when he has painted it it`s the wrong colour :lol: :lol: It seems to be making good progress tho of late . Best of luck , following this closely now :wink:
She chose the colour and she'd never admit to being wrong so I can't lose! :lol:
Shaggy
Well-known member
well you will be nearly done by tomorrow dude, its coming along great so weds its taking it all back to the metal then spraying lime green, orange, yellow, silver with a hint of lilac...hehe changing rooms style
May the bay be with you dude
May the bay be with you dude
Similar threads
- Replies
- 1
- Views
- 294
Vehicle For Sale
1969 T2 Early Bay RHD Dormobile Camper in Velvet Green
- Replies
- 5
- Views
- 2K