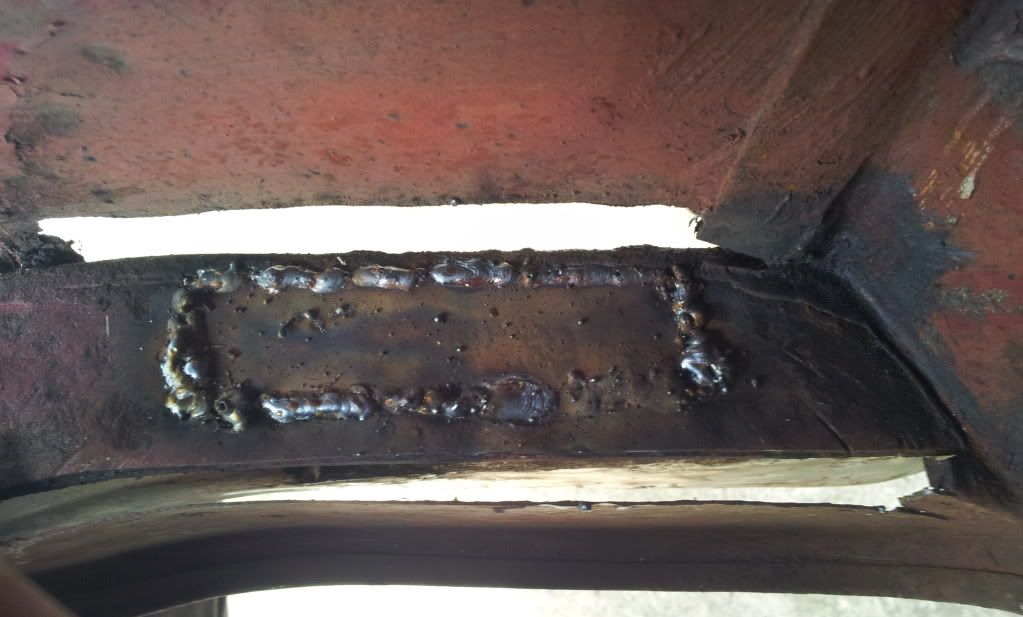
Good work
")


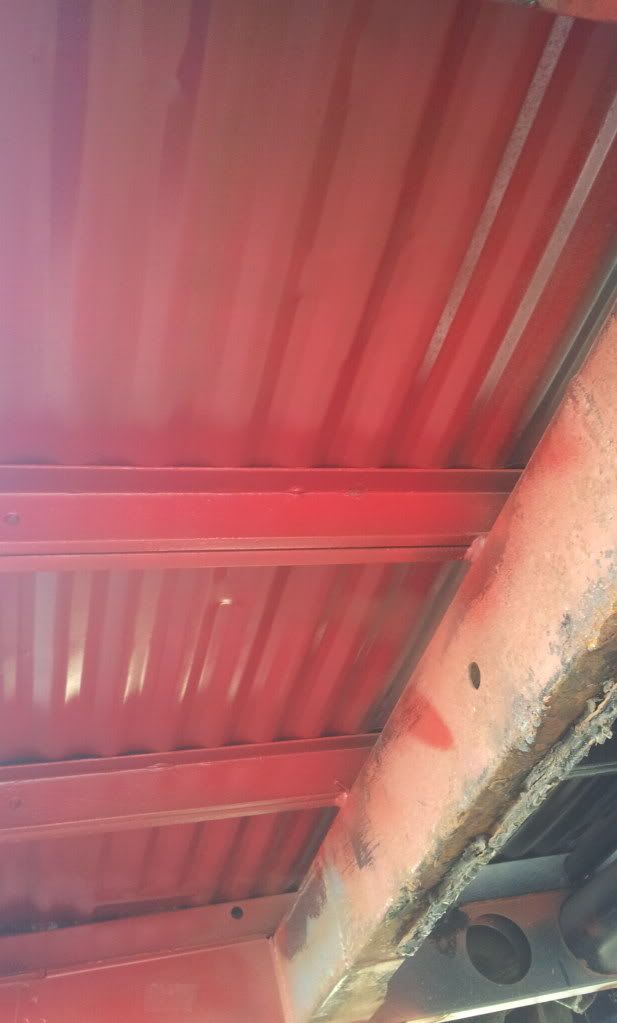
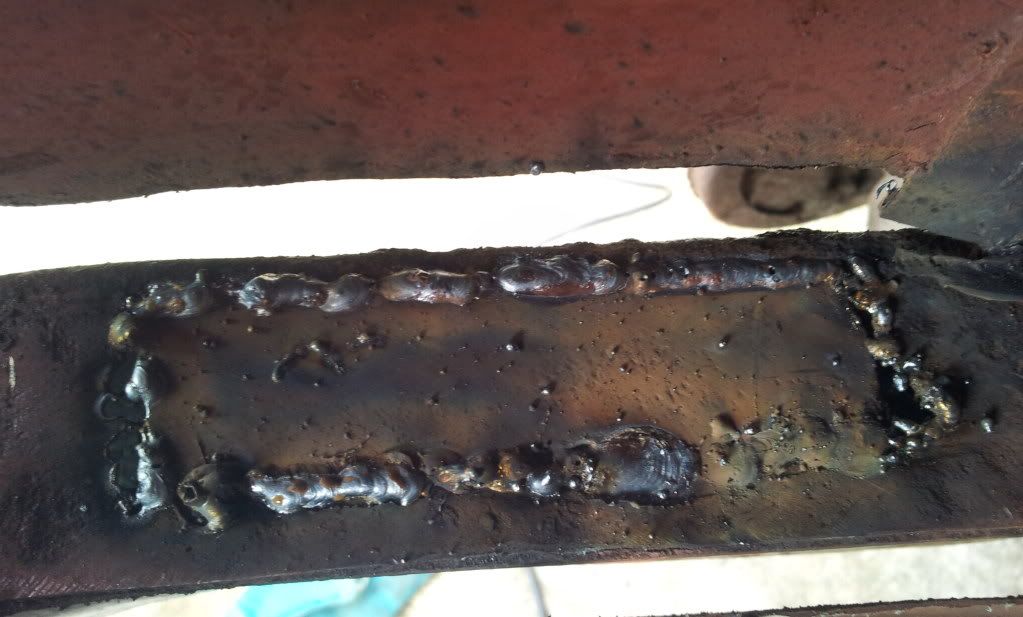
cunning plan said:By the way, I think that valance is making fun of you. You better grind it off :mrgreen:
sparkywig said:Looking good chap


Lee C said:Paintwork looks canny enough!!!
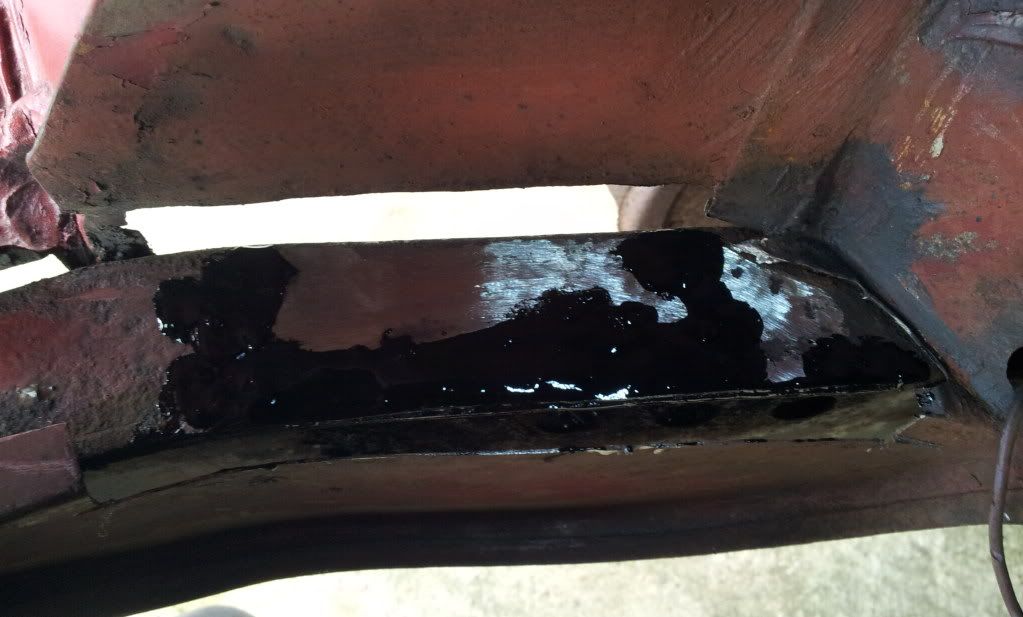
Some waxoyl over it when your done, will do it good!!
That show at York was very spread out, wasn't it ?
Lee C said:Friday neet thru till sun afternoon, bumped into an old couple we know showing their 57 RHD splitty camper, they won too :anim_19:
RePhil said:Good to see you're cracking on Andy & still taking lots of pics. I keep forgetting to. I'm either too dirty, too busy, too tired - too lazy probably!
Your thread has helped me a lot so keep up the good work.
I hope to see this bus one day. Daughter at Uni in Leeds so we're up there now & then.
Phil.
Appreciate your comments.