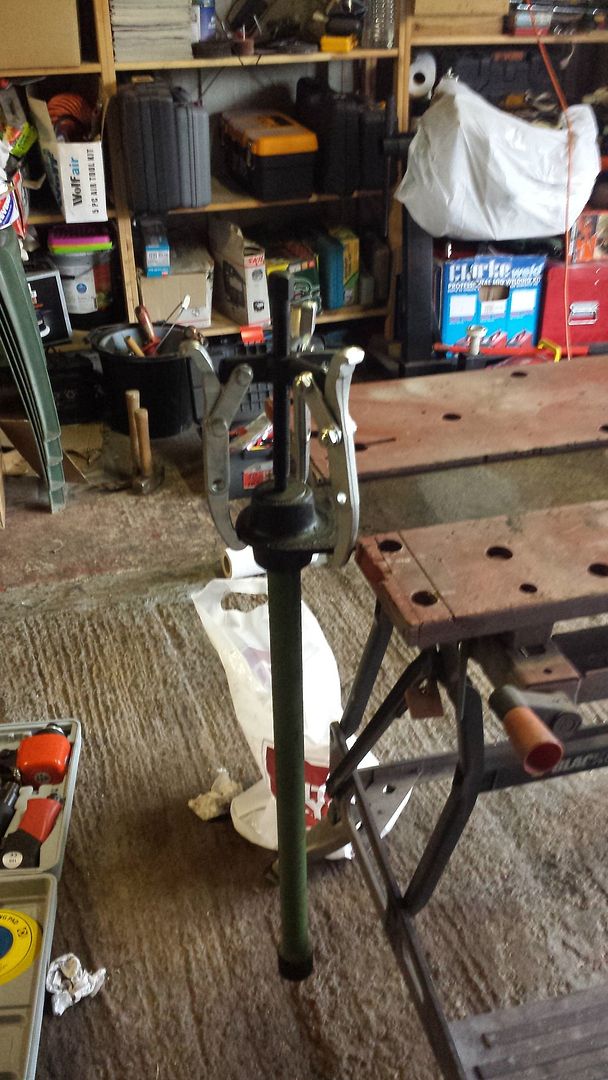
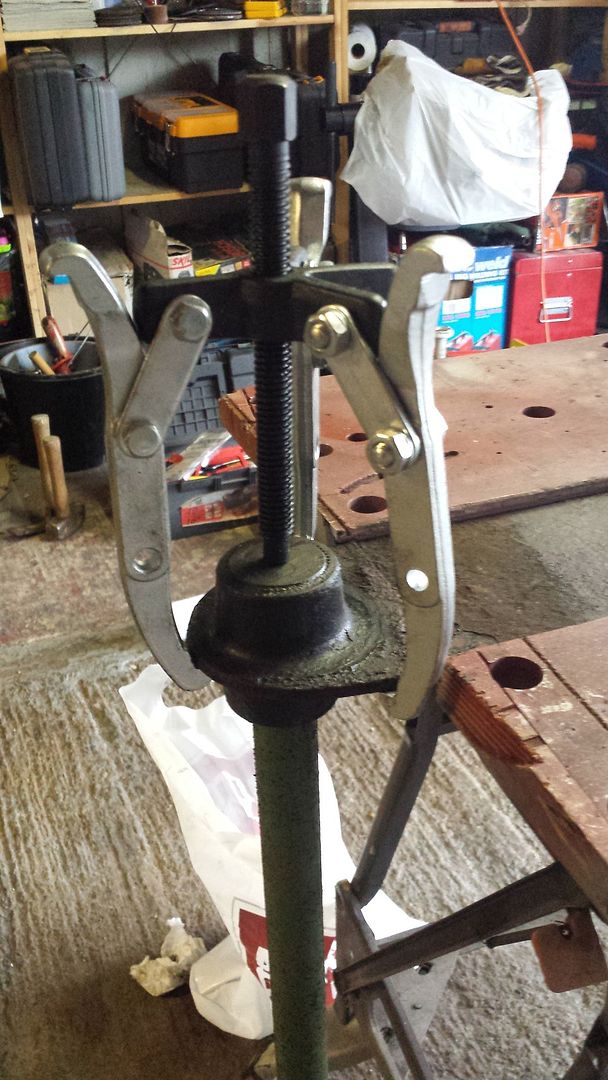
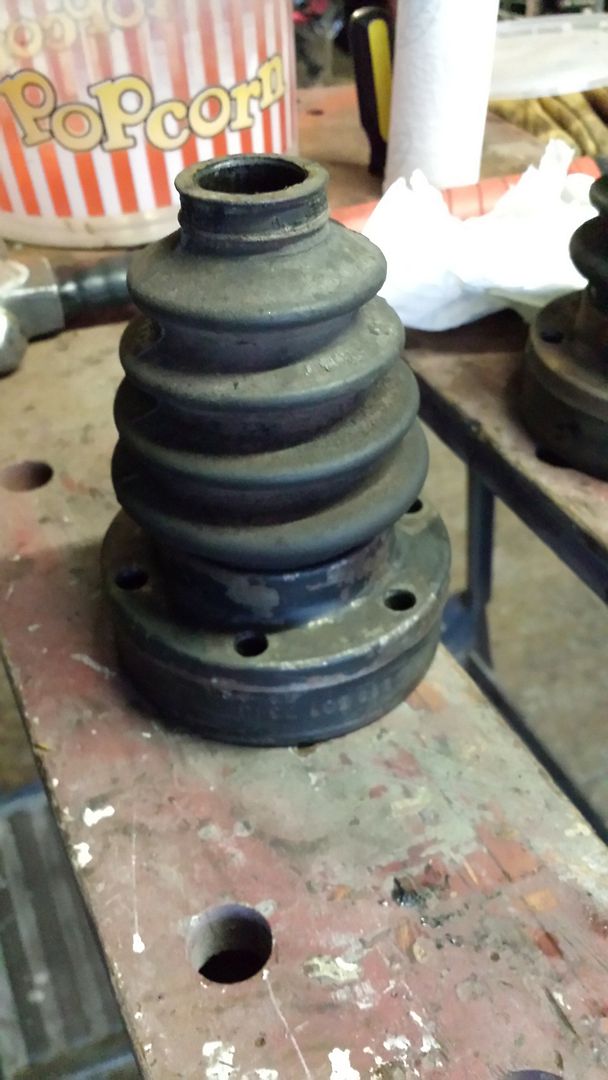
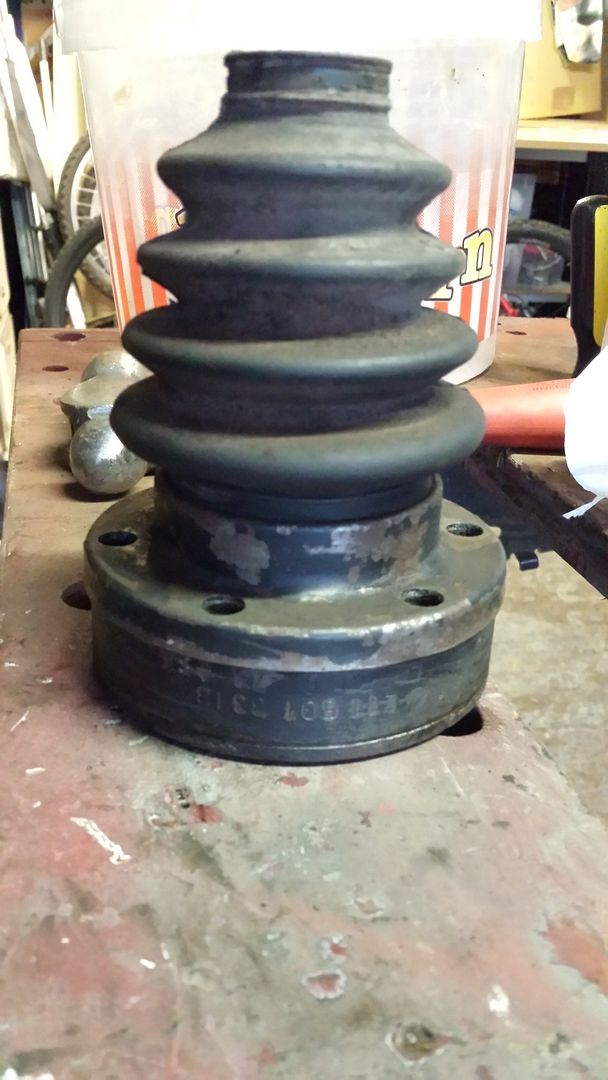
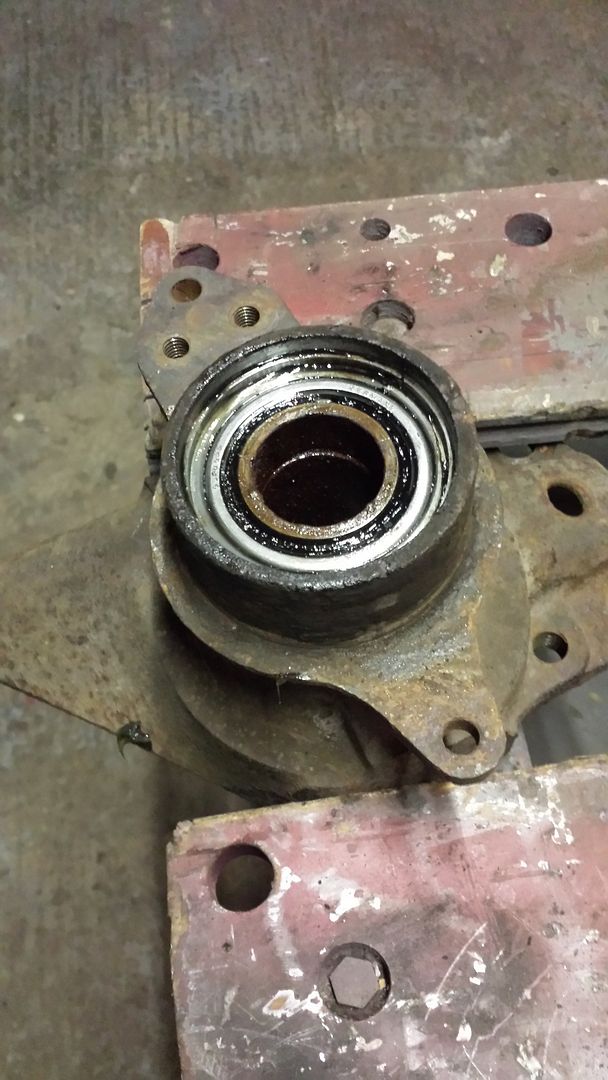
Hmmm - not the info I was hoping for.
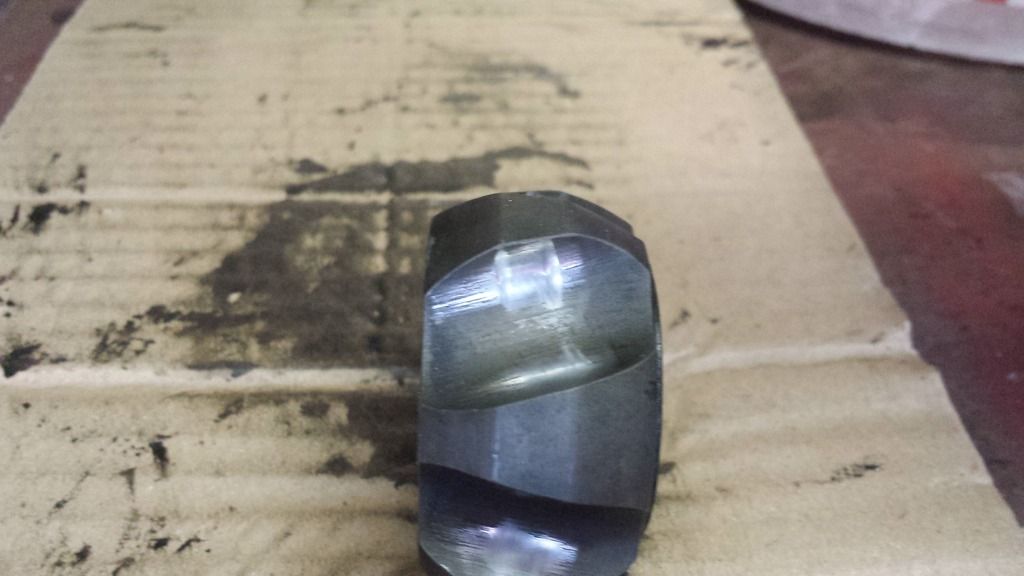
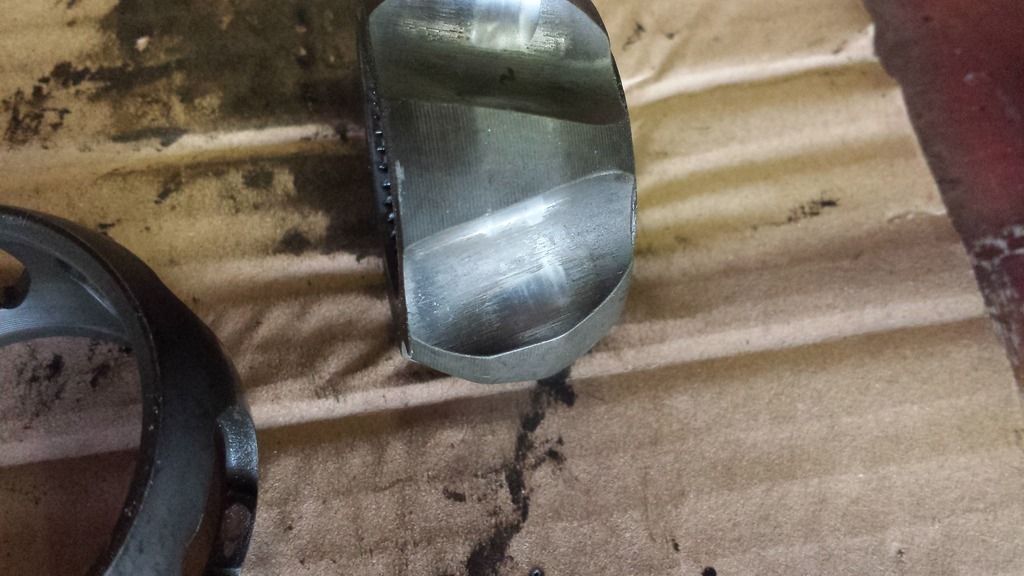
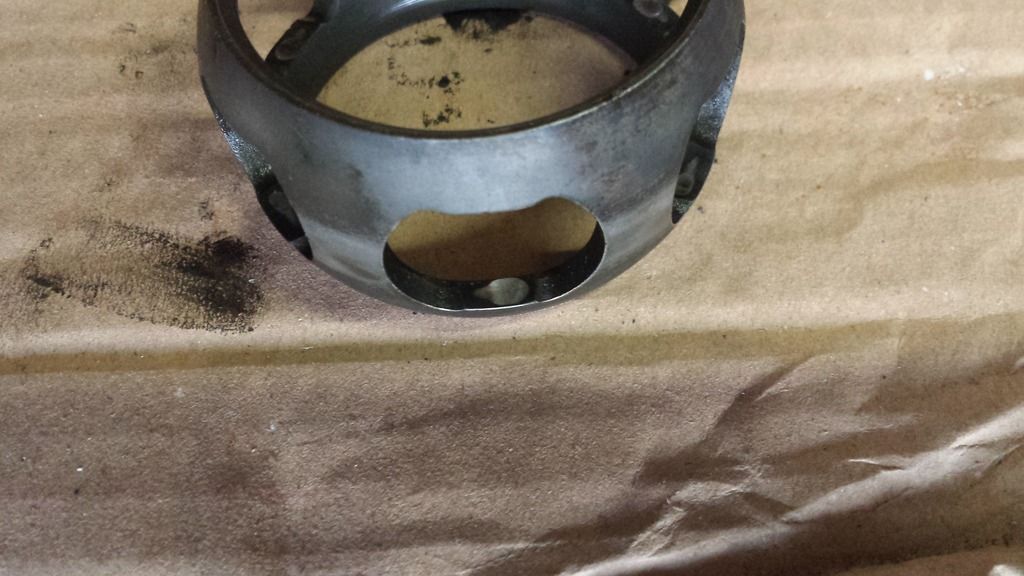
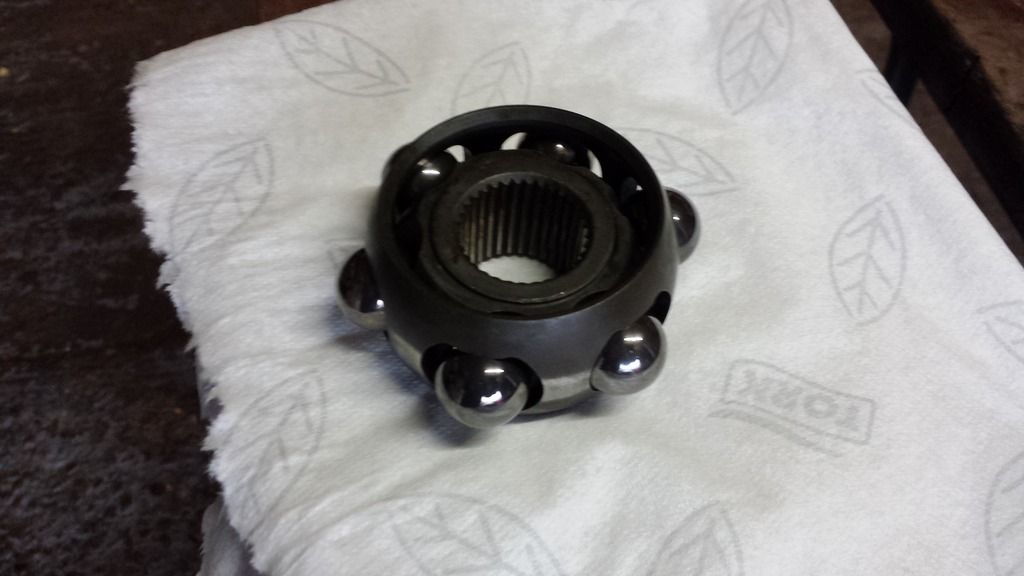
I am just adding the fluid every day and will see what happens at the weekend.... hope I can get them off without resorting to cutting them off as money is a bit tight at the mo
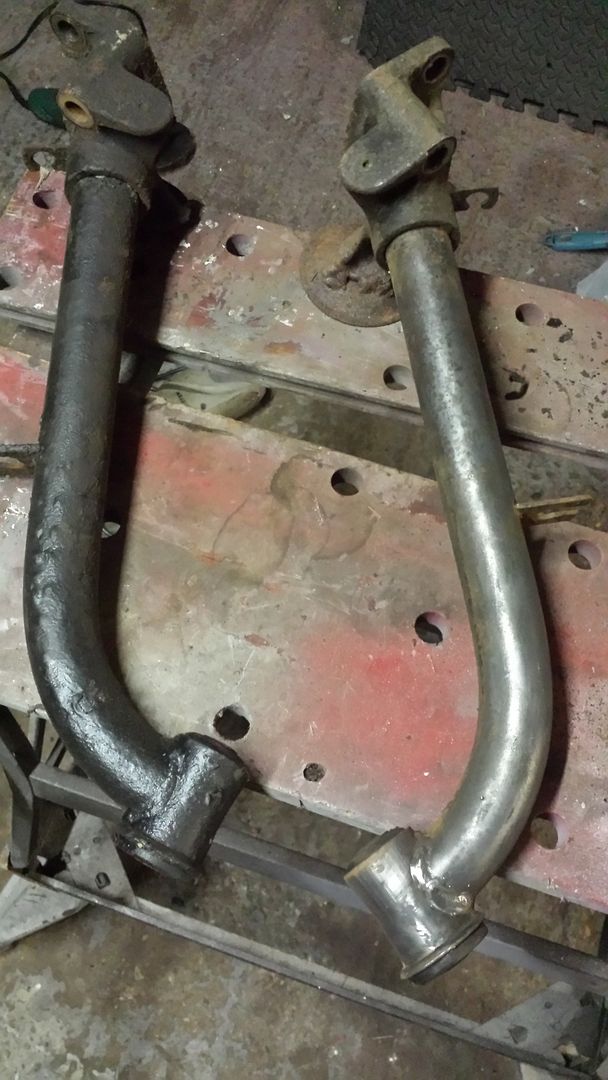
27.10.2015
Was off today so later on in the afternoon I decided to continue with removing the old underseal (which it didn't).
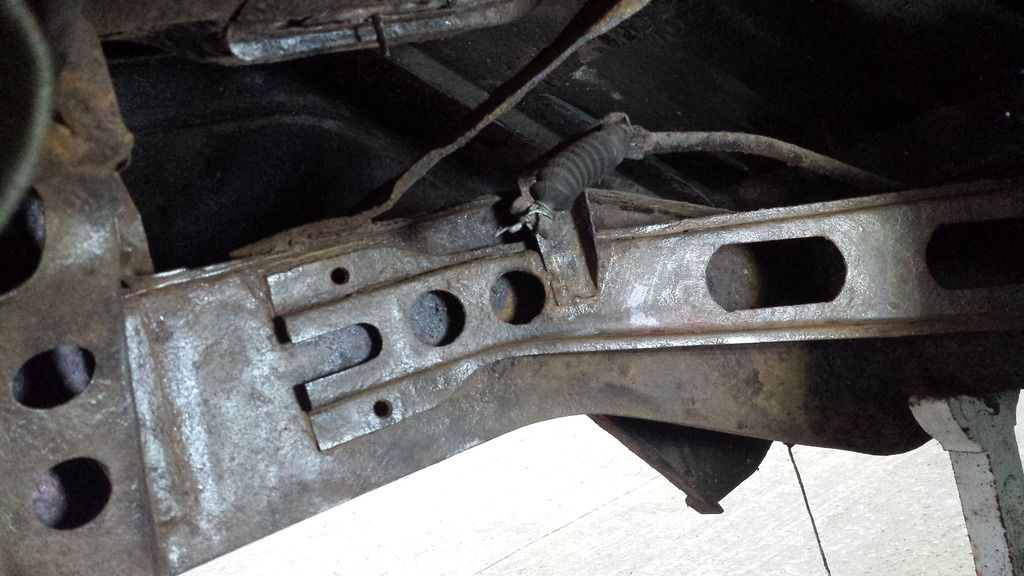
Started on the nearside chassis on the inside and coming off all right (very dirty and messy process)
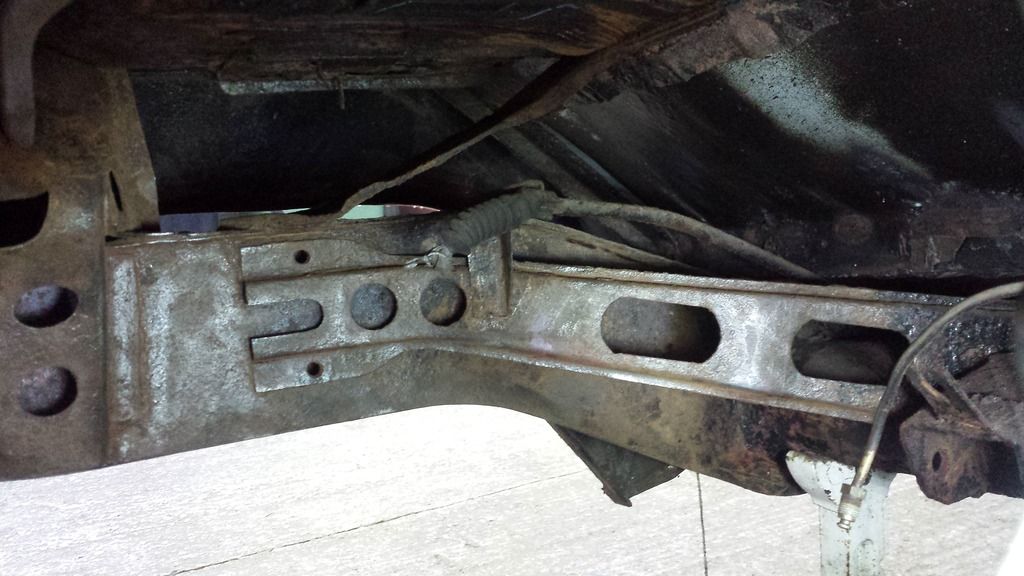
Then the nearside chassis on the outside (very messy again)
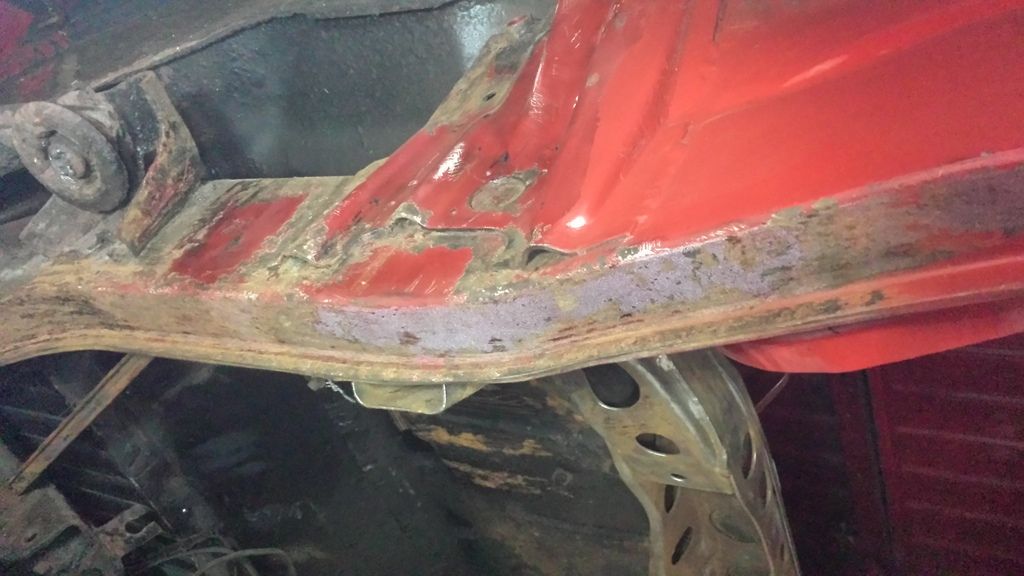
The last pic is naff as the light was fading.
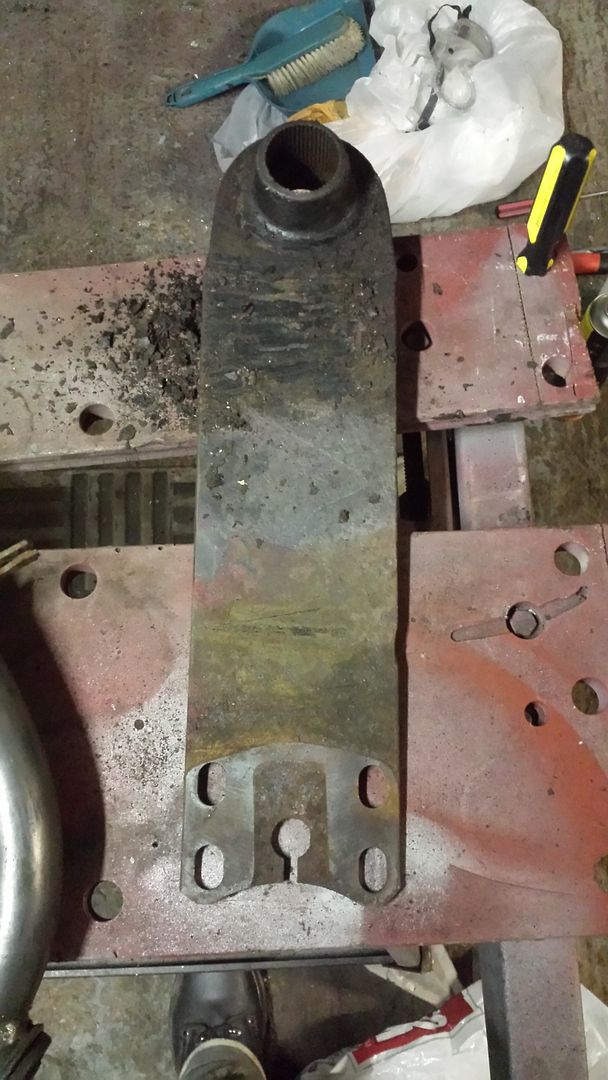
Will continue to remove the underseal from all the rear chassis parts over the next week or so then tackle the repair required to the petrol tank shelf.
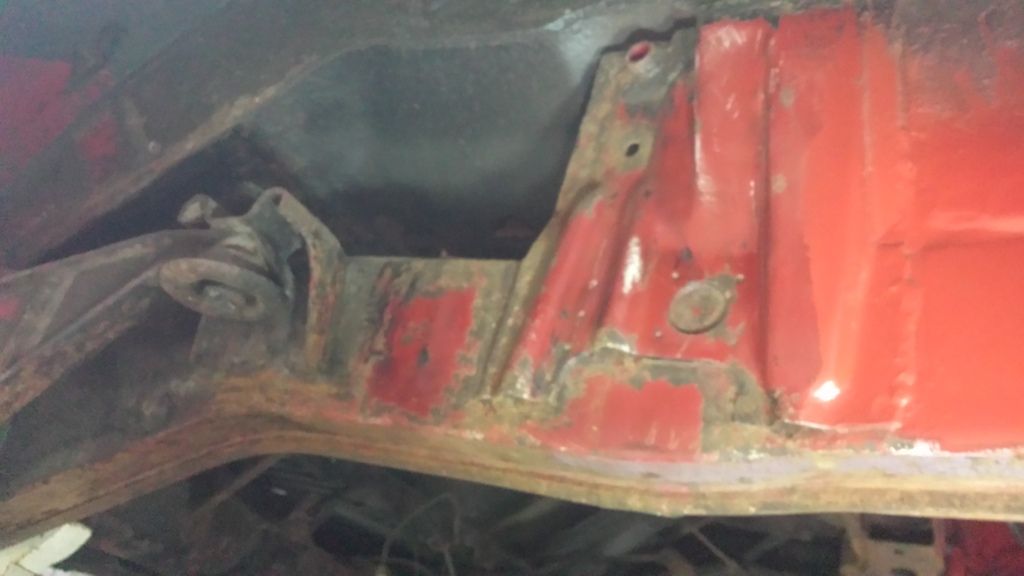
Noticed a minor repair will be needed to the curved part that is over the bump-stop bracket also
The other side is fine (offside).
I am just adding the fluid every day and will see what happens at the weekend.... hope I can get them off without resorting to cutting them off as money is a bit tight at the mo
27.10.2015
Was off today so later on in the afternoon I decided to continue with removing the old underseal (which it didn't).
Started on the nearside chassis on the inside and coming off all right (very dirty and messy process)
Then the nearside chassis on the outside (very messy again)
The last pic is naff as the light was fading.
Will continue to remove the underseal from all the rear chassis parts over the next week or so then tackle the repair required to the petrol tank shelf.
Noticed a minor repair will be needed to the curved part that is over the bump-stop bracket also
The other side is fine (offside).