Progress Pics - Dormobile X-Over

Early Bay Forum

Help Support Early Bay Forum:

This site may earn a commission from merchant affiliate links, including eBay, Amazon, and others.
Hey Andy, looking good ;) you must be just about done with the welding now. I know your progress has been `hindered` but what are the chances of getting your bus out for a burger this Chrimbo ?? Be good to see you and the guys again :mrgreen:
(I see far too much of George ;) ;) )
Are you or George gonna organise sumfink this year ?? Hint ! :shock: Hint ! :shock:


Ozziedog,,,,,,,,,,,,,, Another one back to the fold soon :mrgreen: :p :mrgreen:
 
Don't think it will be ready by Chrimbo - still a lot to do and money running low (daughter off to Uni next week....)

(ignoring the George and I organising sumfink :msn4: )
 
22.09.2015

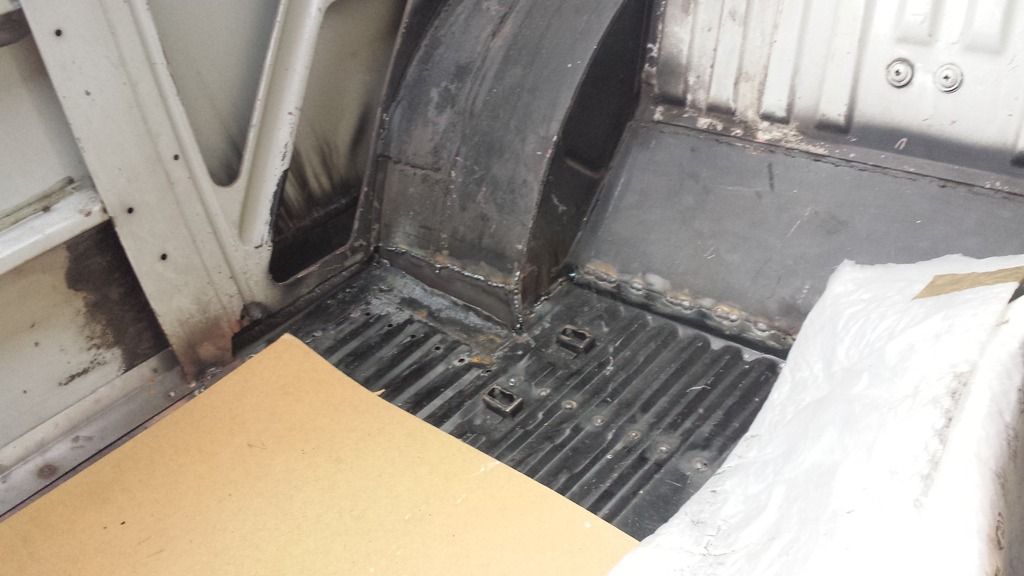
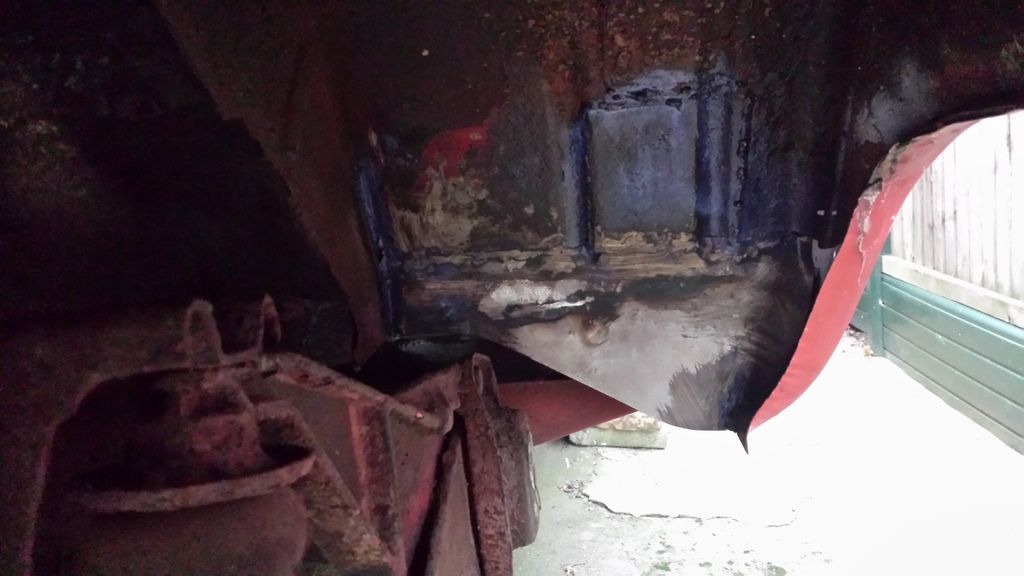
Still working on the nearside rear mud guard thingy - now welded in and joined up.
20150922_182442_zps71skpbla.jpg


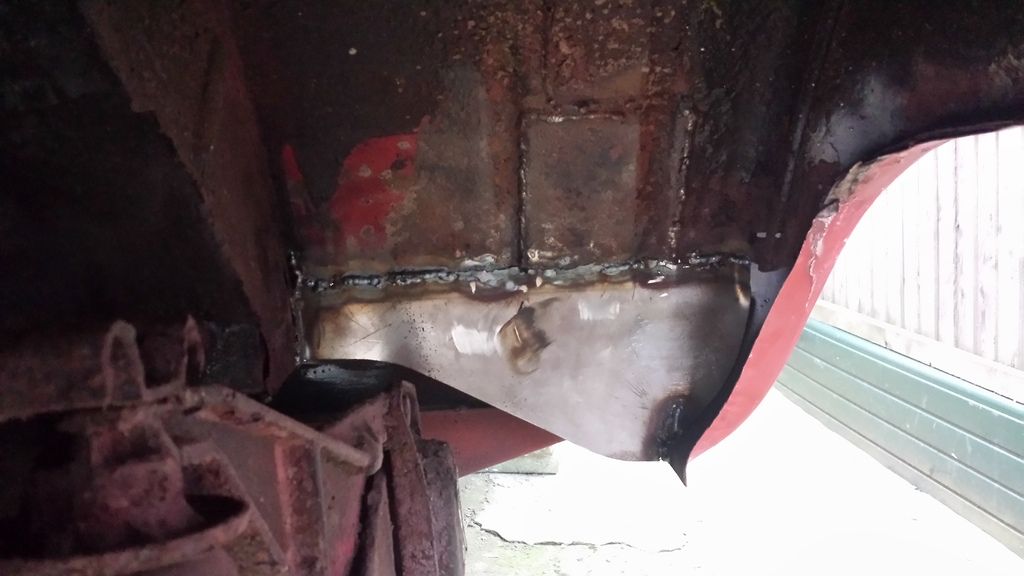
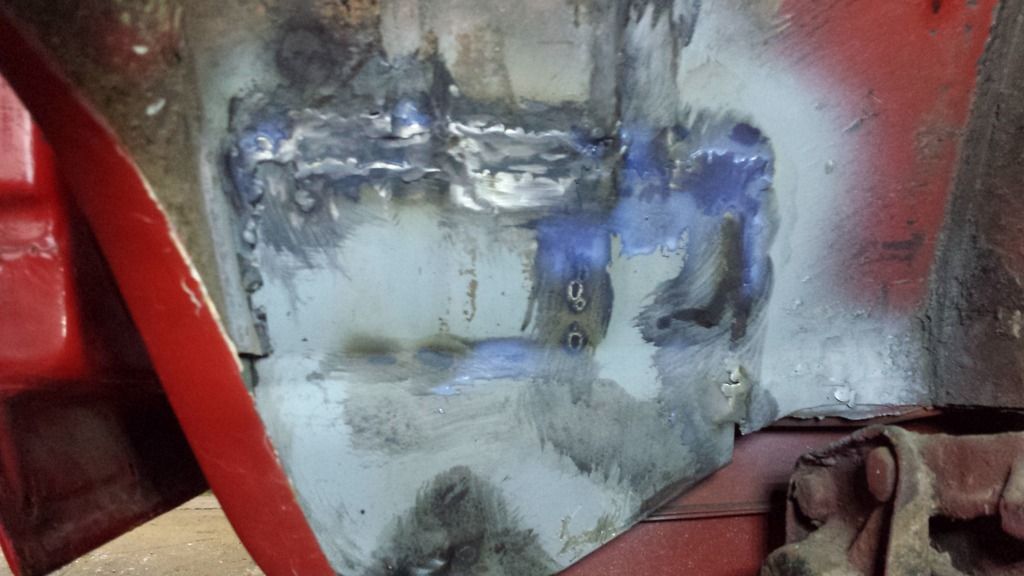
A view from under the rear tub.
20150922_182500_zpszhmbb2p4.jpg


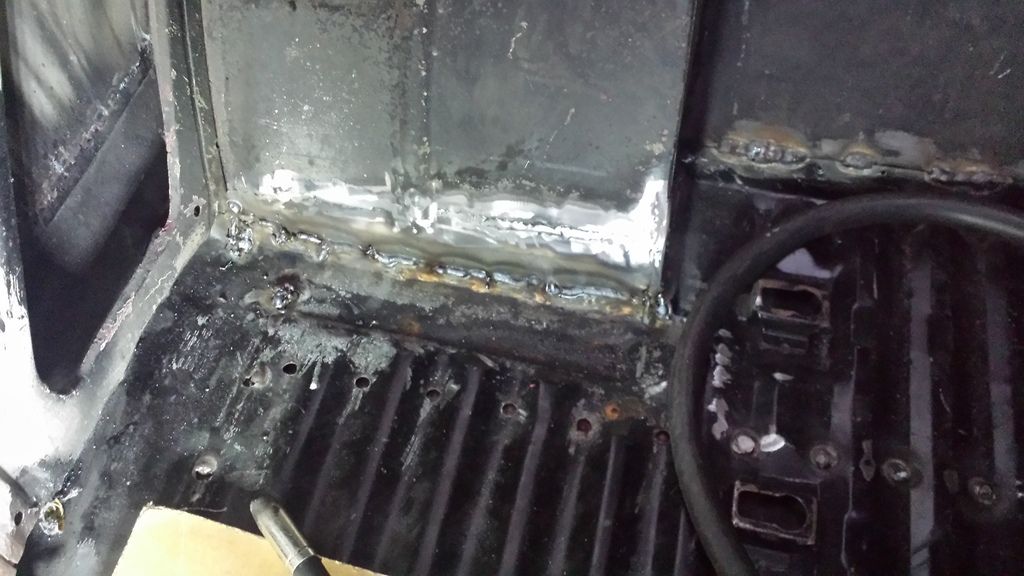
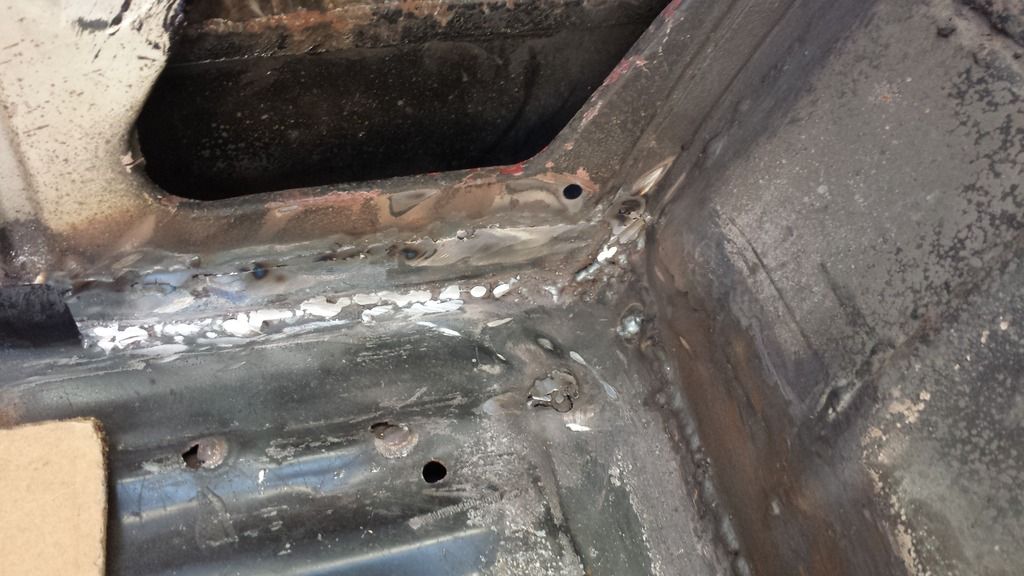
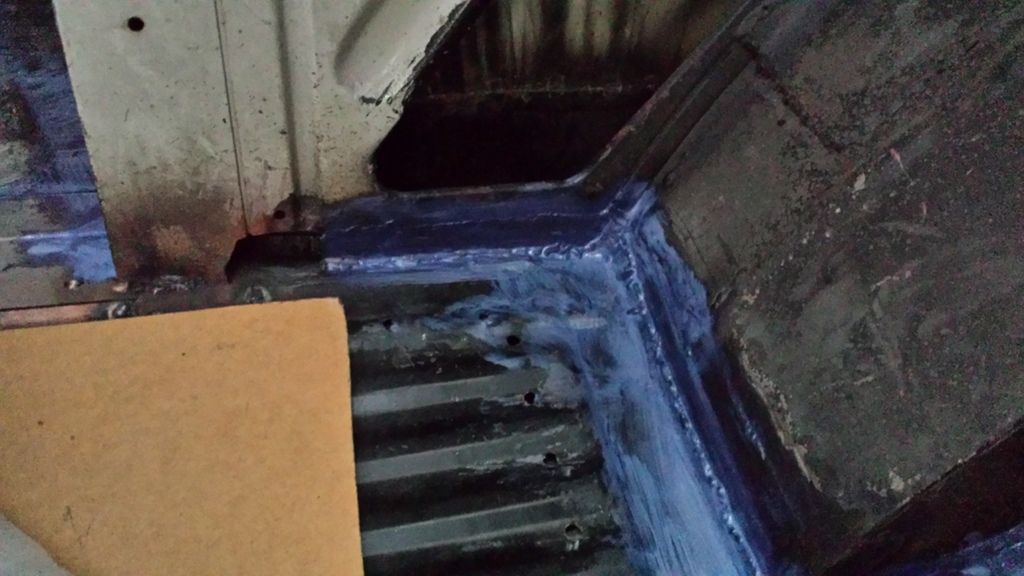
Floor joined to the tub now
20150922_190717_zpsqtgsgf3r.jpg


Just needs grinding down and a bit of a tidy inside and out.
 
sparkywig said:
I haven't forgotten about the gutter pieces, just haven't been home much.....

No problem. I still haven't picked up the spindles from George yet (bet he's sold them :lol: ) :D
 
gvee said:
Nah - just tripped over them a few times :roll:
:oops: Need to arrange a meet up and get them out of your way - don't want to end up being sued by you ;)
 
25.09.2015

Tidied up the arch bit on the offside
20150923_185324_zps7dxmdw9v.jpg


Also the nearside arch and coated with rust preventative stuff
20150923_185437_zpsedbjum3n.jpg


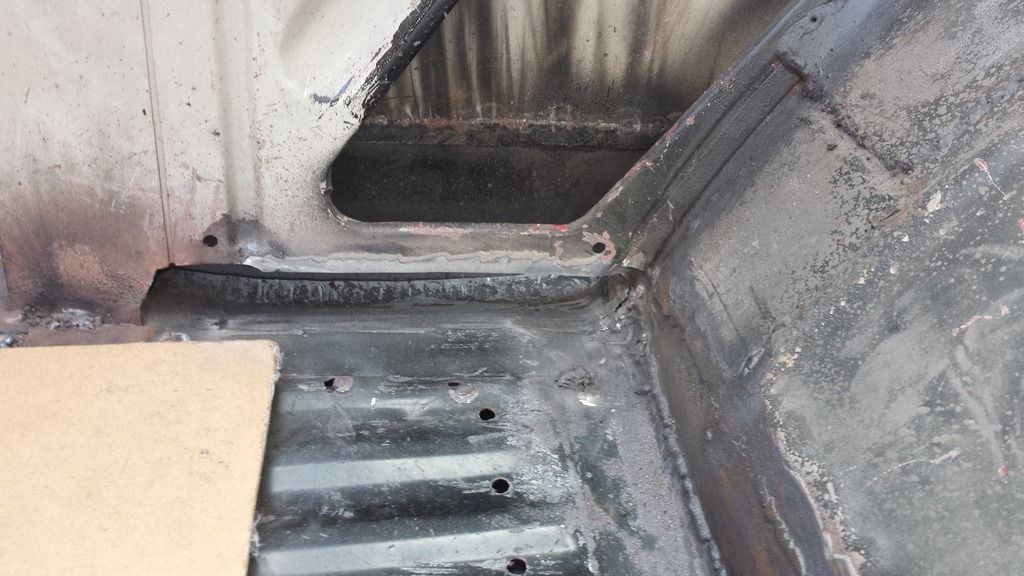
Needed to put the infill piece between the side panel and the floor/arch - before
20150925_172204_zpsabcsx8yi.jpg


Welded in and ground down.
20150925_181246_zpsrsz98cns.jpg


Coated with rust preventative stuff.
20150925_191003_zpskyujpgmo.jpg


So - this part is finished with apart from paint. Need one more repair piece for the nearside wheel tub, the closing panel at the rear below the battery try so need to order it.

That's it for now :)
 
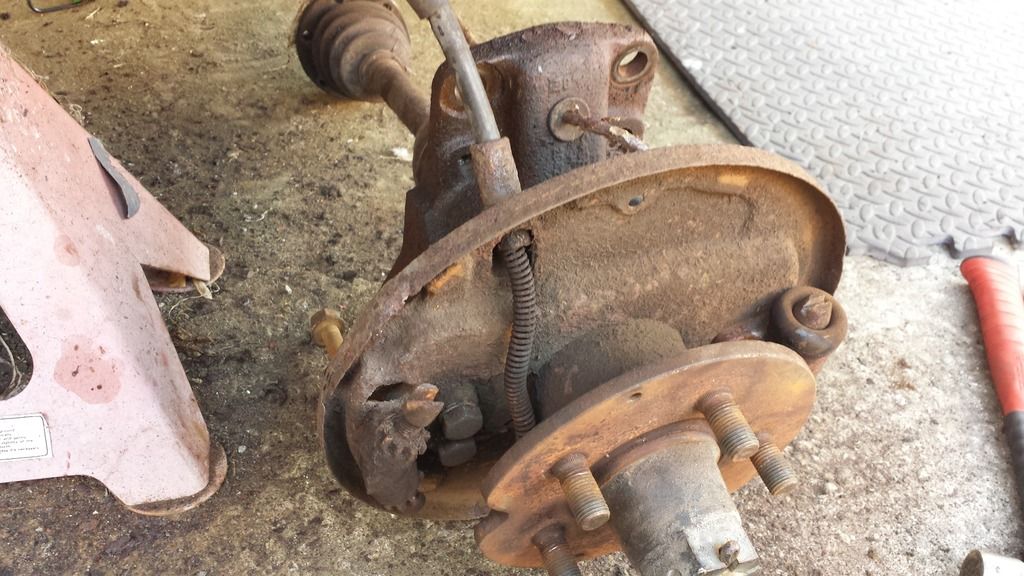
Taking apart the rear suspension and not to bad apart from unable to remove the stub axle due to rounded nuts :(

Quick question, how do you remove the rubber conduit that the handbrake cable goes through? Until I do this I won't be able to remove the hub carrier and get it sorted.

20151004_165553_zpsf17ub5jt.jpg


Cheers - will ask in the technical area also!
 
Will do as looked at a few pics of the cable etc and noticed that it should just pull out.
 
sparkywig said:
It just pulls out, but is probably corroded in.
Give it a soak with penetrating fluid.

+1 yep, it should be tightly-fitted as new, but when corroded, it will be seazed.

If you put mole-grips on there, you might be able to break the seal by twisting and pulling at the same time as it should rotate in the hole. If it is still holding, get the blow-torch out! :mrgreen:

:character0036:
 
cunning plan said:
sparkywig said:
It just pulls out, but is probably corroded in.
Give it a soak with penetrating fluid.

+1 yep, it should be tightly-fitted as new, but when corroded, it will be seazed.

If you put mole-grips on there, you might be able to break the seal by twisting and pulling at the same time as it should rotate in the hole. If it is still holding, get the blow-torch out! :mrgreen:

:character0036:

Cheers but that didn't work and don't own a blow-torch....
 
07.10.2015

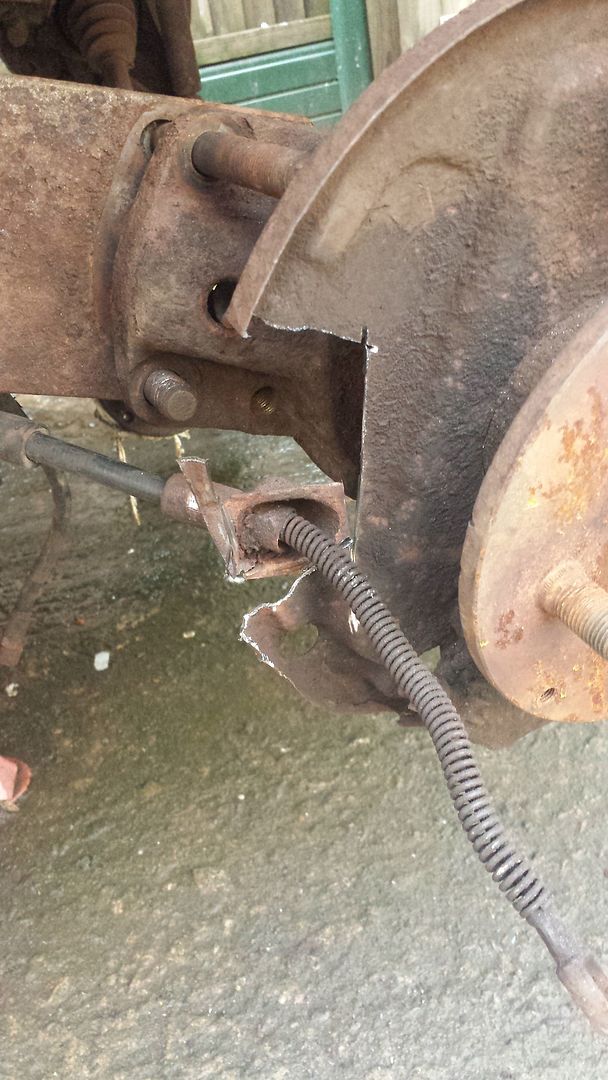
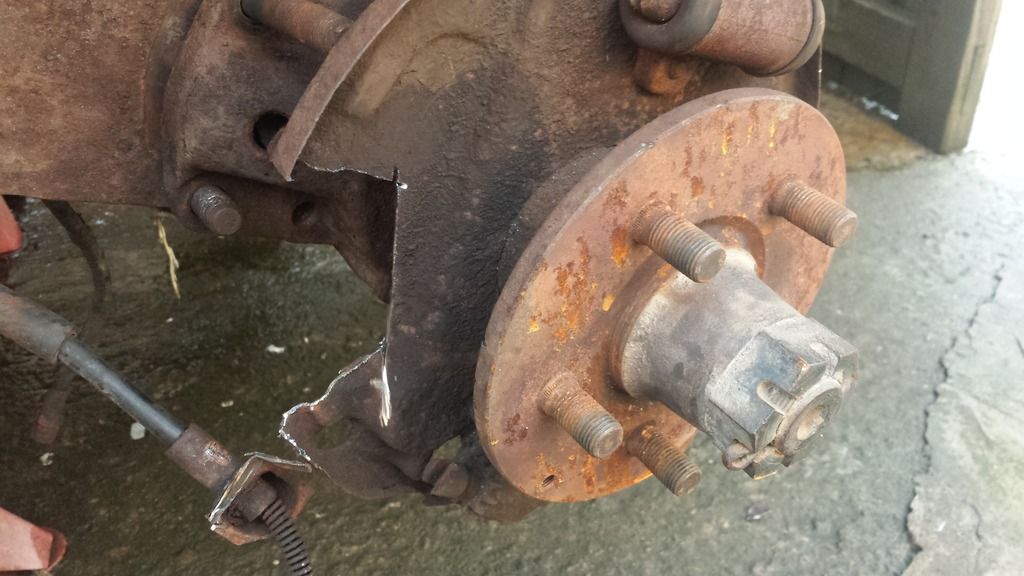
Tried lots of penetration oil but didn't work so took the angle grinder to it (the backing plate is beyond so no major issues).

20151007_173717_zpsgvgrwyga.jpg


20151007_173759_zpswrz2k5et.jpg


Cut off the back plate totally now so just need to get the stub axle off (next project) then start all over again on the offside (can't wait...)
 
Hi Andy, might be a good idea if you get some penetrating oil to work on the other side now, all the bolts and the hand brake cable outer etc etc :mrgreen:

Ozziedog,,,,,,,,,,,,,, Just a thought :mrgreen:
 
ozziedog said:
Hi Andy, might be a good idea if you get some penetrating oil to work on the other side now, all the bolts and the hand brake cable outer etc etc :mrgreen:
Ozziedog,,,,,,,,,,,,,, Just a thought :mrgreen:
Good thought and I have been doing that ;)
 
gninnam said:
Cheers but that didn't work and don't own a blow-torch....

http://www.ebay.co.uk/itm/2015-Butane-Gas-Blow-Torch-Burner-Welding-Solder-Iron-Soldering-Lighter-Flame-UK-/131491700115?hash=item1e9d841d93" onclick="window.open(this.href);return false;

http://www.ebay.co.uk/itm/PARASENE-BLOW-TORCH-LAMP-GAS-CARTRIDGE-BLOW-LAMP-DIY-/161751052936?hash=item25a91d3288" onclick="window.open(this.href);return false;

A useful addition to your tools. :character0036:
 
10.10.2015

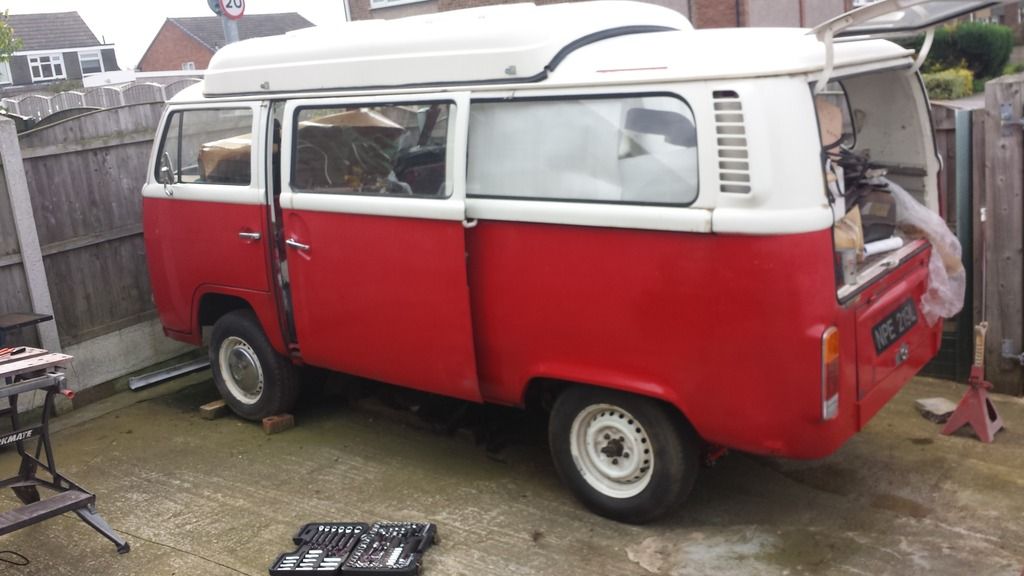
First time in around 3 years that the van has been sat on its rear wheels....

20151010_135946_zpsd1fihvjy.jpg


Put on the floor so I could try and get the castle nut off of the stub axle.
Spent several hours and will not budge, but will keep at it.

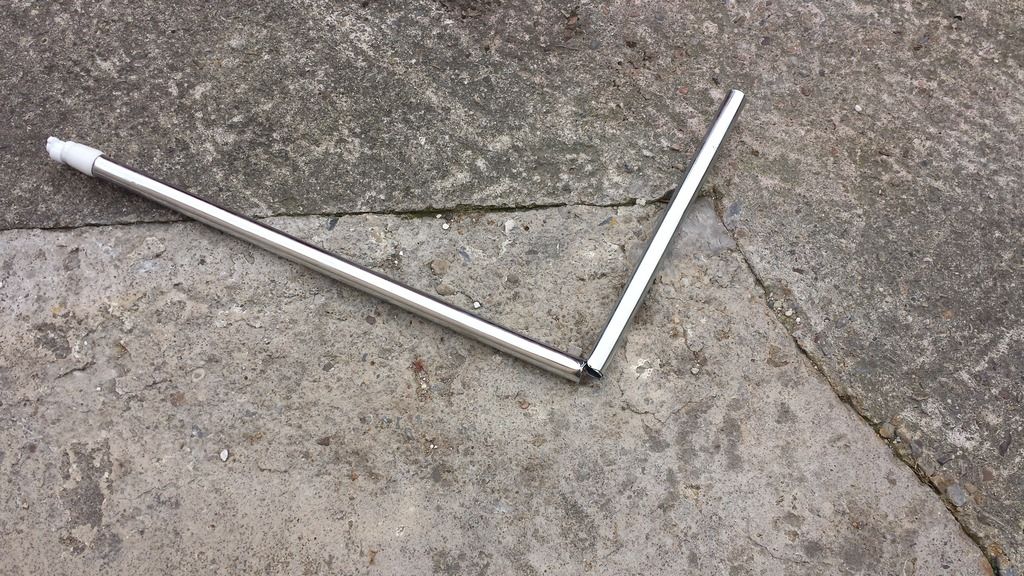
Broke the pole I was using (well a pole within a pole)
20151010_161031_zpsc3sfr80c.jpg


So will need to find something more sturdier and longer.
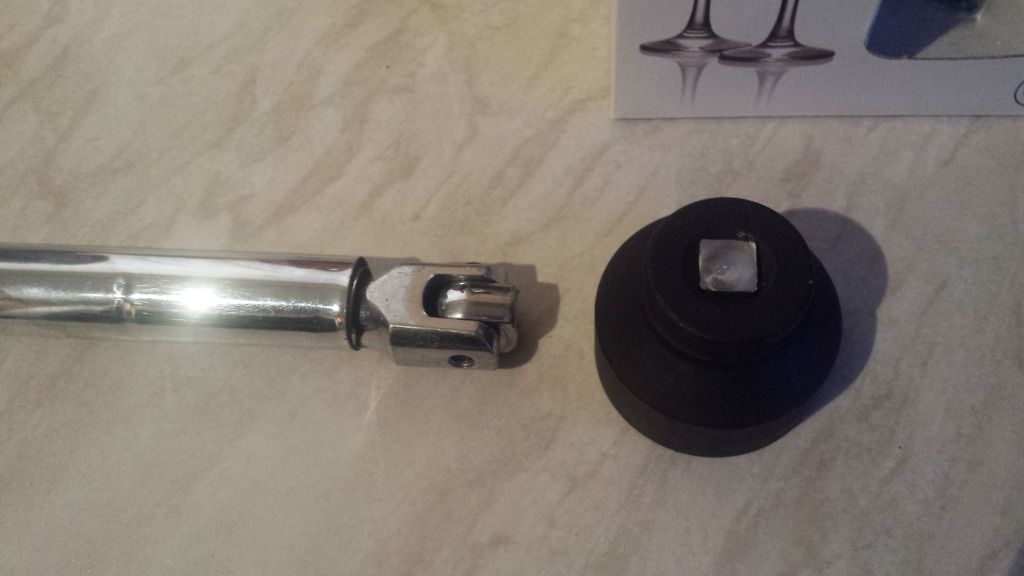
I had a torque multiplier to get the gland nut off of the flywheel and it can also be used to remove the axle nut, but is for a beetle so can't use on my castle nuts :(

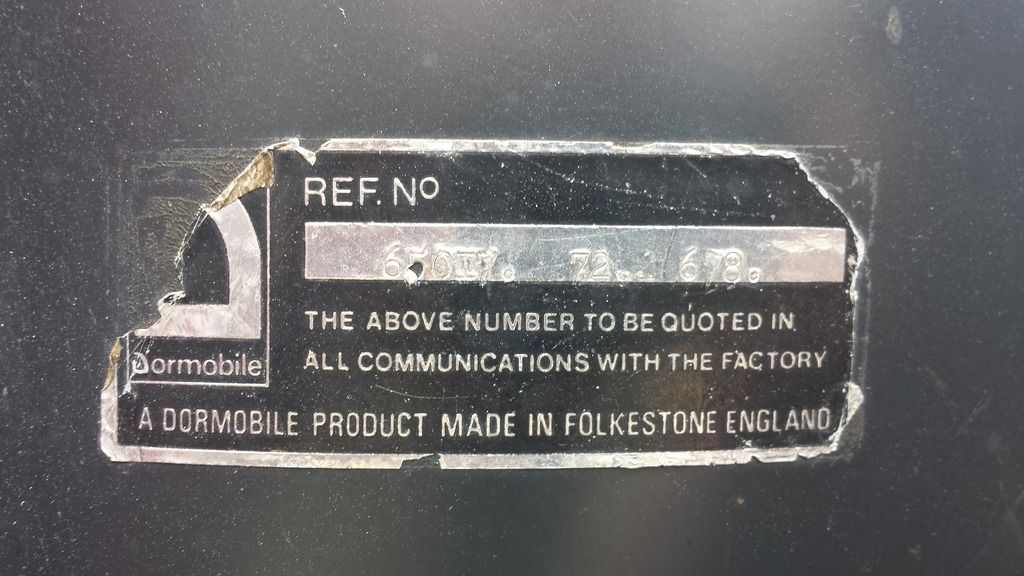
Also, just noticed my Dormobile sticker on the passenger side of the dash.

20151010_144926_zpsijur6han.jpg


Onwards and upwards.
 
12.10.2015

Got a 5 foot steel tube from work and decided to have another go of getting the castle nut off......

20151012_183109_zpsxwxz4dbn.jpg


Ah well, end of that plan.
 

Latest posts

Top