Progress Pics - Dormobile X-Over

Early Bay Forum

Help Support Early Bay Forum:

This site may earn a commission from merchant affiliate links, including eBay, Amazon, and others.
07.05.2016


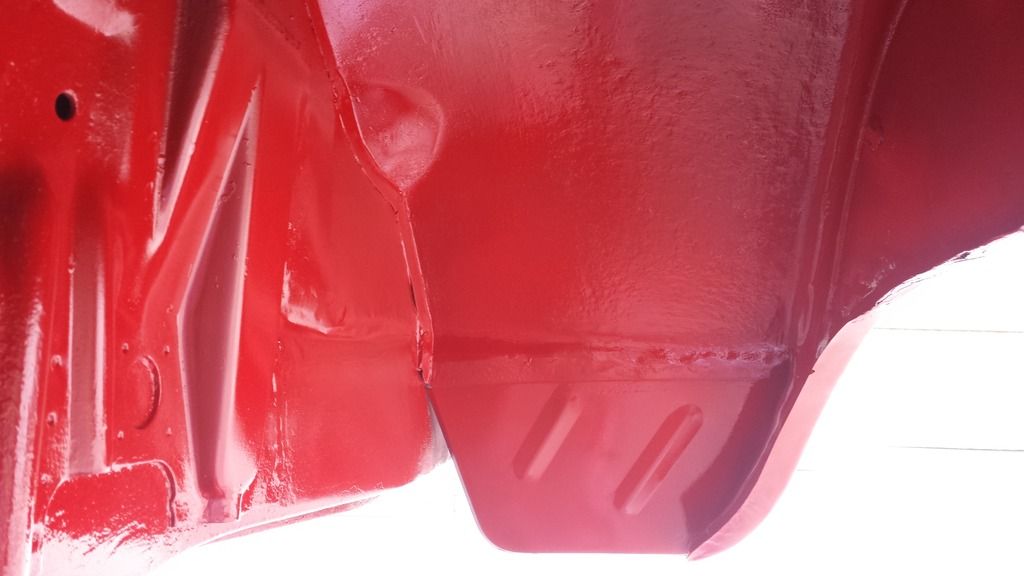
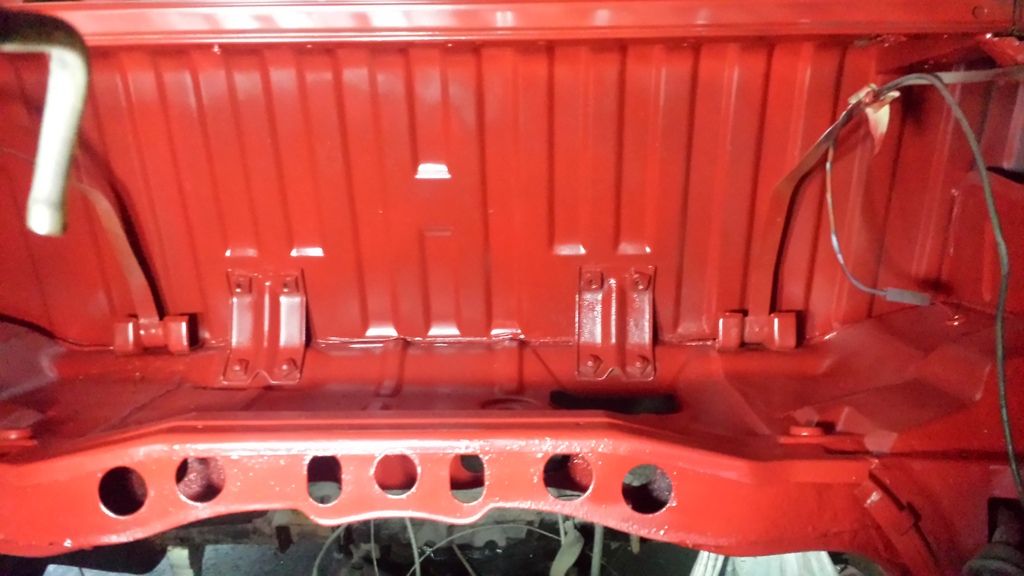
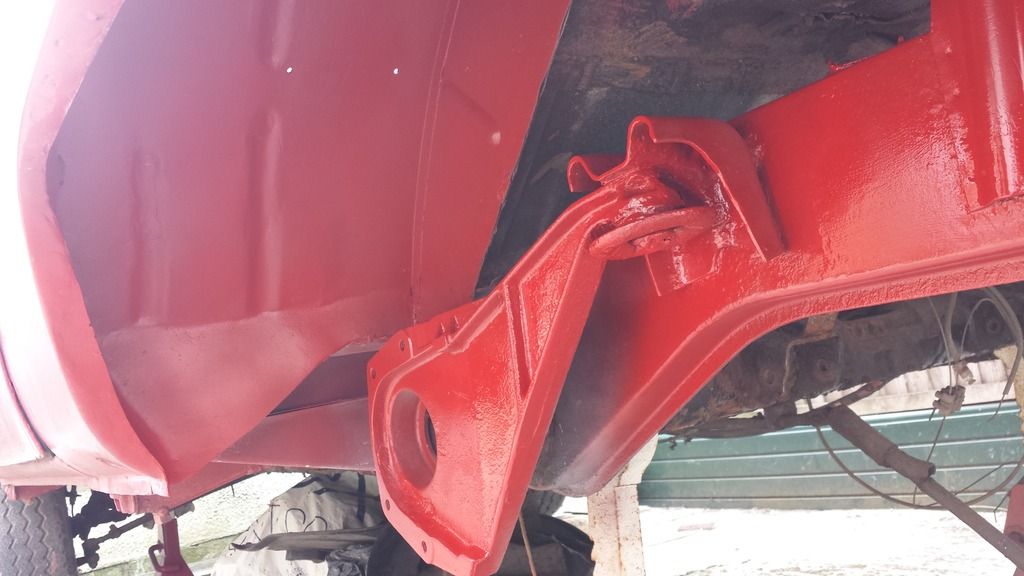
Today I sprayed top coat in the near side arch tub:
20160507_151932_zpsal4mpei0.jpg


20160507_152202_zpstx634znt.jpg


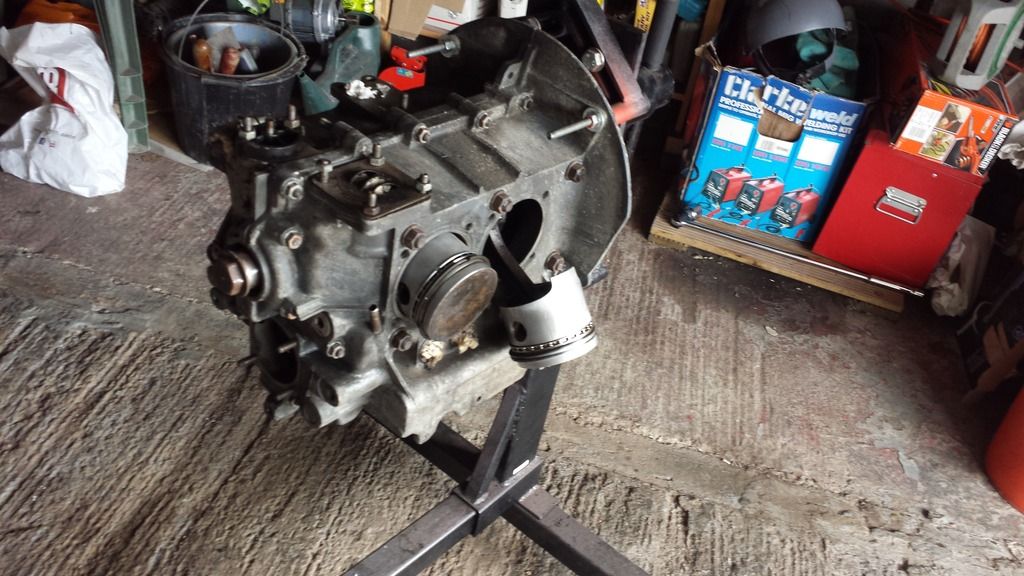
Proceeded to put more of the engine together so put the piston in on the right side:
20160507_160832_zpsu9qm23gt.jpg


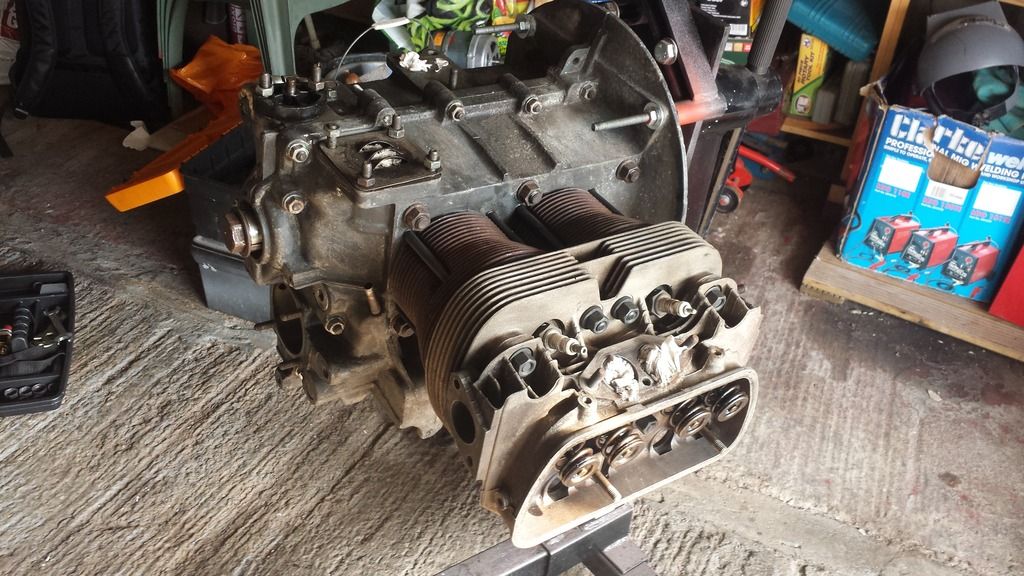
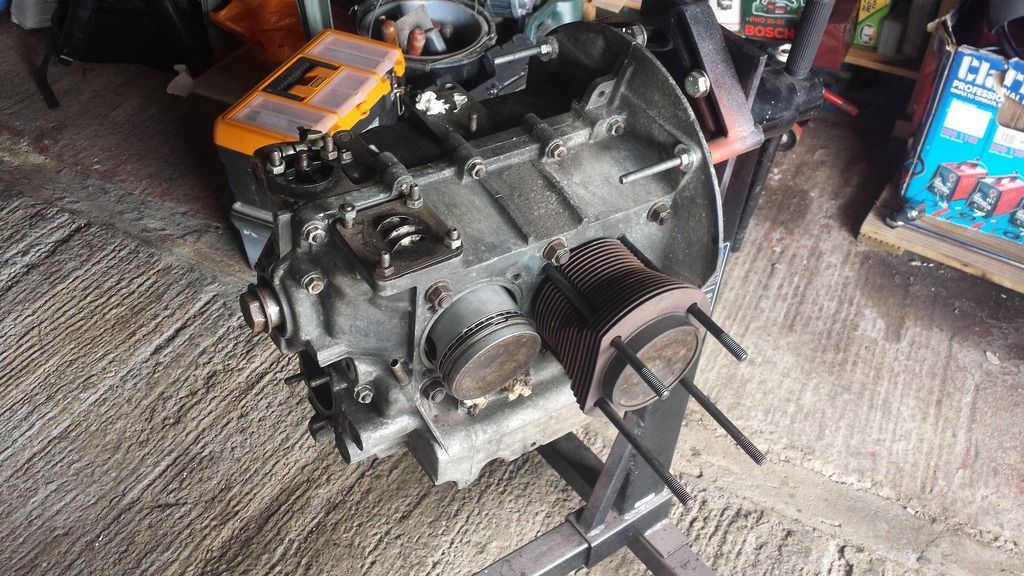
Started to add the studs and barrels:
20160507_164600_zps7oxkwdcd.jpg


Then the head:

20160507_170926_zpsbxndugyt.jpg


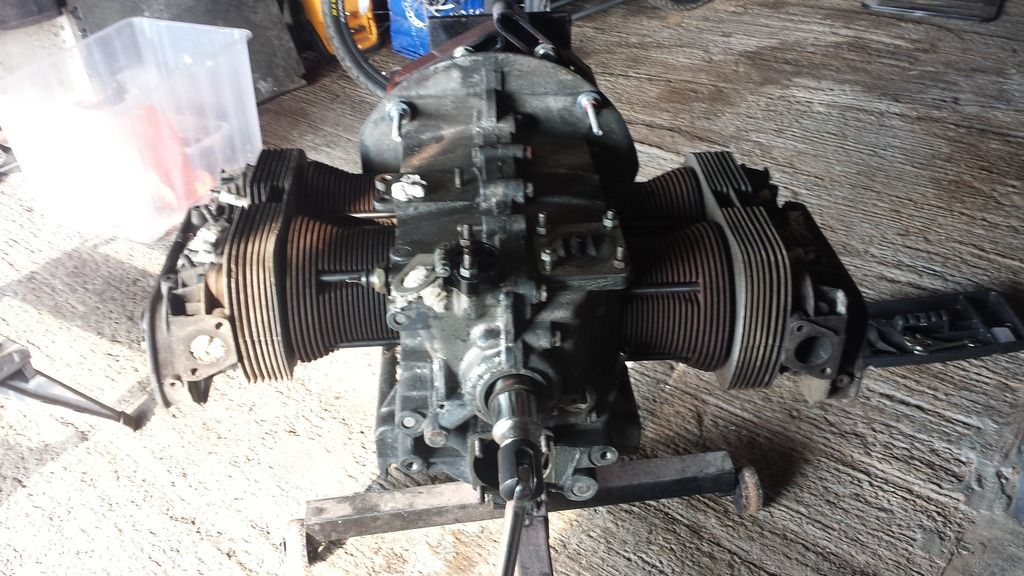
Both sides on:

20160507_173418_zpsgbwieiqb.jpg


Will be taking the heads off as both have exhaust studs stuck and going to have them removed next week.
Also, noticed that the pistons don't travel too well when cranking over so will double check everything
Hopefully get more engine work done tomorrow :)
 
kevinhall said:
Doing an awesome job there Andy

cunning plan said:
kevinhall said:
Doing an awesome job there Andy

+1 :party0021:

Thanks guys - a show winner it will not be, but hopefully usable.
Ordered the parts for the fuel tank so hoping to get it installed this week (weather permitting)

More pics to follow.
 
08.05.2016

Seem to be jumping around from one area to the next - DOH!!

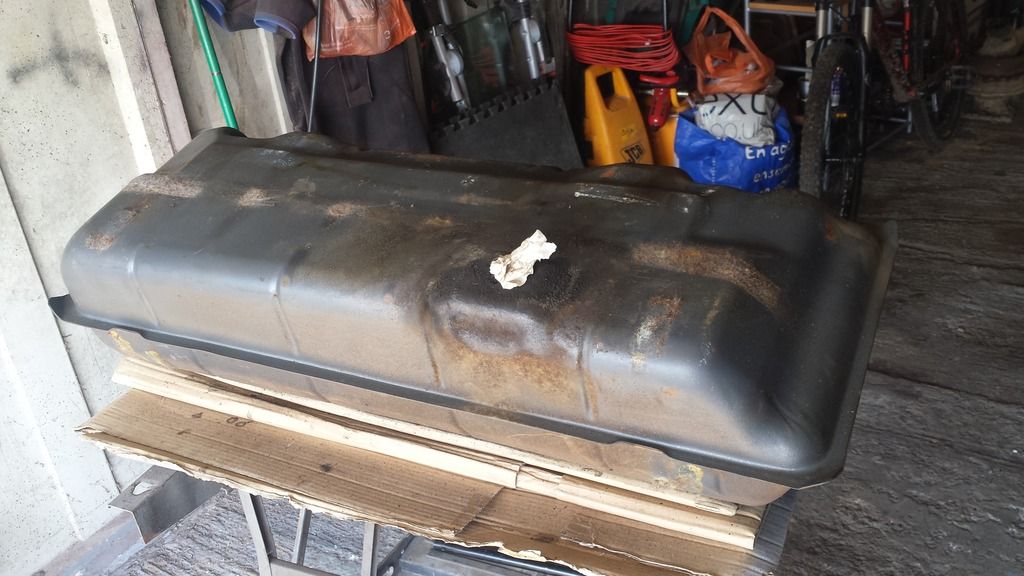
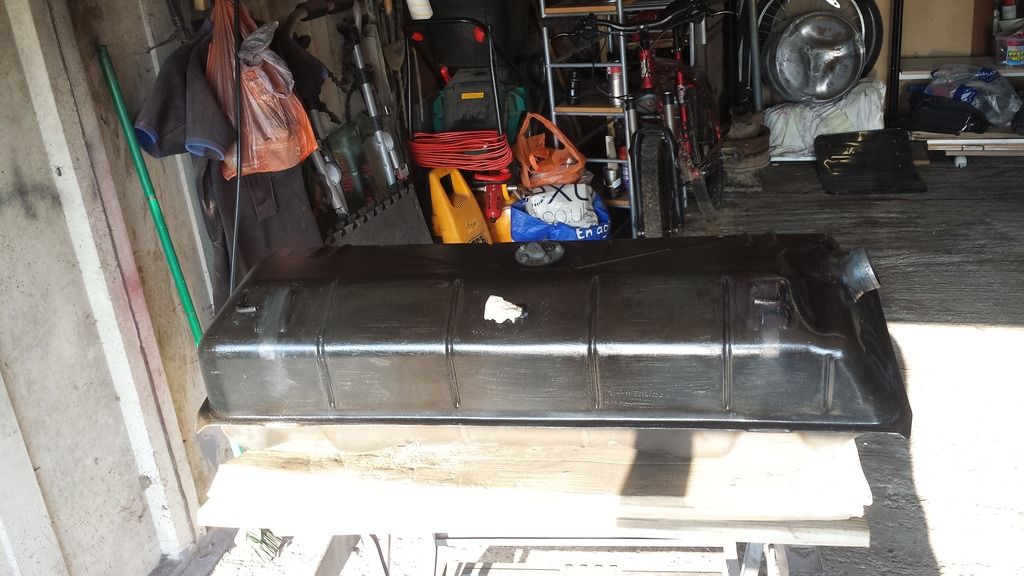
Started on the fuel tank - in good nick, just a little surface rust.

Before:

20160508_154717_zpsilobspku.jpg


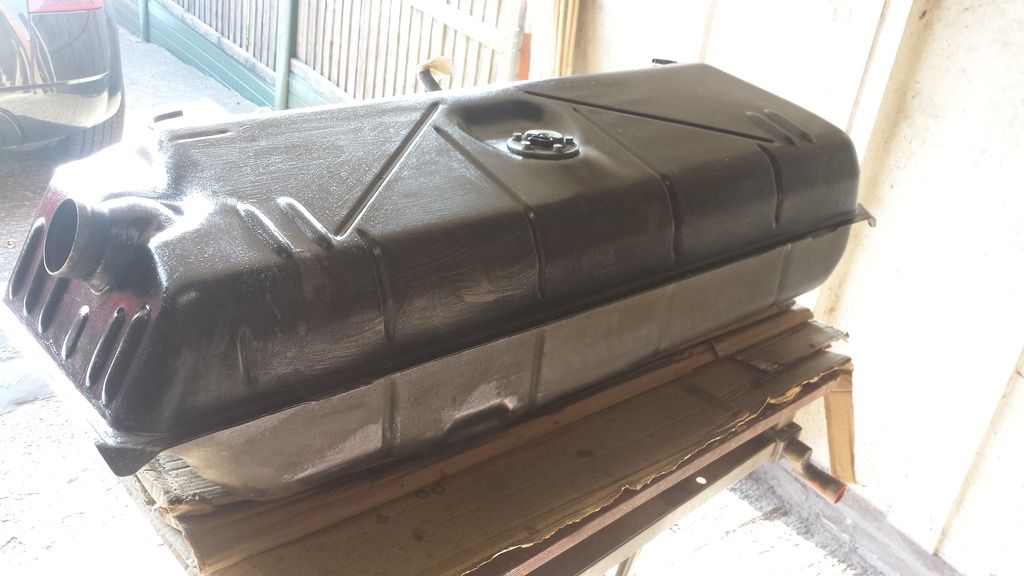
After removing all the loose rust and dust, covered it in rust prevention stuff:

20160508_180222_zpslf9tfusf.jpg


20160508_180233_zps9hyfcoc7.jpg


Just needs a coat of paint and a new fuel filter/feeder and then will start to think about putting it back in the van :)
 
11.05.2016

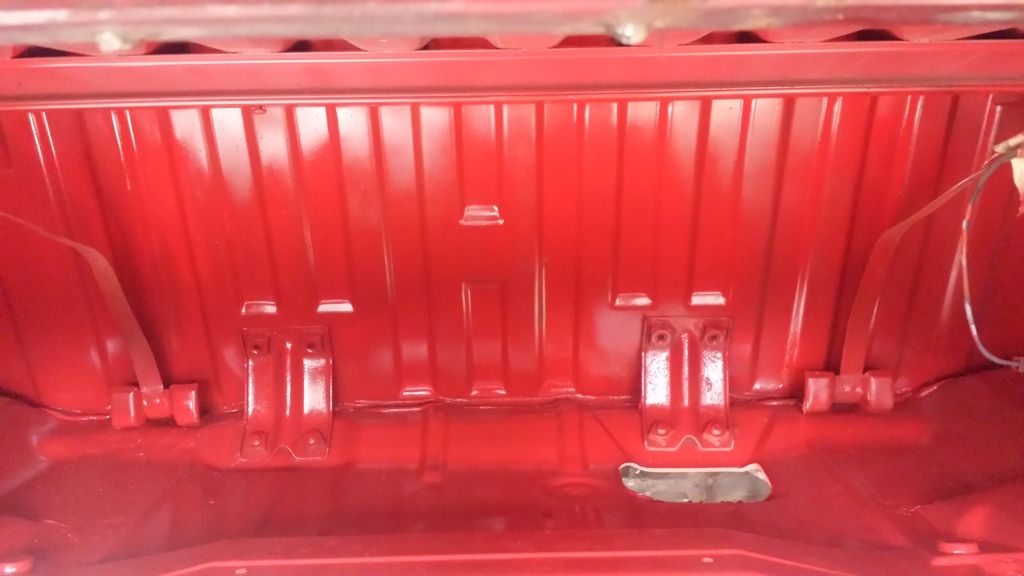
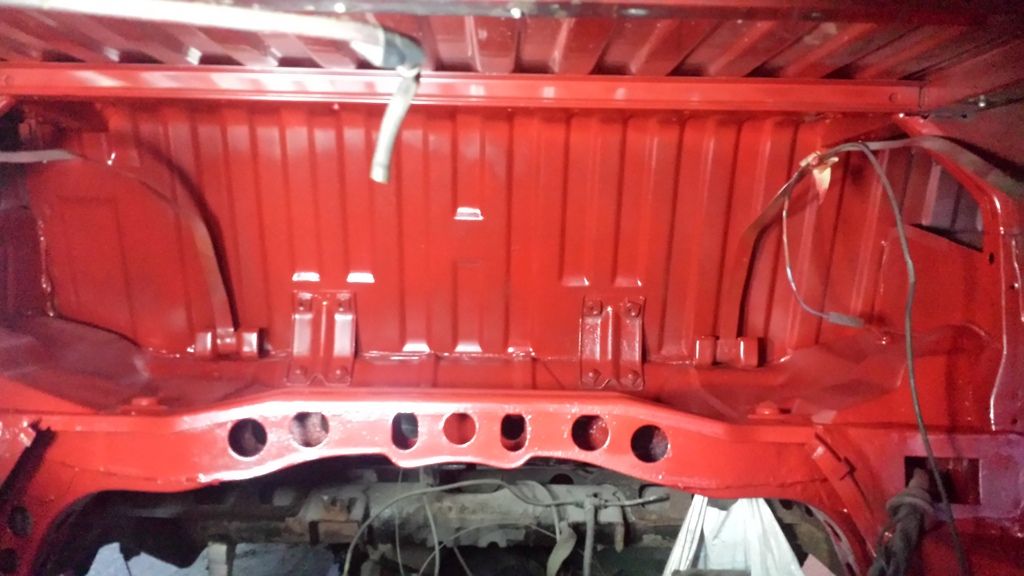
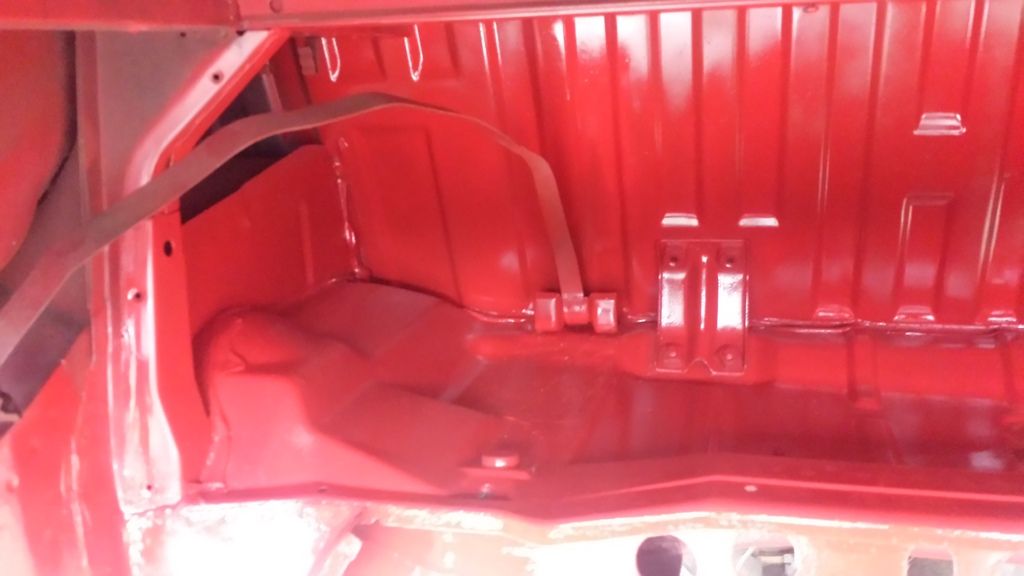
First coat of paint in the area where the fuel tank goes:

20160511_190015_zpsfhzr2iha.jpg


20160511_190022_zpsmt23alde.jpg


20160511_190032_zpsrvvldl9w.jpg


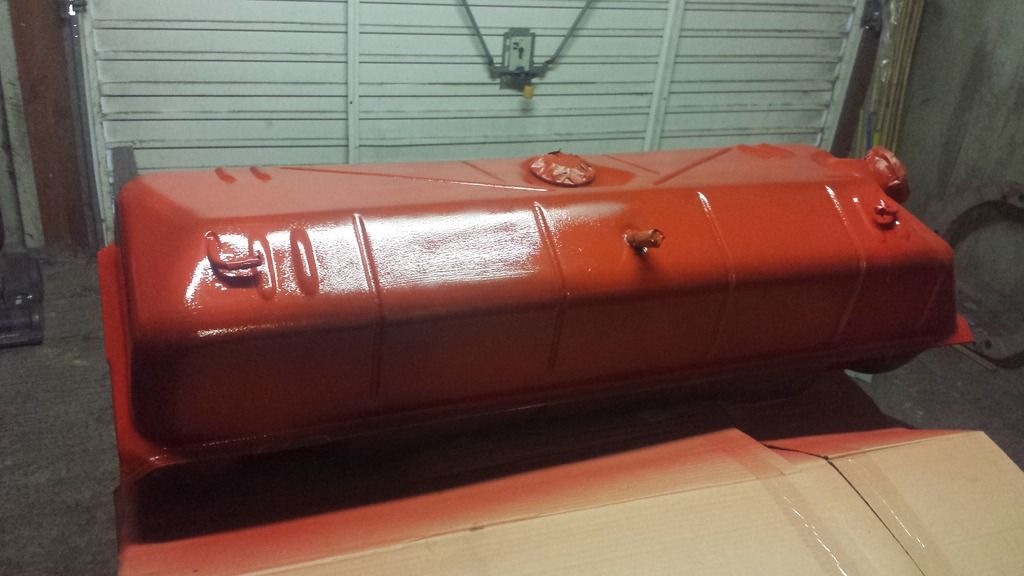
First coat of paint on the petrol tank:

20160511_193120_zpshbvbv7fa.jpg


20160511_193132_zpsxgxhqeoc.jpg


Final coat of paint in the fuel tank area:

20160511_205717_zpsc43axszf.jpg


20160511_205742_zpse8oepi91.jpg


(Getting dark outside so not very good pics...)


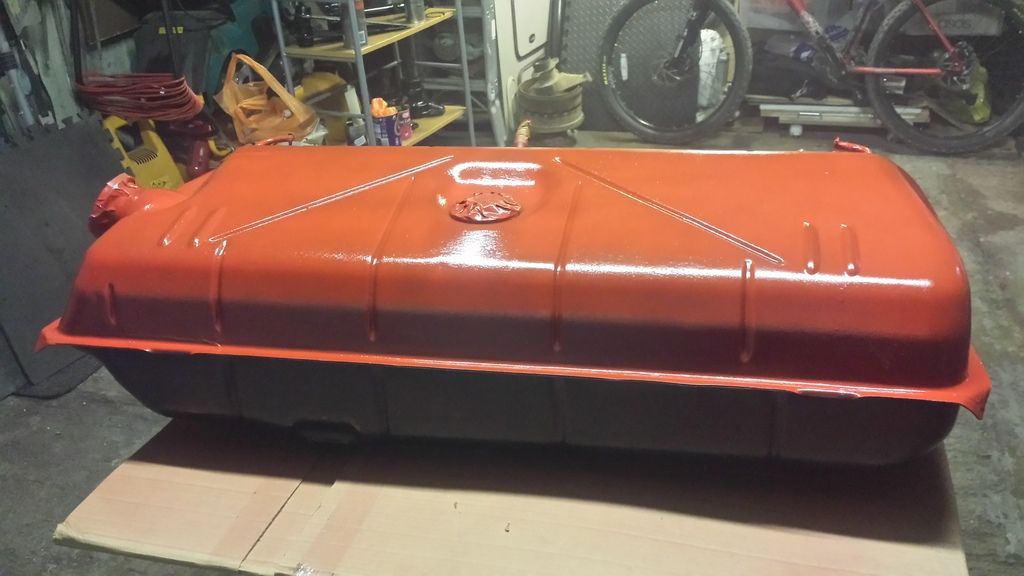
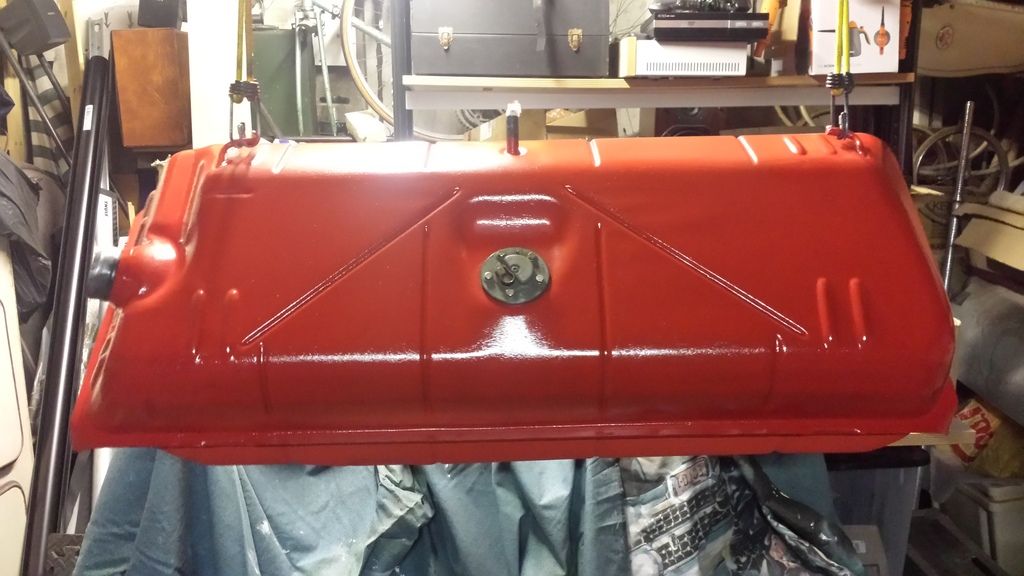
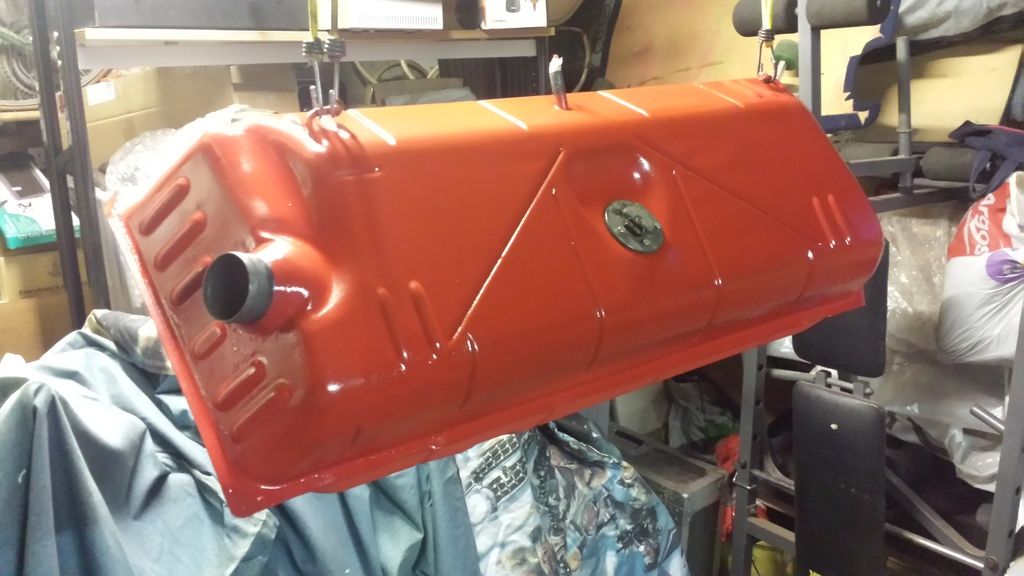
Final coats applied on the fuel tank - should get all the fixings to re-install delivered tomorrow :)

20160511_210030_zpsnxqod68b.jpg


20160511_210106_zpsor7wnul3.jpg


What do peeps use to replace the horse hair stuff that went between the fuel tank and the ledge??
 
Shhhhh I used a pair of the wife's old slip slops and cut strips of rubber. :lol: :lol:
No noise and loads of protection. Good work there.

J & P
:D :D :D
 
gas1man said:
Shhhhh I used a pair of the wife's old slip slops and cut strips of rubber. :lol: :lol:
No noise and loads of protection. Good work there.

J & P
:D :D :D

'Slip slops'?? same as flip flops?

Good idea and they are cheap to buy so will get a pair tomorrow.
 
smokehouse said:
i'd coat the inside of the tank before i put it back in since you already have it out so it will never rust from the inside out. IMO
Did think about that but the inside is almost perfect to be honest.
 
gninnam said:
11.05.2016

What do peeps use to replace the horse hair stuff that went between the fuel tank and the ledge??

I used a bit of self adhesive closed cell foam strip. Used it on top of the tank where the straps go too. Was about 20mm by 7mm strip from memory.
 
kevinhall said:
gninnam said:
11.05.2016

What do peeps use to replace the horse hair stuff that went between the fuel tank and the ledge??

I used a bit of self adhesive closed cell foam strip. Used it on top of the tank where the straps go too. Was about 20mm by 7mm strip from memory.
Cheers for that.
Yesterday I bought some 'Slip Slops' for £2 (size 11) so see how these go (closed back foam also) :)
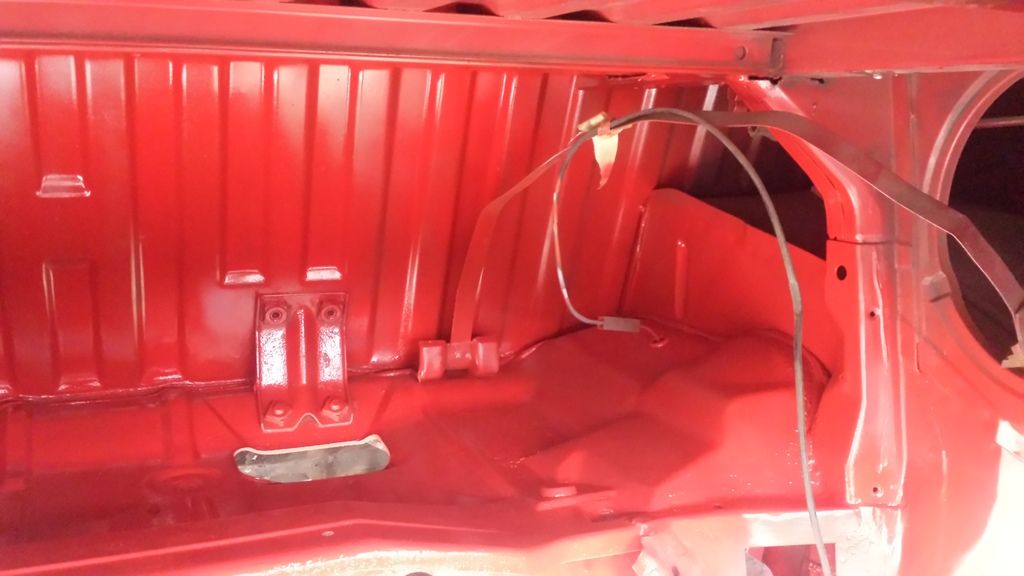
 
:lol: :lol: Absolutely cracked me and the wife up..... :lol: :lol:

Slip slops, flip flops.........who cares , winner when it comes to cheap and effective anti vibe material.

Trikky right as per!!!

J & P
:D :D :D
 
20.05.2016

Started to put the engine together.
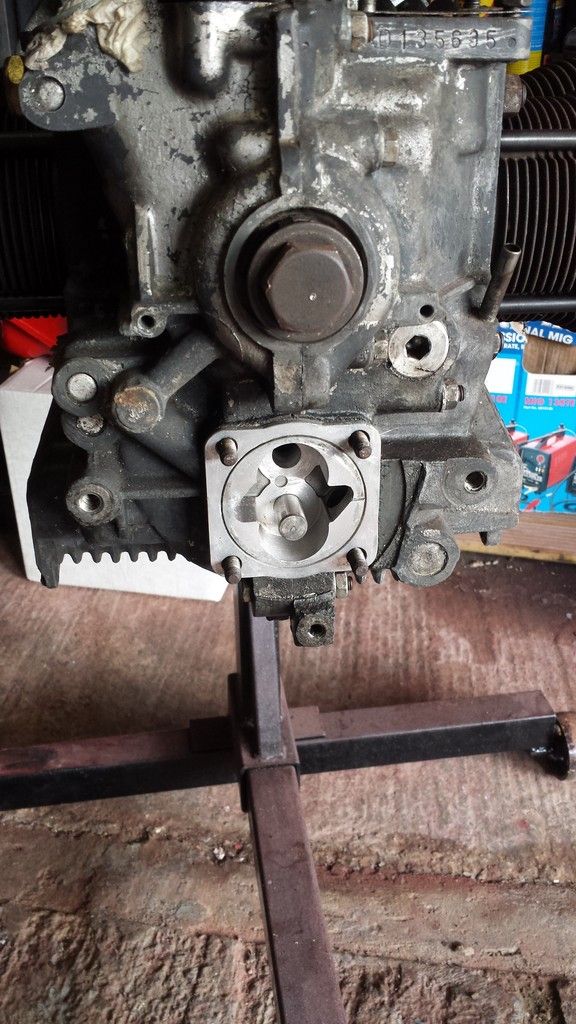
Pushed the oil pump housing into place, with the gasket behind:

20160520_182450_zpsecnevs7r.jpg


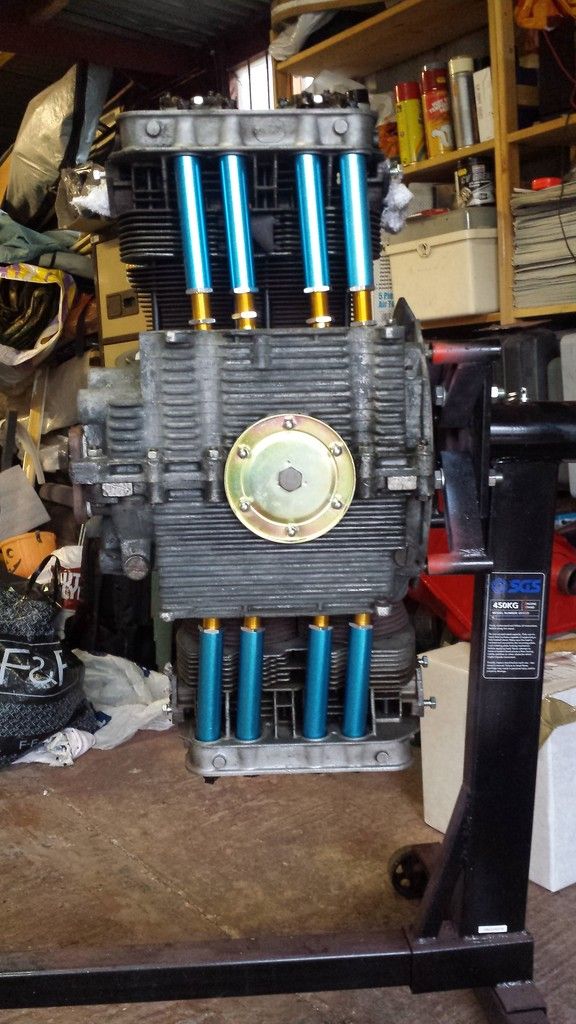
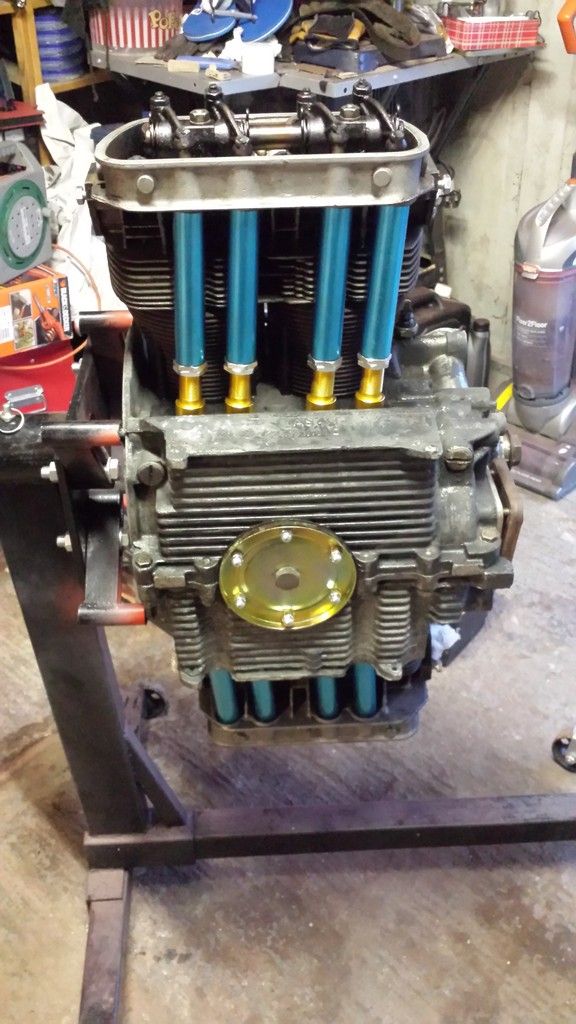
Fitted the barrels, heads, pushrod tubes and pushrods and finally the rocker assembly:

20160520_191513_zpsbqb3ooro.jpg


20160520_205601_zpsweregzjn.jpg


Not exciting to look at but still moving forward.
Need to sort out the rocker covers out and get some of the metal work sand blasted then start to put the rest together.

If the weather bucks up next week, will try to get the fuel tank fitted.
 
Nice work its looking great and engine build up is very informative!
Keep an eye on those pushrod tubes once your up and rolling - can leak a little due to the block/barrels/heads expanding when hot and they get a little loose
Awesome progress though and love the flip flop idea for the tank! :lol:
 
StuF said:
Nice work its looking great and engine build up is very informative!
Keep an eye on those pushrod tubes once your up and rolling - can leak a little due to the block/barrels/heads expanding when hot and they get a little loose
Awesome progress though and love the flip flop idea for the tank! :lol:
Cheers Stu
Will bear in mind your comment on the tubes and see how I go!
 
Mmm, shiny! :D

Did you go for a new oil pump? It's the one bit of the engine I haven't touched but keep pondering whether I should replace it before the engine goes back in.
 

Latest posts

Top