You are using an out of date browser. It may not display this or other websites correctly.
You should upgrade or use an alternative browser.
You should upgrade or use an alternative browser.
Progress Pics - Dormobile X-Over
- Thread starter gninnam
- Start date


Help Support Early Bay Forum:
This site may earn a commission from merchant affiliate
links, including eBay, Amazon, and others.
- Joined
- Oct 26, 2010
- Messages
- 3,247
- Reaction score
- 17
- Location
- Leeds
- Year of Your Van(s)
- 1971
- Van Type
- Panel
Great work as always, Andy.
Still got your ball joints in my garage, bud :msn4:
Those push rod tubes are fine. I have them on my bus engine and they don't drop a spot")
Still got your ball joints in my garage, bud :msn4:
Those push rod tubes are fine. I have them on my bus engine and they don't drop a spot
Aircooler
Well-known member
Good work Andy!
Regards
Reto
Regards
Reto
gvee said:Great work as always, Andy.
Still got your ball joints in my garage, bud :msn4:
Those push rod tubes are fine. I have them on my bus engine and they don't drop a spot
Cheers George and yes, you do have them - I will give you a bell soon to organise a meet up and a handover of the bits
Aircooler said:Good work Andy!
Regards
Reto
Thanks Reto - not quite to your standards though :mrgreen:


$27.95 ($13.98 / Count)
Marketplace Auto Parts Window Crank Handle Set of 2 - Chrome with Black Knob - Compatible with 1968-1978 Volkswagen Beetle
Parts Geek LLC


29.05.2016
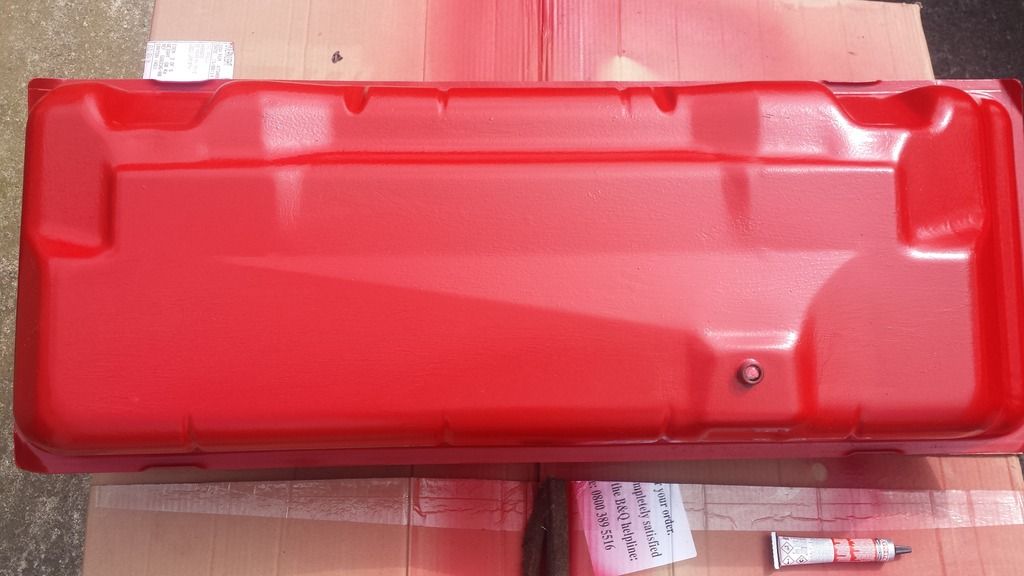
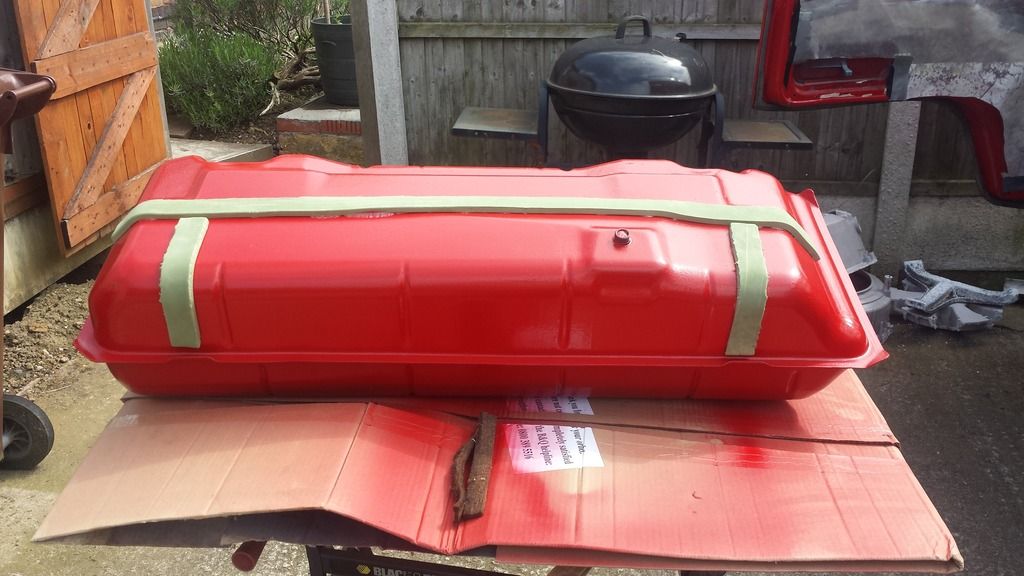
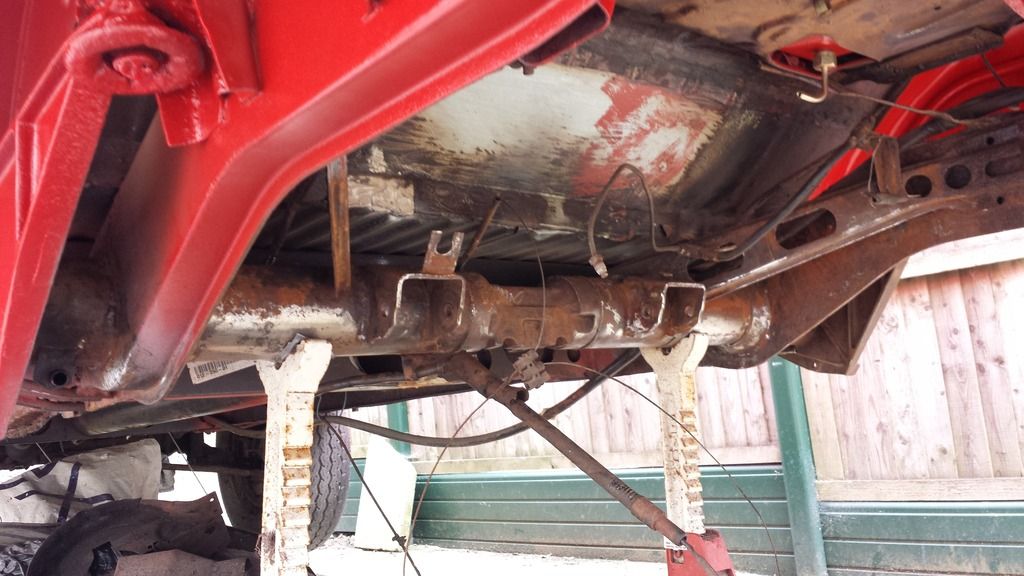
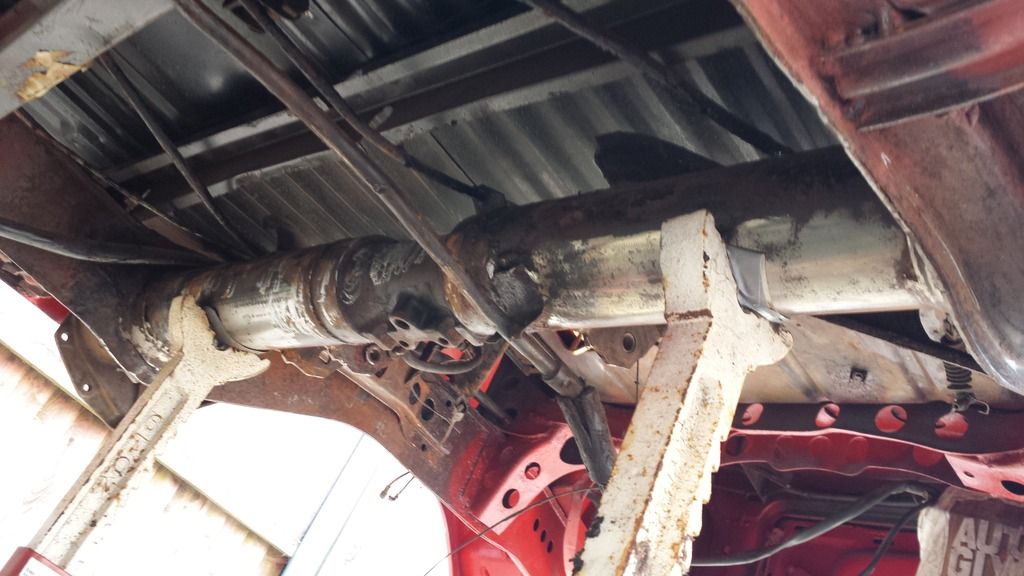
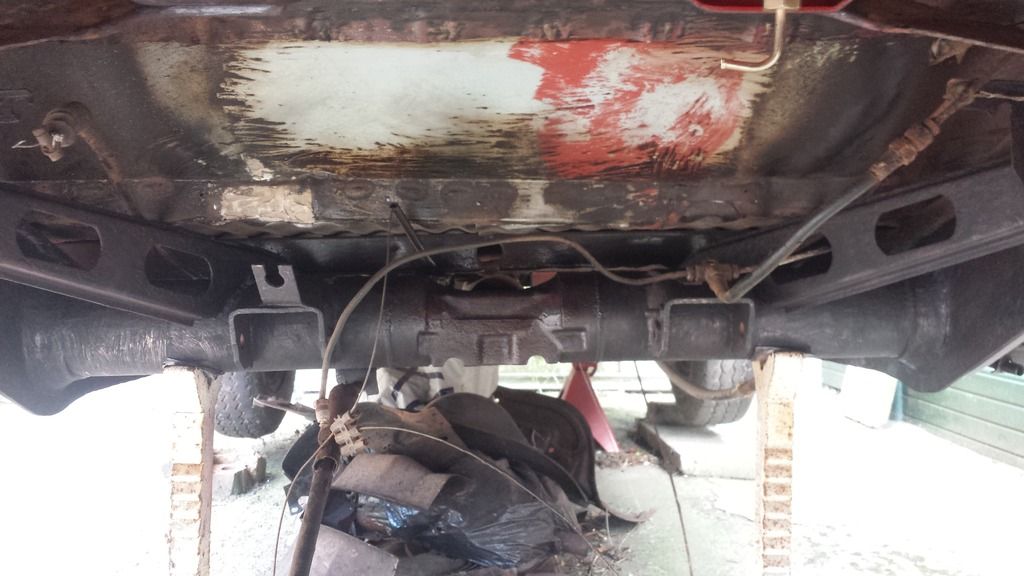
Planned to put the fuel tank back in today as I found the earth strap, plus finish off the offside rear arch so here are some pics.
Ready to go in:
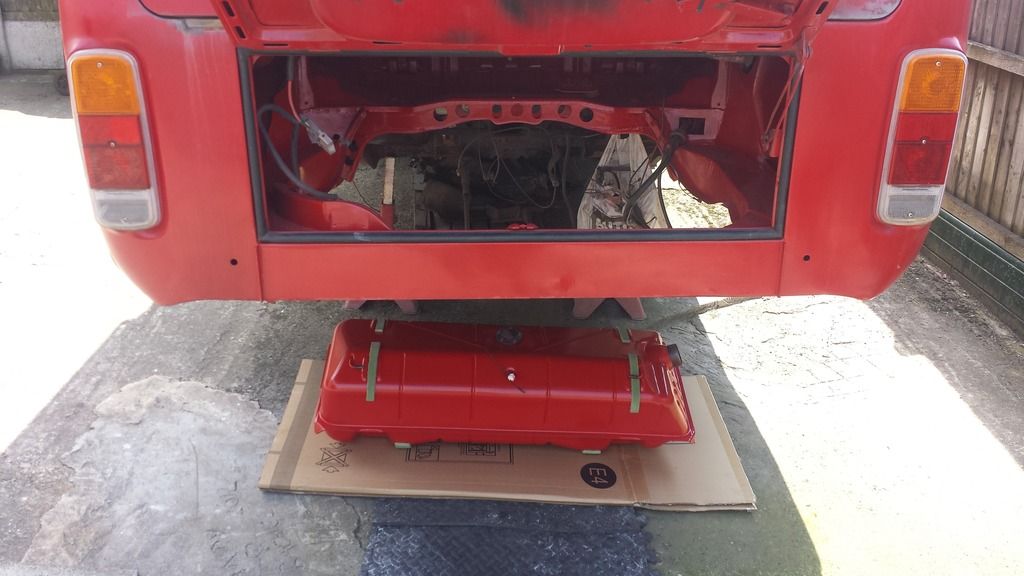
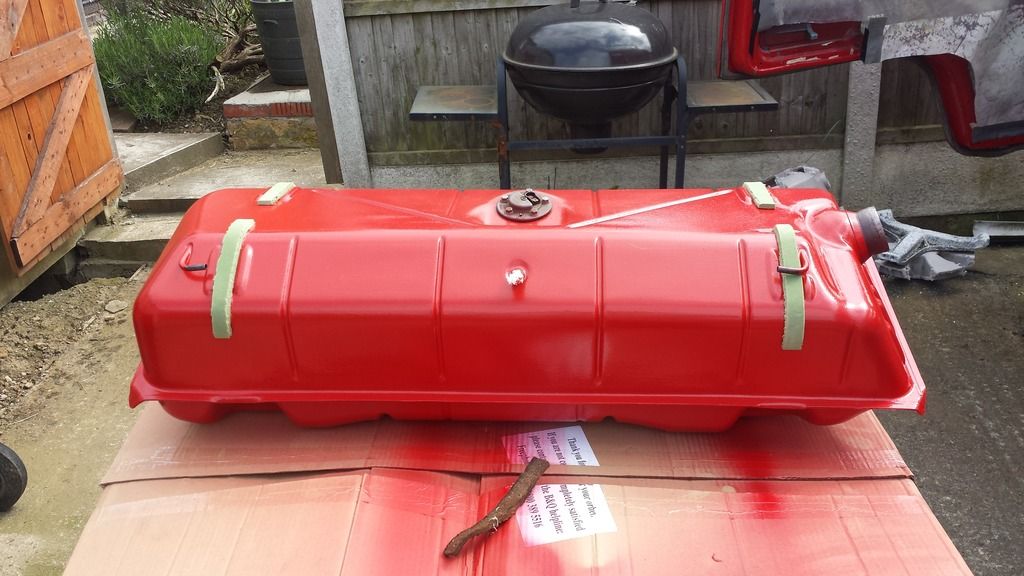
And it's in
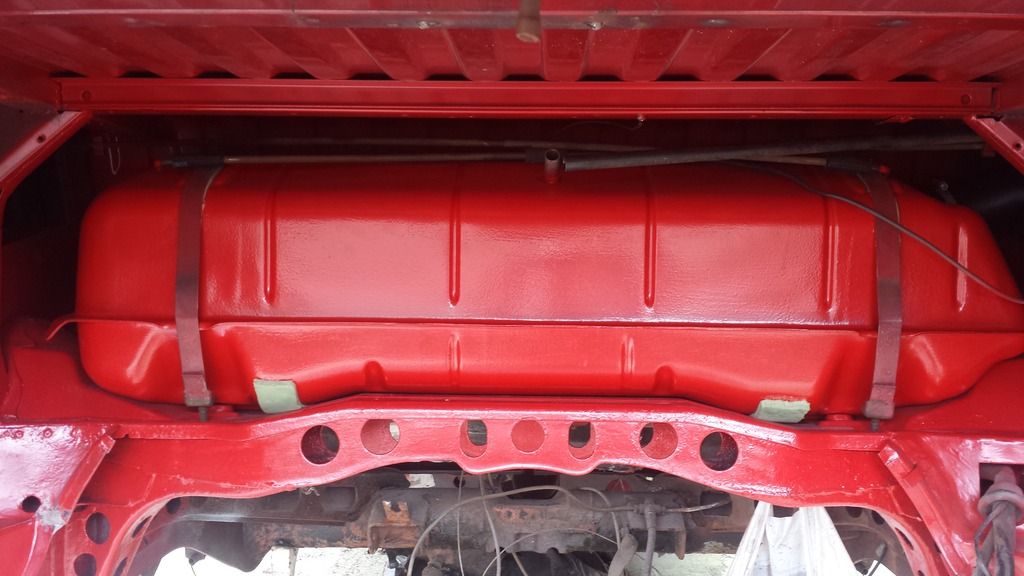
Pipes attached:
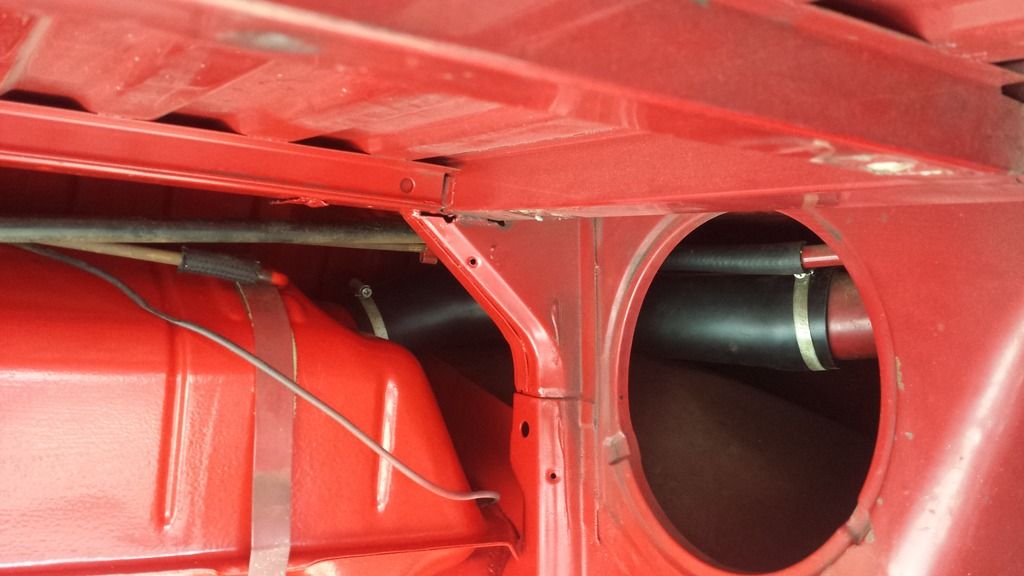
I know I need to locate a 12mm pipe so I can finish it off but for now quite pleased!
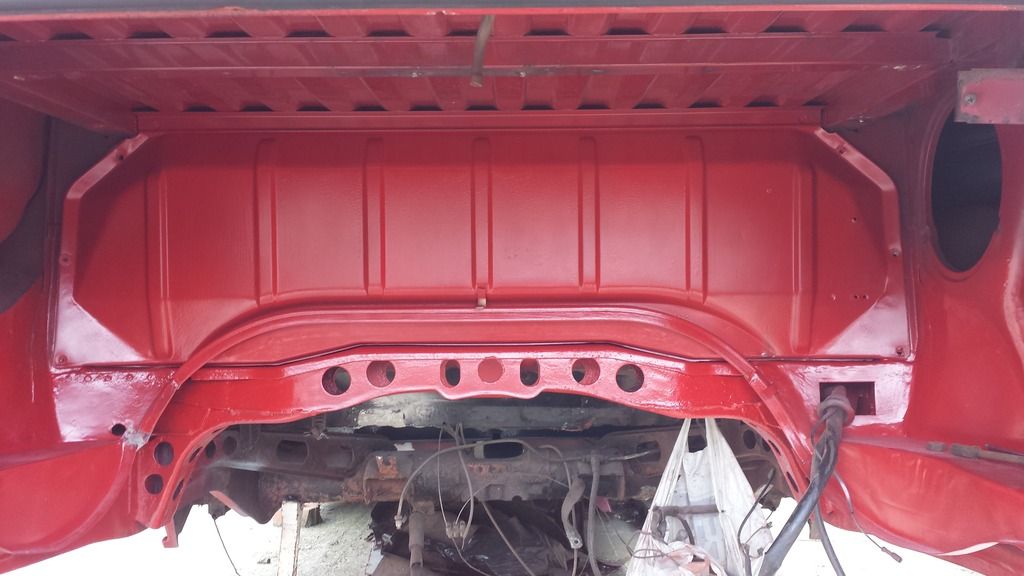
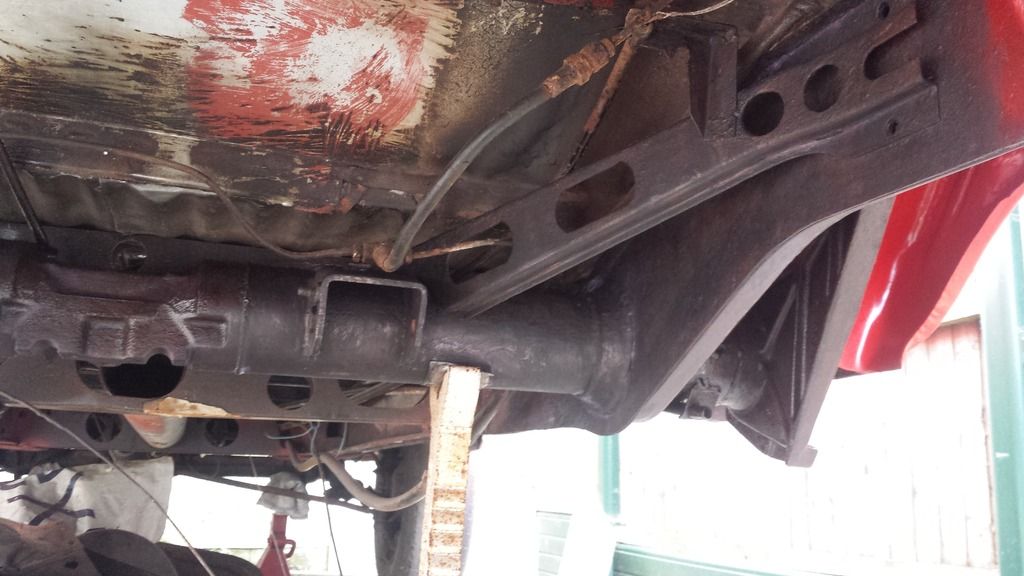
Firewall fitted but not screwed in yet:
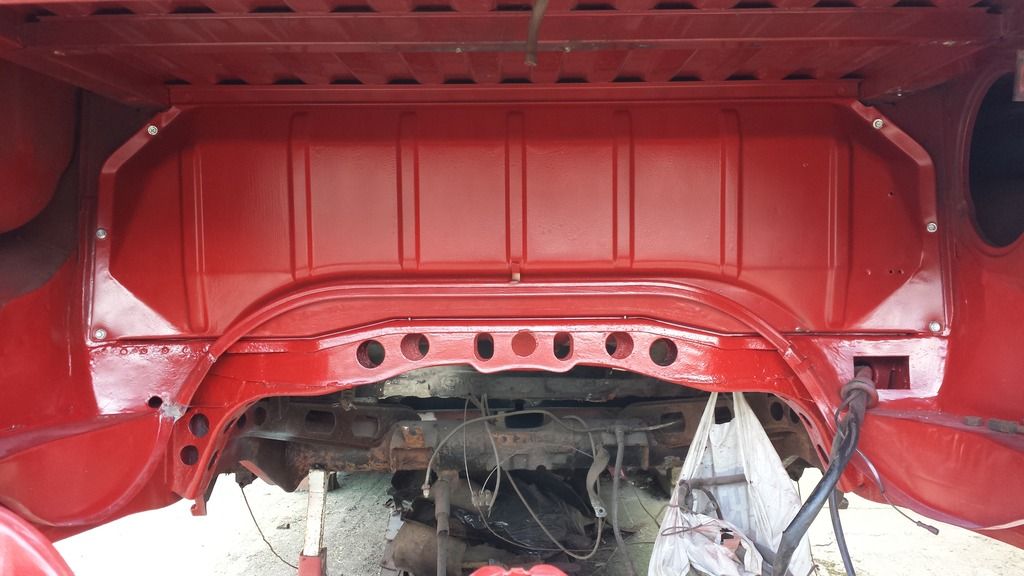
Found some stainless screws (from when I pulled a washing machine apart to create a fire-pit) so finished it off:
Planned to put the fuel tank back in today as I found the earth strap, plus finish off the offside rear arch so here are some pics.
Ready to go in:
And it's in
Pipes attached:
I know I need to locate a 12mm pipe so I can finish it off but for now quite pleased!
Firewall fitted but not screwed in yet:
Found some stainless screws (from when I pulled a washing machine apart to create a fire-pit) so finished it off:
monkeyvanwestybike
Well-known member
- Joined
- Nov 11, 2009
- Messages
- 800
- Reaction score
- 5
- Location
- Hampshire New Forest
- Year of Your Van(s)
- After 1972
- Van Type
- 79 sunroof deluxe
Your way up there lad ohh!
Go Mr Gninnam
MOT then soon !
Go Mr Gninnam
MOT then soon !
Cheers - still a lot of work to do before the MOT.....monkeyvanwestybike said:Your way up there lad ohh!
Go Mr Gninnam
MOT then soon !
kevinhall said:Awesome stuff Andy. Jealous of the 72 fuel tank...had to craft a late bay one into mine as the original one was long gone! Yours looks in great nick. Keep at it!
Cheers Kevin - to say the rest of the bottom six inches was rusty looks like I got lucky with the fuel tank
16.07.2016
Due to work and things didn't touch the van for over a month
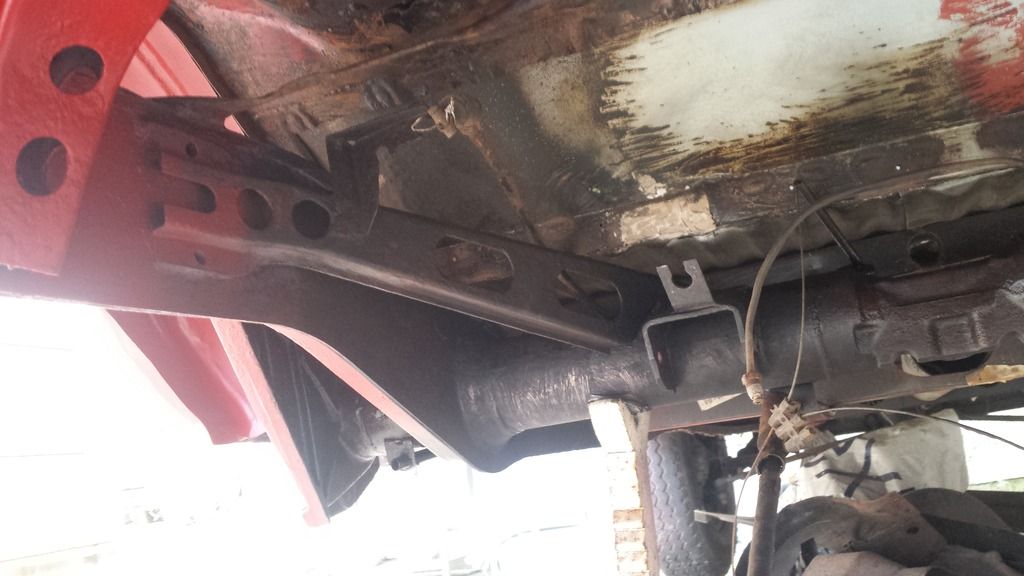
Continued with the removal of the underseal - concentrating on the rear beam and the area around the rear bulkhead (that slopes).
Using my angle grinder and then a drill with a wire wheel I began:
Couldn't get to a good many areas so called it a day - happy so far.
Due to work and things didn't touch the van for over a month
Continued with the removal of the underseal - concentrating on the rear beam and the area around the rear bulkhead (that slopes).
Using my angle grinder and then a drill with a wire wheel I began:
Couldn't get to a good many areas so called it a day - happy so far.
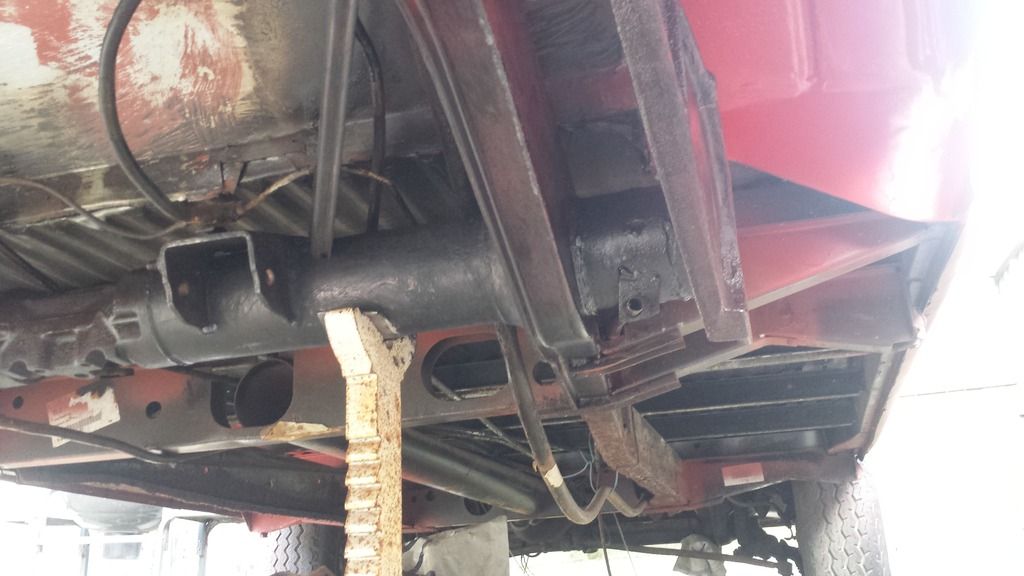
Bought a Dremel and some bits from B&Q so I could tackle the awkward areas:
During the cleanup:
Just finishing:
After 2 hours of cleaning with the Dremel it packed in - what a pile of sh@t...
Need to take it back tomorrow and get my money back (at least I finished it
During the cleanup:
Just finishing:
After 2 hours of cleaning with the Dremel it packed in - what a pile of sh@t...
Need to take it back tomorrow and get my money back (at least I finished it
18.07.2016
Got my money back - no questions asked!!
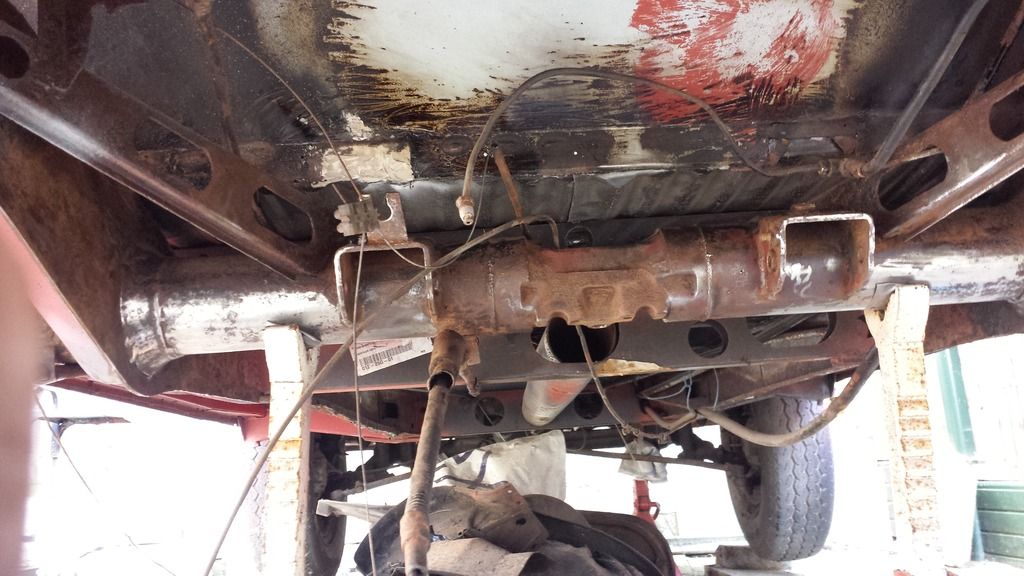
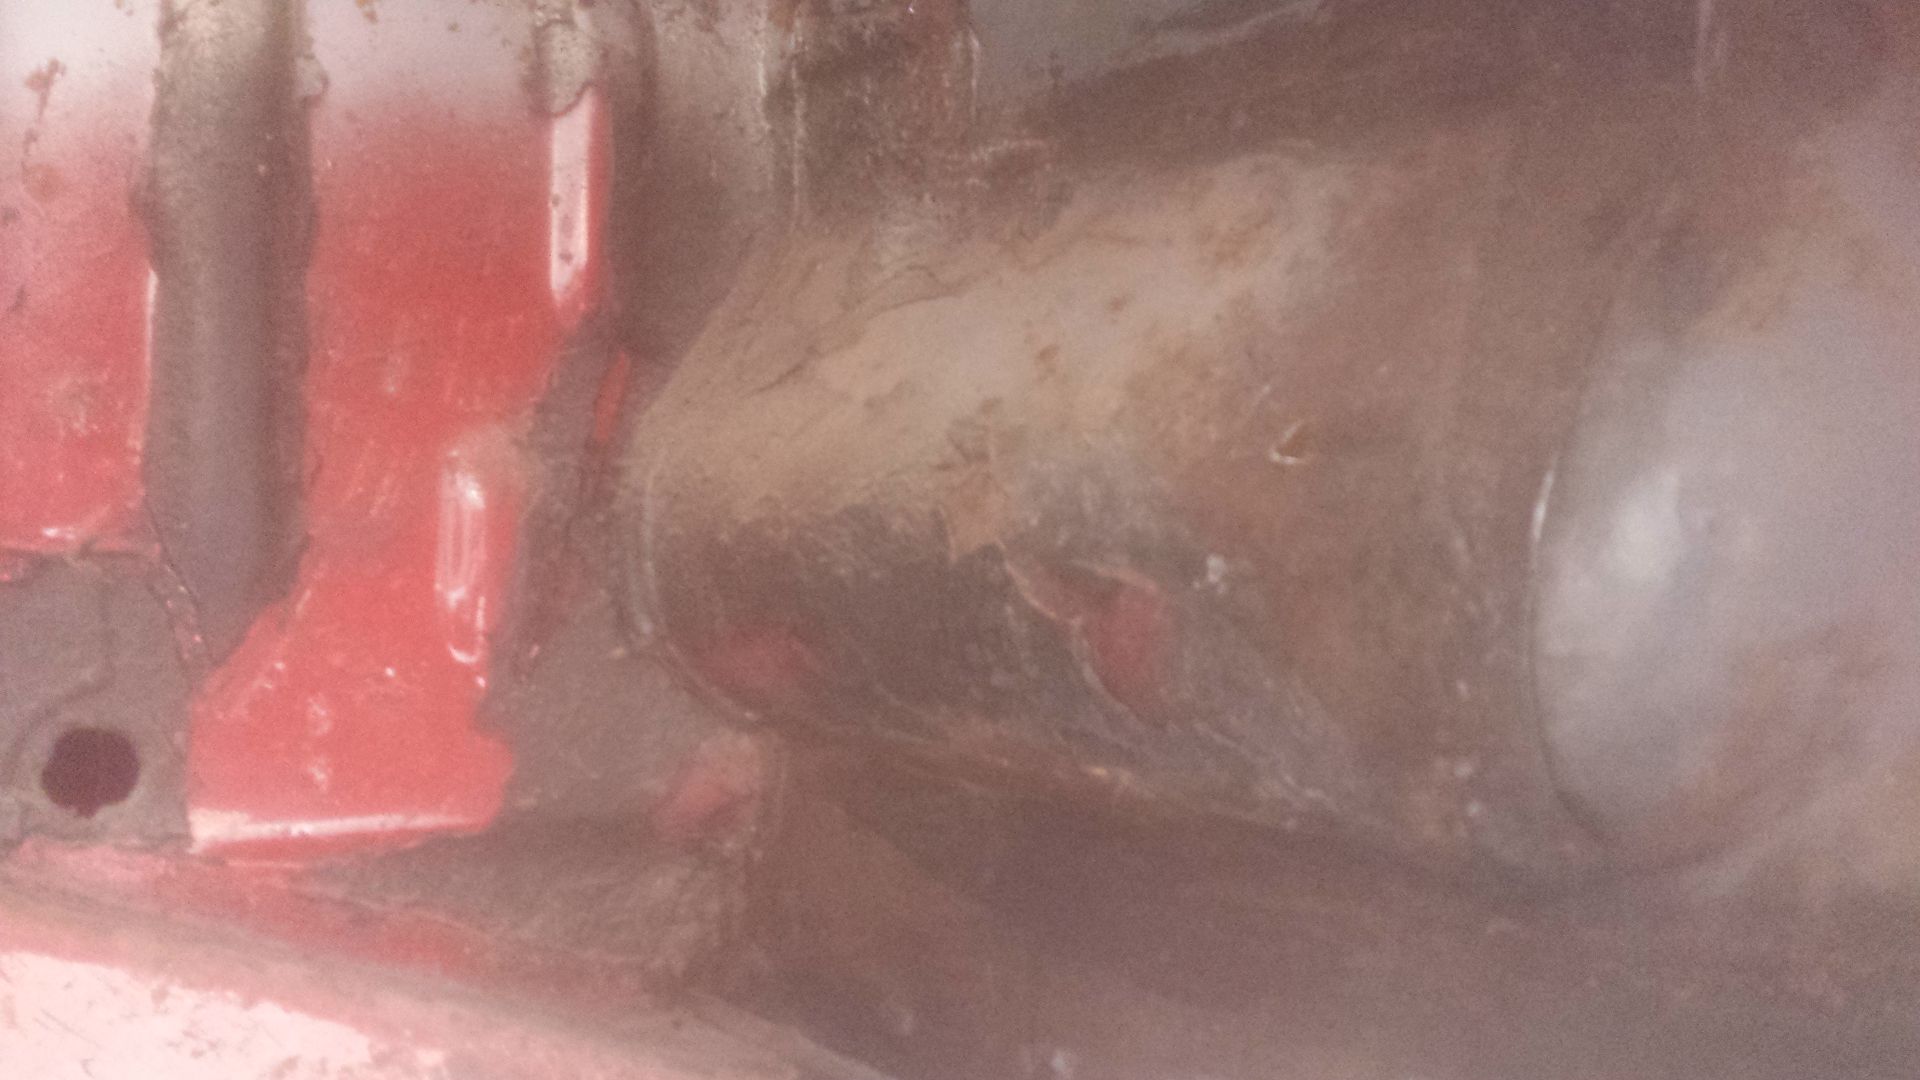
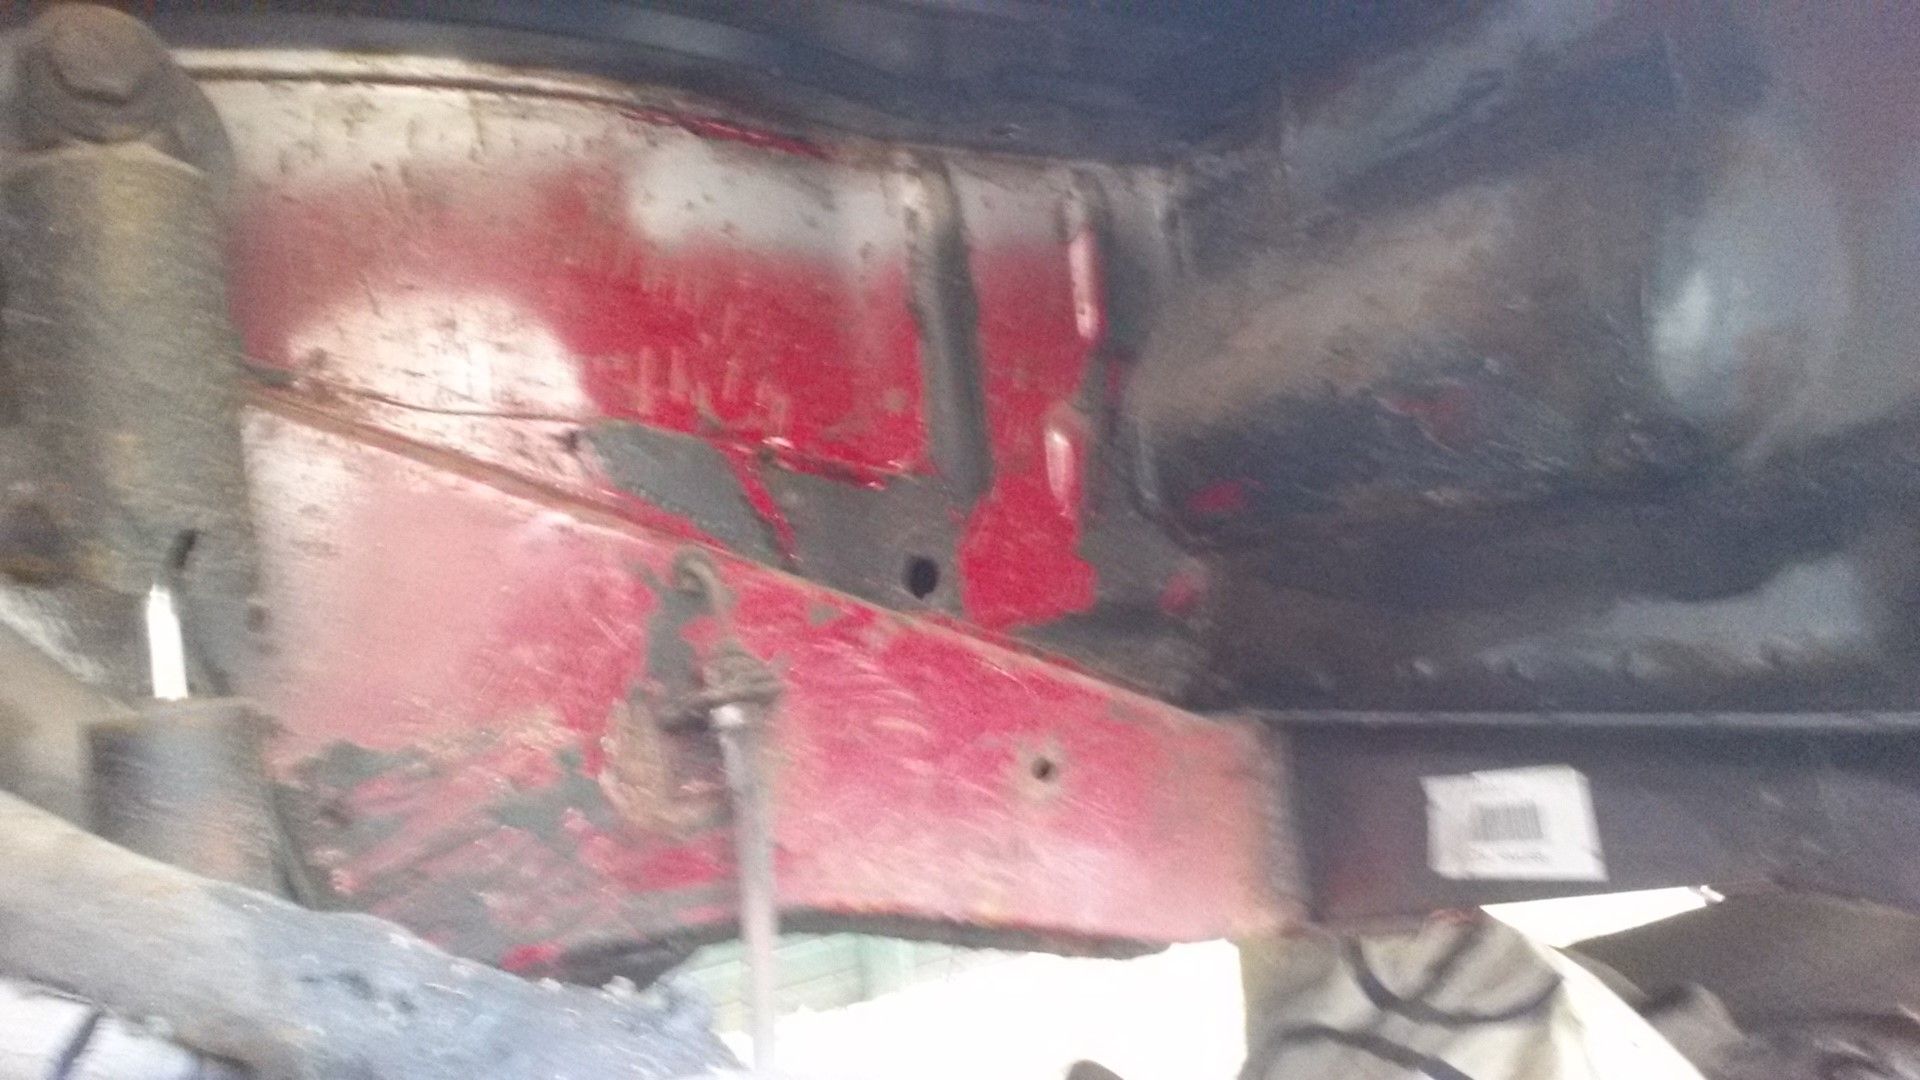
Started to treat the rear beam and bits with some rust converter then continued to tackle the remainder of the underseal:
Hope that tomorrow I can finish the rear bulkhead and get some rust converter on that.
Then wil splash some inc primer over the top ready for some paint.
Will then need to address some cables that have not been routed correctly.
Getting closer to putting the rear suspension back
Got my money back - no questions asked!!
Started to treat the rear beam and bits with some rust converter then continued to tackle the remainder of the underseal:
Hope that tomorrow I can finish the rear bulkhead and get some rust converter on that.
Then wil splash some inc primer over the top ready for some paint.
Will then need to address some cables that have not been routed correctly.
Getting closer to putting the rear suspension back
19.07.2016
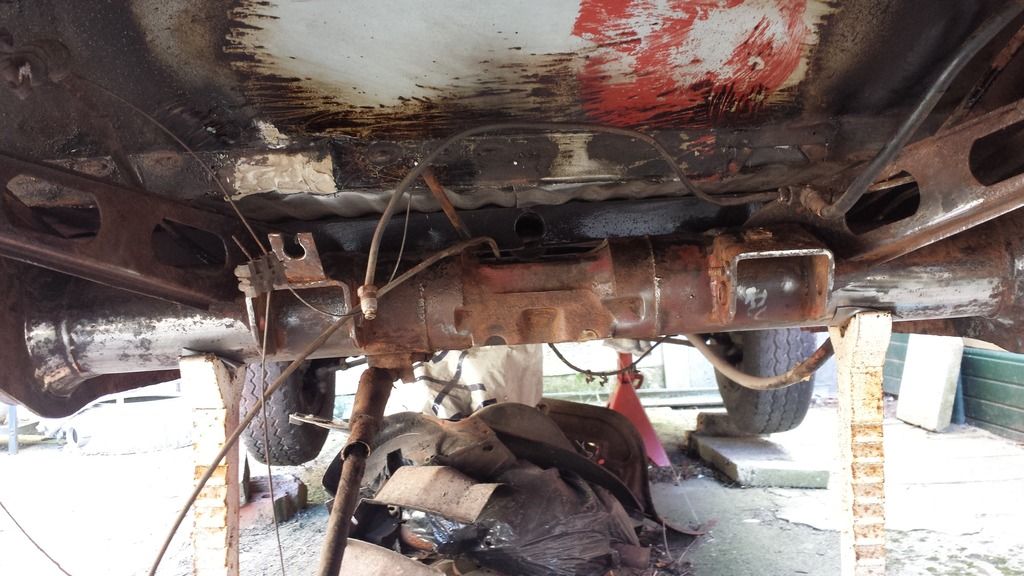
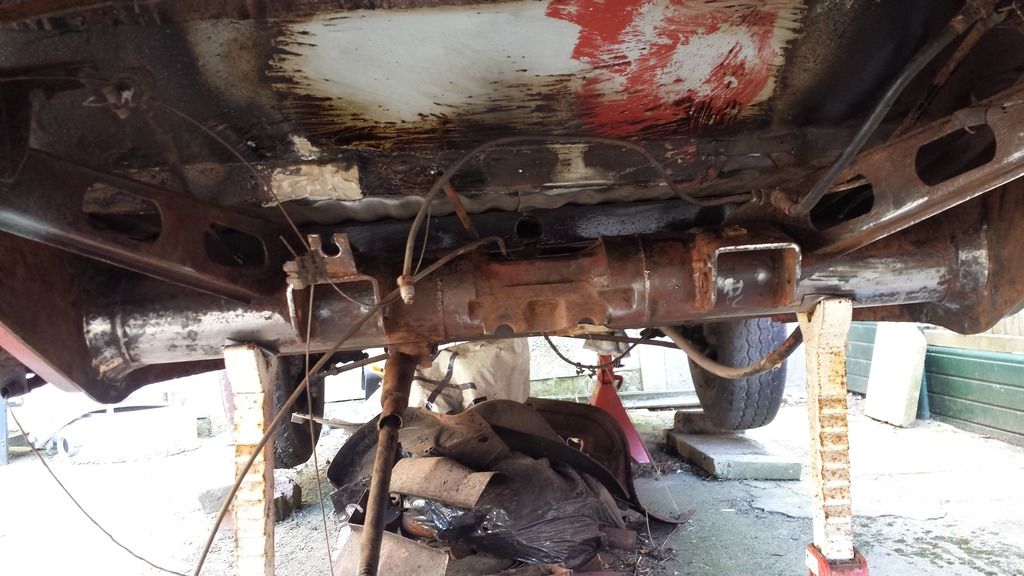
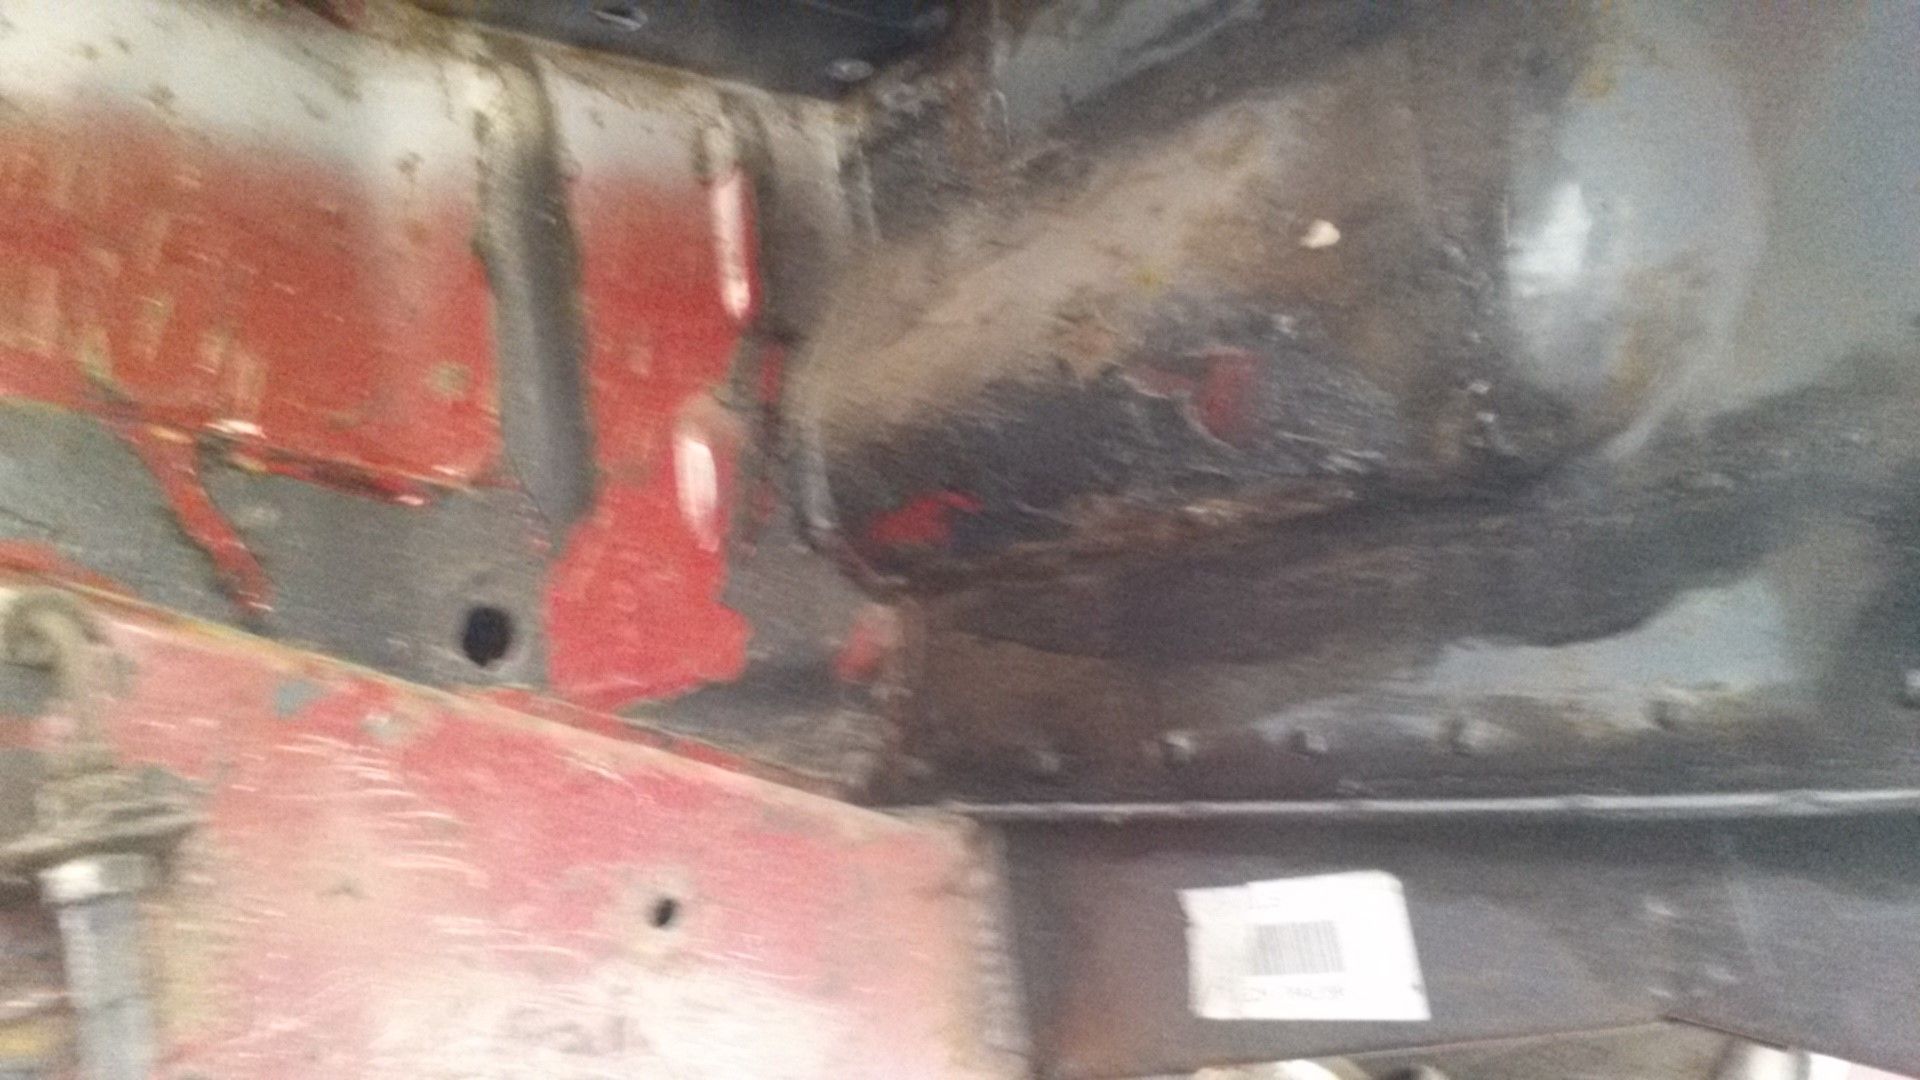
All underseal removed from underneath the area where the rear beam is.
Gave it a tickle with the rust convertor then after a few hours went over it all with some zinc primer.
Getting there
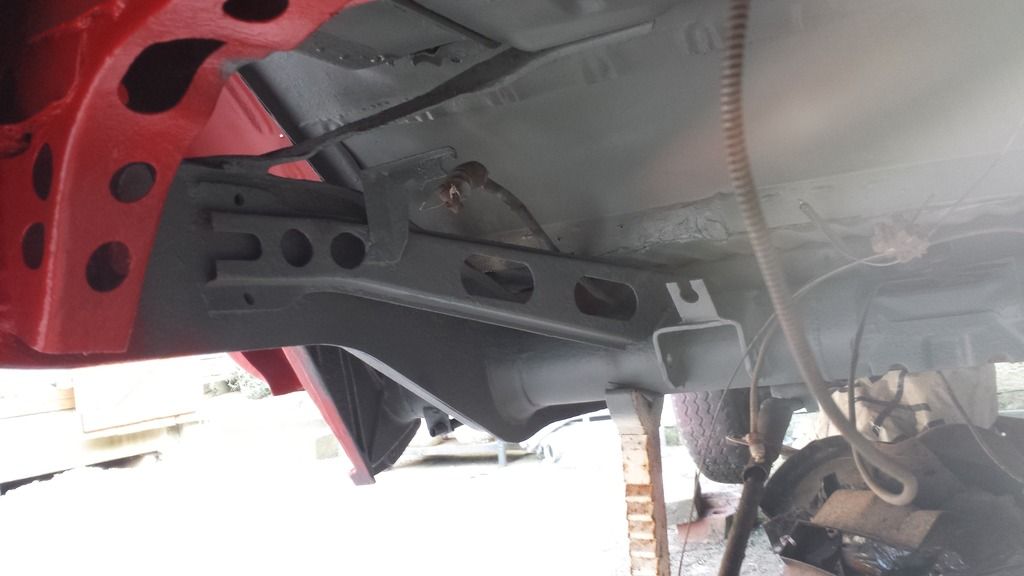
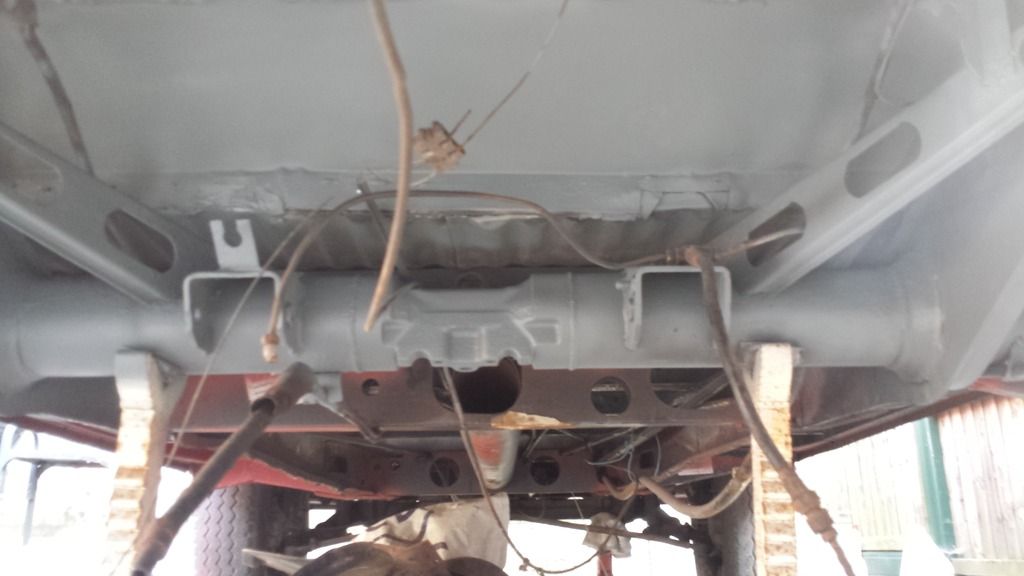
Think the weather over the next few days is scheduled to be a bit pants so will see when I can get back under and start rerouting the cables etc (plus notice a few
little areas that need the magic touch of the welder stick
All underseal removed from underneath the area where the rear beam is.
Gave it a tickle with the rust convertor then after a few hours went over it all with some zinc primer.
Getting there
Think the weather over the next few days is scheduled to be a bit pants so will see when I can get back under and start rerouting the cables etc (plus notice a few
little areas that need the magic touch of the welder stick
23.07.2016
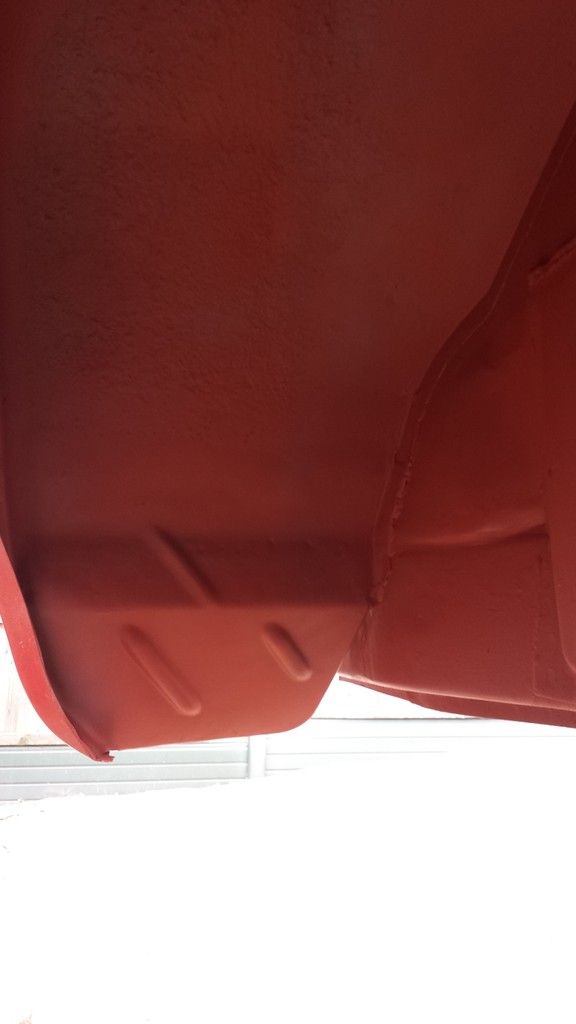
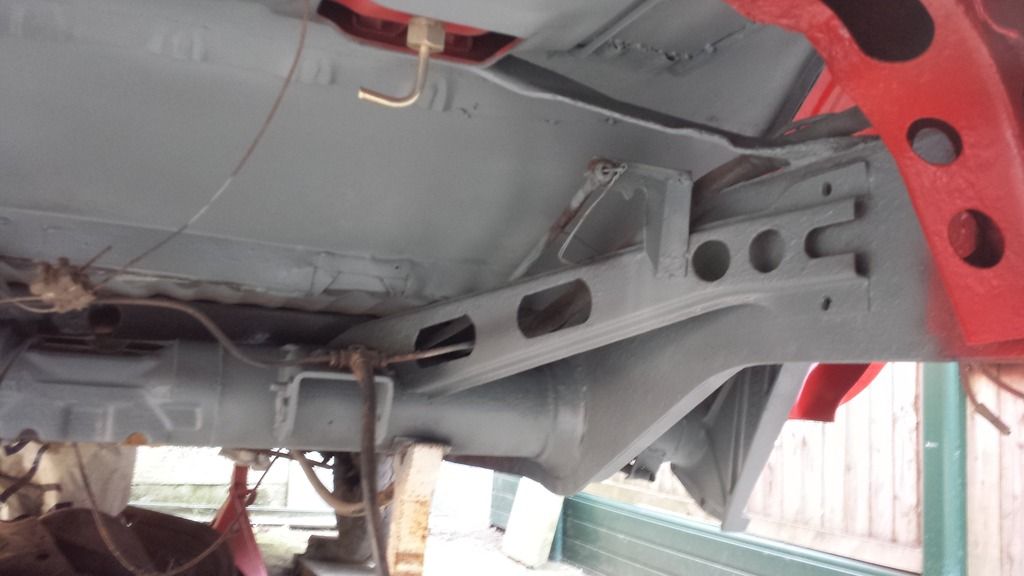
A couple of hours stollen this afternoon to add some metal to the underside as it looks to have been cut when the replacement panel was put in by the PO
(replacement rear bulkhead I think you may call it...)
After I had welded a piece in, skim of filler and primer added:
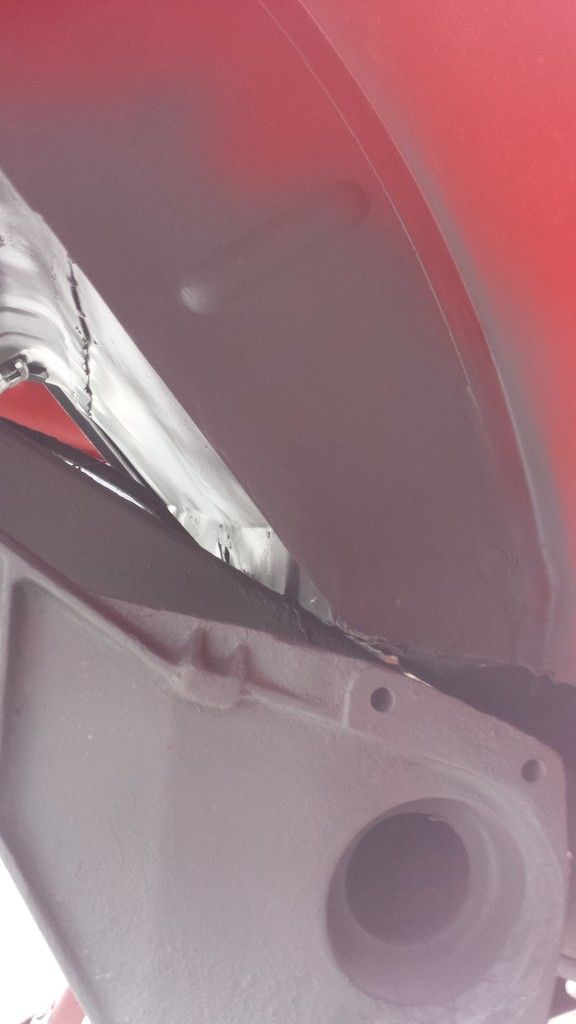
In this pic you can just make out where it had been cut!!

That's all for now.
A couple of hours stollen this afternoon to add some metal to the underside as it looks to have been cut when the replacement panel was put in by the PO
(replacement rear bulkhead I think you may call it...)
After I had welded a piece in, skim of filler and primer added:
In this pic you can just make out where it had been cut!!
That's all for now.
Myvanway
Well-known member
Doing a grand job there. 8)
26.08.2016
My camera phone is on the blink so apologies for the quality of the pics
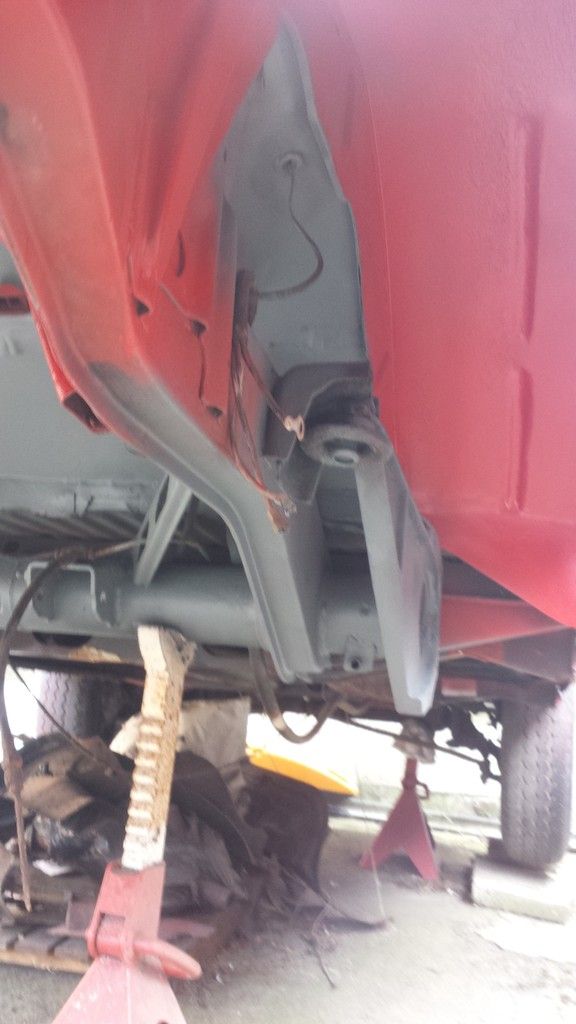
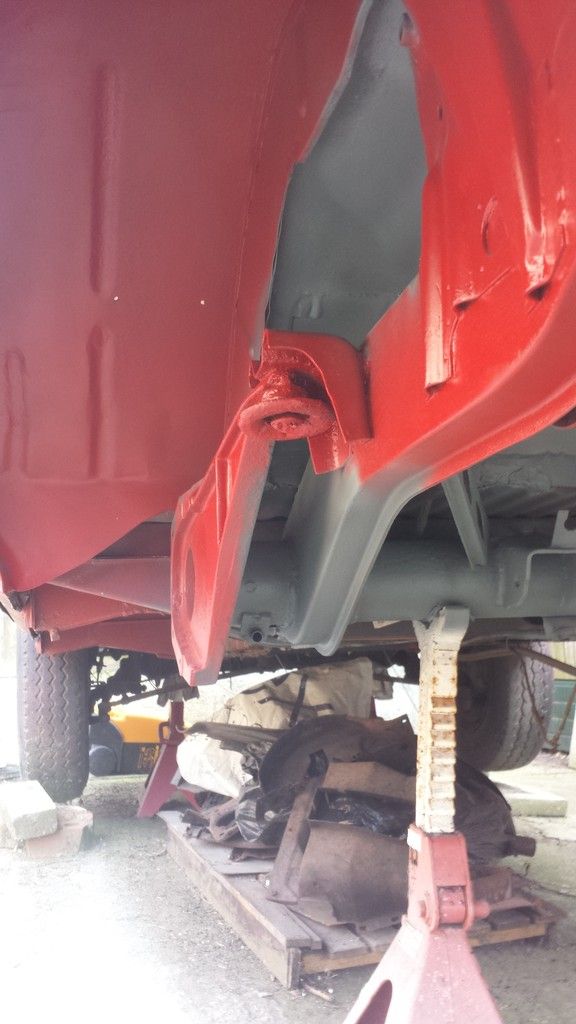
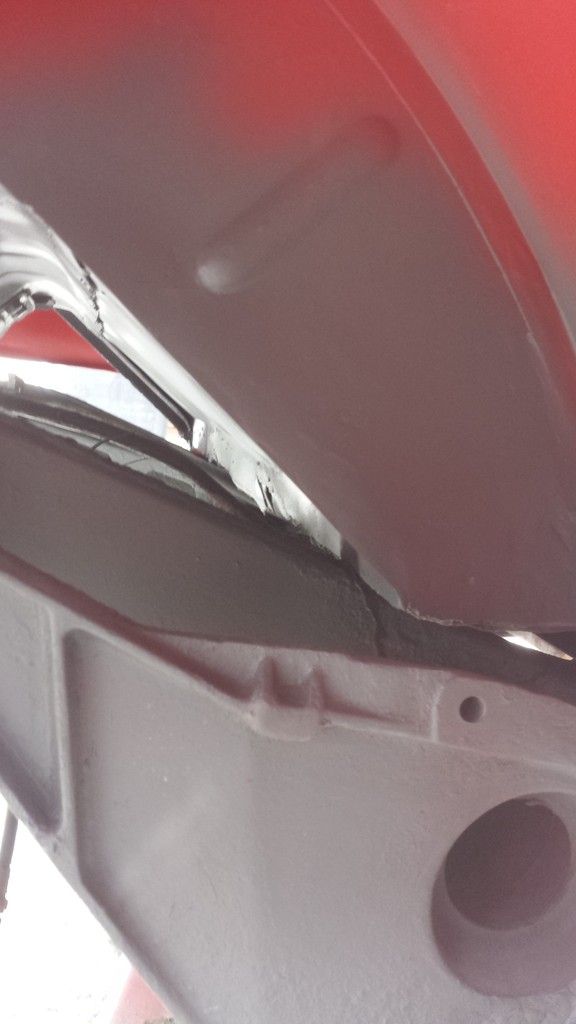
Decided to attack the hump on the passenger side as it had been plated over and apart from looking naff, was also starting to fail.
From inside the arch:
My camera phone is on the blink so apologies for the quality of the pics
Decided to attack the hump on the passenger side as it had been plated over and apart from looking naff, was also starting to fail.
From inside the arch:
Similar threads
Vehicle For Sale
1969 T2 Early Bay RHD Dormobile Camper in Velvet Green
- Replies
- 5
- Views
- 3K
Vehicle For Sale
Very rare Oslo edition SO69-01 1969 Early Baywindow £12K Ono
- Replies
- 0
- Views
- 1K
- Locked
- Replies
- 6
- Views
- 2K