pinheaduk
Well-known member
nice flooring, looks sweet ")
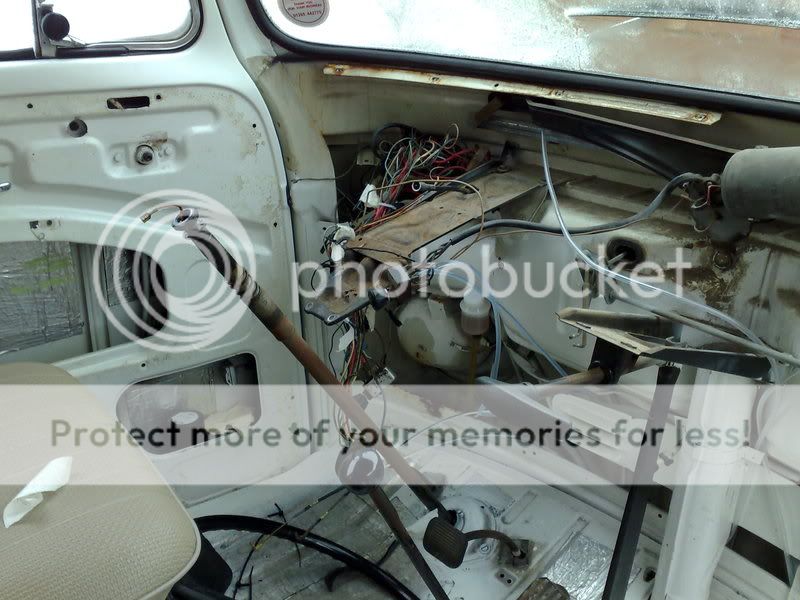


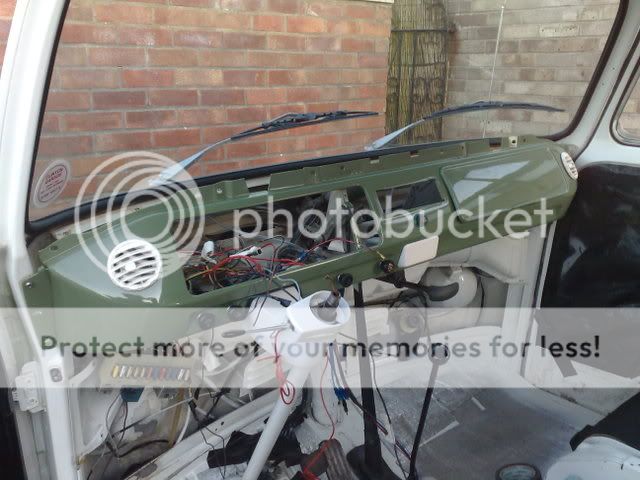
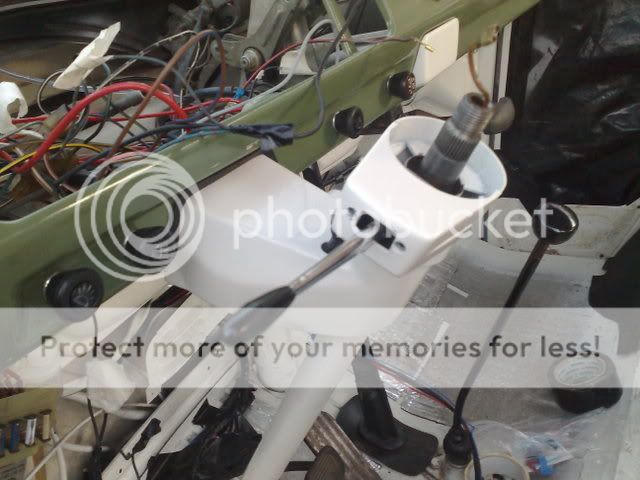
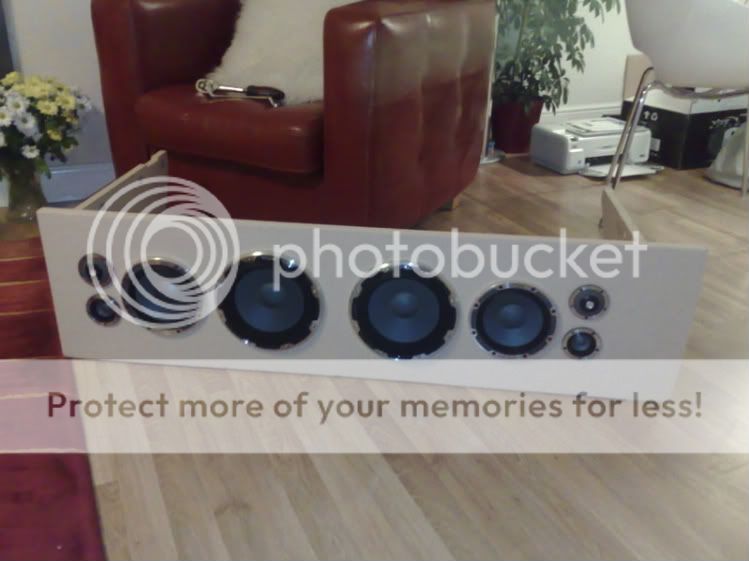
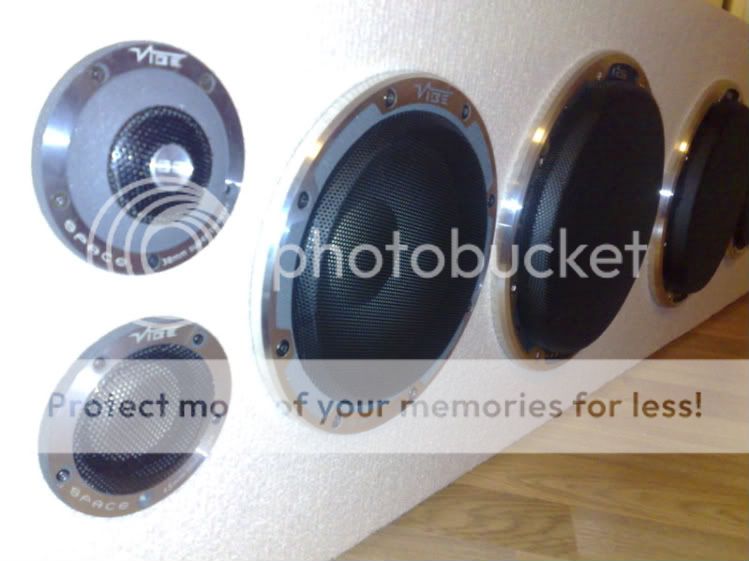
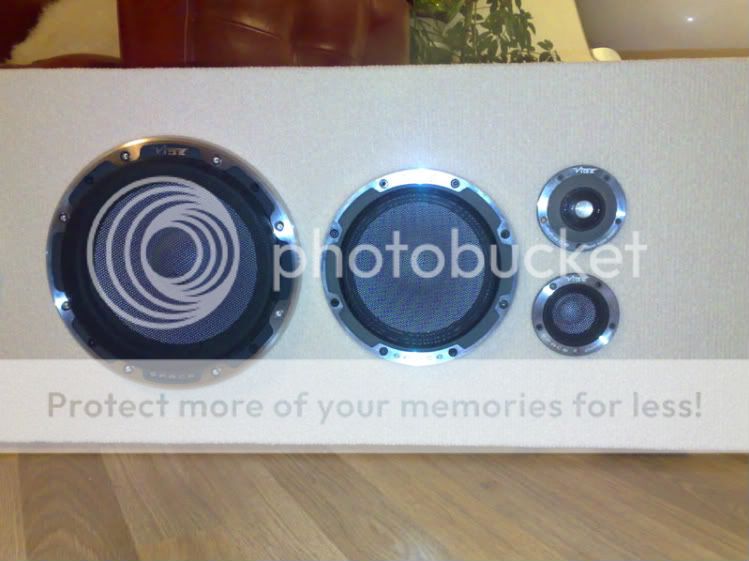
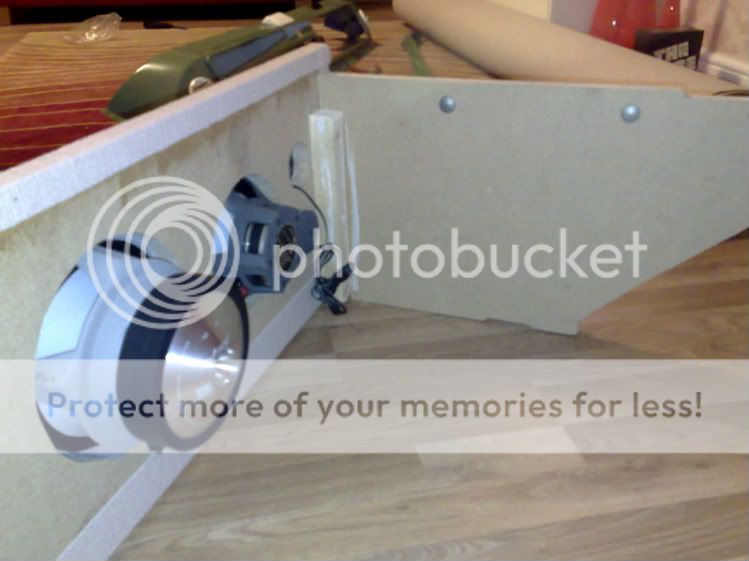
PinkPanther said:Just out of curiosity what is the silver gear on the floor etc :shock: :roll:
Dirty Harry said:What's your tyre size, no rubbing on the front?
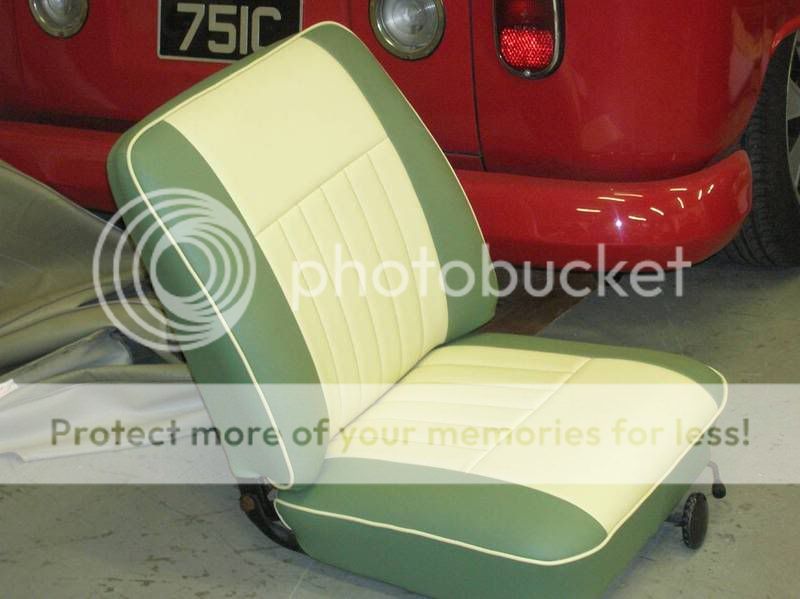
Very nice van 8)
Cant remember sorry, my heads like a sieve! but no i dont get any rubbing :lol: 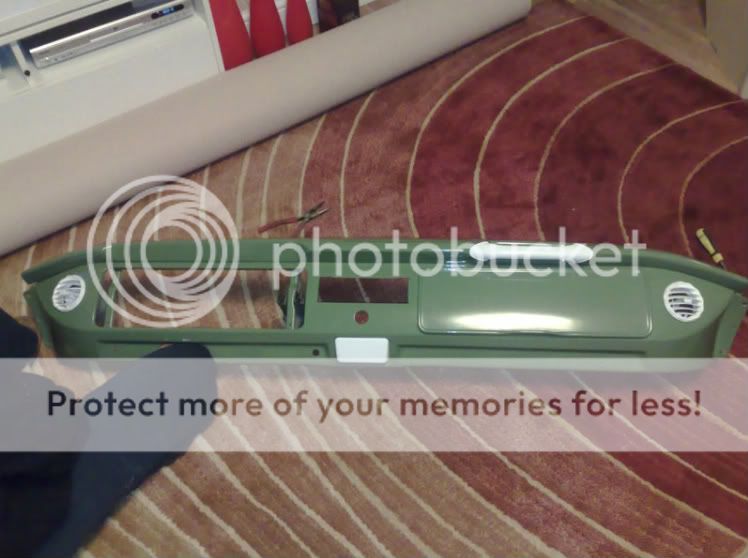
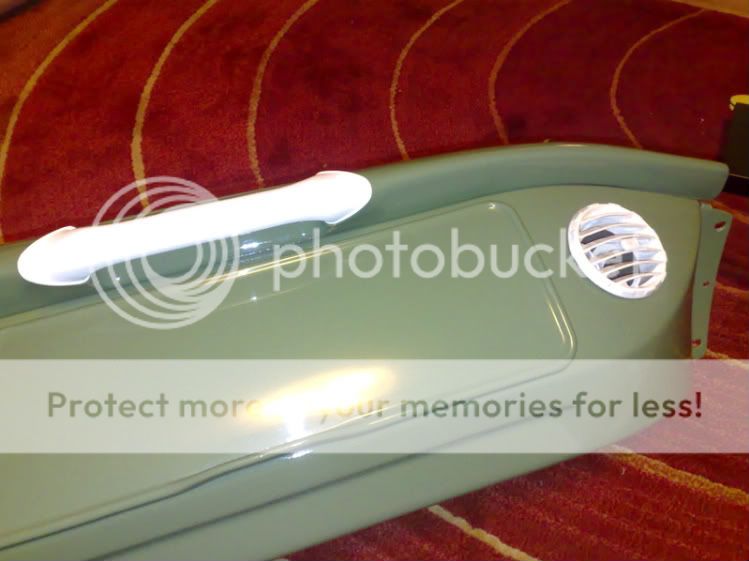
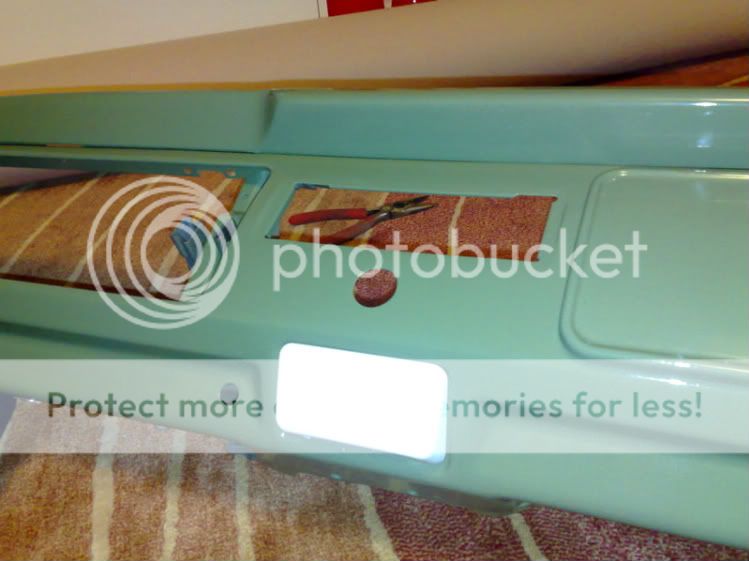


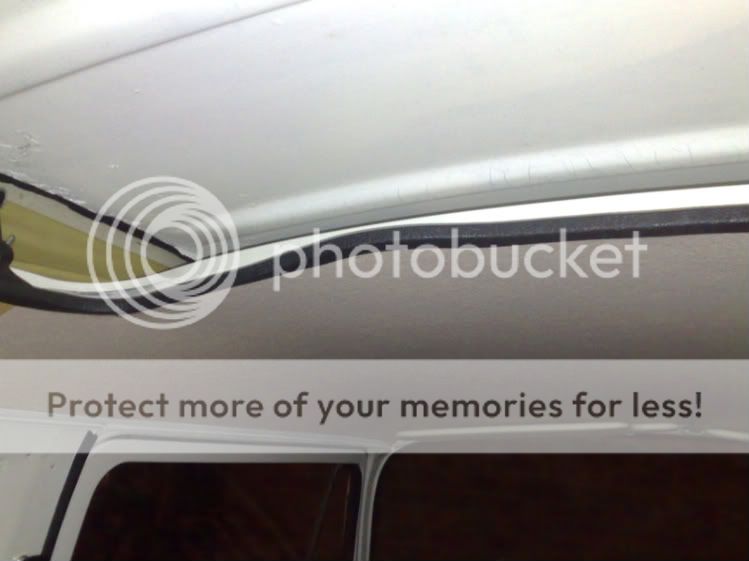

ground hugger said:That headlining looks very nice,what did you use around the edges if you don't mind me asking
cheers....Dave