The Buss-E '71

Early Bay Forum

Help Support Early Bay Forum:

This site may earn a commission from merchant affiliate links, including eBay, Amazon, and others.
68_early_bay said:
Wow :shock: cracking bus and a cracking job on the dash and wiring loom 8) happy days :mrgreen:

Cheers, nearly there :D


squirt72 said:
some amazing work done there, very 8)

Very much a labor of love ;)


mozzie said:
Absolute quality mate I bet your well stoked :D
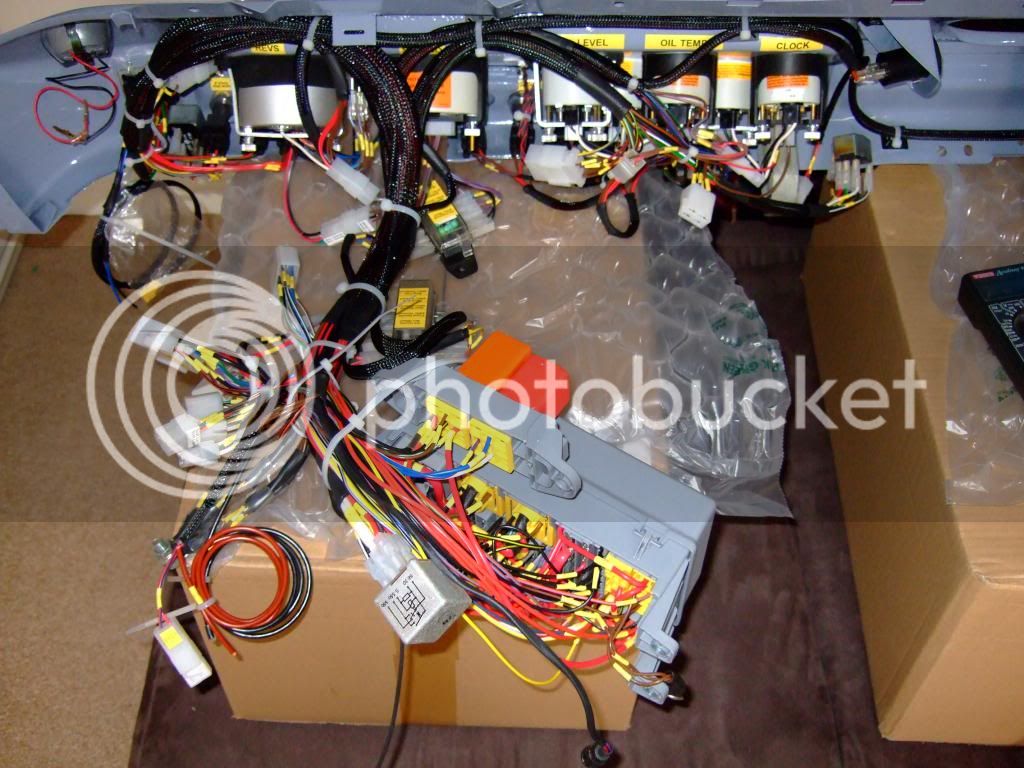
Yep, pretty chuffed, a lot of time and effort gone into this... and counting. It had better work :lol:
 
I'm going to try and win the title of 'Most Boring Thread' by posting yet more pictures of cable :roll:

This is the last couple of days work
DSCF7393.jpg

DSCF7397.jpg

DSCF7398.jpg


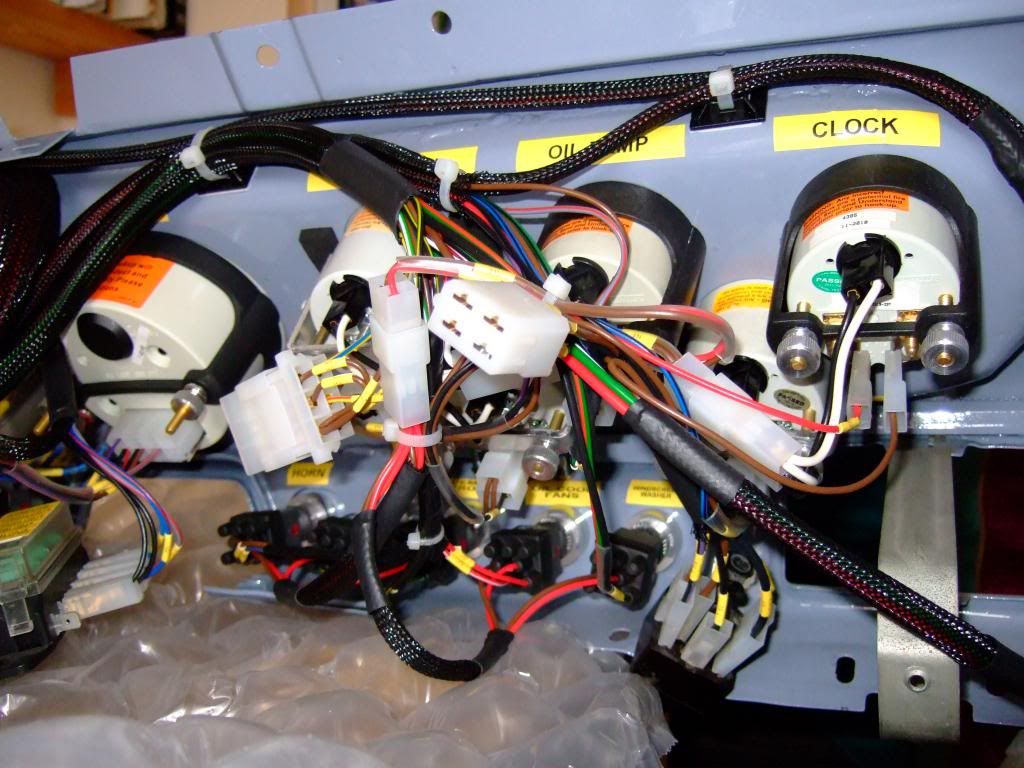
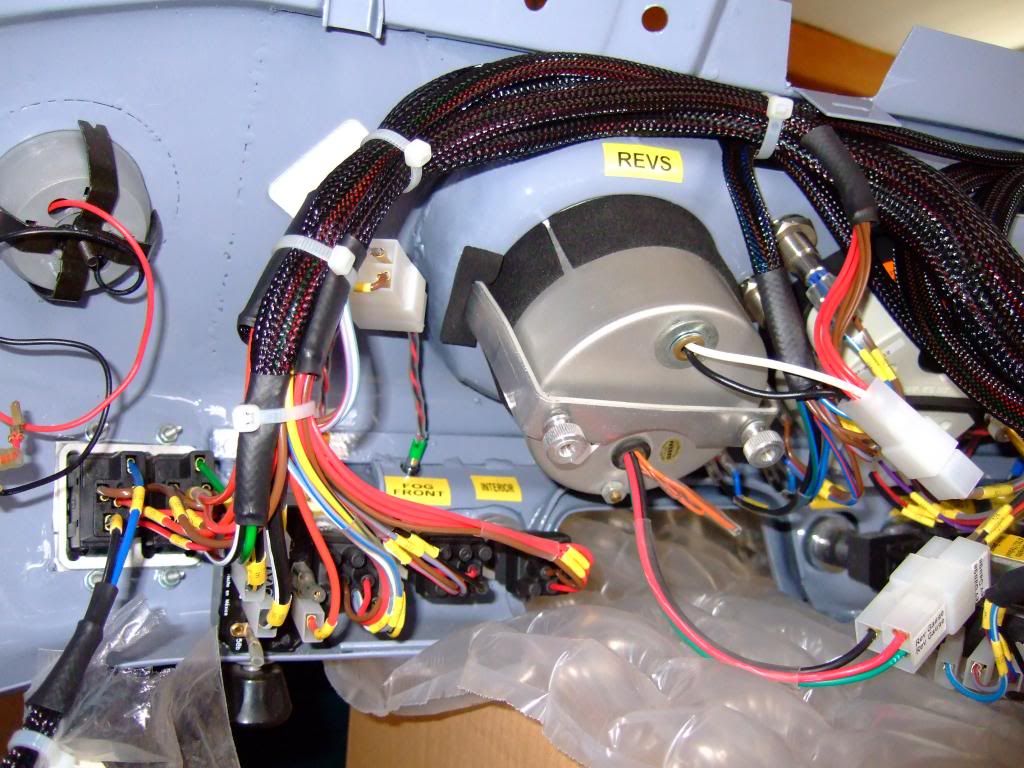
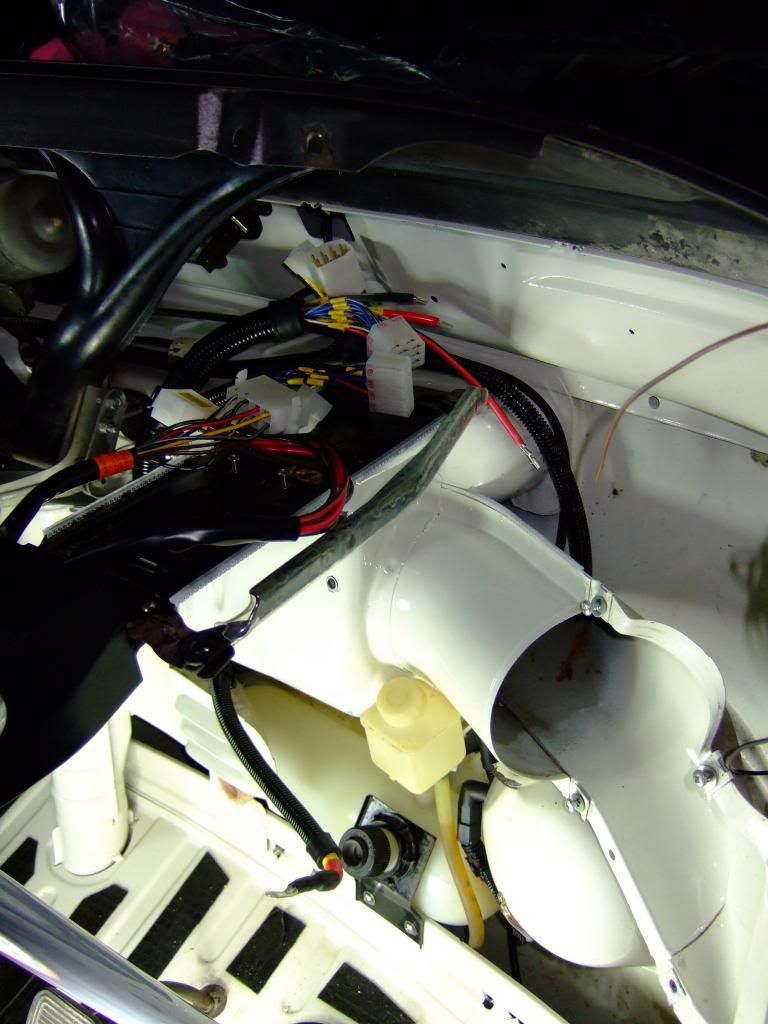
The main loom is now fully installed and terminated.
DSCF7406.jpg


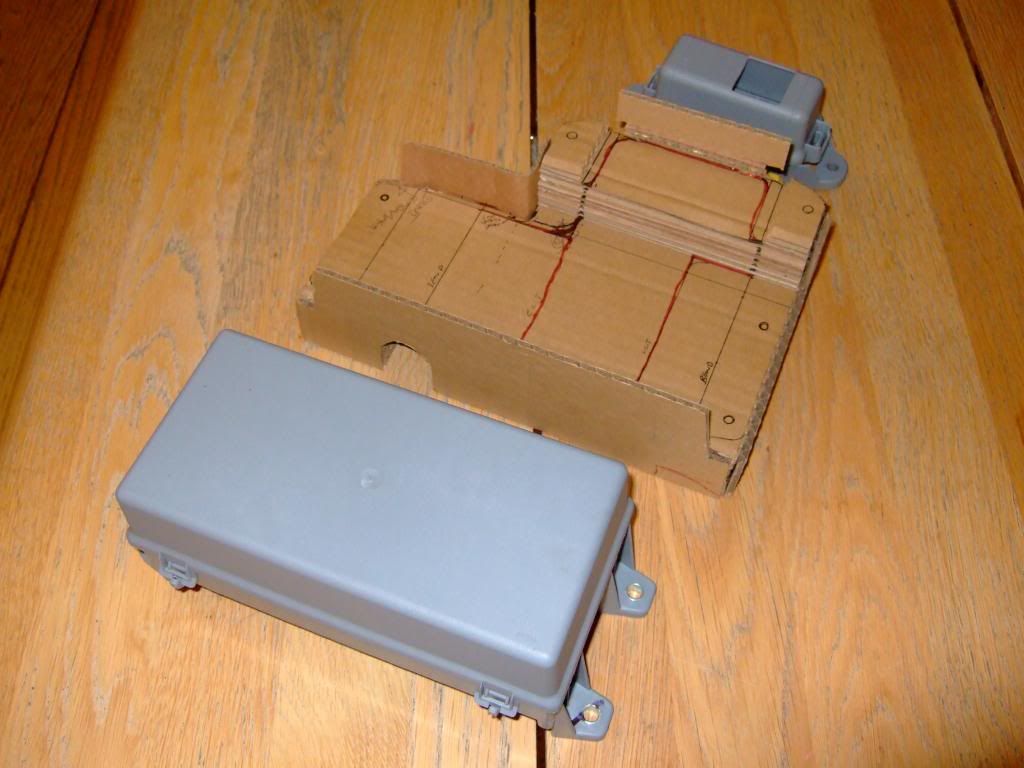
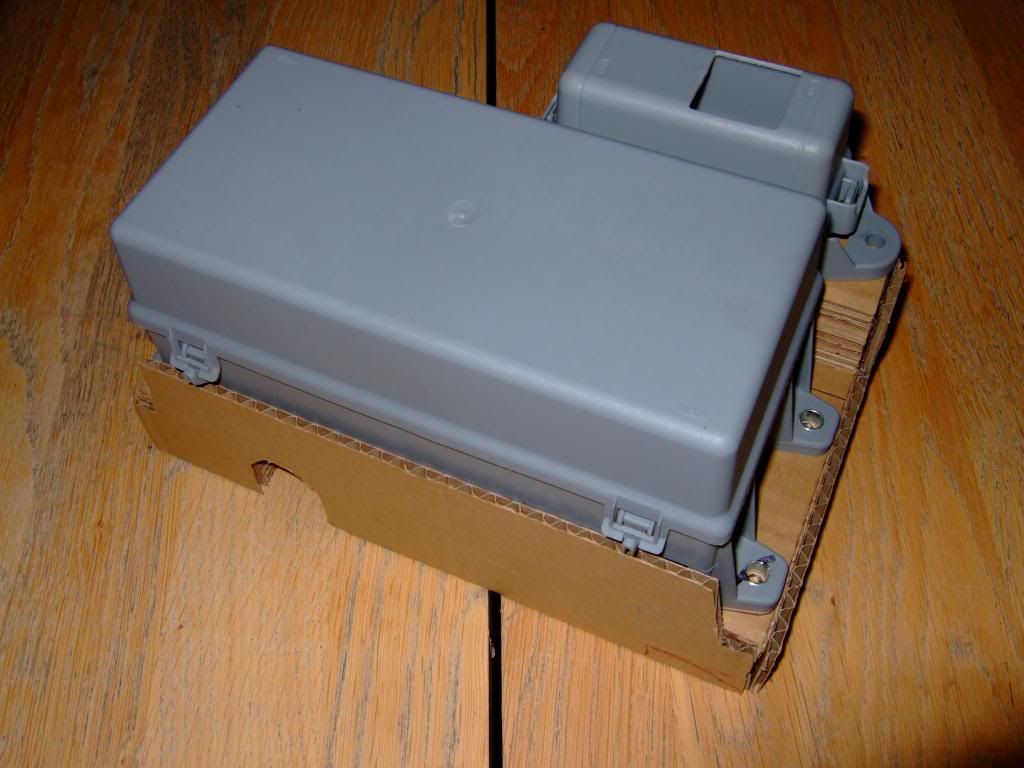
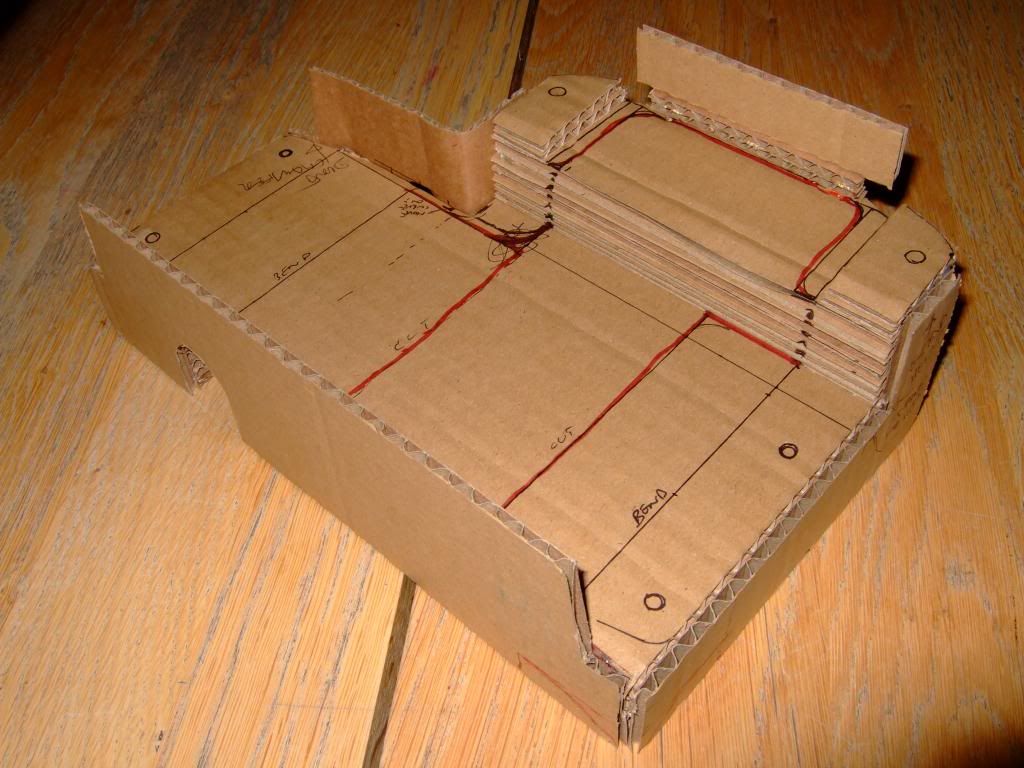
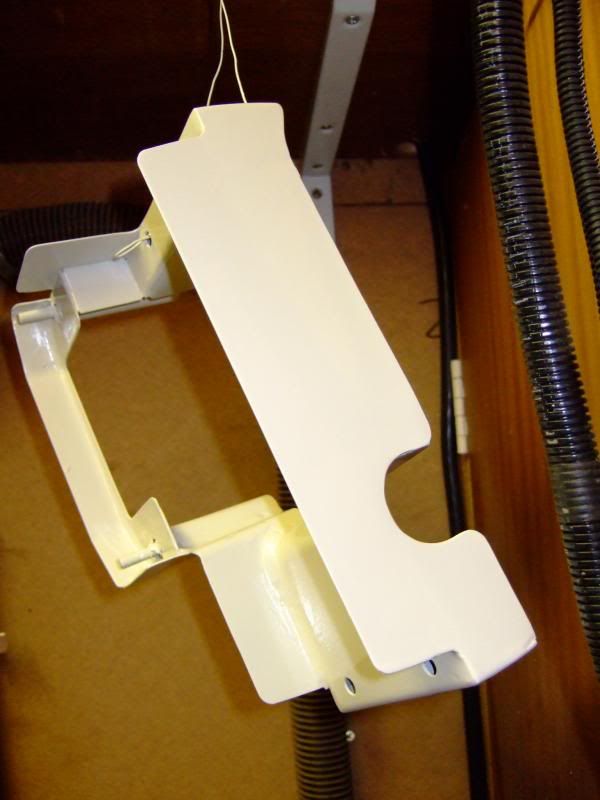
Annoyingly, because of the way I've routed the main loom I've got make a frame for the front fuse box as I'm not mounting it in the original position. It's too big and I wanted it to be more accessible.

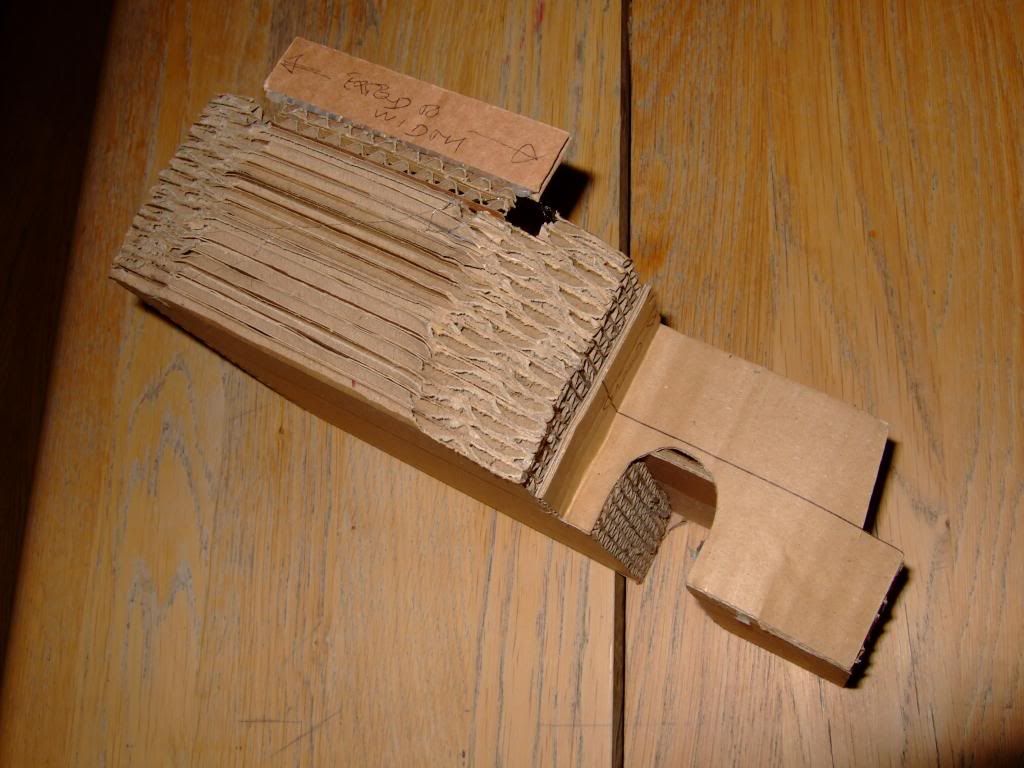
So I started with a cardboard mock up, its made by layering sections and glueing with a hot melt glue gun.
DSCF7414.jpg

DSCF7409.jpg

Trial fit, I did this in the bus as well
DSCF7412.jpg

DSCF7413.jpg


I've made a few notes and now I've got to transfer this to computer to do a real size print out. I can then spray mount this to a metal sheet, cut it out and then weld it together.

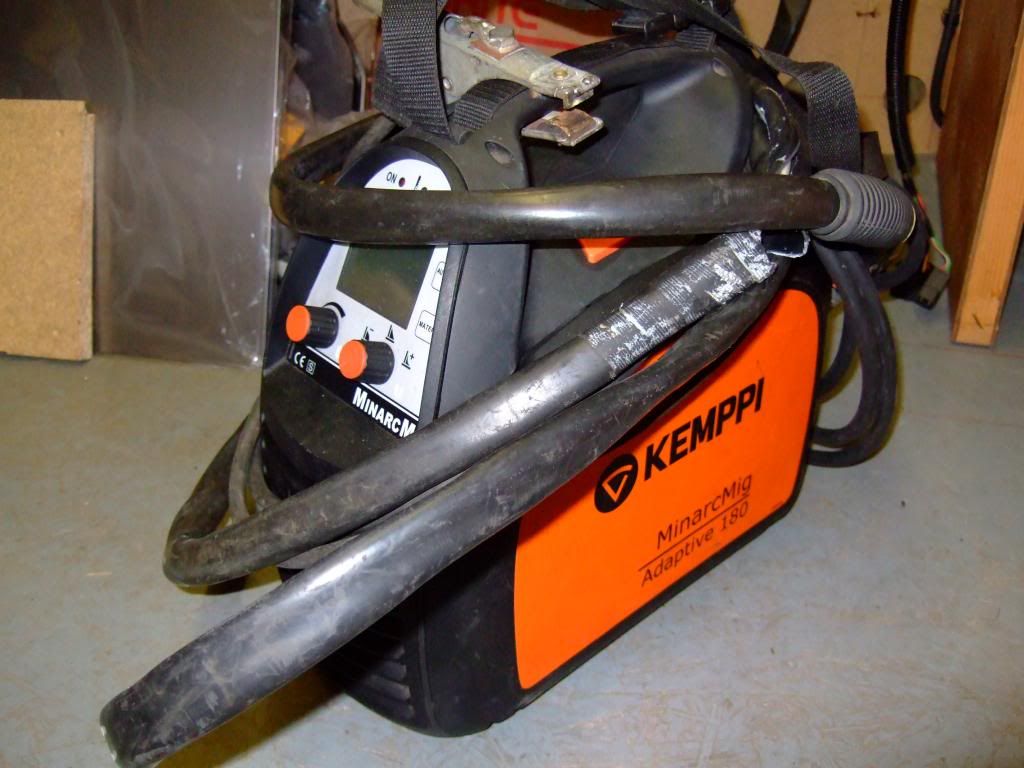
Until recently I didn't know how to weld, but I invested in doing a course and really enjoyed it. This is what turned up today, my latest ebay purchase. :D :D
DSCF7408.jpg

I'm very excited and looking forward to practising, it needs a bit of love as the cable feed tube is damaged but nothing serious. I've also got to get gas, a mask and a bunch of other stuff, exciting times.
 
Im sure you will get it to work mate :D you have a lot more patience than most with all of that wiring etc
 
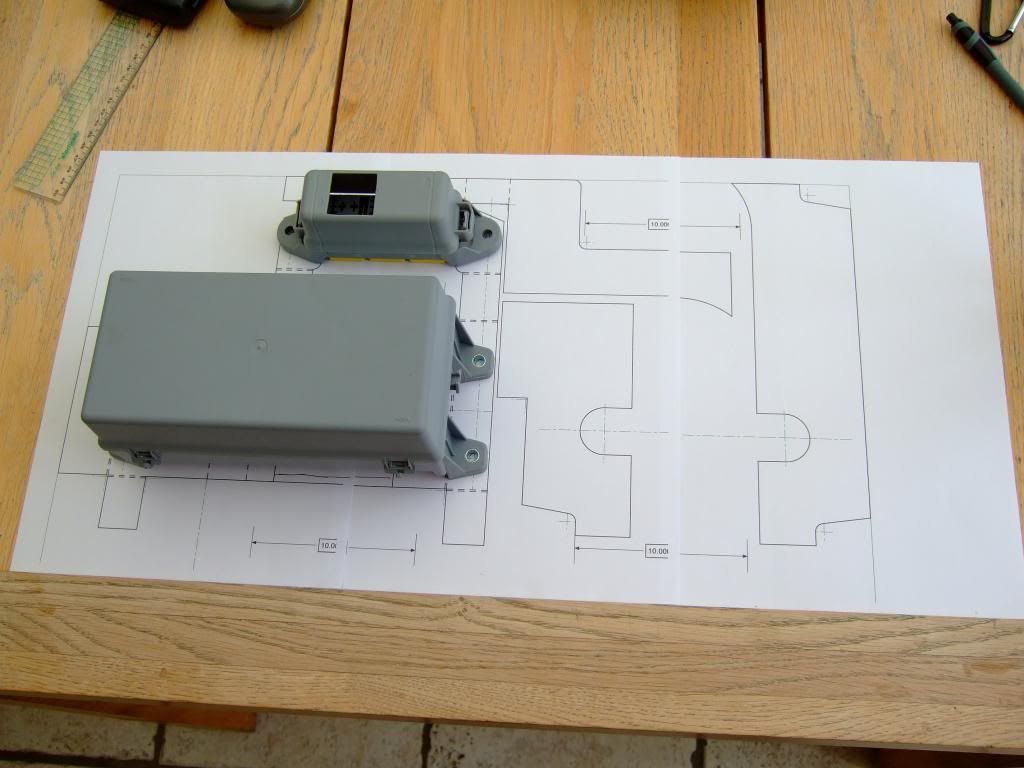
Stayed up 'till 3 this morning designing the fuse box mount panel. This is it printed out.
DSCF7418.jpg

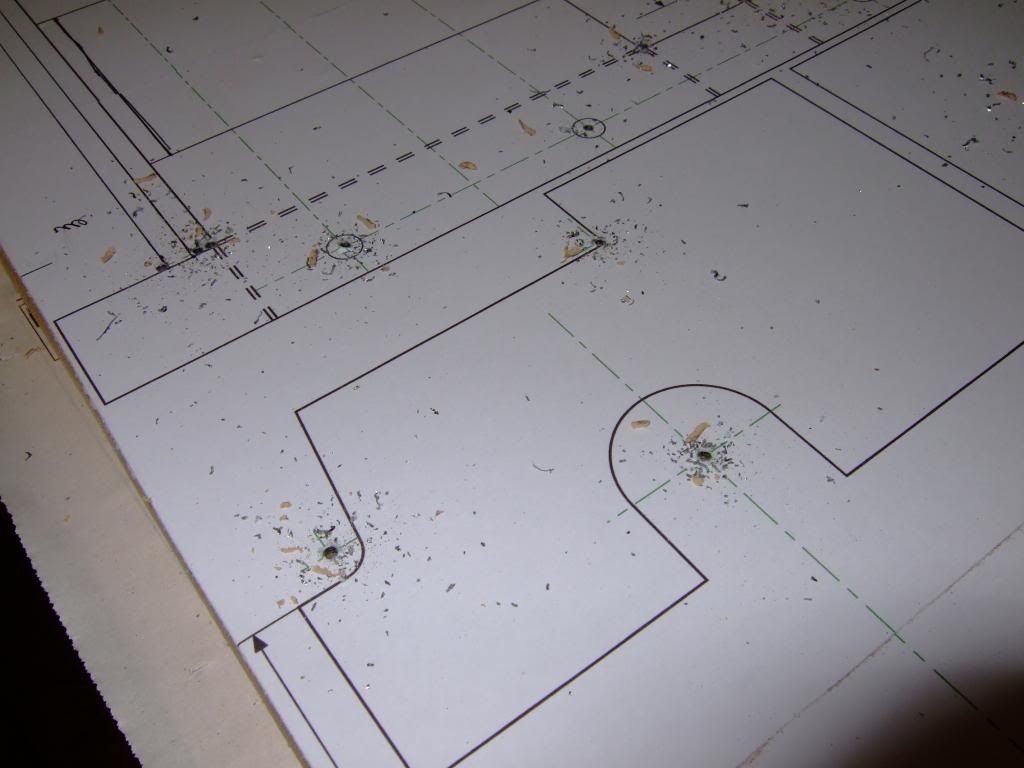
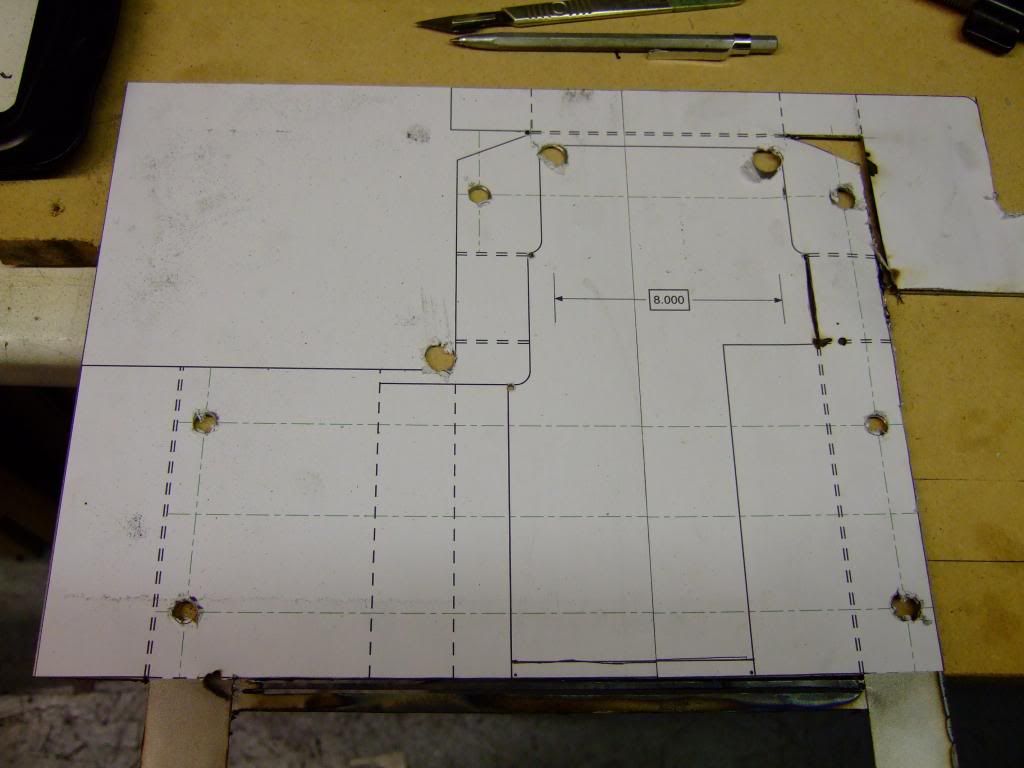
I placed the fuse box and relay holder on the plan to check everything lined up and make sure I hadn't made any mistakes. Doesn't look like I had any so I spray mounted the plans to metal sheet. I'd marked out on the plan where all the centres of drill holes had to be, centre punched and drilled.
DSCF7419.jpg

Once done, the long process of cutting out the sheet can begin, what I'd give for a laser cutter.
DSCF7420.jpg
 
cunning plan said:
:party0021:

Late night for you! :shock:
Oh yes, but it will be worth it

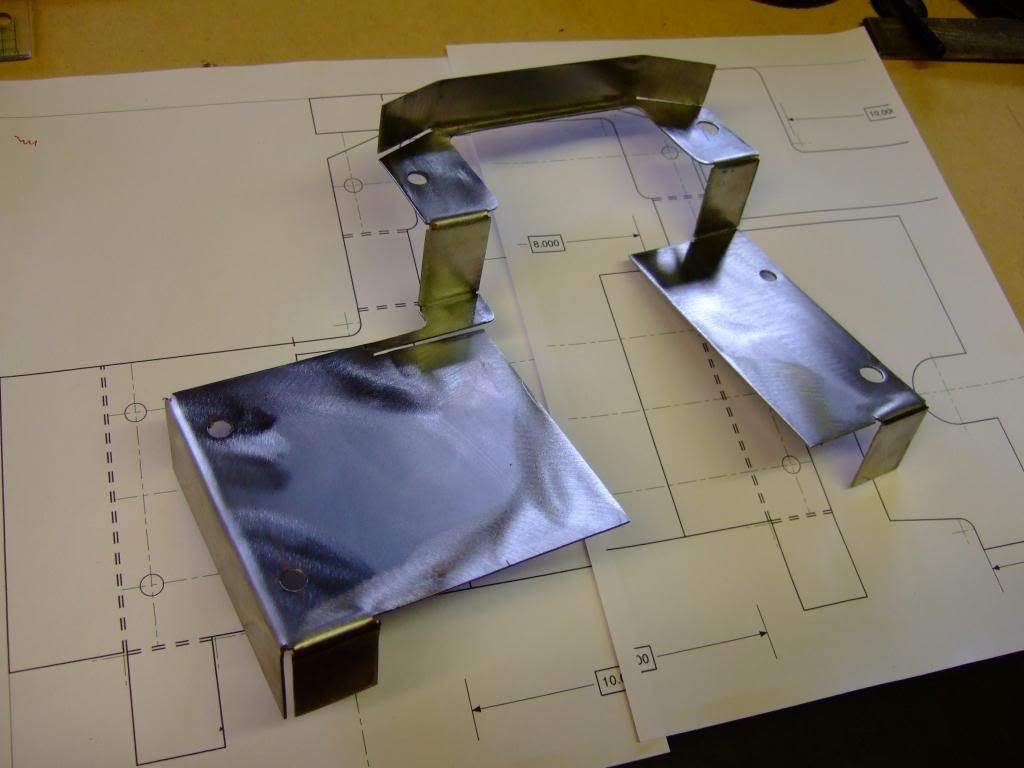
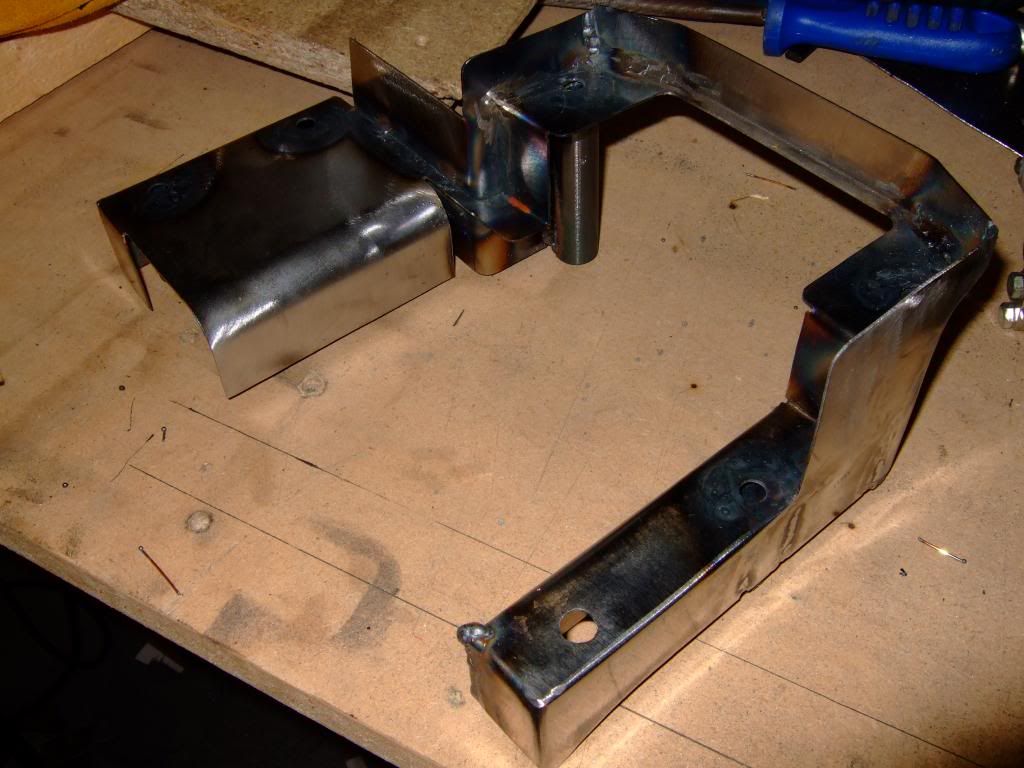
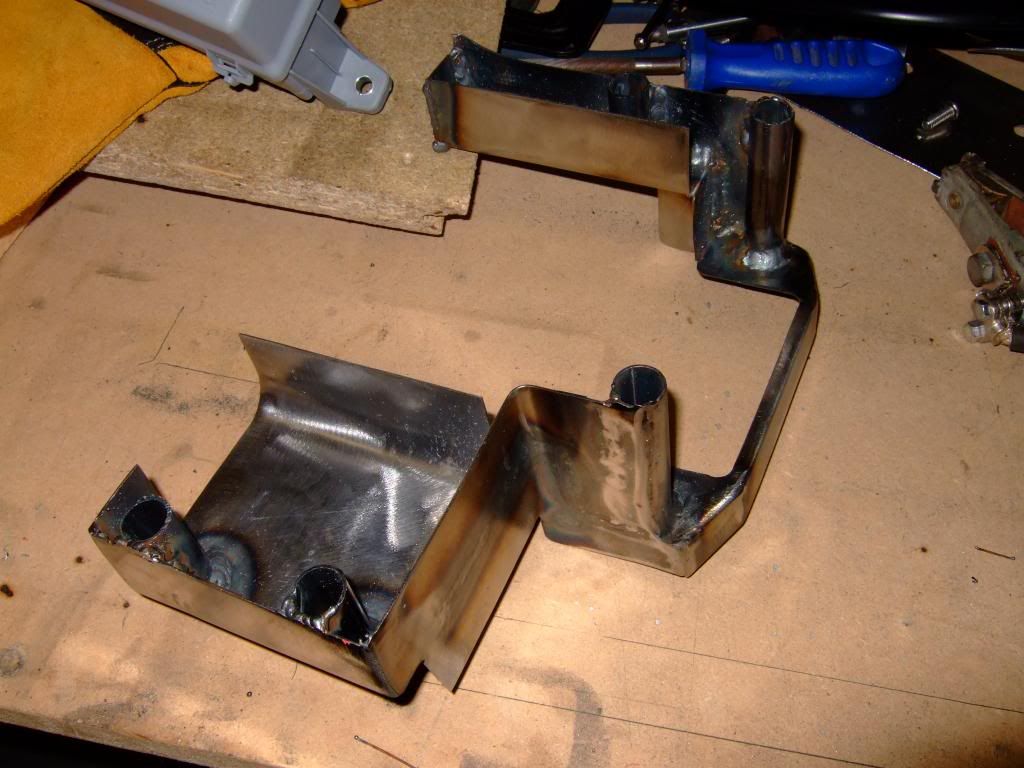
This is today's efforts, the most over engineered fuse box frame, ever. Once cut out I then set about making as many bends as I could.
DSCF7422.jpg


Then after a bit of practise (because I'm still very new to the art of welding) I tentatively made my first few welds. It's not perfect, but...
DSCF7427.jpg


once I got on a roll it came together. Like I said it's not pretty underneath with some really crap welding in places (strategically taken picture) and good in others.
DSCF7428.jpg

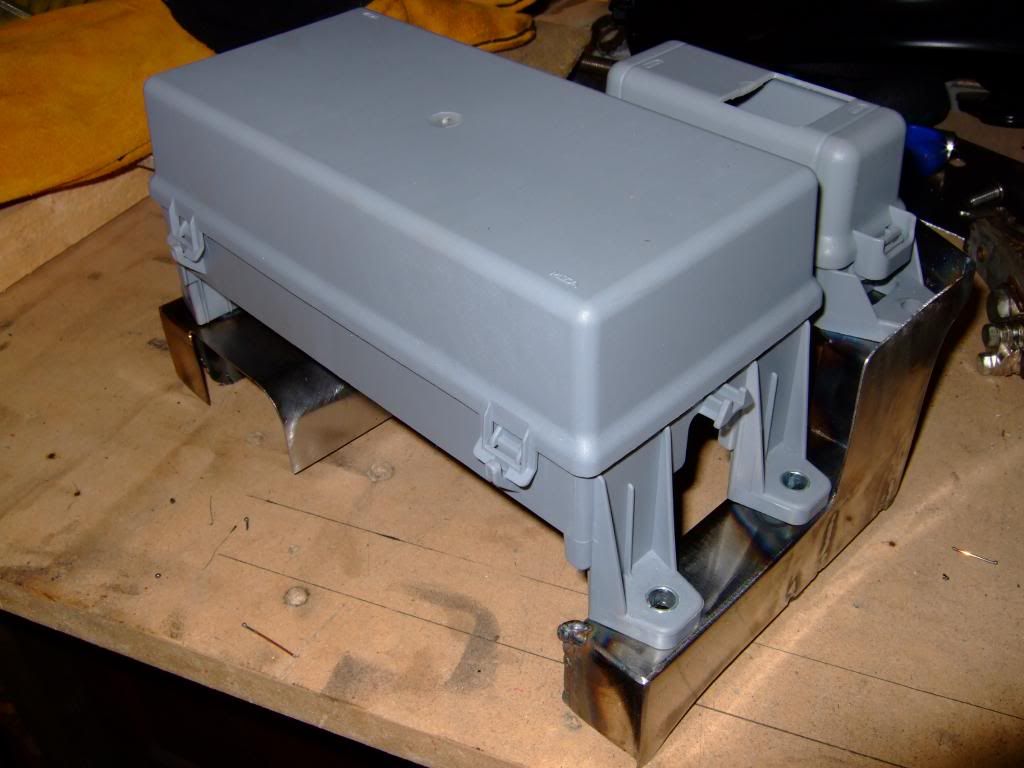
Obviously some tidying to do still. I trial fitted the boxes to make sure everything still fits.
DSCF7430.jpg


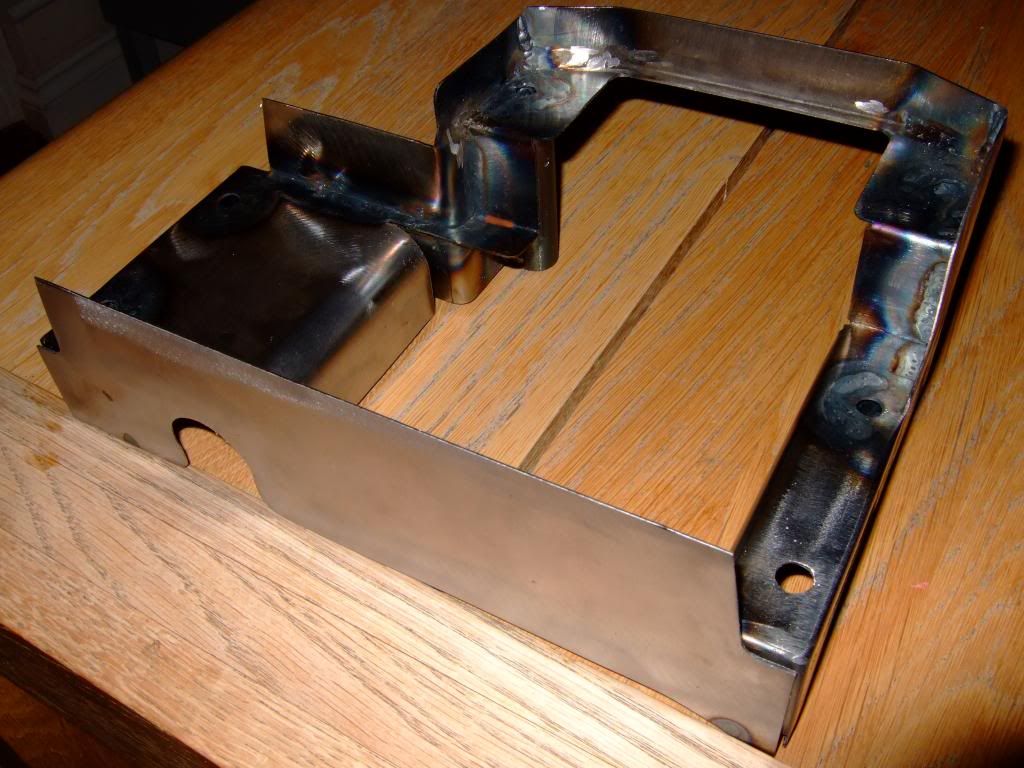
The frame still needs a front welded to it. This one is tacked on.
DSCF7431.jpg

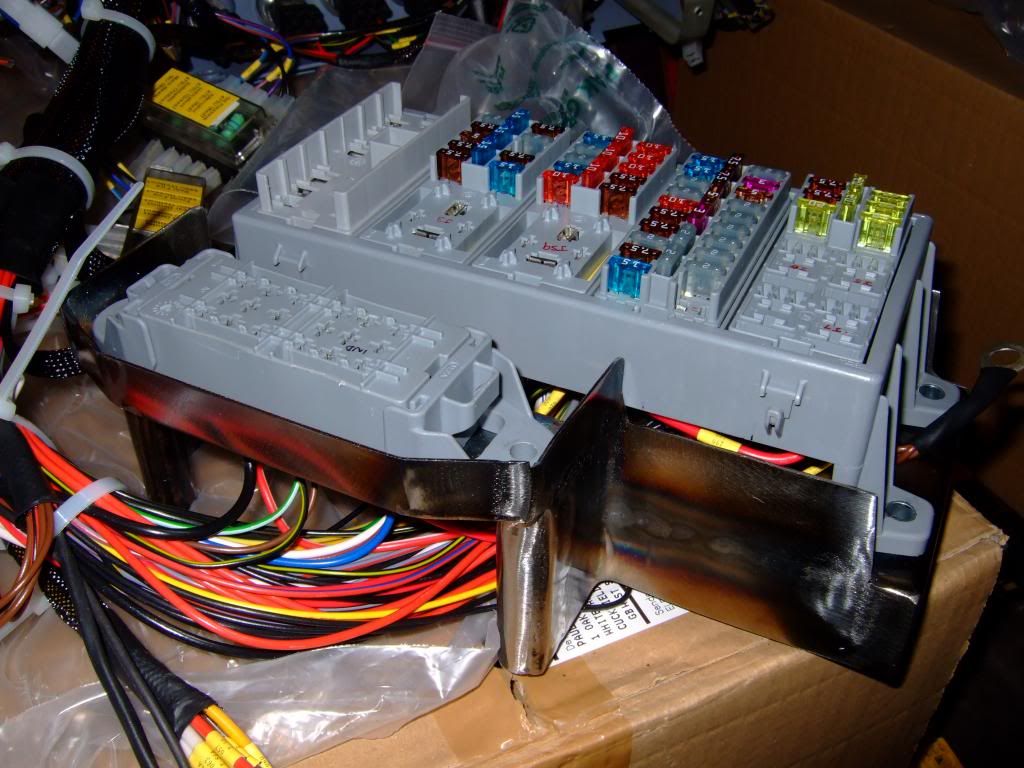
The one I made was going to be removable but I did a trial fit with the dash loom. After this fitting I realised that the frame front does not need to be removable. Everything will go through the aperture of the frame which means that it will be stronger once permanently fitted. Again a bit more modification from the plan but it will look good when done. 8) I'm knackered!
 
Wow, what a weekend. Been very busy and it's brought some major rewards. First, painted the front fuse box mount frame in body colour. I got a paint match at Halfords in the exact colour I wanted, I didn't know that they can provide any paint with a code and stick it in an aerosol can for you. Not cheep though at £16 a can.

DSCF7437.jpg


The major event of the weekend was installing this

DSCF7443.jpg


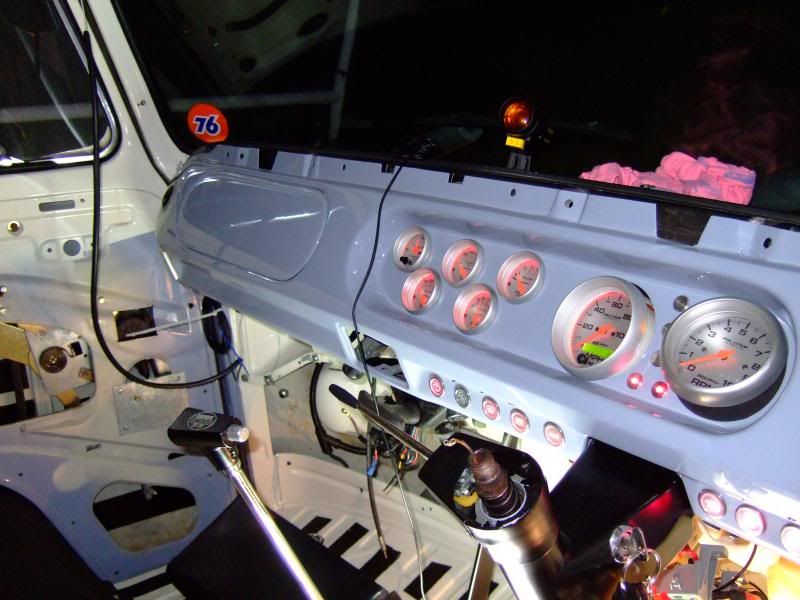
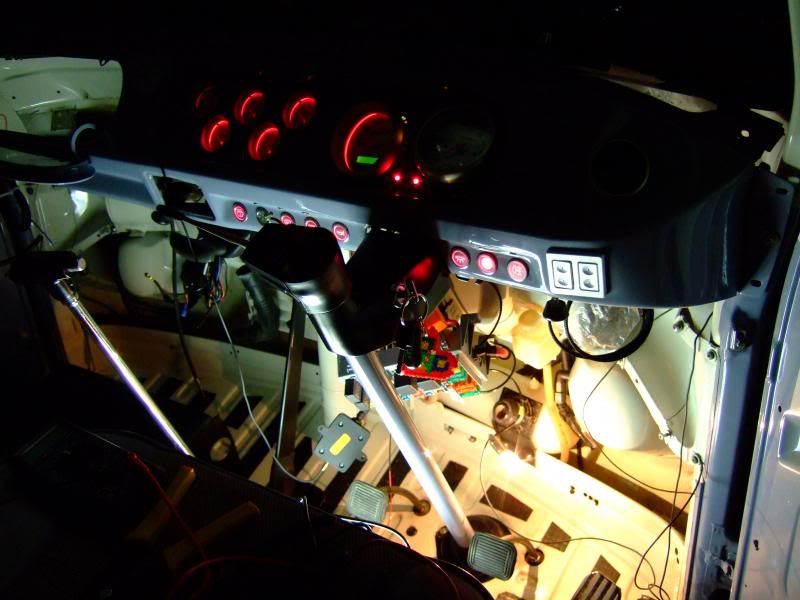
After 21 months of my bus not running I have finally got it going. I havn't checked all the wiring yet but I'm 80% through it and so far very single thing has worked :D :D :D :D . I'm so chuffed it really has been a lot of work and this is a mile stone. I've got to connect up the electric window winders in both doors, build the interior lighting loom (which is pretty easy) and check a few camping items (sockets, water pump etc). Here's another shot.

DSCF7442.jpg


As you can see it's very roughly installed (currently only two bolts hold it in). I didn't want to do a proper install until I knew everything was working. It hasn't all gone smoothly though, I got well foxed on one circuit (Oil cooler fans) which are manually operated. They run via a switch which operates a relay. I kept blowing fuses on the low power side of the circuit, I checked everything and could not suss the problem. It turned out to be the relay, it was new but faulty, I guess you win some and you loose some, right?

Pretty soon I'll have everything working and I can pick up where I left off 21 months ago and install the sounds 8) Only one problem now is my work schedule, it's nuts until the end of June/ July. Don't get me wrong, I'm not complaining, just means I won't get much time to work on the bus, back to slow progress. Would love to get rid of that SORN :D
 
Wow, your really a wizzard with electrics :D
As far as my knowledge goes, is changing a lightbulb :oops:
 
stuif said:
Wow, your really a wizzard with electrics :D
As far as my knowledge goes, is changing a lightbulb :oops:

I know it looks complicated but really it's just a collection of very simple circuits. When you break each one down they are all basically, power, switch, device and then an earth return.

The best way to look at it is in layers.


mattyd72 said:
******' awesome.

Wanna do my wiring :mrgreen:

Dude you'd hate me if I did your bus, I take too long to do anything. It's taken me nearly 2 years to do my own bus! :lol:
 
Buss69 said:
stuif said:
Wow, your really a wizzard with electrics :D
As far as my knowledge goes, is changing a lightbulb :oops:

I know it looks complicated but really it's just a collection of very simple circuits. When you break each one down they are all basically, power, switch, device and then an earth return.

The best way to look at it is in layers.


mattyd72 said:
******' awesome.

Wanna do my wiring :mrgreen:

Dude you'd hate me if I did your bus, I take too long to do anything. It's taken me nearly 2 years to do my own bus! :lol:

I can beat that, the one that needs the wiring hasn't moved since 2009.... :lol:
 
Not only a wiring god but very nice fabrication work dude 8)

Will keep an eye on this one :mrgreen:
 
mattyd72 said:
I can beat that, the one that needs the wiring hasn't moved since 2009.... :lol:

Dude that's 2 years to do the wiring :shock: so far it's taken me 11 years to get this far. At the rate I'm going I reckon I'll need another re spray before I'm done :lol: when I first started this bus someone said to me "Don't rush it!", I don't think they meant this long! :?
 
Very impressed buddy, please keep it up, you are giving me the motivation to keep working hard on my bus :party0047:

:party0021:
 
Sometimes it feels like you make no progress. I started Monday with a couple of minor problems to sort out. The day before I installed my newly painted fuse box frame and noticed after fitting that the right front fog no longer worked. Weird, it worked last week. I then spent the next 3 hrs trying to sort out why it had stopped working. I had complete continuity throughout the whole circuit (or so I thought) and then went and checked each cable end to end to work out where the problem lay. In the end it was a bad earth in the frame of the fog light. The frame IS the earth but does not work unless its tightened up :| .
I'd loosened the fog last week when adjusting it and forgotten to tighten, doh.

Then had to rush to get the next stage done, thankfully that all worked out first time. I now have working electric windows in my bus. Not to everyone's taste but works for me. :D
 

Latest posts

Top