The Buss-E '71

Early Bay Forum

Help Support Early Bay Forum:

This site may earn a commission from merchant affiliate links, including eBay, Amazon, and others.
cunning plan said:
Very nice dude. :party0021:

After I have done the headlining on my bus and fitted the windows I will be getting on with the wiring loom. I hope it turns out half as tidy as yours! :D

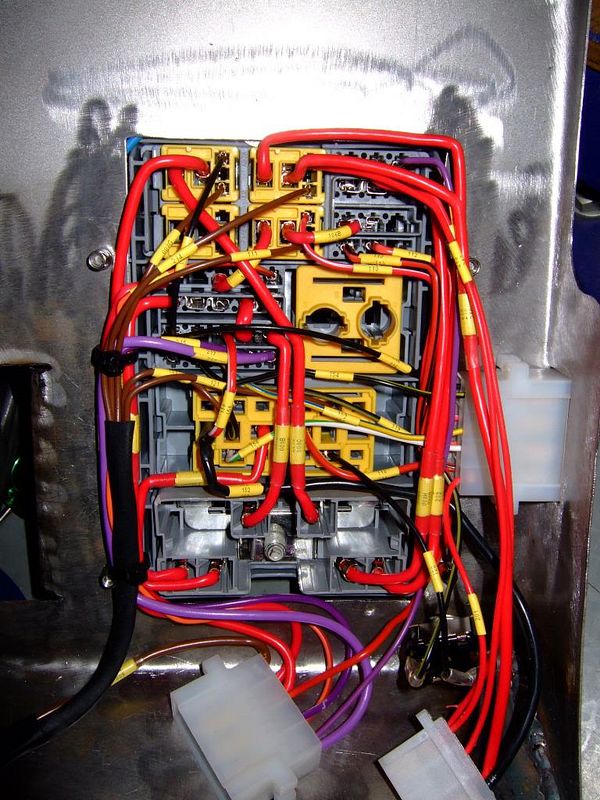
Thanks bud. I haven't forgotten I said I'd help you out when it comes to doing yours. Just a thought though, if you're going to do your headlining you might want to replace your internal lighting loom BEFORE you do. It's not complicated but it is a bit fiddly, next to impossible with a headliner in place. I'm replacing mine (of course!) and given that most new LED lighting is fairly low power you will not need to use heavier cable than VW originally used.
 
It's a good point chap, I am laying down some protection paint, then I will run fresh wires for the lights before sound proofing and installing the headlining. :)

What LED lights did you use? You haven't mentioned them on this thread have you? :poke:
 
cunning plan said:
It's a good point chap, I am laying down some protection paint, then I will run fresh wires for the lights before sound proofing and installing the headlining. :)

What LED lights did you use? You haven't mentioned them on this thread have you? :poke:

I haven't used any lights yet but I think I'll use some LED festoon replacements and then an LED or Low power florescent camping light. I've also got a few surprises and a couple of cool lights to use in the rear which are from a Jag that will come on when the tailgate is lifted (in the same way as the front doors).

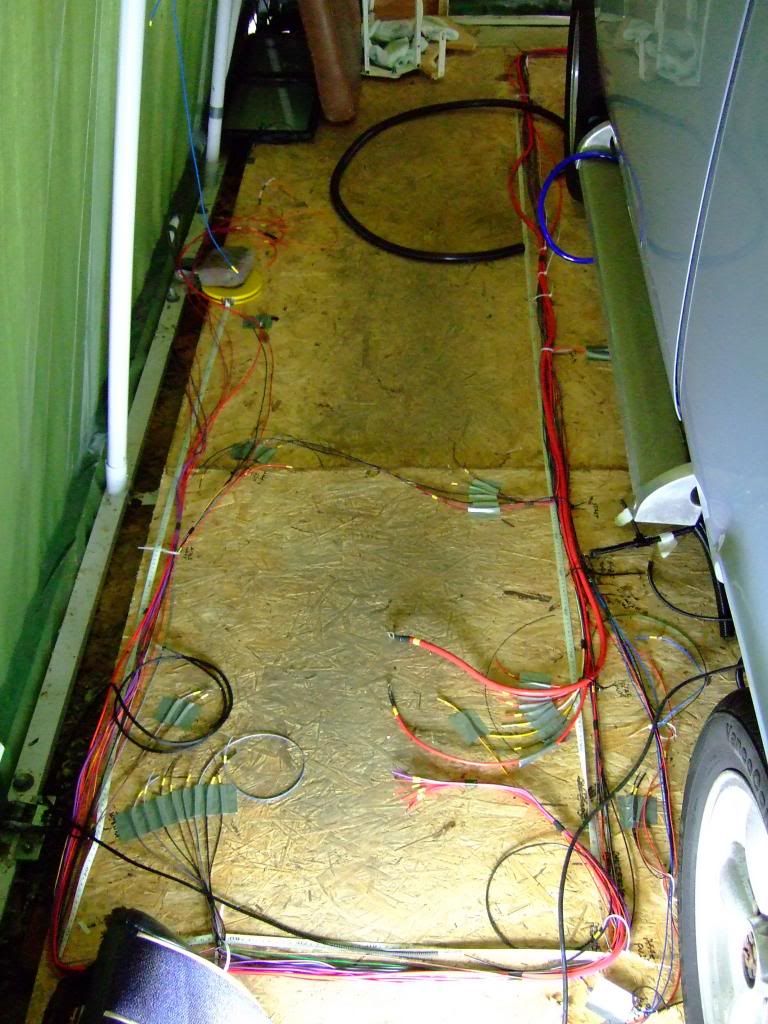
Here's todays progress, still not finished but almost there and nearly ready to tidy.
DSCF7296_zpsd0f9bc22.jpg

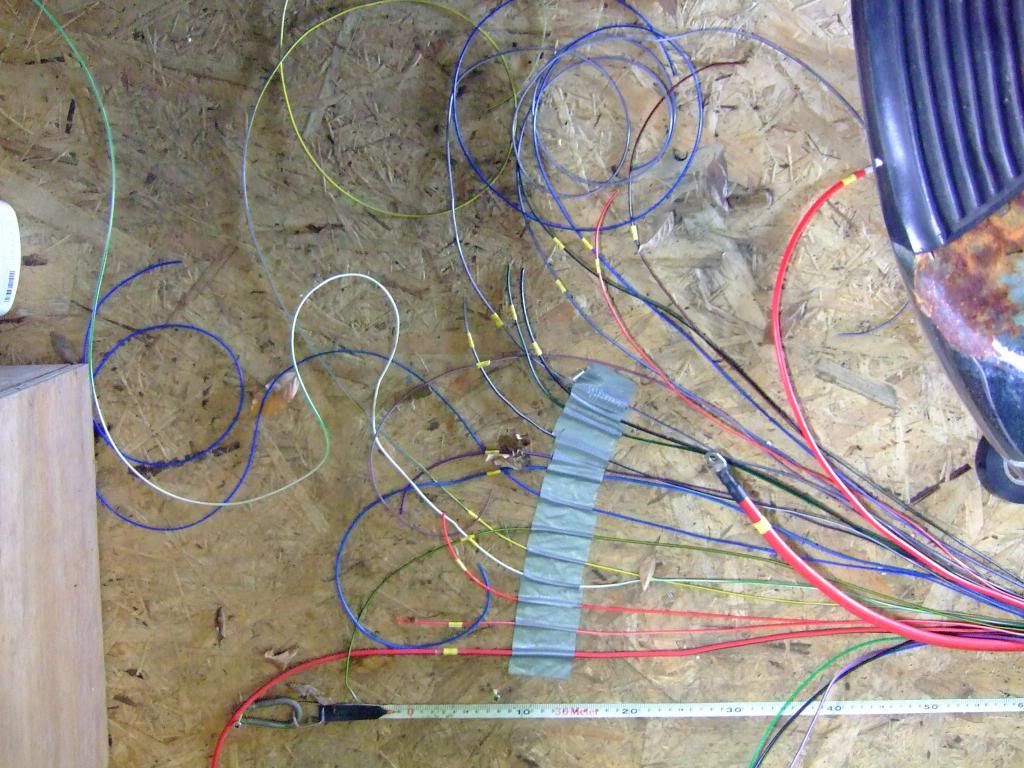
I know it's a bit boring but it's quite cathartic to post my days work. What I'm not showing are the other 10's of metres of cable that's been laid out on the floor of my shelter. I'll take some more boring pics of that when it's finished.
 
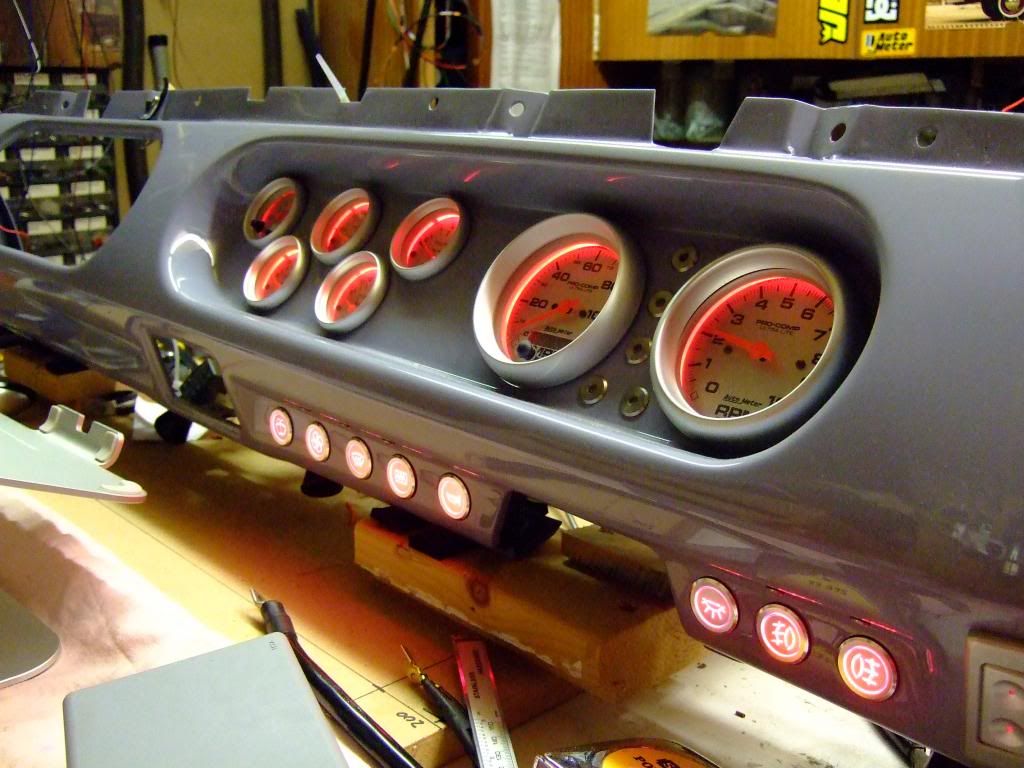
OK, got to say it's been a long couple of days and I'm almost there. Got the dash lights working today and I'm well chuffed. :D :D :D
DSCF7309_zps4742e17c.jpg


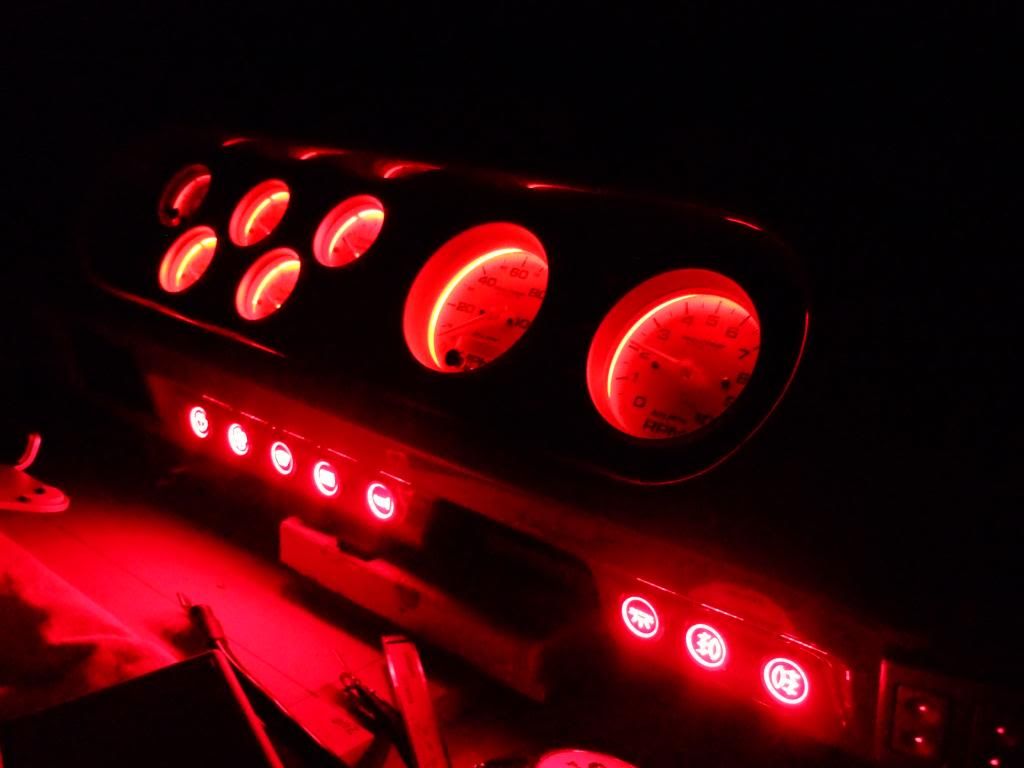
and this is the night time version

DSCF7308_zps1b471518.jpg


So pleased, and it will look even better when it's back in the bus

Also big thanks to Brian AKA Dub Boy, nice to meet you Brian and thanks for the advice, gonna have to learn that welding lark.
 
Looking so professional! You should be pleased! :mrgreen:

I think it will take me a while to work out where I want to put everything! I bet you sat in the driver's seat for a few hours working out where each dial would be best placed.

:party0021:

:party0051:
 
cunning plan said:
Looking so professional! You should be pleased! :mrgreen:

I think it will take me a while to work out where I want to put everything! I bet you sat in the driver's seat for a few hours working out where each dial would be best placed.

:party0021:

:party0051:

Cheers dude. You have no idea how long it has taken me. My wife caught me a few times when I was sat there appearing to be doing nothing, I was planning. :lol:

My advice would be to find some cardboard from a craft shop, they do a cheep fairly thick and large size. And play with a glue gun, they really are the best when it comes to sticking cardboard when planning. If it goes wrong it's not gonna hurt too much. What I would also do would be to have the seats in AND the steering wheel fitted. I made mistakes the first time round when I didn't do this. Have fun ;)
 
If you have down time from work, maybe you should think about offering your wiring services to other bay people. You've done some great work and I'm sure others would be happy to pay for your work. Loom looks nice, and me for one will need my loom sorted in the future, fancy doing it?
 
Gjb4212 said:
If you have down time from work, maybe you should think about offering your wiring services to other bay people. You've done some great work and I'm sure others would be happy to pay for your work. Loom looks nice, and me for one will need my loom sorted in the future, fancy doing it?

Dude, :lol: I did think about that, but I think it might be wise to install mine first and make sure it works. If it does (i'll be mightily p**sed off if it doesn't) I'm going to share the info on here. I'm not happy to do that until I know it works. I will definitely be happy to share what I have learnt. :D
 
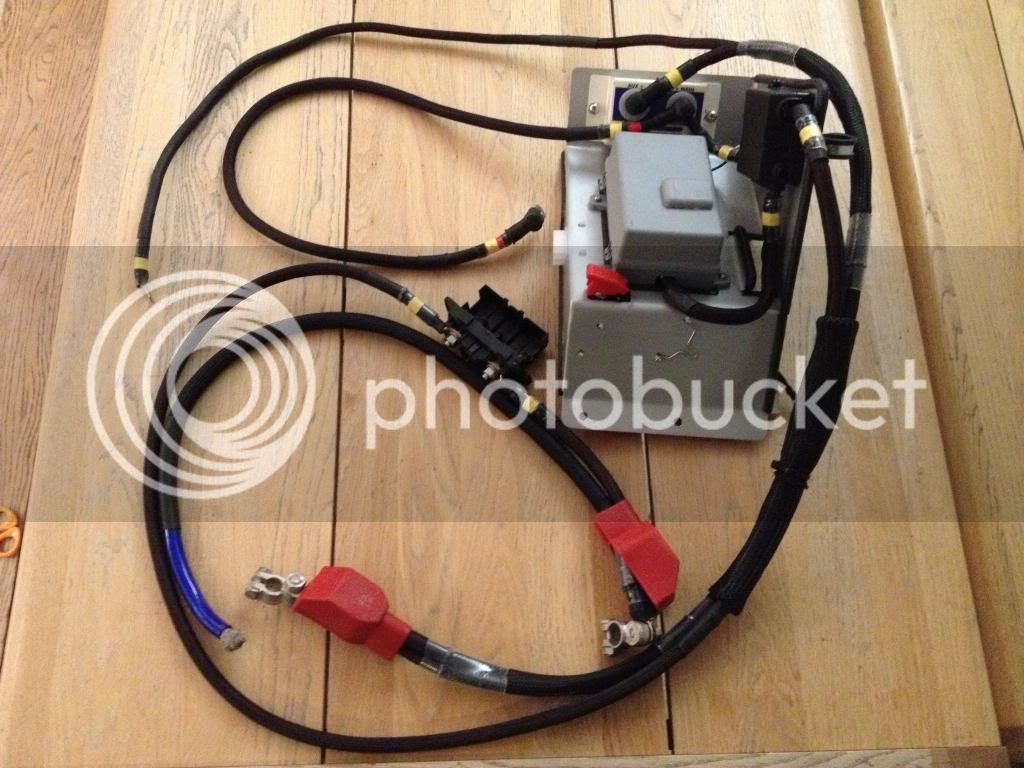
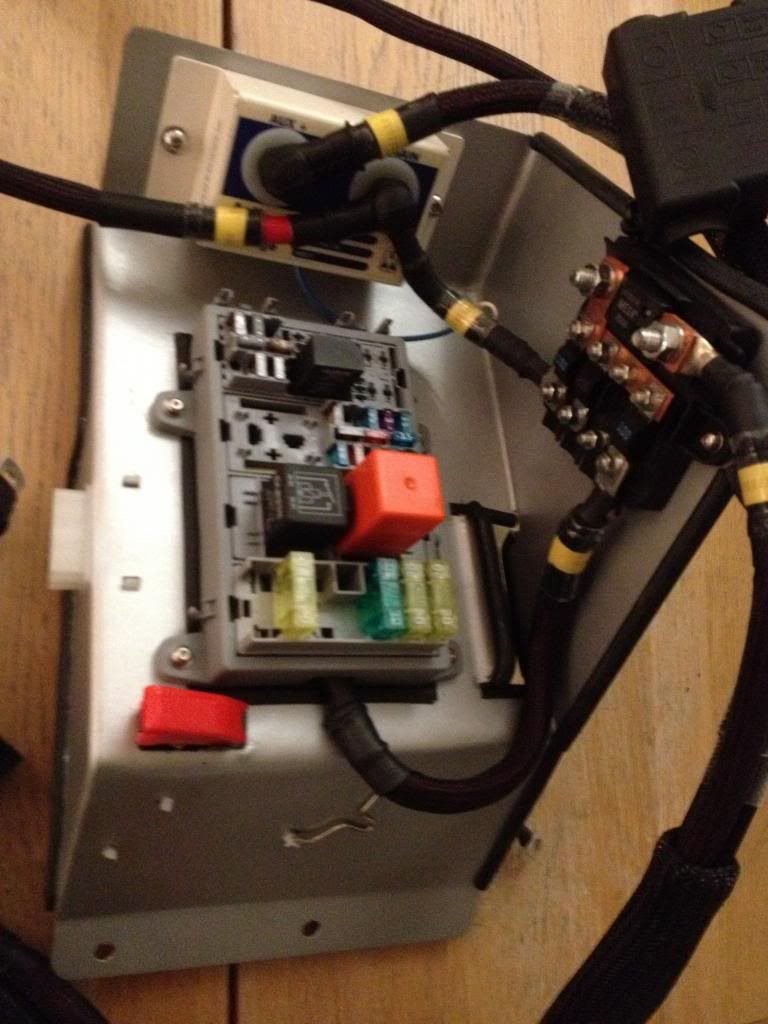
Today's work involved fitting and measuring the rear fuse box panel with all the power cables in place. I then removed it all and sheathed and shrink wrapped the lot ready for refitting over the next couple of days.
IMG_1055.jpg

IMG_1056.jpg


The dash is also now done and ready to install :D . I've got to finish the front loom and then move on to the rear loom, which I should start tomorrow.

Coming together (at last) 8)
 
This is so good! A real benchmark of wiring for people to follow! :shock:

Looks better than modern factory standards. :D

:party0021:
 
Seen the Dash on the first page,thought WOW!! 8) jumped to the last page to make a comment and seen it now.... :shock: 8) :party0009:
 
OK so todays efforts look pretty dull but are moving in the right direction.
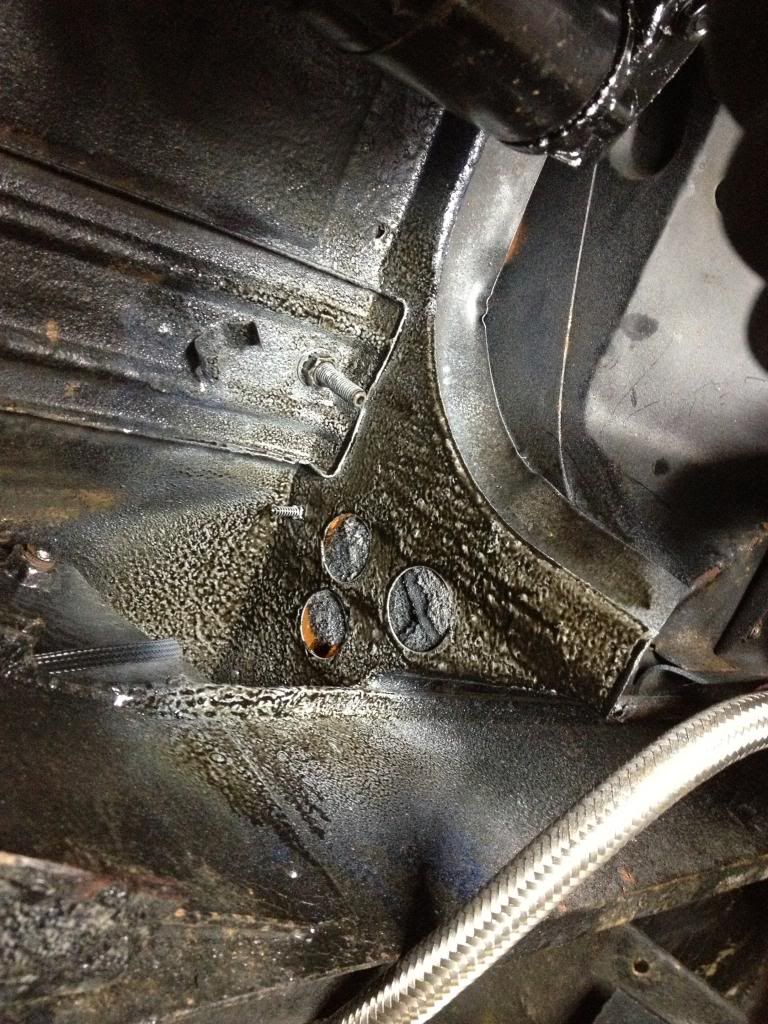
fire wall holes! Basically the original loom, plus a breather and the new starter cable hole
IMG_1059-1.jpg


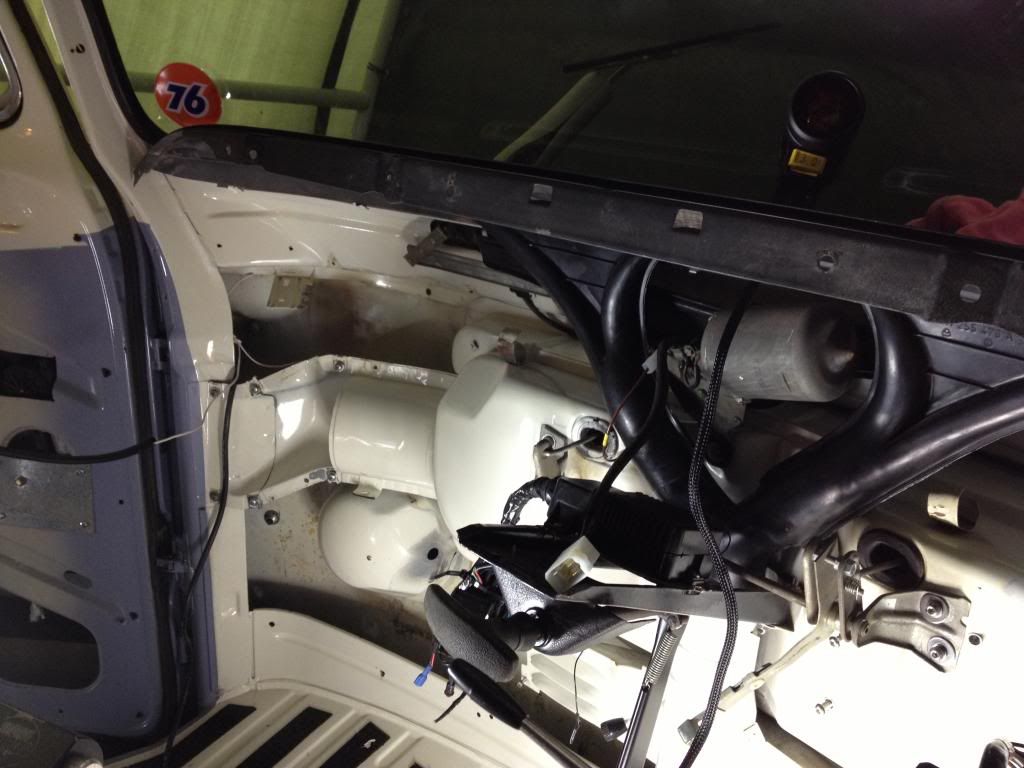
Dash (without the dash) ready to receive the new loom.
IMG_1061.jpg

IMG_1060.jpg

Didn't get a chance to take any more pics. At 1 degree above freezing decided to call it a day but the front loom, which is front lights, indicators, fogs and horns are almost done. Tomorrow install power loom and start on install of main loom.
 
Today saw me finally install the new loom. I'm very excited, I've still got to terminate and cover quite a lot of it but things are now moving quickly.

This is everything this morning, the main body of the loom.
DSCF7379.jpg

This is the front end.
DSCF7380.jpg

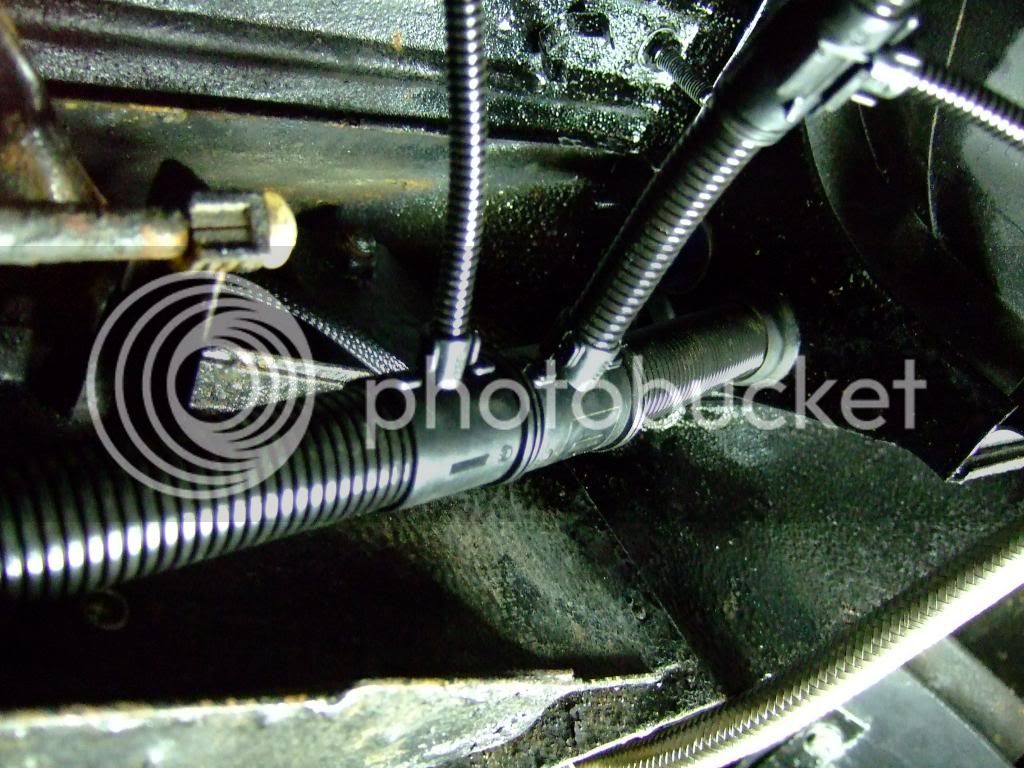
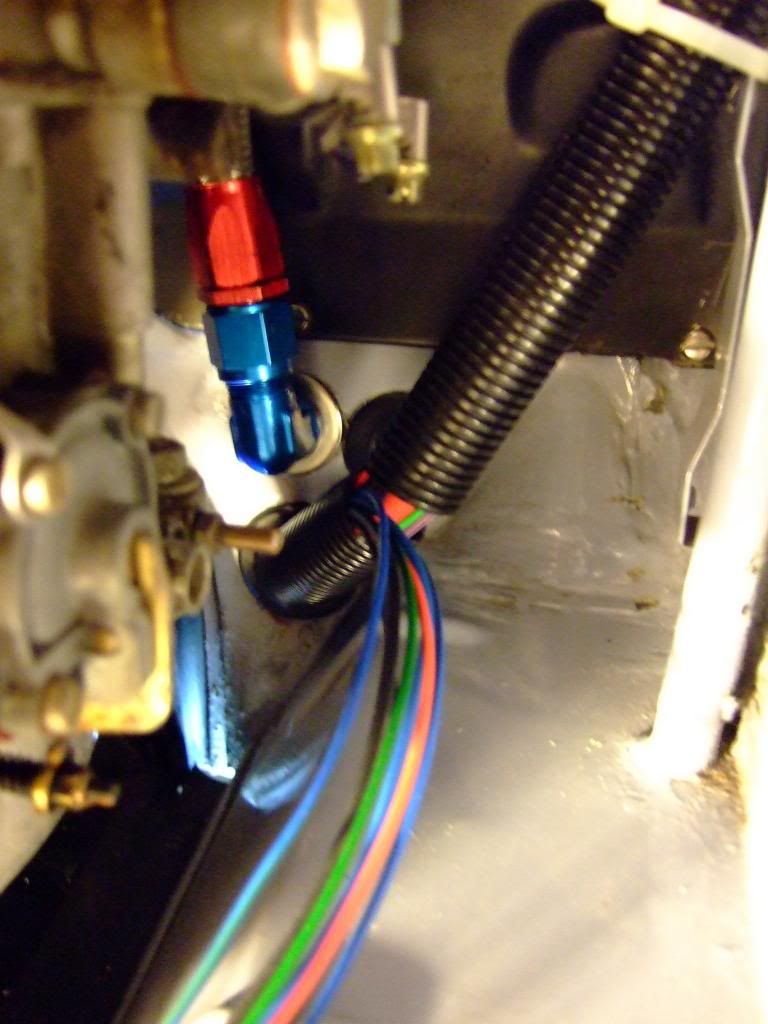
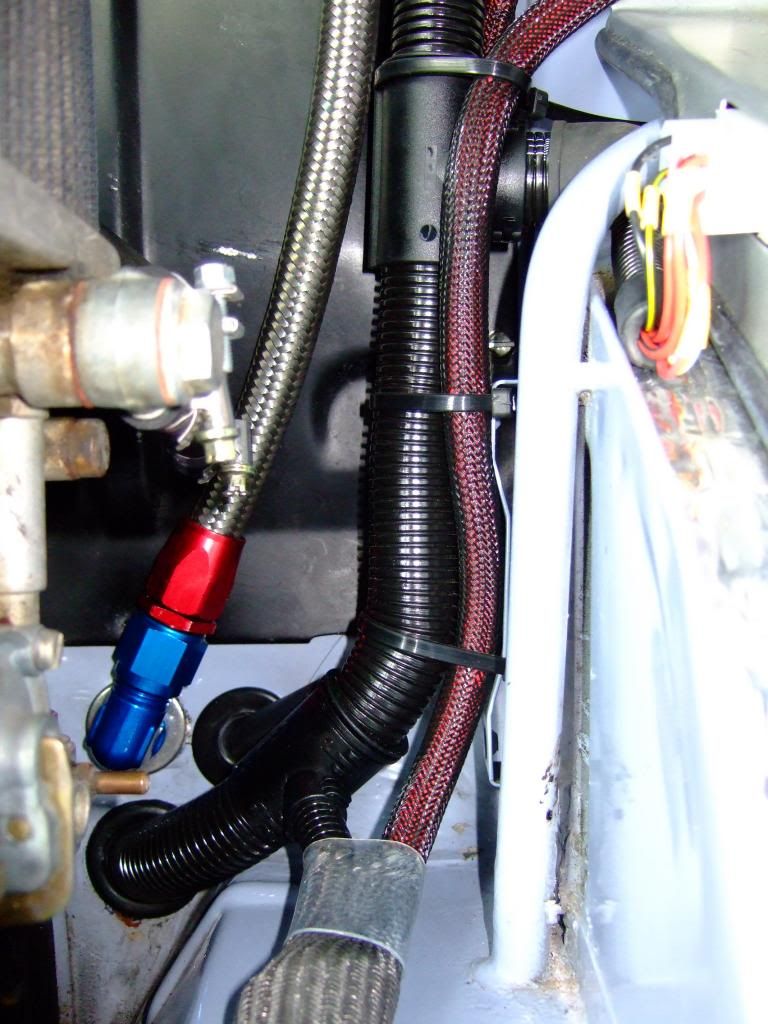
Next I ran everything forward of the engine bay fire wall through 22mm conduit. If anyone else is trying this, I definitely recommend silicon spray to help lubricate the new cable through the conduit, it makes a huge difference. There are cable breakouts for brake switch, oil cooler fans, reverse switch, starter motor and fuel sender.

These are breakouts for reverse, starter and fuel sender just before the loom goes through to the engine bay.

DSCF7384.jpg


And this is the other side of the engine bay. I'm using a separate, third hole for the starter cable (it's just behind the main loom) as there would be too much trying to get through the original loom entry point.

DSCF7382.jpg


Nothing much sheathed on this yet... tomorrows job.
 
Ok, anyone following this thread will know this has taken me nearly 18 months to complete. :lol: I reckon I've got one more day of tidying up and final connections and I'll be ready to turn the key again. :)

Here is yet another exciting photo of my bus that's not much different from the previous. This time however all the connections are made in the engine bay, all fuses in (although I'll take them all out again for first time start up testing), rear lights are connected, engine etc.
This is the main loom entering the engine bay, finished and tie-wrapped.
DSCF7392.jpg

Wide shot of the same to show rear fuse panels
DSCF7389.jpg

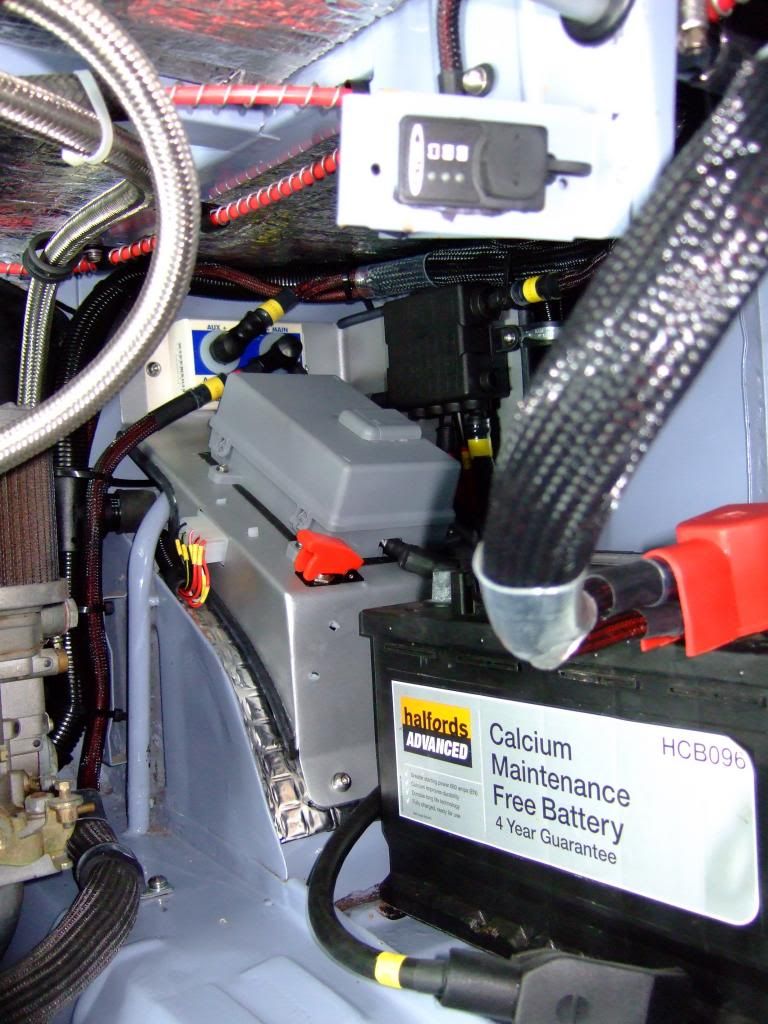
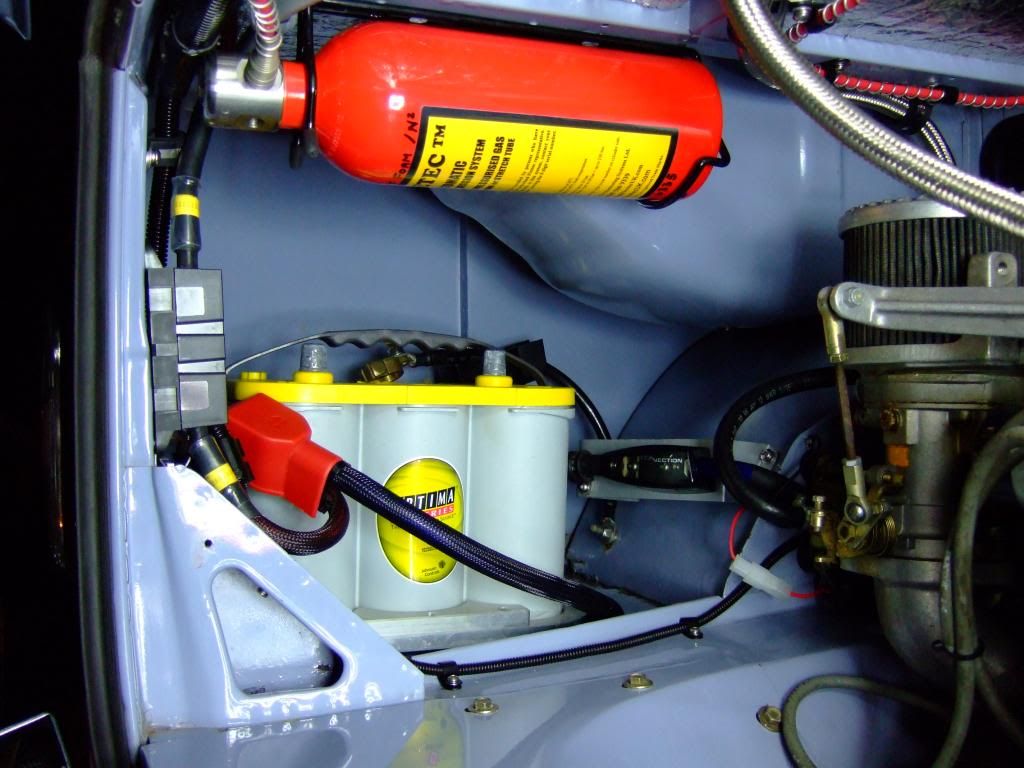
The loom then travels around the top of the engine bay to the near-side to the auxiliary battery and lights etc
DSCF7391.jpg


One more day :D
 

Latest posts

Top