You are using an out of date browser. It may not display this or other websites correctly.
You should upgrade or use an alternative browser.
You should upgrade or use an alternative browser.
my 68' bay
- Thread starter 68_early_bay
- Start date


Help Support Early Bay Forum:
This site may earn a commission from merchant affiliate
links, including eBay, Amazon, and others.
68_early_bay
Well-known member
gninnam said:Oh dear
What was/is it??
My engine let go on the way back from bugjam
so its brought my project engine forward by a few months, so going to get all my other jobs done too while its off the road too front doglegs and valence :? Looks like I'm doing skeg Vegas in my car this year :roll:68_early_bay said:gninnam said:Oh dear
What was/is it??
My engine let go on the way back from bugjam
Bum
68_early_bay
Well-known member
Well it's been a long month since bugjam, and the engine letting go, and to be honest I put it in the garage and forgot about it for a couple of weeks :?
So I thought I'd update this, with being as busy at work I've decided that i haven't got the time to build my own engine and doing other jobs so I've decided to have one built so watch this space :msn4: hopefully have some progress on that soon 8)
Back to the bodywork :mrgreen:
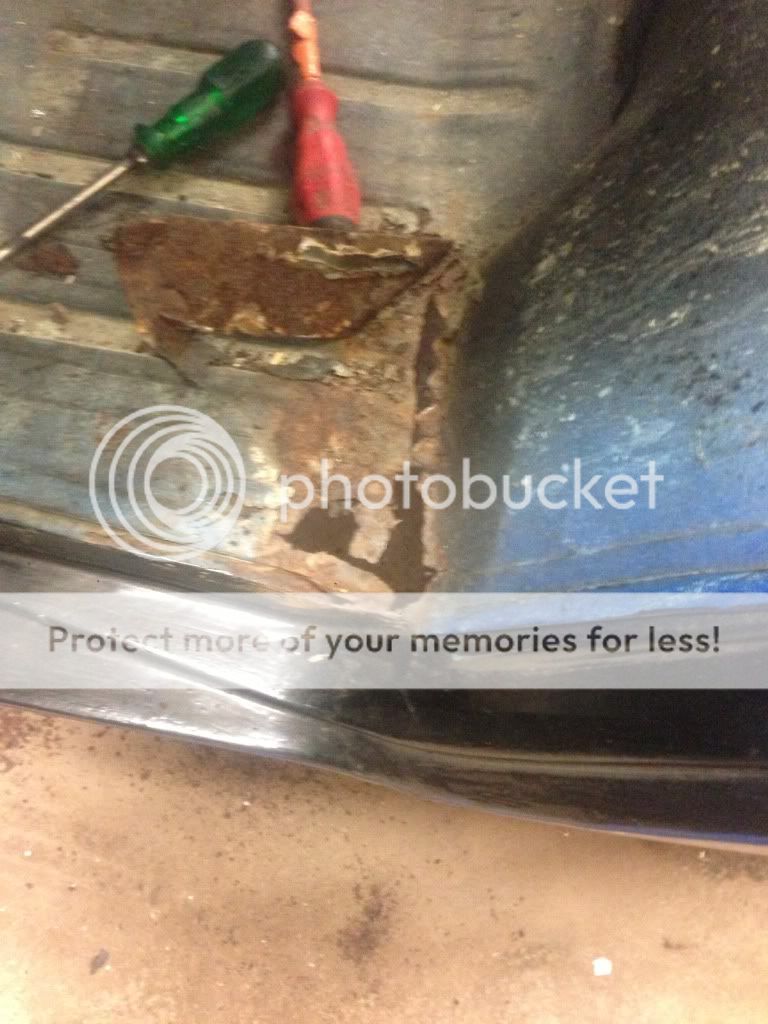
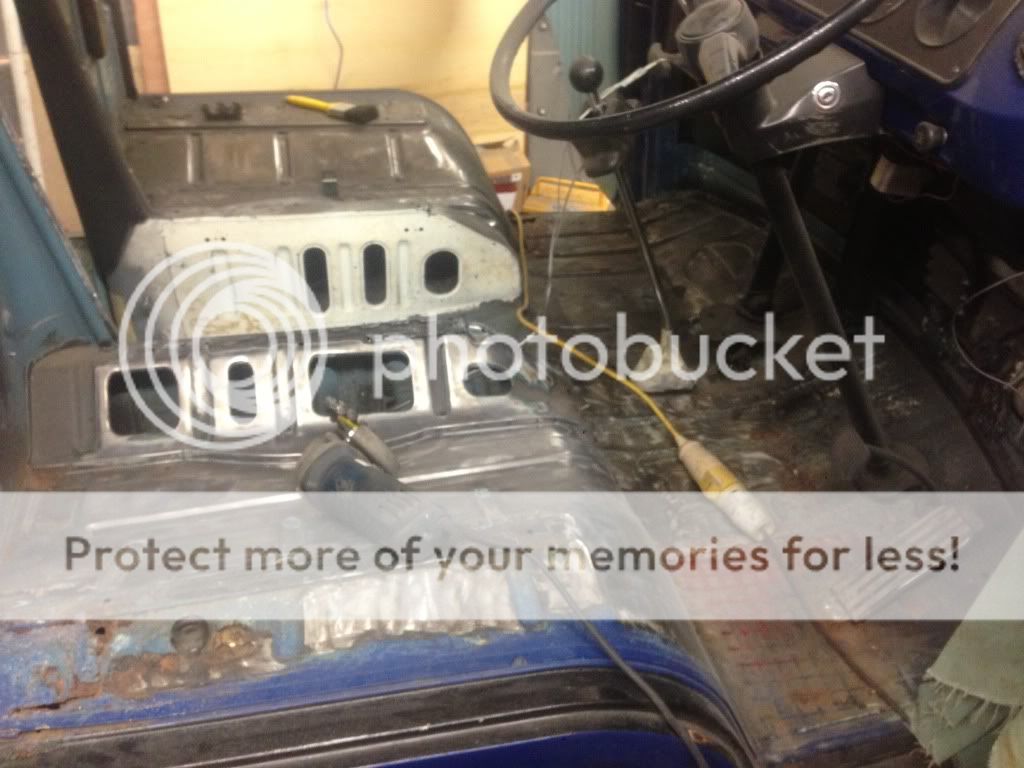
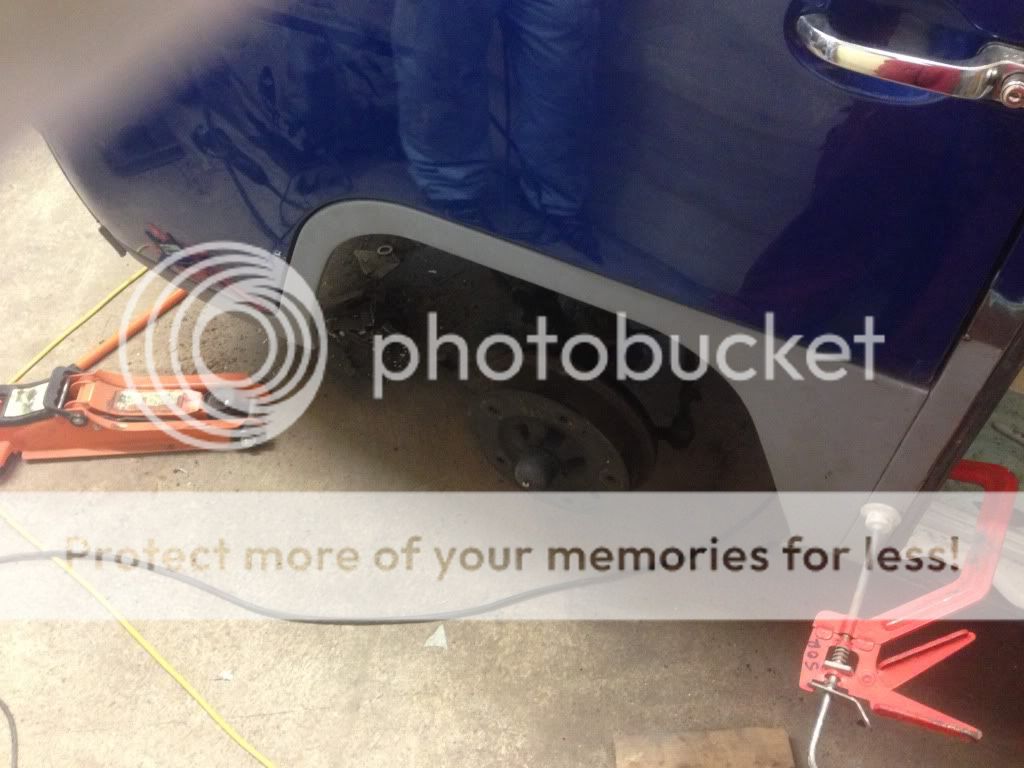
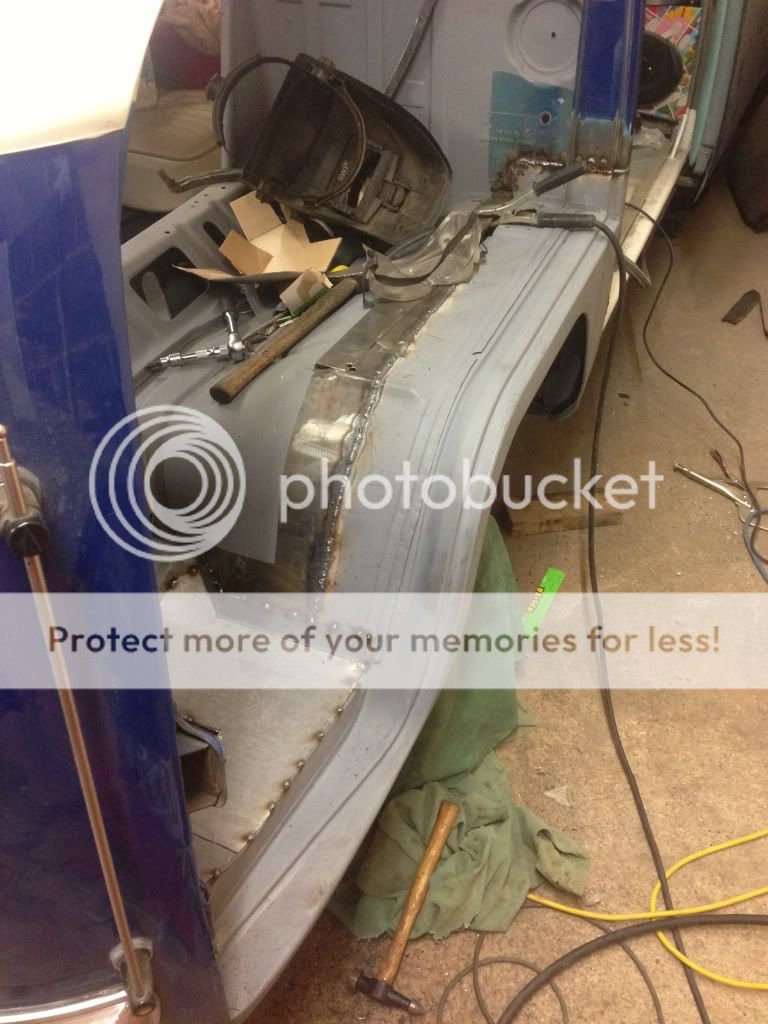
I have decided while its off the road I will make a start on the front arches, so off came the centre pedal pan, as I'd like to change the sticking throttle cable so I can fit my butty throttle kit 8)

To reveal its all nice under there :lol:

Onto the n/s arch :?
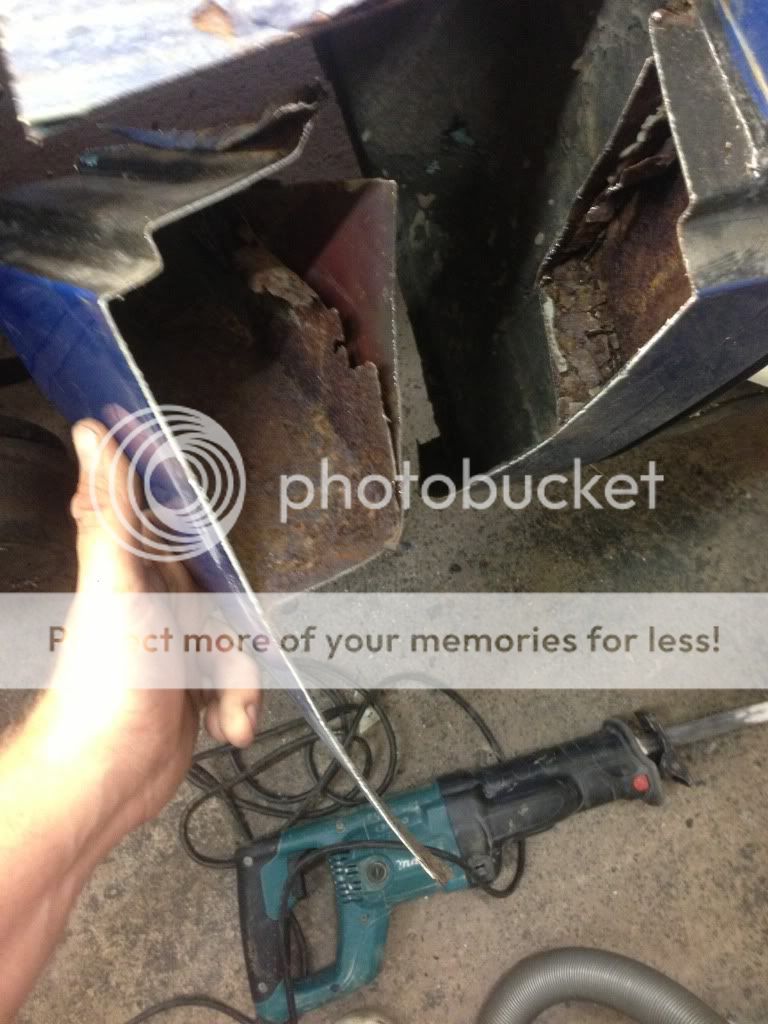


I have fully stripped the arch off now ready for the new cut, but for some reason didn't take any more pics :?
So I thought I'd update this, with being as busy at work I've decided that i haven't got the time to build my own engine and doing other jobs so I've decided to have one built so watch this space :msn4: hopefully have some progress on that soon 8)
Back to the bodywork :mrgreen:
I have decided while its off the road I will make a start on the front arches, so off came the centre pedal pan, as I'd like to change the sticking throttle cable so I can fit my butty throttle kit 8)
To reveal its all nice under there :lol:
Onto the n/s arch :?
I have fully stripped the arch off now ready for the new cut, but for some reason didn't take any more pics :?
68_early_bay
Well-known member
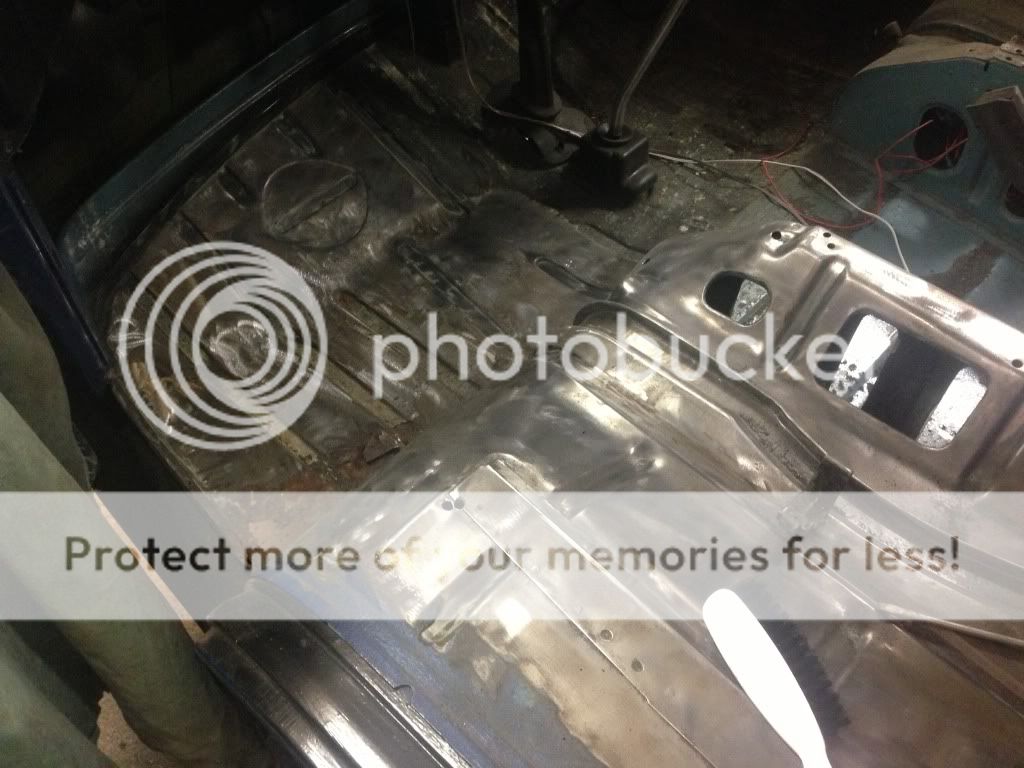
Whilst at it I've stripped the seat tubs and Loor back to bare metal, so I can paint it all like I did the rear last year 8)
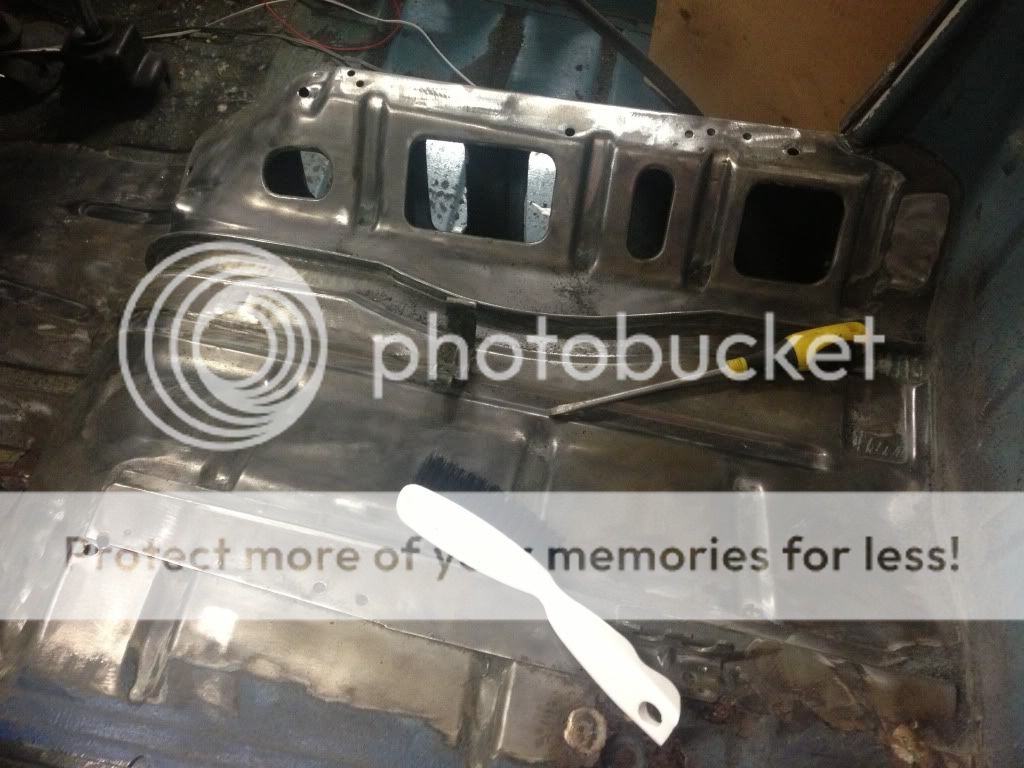
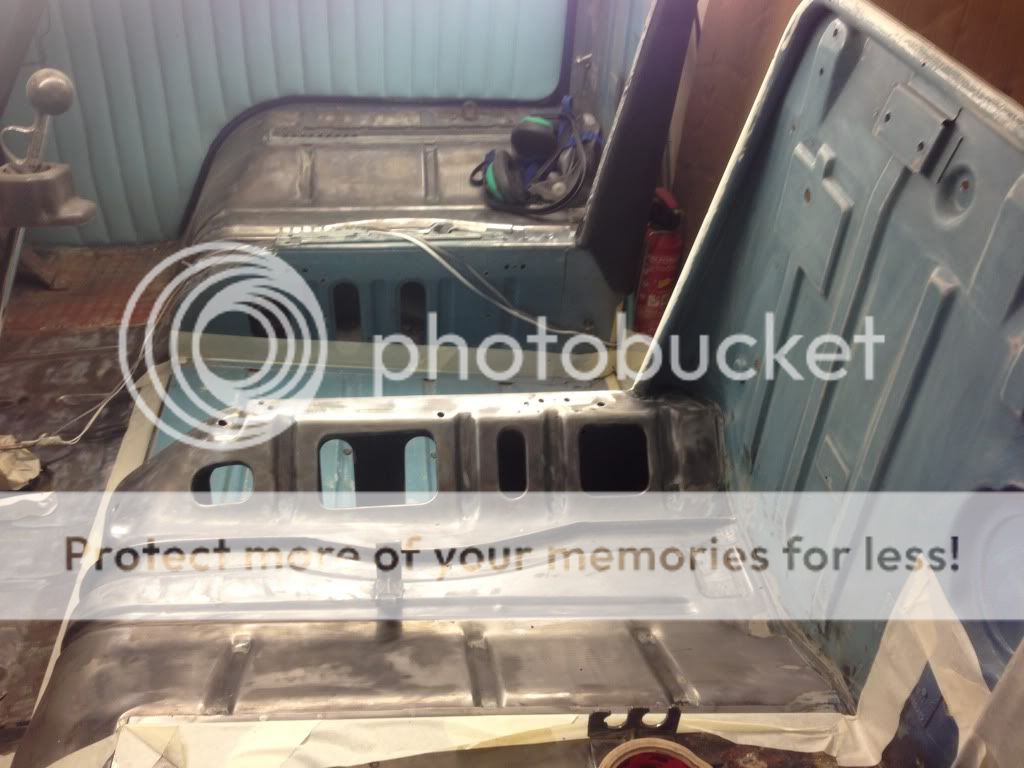
Got it in some etch primer on
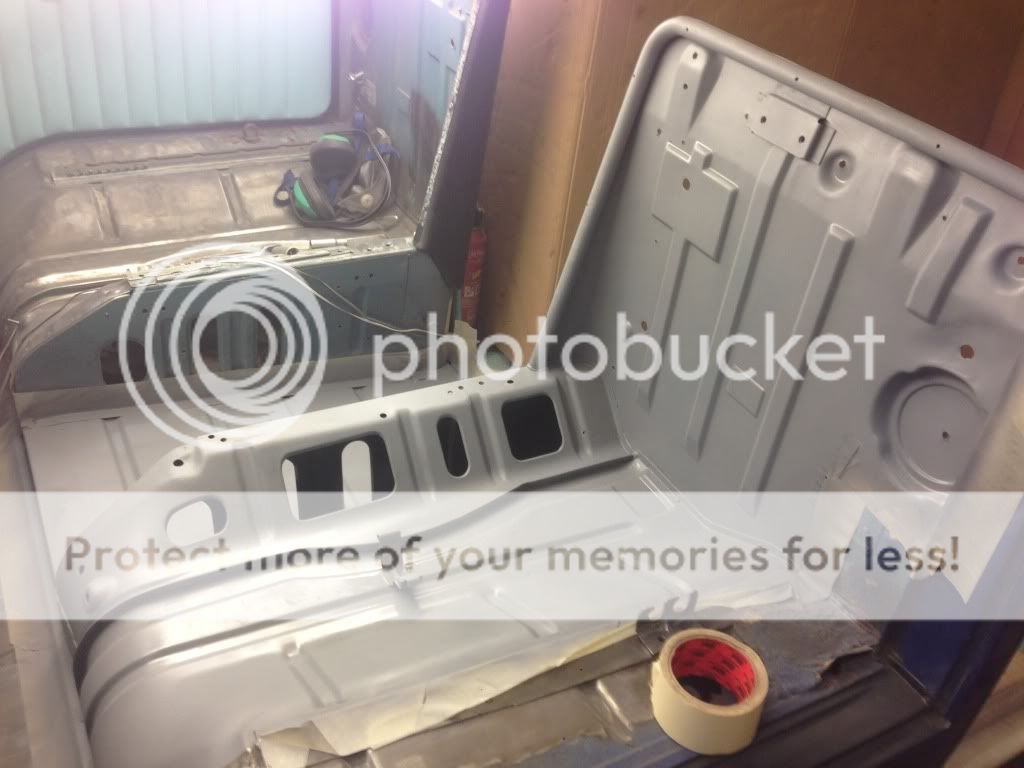
And that's it,
Got to drop the engine next week to rob the tinware, moustache bar etc to take to the builder,
Got it in some etch primer on
And that's it,
Got to drop the engine next week to rob the tinware, moustache bar etc to take to the builder,


$124.78
Revell 07009 Volkswagen T1 Samba Bus Model Kit, 1:16 Scale 27.2 cm, Multi-Color, 223
Outstanding Outlet USA


$27.95 ($13.98 / Count)
Marketplace Auto Parts Window Crank Handle Set of 2 - Chrome with Black Knob - Compatible with 1968-1978 Volkswagen Beetle
Parts Geek LLC


$28.56
$32.43
Airfix Quickbuild Volkswagen Light Blue Camper Van Brick Building Model Kit, Multicolor
Amazon Global Store UK


Myvanway
Well-known member
Nice work Shaun.
Alpine Burt
Well-known member
Looking good. Great work there
68_early_bay
Well-known member
Cheers guys 8)
Managed to get a full garage in today 8)
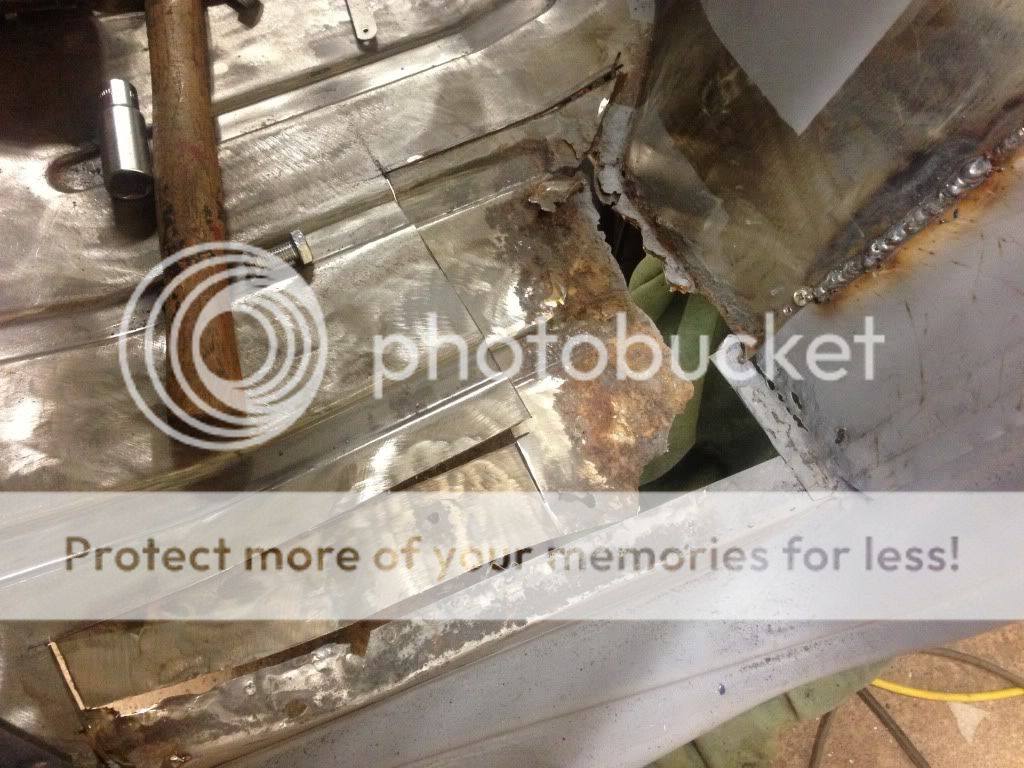
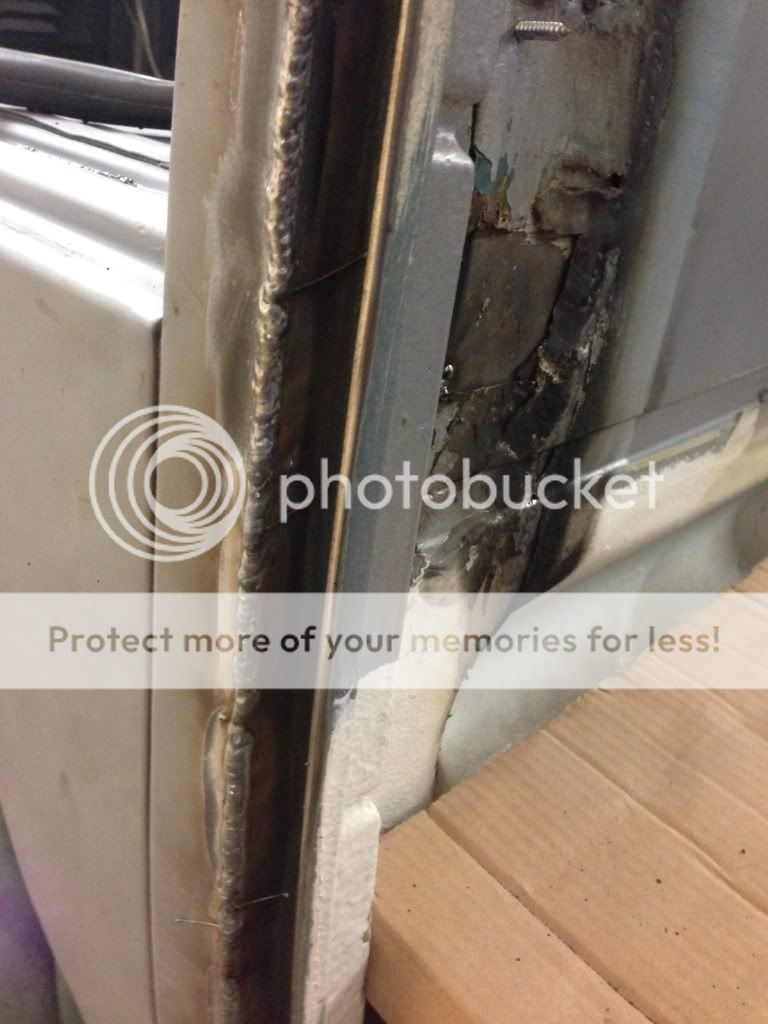
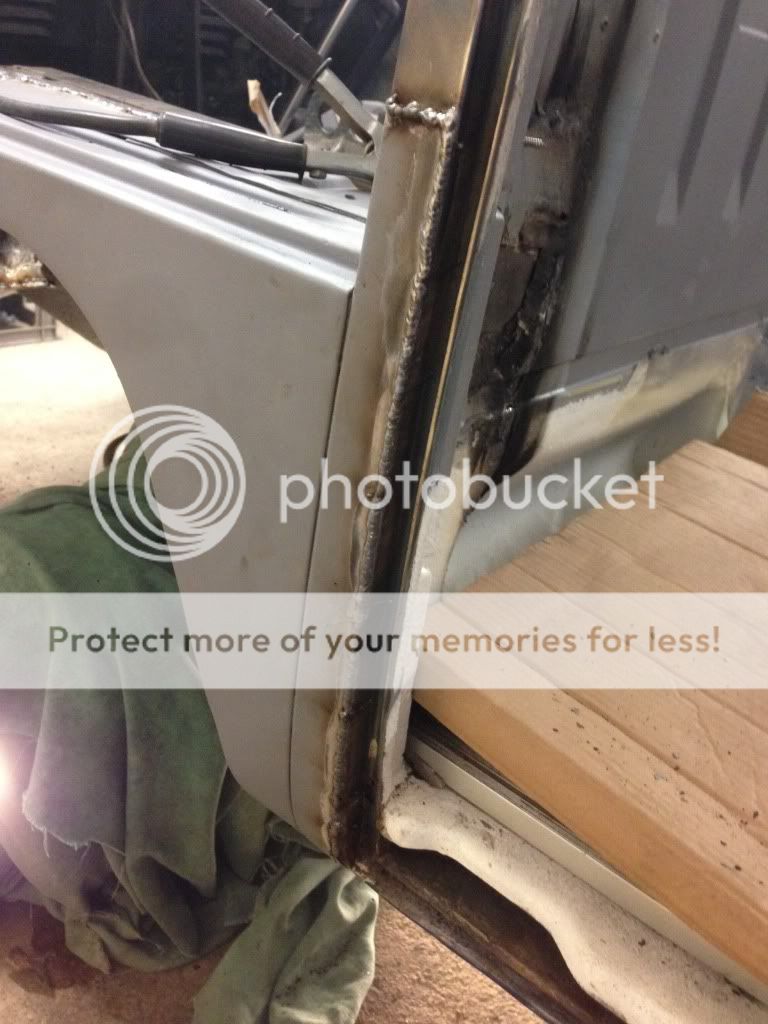
Forgot to take many pics :? When I stripped off the arch I found that there was some rot at the bottom of the b pillar so stripped that back, neutralised the rust and repaired it,
Then I stripped the new (cut) dogleg down to what I need adjusted it trimmed it and put it place with self tappers 8) must have been concentrating too much forgot to get a pic in place :lol:
Then I removed it and then bare metalled it to get it ready to weld in
And found a few pin holes that needed sorting, bugger :?
All better
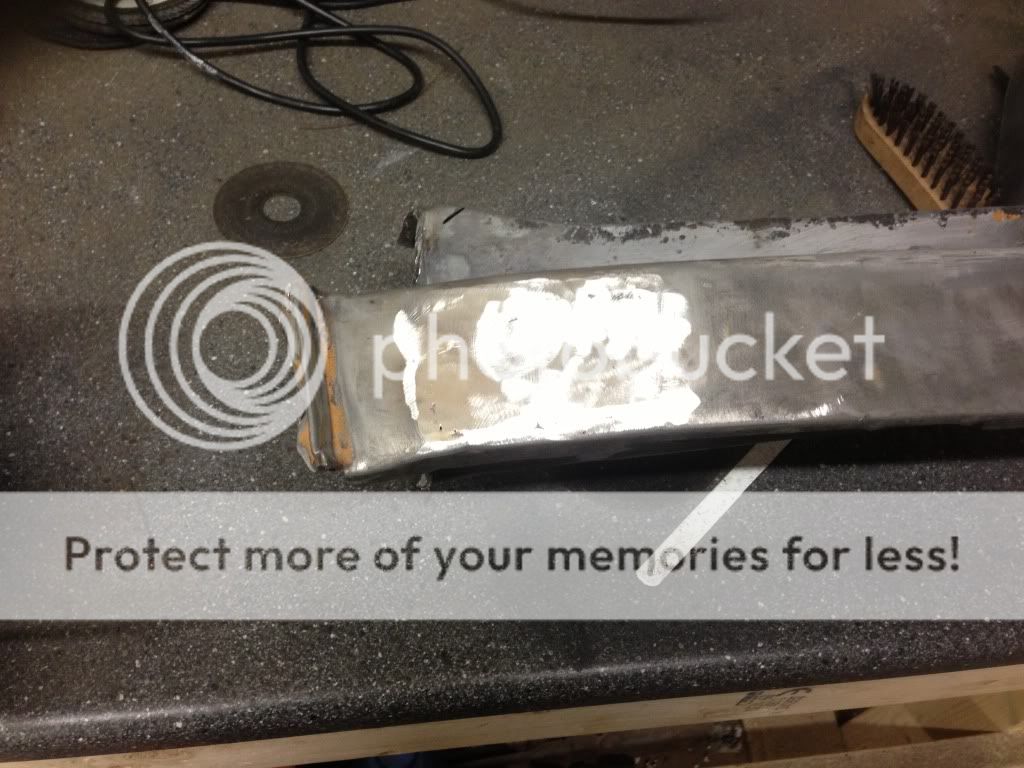
Then finished stripping treated with neutraliser and then etched
Will tiger seal all the joints and ready to fit 8)
Oh and this :msn4:
Managed to get a full garage in today 8)
Forgot to take many pics :? When I stripped off the arch I found that there was some rot at the bottom of the b pillar so stripped that back, neutralised the rust and repaired it,
Then I stripped the new (cut) dogleg down to what I need adjusted it trimmed it and put it place with self tappers 8) must have been concentrating too much forgot to get a pic in place :lol:
Then I removed it and then bare metalled it to get it ready to weld in
And found a few pin holes that needed sorting, bugger :?
All better
Then finished stripping treated with neutraliser and then etched
Will tiger seal all the joints and ready to fit 8)
Oh and this :msn4:
68_early_bay
Well-known member
Cheers andy :lol:
Managed another day in the garage today 8)

Once screwed in place tried the bumper 8)

And once it's all tacked in place, I took the door off, that was easier than it looked :? Don't think it's ever been off

Then on to the floor repair
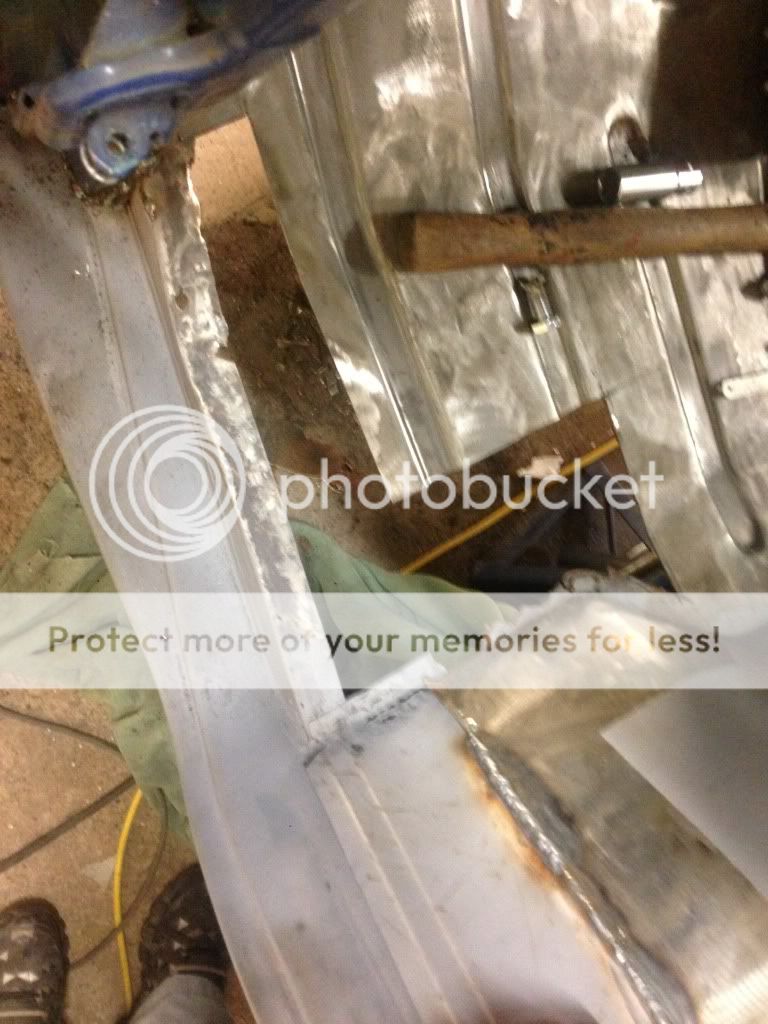

Once I'd tacked it in I'd had enough :lol: will carry on next week :lol:
Managed another day in the garage today 8)
Once screwed in place tried the bumper 8)
And once it's all tacked in place, I took the door off, that was easier than it looked :? Don't think it's ever been off
Then on to the floor repair
Once I'd tacked it in I'd had enough :lol: will carry on next week :lol:
Myvanway
Well-known member
Really impressive work Shaun.
8)
8)
68_early_bay
Well-known member
aspro
Well-known member
Quite talented Shaun. I'm impressed. 8)
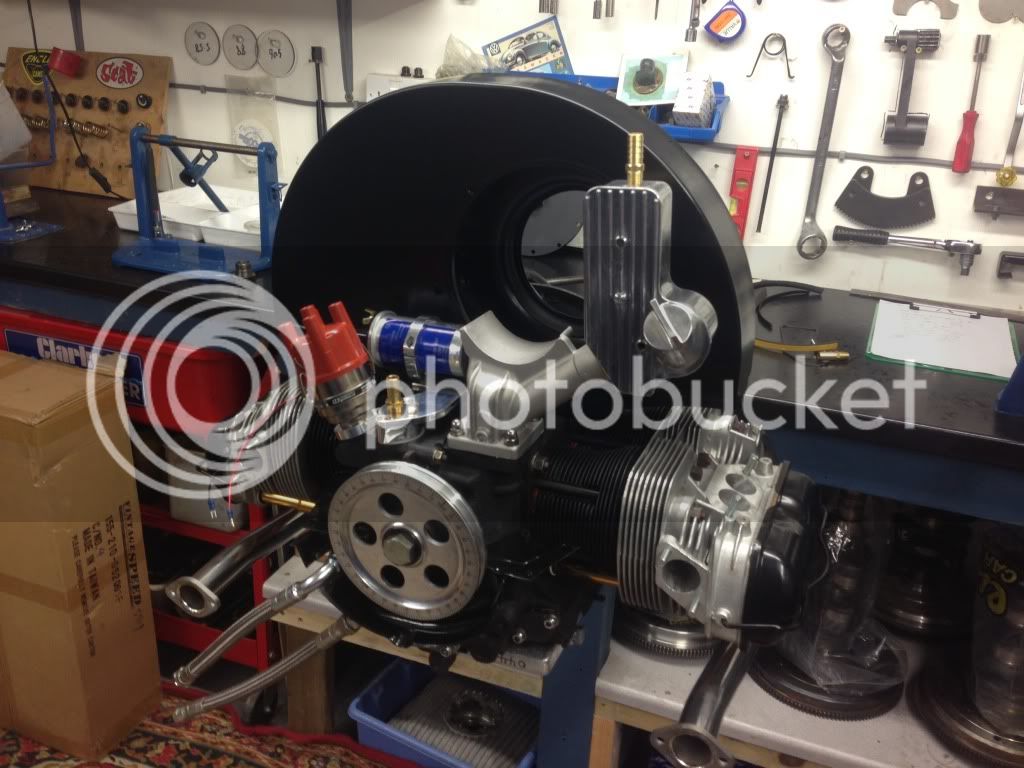
Who's building that motor? Nice workshop
Who's building that motor? Nice workshop
68_early_bay
Well-known member
gninnam said:
aspro said:Quite talented Shaun. I'm impressed. 8)
Who's building that motor? Nice workshop
Cheers guys :mrgreen:
My motor is being built by dan Simpson (who is the vintage speed dealer) his workshop is immaculate ! I've never seen such a clean engine builder lol
Really looking forward to getting it in 8)
Then I can get one of your tachos in Chris 8) have you had anyone fitted one to a 123 ignition yet mate?
aspro
Well-known member
68_early_bay said:gninnam said:
aspro said:Quite talented Shaun. I'm impressed. 8)
Who's building that motor? Nice workshop
Cheers guys :mrgreen:
My motor is being built by dan Simpson (who is the vintage speed dealer) his workshop is immaculate ! I've never seen such a clean engine builder lol
Really looking forward to getting it in 8)
Then I can get one of your tachos in Chris 8) have you had anyone fitted one to a 123 ignition yet mate?
Not as far as I know. You might have to be my guinea pig.
68_early_bay
Well-known member
As soon as the motor is in Chris I'll be giving you a shout to be a guinea pig :msn4:
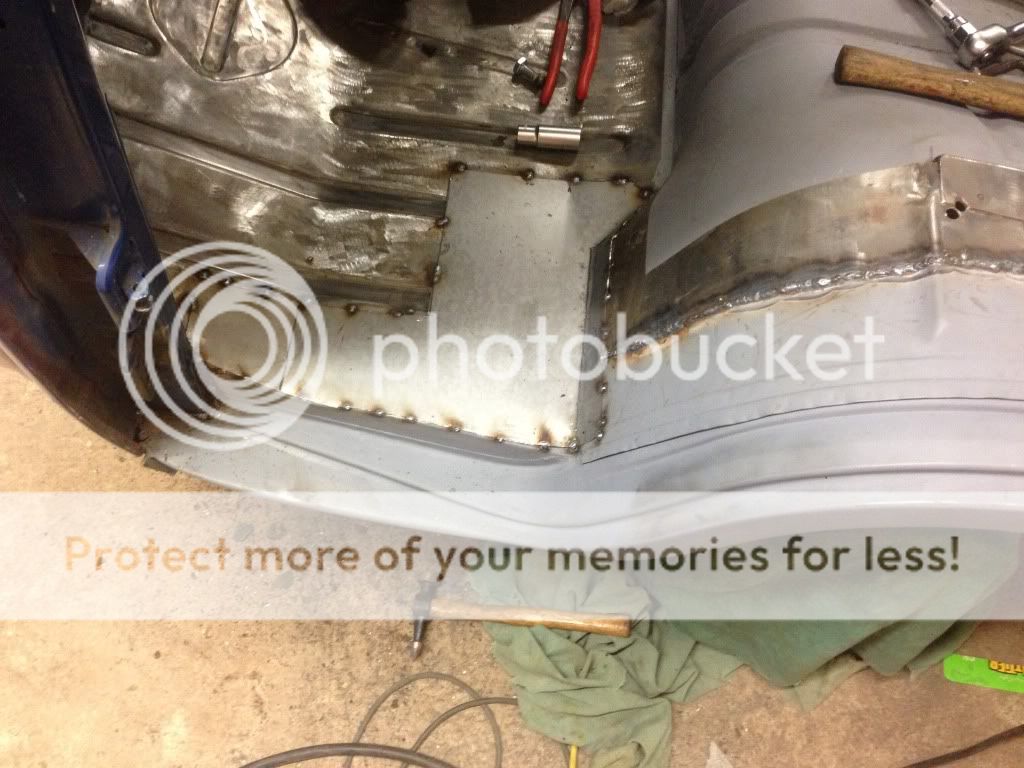
Got home early today :mrgreen: bonus 8) so thought I'd have an hour welding in what I tacked up the other day
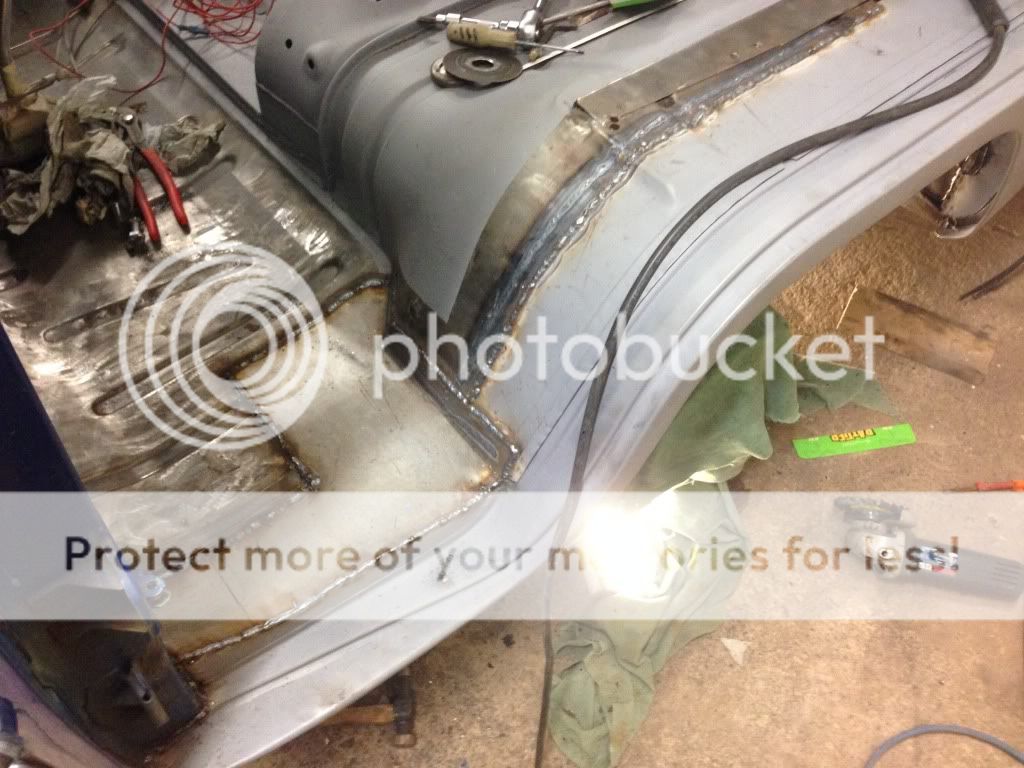
And also did half of the underside welds too
Hopefully do an hour on Sunday last couple of bits then grind it all nice and etch 8)
Got home early today :mrgreen: bonus 8) so thought I'd have an hour welding in what I tacked up the other day
And also did half of the underside welds too
Hopefully do an hour on Sunday last couple of bits then grind it all nice and etch 8)
Very nice work there
I got to do that. changing both wheel arches
My mate ordered me to buy some galvafroid Paint very expensive
Then poured it into the wheel arch, shacked it round until it cover the inside.
One thing I notice was there are no drainage holes at the bottom :?:
Shouldn't there be :?:
I got to do that. changing both wheel arches
My mate ordered me to buy some galvafroid Paint very expensive
Then poured it into the wheel arch, shacked it round until it cover the inside.
One thing I notice was there are no drainage holes at the bottom :?:
Shouldn't there be :?:
68_early_bay
Well-known member
Nice idea on using galvafroid, I've sprayed mine inside as much As i can,
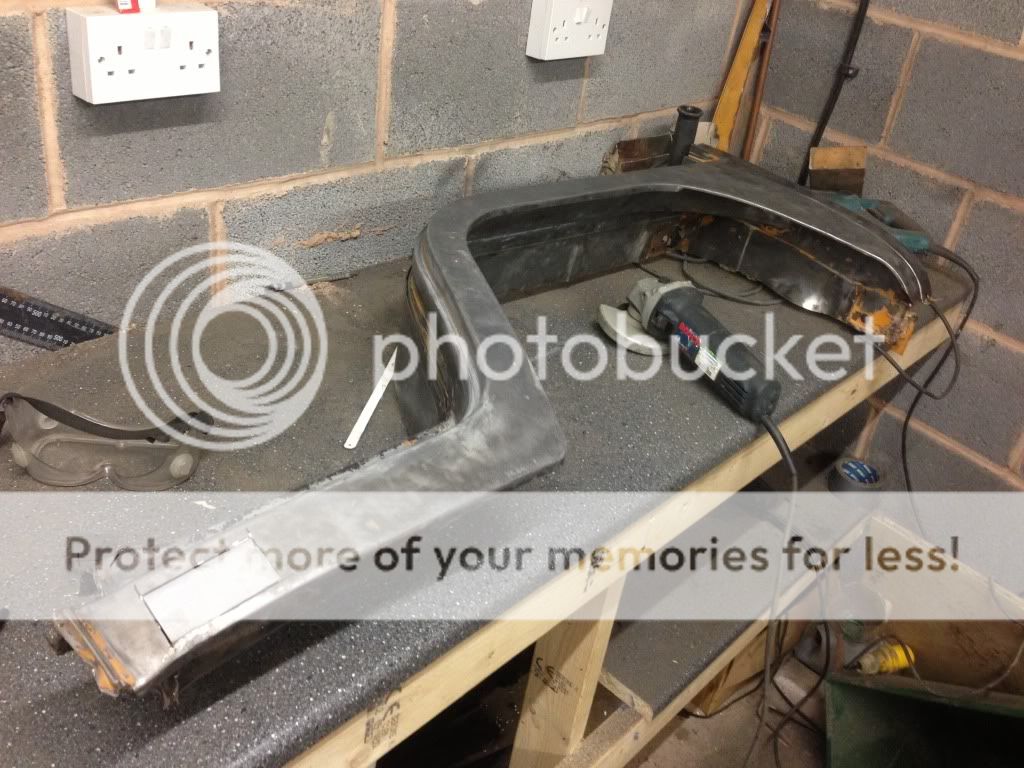
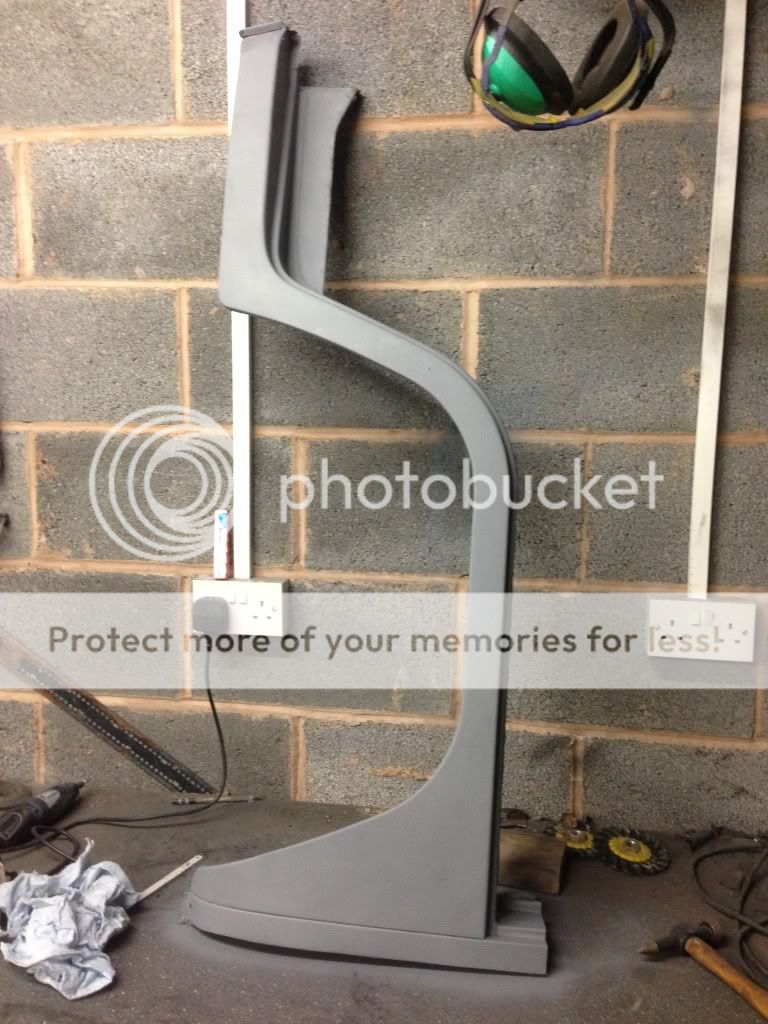
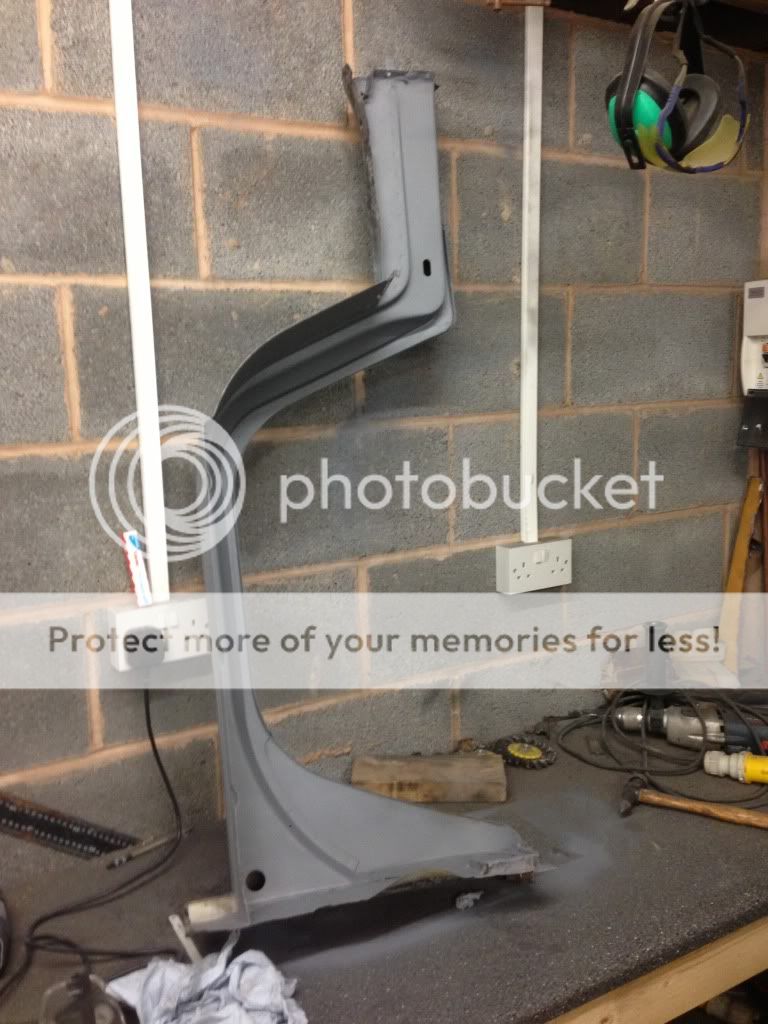
I sourced these as original USA cuts there is a original drain hole
Pic before I stripped and prepped the doglegs
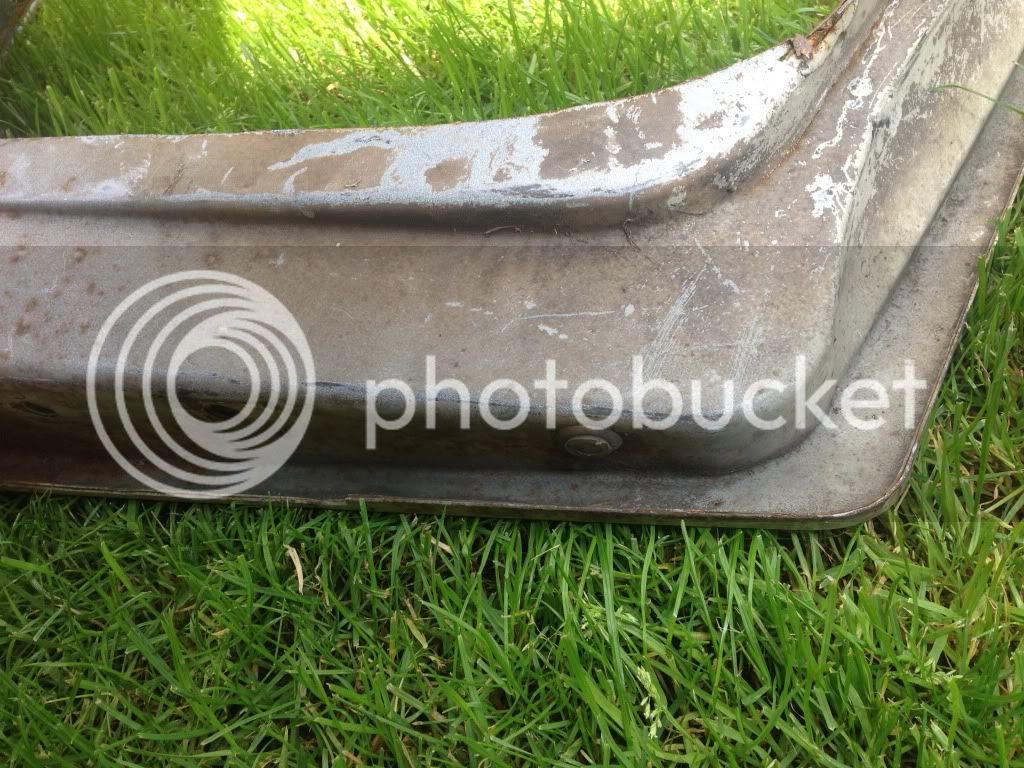
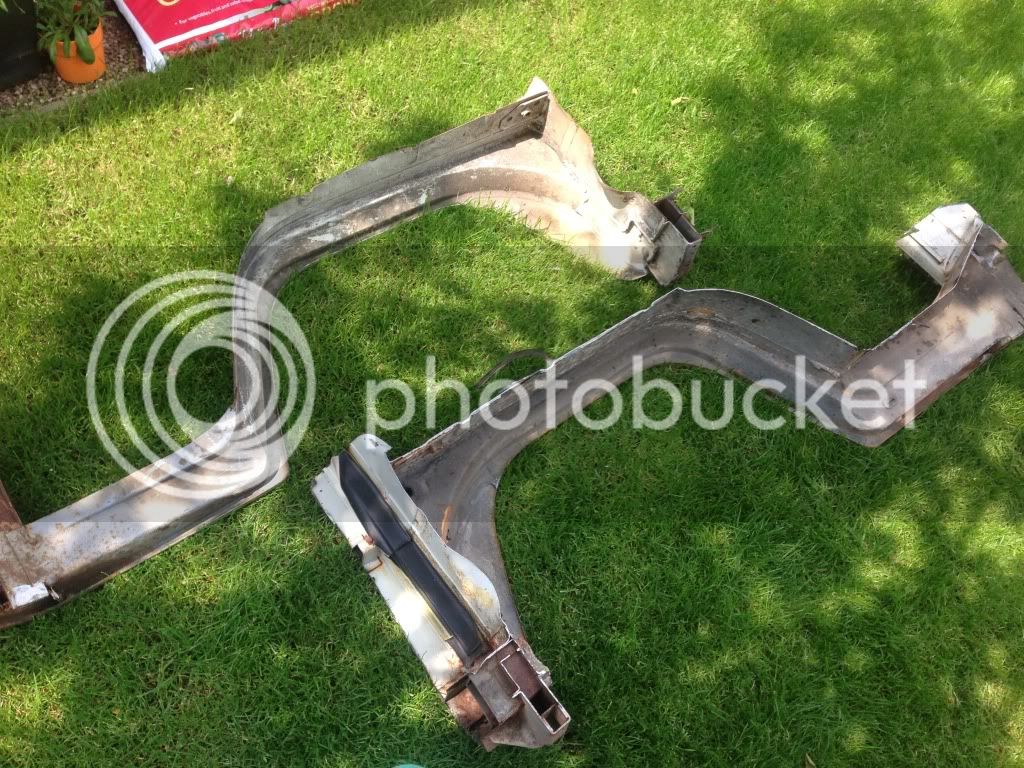
Once they're all in, painted I'm going to cavity wax them through the drain holes :mrgreen:
geordie said:One thing I notice was there are no drainage holes at the bottom :?:
Shouldn't there be :?:
I sourced these as original USA cuts there is a original drain hole
Pic before I stripped and prepped the doglegs
Once they're all in, painted I'm going to cavity wax them through the drain holes :mrgreen:
Similar threads
- Replies
- 29
- Views
- 3K
- Replies
- 1
- Views
- 666
Vehicle For Sale
1971 T2a Double Cab Pick Up
- Replies
- 0
- Views
- 1K
Vehicle For Sale
Early Bay Deluxe 1971
- Replies
- 5
- Views
- 2K