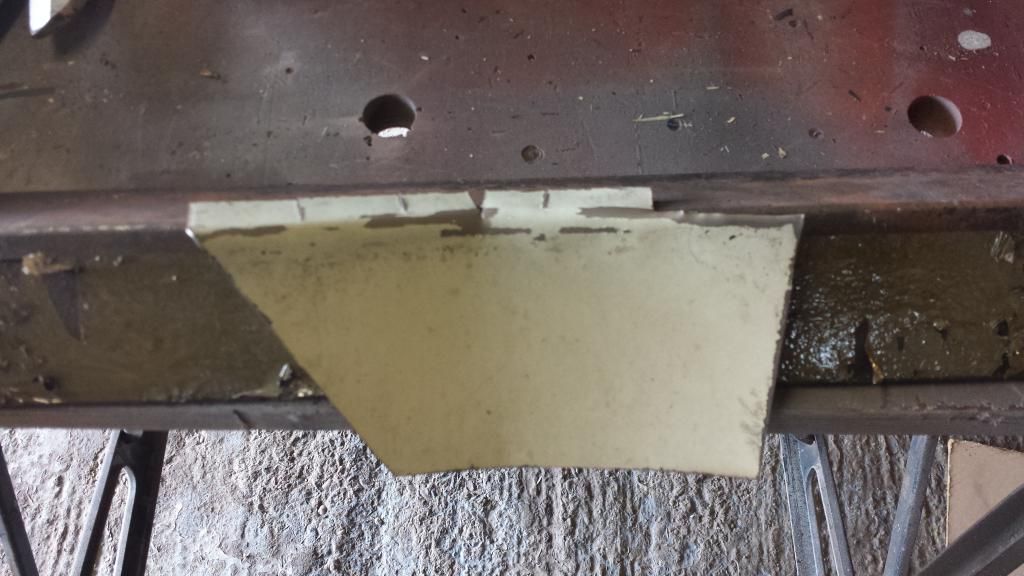
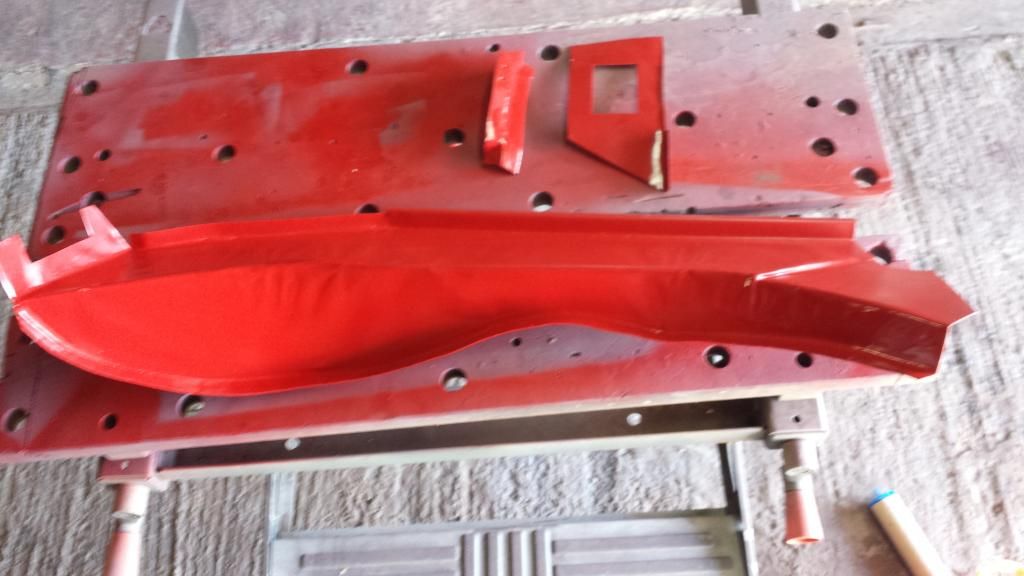
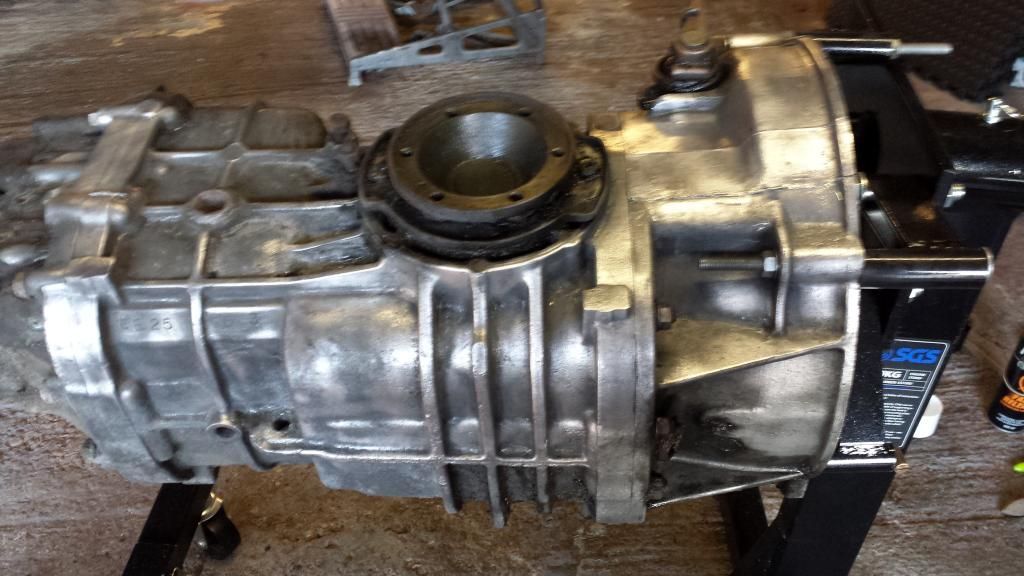
Gradually coming together piece by piece!
awesome work")
awesome work
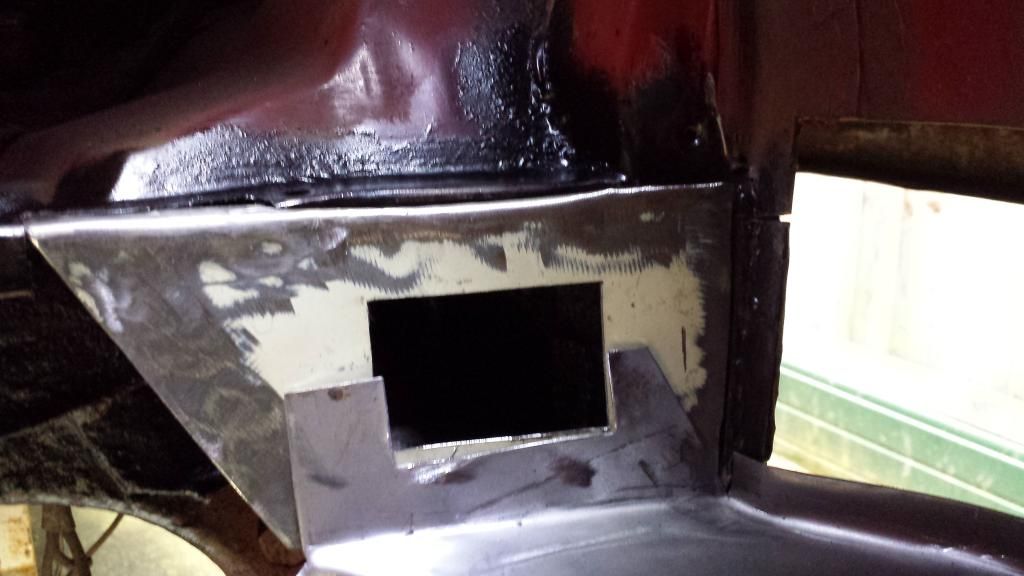
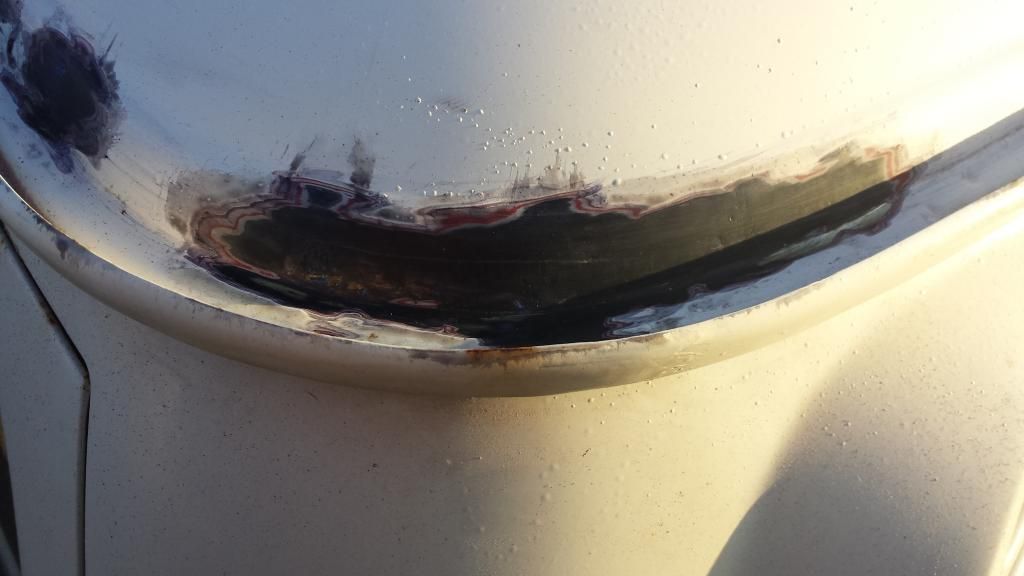
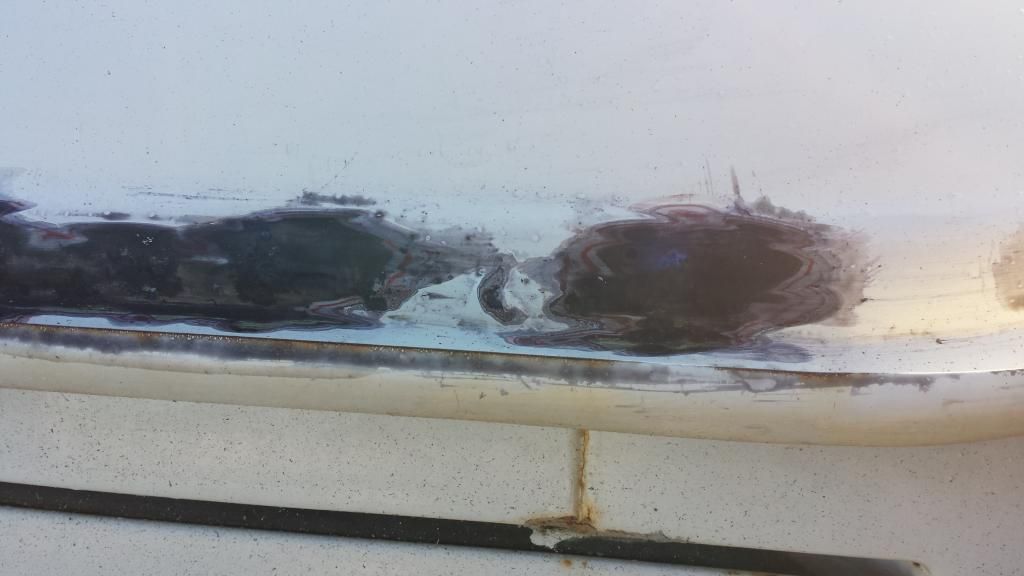
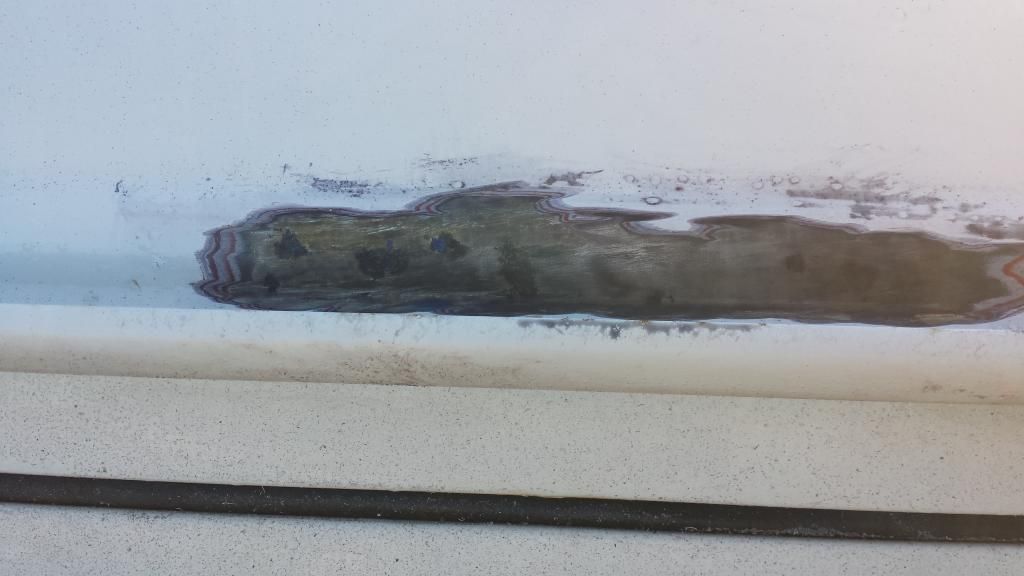
cunning plan said:Great work, nice and tidy!
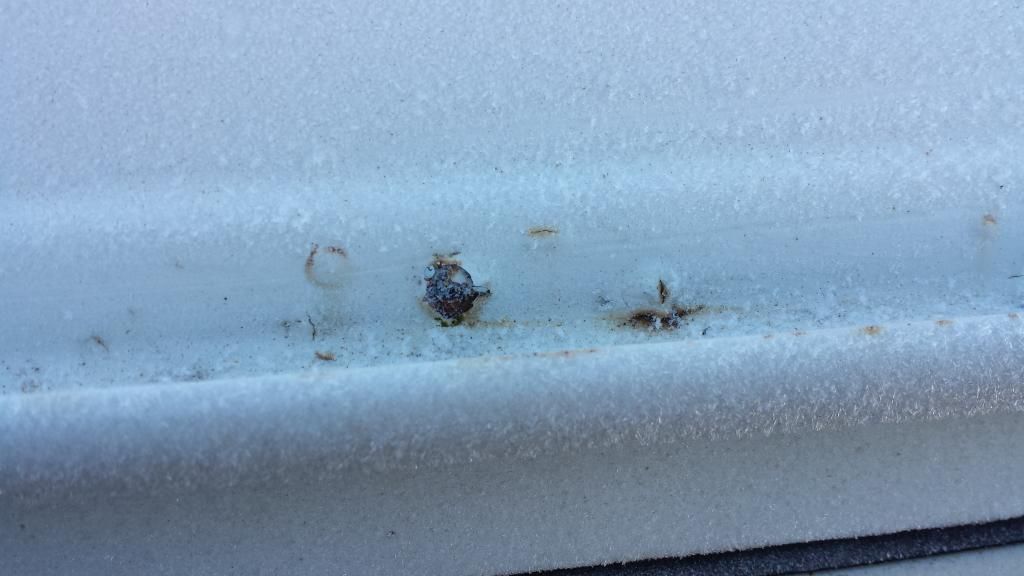
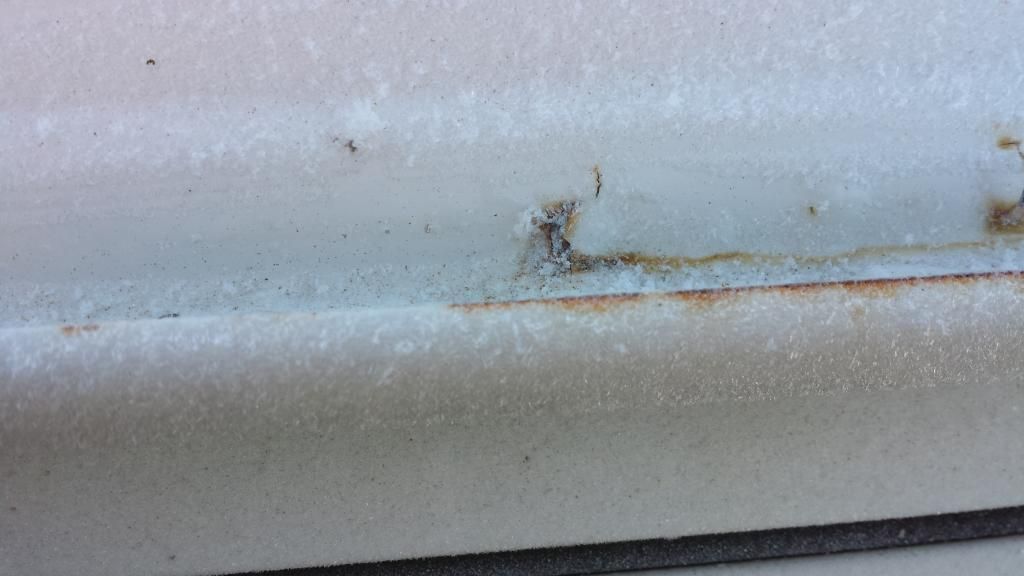
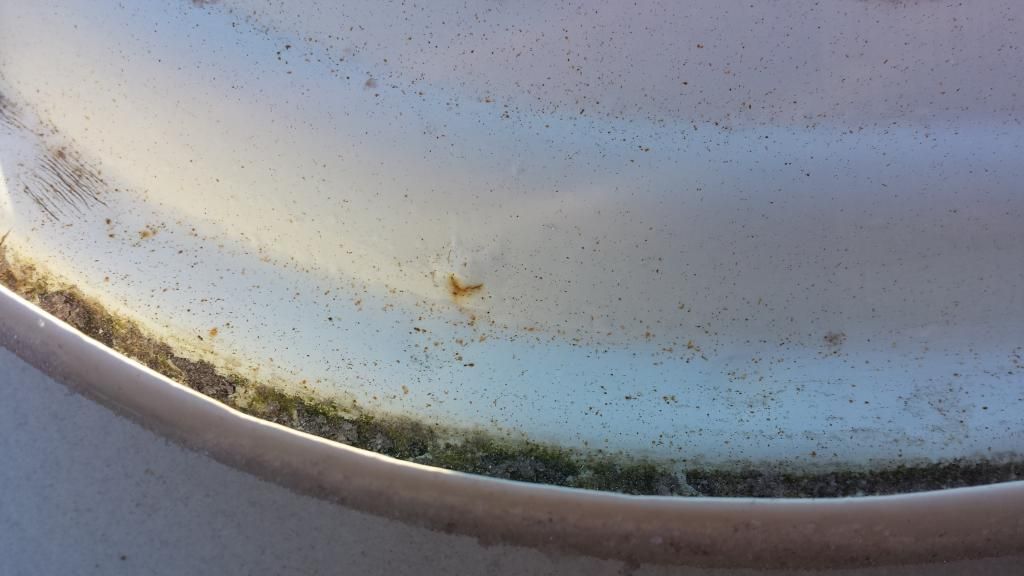
How come you didn't paint / spray / rust-proof the inner box-section whilst you had the rectangle at the top cut-off? :msn4:
Thanks Mike.mike202 said:Gradually coming together piece by piece!
awesome work