gvee George Supporting Member Joined Oct 26, 2010 Messages 3,247 Reaction score 17 Location Leeds Year of Your Van(s) 1971 Van Type Panel Aug 6, 2015 #481 Andy? :sign0001:
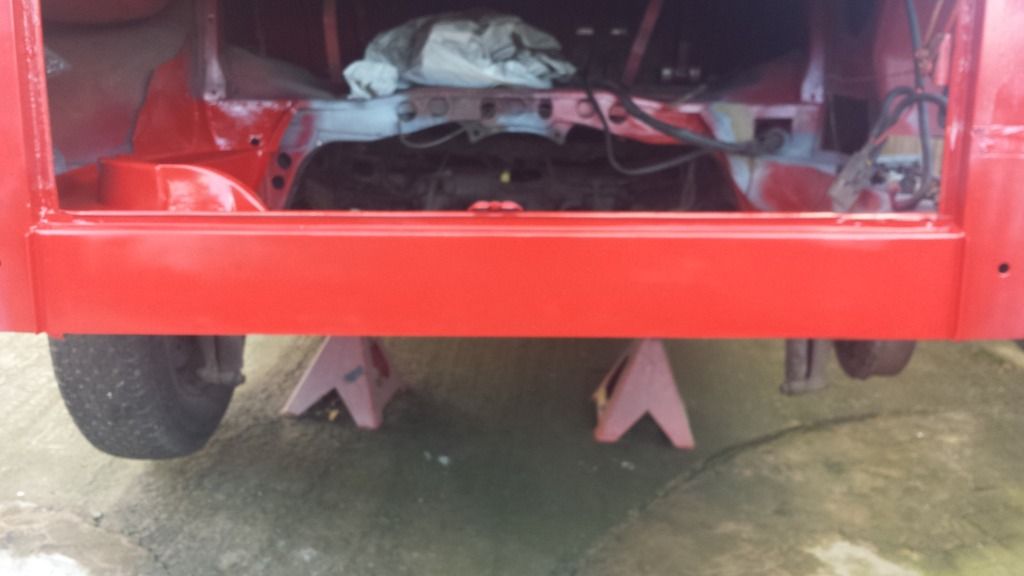
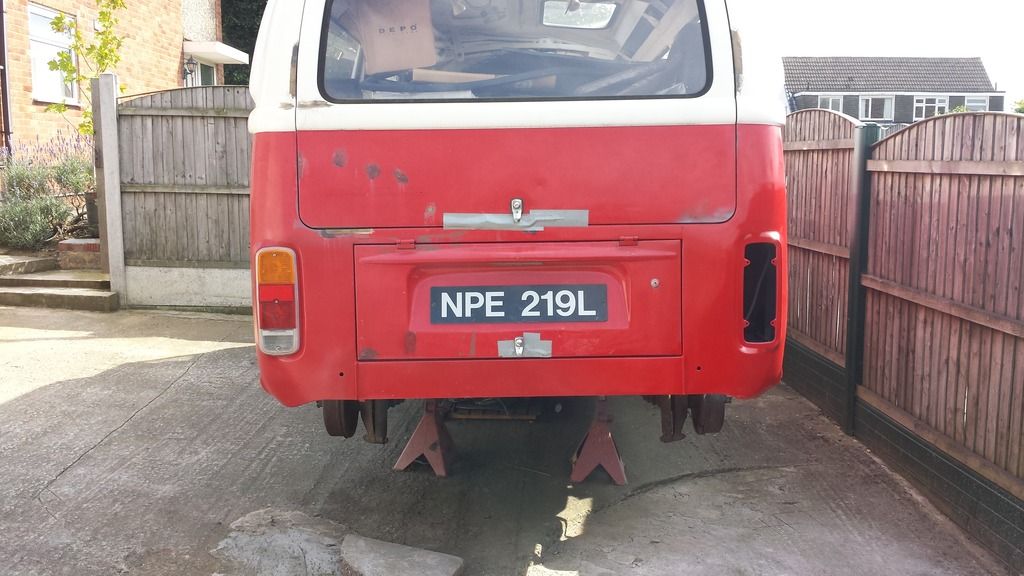
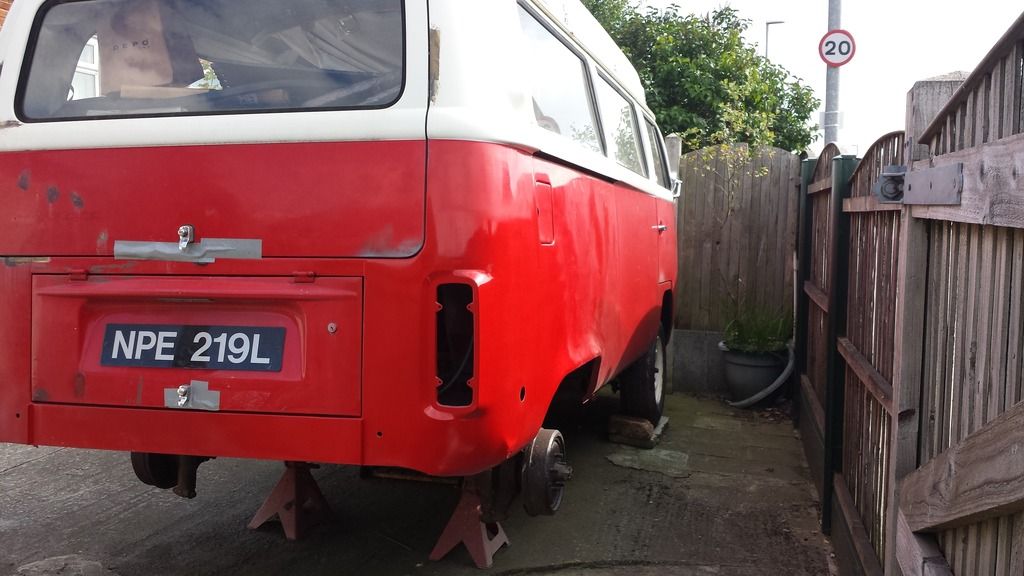
G gninnam Well-known member Joined Oct 5, 2006 Messages 8,284 Reaction score 118 Aug 8, 2015 #482 gvee said: Andy? :sign0001: Click to expand... Still around and still working on the van when I can...... Before Now: Inside the engine bay (near side). Rear shot. Rear quarter.
gvee said: Andy? :sign0001: Click to expand... Still around and still working on the van when I can...... Before Now: Inside the engine bay (near side). Rear shot. Rear quarter.
71Dormobile Well-known member Joined Oct 10, 2006 Messages 532 Reaction score 1 Location SWales Aug 9, 2015 #483 Nice work are you in the finish straight, looking forward to seeing this Dormy on the road
sparkywig Administrator Staff member Administrator Moderator Supporting Member Joined Feb 9, 2008 Messages 13,064 Reaction score 2,136 Location mostly here, sometimes there Aug 9, 2015 #484
W woz Well-known member Supporting Member Joined Nov 13, 2012 Messages 261 Reaction score 0 Aug 10, 2015 #485 Nice work. Woz
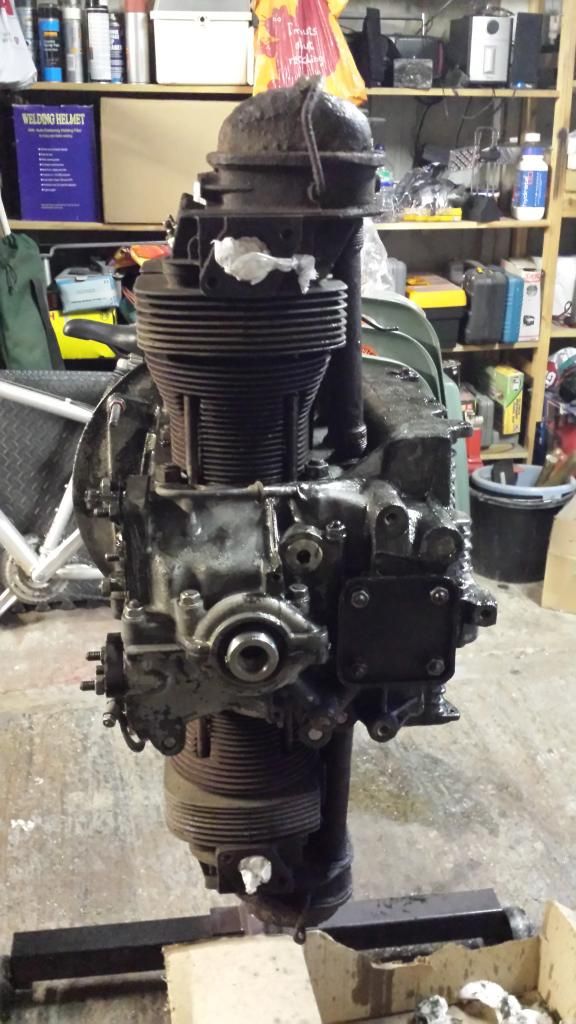
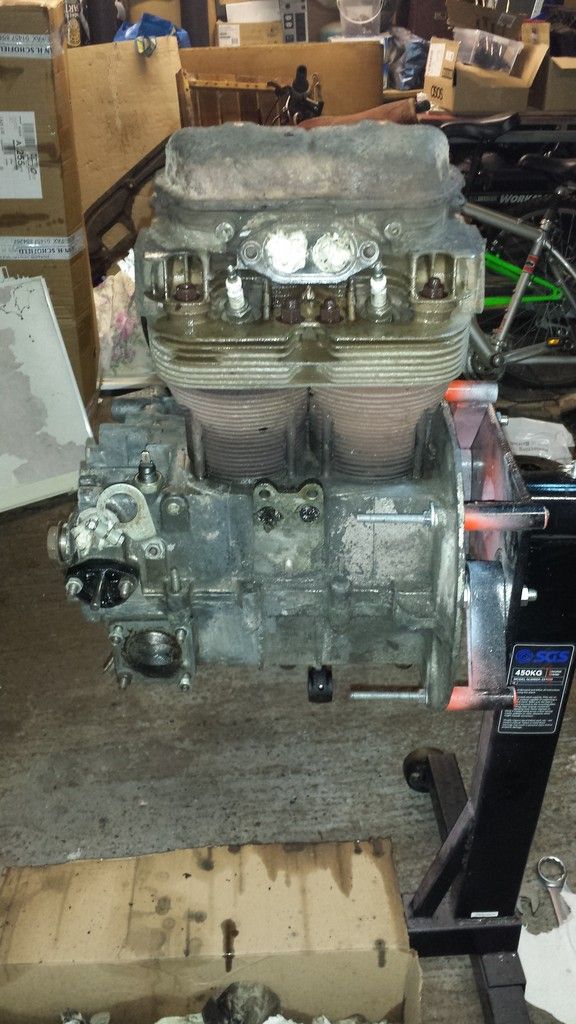
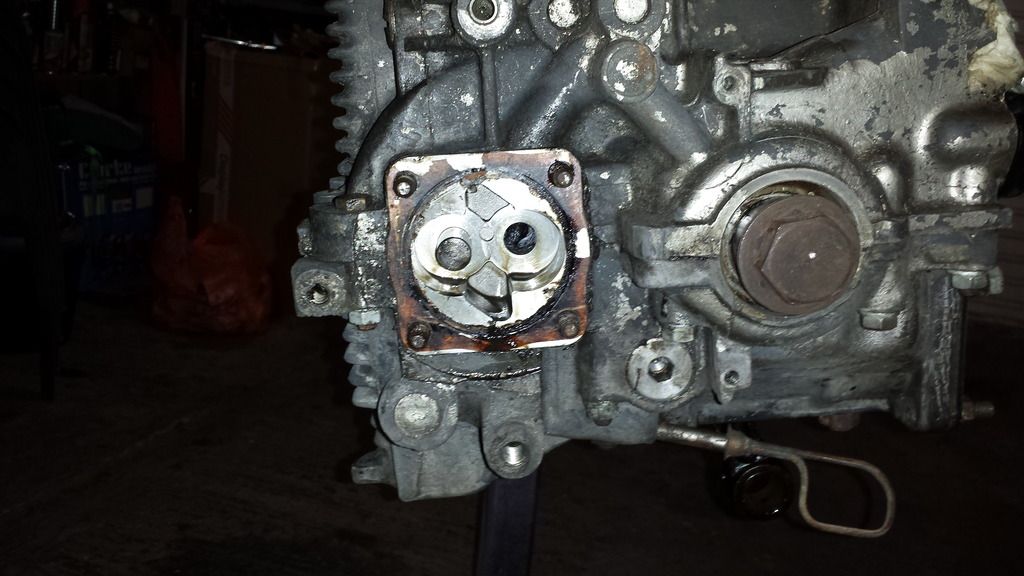
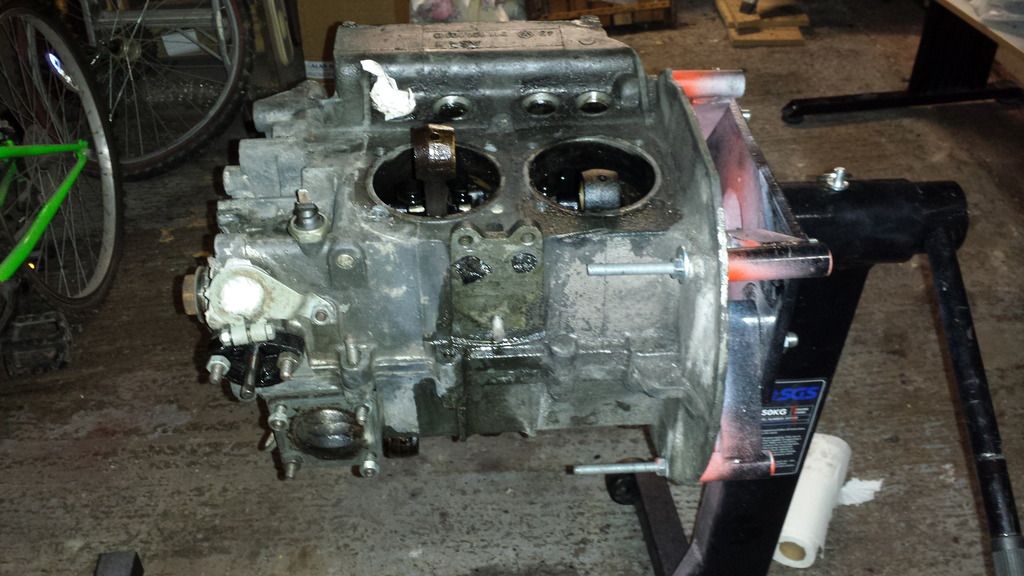
G gninnam Well-known member Joined Oct 5, 2006 Messages 8,284 Reaction score 118 Sep 2, 2015 #486 Cheers all. OK - going to update with what has been happening on the van over the last few months. This is so my journal is more complete Here goes then: Update 06.03.2015 Got a torque converter guismo so I could remove the nut holding the flywheel on so got it mounted on the engine stand and started to strip down more: Pretty boring to look at but....
Cheers all. OK - going to update with what has been happening on the van over the last few months. This is so my journal is more complete Here goes then: Update 06.03.2015 Got a torque converter guismo so I could remove the nut holding the flywheel on so got it mounted on the engine stand and started to strip down more: Pretty boring to look at but....
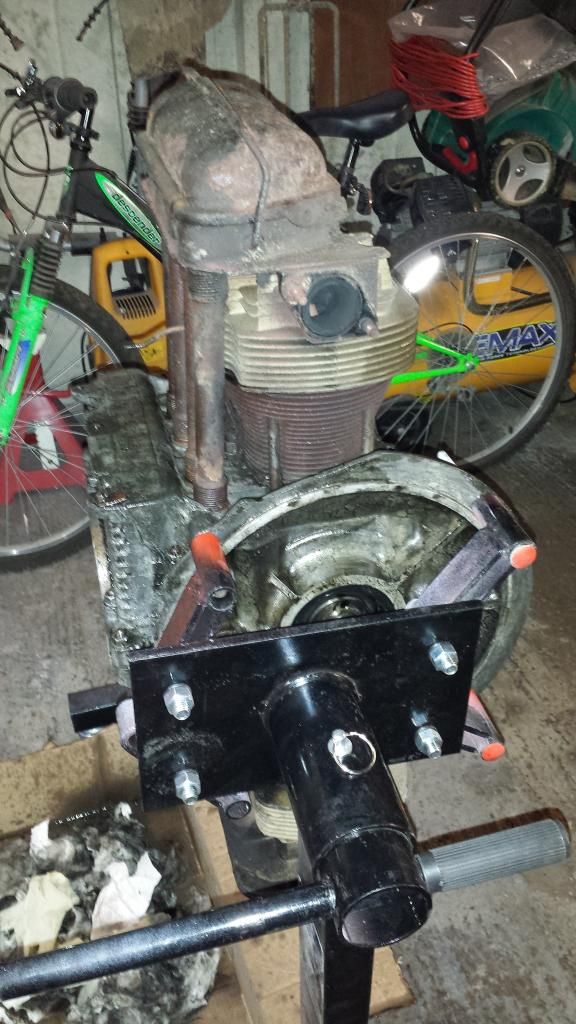
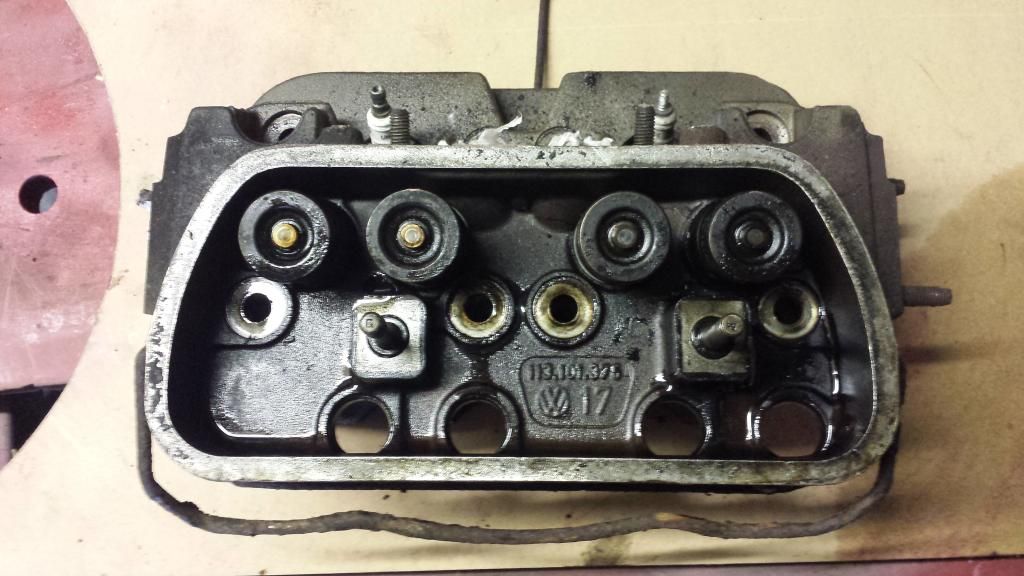
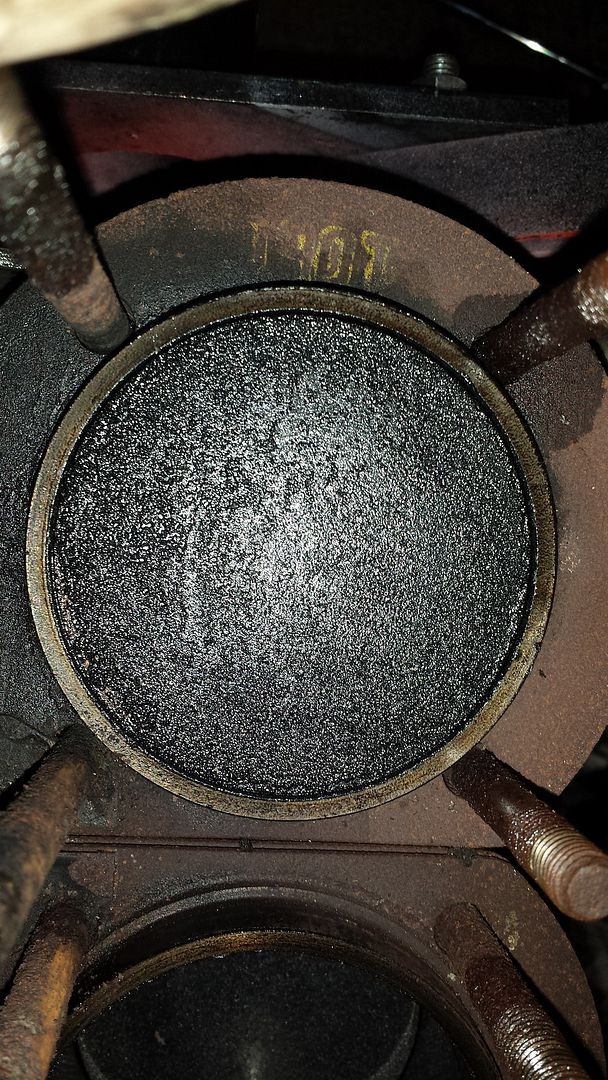
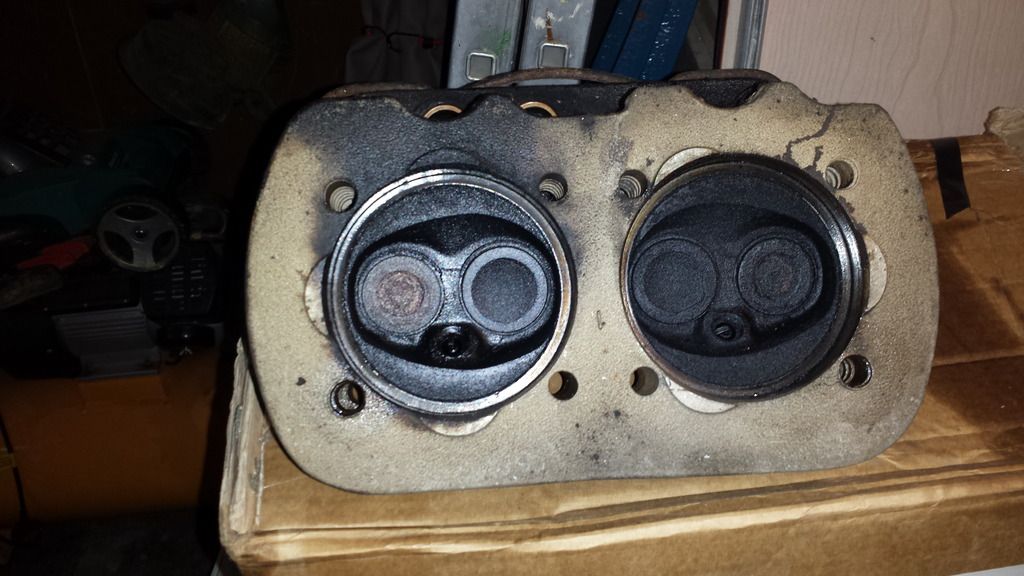
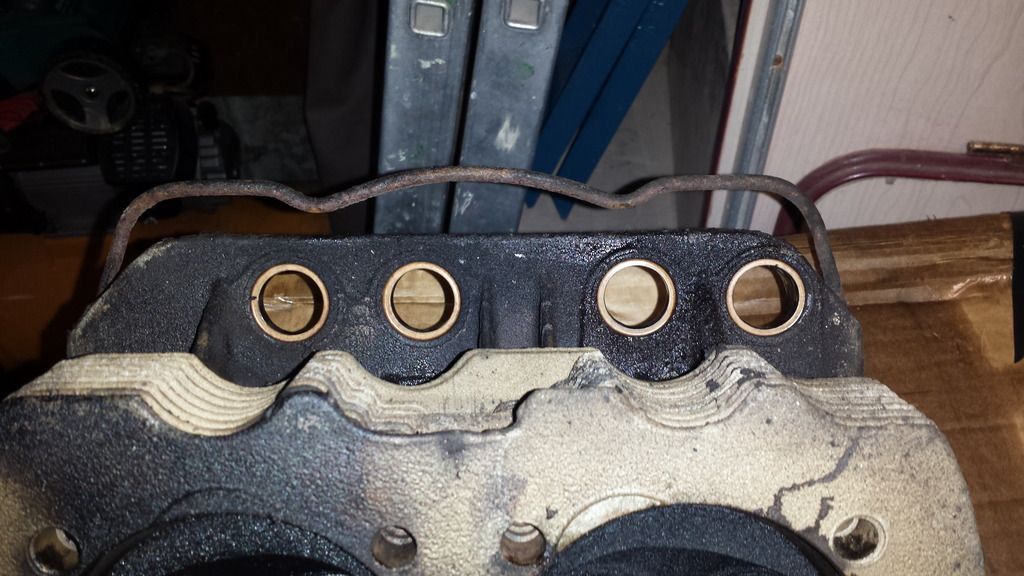
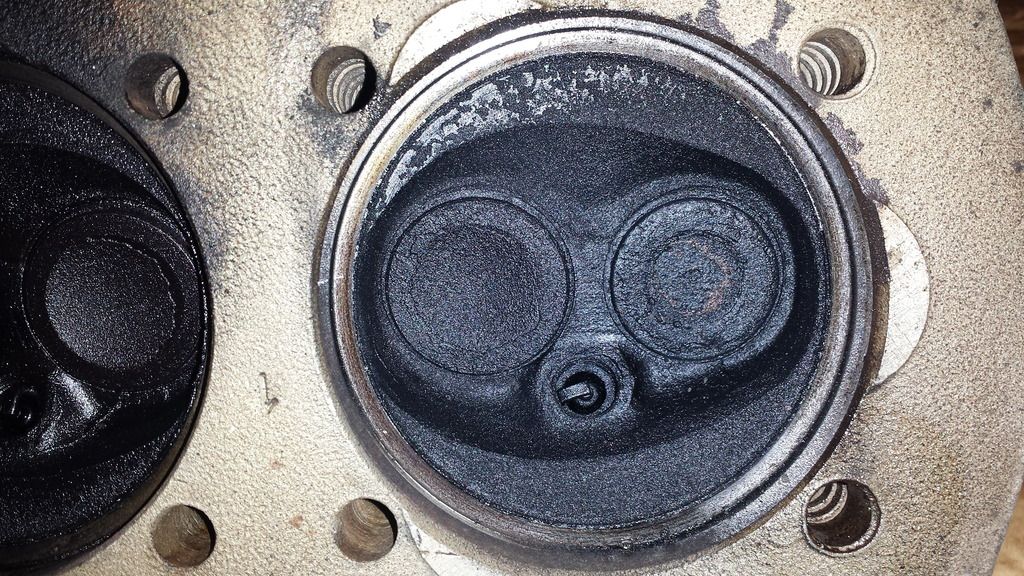
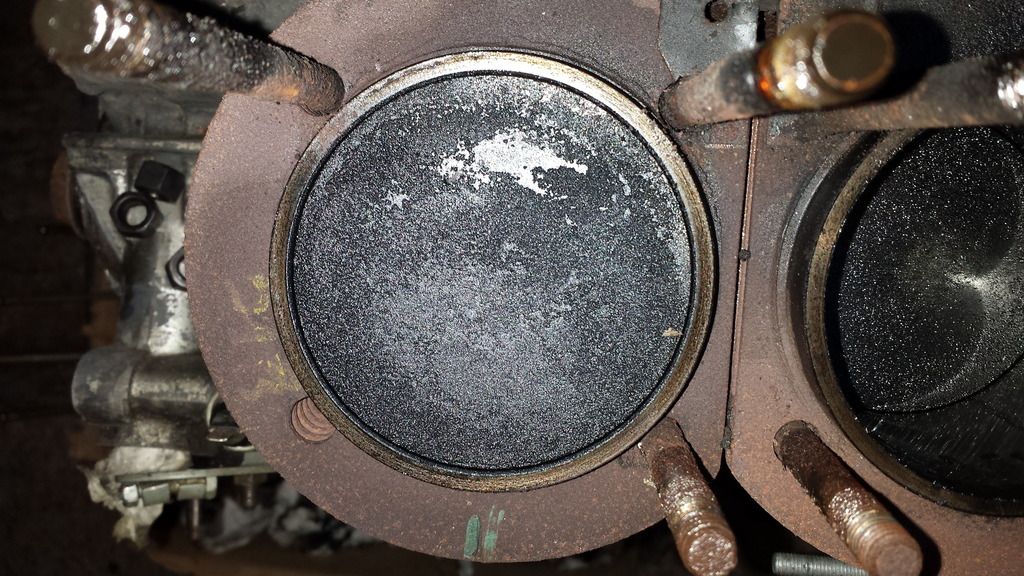
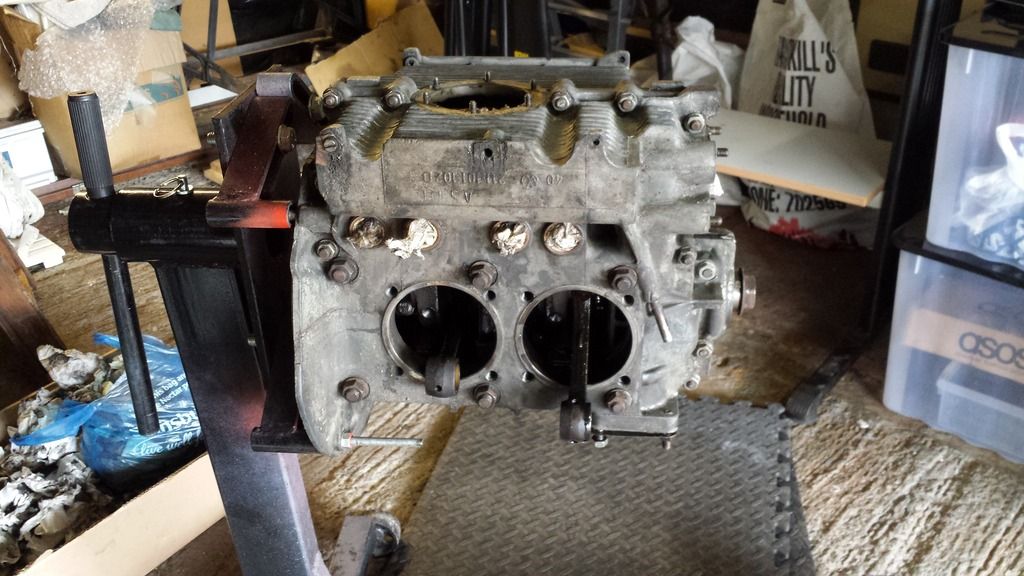
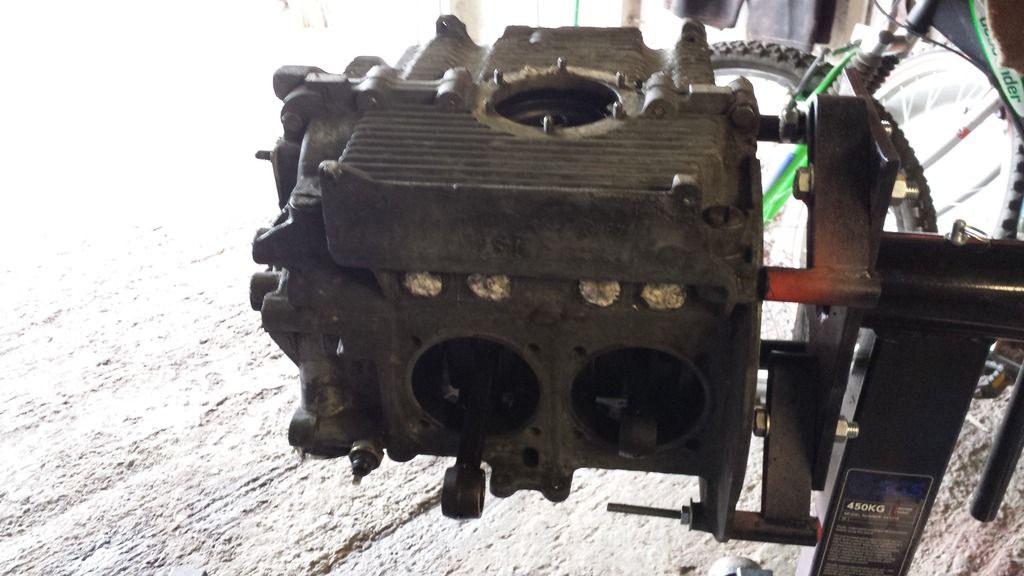
G gninnam Well-known member Joined Oct 5, 2006 Messages 8,284 Reaction score 118 Sep 2, 2015 #487 07.03.2015 Heads off, barrels off and a good look at what we have. Some coking but not to bad:
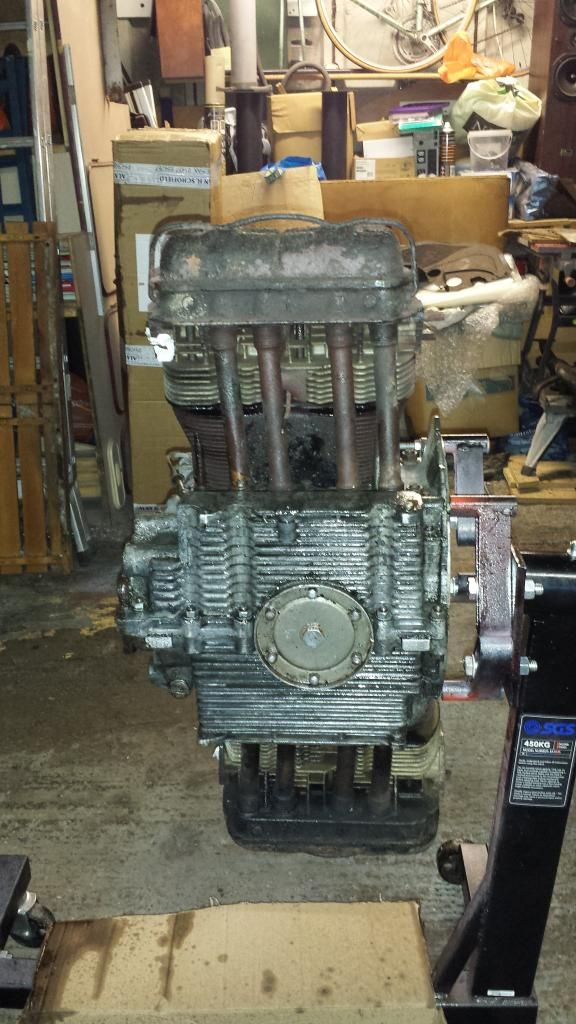
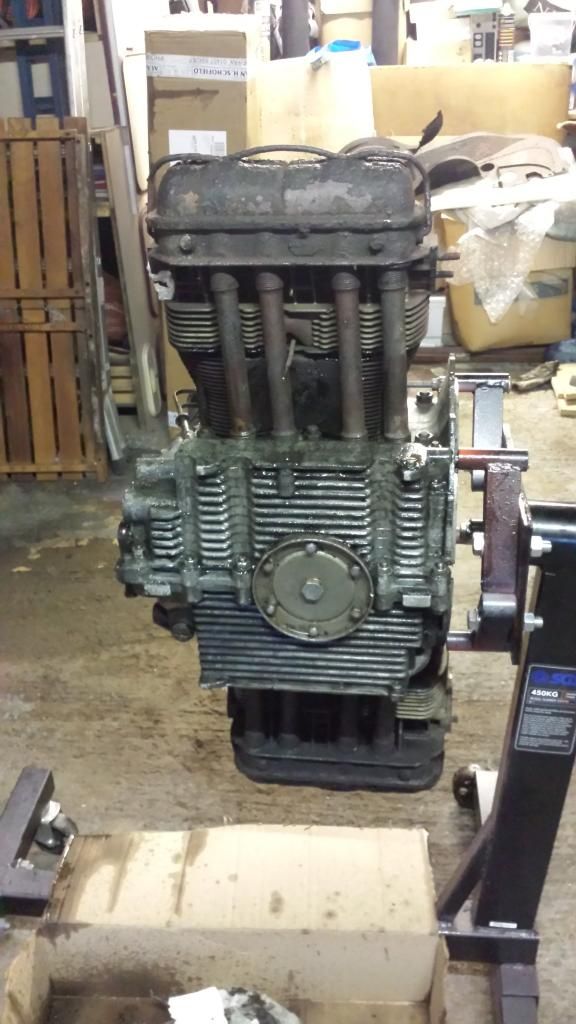
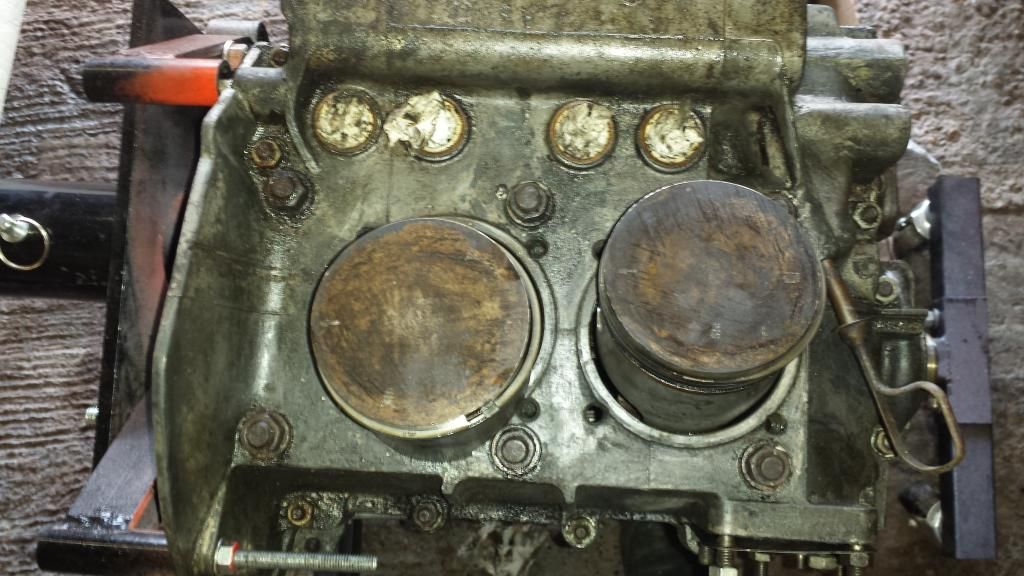
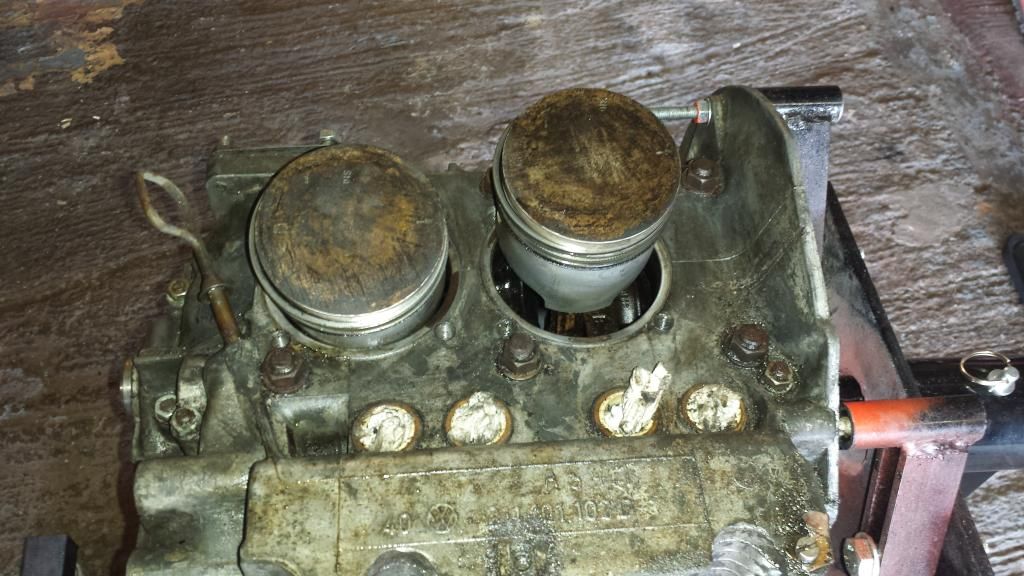
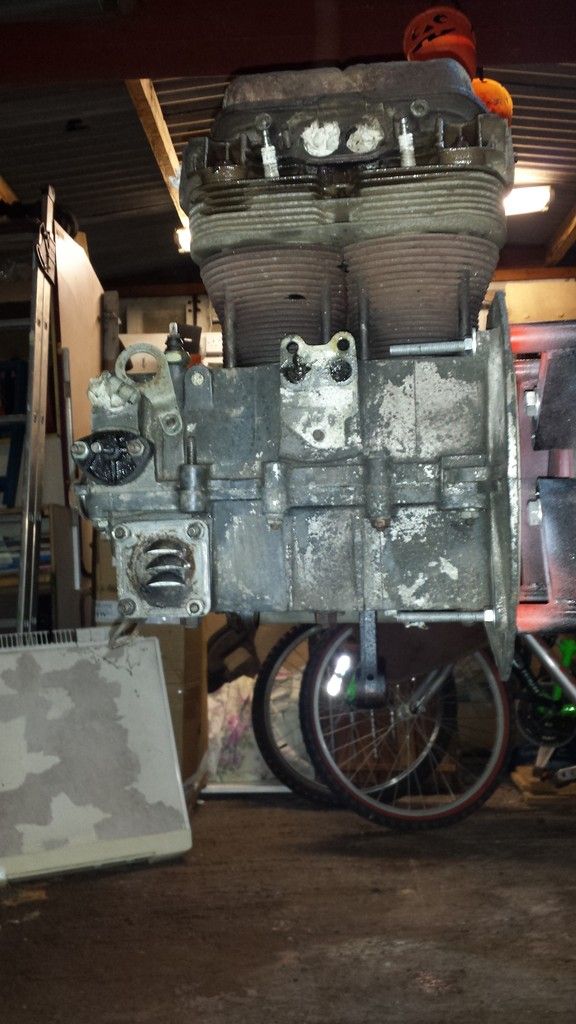
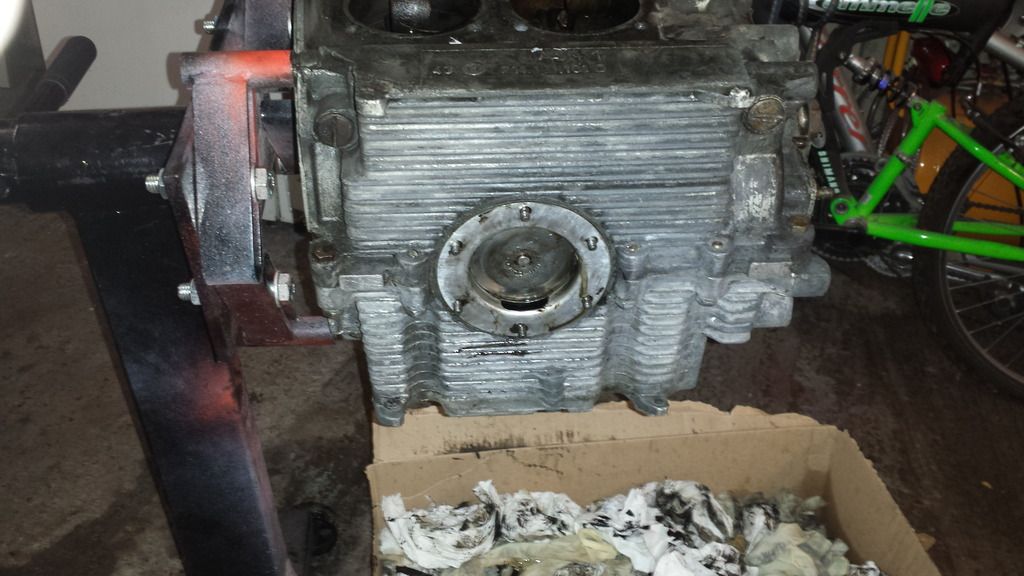
G gninnam Well-known member Joined Oct 5, 2006 Messages 8,284 Reaction score 118 Sep 2, 2015 #488 16.03.2015 A few more of the engine and state of..
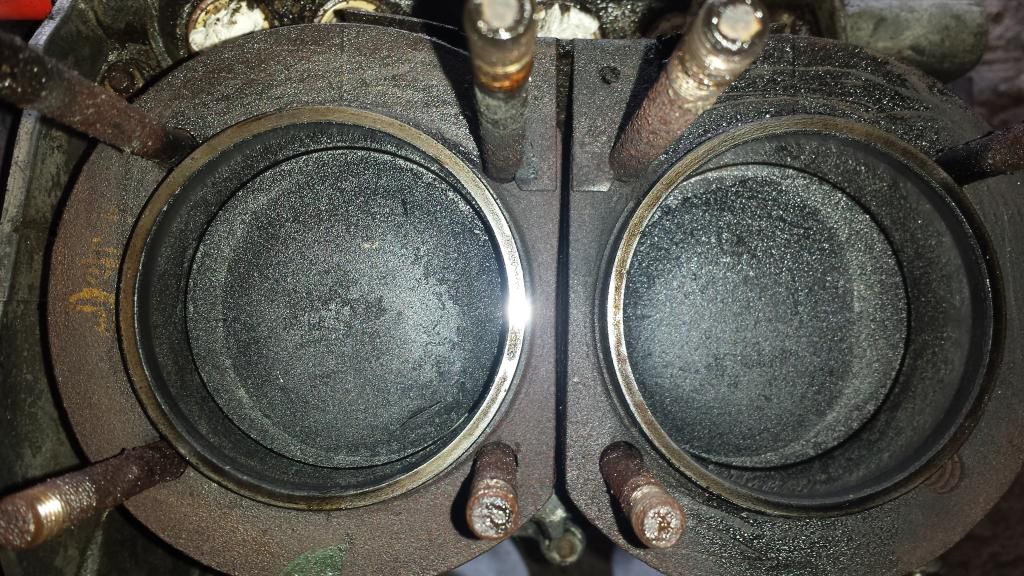
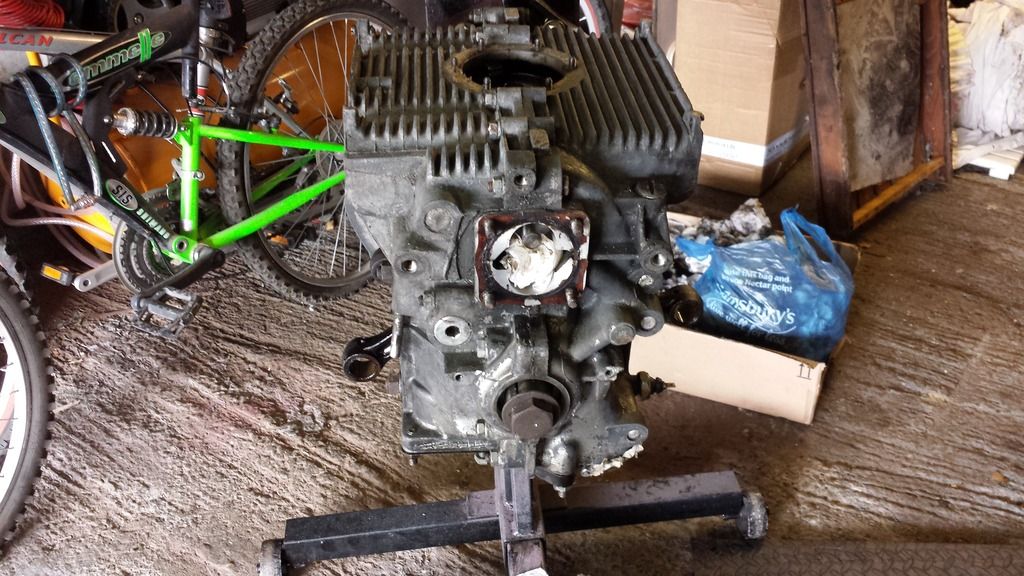
G gninnam Well-known member Joined Oct 5, 2006 Messages 8,284 Reaction score 118 Sep 2, 2015 #489 18.03.2015 Ok - so heads and barrels off. Oil pump will be next but I have no puller so will wait a bit longer. Started to clean the case. End float appears to be really good to, will emasure soon properly.
18.03.2015 Ok - so heads and barrels off. Oil pump will be next but I have no puller so will wait a bit longer. Started to clean the case. End float appears to be really good to, will emasure soon properly.
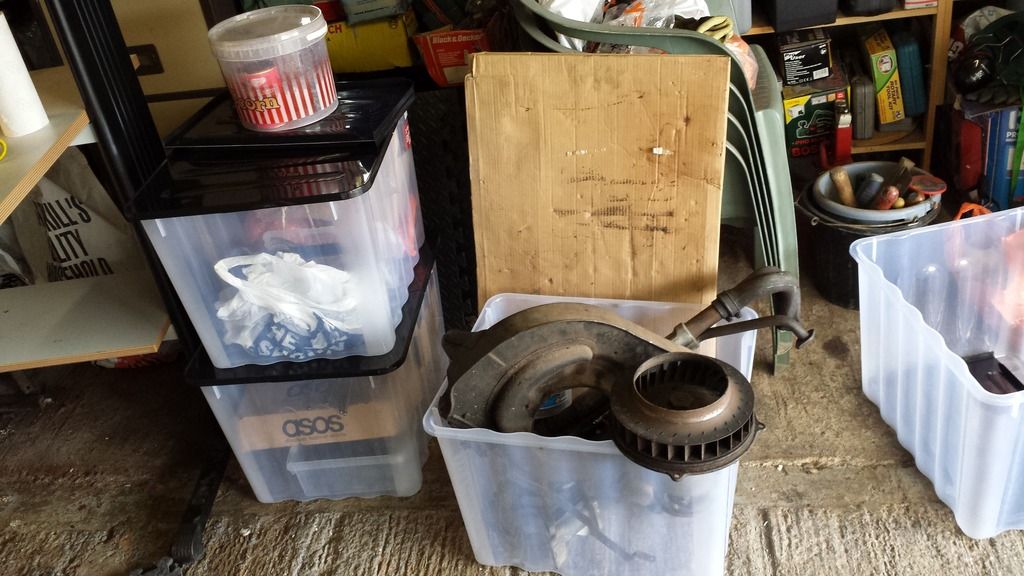
G gninnam Well-known member Joined Oct 5, 2006 Messages 8,284 Reaction score 118 Sep 2, 2015 #490 21.03.2015 Bought some plastic bins to keep the bits taken off the engine in: Let the cleaning commence... (I am now bored but wanting to keep a record of what has gone on )
21.03.2015 Bought some plastic bins to keep the bits taken off the engine in: Let the cleaning commence... (I am now bored but wanting to keep a record of what has gone on )
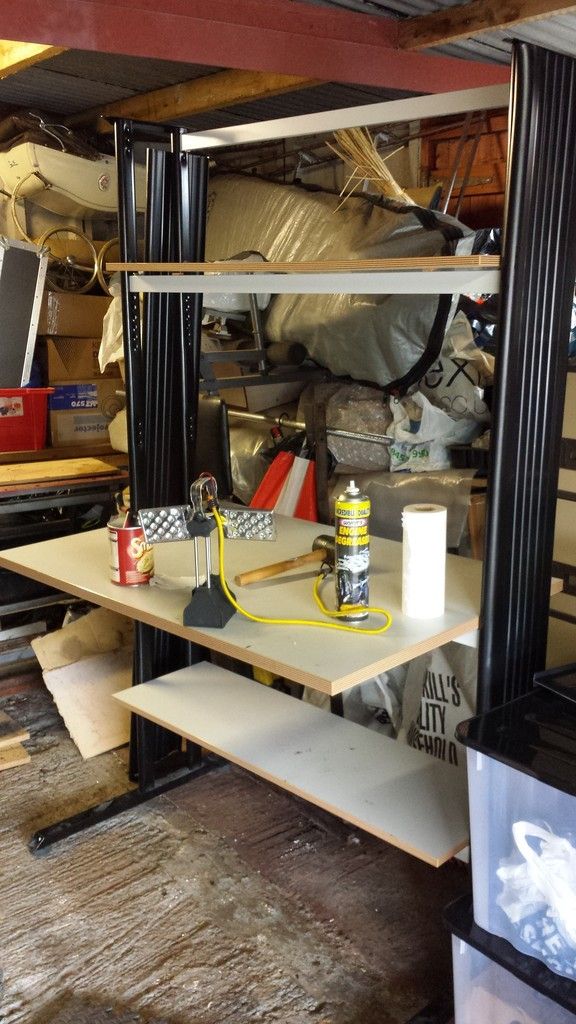
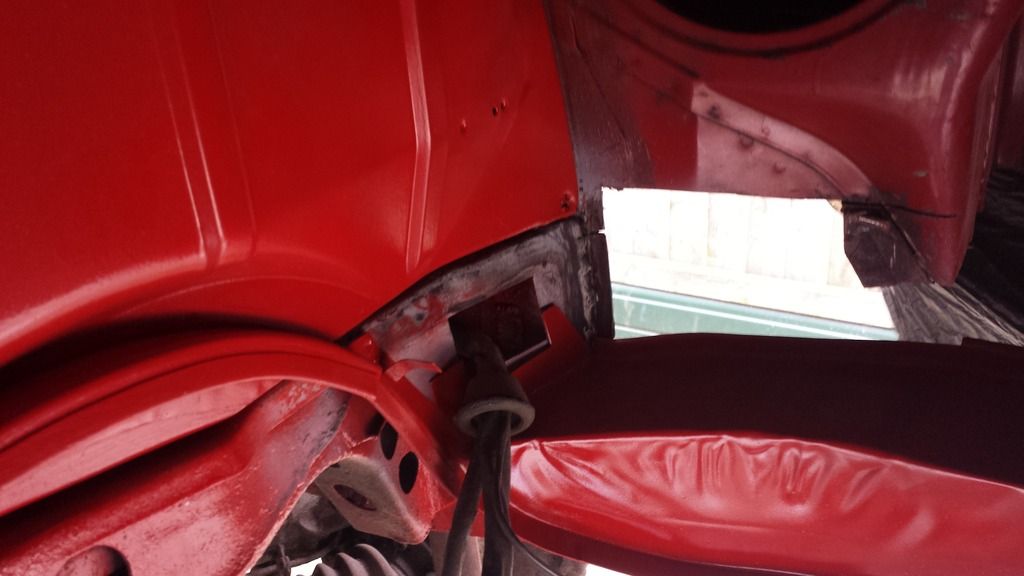
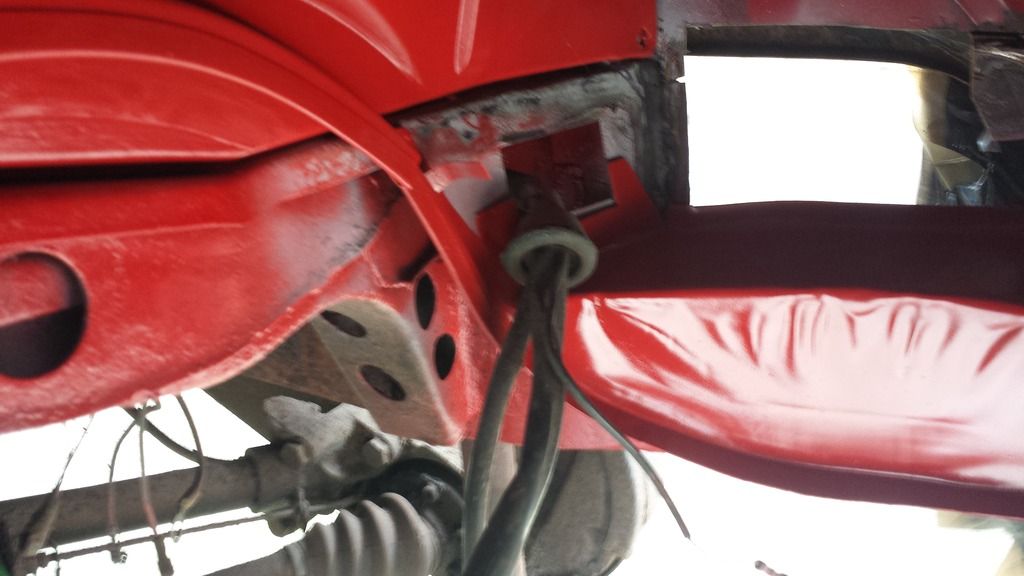
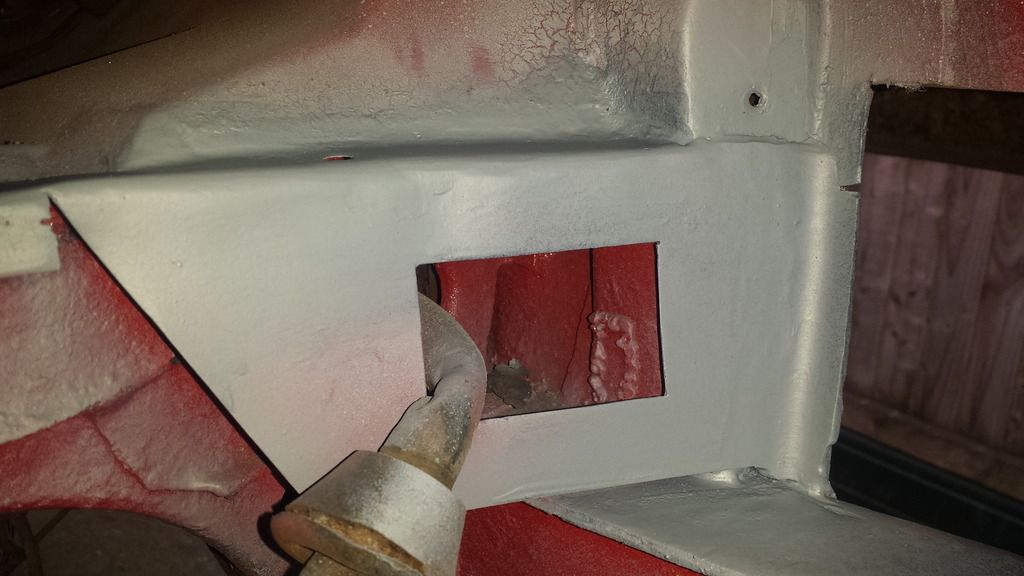
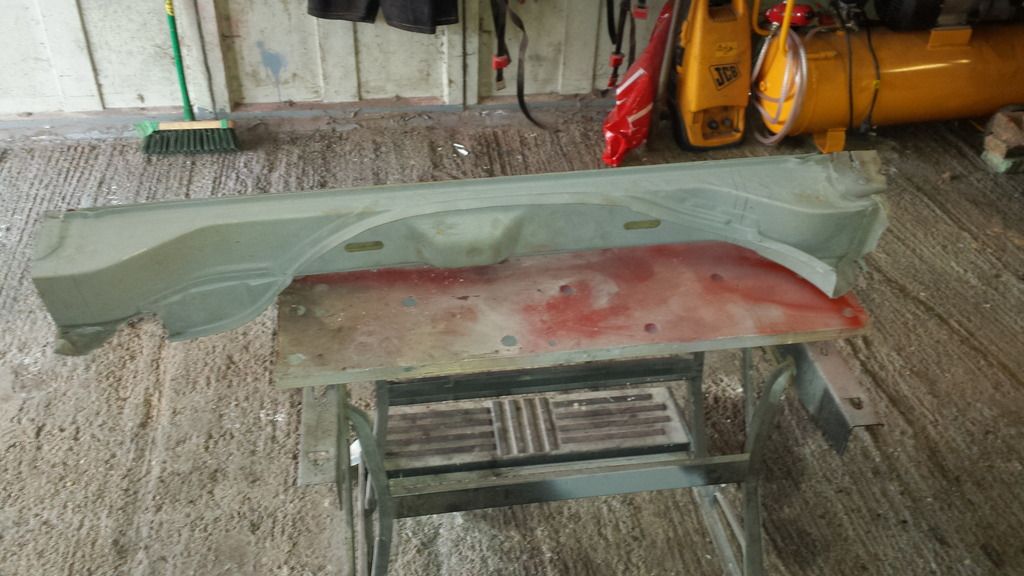
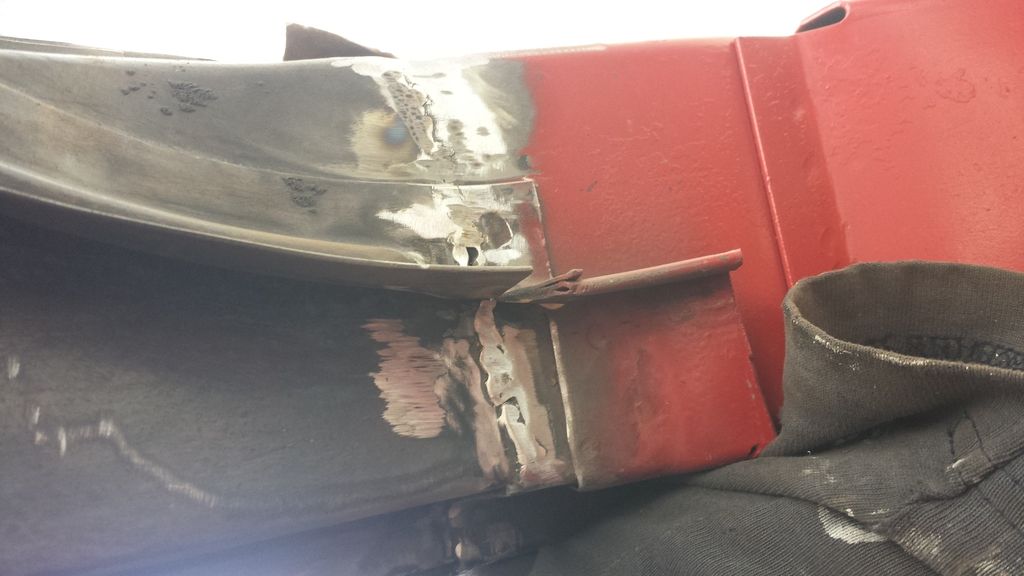
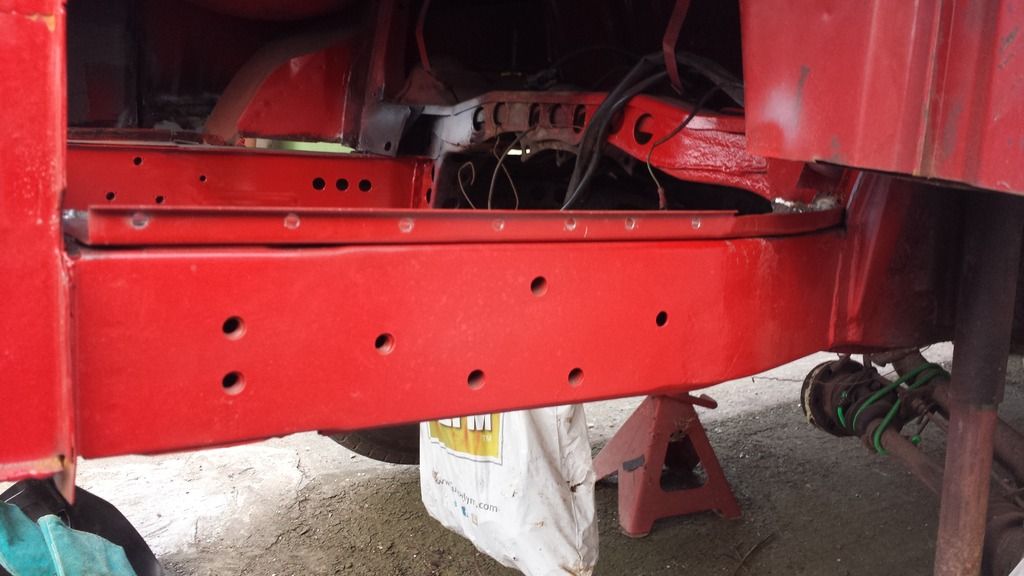
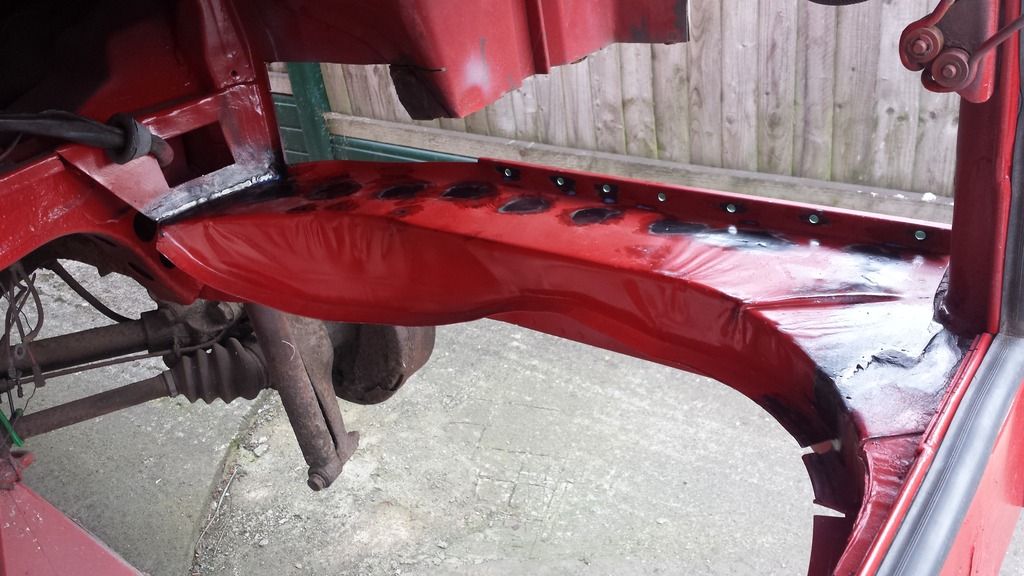
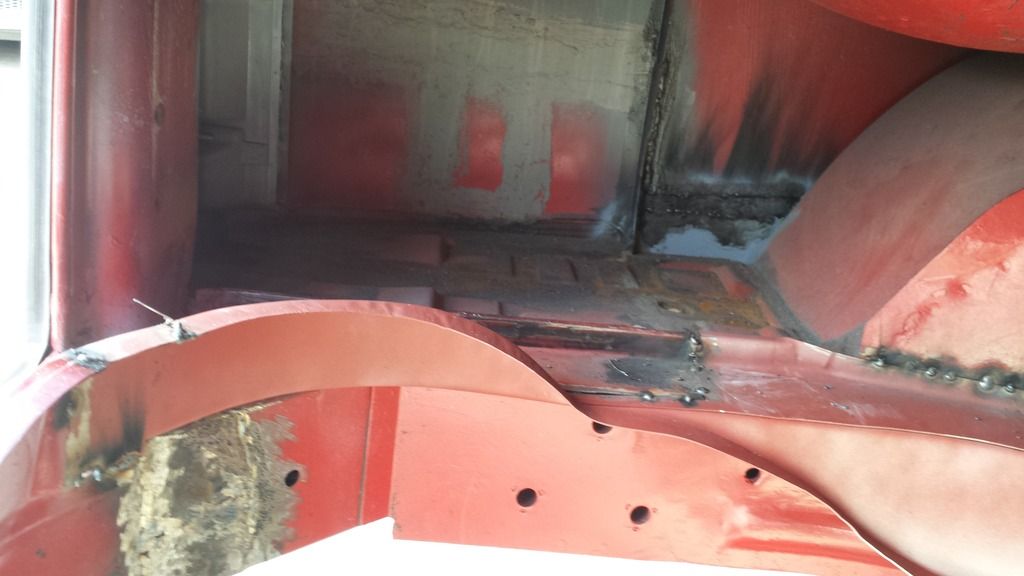
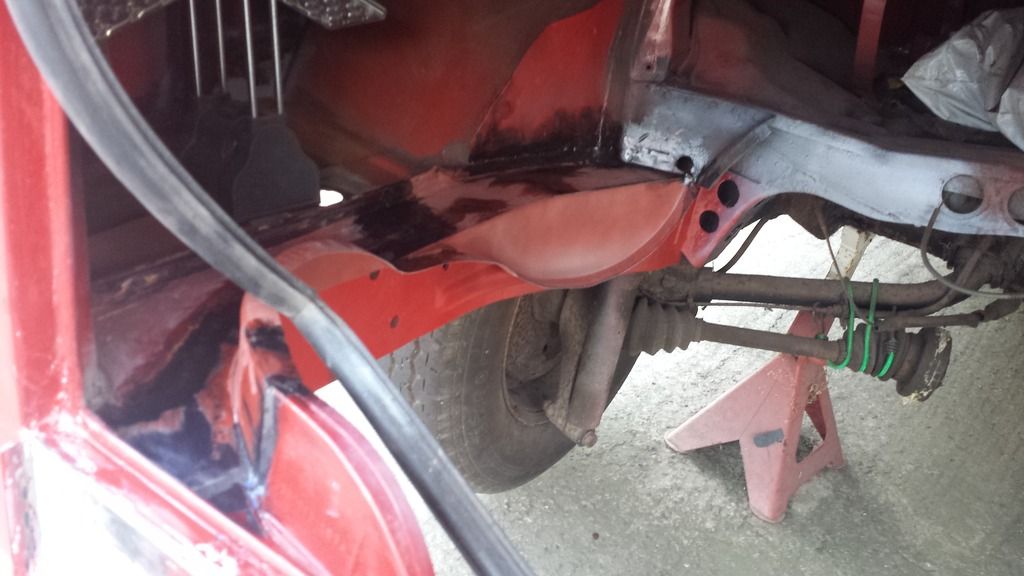
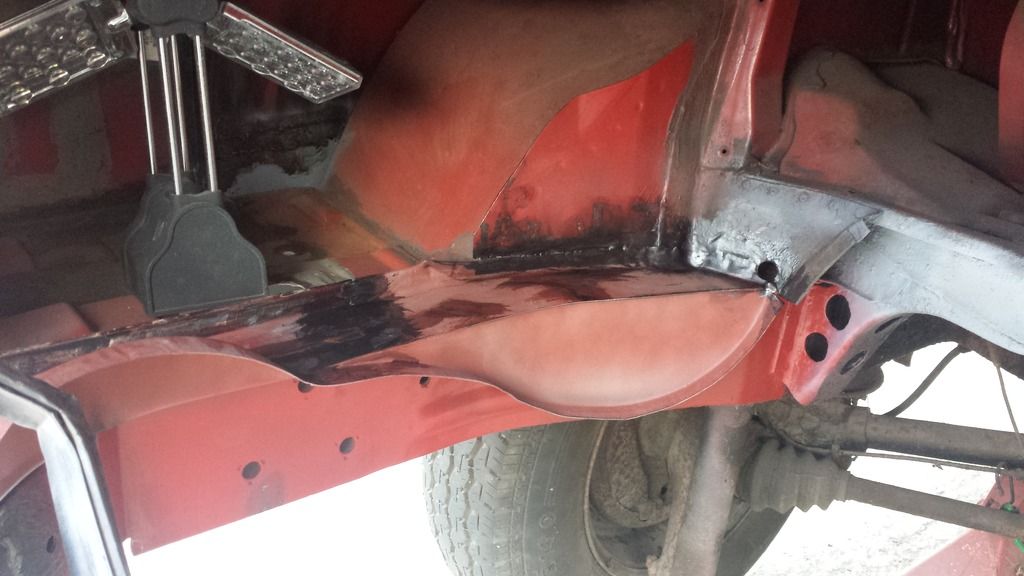
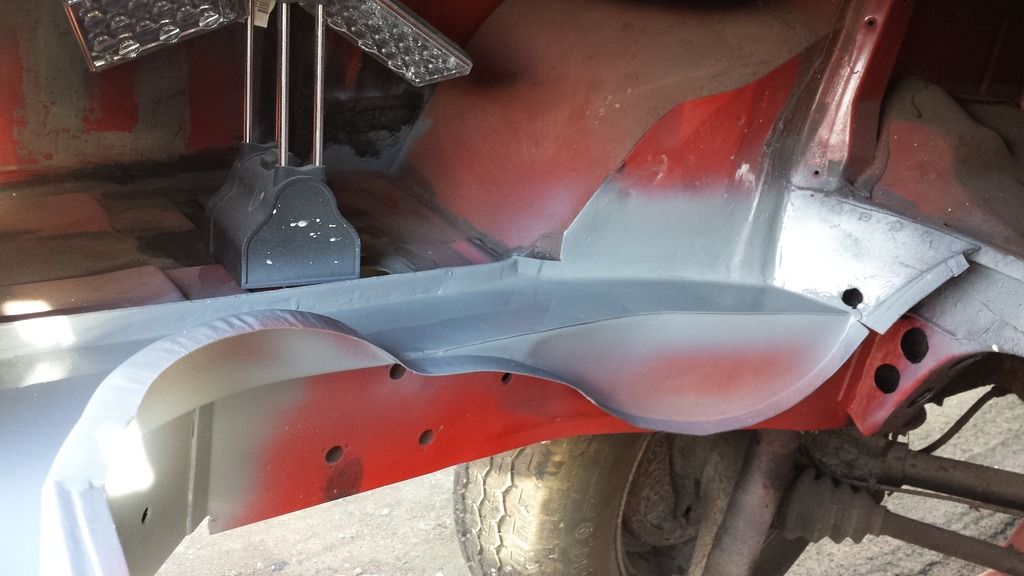
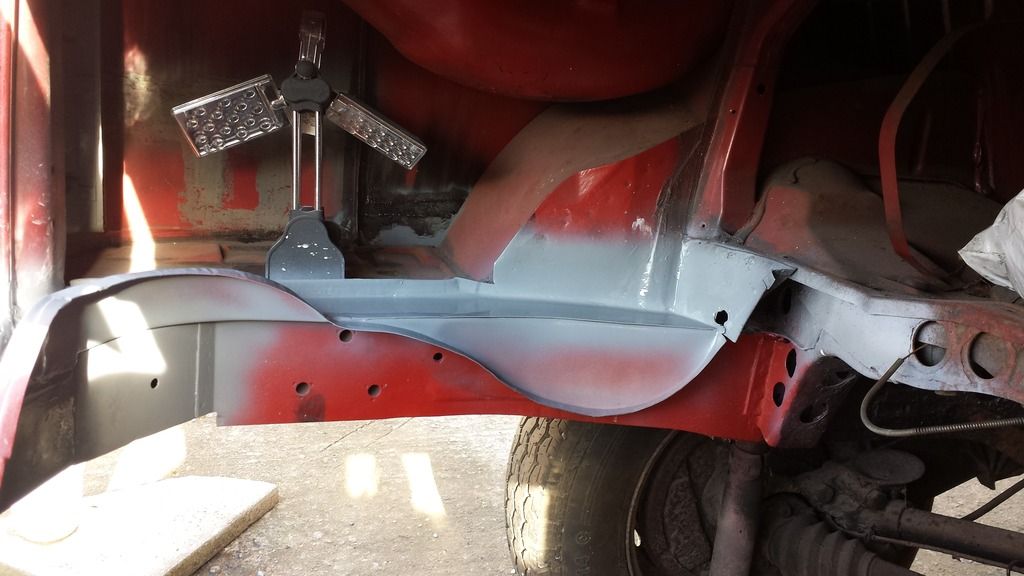
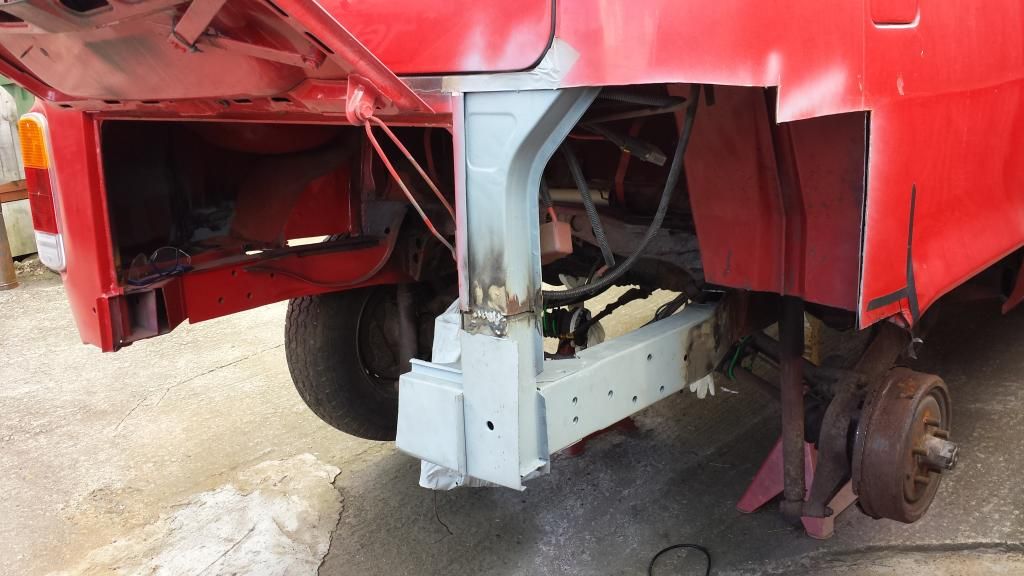
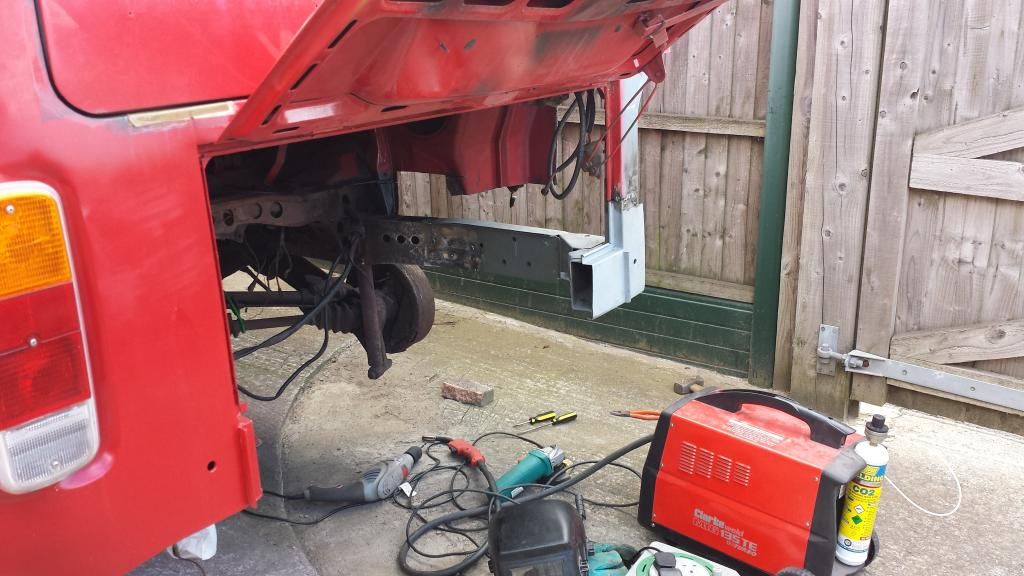
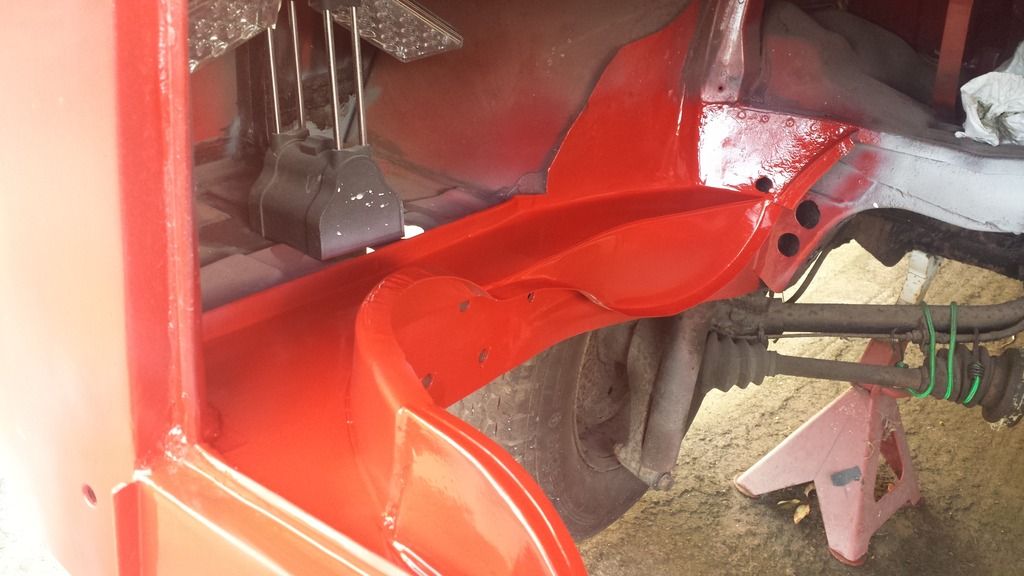
G gninnam Well-known member Joined Oct 5, 2006 Messages 8,284 Reaction score 118 Sep 2, 2015 #491 10.05.2015 Weather turning good so need to crack on with the body again. Started to prepare the piece that goes over the chassis leg and allows the rubber seal to attach for the off-side. A few piccies
10.05.2015 Weather turning good so need to crack on with the body again. Started to prepare the piece that goes over the chassis leg and allows the rubber seal to attach for the off-side. A few piccies
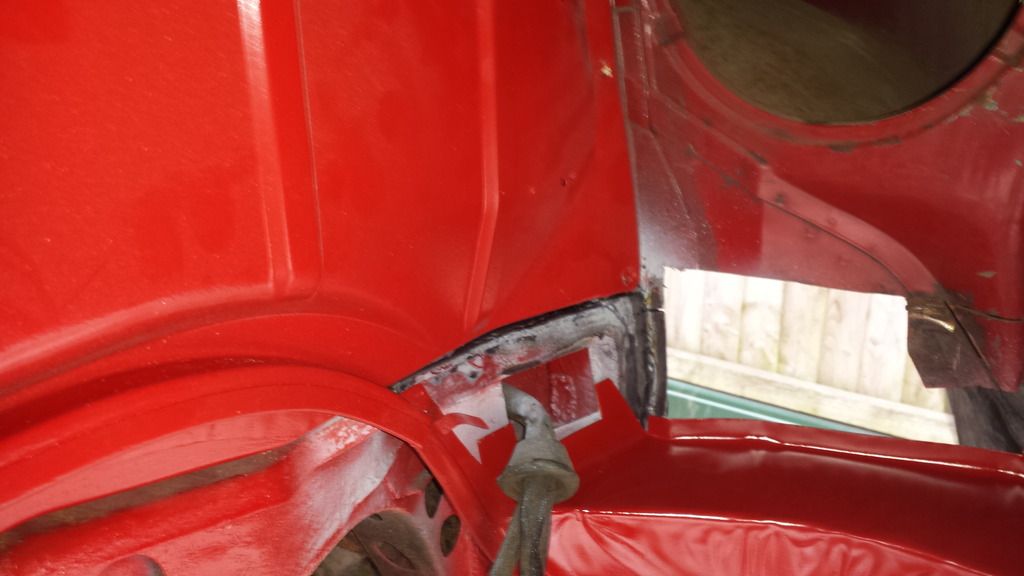
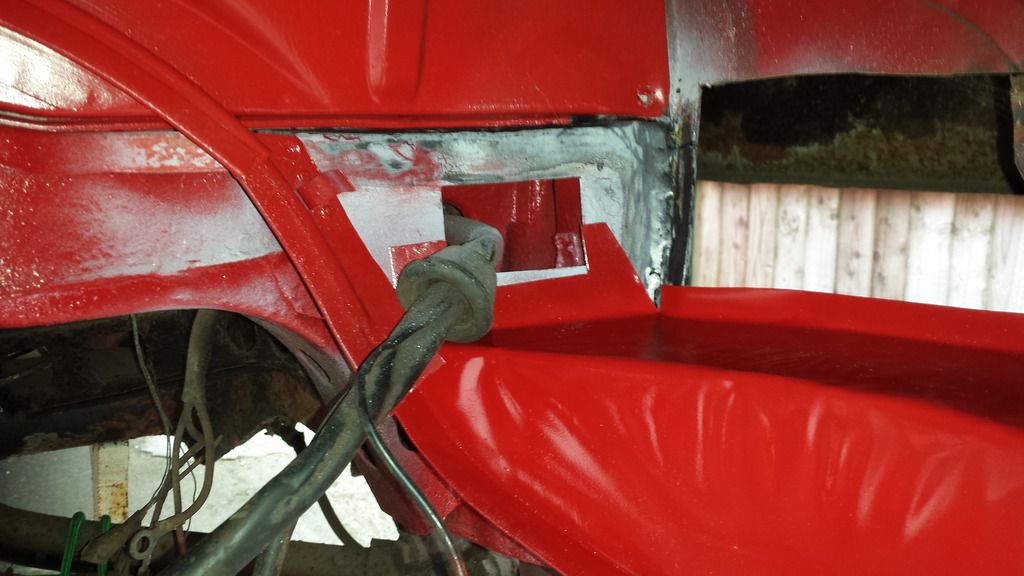
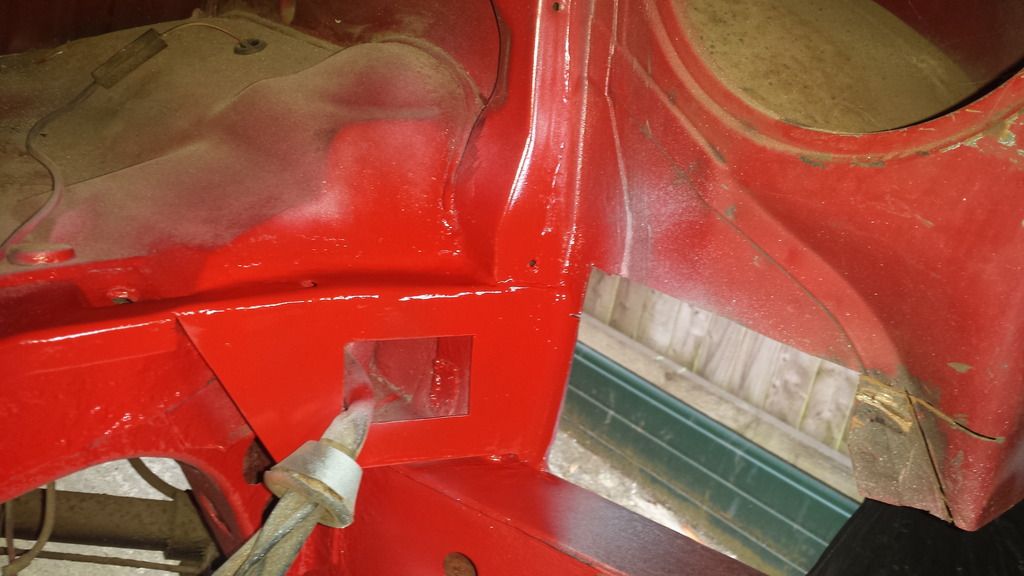
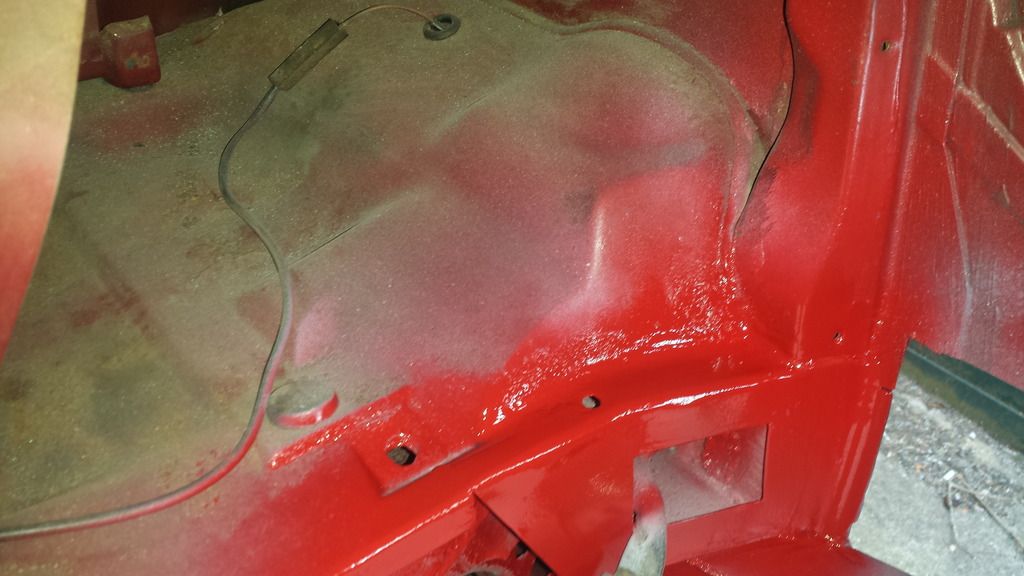
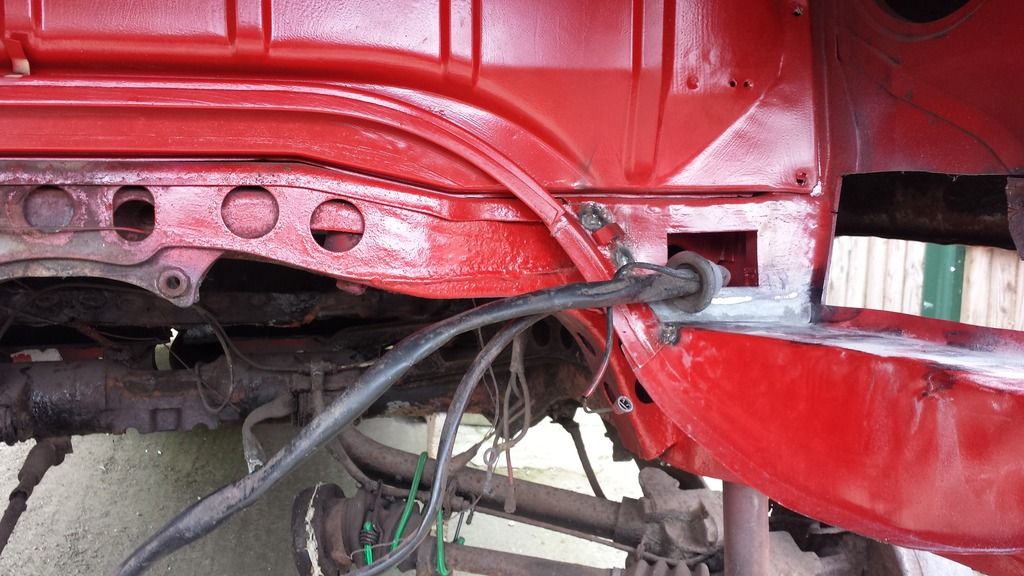
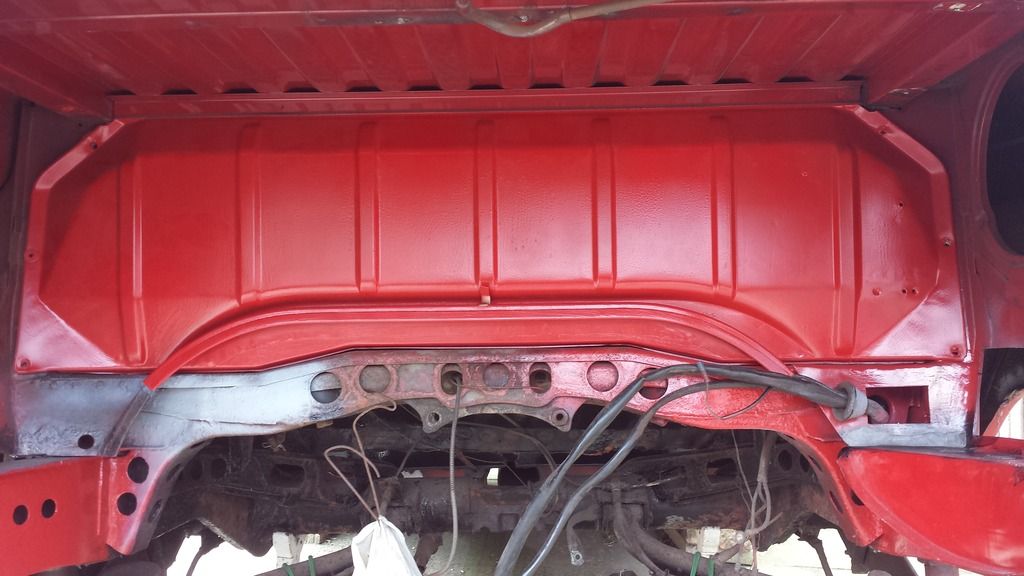
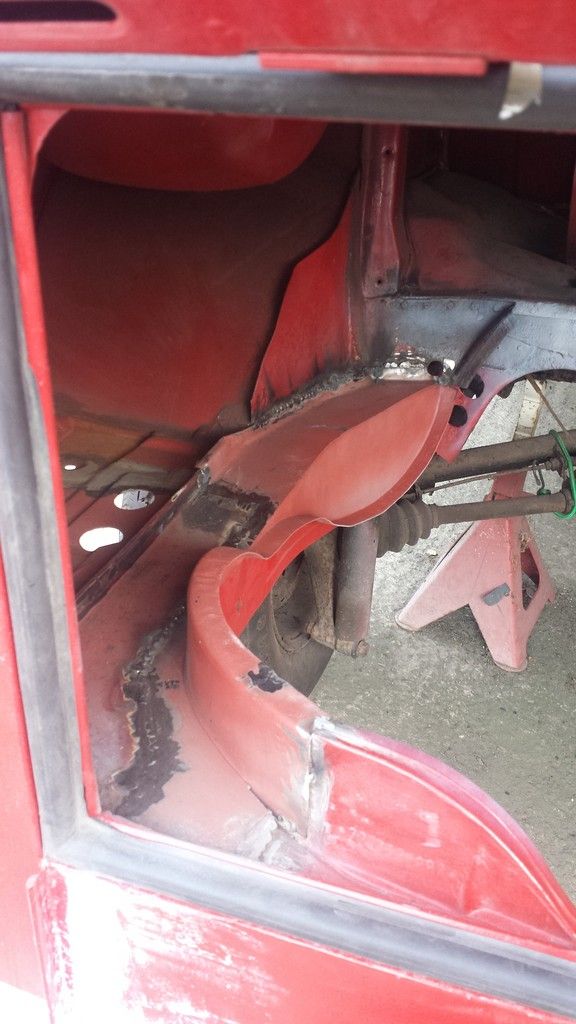
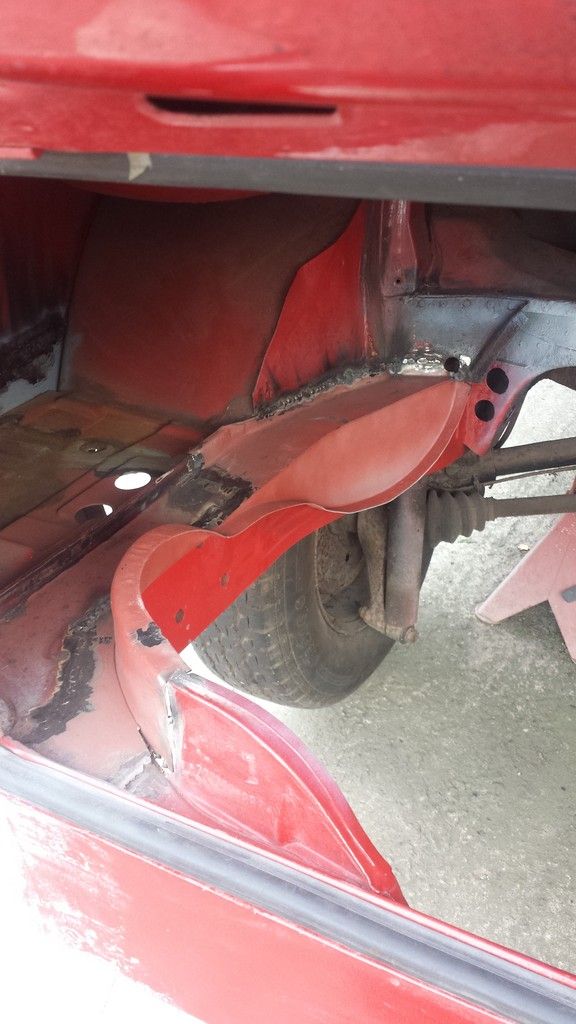
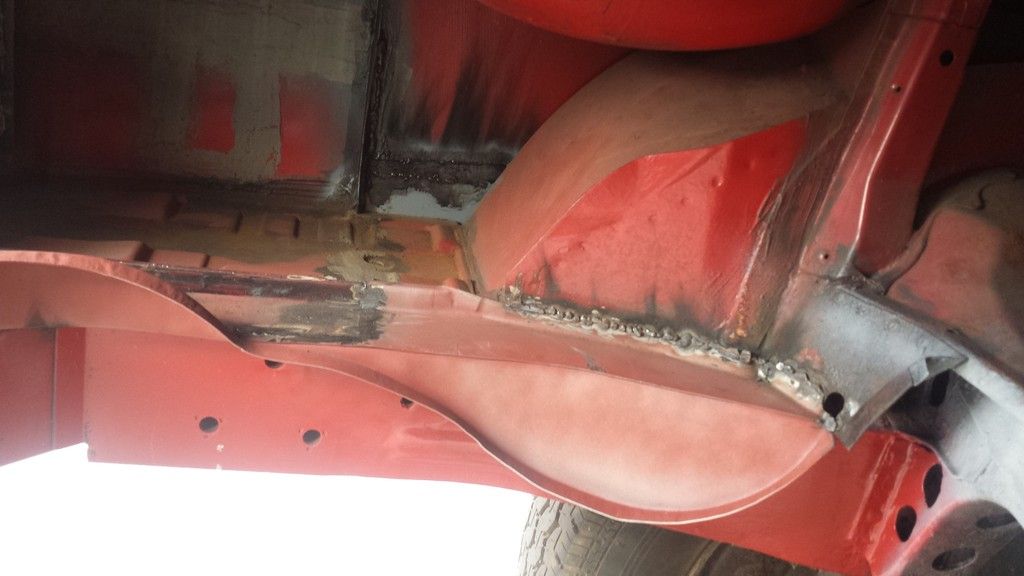
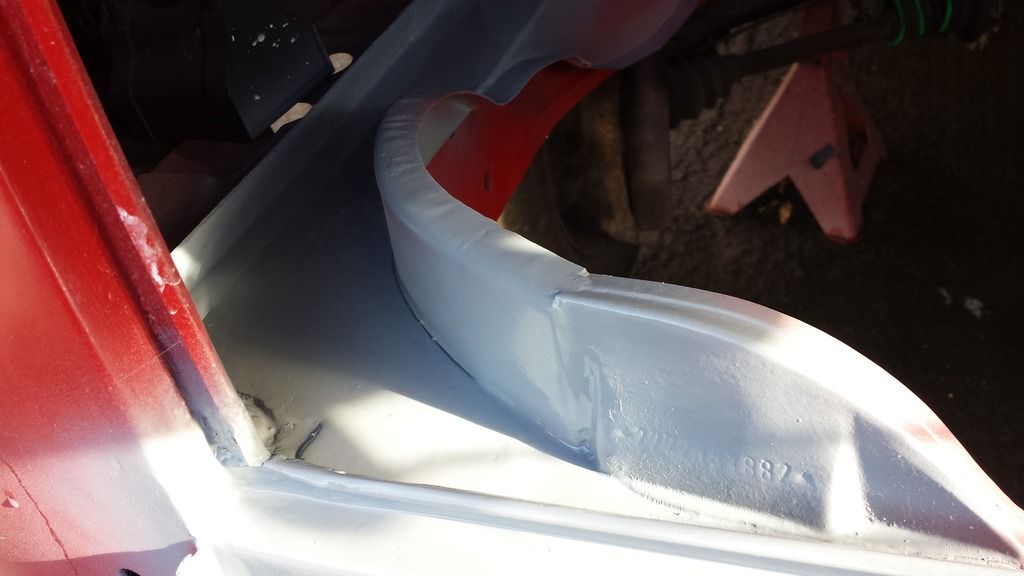
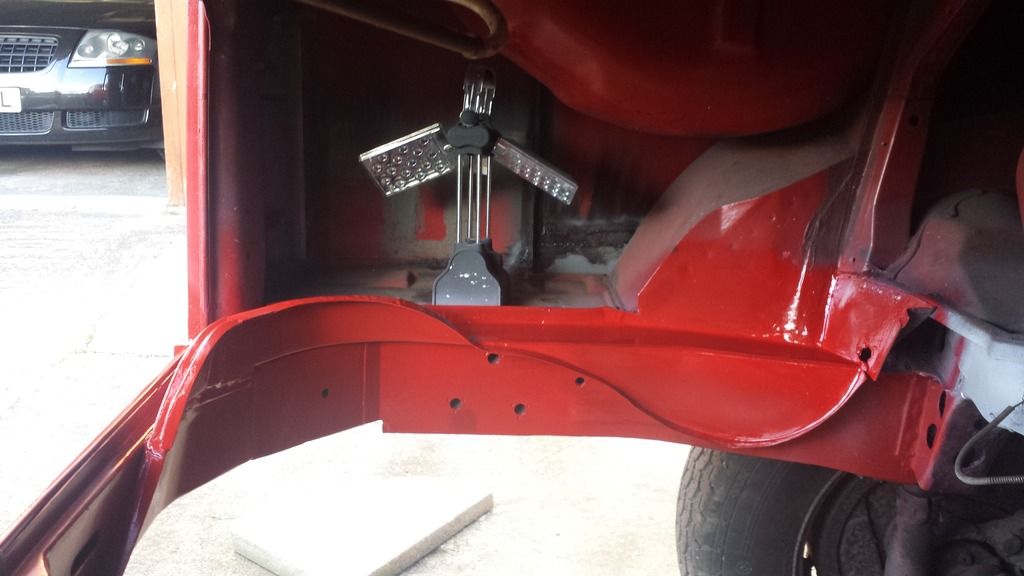
G gninnam Well-known member Joined Oct 5, 2006 Messages 8,284 Reaction score 118 Sep 2, 2015 #492 11.05.2015 Finish off the rear corner where the cables come through.
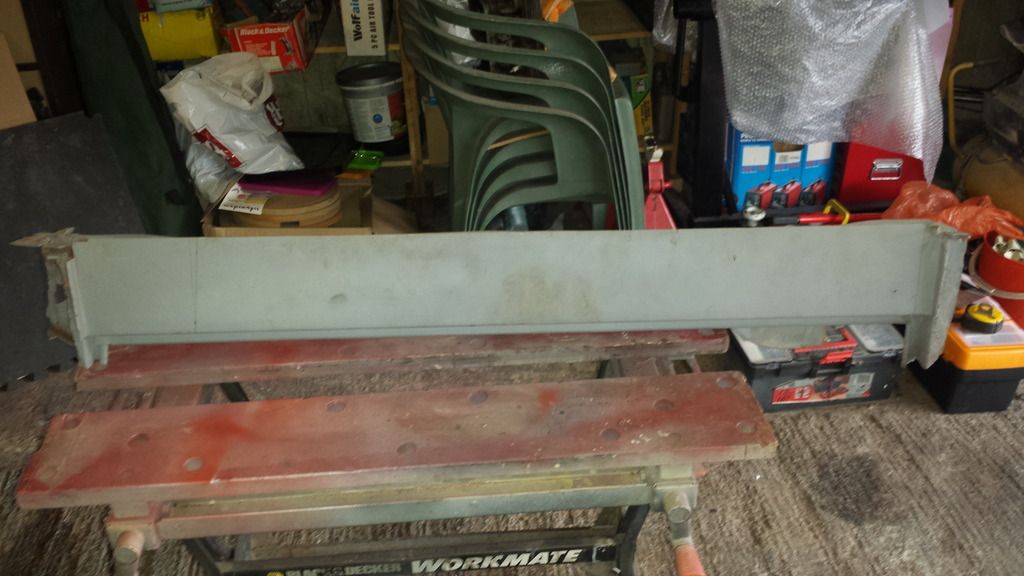
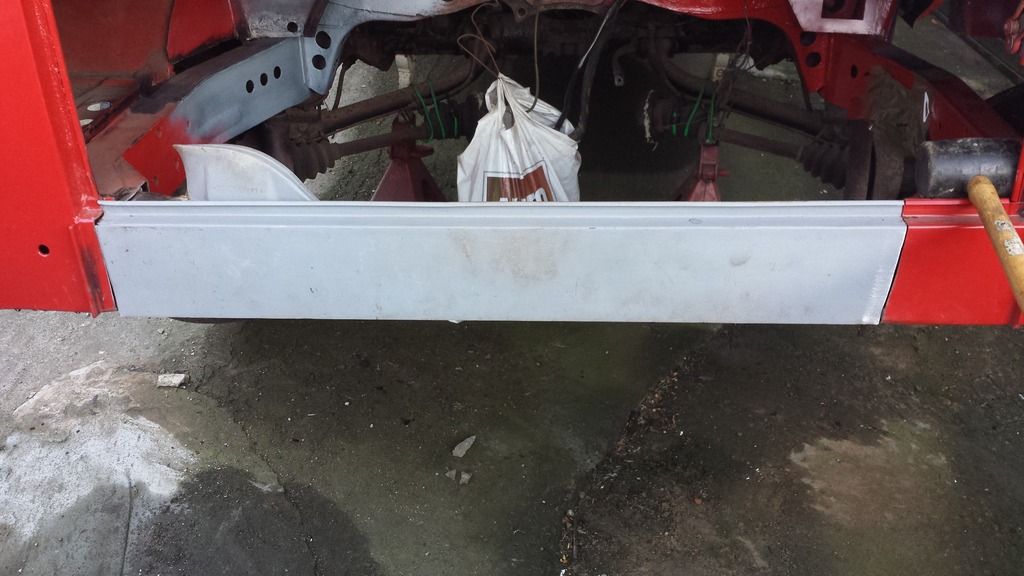
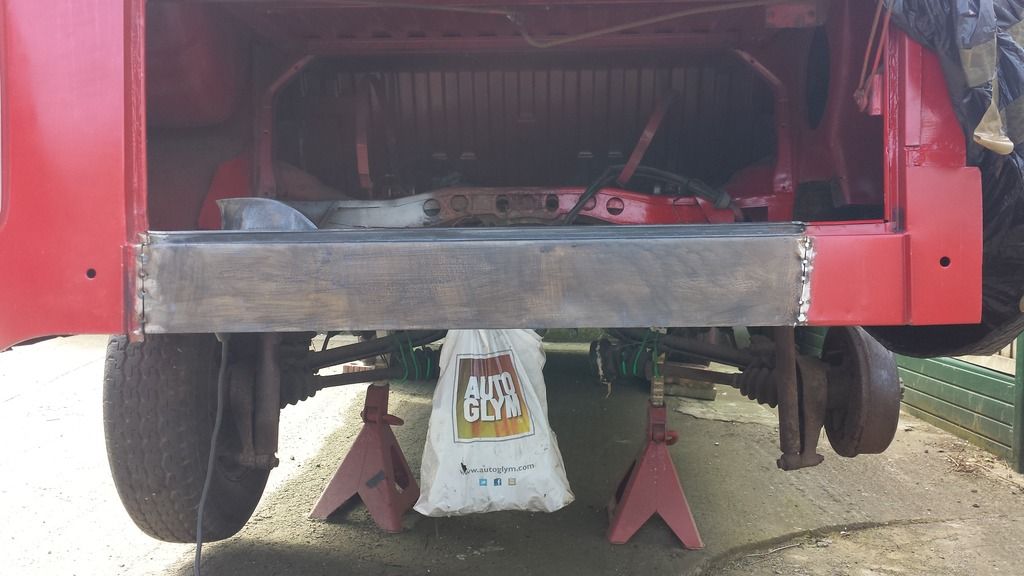
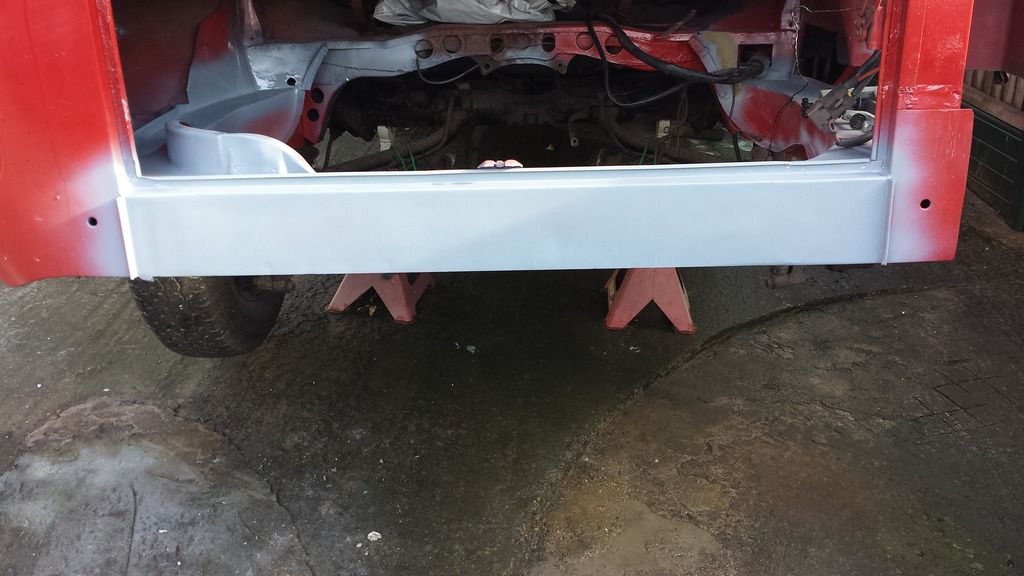
G gninnam Well-known member Joined Oct 5, 2006 Messages 8,284 Reaction score 118 Sep 2, 2015 #493 19.05.2015 Decided not to bother with the removable valence so started to prepare the one I had.
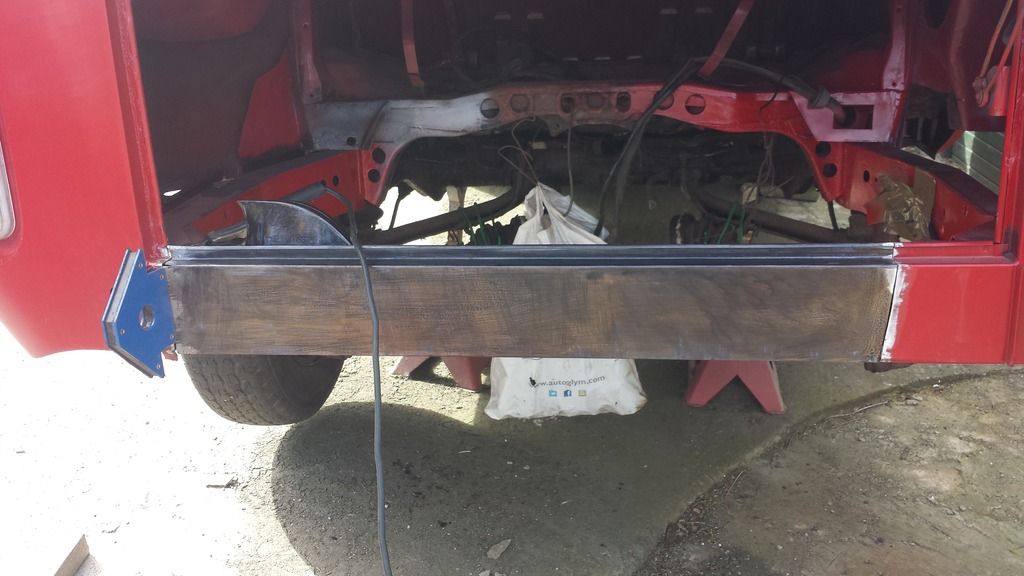
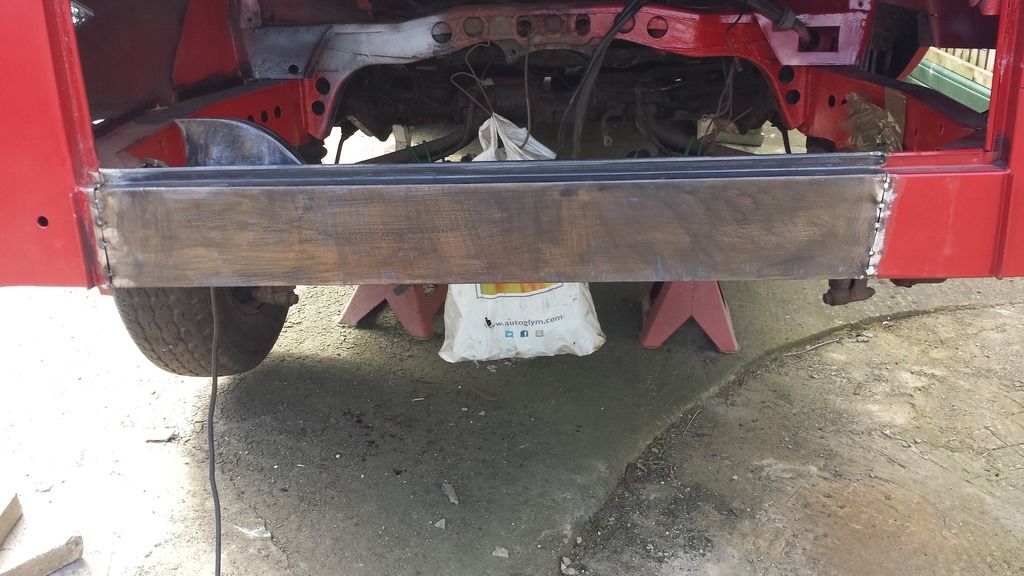
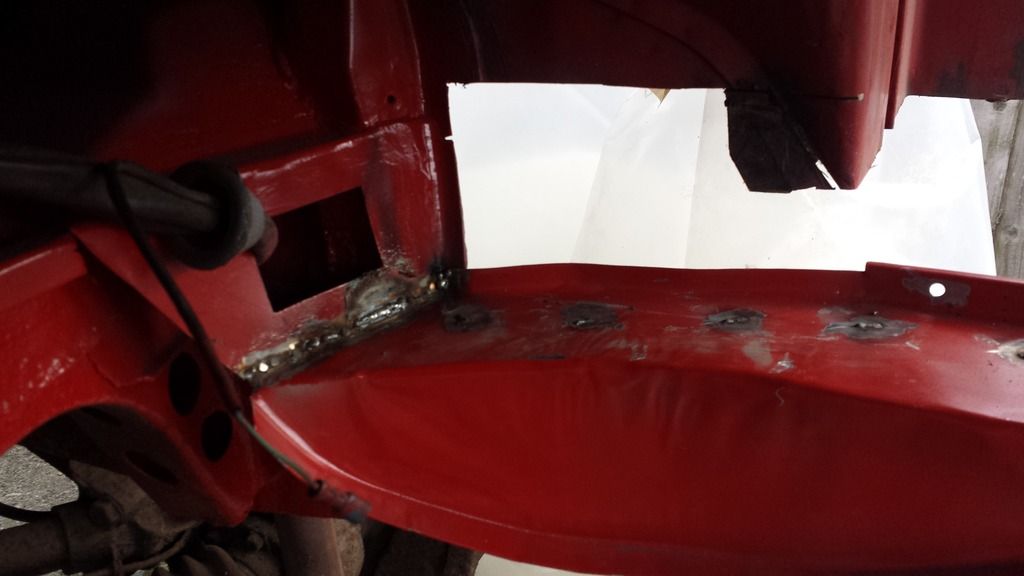
G gninnam Well-known member Joined Oct 5, 2006 Messages 8,284 Reaction score 118 Sep 2, 2015 #494 23.05.2015 Remove the primer and start the welding Grind down the welds.
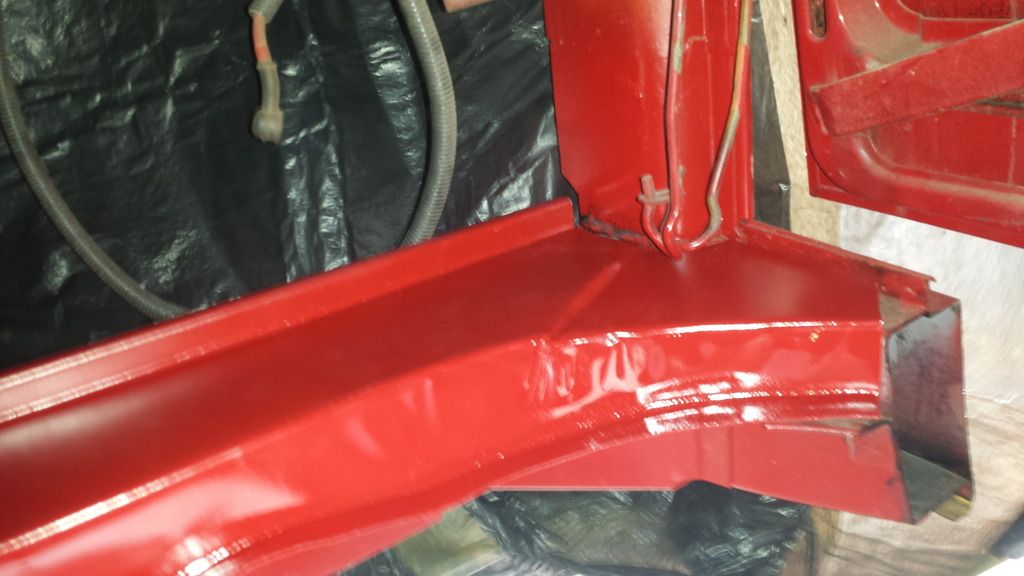
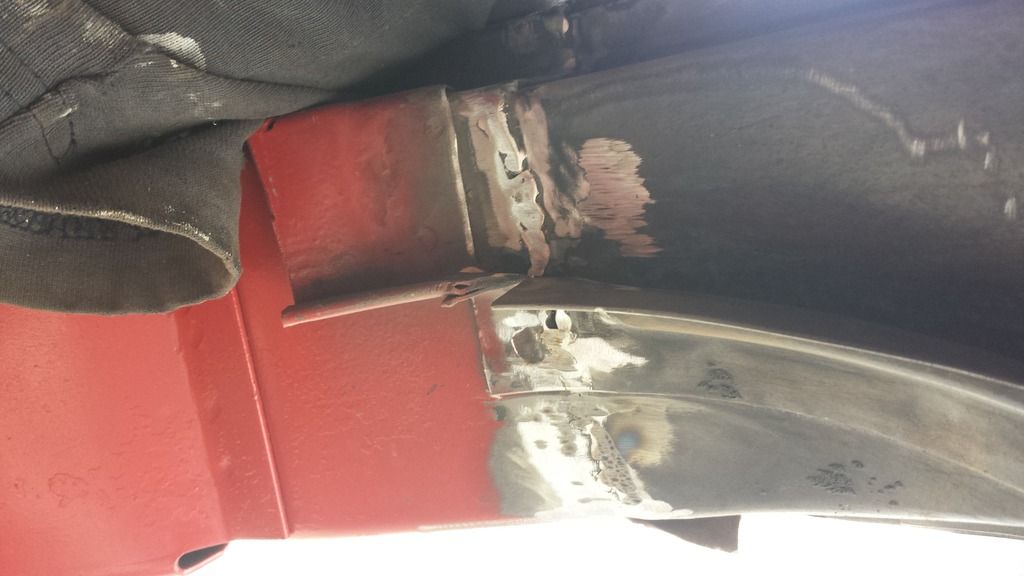
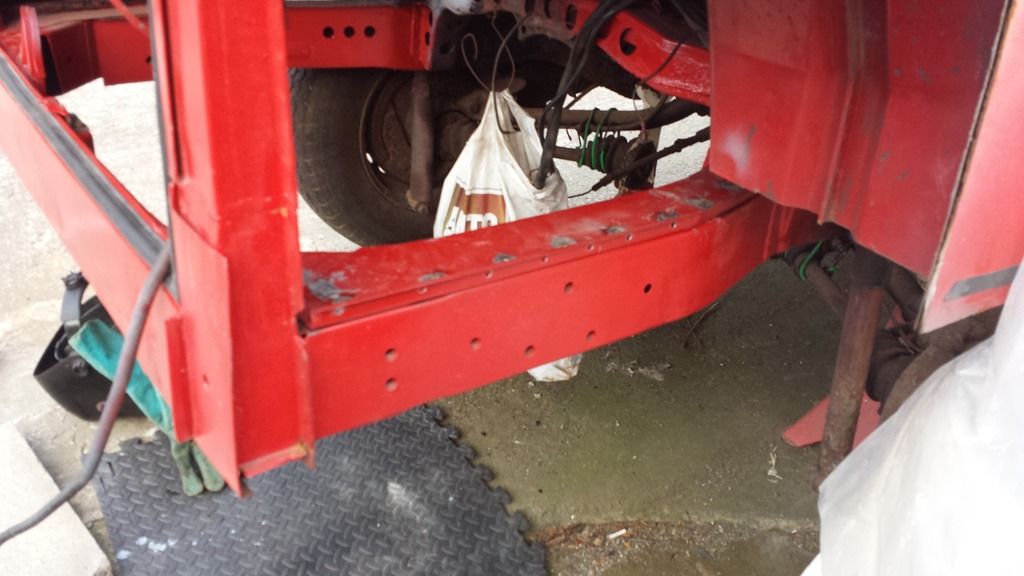
G gninnam Well-known member Joined Oct 5, 2006 Messages 8,284 Reaction score 118 Sep 2, 2015 #495 15.06.2015 Now fitting the top plate to the chassis leg: Almost done:
G gninnam Well-known member Joined Oct 5, 2006 Messages 8,284 Reaction score 118 Sep 2, 2015 #496 21.06.2015 Trial fit with the firewall in and a joining piece added:
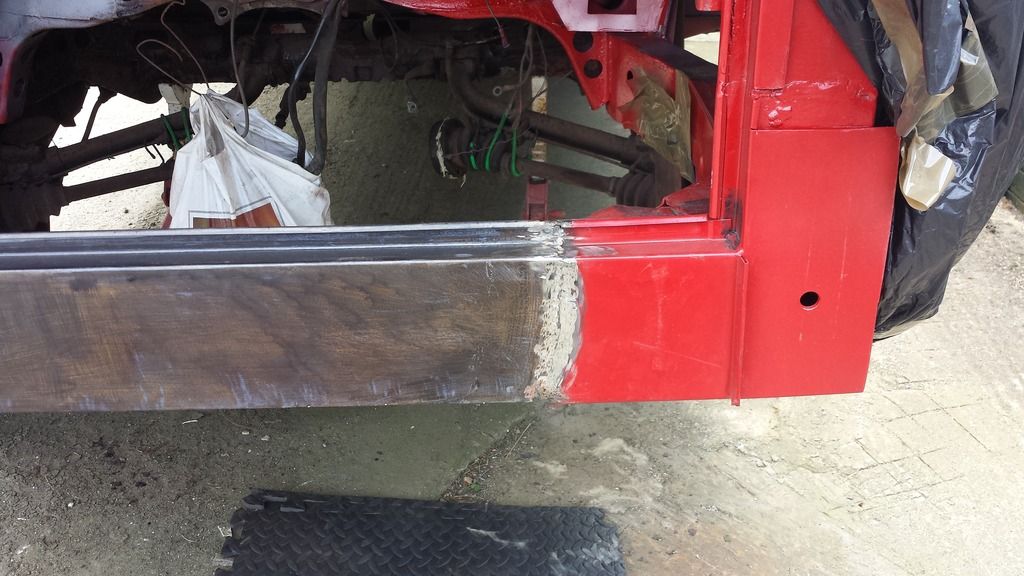
G gninnam Well-known member Joined Oct 5, 2006 Messages 8,284 Reaction score 118 Sep 2, 2015 #497 27.06.2015 Started to put the other side in after many cuts and measures:
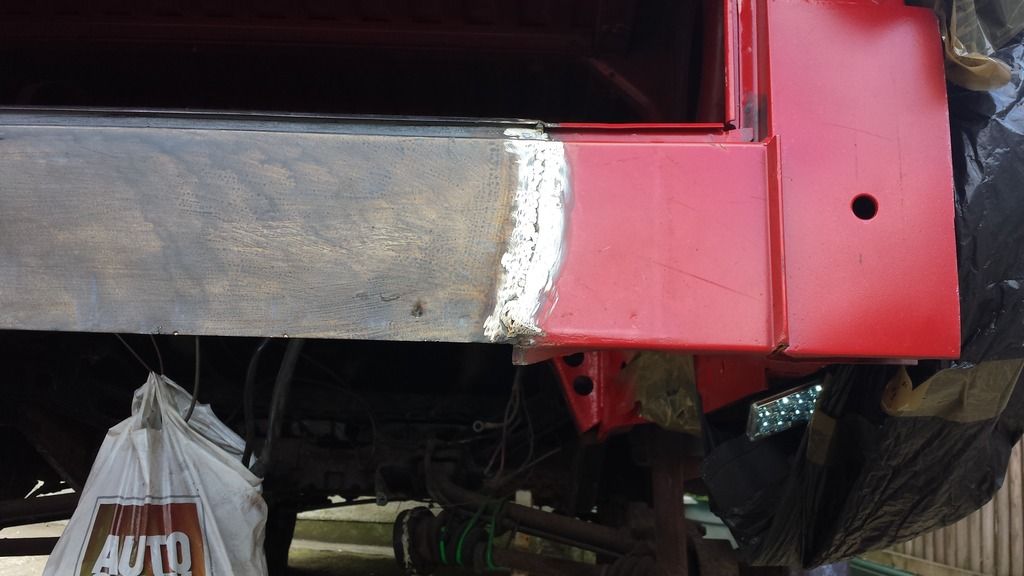
G gninnam Well-known member Joined Oct 5, 2006 Messages 8,284 Reaction score 118 Sep 2, 2015 #498 29.06.2015 Final welds and the start of the tidy up.
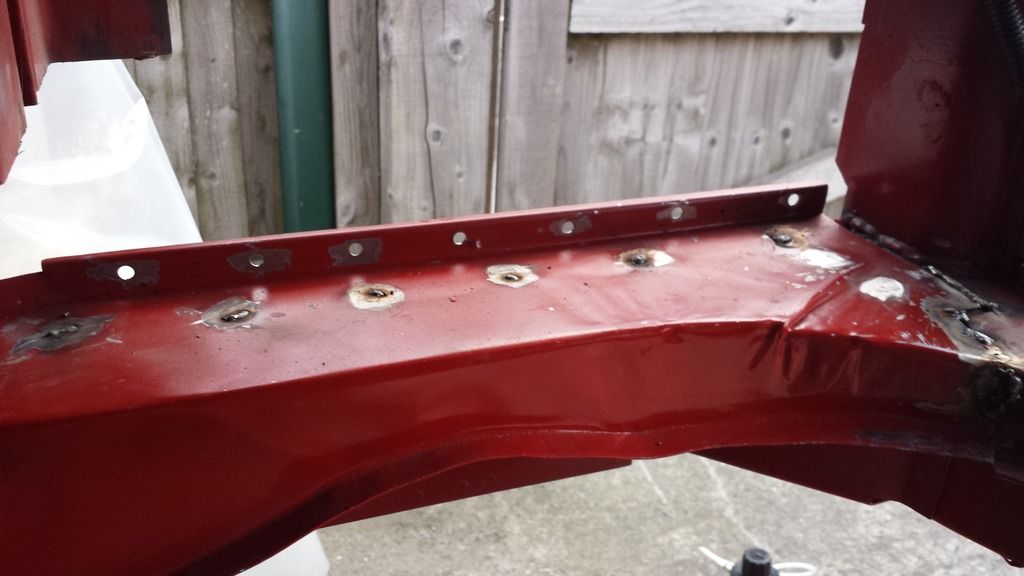
G gninnam Well-known member Joined Oct 5, 2006 Messages 8,284 Reaction score 118 Sep 2, 2015 #499 01.07.2015 Ground down the welds and added some rust prevention stuff plus etch primter.
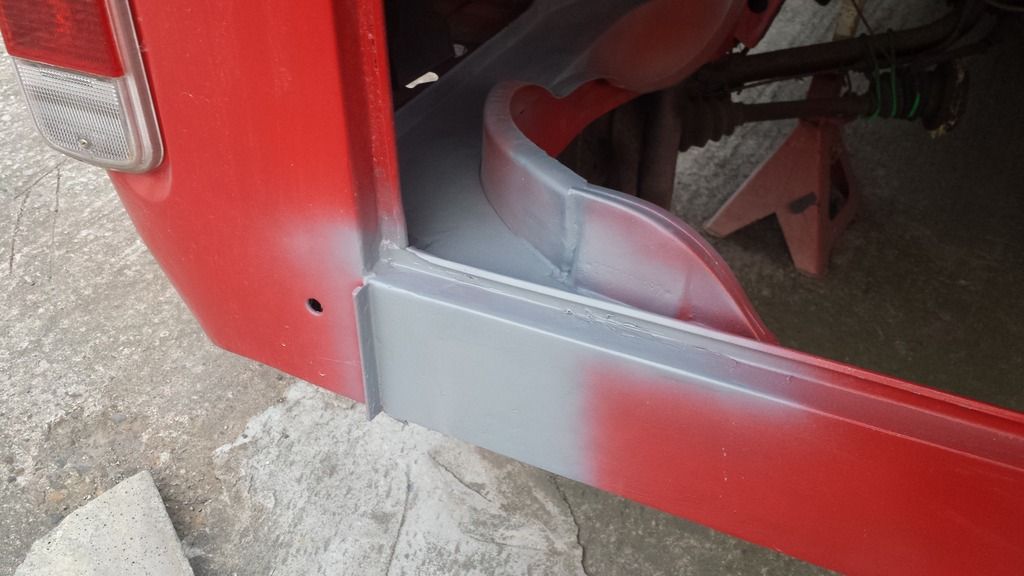
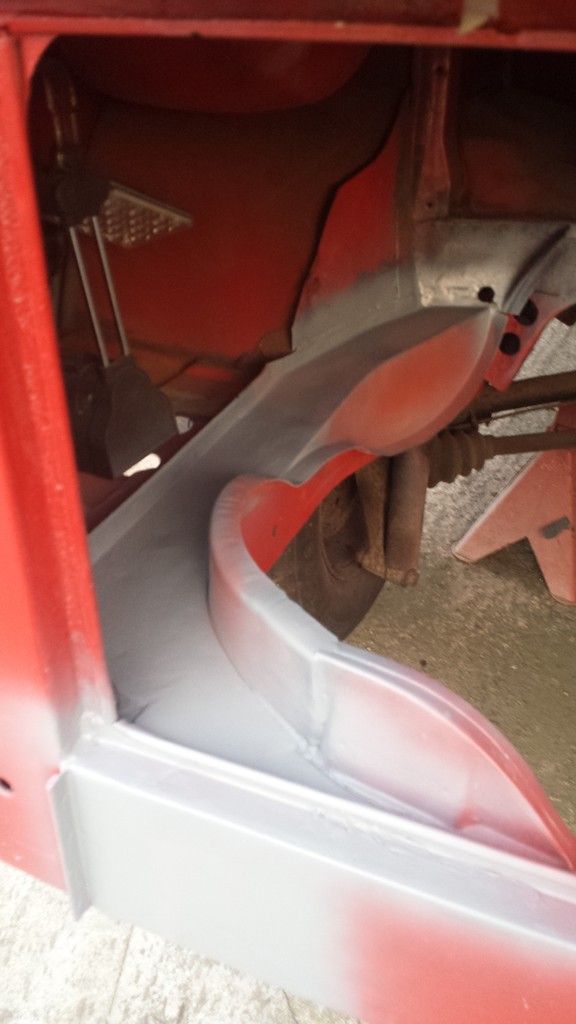
G gninnam Well-known member Joined Oct 5, 2006 Messages 8,284 Reaction score 118 Sep 2, 2015 #500 05.07.2015 Dusting over with etch then a topcoat.


")