You are using an out of date browser. It may not display this or other websites correctly.
You should upgrade or use an alternative browser.
You should upgrade or use an alternative browser.
Progress Pics - Dormobile X-Over
- Thread starter gninnam
- Start date


Help Support Early Bay Forum:
This site may earn a commission from merchant affiliate
links, including eBay, Amazon, and others.

20.07.2015
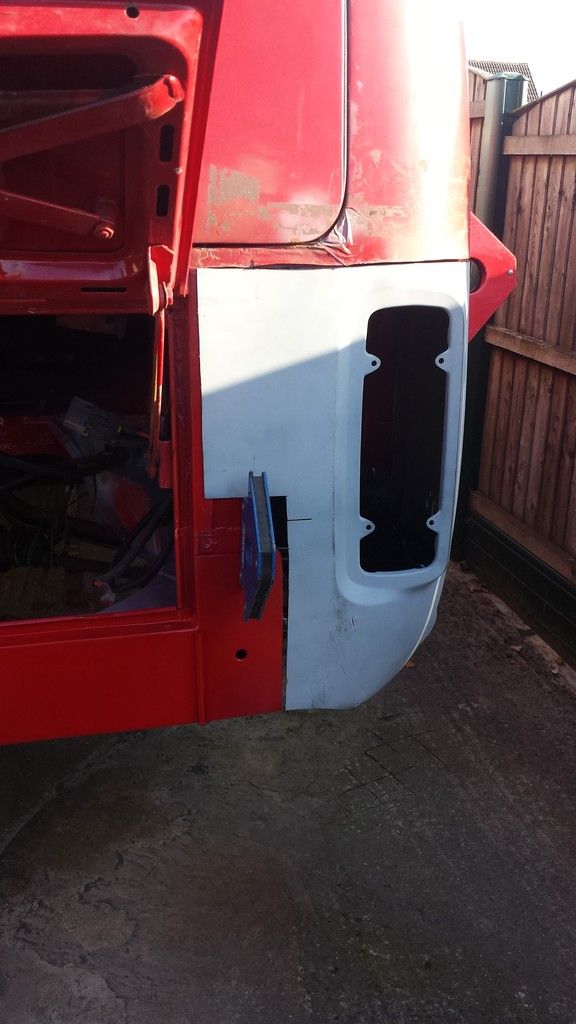
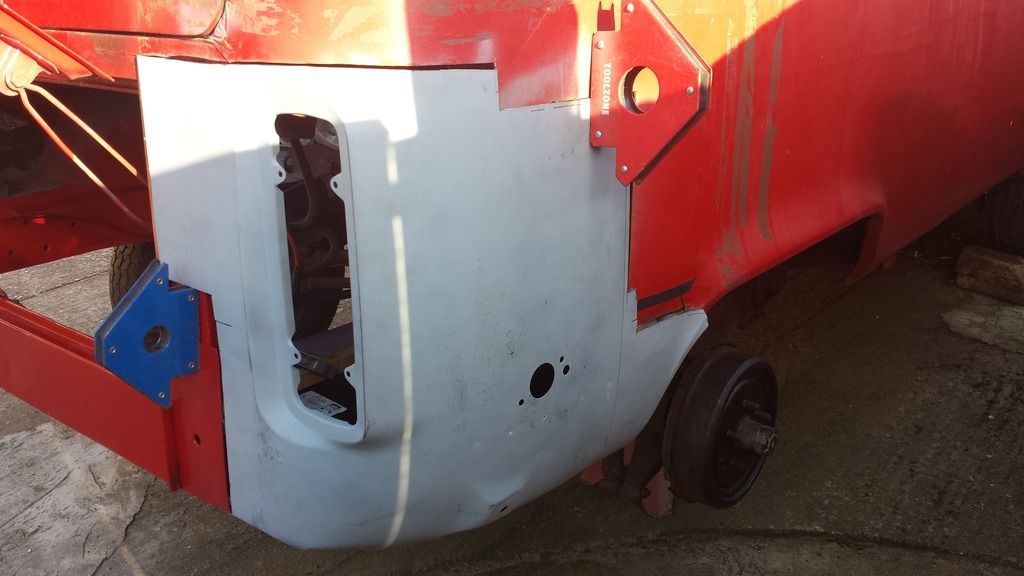
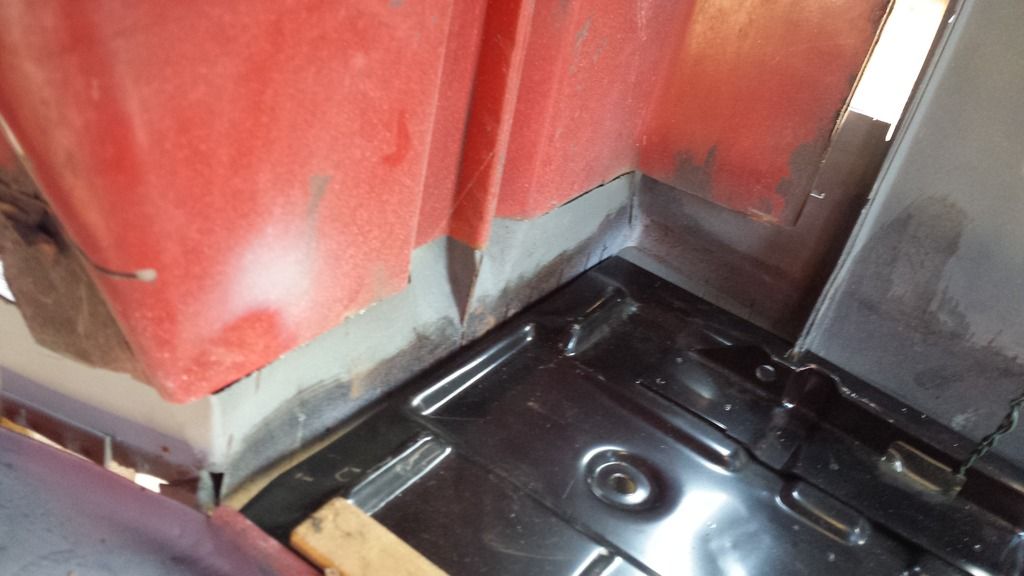
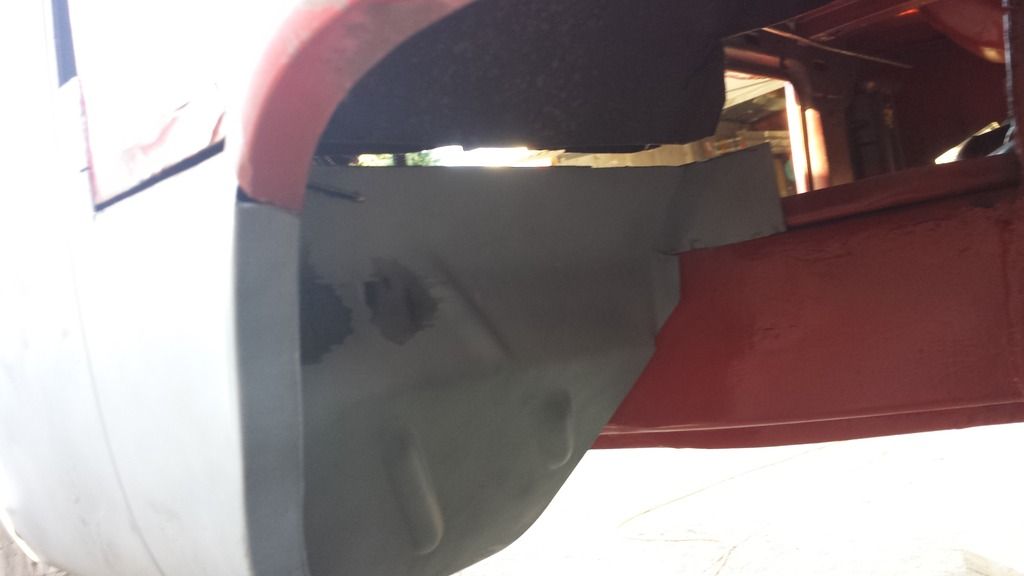
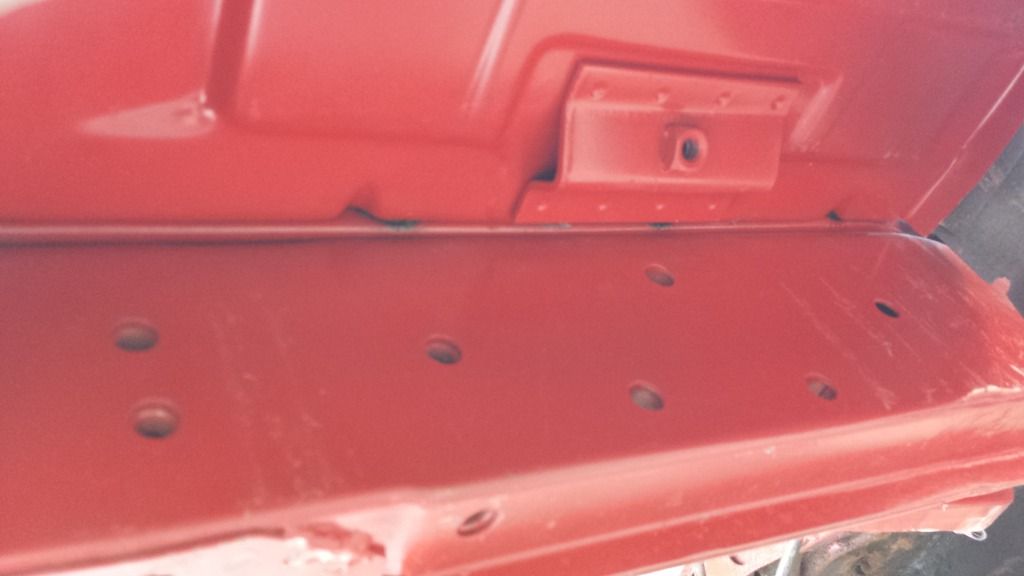
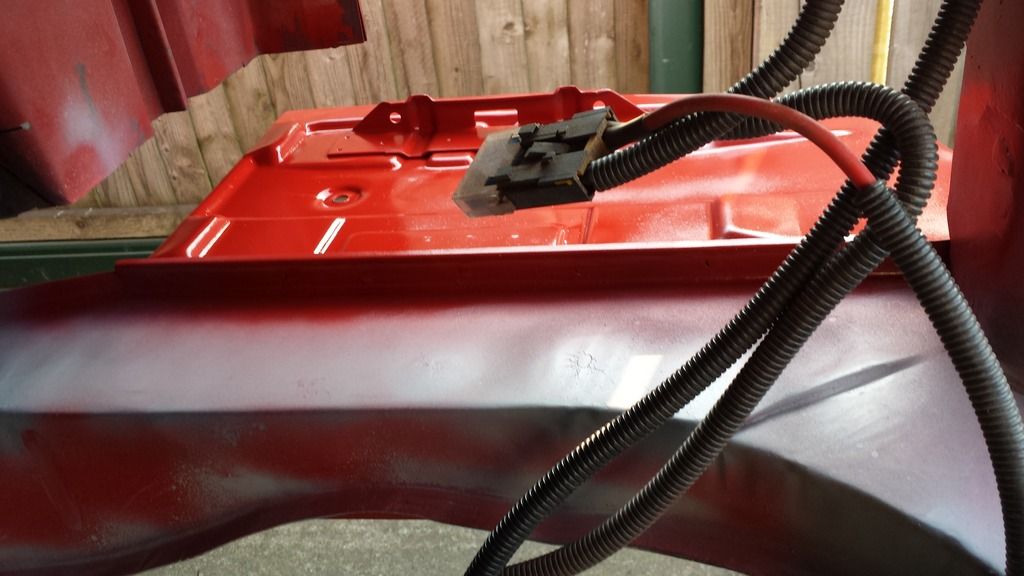
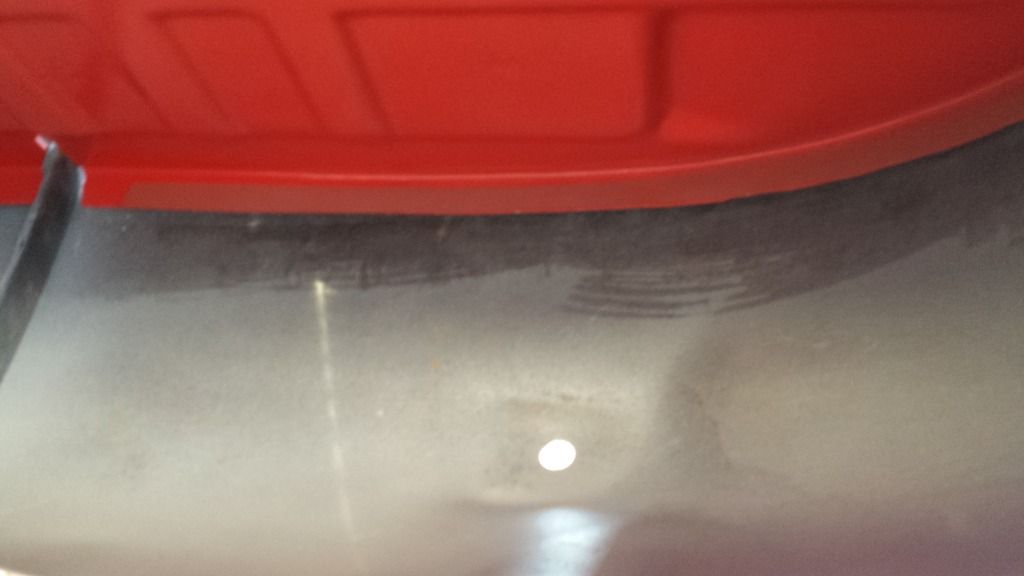
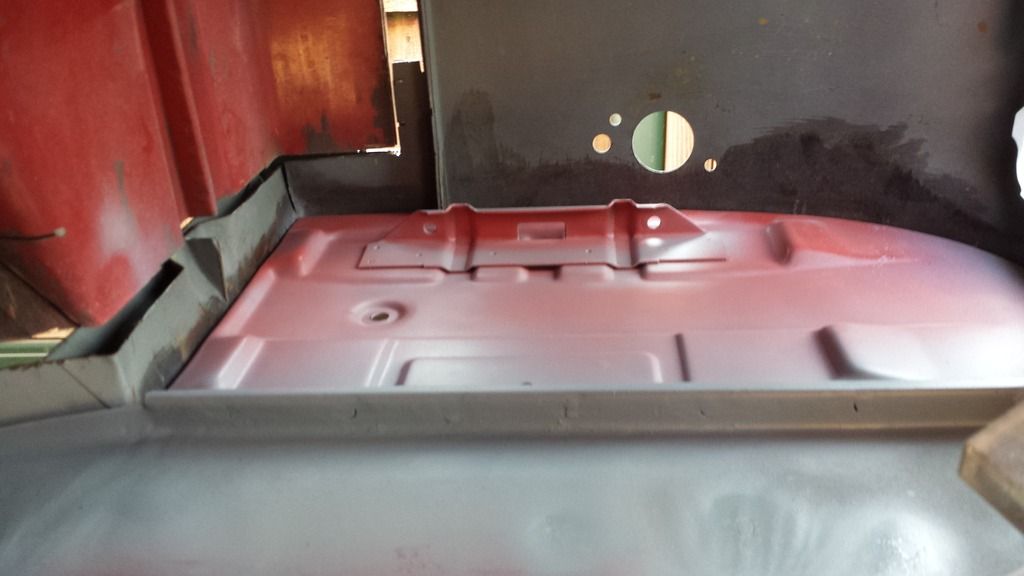
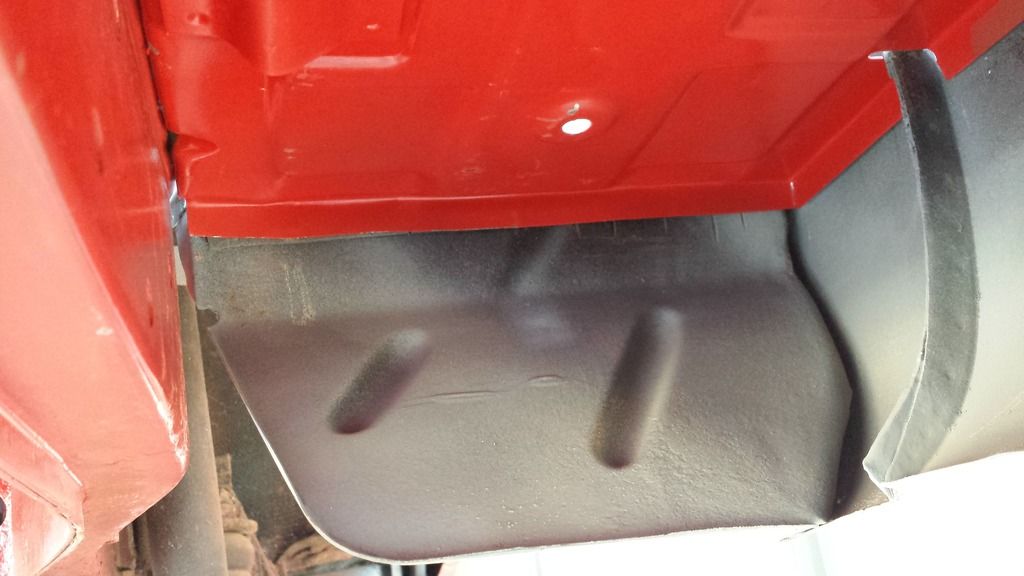
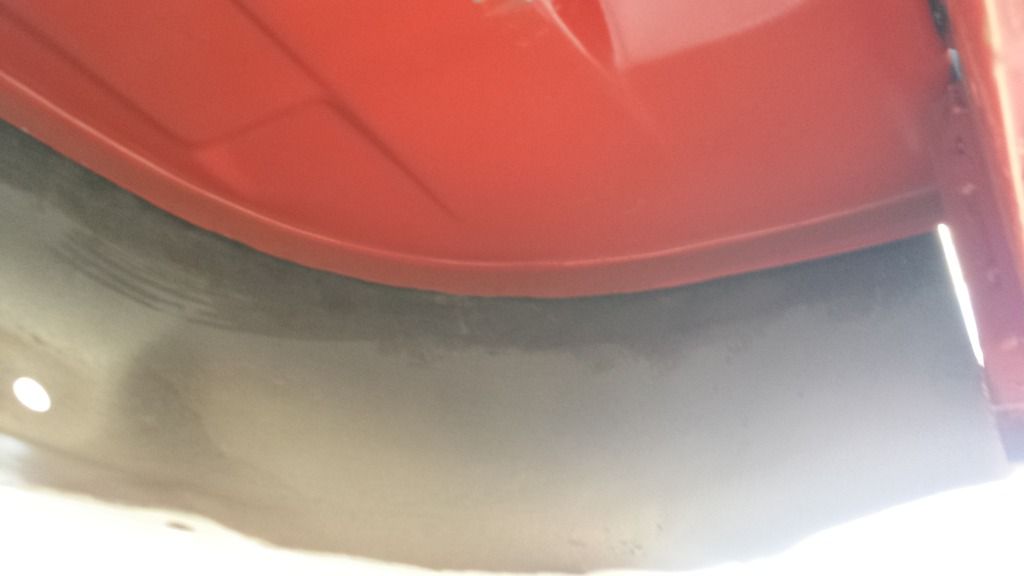
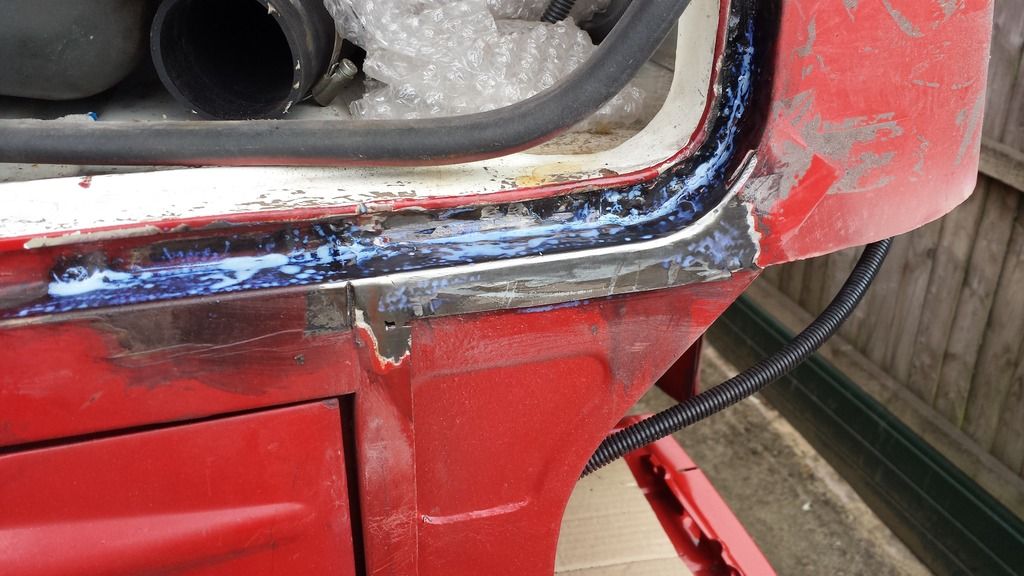
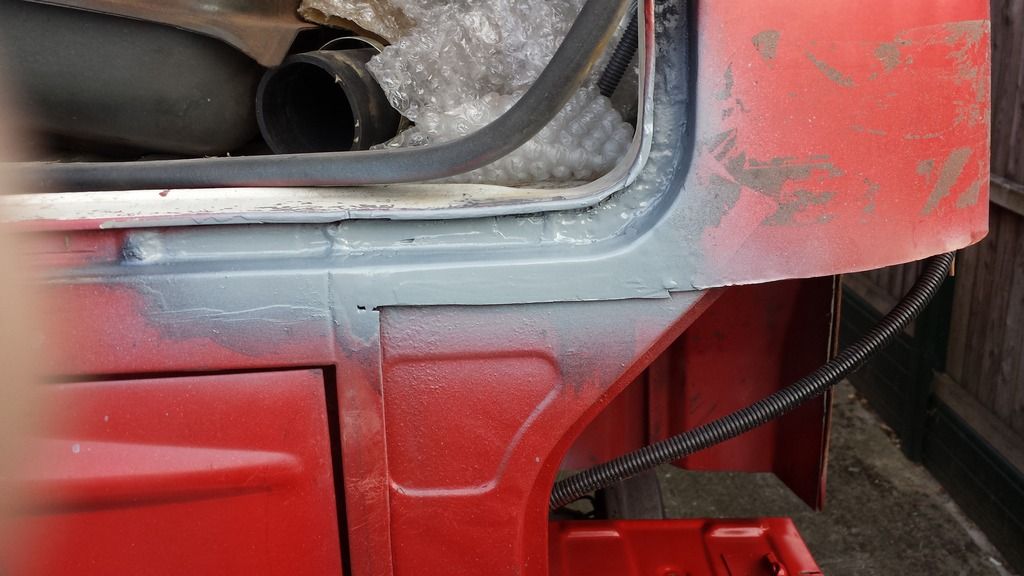
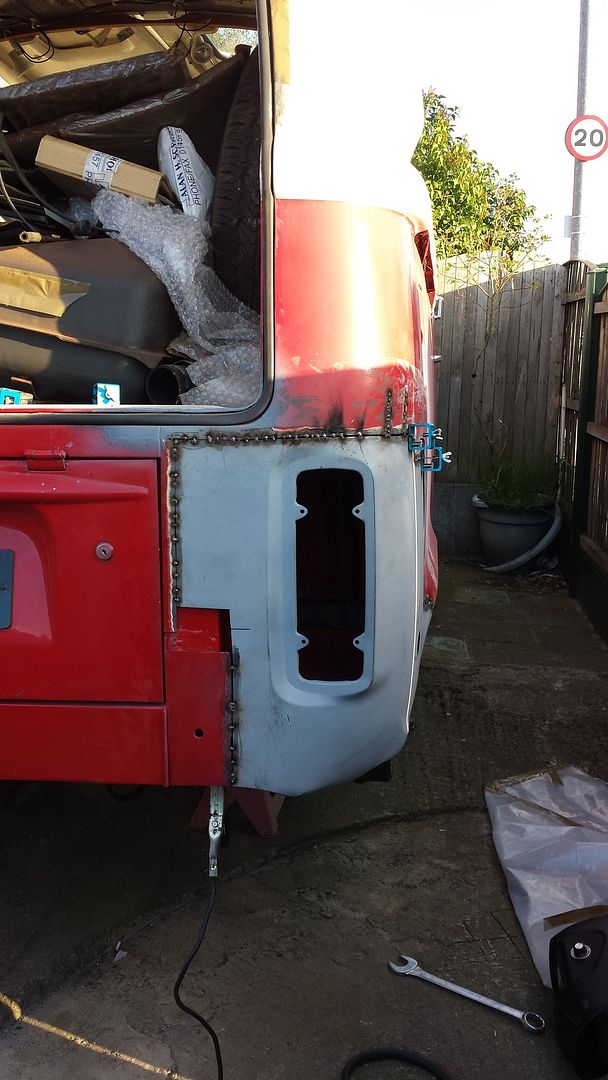
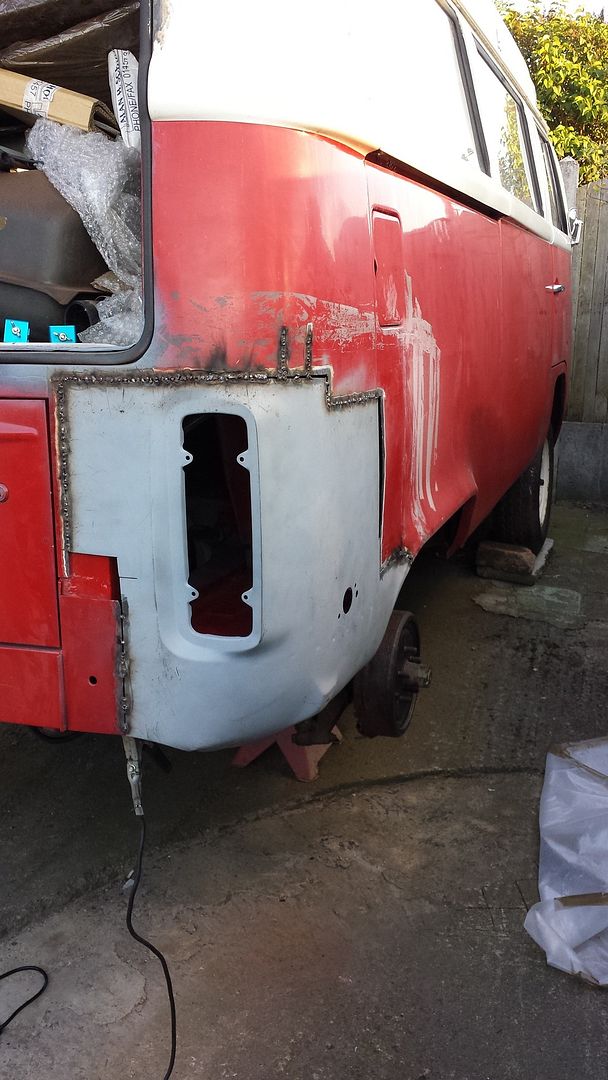
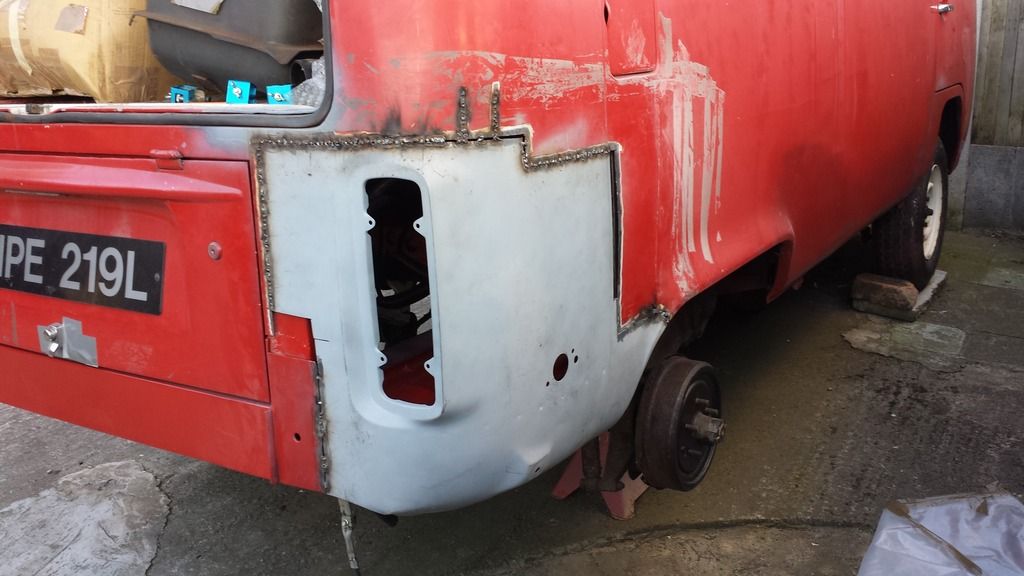
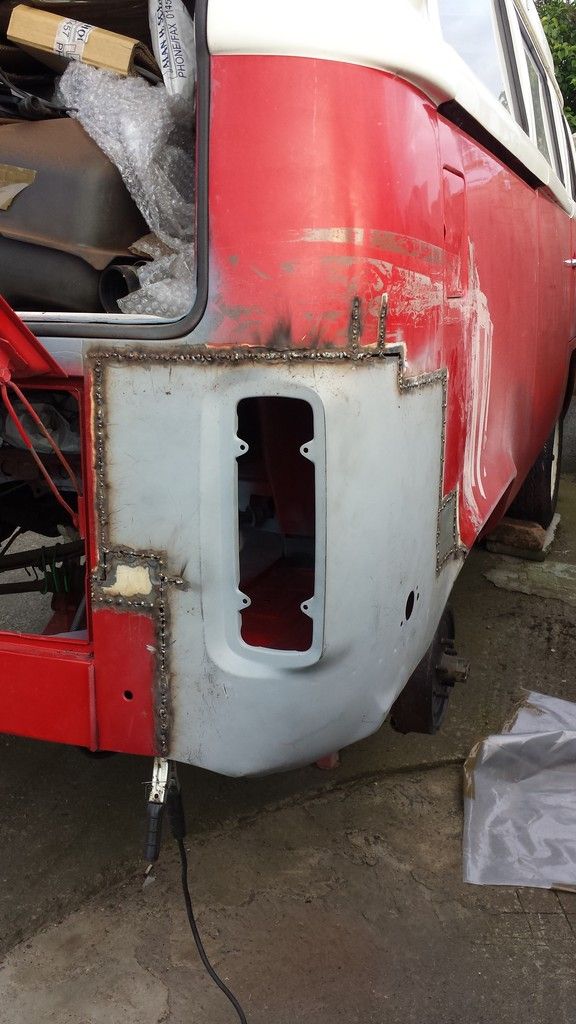
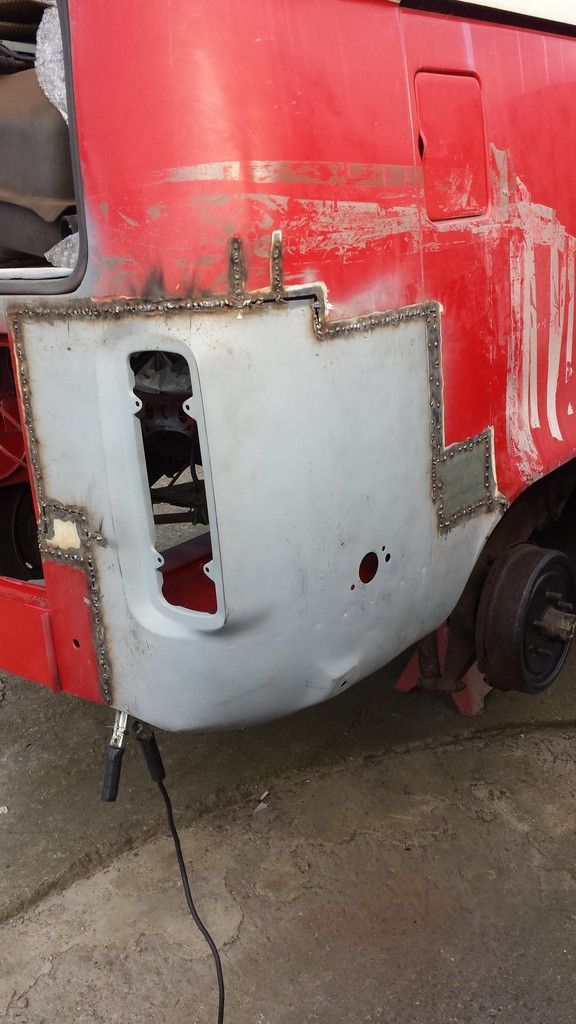
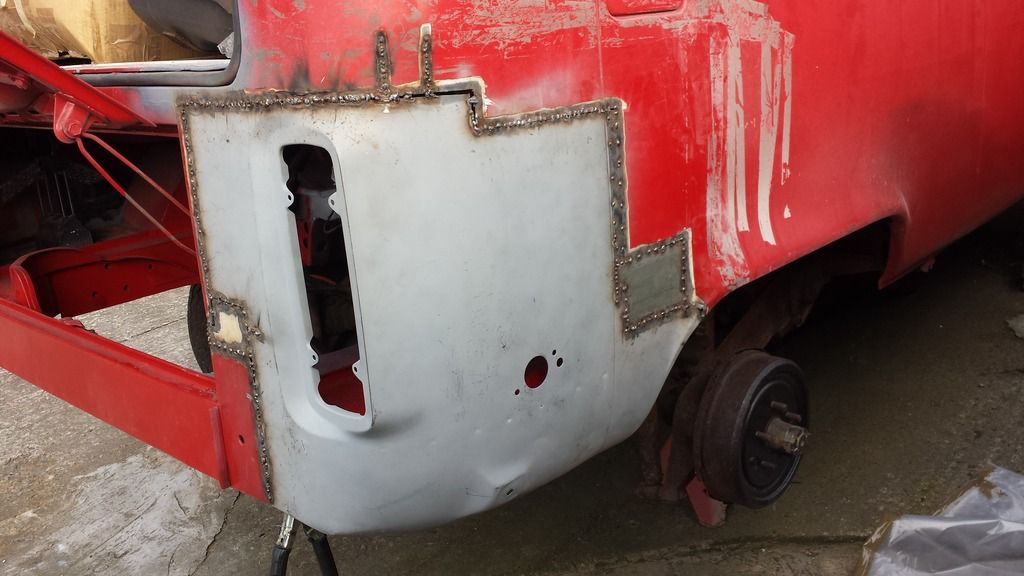
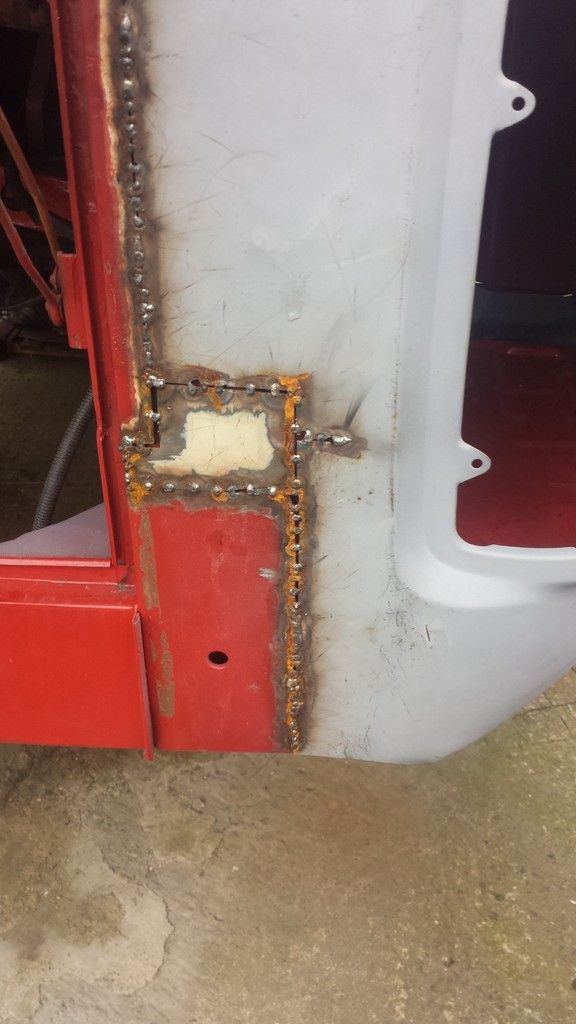
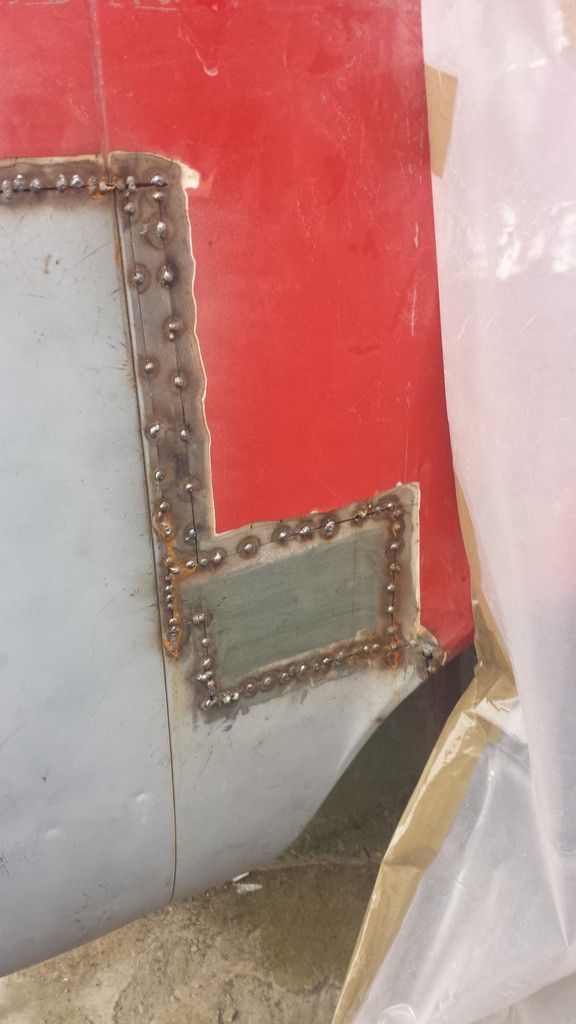
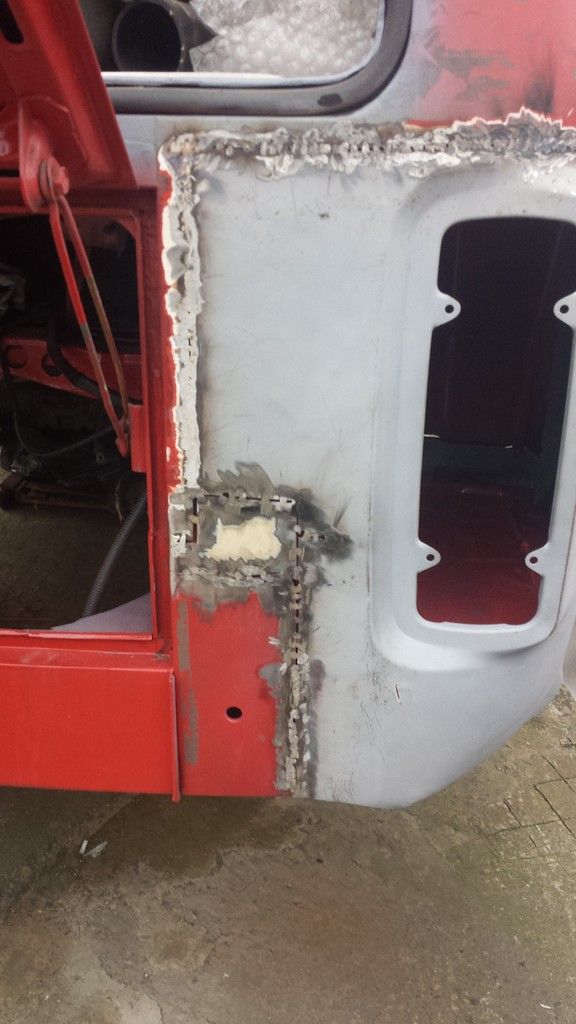
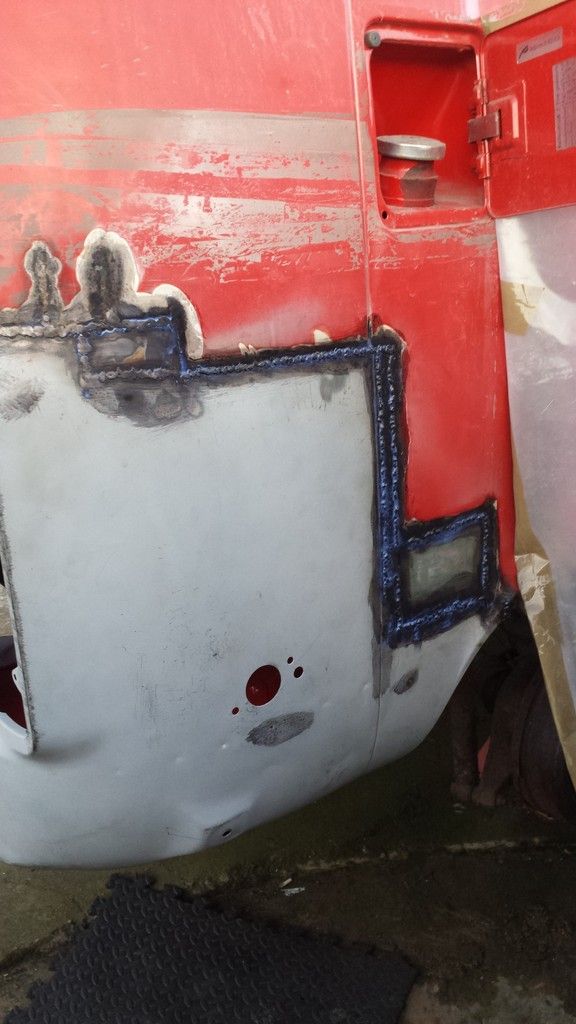
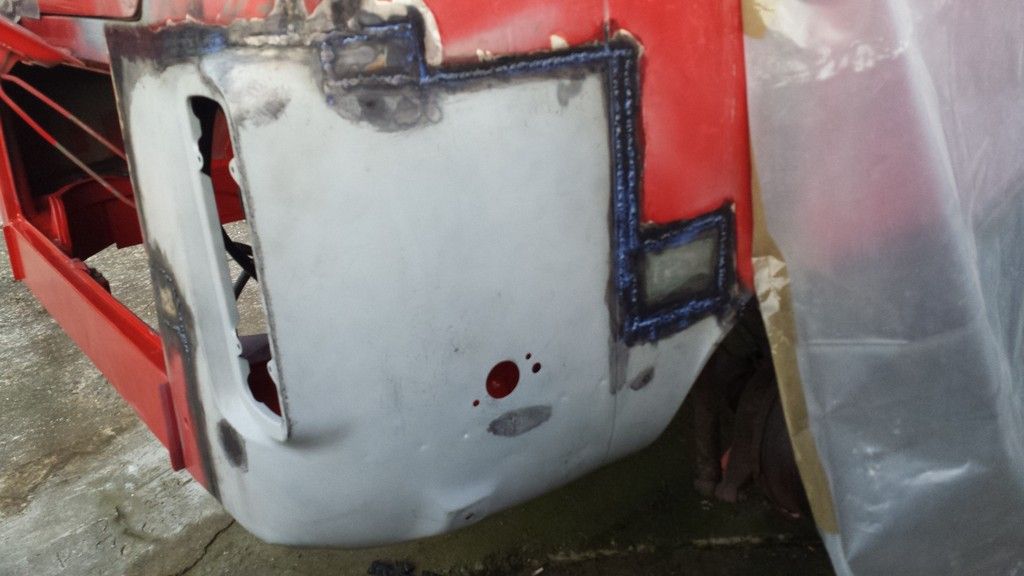
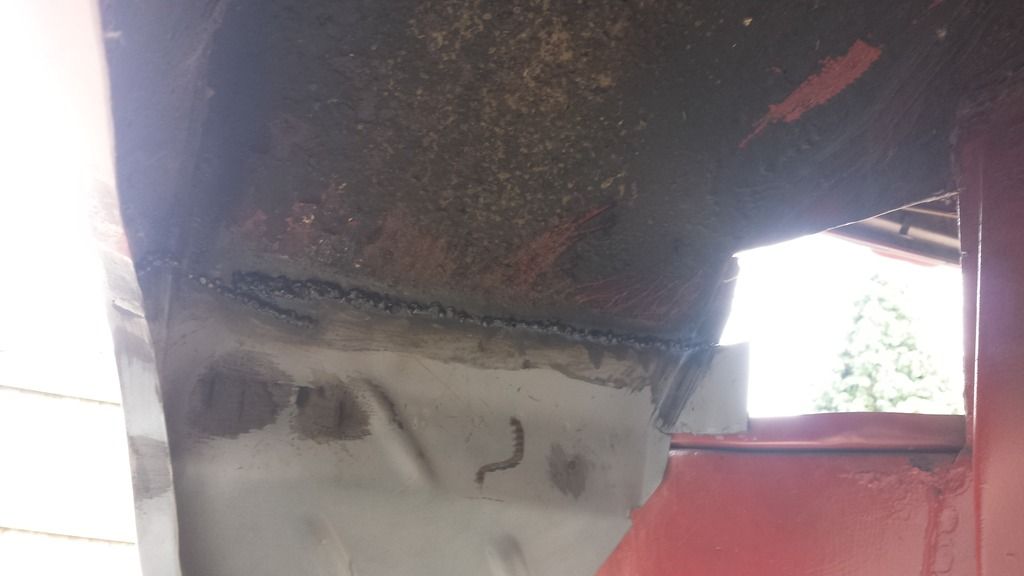
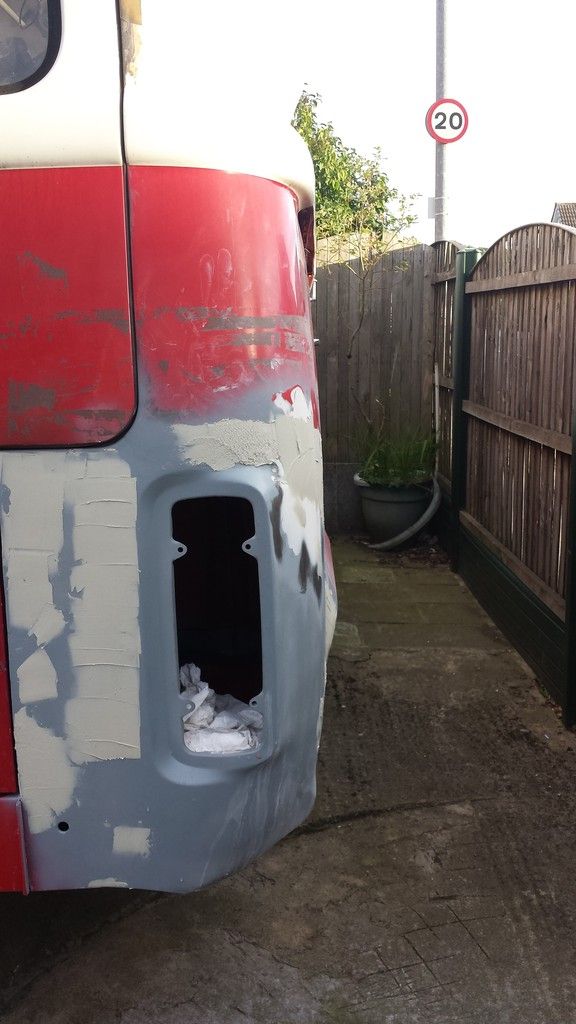
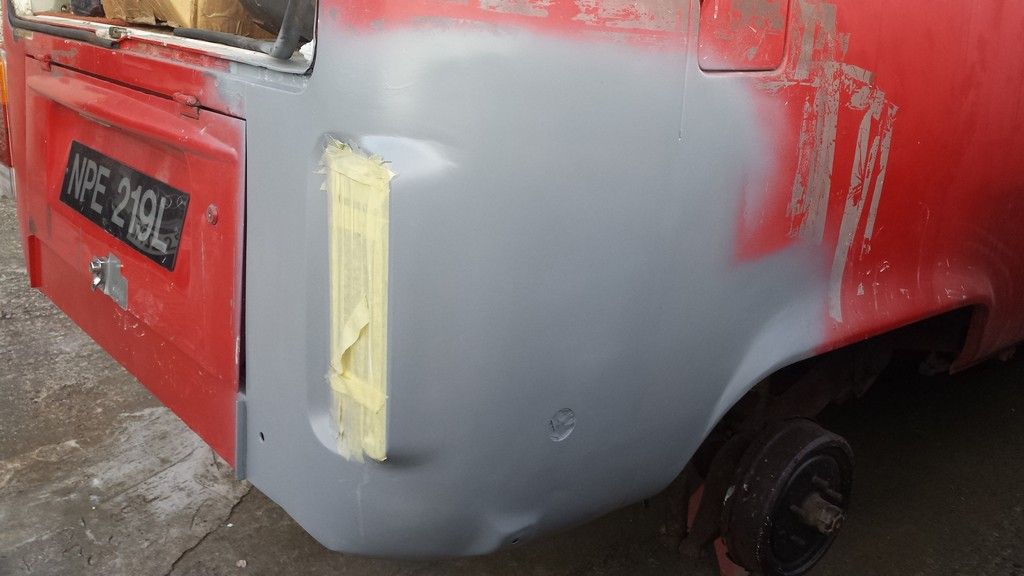
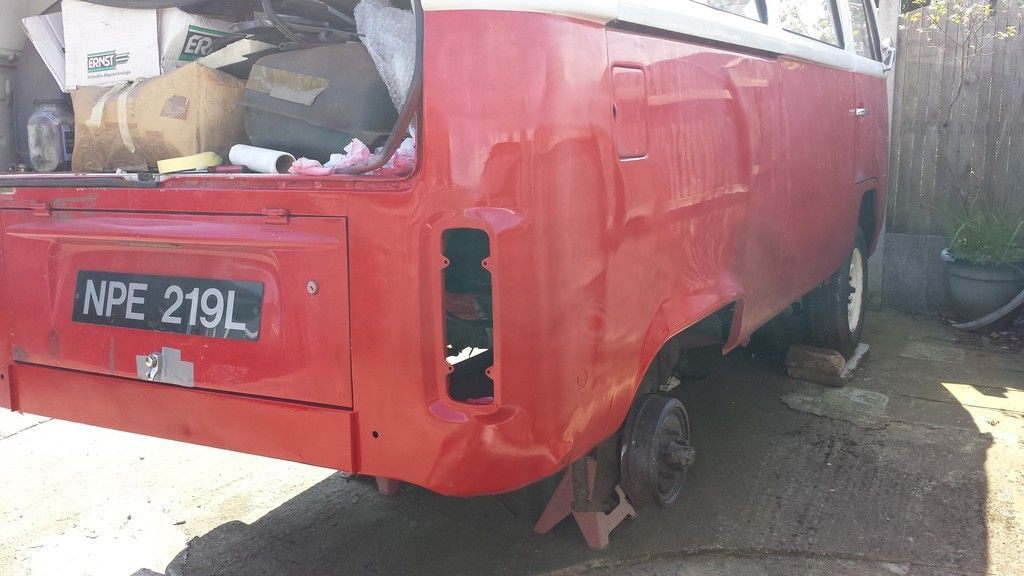
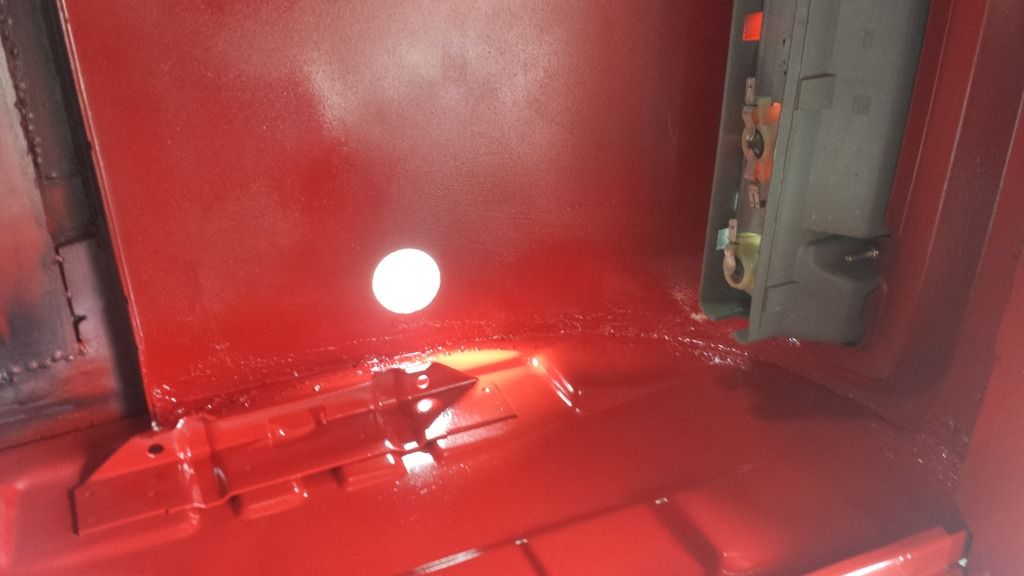
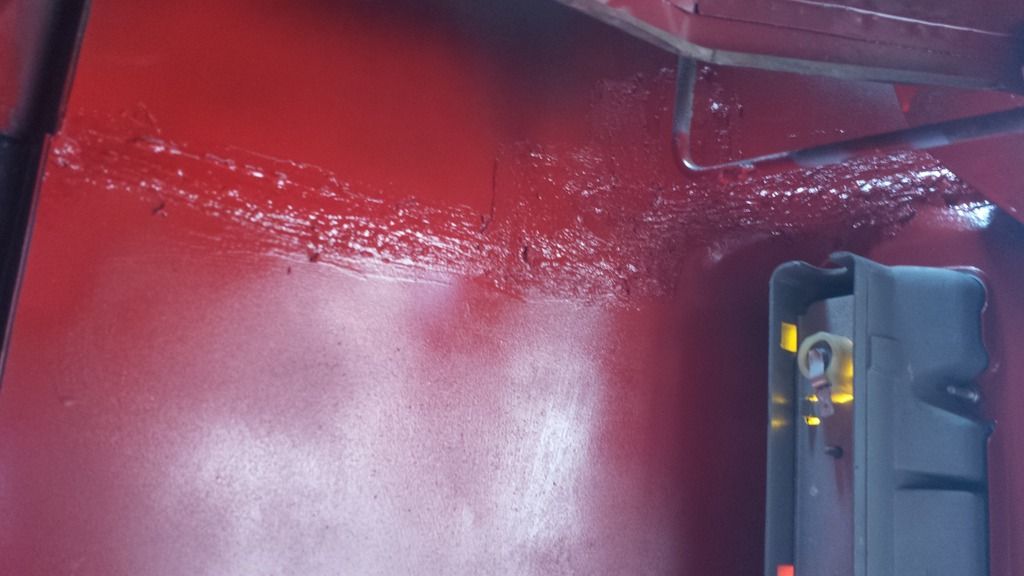
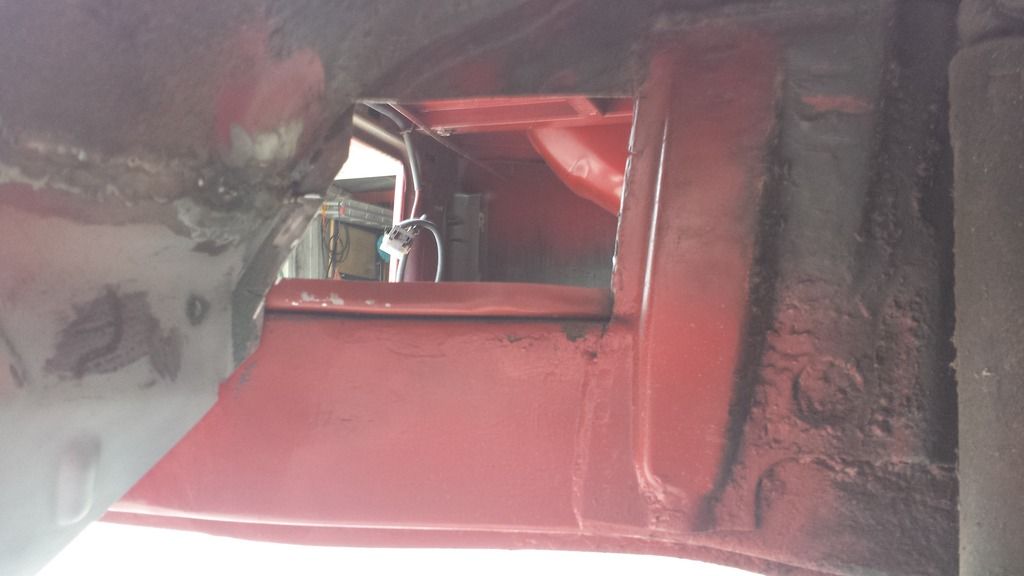
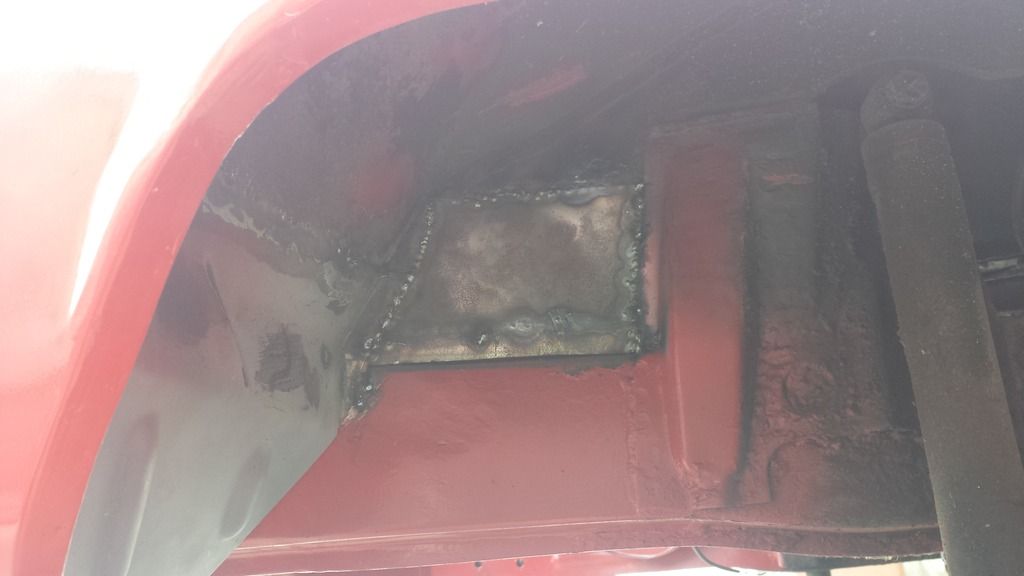
Needed to address an area around the hatch area where the rubber goes before I attach the rear quarter as it was badly rusted (the dark area you see in the channel is old glue..)
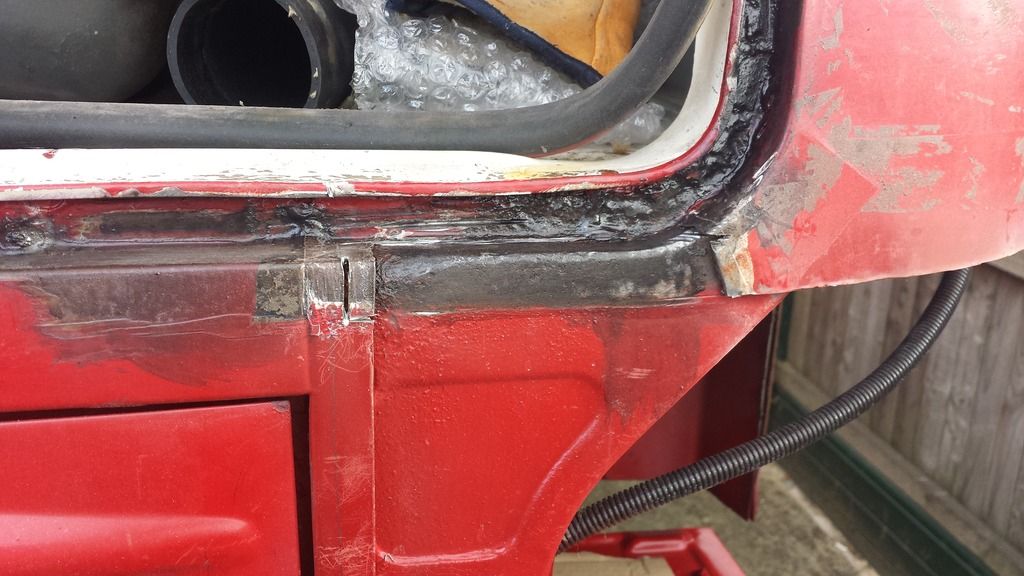
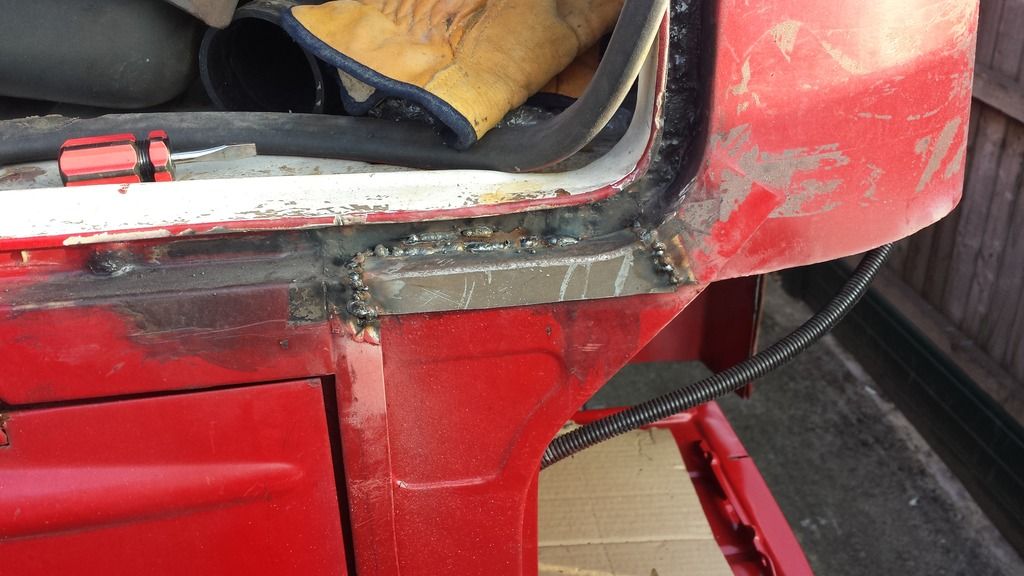
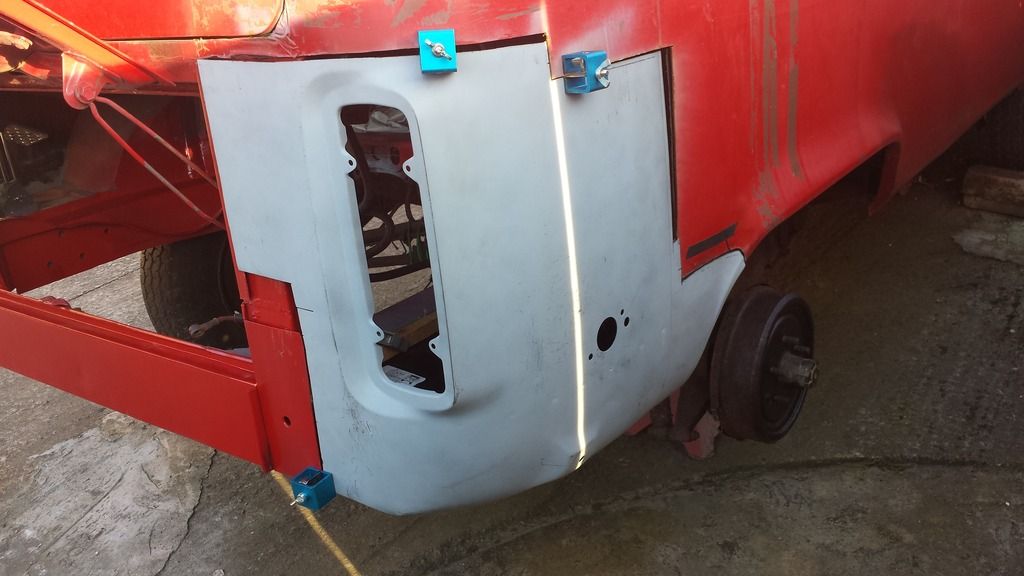
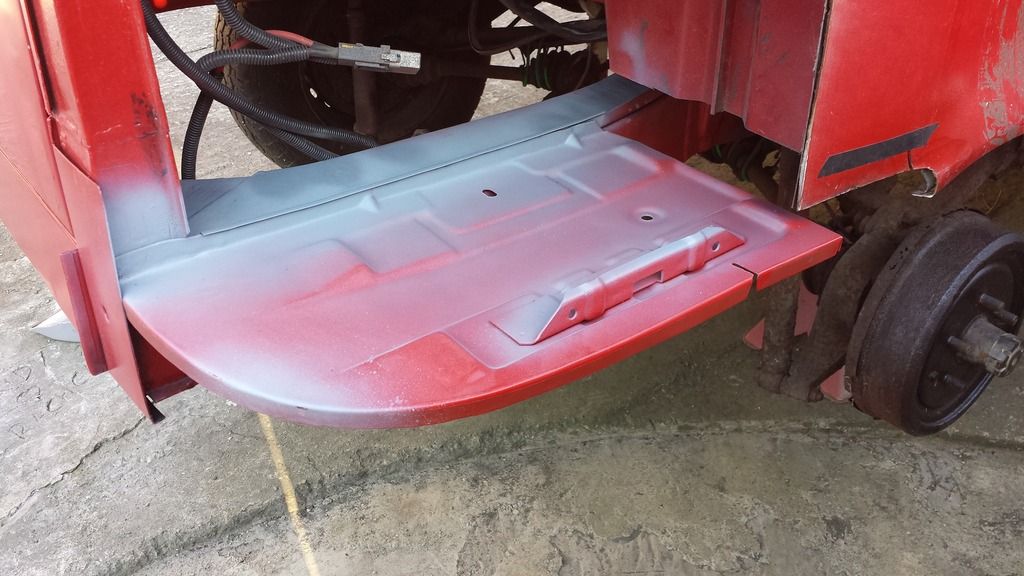
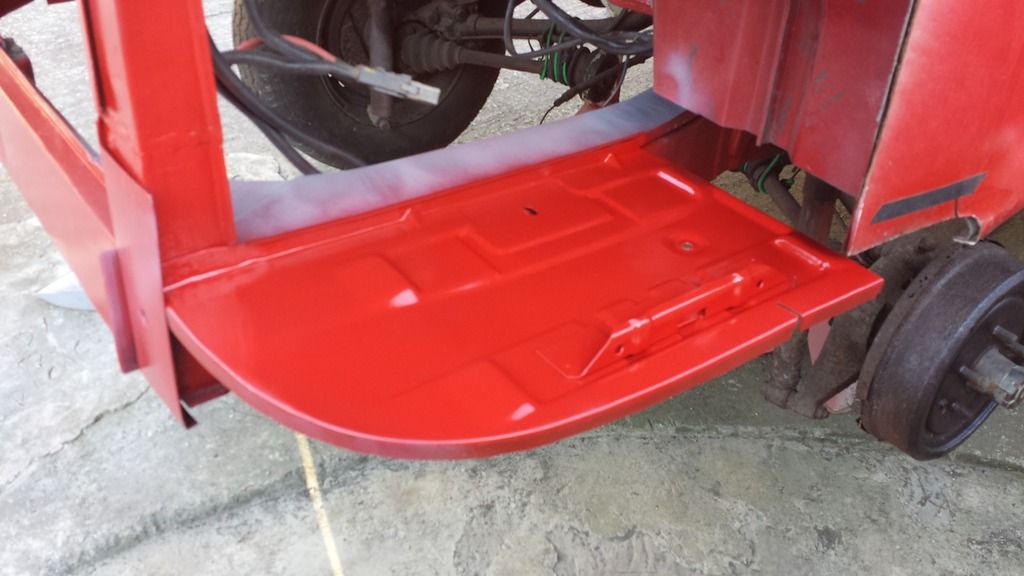
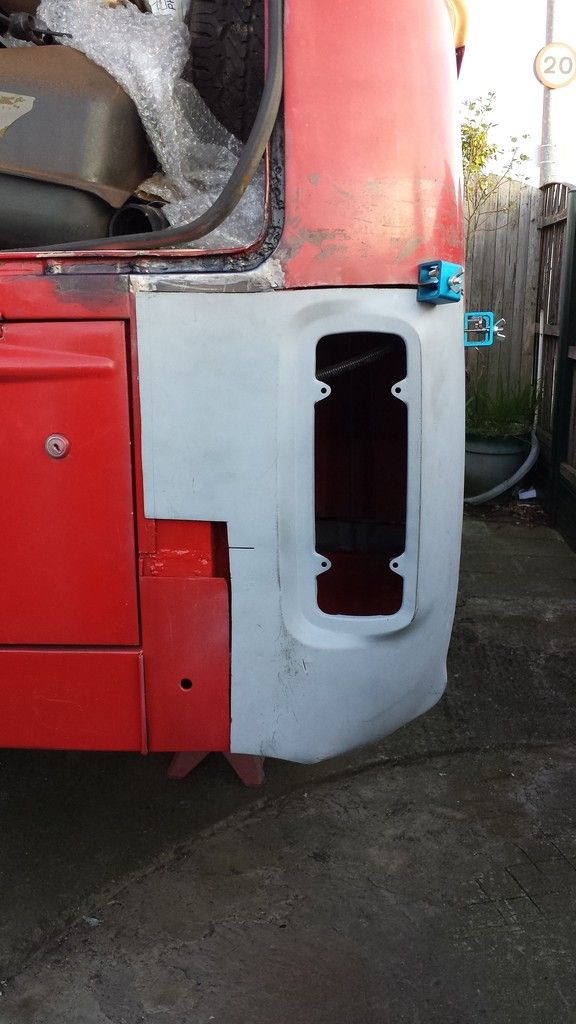
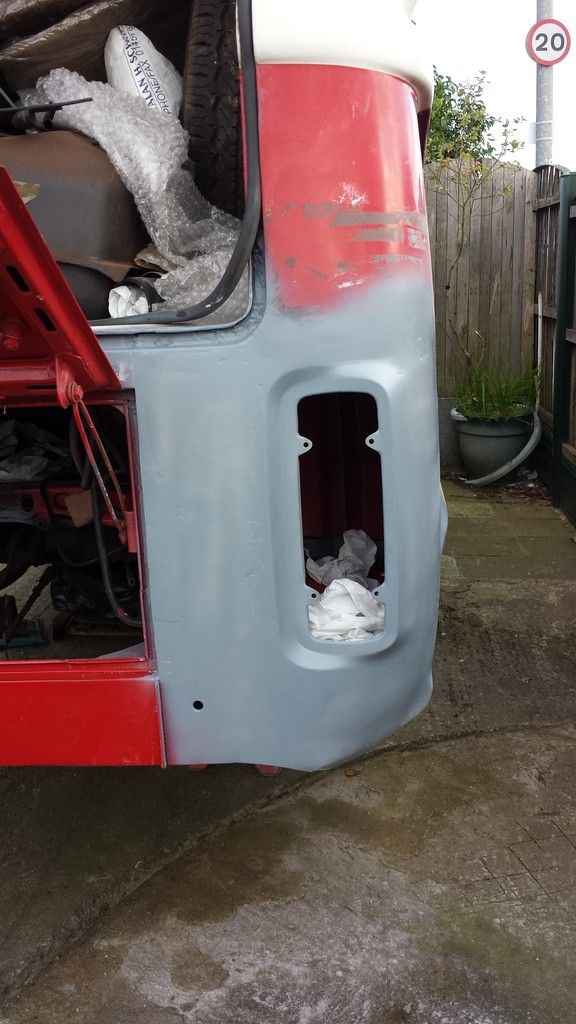
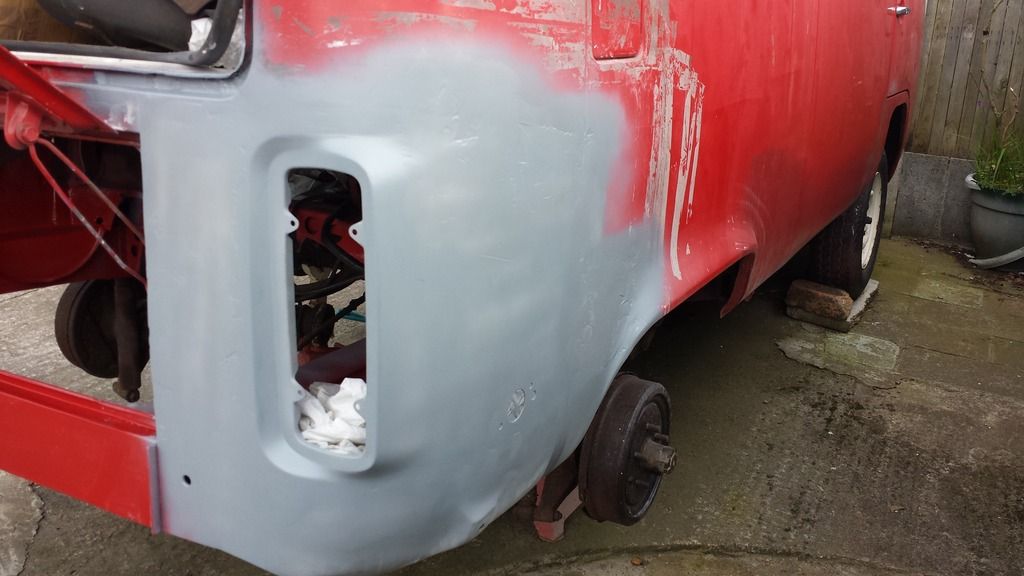
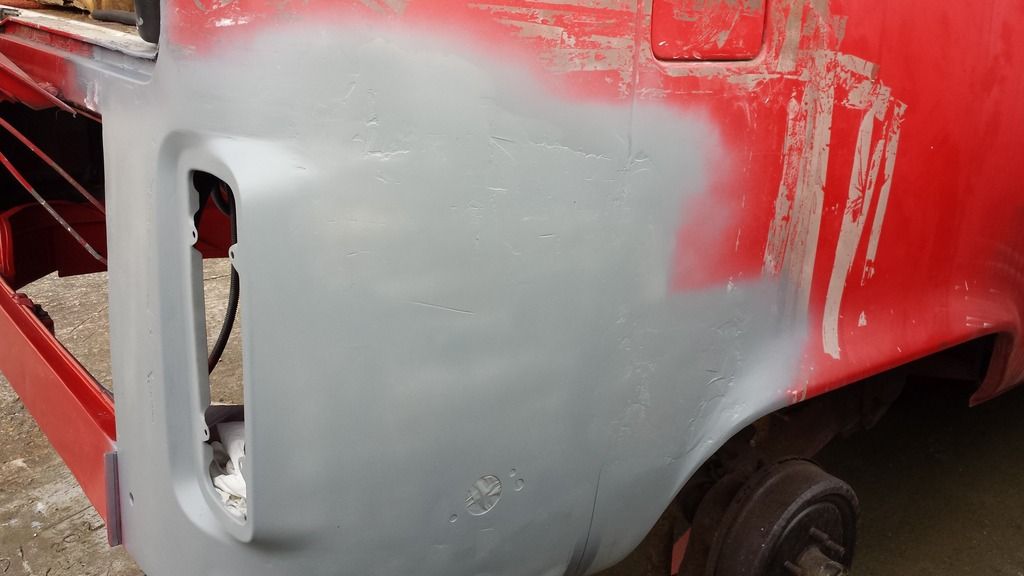
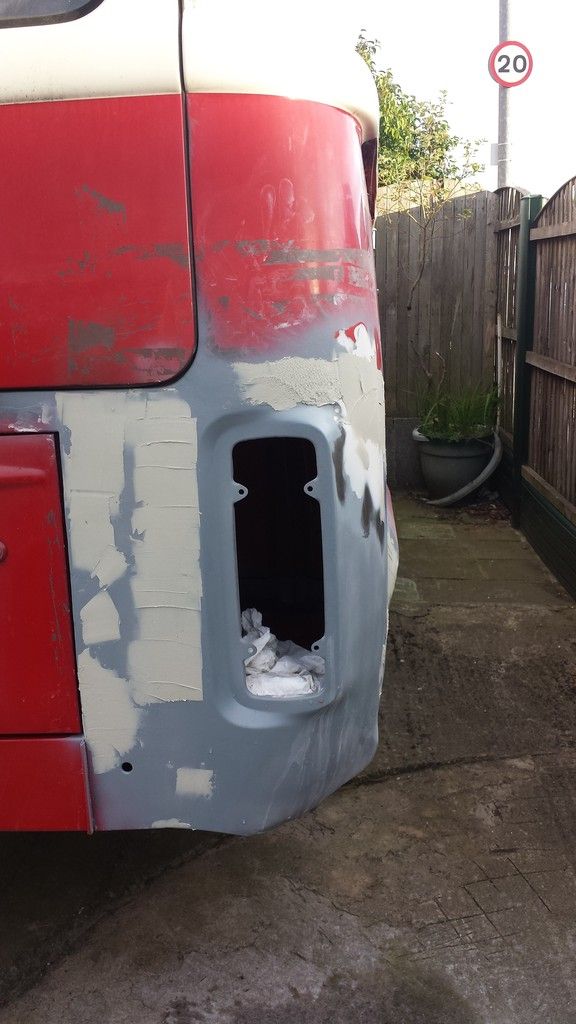
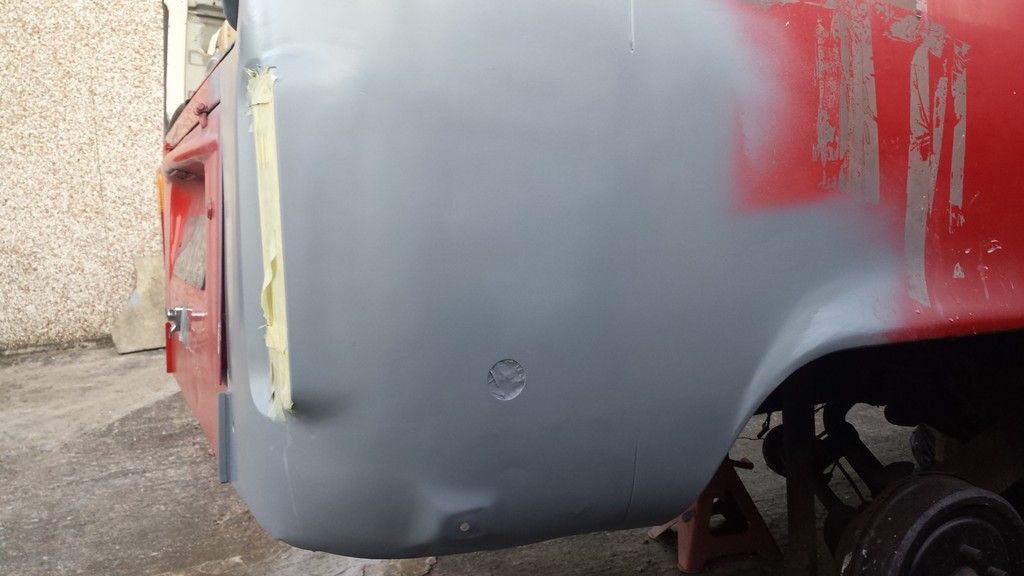
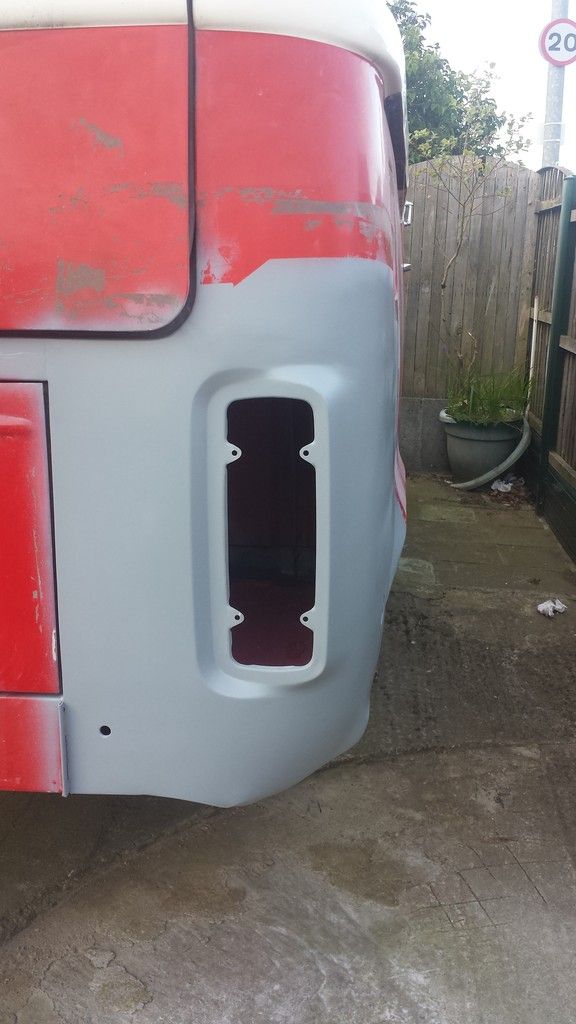
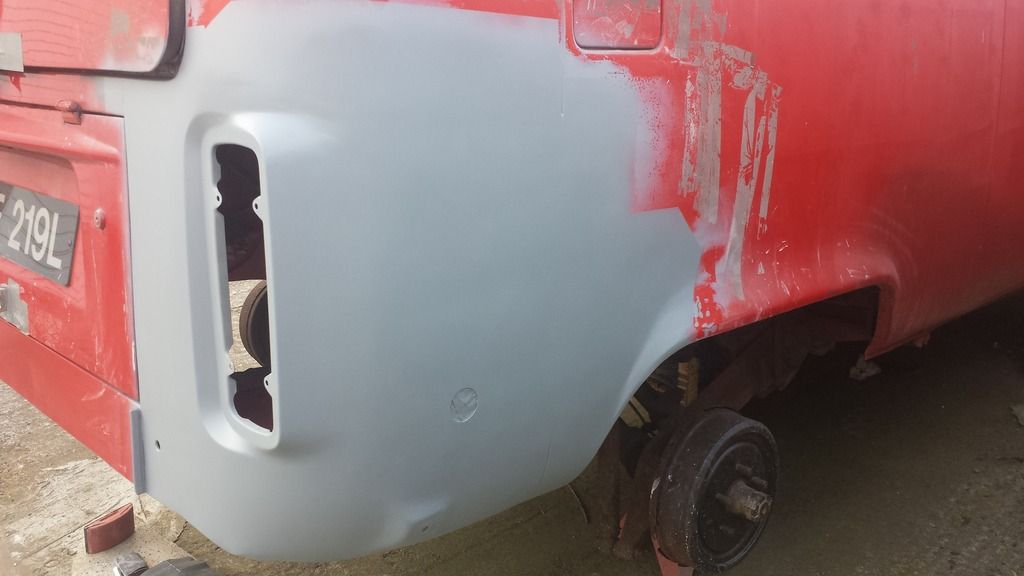
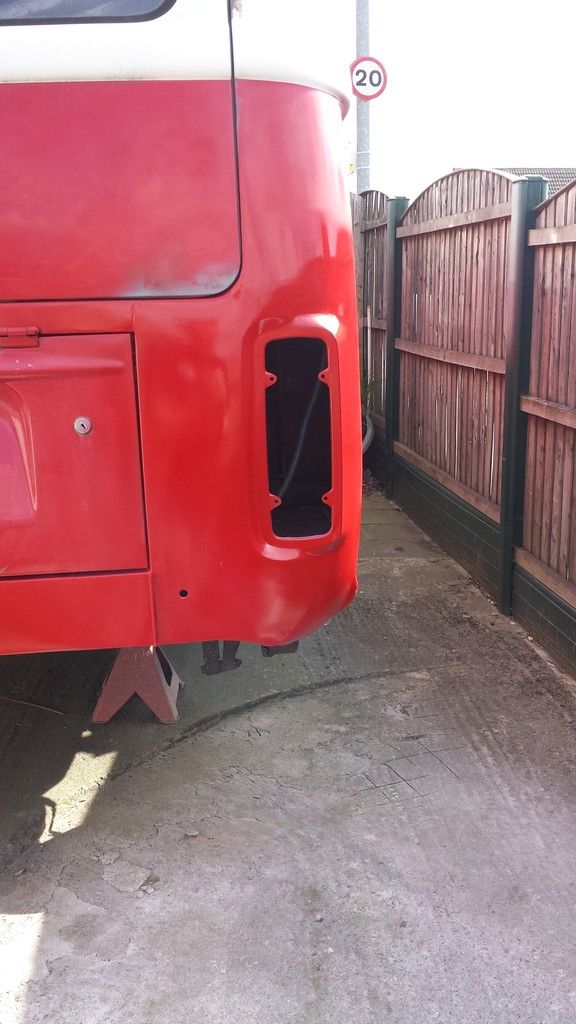
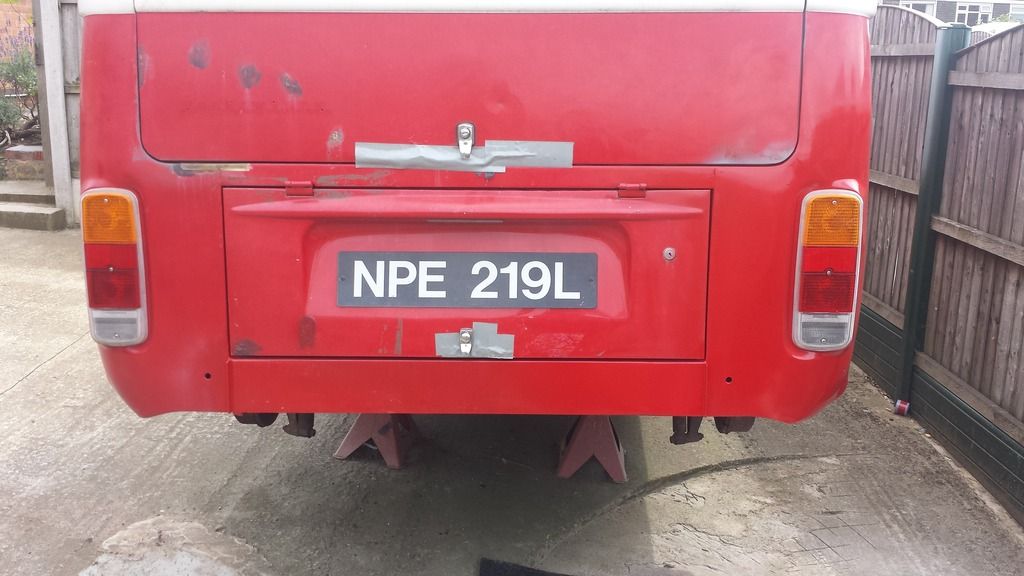
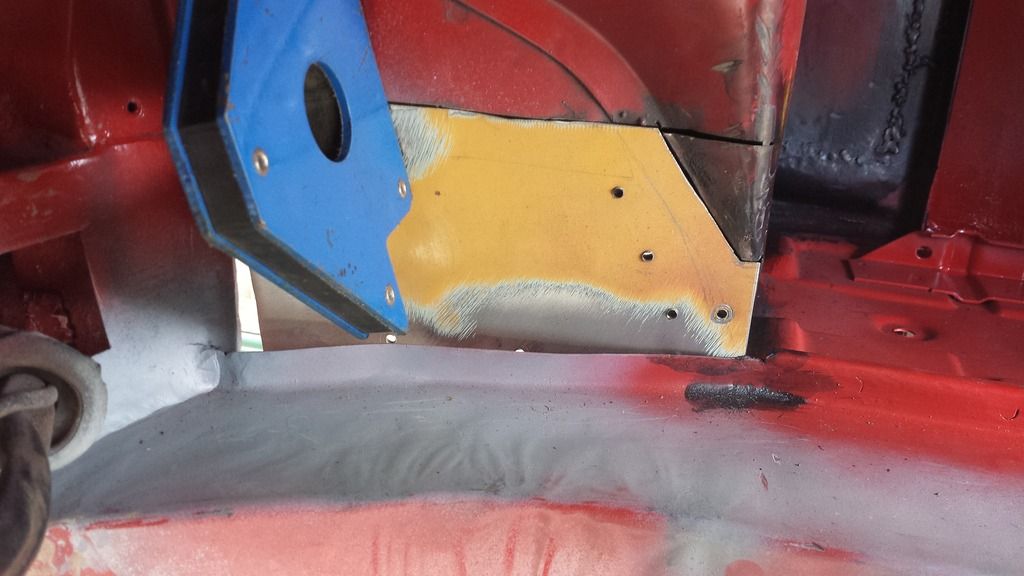
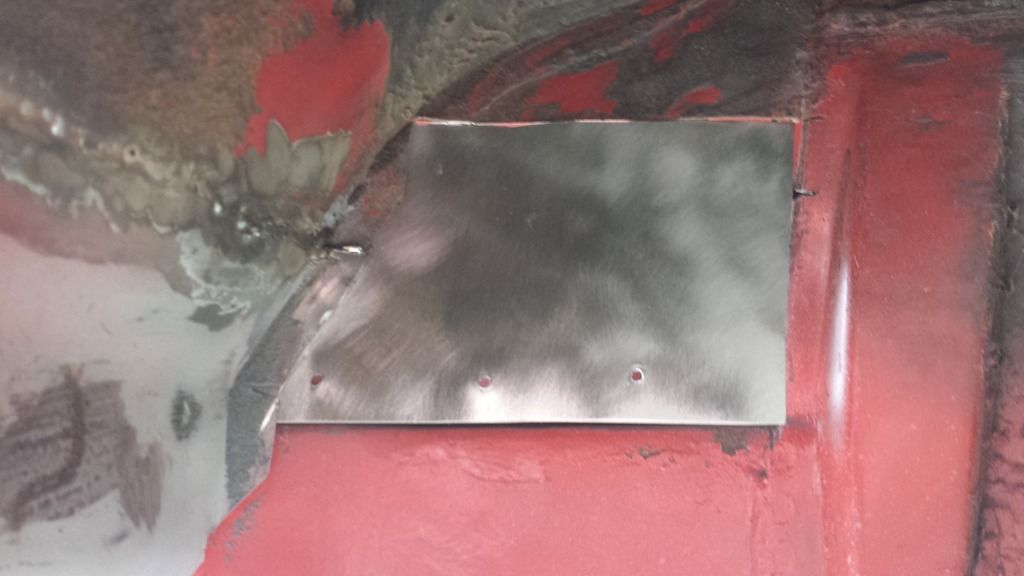
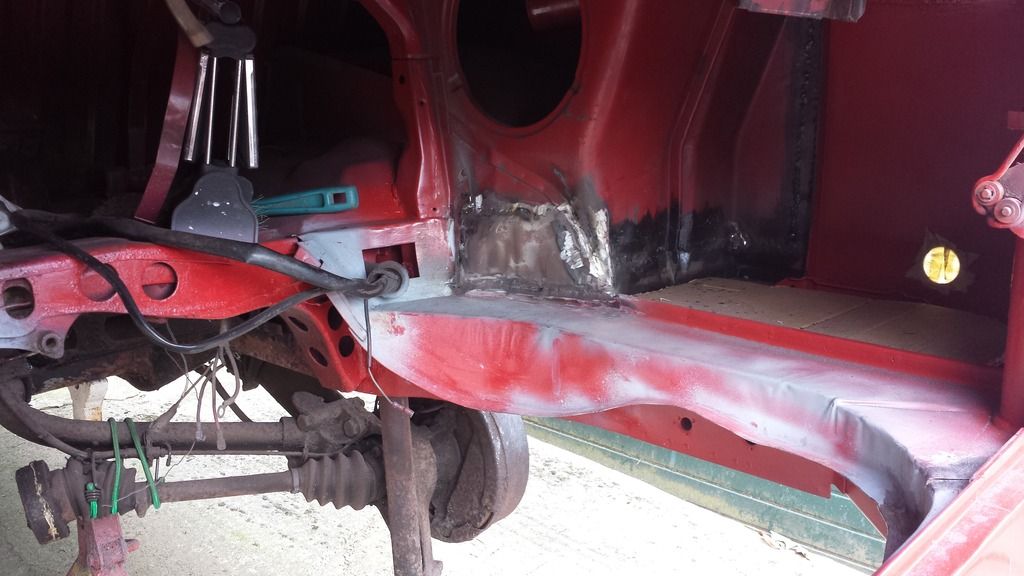
Lined up the rear quarter.

Needed to address an area around the hatch area where the rubber goes before I attach the rear quarter as it was badly rusted (the dark area you see in the channel is old glue..)
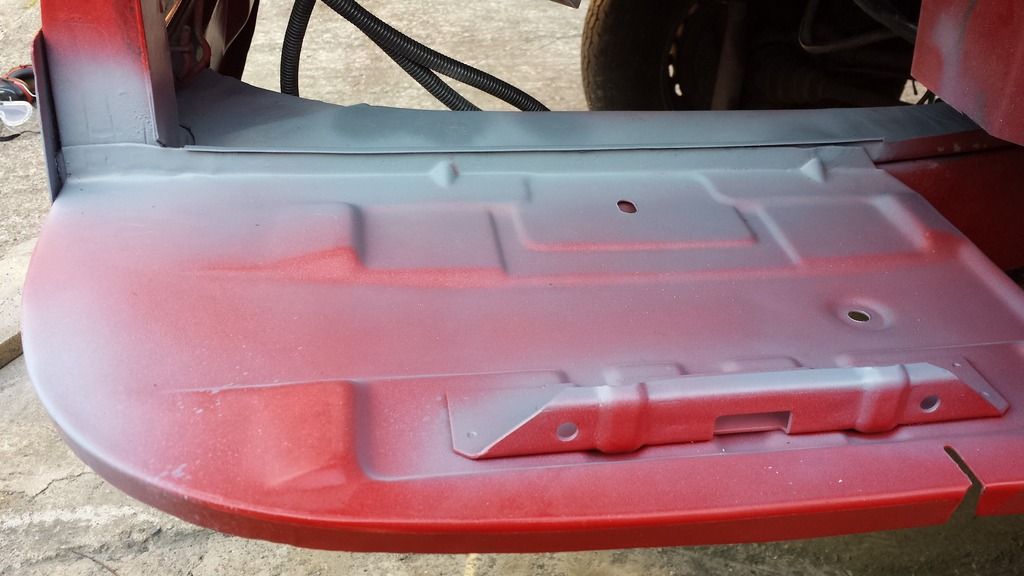
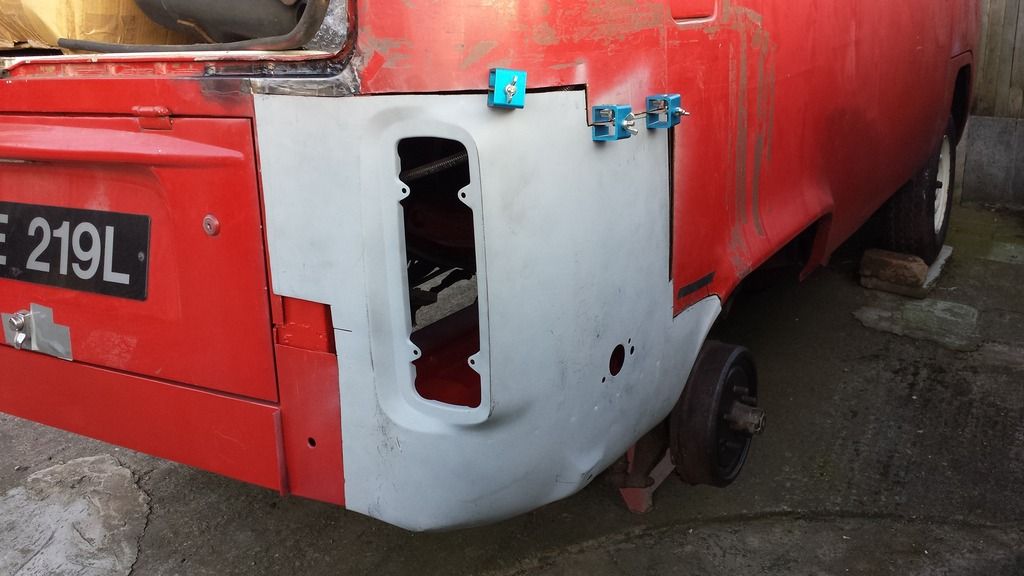
Lined up the rear quarter.


$28.52
$32.43
Airfix Quickbuild Volkswagen Light Blue Camper Van Brick Building Model Kit, Multicolor
Amazon Global Store UK


$27.95 ($13.98 / Count)
Marketplace Auto Parts Window Crank Handle Set of 2 - Chrome with Black Knob - Compatible with 1968-1978 Volkswagen Beetle
Parts Geek LLC


I admire your dedication, you'll be on the road next year for sure 8)
Nice daily driver!
")
Nice daily driver!
mike202 said:I admire your dedication, you'll be on the road next year for sure 8)
Nice daily driver!
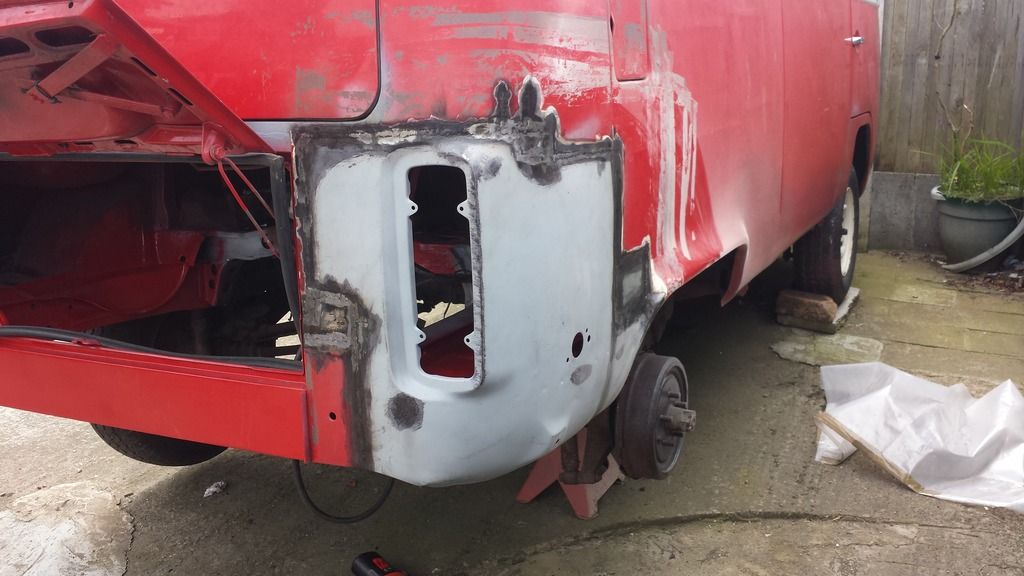
Thanks Mike.
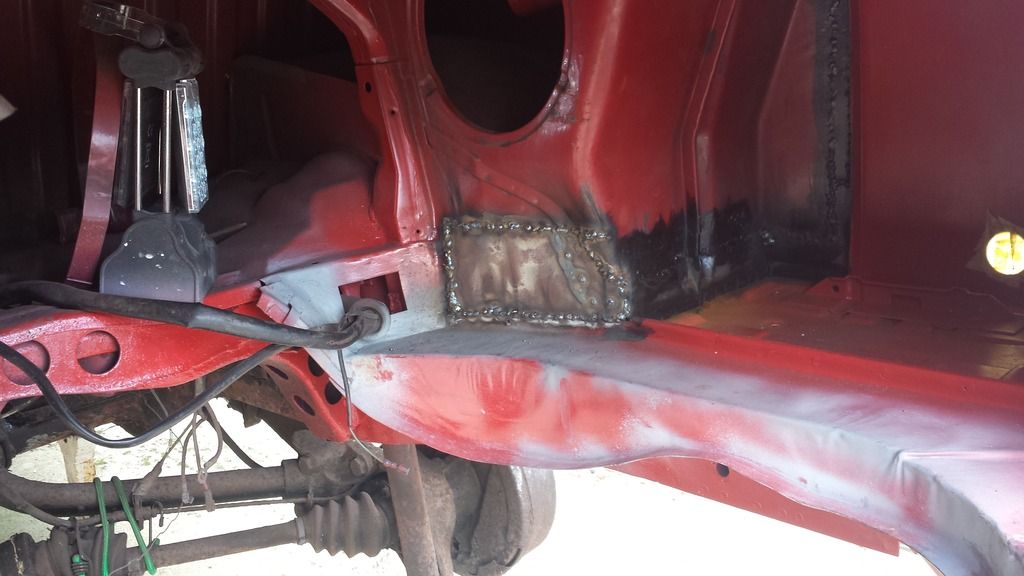
Getting there with the welding but still a bit to go before I can get it MOT'd.
Agreed, the daily is nice
Similar threads
Vehicle For Sale
1969 T2 Early Bay RHD Dormobile Camper in Velvet Green
- Replies
- 5
- Views
- 3K
Vehicle For Sale
Very rare Oslo edition SO69-01 1969 Early Baywindow £12K Ono
- Replies
- 0
- Views
- 1K
- Locked
- Replies
- 6
- Views
- 2K