You are using an out of date browser. It may not display this or other websites correctly.
You should upgrade or use an alternative browser.
You should upgrade or use an alternative browser.
Progress Pics - Dormobile X-Over
- Thread starter gninnam
- Start date


Help Support Early Bay Forum:
This site may earn a commission from merchant affiliate
links, including eBay, Amazon, and others.

looking good, any idea when you'll be mobile?
Thanks for the comments guys
Still some welding to do (inner rear arches and rear chassis that the bumper used to bolt too plus a few smaller bits plus the cargo floor).
Then replace the brake pipes (not looking forward to that one), shoxs, exhaust and HX, lights (looks like I might have to re-wire it too as the wiring harness has not been put throught the chassis!!), ball joints etc then take it for its MOT and see what else needs doing :shock:
Aiming for the end of April, then I can get it home, build a new interior, based on the original and see to the bits that are not MOT failures, but still need addressing.......
But we'll see
bluenose
Well-known member
good luck dude! What plans have you for the interior??
If i get manage to get mine an MOT this year i'll be happy with a blow up matress on the floor
If i get manage to get mine an MOT this year i'll be happy with a blow up matress on the floor
bluenose said:good luck dude! What plans have you for the interior??
If i get manage to get mine an MOT this year i'll be happy with a blow up matress on the floor
Cheers
Going to replicate the Dormobile interior but with a few twists and using Marine ply :mrgreen:
Hopefully start that in May/June
Darrencambs
Well-known member
- Joined
- Nov 14, 2010
- Messages
- 76
- Reaction score
- 0
Looking good there Andy!
Can't believe I'd missed this thread until now, but just finished reading it all the way through. Looks like you've been through pretty much everything on your bus that I'm looking at doing... must be a great feeling to know you're almost there.
Keep up the good work, and keep posting the pics as I'm going to need them for reference purposes!

$7.75
Window Crank Cover, for Beetle, Bus & Ghia 68-79, Black, Ea, Compatible with Dune Buggy
Appletree Automotive


$25.08
Airfix Quickbuild Volkswagen Camper Van Red Brick Building Plastic Model Kit J6017, Multicolour
Amazon Global Store UK

$29.89
ハセガワ Hasegawa HMCC11 1:24 Scale VW Type 2 Pick-Up Truck Model Building Kits
Fun Fun Hobby Japan!


$34.43
Window Sash, 1 Piece Windows,for Beetle 58-64 & 68-77, Pair, Compatible with Dune Buggy
Appletree Automotive

$11.24
Empi 4429 Ivory Sun Visor Clips For Vw Bug 1965-1967/ Vw Bus 1968-1979, Pair
MOORE PARTS SOURCE


$9.94
$10.95
Empi 00-4428-B VW Bug, Beetle, Sun Visor Clips, Type 1, 68-79, Black, Pair
MOORE PARTS SOURCE


$58.00
$69.99
Revell 07674 VW T1 Camper 1:24 Scale Unbuilt/Unpainted Plastic Model Kit
ChoiceToysUS


RePhil
Well-known member
Andy.
Just read all your posts & I'm glad to see you decided to stick with it.
(I've had a frogeyed sprite in the garage for 22yrs or so - so I've been there. Family support is key).
Anyway main purpose of post is to say thanks for detailed pics & explanations.
I'm about to embark on the dreaded outrigger replacement & your pics showed that its all do-able.
I'm personally trying not to keep hacking/poking at stuff & just doing the bare minimum to keep it legal & reliable.
Keep on & keep on updating us & we'll keep on copying!!
We'll all get there.
Phil.
Airtime
Well-known member
Did I read MOT? :shock: End of April would be great, so you can finally drive your bus again. 8)
Curious to see how the interior will turn out. 8)
Curious to see how the interior will turn out. 8)
Just read through the whole thread and congrats for getting the bus this far, looks like you turned a corner and nearly got all the welding outta the way. Hats off to you Andy, such a lot of work but you gonna love that bus so much once he's done!
Cheers for the comments guys
What race :shock:
Got a feeling you'll win mate :mrgreen:
antoine said:coming along nicely, not sure whos winning our little race to the road now, its too close to call.
What race :shock:
Got a feeling you'll win mate :mrgreen:
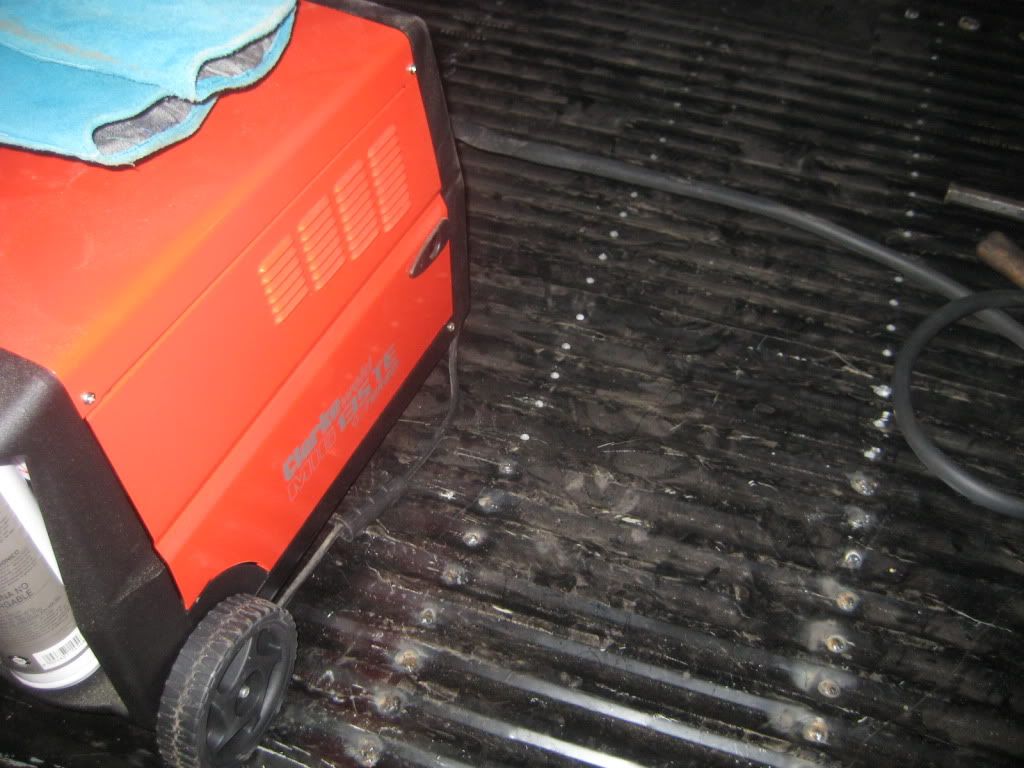
Well, didn't have my Bilt Hamber rust prevention stuf but managed to dig out a an old tin of POR15 so used that instead:
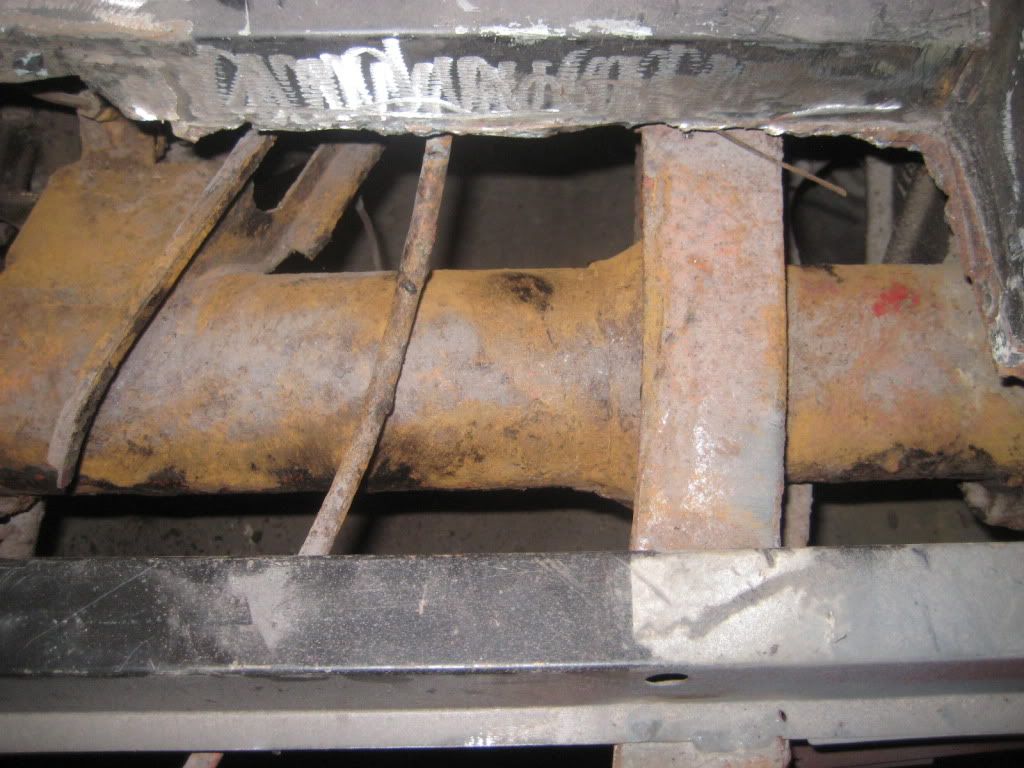
View of the rear suspension torsion holder thingy (can't for the life of me think what its called :shock: ):
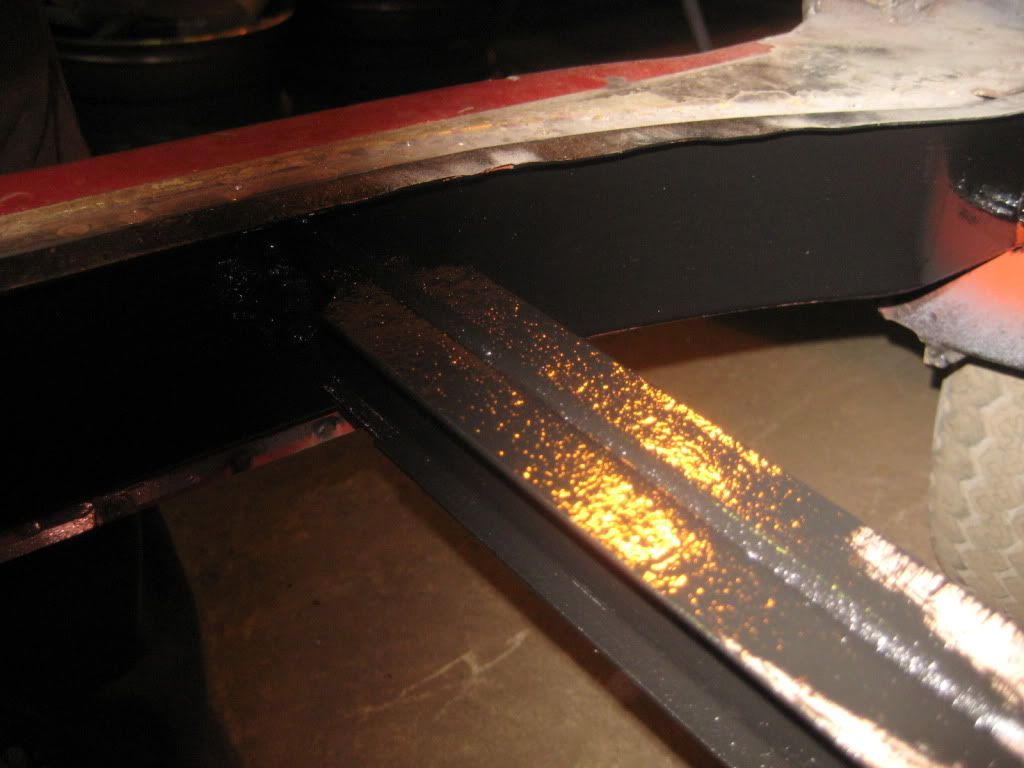
Here's some shots after (I have not done the top of the top hats as I will be welding them so will just put on weld through etch primer:
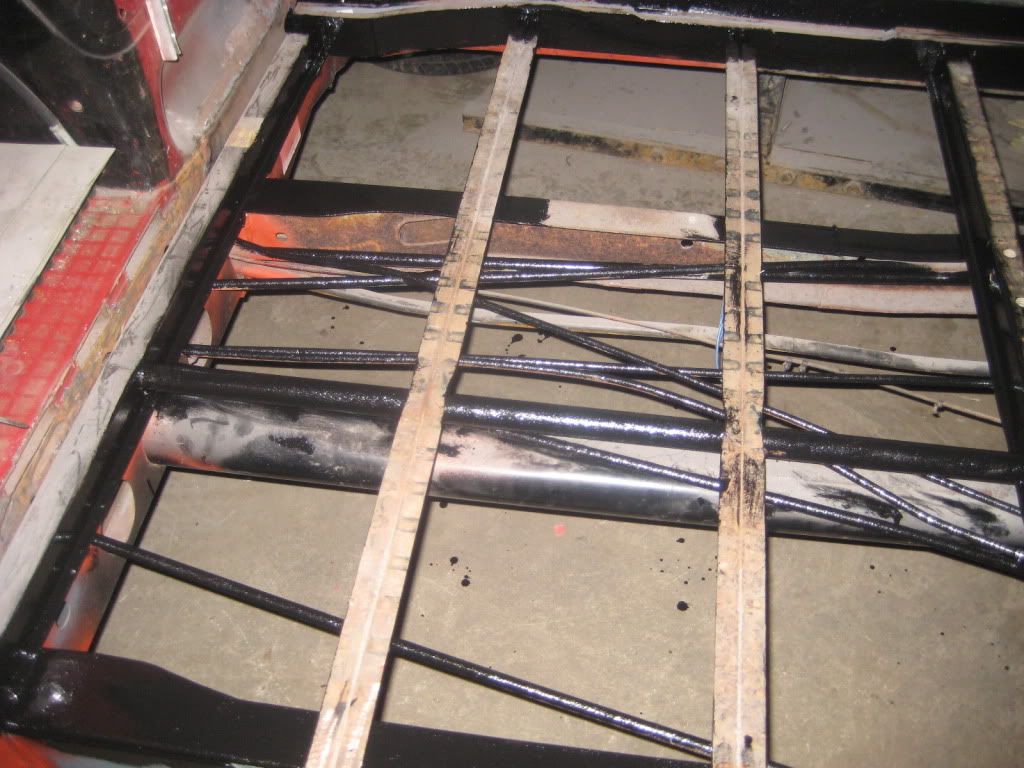
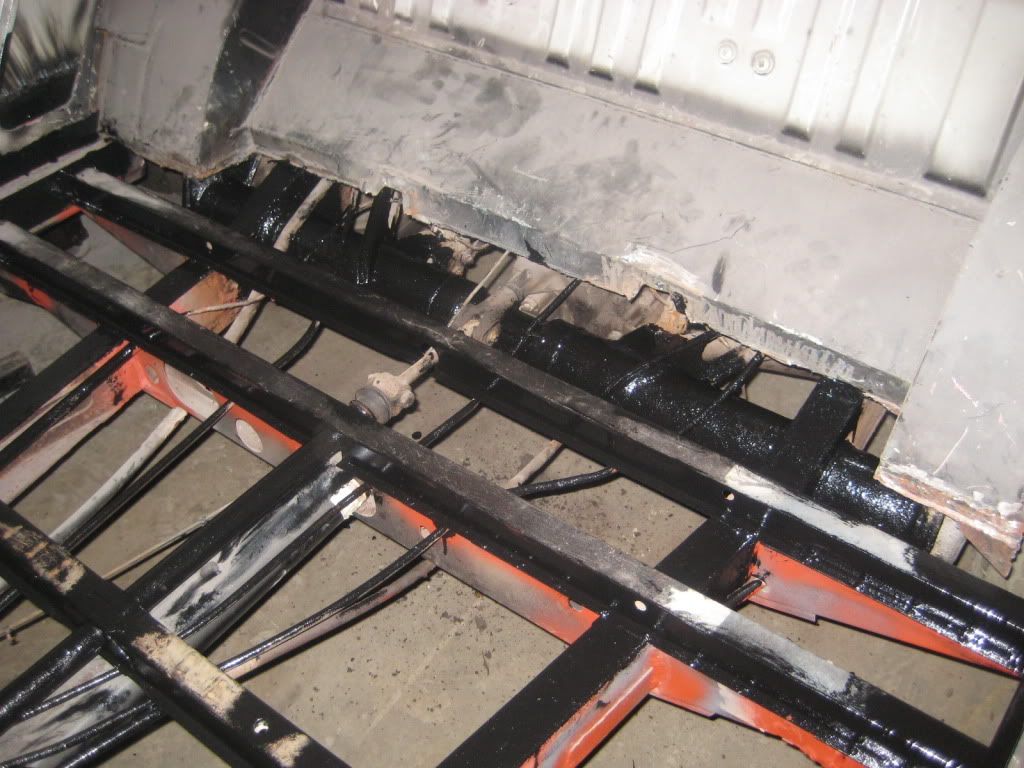
Not the most exciting pictures :mrgreen:
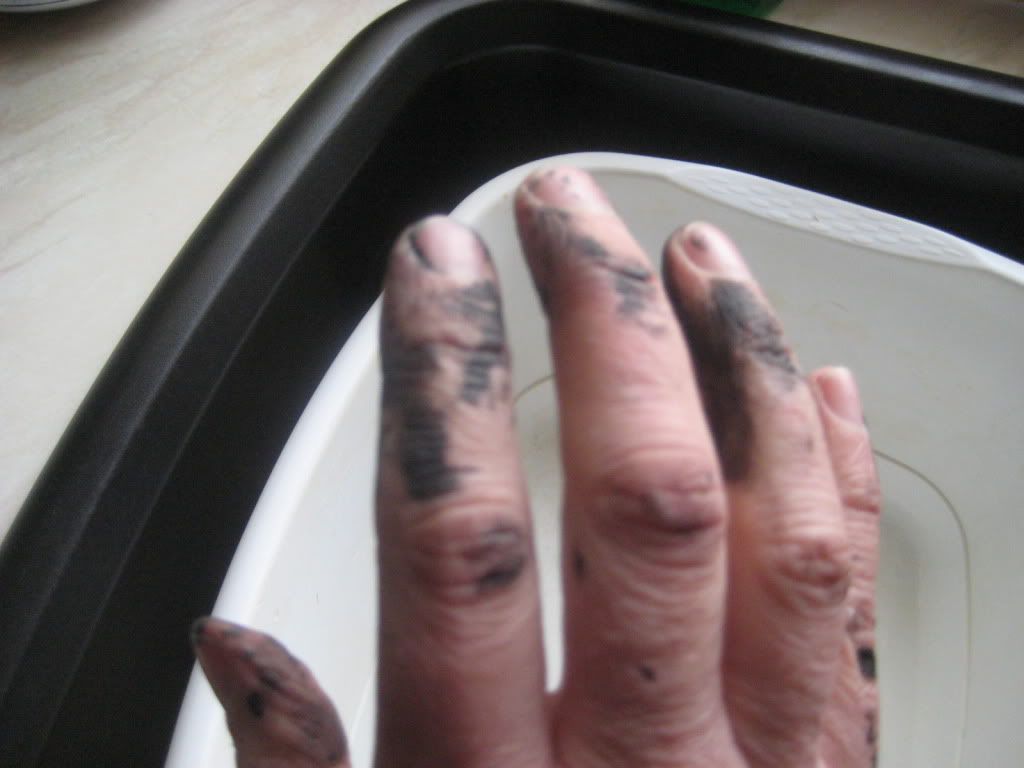
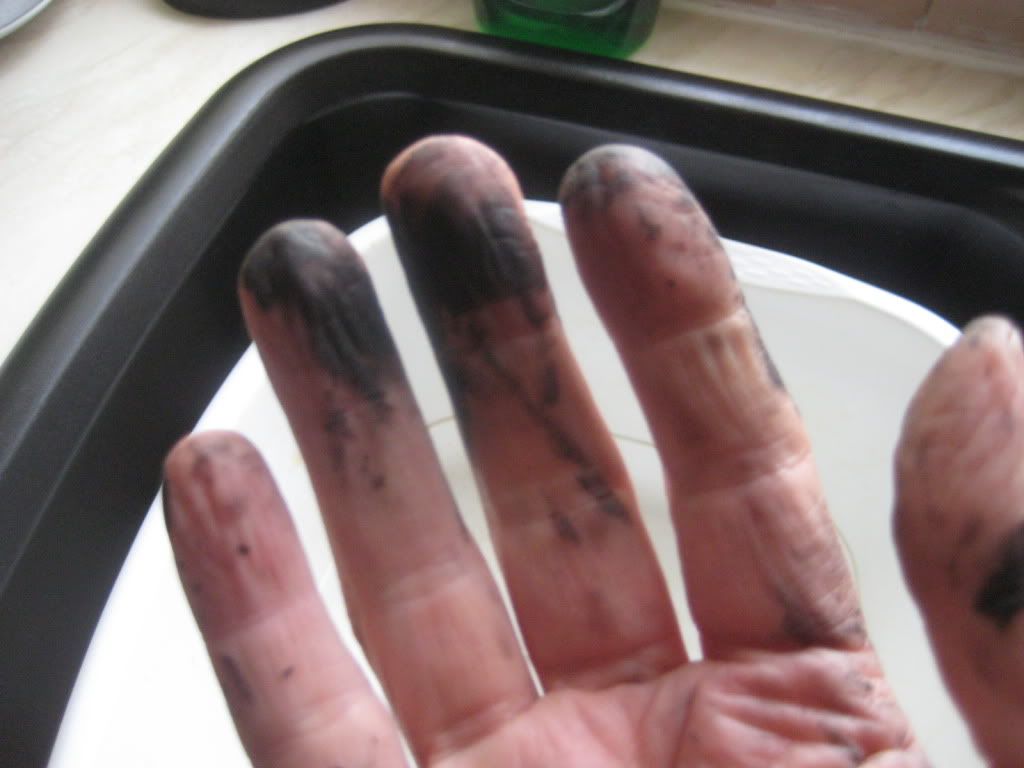
Also, forgot to wear my latex gloves so my hand are a bit multi coloured:
Guess what, got home tonight and the Hamber stuff had arrived yesterday when no one was in and left with the neighbour who dropped if off after I had gone to do the van
Thats it till next weekend
View of the rear suspension torsion holder thingy (can't for the life of me think what its called :shock: ):
Here's some shots after (I have not done the top of the top hats as I will be welding them so will just put on weld through etch primer:
Not the most exciting pictures :mrgreen:
Also, forgot to wear my latex gloves so my hand are a bit multi coloured:
Guess what, got home tonight and the Hamber stuff had arrived yesterday when no one was in and left with the neighbour who dropped if off after I had gone to do the van
Thats it till next weekend
Excellent news, bet you are excitedly nervous about the impending MOT!? Pass or fail its a BIG step in the right direction and on towards the more interesting interior work!
Keep it up mate, we're all watching/reading with baited breath!
Keep it up mate, we're all watching/reading with baited breath!
Benyon said:Excellent news, bet you are excitedly nervous about the impending MOT!? Pass or fail its a BIG step in the right direction and on towards the more interesting interior work!
Keep it up mate, we're all watching/reading with baited breath!
Cheers mate
Next weekend I am hoping to put the floor in and have a bash at replacing the HX's and exhaust amongst other things
bluenose
Well-known member
oops, takes ages for that por-15 to come out, have to wait for some new skin :lol:
Full day today, but looks like not much done
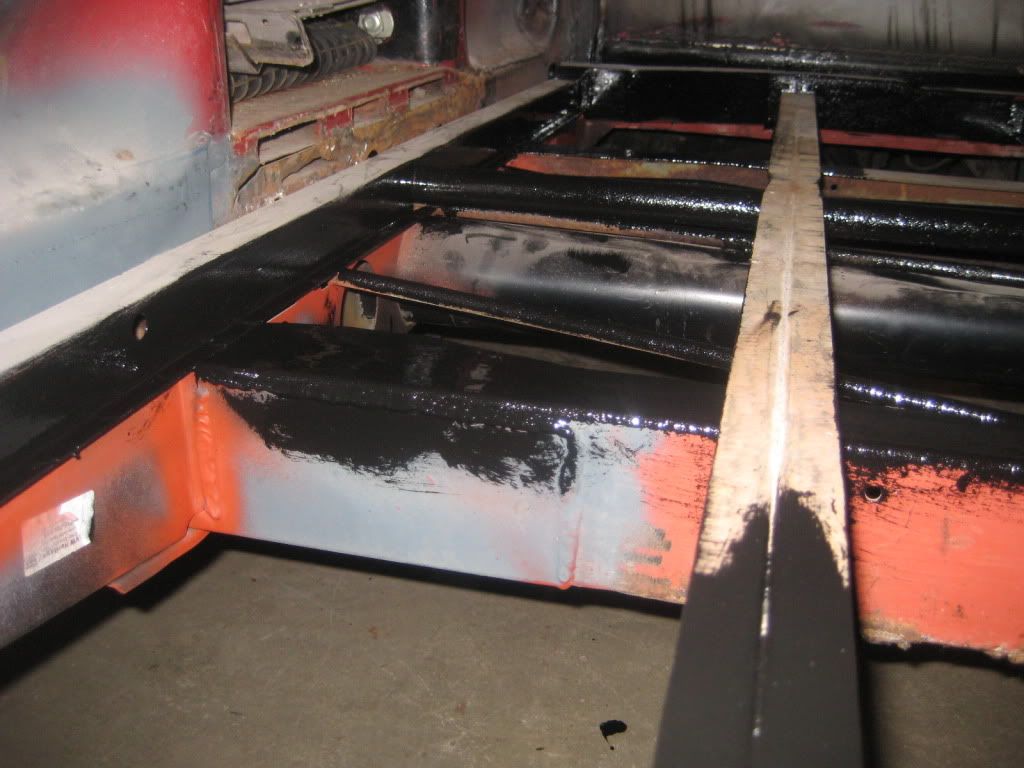
Spent many hours waxing the new chassis parts (using the Bilt Hamber stuff - looks like nice gear) but no pictures of that,
Then painted on the Bilt Hamber rust preventer onto parts which will be difficult to get to once the floor is in place - again no pictures...
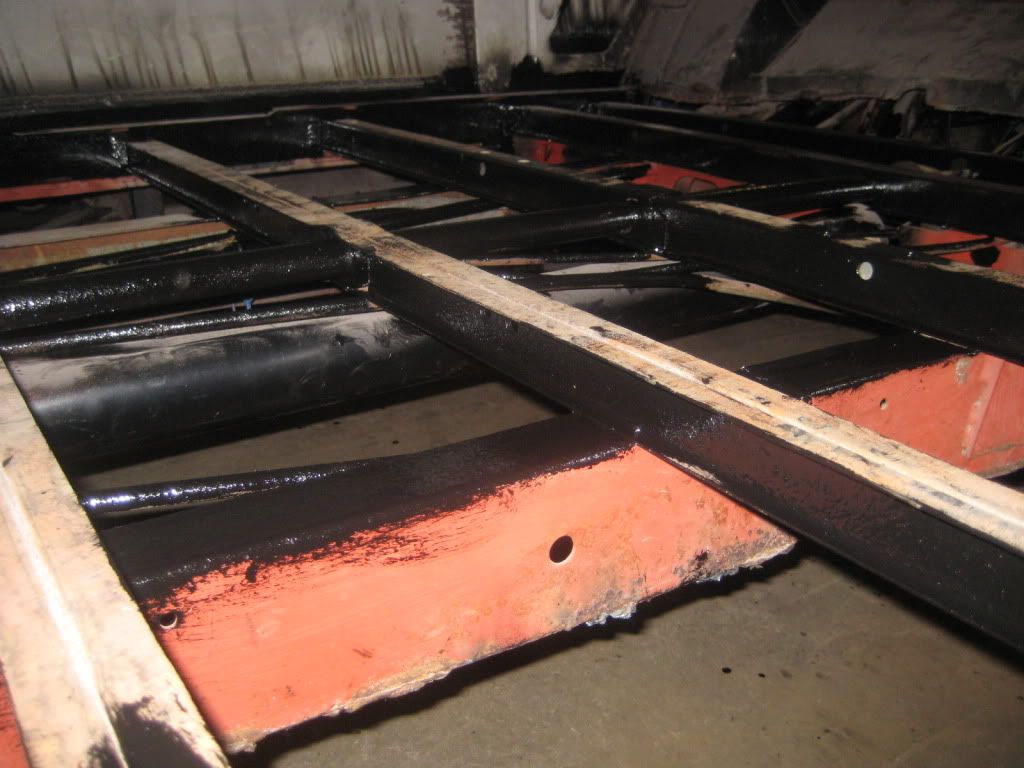
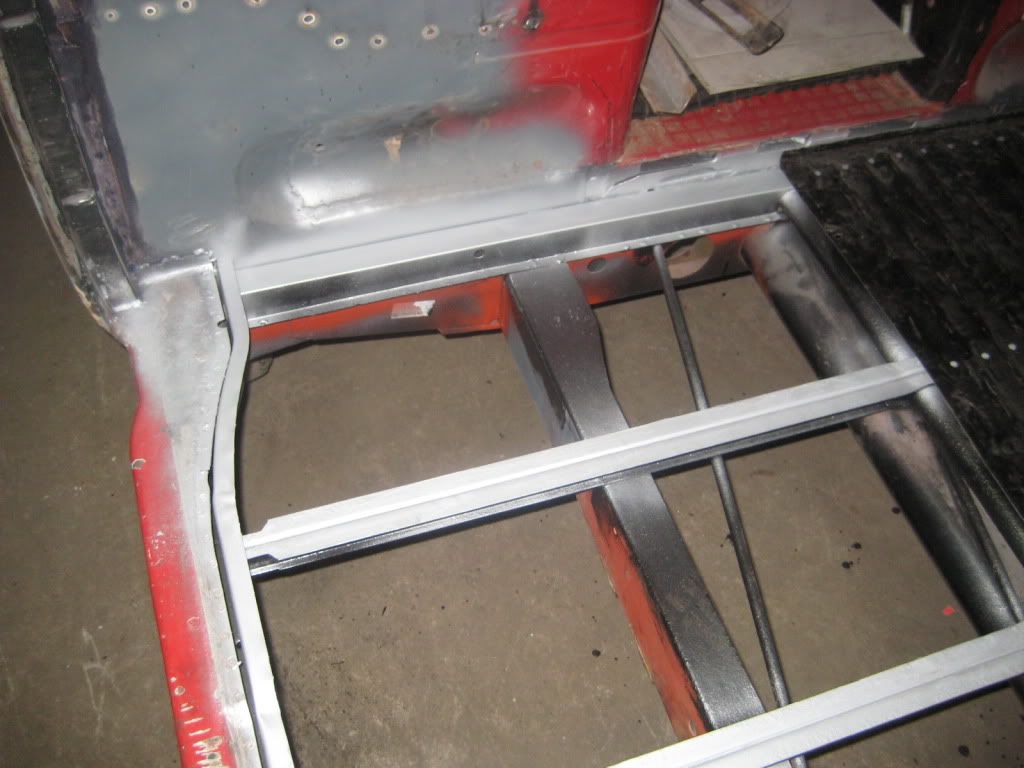
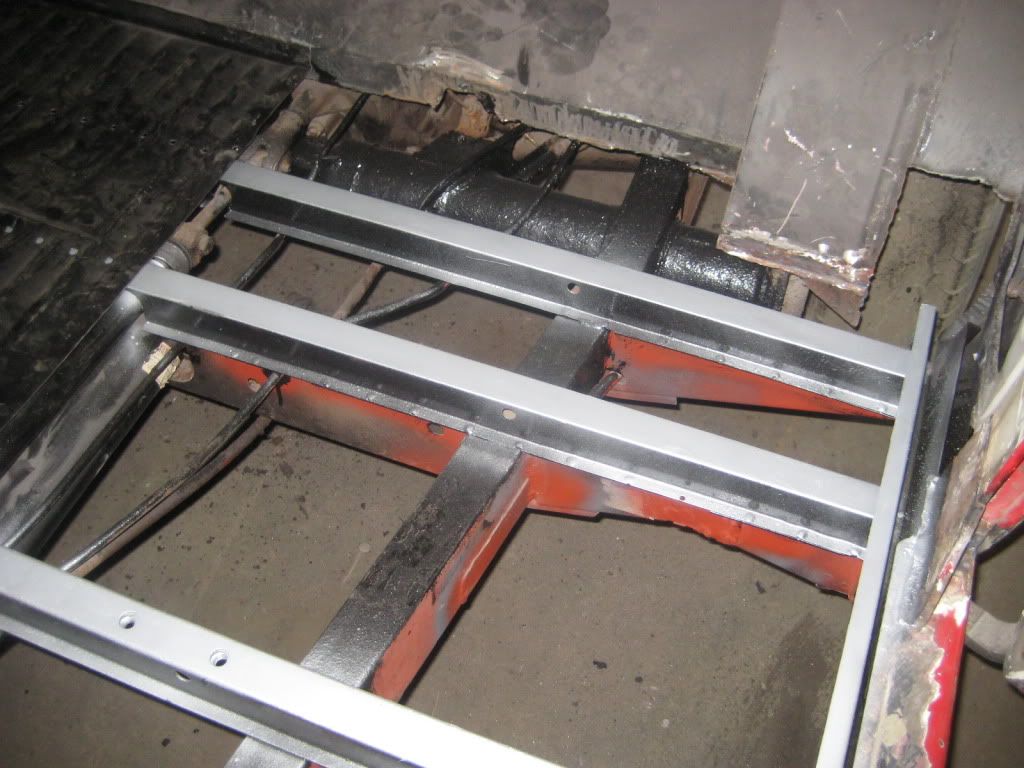
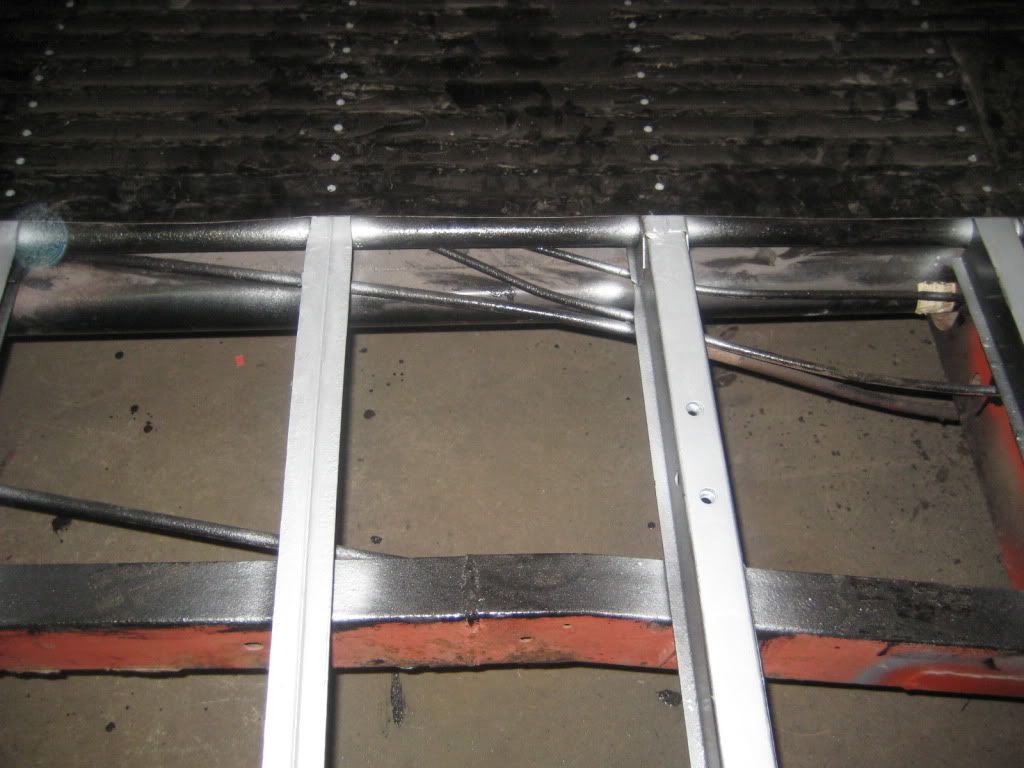
Spent many hours (and blunted drill bits) getting the holes in the floor ready for it to be plug welded and treated the tophats etc to a coat of weld through etch primer before attaching them.
Got about three quarters of the welding when I had to head home so will continue next week, followed by grinding the welds down and tidying it all up and welding in a small patch over the nearside wheel arch tub.
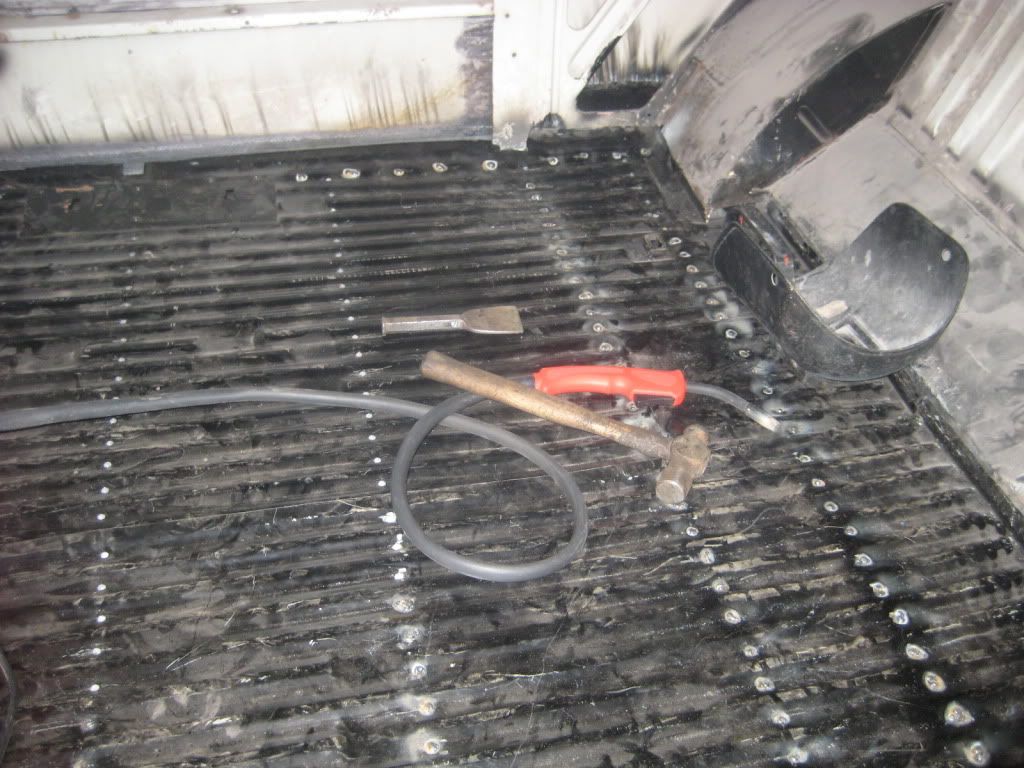
Just a few pics I'm afraid:

Thanks for looking and welcome any comments :mrgreen:
Spent many hours waxing the new chassis parts (using the Bilt Hamber stuff - looks like nice gear) but no pictures of that,
Then painted on the Bilt Hamber rust preventer onto parts which will be difficult to get to once the floor is in place - again no pictures...
Spent many hours (and blunted drill bits) getting the holes in the floor ready for it to be plug welded and treated the tophats etc to a coat of weld through etch primer before attaching them.
Got about three quarters of the welding when I had to head home so will continue next week, followed by grinding the welds down and tidying it all up and welding in a small patch over the nearside wheel arch tub.
Just a few pics I'm afraid:
Thanks for looking and welcome any comments :mrgreen:
Doris
Well-known member
nice work Andy,that looks tidy under there!What is the Bilt & Hamber stuff you are using - is it the dynax S50 wax?
Doris said:nice work Andy,that looks tidy under there!What is the Bilt & Hamber stuff you are using - is it the dynax S50 wax?
Cheers
Yes, the wax is the S50 - just had enough with the one can, but wil need another to do a few bits missed.
Used the Hydrate 80 on the surface rust.
Similar threads
Vehicle For Sale
1969 T2 Early Bay RHD Dormobile Camper in Velvet Green
- Replies
- 5
- Views
- 2K
Vehicle For Sale
Very rare Oslo edition SO69-01 1969 Early Baywindow £12K Ono
- Replies
- 0
- Views
- 1K
- Locked
- Replies
- 6
- Views
- 1K