Project Olive

Early Bay Forum

Help Support Early Bay Forum:

This site may earn a commission from merchant affiliate links, including eBay, Amazon, and others.

Tiki-Al

Well-known member
Joined
Jun 18, 2008
Messages
545
Reaction score
0
Location
Brizzle
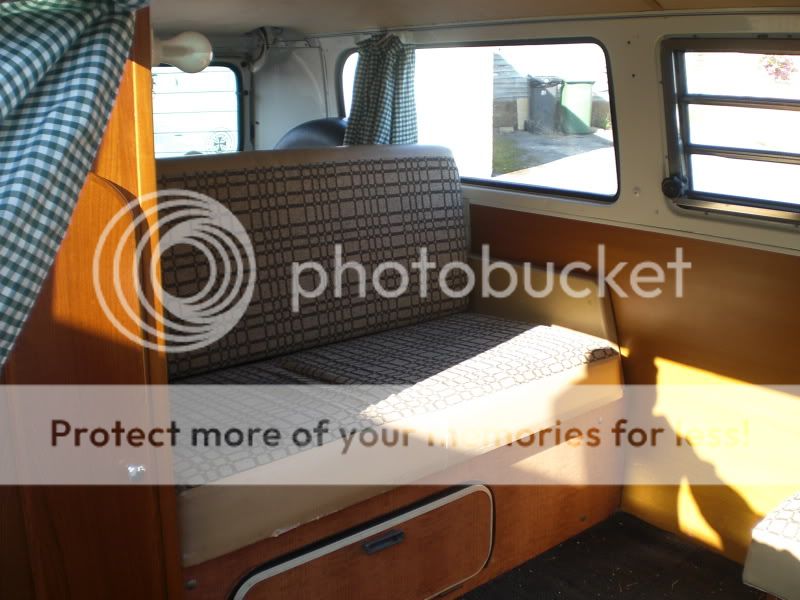
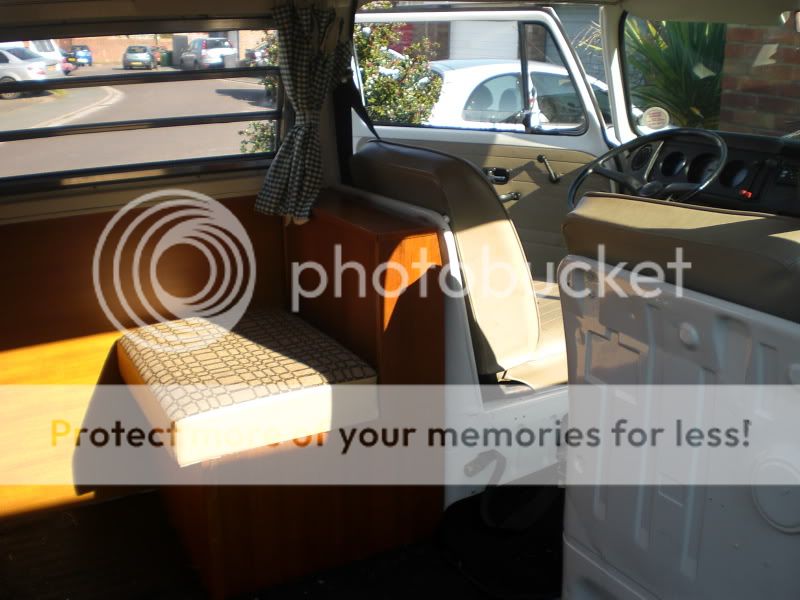
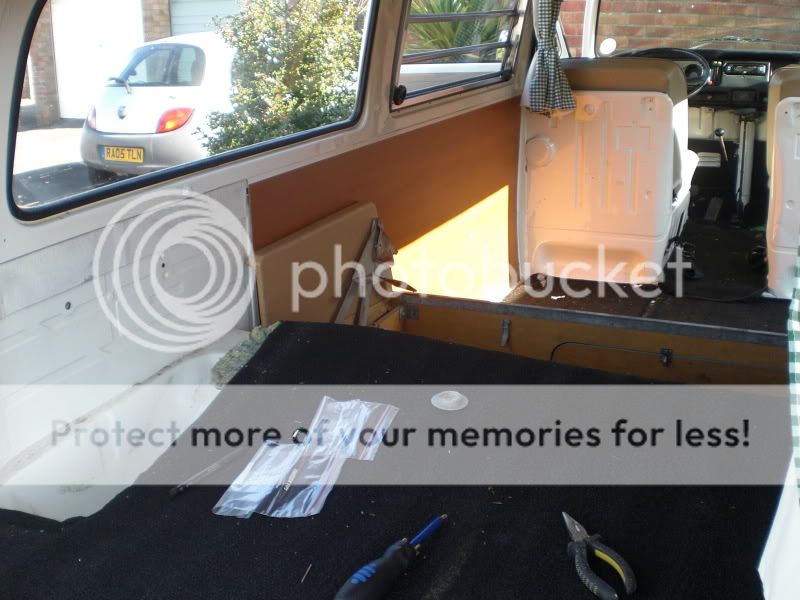
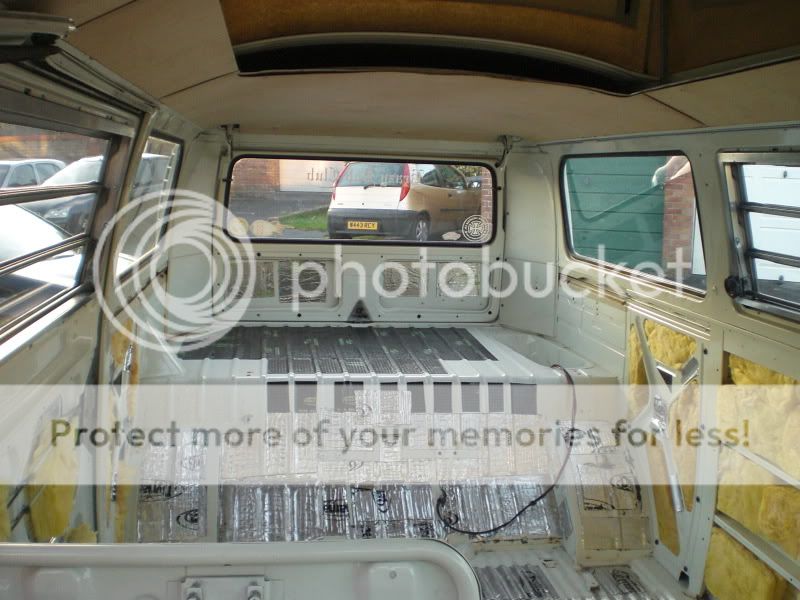
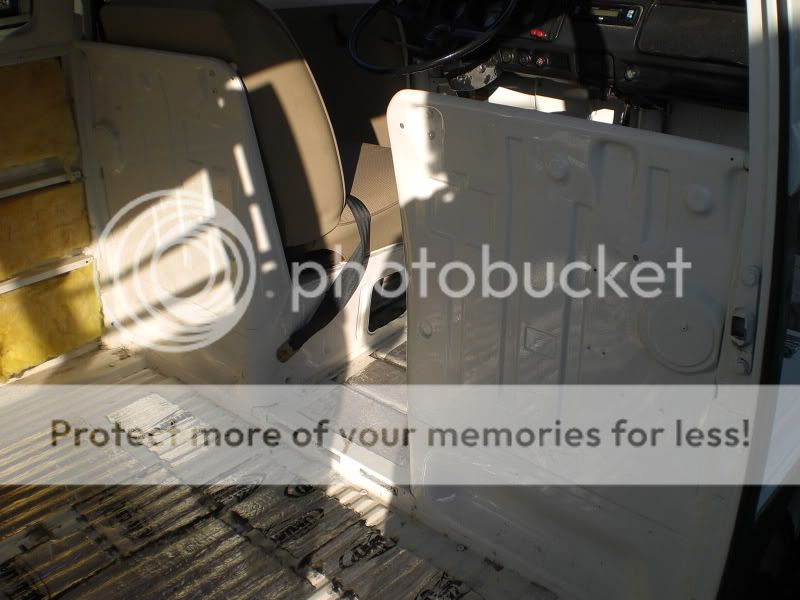
Hi folks, i'm gonna use this thread to post up all my pics of olive during her personalisation (it's hardly gonna be a transformation as shes pretty tidy) so just a bit of a fettle!

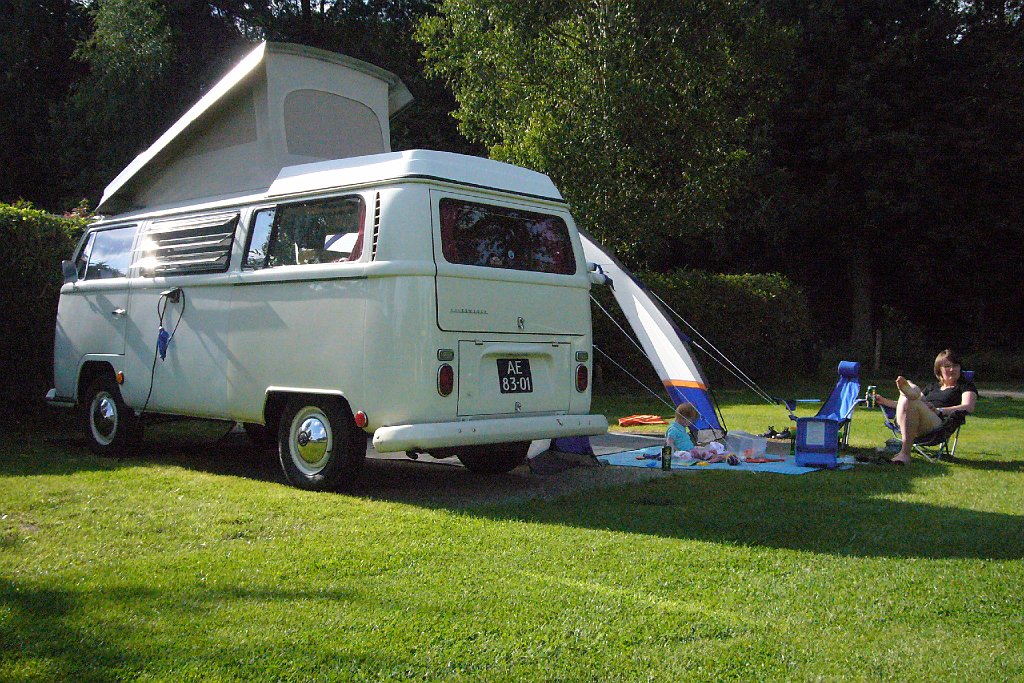
Anyway here she is when we got her
004-1.jpg


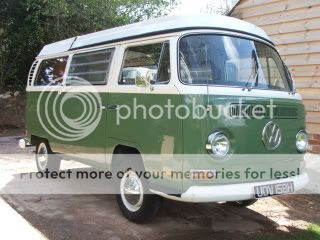
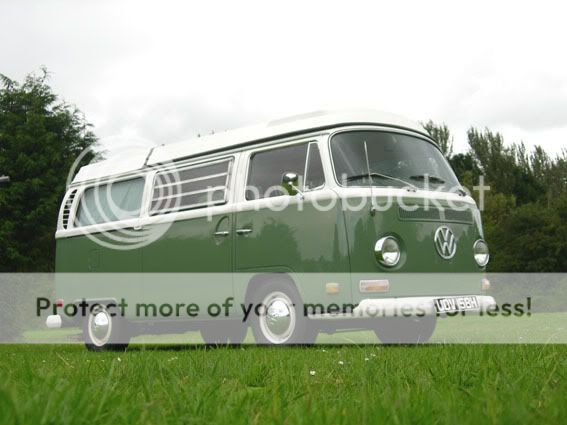
and now shes been hit with a subtle lowering stick 8)
olive.jpg


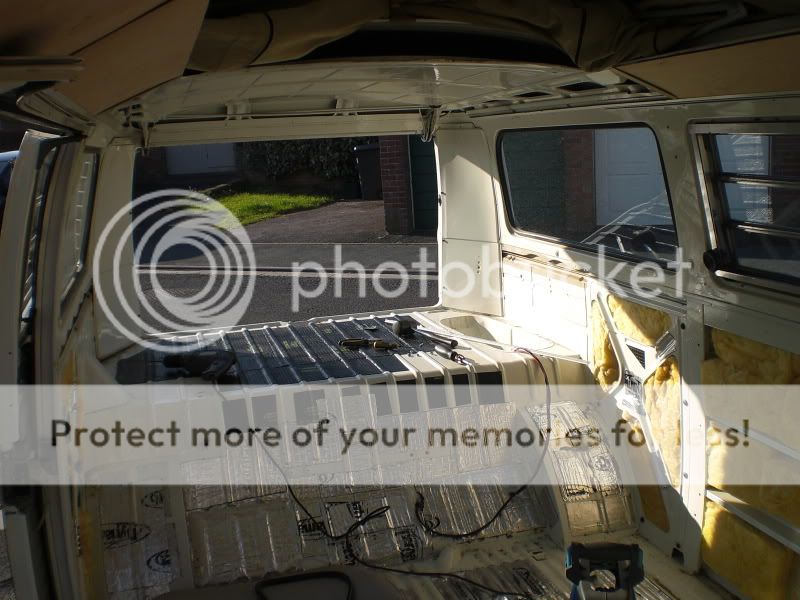
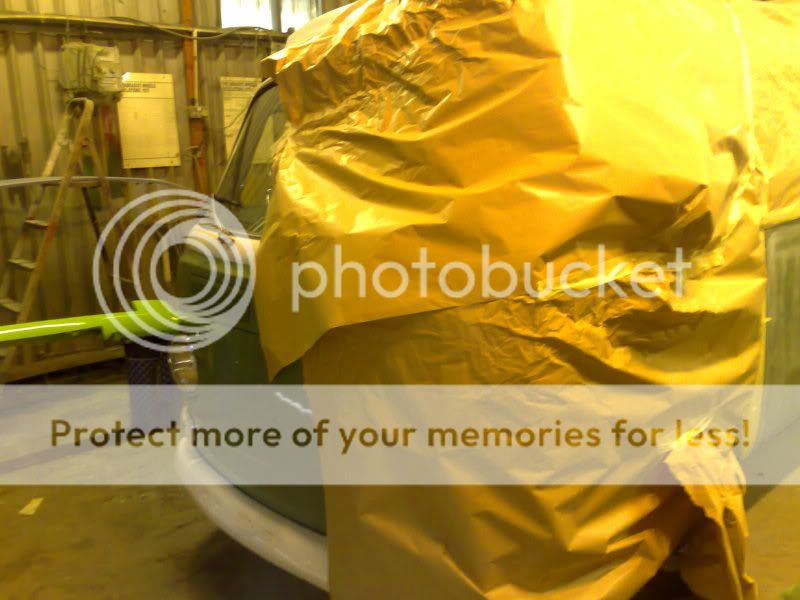
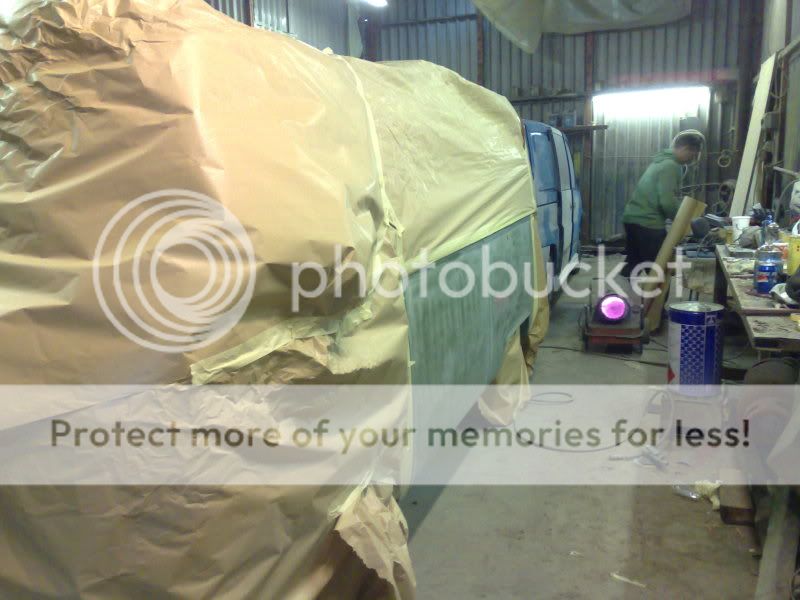
I've just refurbished the westy windows (not really worth a pic) and she's going into the body shop in a few weeks for a bit of a freshen up on the green in a few areas. Will post pics when I do it.
 
very nice, what a difference a few inchs makes! :)
 
Thats a lovely ride height....

What have you done to get that height?

I'm looking to drop about the same.

cheers
 
buddysbuddy said:
Thats a lovely ride height....

What have you done to get that height?

I'm looking to drop about the same.

cheers

Dropped two inner splines on the rear and adjusters on the front, i didn't do it myself i got a guy called Justin who is on Volkszone to do it, £300 in and out in a day...he did a very good job and the ride is still fine plus the body roll seems a lot less.
 
irish gerry said:
lovely...stunning van..

how hard were the westy windows to do??

Hi mate, they were fairly straight forward, just take the screws out, get a mate or the mrs to stand on the outside! then give it a shove and it will pop out. Then dismantle, wash, wire-wool seemed to do the trick to take most of the crud and erosion off althought i think some wet n dry would of been even better as they had some heavy pitting in places. Then autosol untill your fingers bleed!

I bought new seal kits from vw heritage (they aint cheap!) plus they are grey so i kept the black outer seal. The old seals are tricky to get out. I found that a bit of WD40 and pliers helped.

Slide the new seals in and reasemble (just screw together). Push back in and screw back to the window frame, I did have some problems where the window had been take out a few times the screw holes were a bit worn so I used slighty bigger and longer screws in places.

Took me the best part of a weekend to do but looks much better, I'll post some pics tomorrow.
 
Been awhile!
Hi all, got sidetracked with actually using the thing! but have a bit of an update.
Few weeks back I stripped the interior out, i've never been into original interiors plus mine wasnt original so any excuse. I was pleasantly surprised with what I found.

CIMG1008.jpg


CIMG1011.jpg


CIMG1012.jpg


CIMG1020.jpg


CIMG1023.jpg


CIMG1022.jpg


It's also been in the paint shop. good friend of mine has done a splendid job on updating the green and i've fitted new splash guards on the rear bumper and had both sprayed white. It had gone a bit crazy paving style in places and a bit of surface rust here n there. got lots of pics so will put em up soon. I have all new sidelights, indicators and other bits n bobs to go on its just finding time to fit it all, hoping to tackle building some new interior over the next few weeks too. will keep ya posetd!
 
cheers easy, I have a red pinstripe for it now too, going to use it to seperate the white and green as it's a bit ropey in places, when i say ropey people who didnt know would never see it but im fussy!

plus i think the pin will look cool! also have some moon eye iron cross stickers to match with the red and some US spec all red rear lenses... JUST GOTTA FIT EM! damm you dark nights :roll:

some more pics:
22112008085.jpg


22112008086.jpg
 
Sound like you are as fussy as me! :wink: glad to see another quality early bay in Bristol :wink: 8)
 
this is kinda how i see it when it's finished...well apart from the pop top missing! :wink:

olive-1.jpg
 
That's nice bus you've got! Love the height you've chosen!

It's also been in the paint shop. good friend of mine has done a splendid job on updating the green and i've fitted new splash guards on the rear bumper and had both sprayed white. It had gone a bit crazy paving style in places and a bit of surface rust here n there. got lots of pics so will put em up soon. I have all new sidelights, indicators and other bits n bobs to go on its just finding time to fit it all, hoping to tackle building some new interior over the next few weeks too. will keep ya posetd!

Where did you get the splash guards? I got a pair on my bus, after a rear restoration but they don't seem to fit properly. They seem to be for a splitty. Is your rear bumper straight on your bus when bolted to the splash guards?

Do you have a picture of the whole bit assembled to your bus?
Here's a pic of our bus with the "wrong" splash guards mounted:
P1020431.JPG
 

Latest posts

Top