You are using an out of date browser. It may not display this or other websites correctly.
You should upgrade or use an alternative browser.
You should upgrade or use an alternative browser.
rusty old nail to sow's ear
- Thread starter sparkywig
- Start date


Help Support Early Bay Forum:
This site may earn a commission from merchant affiliate
links, including eBay, Amazon, and others.
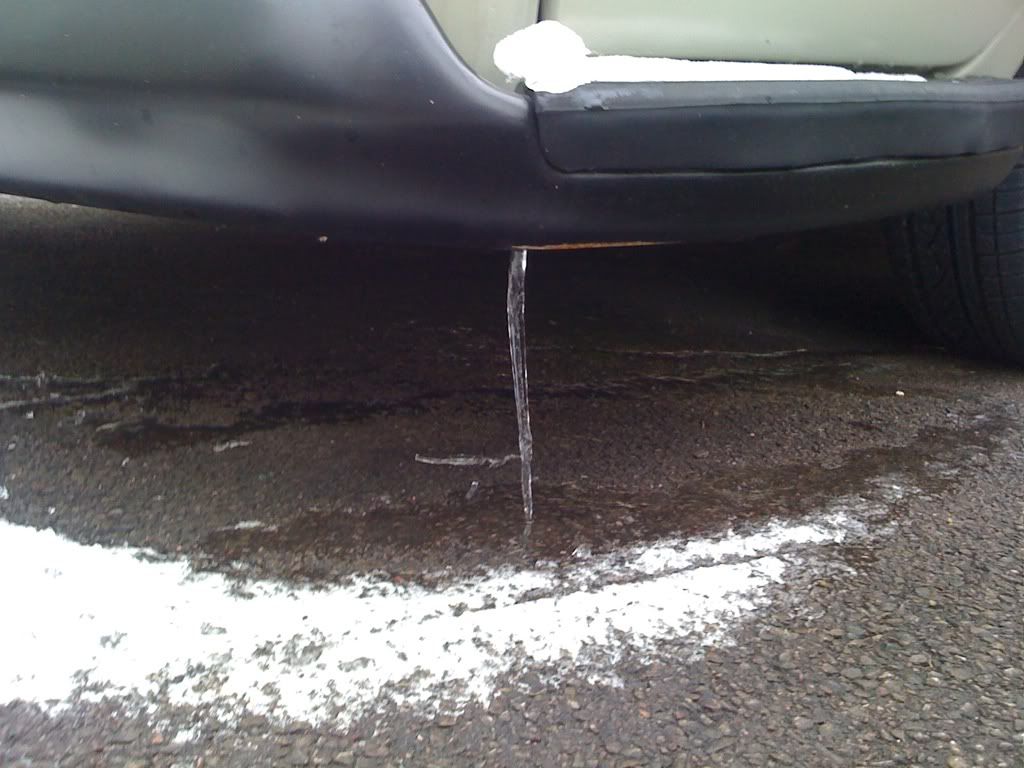
I've noticed they do seem to rust quicker if you don't drive them.
froggy
Well-known member
just read the whole thread (at work on nights) and amazed at the amount of work you have done.
Are you planning on spraying the whole van in rattle cans :lol:
Are you planning on spraying the whole van in rattle cans :lol:
froggy said:just read the whole thread (at work on nights) and amazed at the amount of work you have done.
Are you planning on spraying the whole van in rattle cans :lol:
Yes.

Replacement springplates still in Sheffield due to bad weather, so no fun time tomorrow.
creationblue
Well-known member
Fooking weather eh mate! No snow down here yet suffering the same!!
Just
Just


$32.44
Airfix Quickbuild Volkswagen Light Blue Camper Van Brick Building Model Kit, Multicolor
Amazon Global Store UK


$27.95 ($13.98 / Count)
Marketplace Auto Parts Window Crank Handle Set of 2 - Chrome with Black Knob - Compatible with 1968-1978 Volkswagen Beetle
Parts Geek LLC


$21.60
$29.91
ハセガワ Hasegawa HMCC11 1:24 Scale VW Type 2 Pick-Up Truck Model Building Kits
Amazon Japan


You're not kidding.
Got some kit for a customer stuck in Torquay 'cos of the weather. I rang earlier to say that it was easy enough to get to Plymouth today. F*ckin' cocks!!!! :evil:
Got some kit for a customer stuck in Torquay 'cos of the weather. I rang earlier to say that it was easy enough to get to Plymouth today. F*ckin' cocks!!!! :evil:
:bliss:
at last, although they won't be fitted for another week....

at last, although they won't be fitted for another week....
creationblue
Well-known member
Pull yer finger out Mister!! :lol:
creationblue said:Pull yer finger out Mister!! :lol:
:tongue0013:
I'm off to Derby this weekend (might pop round to SlamWerks
), so it'll be next weekend before I get chance to fit them....Rear springplates put on hold for a while, but guess what I'll be doing tomorrow.....
Don't worry Froggy, part 1 of the pictorial installation thread starts tomorrow.

Don't worry Froggy, part 1 of the pictorial installation thread starts tomorrow.
creationblue
Well-known member
bout time you did some work :lol:
Just
Just
:sign0023:
:lol:
:lol:
Part one of the propex thread.
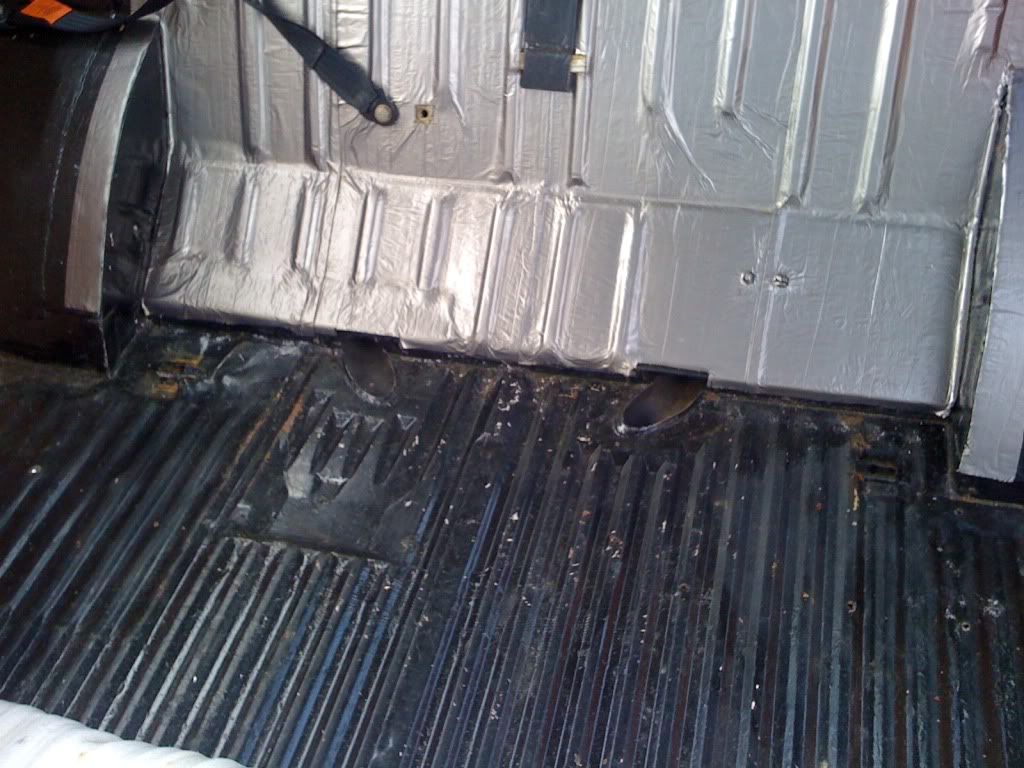
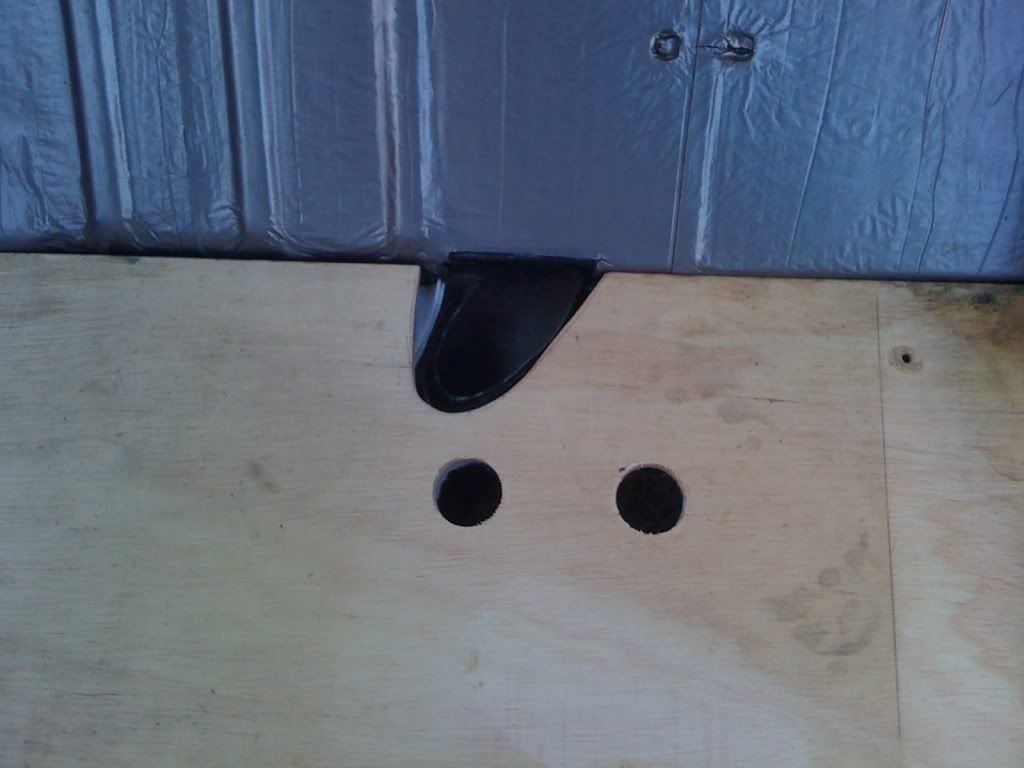
Before I start the rear bench and floor needs to be stripped out to remove the existing heater vents.
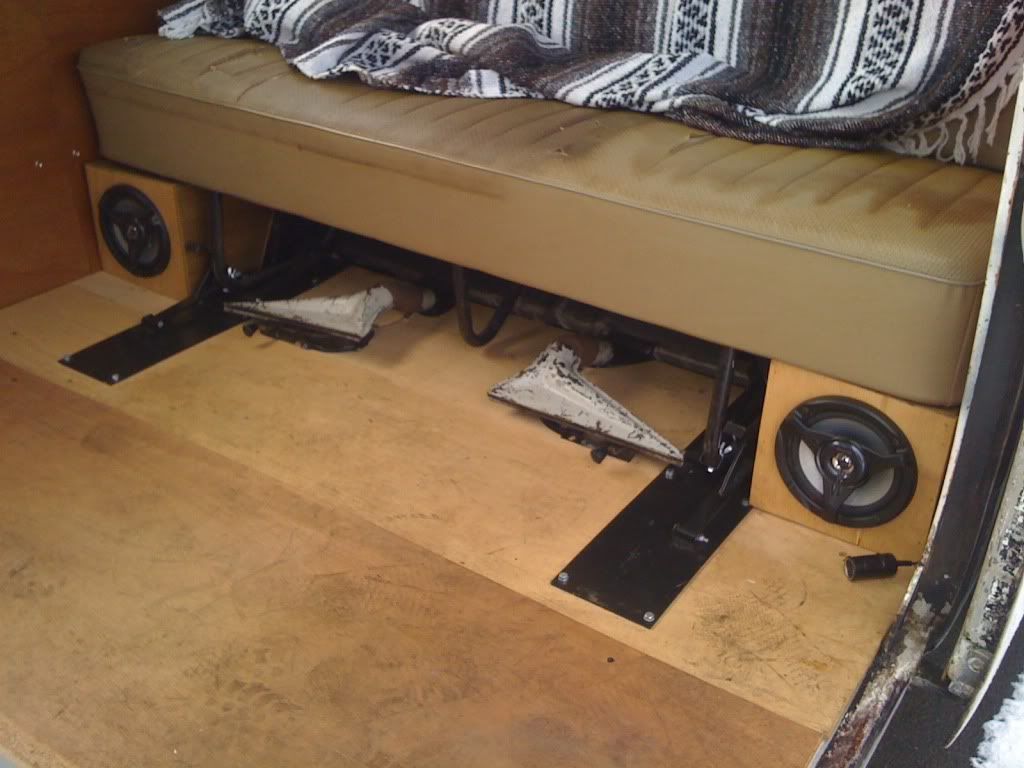
The bench seat centre leg will need to be removed to as well.
Between this pic and the next was 2 hours of measuring to miss the chassis legs, floor supports and assorted pipes and cables.
Having a low van and no access to a ramp is making this job much harder than anticipated.
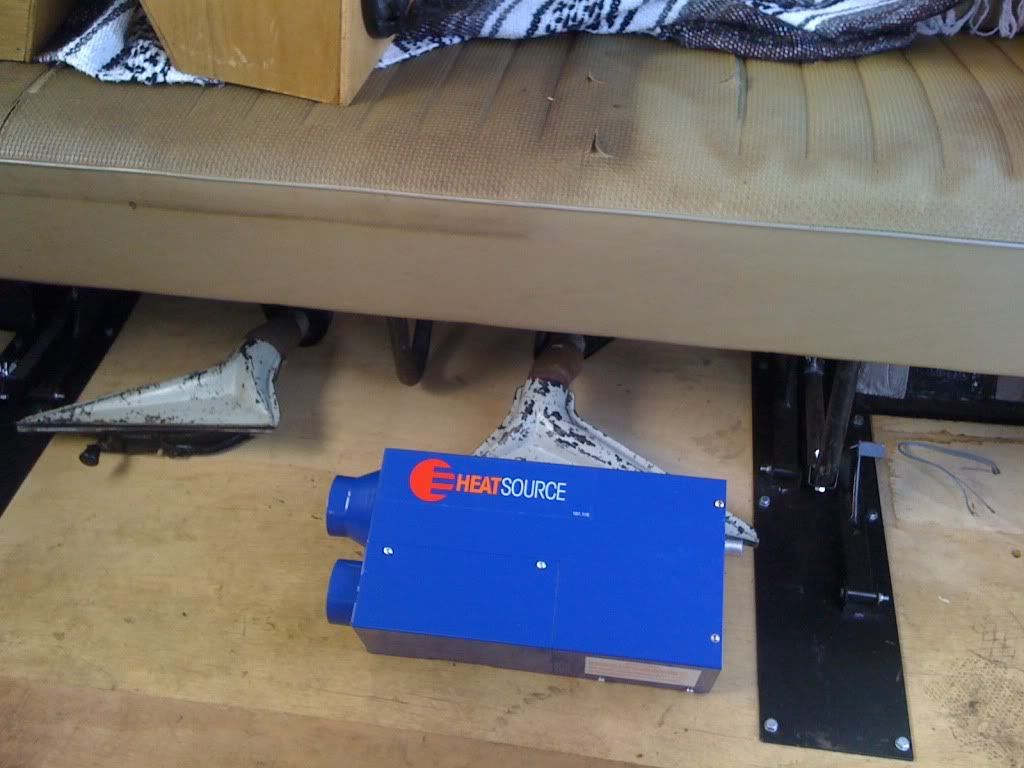
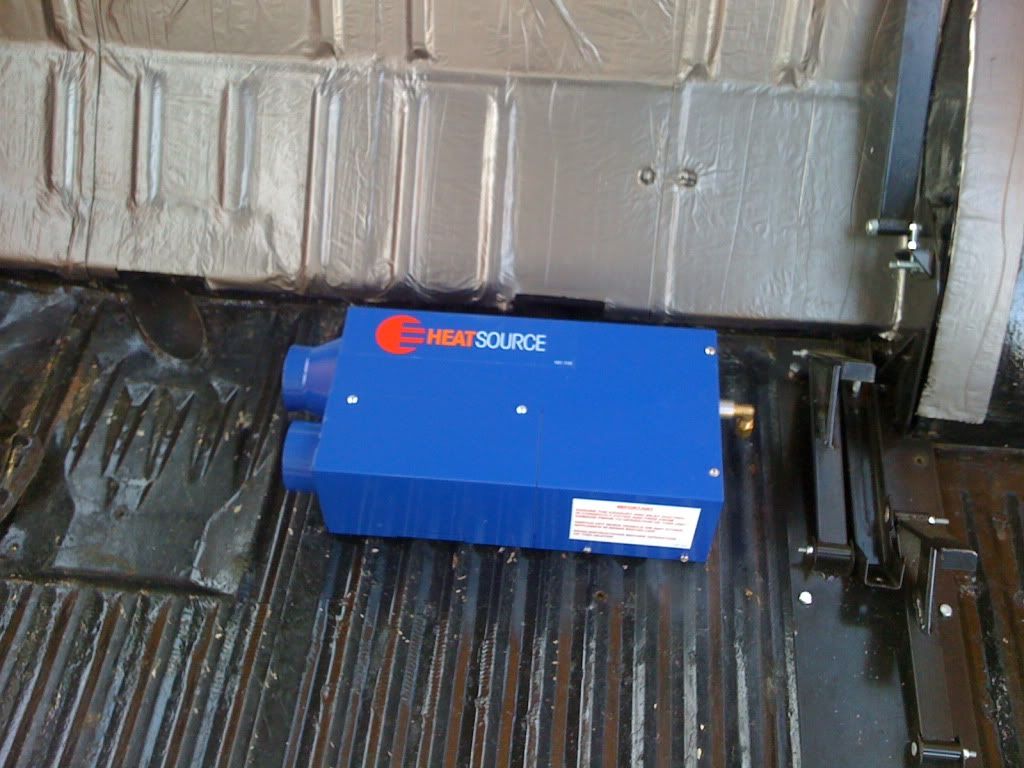
Trial fit.
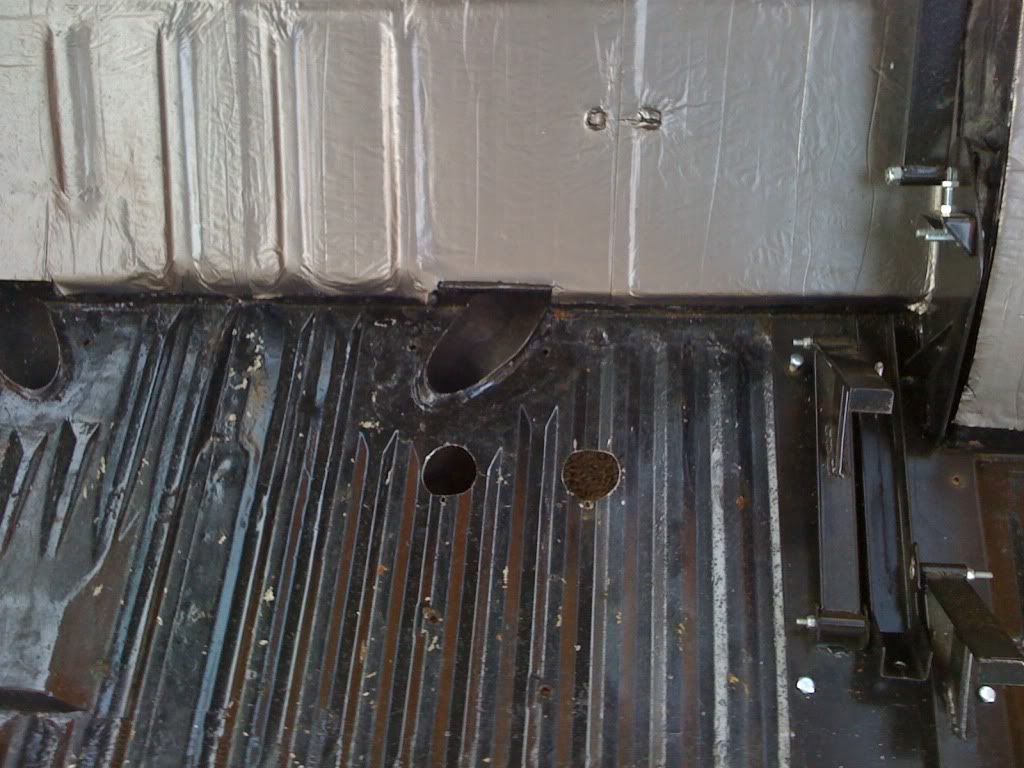
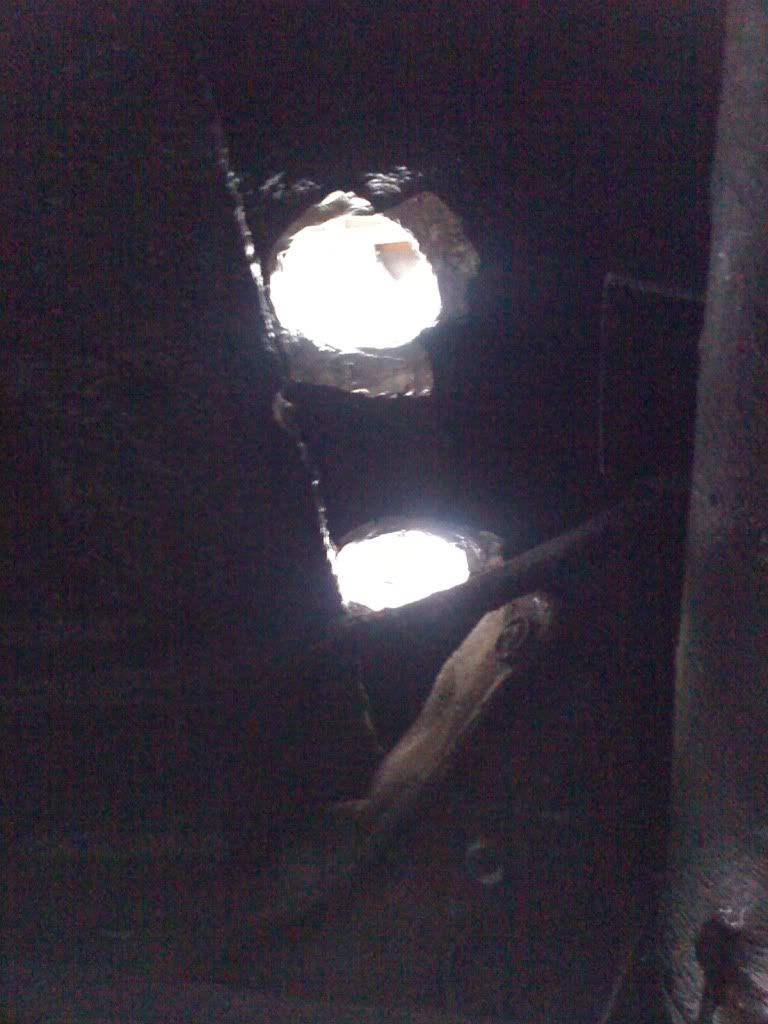
2x 40mm holes cut through the floor and then the insulation and ply refitted.
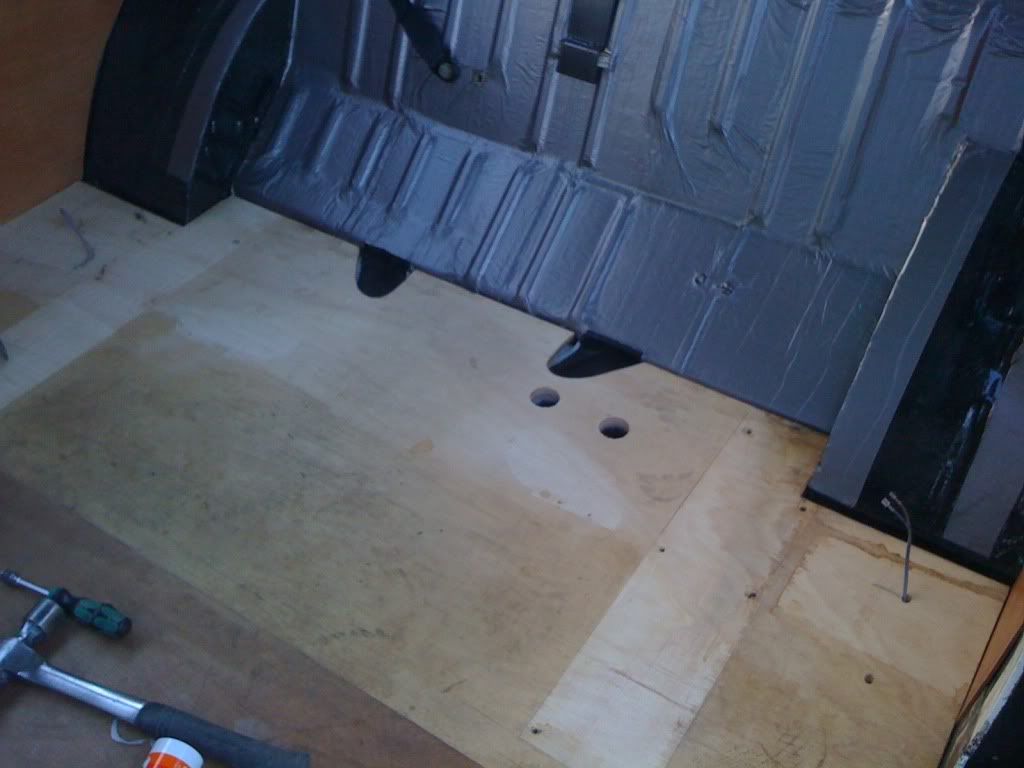
The edges of the insulation and ply sealed with aluminium tape to allow the exhaust assembly mastic to fill the hole around the inlet/exhaust ducting and not spread into the floor void.
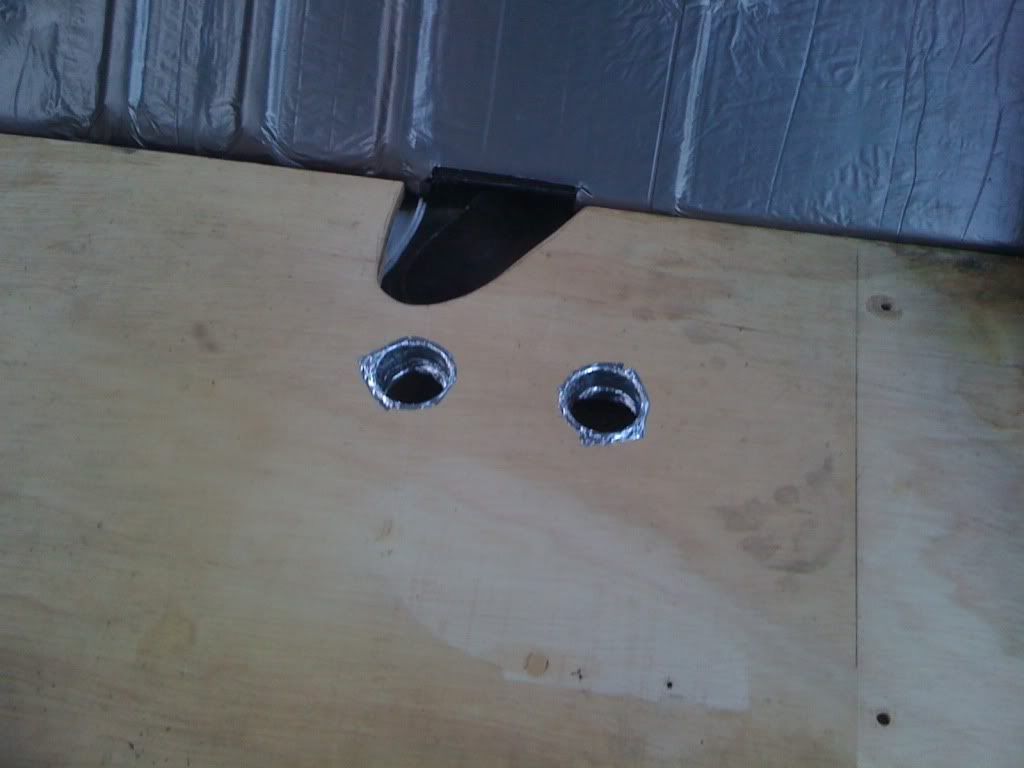
I cut the holes so that they were right up against the last "top hat" section.
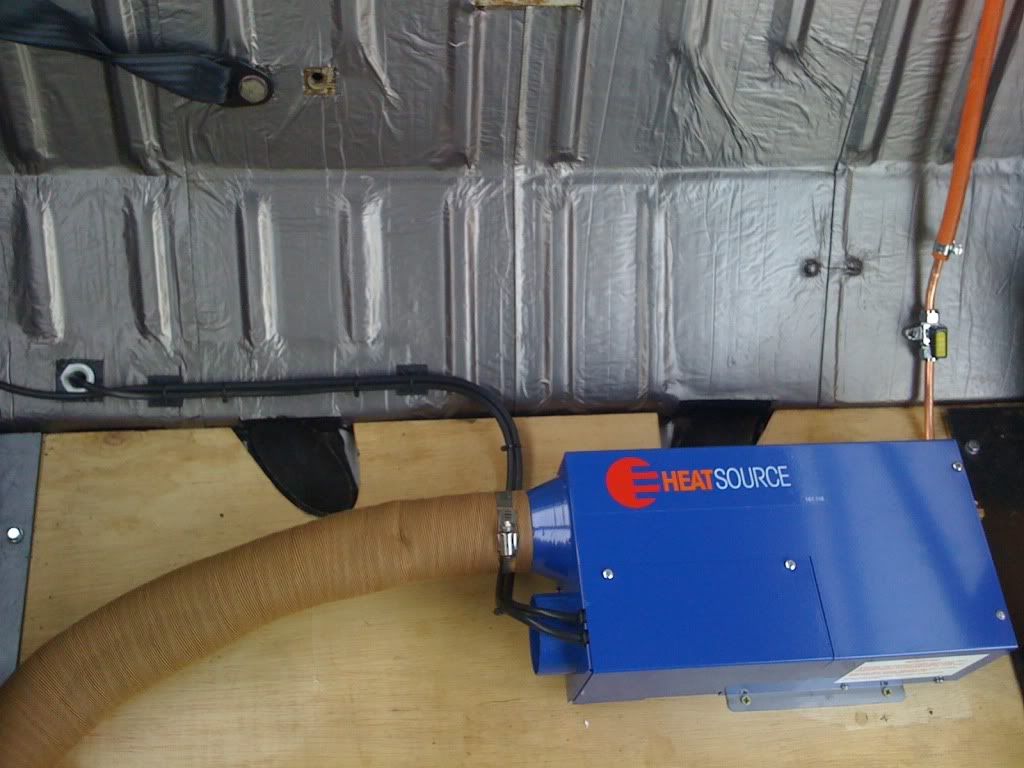
The inlet/exhaust ducting was fitted to the propex unit, copious amounts of exhaust assembly mastic applied to the holes and pipework to seal the openings, and then the unit fixed down.
Gas pipe fitted and Z hinge back in to check clearance. I have plans to duct the fresh air inlet through from the engine bay by the spare wheel well, and then the hot air outlet will be teed off into the original heater vent hole to allow hot air to get to the screen. The vent hole by the propex unit will be sealed shut along with the openings under the van where the heat exchangers connect.
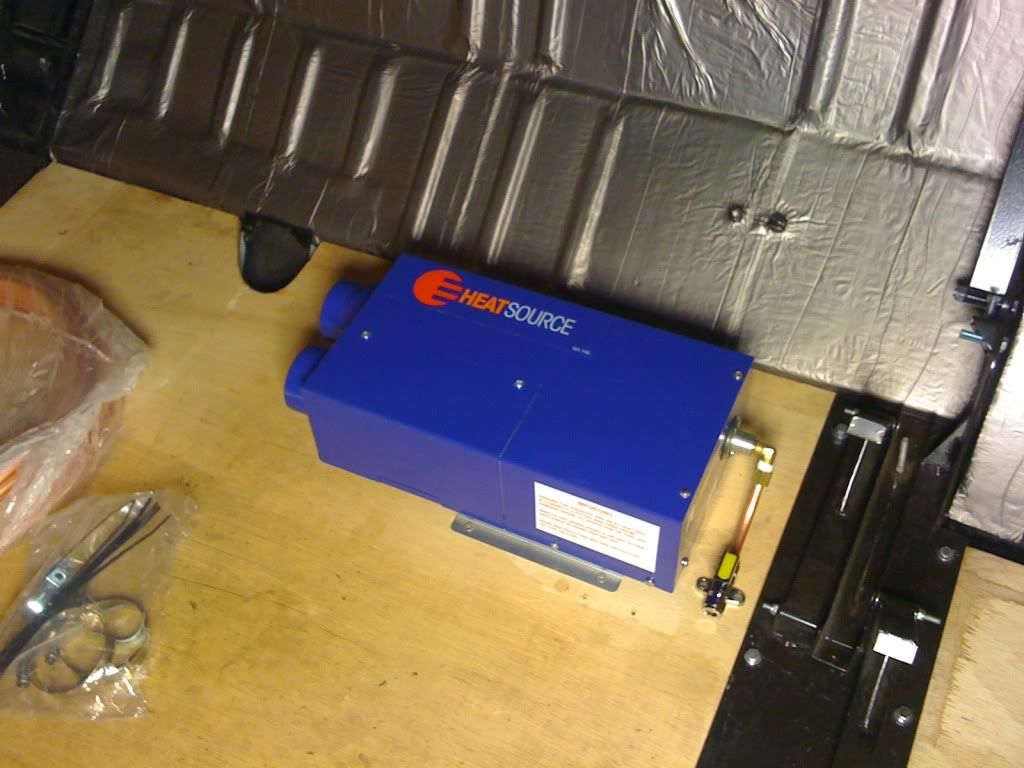
Too bloody cold and dark to carry on today.
Gas pipe install to the swing out cooker and propex unit next.
To be continued.....
Before I start the rear bench and floor needs to be stripped out to remove the existing heater vents.

The bench seat centre leg will need to be removed to as well.

Between this pic and the next was 2 hours of measuring to miss the chassis legs, floor supports and assorted pipes and cables.
Having a low van and no access to a ramp is making this job much harder than anticipated.


Trial fit.

2x 40mm holes cut through the floor and then the insulation and ply refitted.


The edges of the insulation and ply sealed with aluminium tape to allow the exhaust assembly mastic to fill the hole around the inlet/exhaust ducting and not spread into the floor void.

I cut the holes so that they were right up against the last "top hat" section.

The inlet/exhaust ducting was fitted to the propex unit, copious amounts of exhaust assembly mastic applied to the holes and pipework to seal the openings, and then the unit fixed down.
Gas pipe fitted and Z hinge back in to check clearance. I have plans to duct the fresh air inlet through from the engine bay by the spare wheel well, and then the hot air outlet will be teed off into the original heater vent hole to allow hot air to get to the screen. The vent hole by the propex unit will be sealed shut along with the openings under the van where the heat exchangers connect.

Too bloody cold and dark to carry on today.
Gas pipe install to the swing out cooker and propex unit next.
To be continued.....
creationblue
Well-known member
Nice work. Reminds me of when I did mine last year, well worth the effort tho 8) even if there is snow on the ground :lol:
Just
Just
Humpty
Well-known member
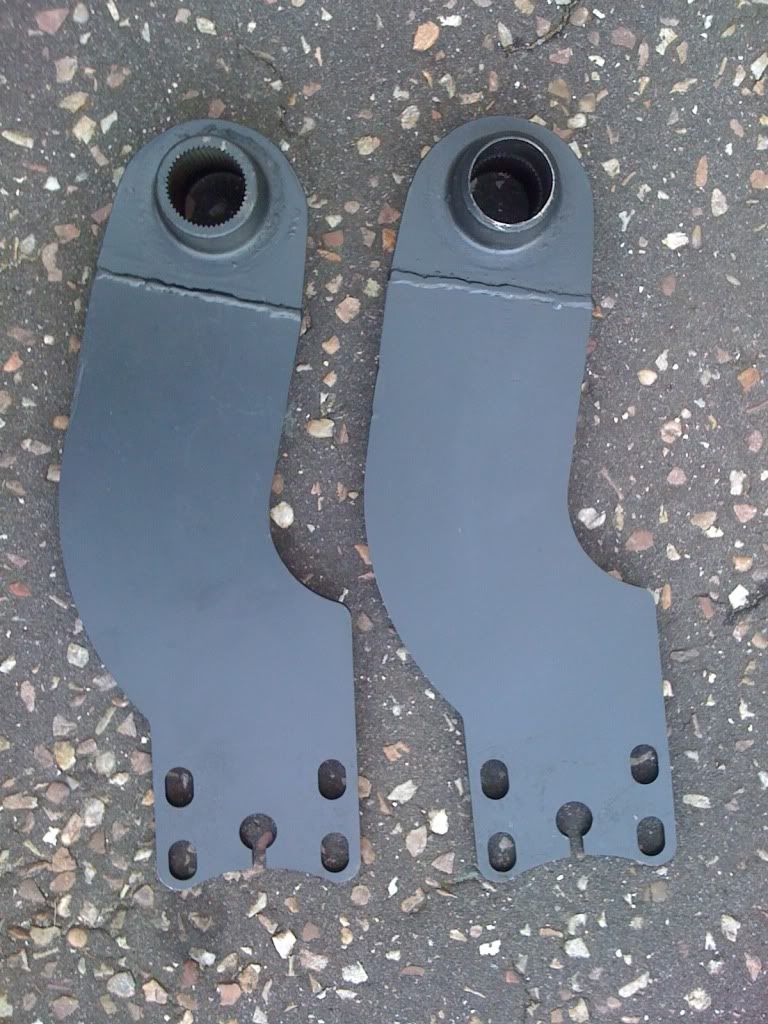
Really nice build happening..... Absolutely amazed at what you have achieved.... Here in Oz, that bus would have ended up in the scrap heap for sure!!!!!..... But one thing you have going on with this build really peaked my interest..... Where the hell did you find those springplates?
Humpty said:Really nice build happening..... Absolutely amazed at what you have achieved.... Here in Oz, that bus would have ended up in the scrap heap for sure!!!!!..... But one thing you have going on with this build really peaked my interest..... Where the hell did you find those springplates?
:lol:
I've saved a couple from the breakers over the years....
The springplates are available from here
http://www.red9design.com/type2.htm
Part 2 of the propex install;
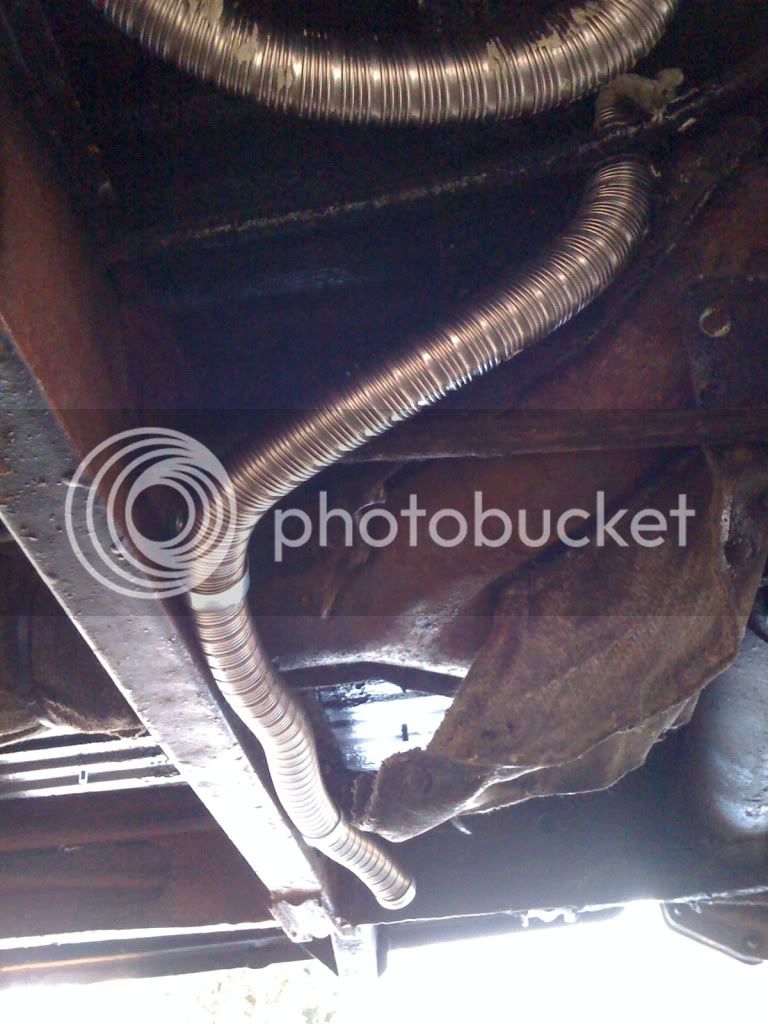
Got the bus off the floor today on axle stands to enable me to fix the inlet/exhaust pipes.
The inlet is directed towards the n/s of the bus and facing slightly down and towards the rear as I want to be able to use the heater when driving.
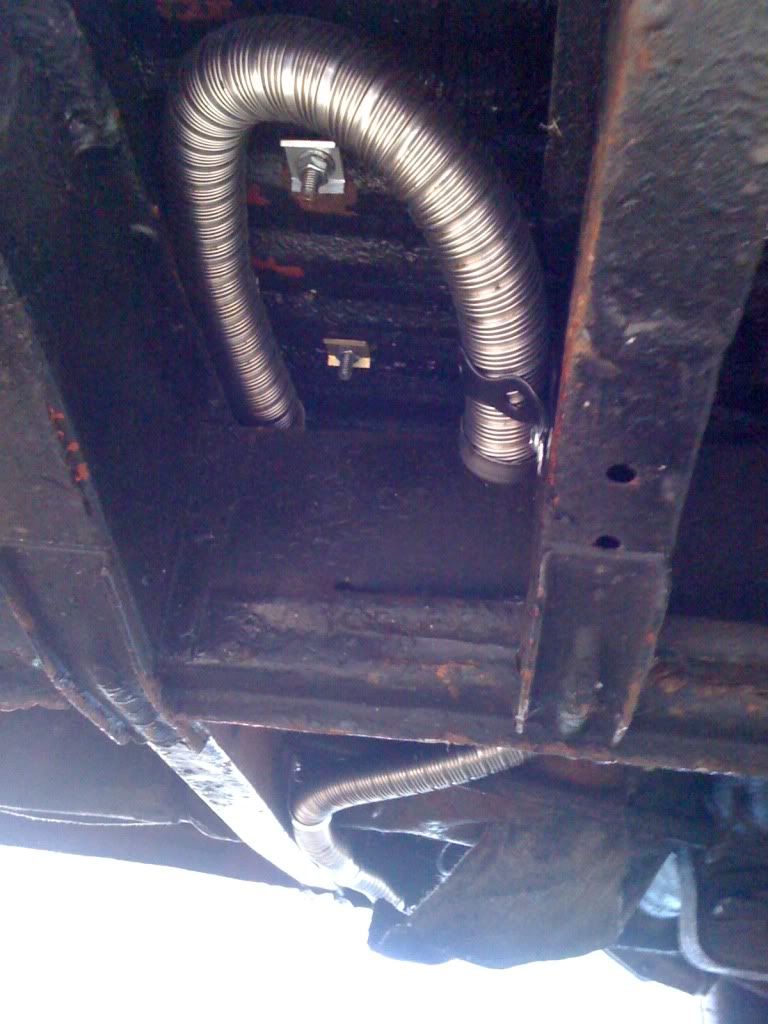
The exhaust is directed towards the o/s to prevent fumes entering the sliding door and/or awning, and is also facing down and rearwards.
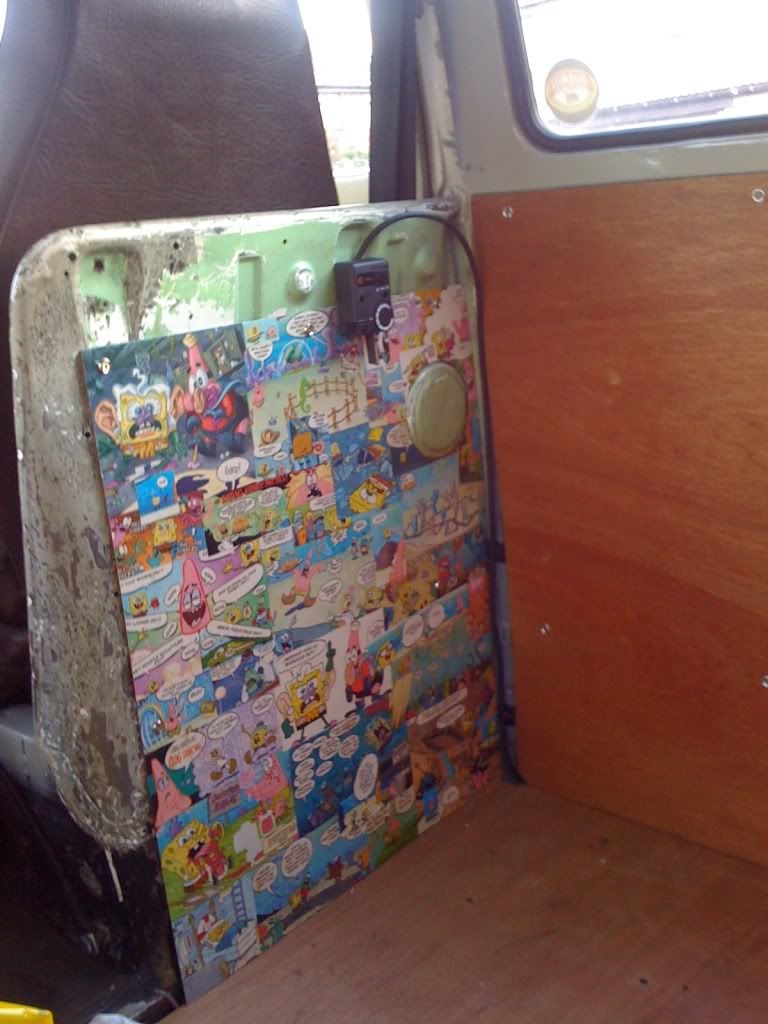
Cables tidied and gas pipe altered. I want to mount the gas bottle in the engine bay to save space and remove the need for a gas vent in the floor. The gas supply pipe is a temporary flexible through the bottom of the spare wheel well at the moment, as I can't decide where to mount the bottle as it takes up the space where the leisure battery would normally sit.
I've used a 20mm IP65 flex gland to run the 12V supply through the bulkhead.
The thermostat position is another temporary fix until I decide what to do with the interior.
Bench seat back in after removing the centre leg (which didn't touch the floor anyway when fitted to the Z hinges). I'll probably fix a panel to the bench seat legs that will swing up and out with the seat when the bed is formed.
Switch on, sit back and enjoy the heat.

After carrying out a CO test and making sure the thermostat worked OK, I made a start on insulating the roof, but then got told it was Christmas Eve, and was I going to spend any time with the family..... :lol:
Got the bus off the floor today on axle stands to enable me to fix the inlet/exhaust pipes.
The inlet is directed towards the n/s of the bus and facing slightly down and towards the rear as I want to be able to use the heater when driving.

The exhaust is directed towards the o/s to prevent fumes entering the sliding door and/or awning, and is also facing down and rearwards.

Cables tidied and gas pipe altered. I want to mount the gas bottle in the engine bay to save space and remove the need for a gas vent in the floor. The gas supply pipe is a temporary flexible through the bottom of the spare wheel well at the moment, as I can't decide where to mount the bottle as it takes up the space where the leisure battery would normally sit.
I've used a 20mm IP65 flex gland to run the 12V supply through the bulkhead.

The thermostat position is another temporary fix until I decide what to do with the interior.

Bench seat back in after removing the centre leg (which didn't touch the floor anyway when fitted to the Z hinges). I'll probably fix a panel to the bench seat legs that will swing up and out with the seat when the bed is formed.
Switch on, sit back and enjoy the heat.

After carrying out a CO test and making sure the thermostat worked OK, I made a start on insulating the roof, but then got told it was Christmas Eve, and was I going to spend any time with the family..... :lol:
Bit of a thaw today.
Continuing on from the previous post, I've been sat in the bus this afternoon thinking about things, and have come to the conclusion that using the redundant heater vent to pipe the fresh air in without cutting another hole in the floor/bulkhead is the way to go. I'll block up one side of the heater tube Y piece under the floor and block the other inlet that the corrugated pipes connect on to. Heat exchangers will be next to go when I get some J tubes.
All I've got to do is find someone open to sell me 60mm flexible duct....
Anyway, after this bit of brain storming I started to fit some 25mm celotex insulation to the roof to keep some of the new-found heat in.
No pics as I can't remember where I left my phone. :lol:
Similar threads
Vehicle For Sale
1968 Bay window T2 Dreamy
- Replies
- 3
- Views
- 341
Latest posts
-

-

-

-

-

-
Parts For Sale Early bay nose badges / emblems
- Latest: andrewblackwell
-

-
 Parts Wanted Early Westfalia buddy seat wanted
- Latest: Derrick’s dad