You are using an out of date browser. It may not display this or other websites correctly.
You should upgrade or use an alternative browser.
You should upgrade or use an alternative browser.
rusty old nail to sow's ear
- Thread starter sparkywig
- Start date

Help Support Early Bay Forum:
This site may earn a commission from merchant affiliate
links, including eBay, Amazon, and others.
I bought a pair from Rocket Ron at VW Evolution, but I'm sure he'll sell them singly.
Try Mark at MCJ Imports as well.
Try Mark at MCJ Imports as well.
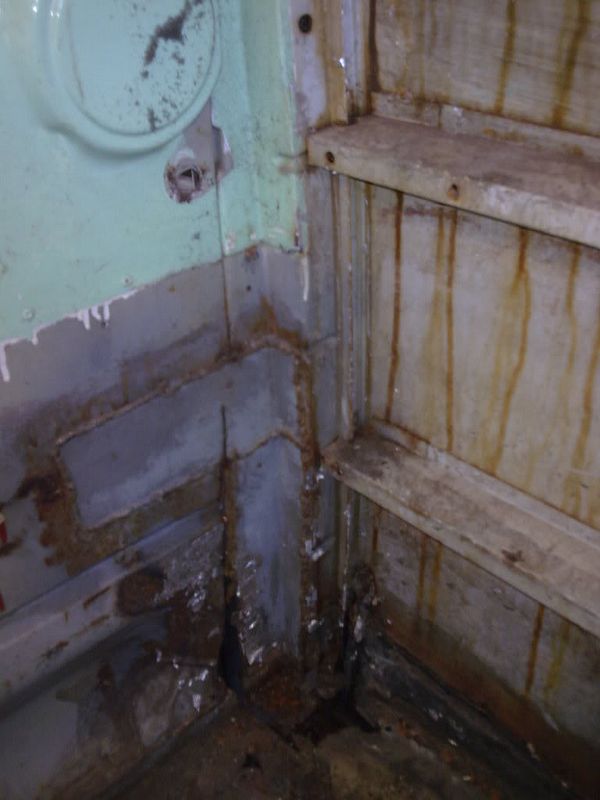
B pillar repair


Remember this?
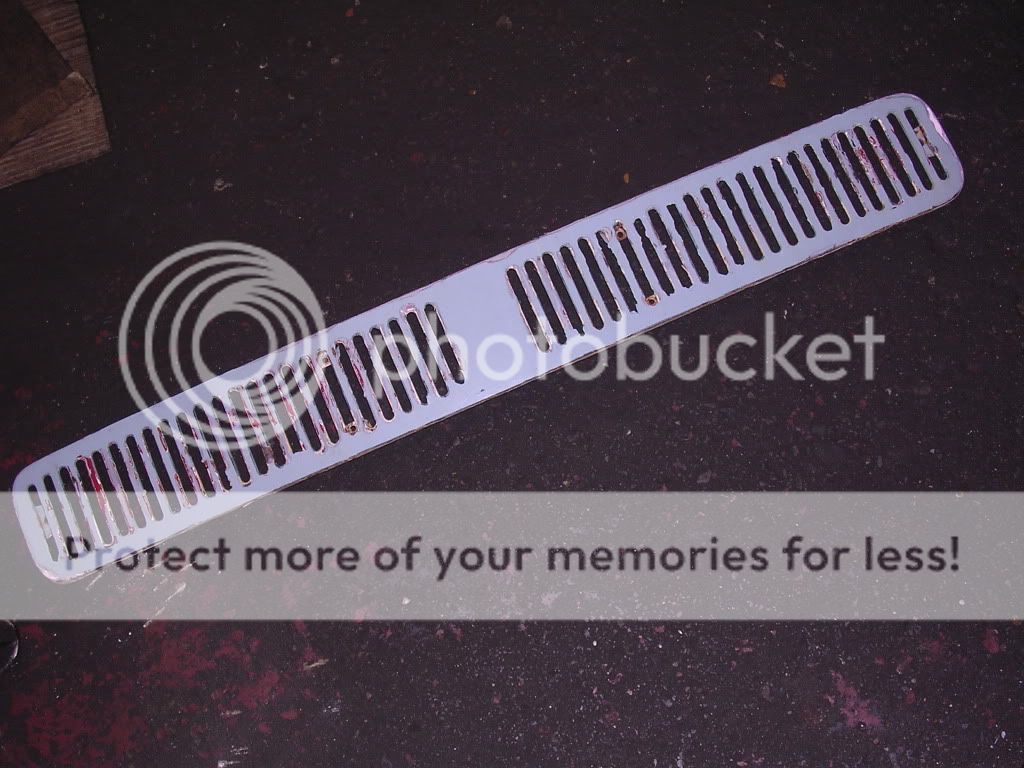
after an hour's cleaning
sanded, stripped, rustproofed and a coat of primer

getting some top coat mixed (L345 lichtgrau) and that'll be one job finished. :mrgreen:
will be if I can get the mesh screen that fits behind :roll:

after an hour's cleaning

sanded, stripped, rustproofed and a coat of primer


getting some top coat mixed (L345 lichtgrau) and that'll be one job finished. :mrgreen:
will be if I can get the mesh screen that fits behind :roll:
HOORAY! I've got the first arch on. :mrgreen:
a bit of seam sealer
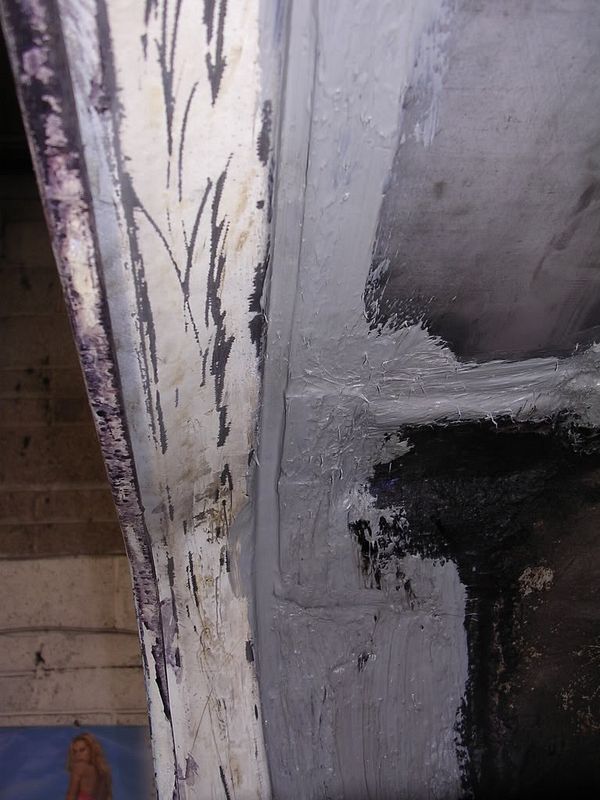


a bit of seam sealer


looks much better :mrgreen:


$7.99
$11.51
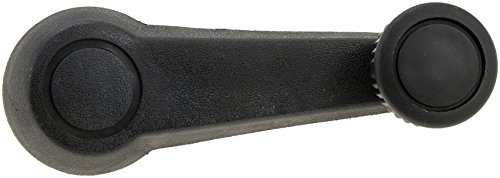
Dorman 76920 Window Crank Handle Compatible with Select Volkswagen Models, Black
Amazon.com


$12.03
$12.93
Window Crank, for Beetle 56-67, Black, Each, Compatible with Dune Buggy
MOORE PARTS SOURCE


$53.51
$69.99
Revell 07674 VW T1 Camper 1:24 Scale Unbuilt/Unpainted Plastic Model Kit
Amazon.com


$7.75
Window Crank Cover, for Beetle, Bus & Ghia 68-79, Black, Ea, Compatible with Dune Buggy
Appletree Automotive


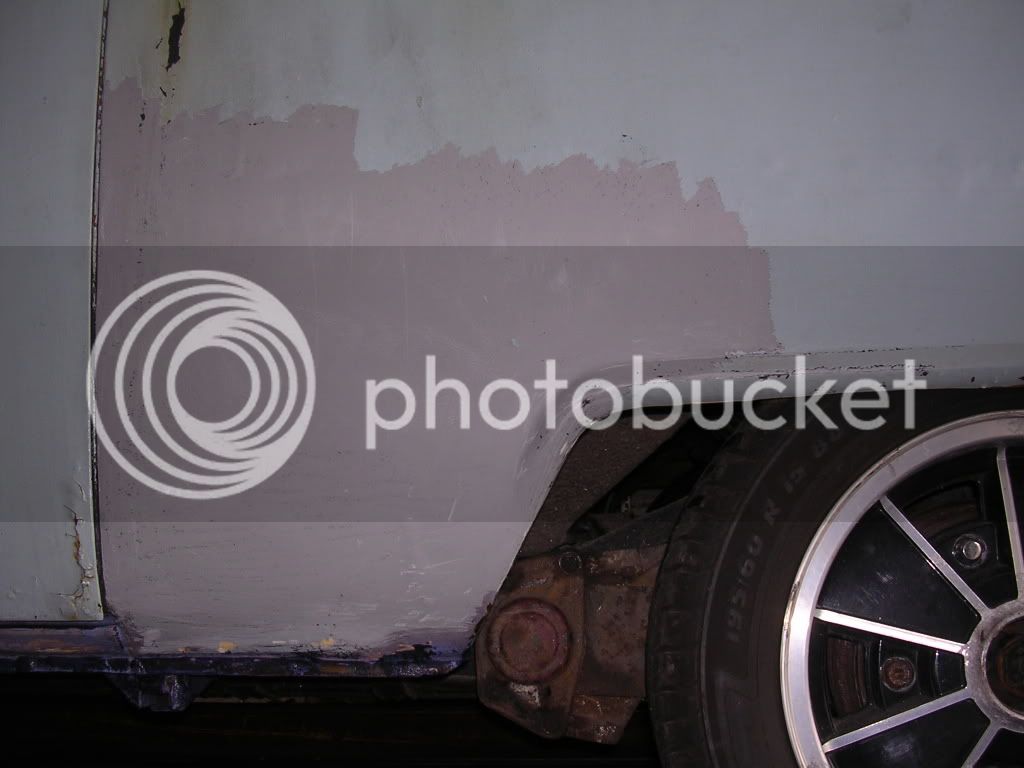
Now for the off-side arch

anyone want to buy a nos arch :lol:


anyone want to buy a nos arch :lol:

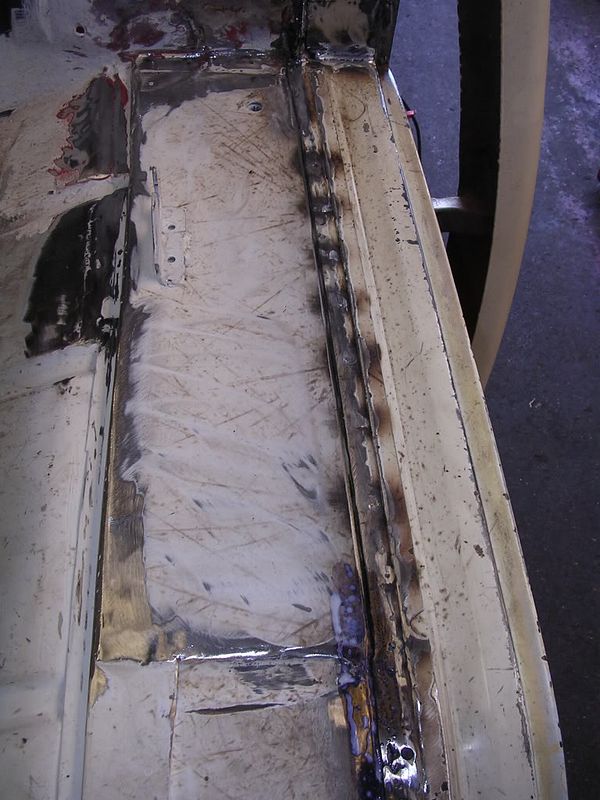
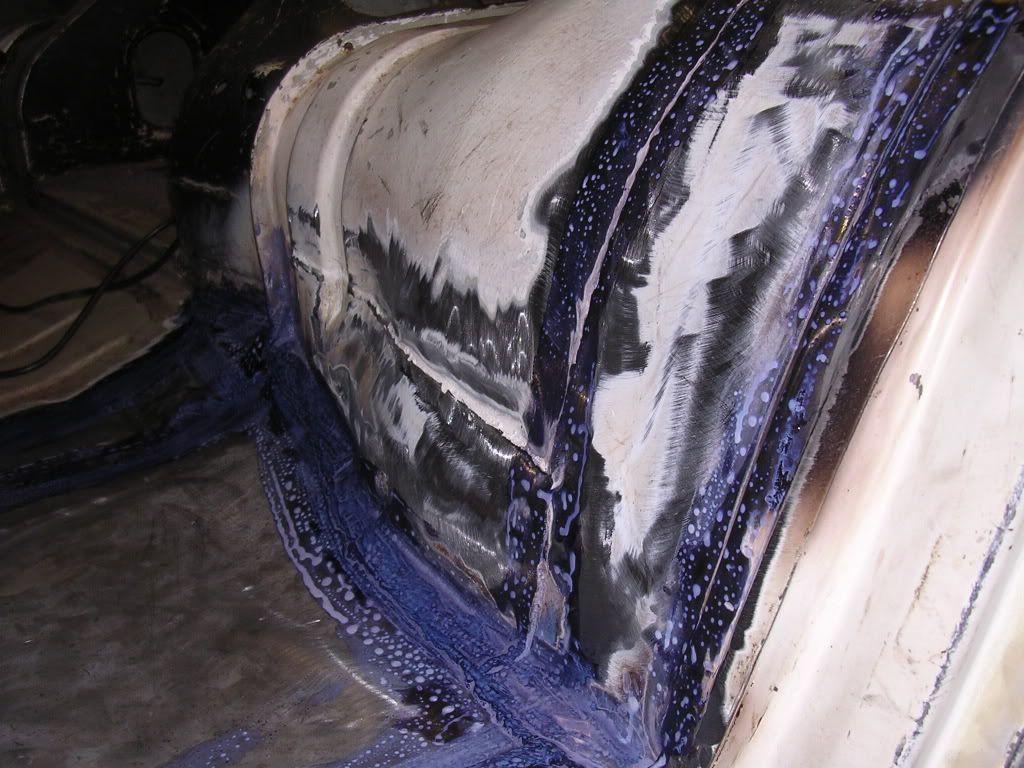
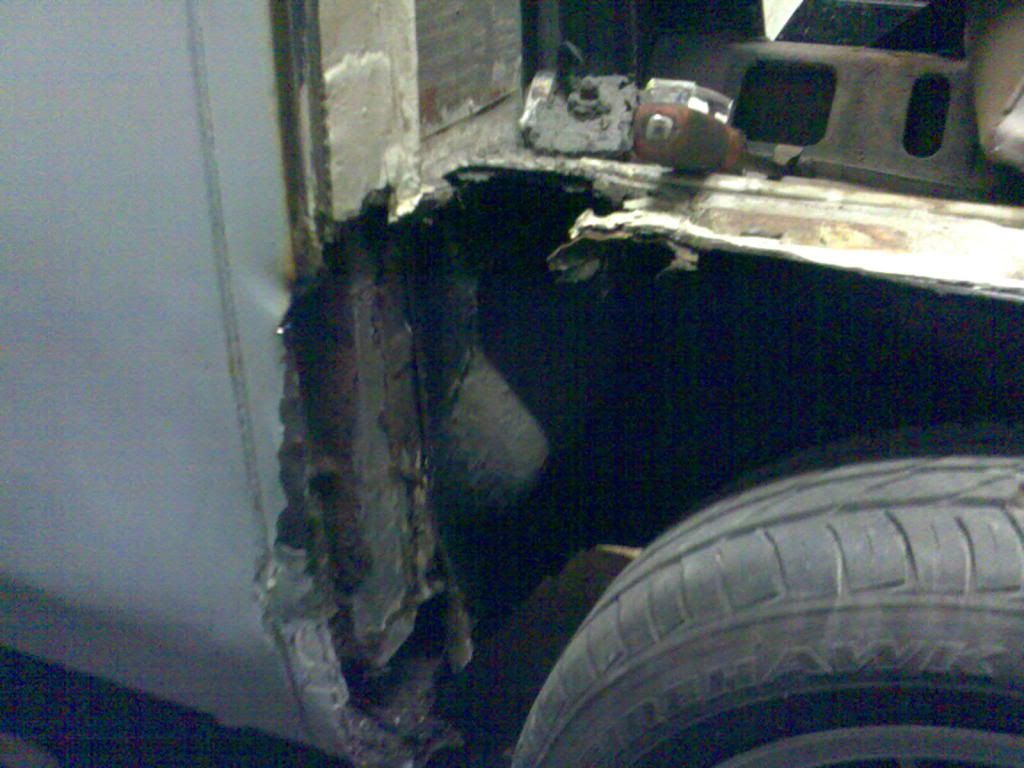
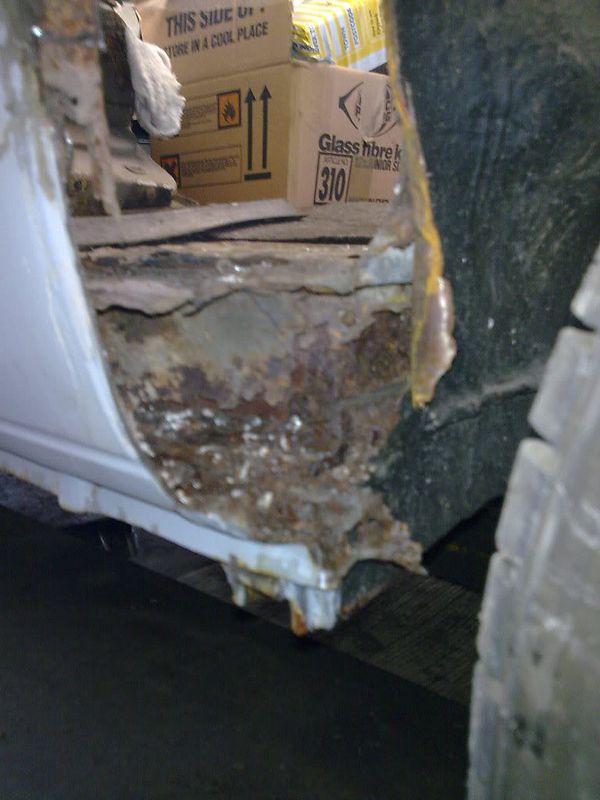
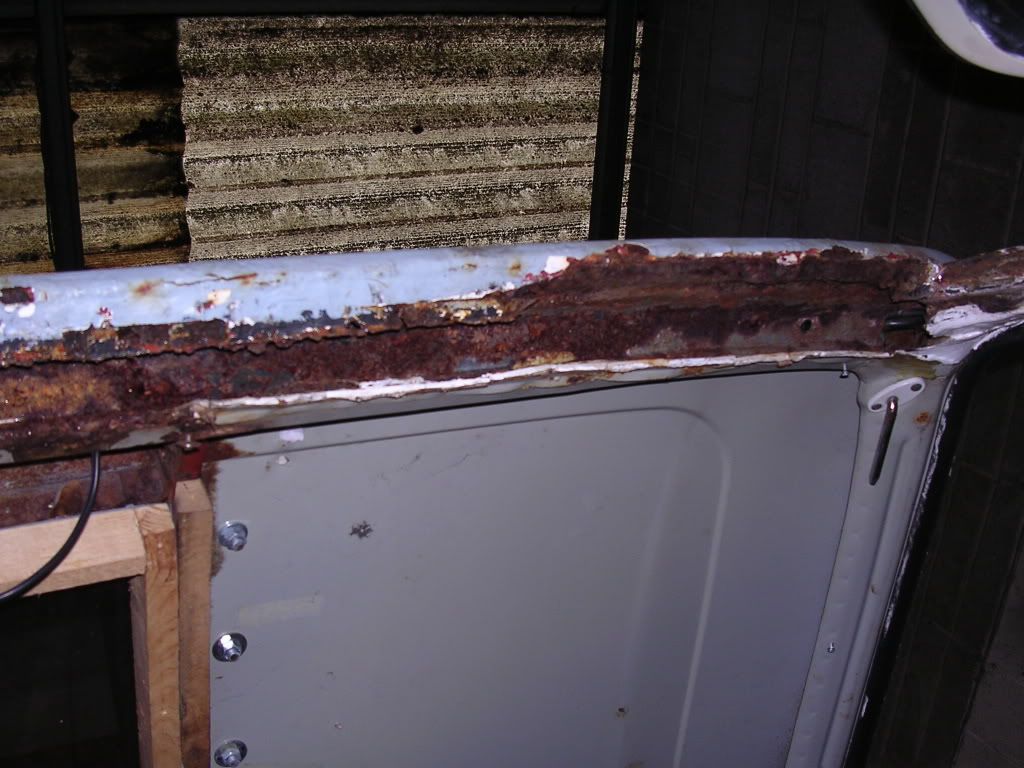
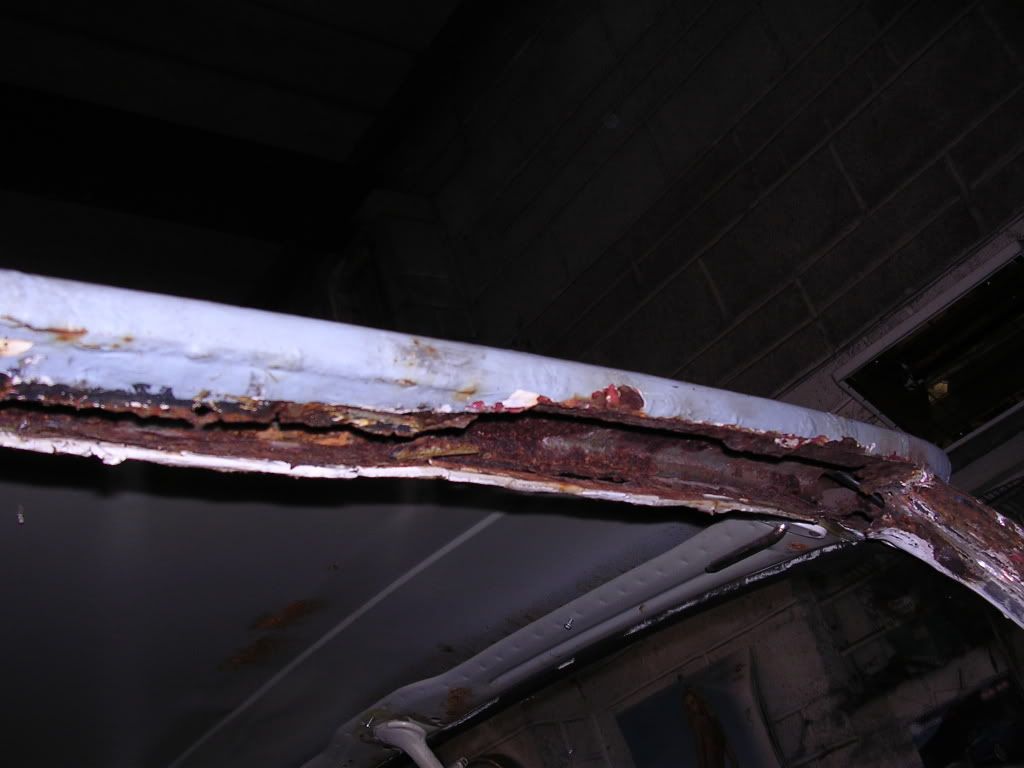
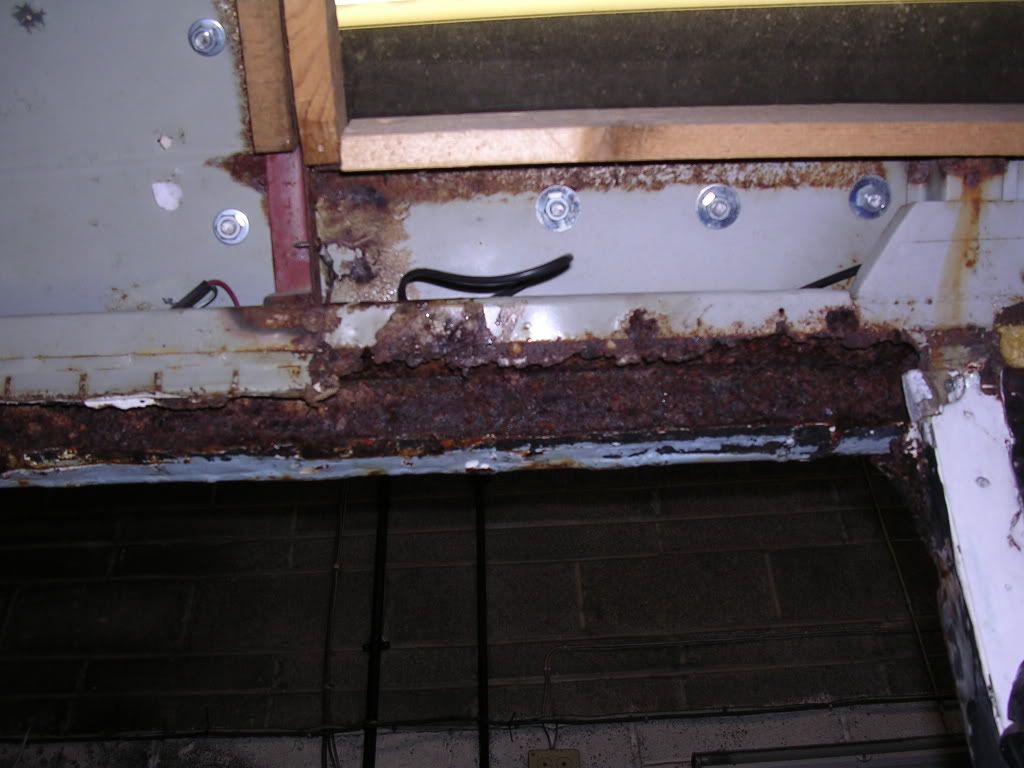
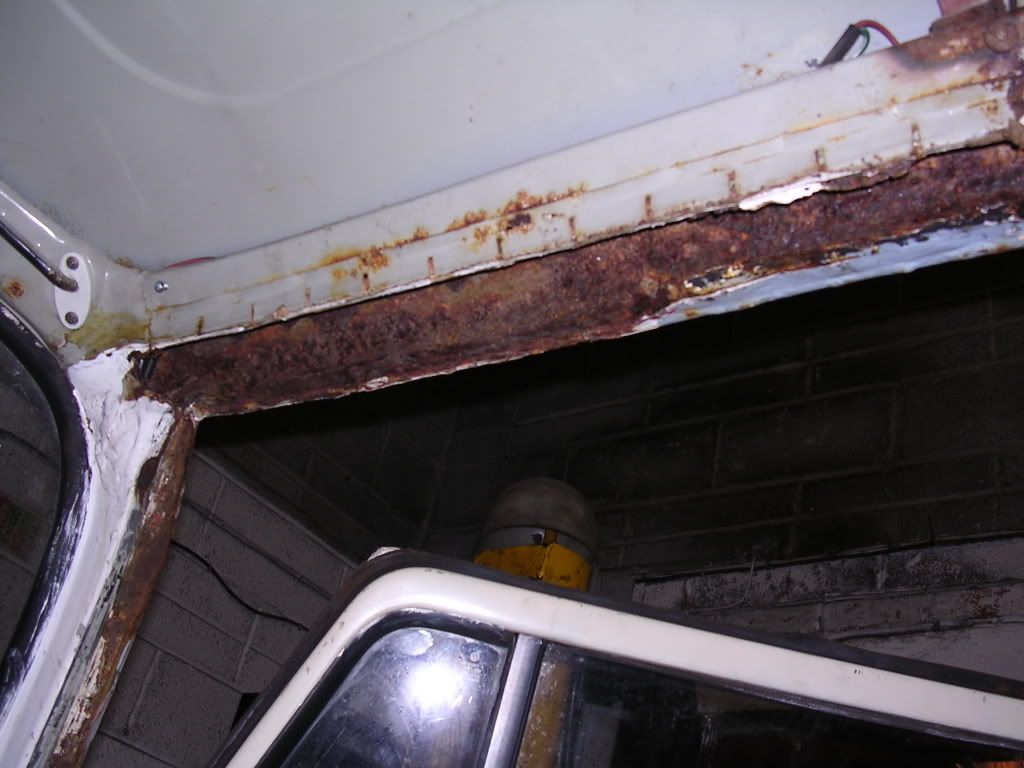
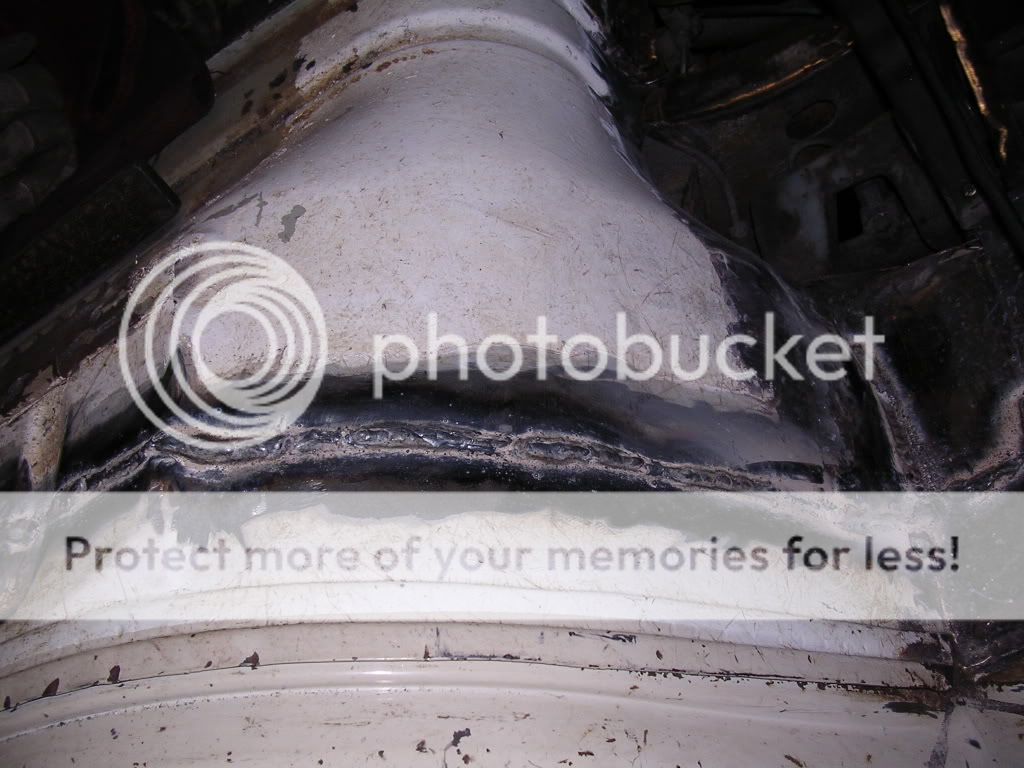
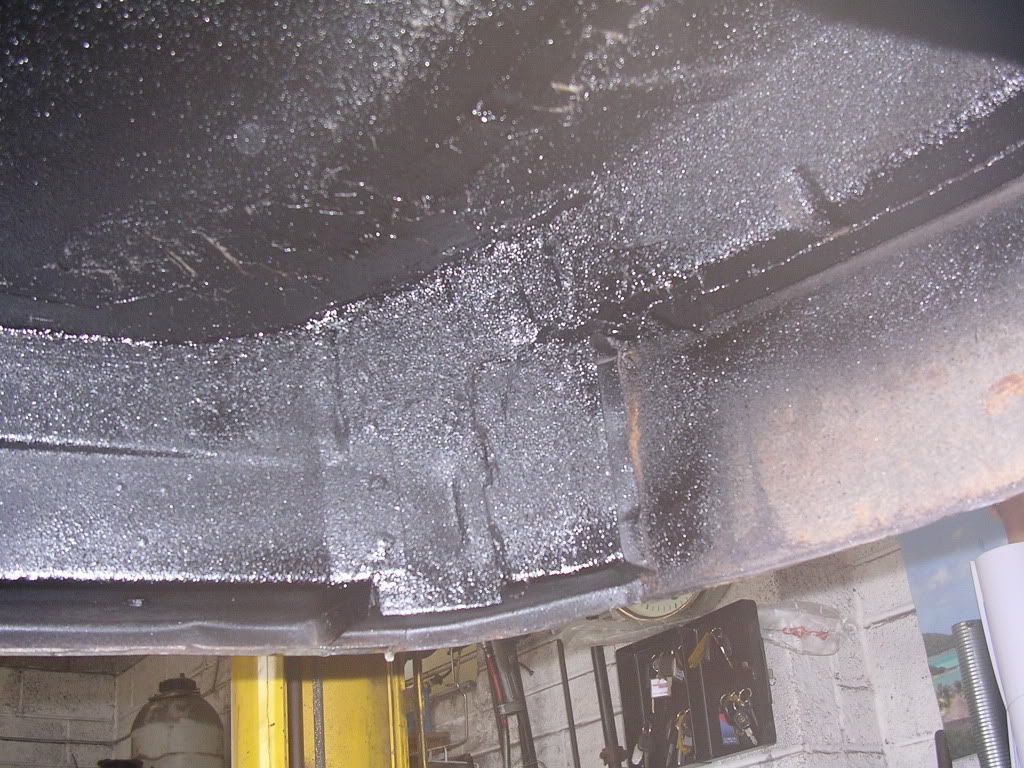
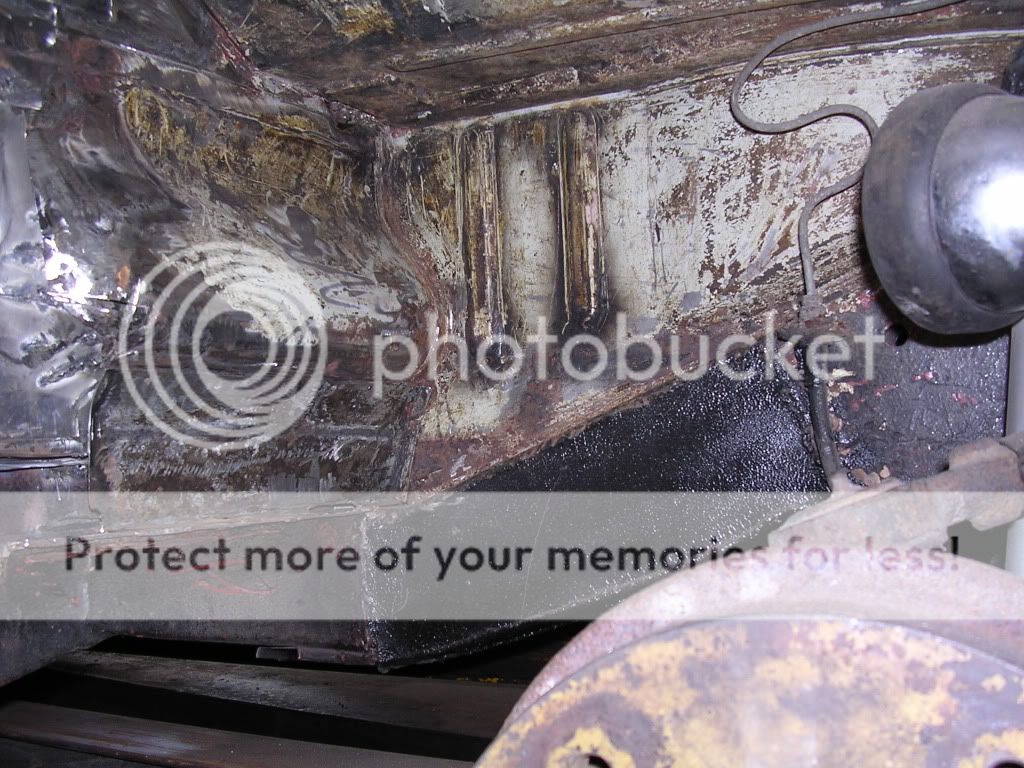
You're not wrong there, easy. Took the os arch off and cut back to solid metal, no wonder they rot out here. Any condensation runs down inside the B pillar and meets up with moisture from in the van and stuff thrown up from the road into the jacking point. Not a good quality picture, but the stuff at the bottom has accumulated since the os sills were last bodged on.
Anyway, ns front 95% finished, filler to be rubbed back, and last coat of primer to stop the rot starting again before I get round to the interior.


Anyway, ns front 95% finished, filler to be rubbed back, and last coat of primer to stop the rot starting again before I get round to the interior.


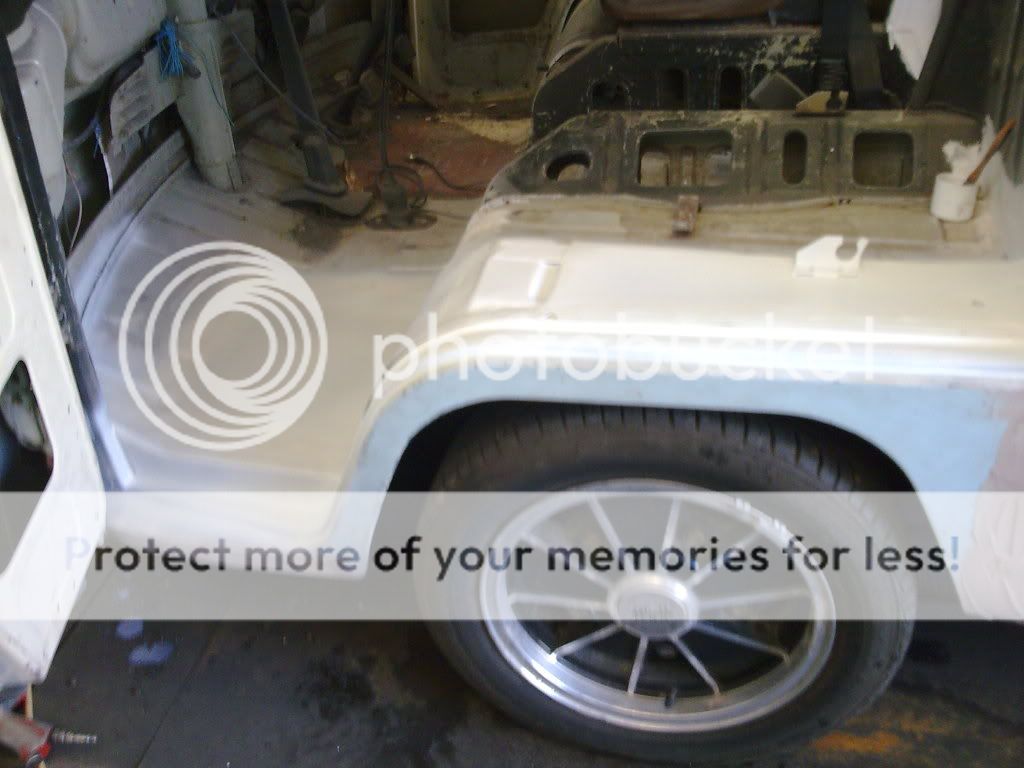
Got a couple of topcoats on today to protect new arch. Pleased with the way the arch went on, and like the colour as well. Shame about the weather though. :lol:


T2-Nate
Well-known member
Well this is quite the challenge!!
Any mechanical work ahead ?? :mrgreen:
Any mechanical work ahead ?? :mrgreen:
T2-Nate said:Well this is quite the challenge!!
Any mechanical work ahead ?? :mrgreen:
Refurb steering box, and gearbox and linkages with CSP shifter. Keeping 1600 sp for the time being, then after bodywork finished, when funds allow, a nice 2007 with twin 44's. :mrgreen:
Not to much done today, welder not working.
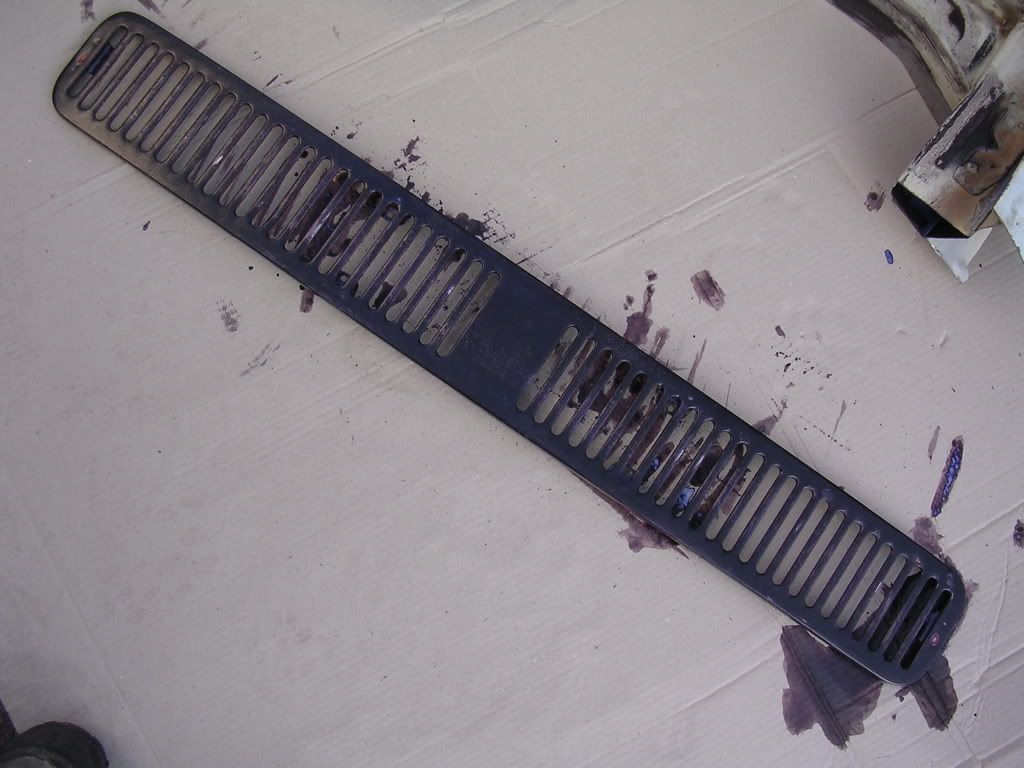
Another topcoat on arch and floor, cleaned ns sill. The paint just flaked off of the primer on the replacement panel.

I just carried on scraping and this is what happened :lol:
Now the top two coats of blue primer and matt black have come off it's a definite improvement on what was there before.

Another topcoat on arch and floor, cleaned ns sill. The paint just flaked off of the primer on the replacement panel.


I just carried on scraping and this is what happened :lol:
Now the top two coats of blue primer and matt black have come off it's a definite improvement on what was there before.

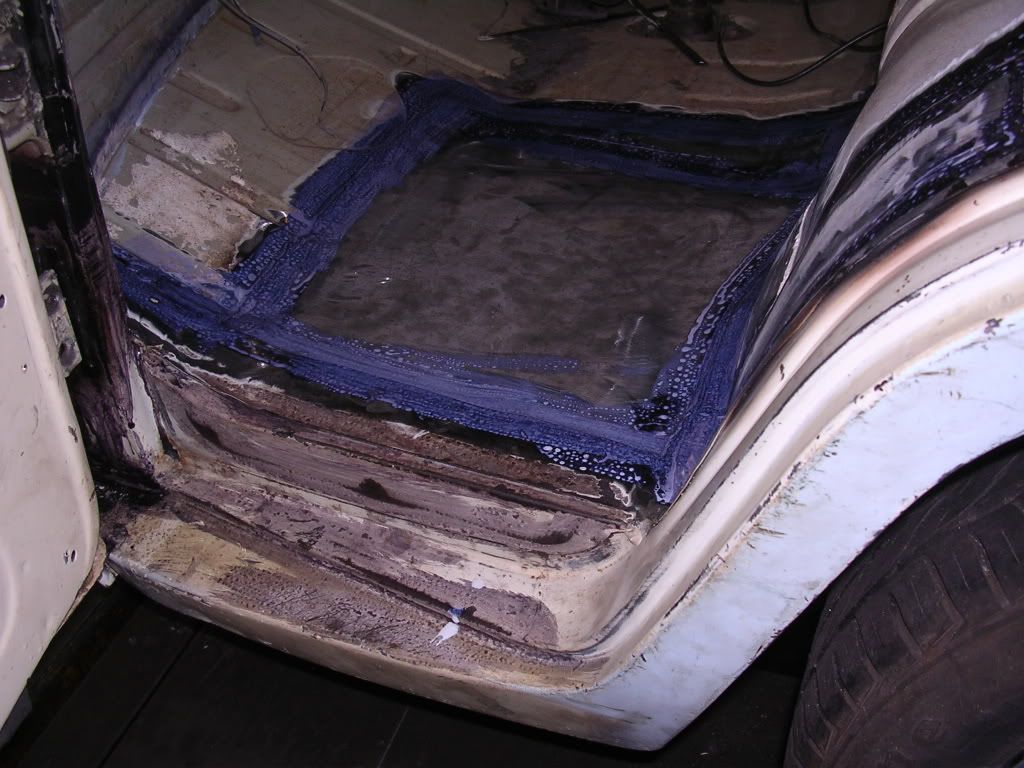
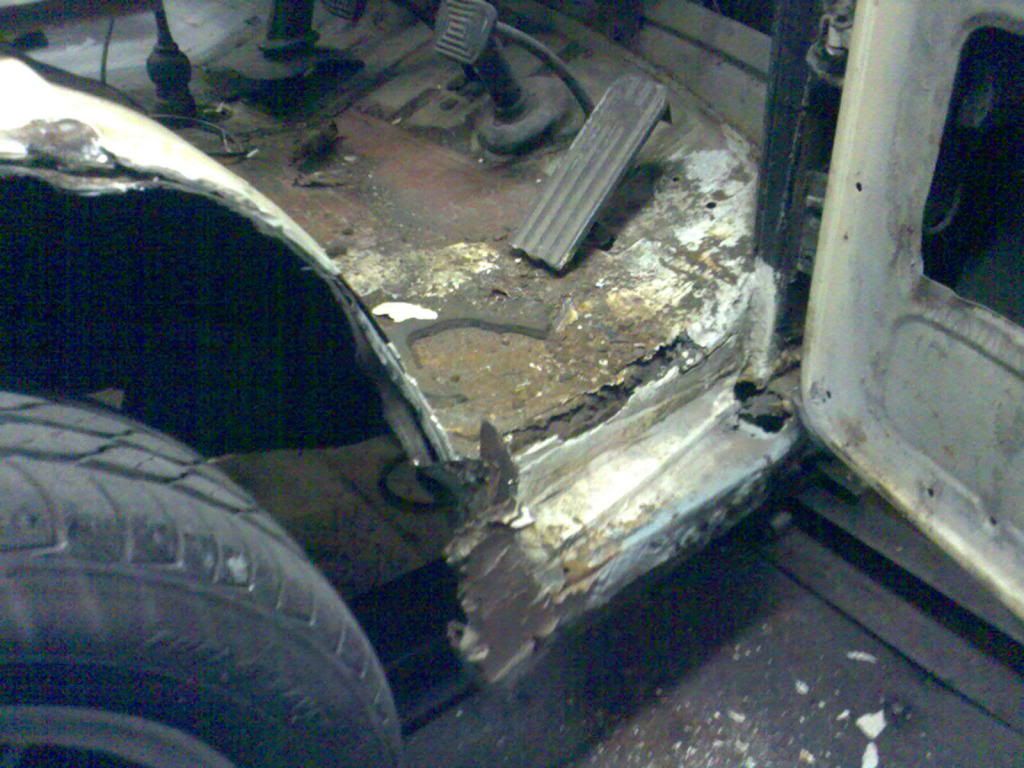
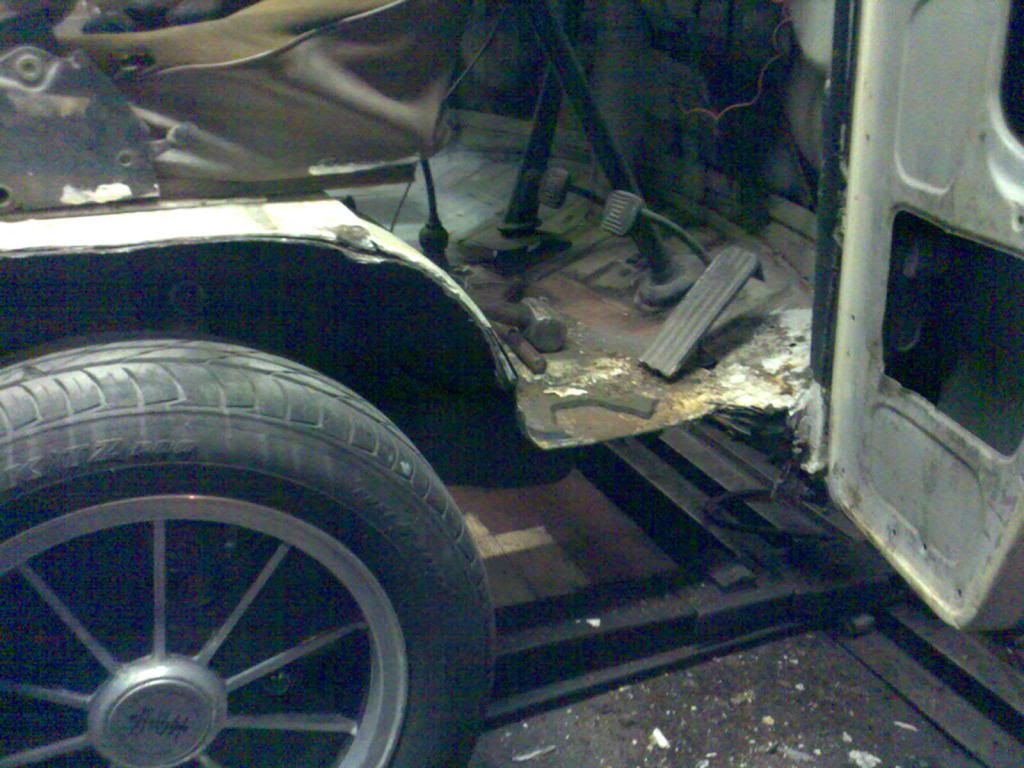
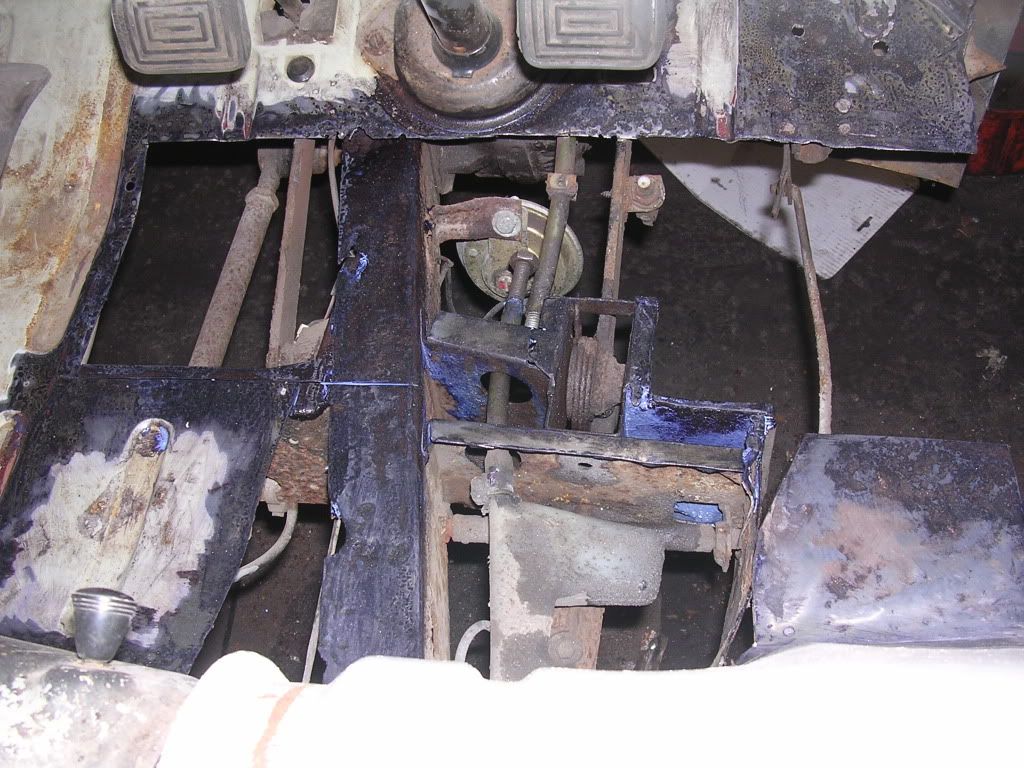
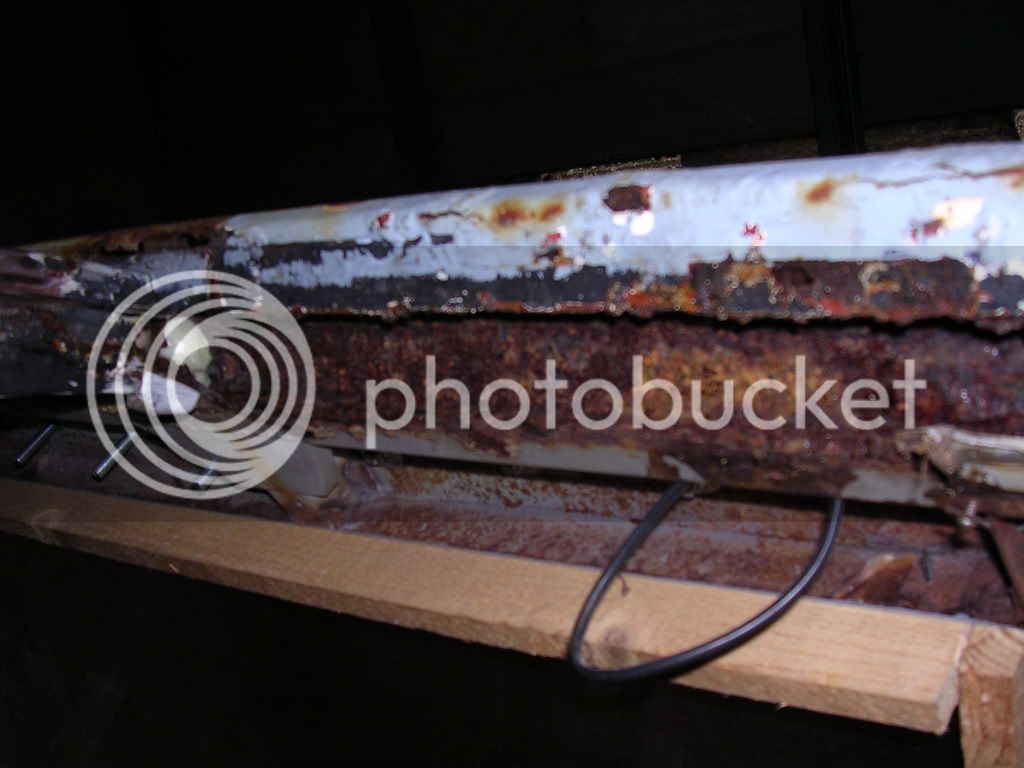
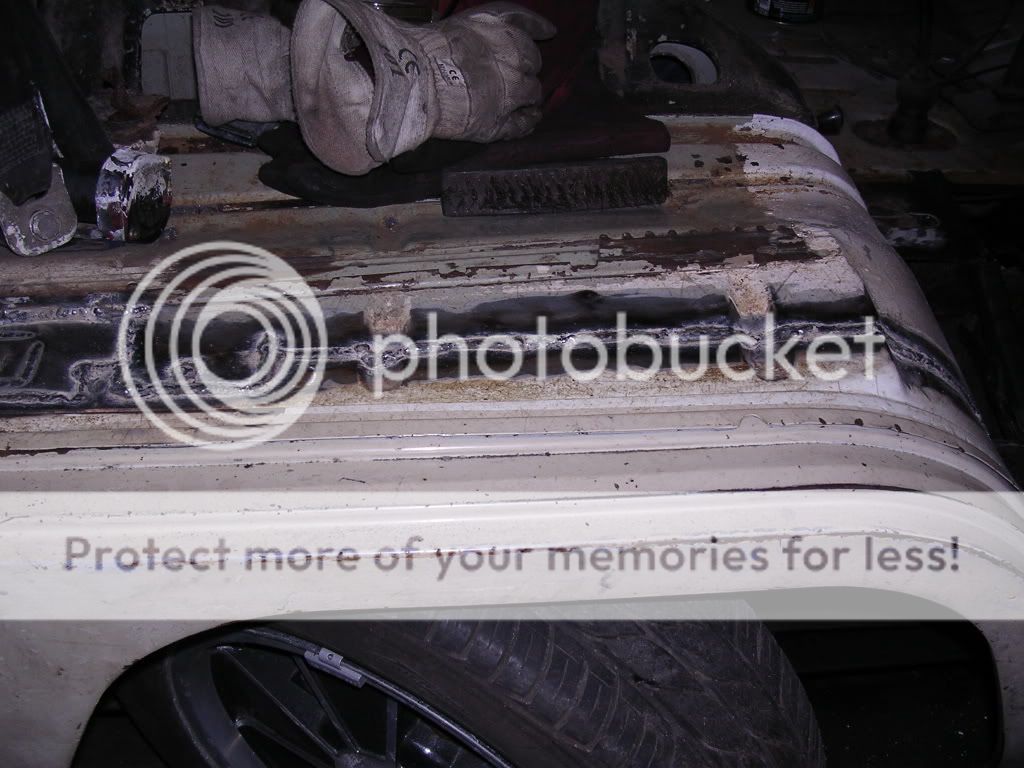
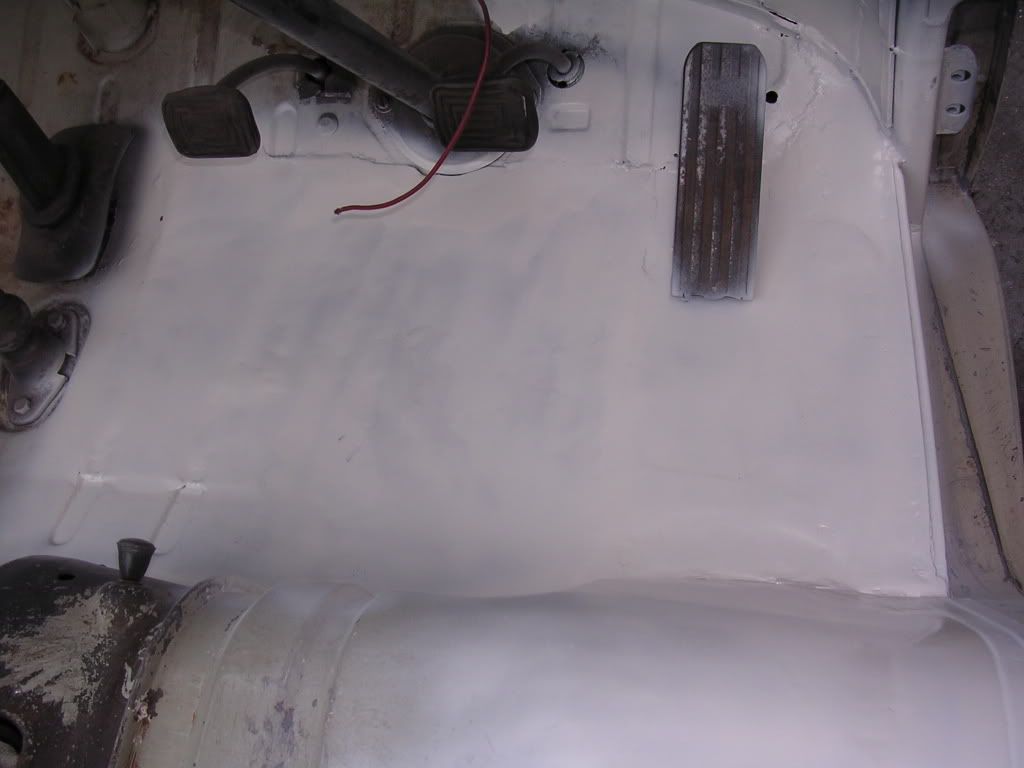
Anyway, back to OS arch. Need to repair OS cab floor before arch gets fitted.
Cut gash repairs off. These have made the floor rot more than if it had been left :x
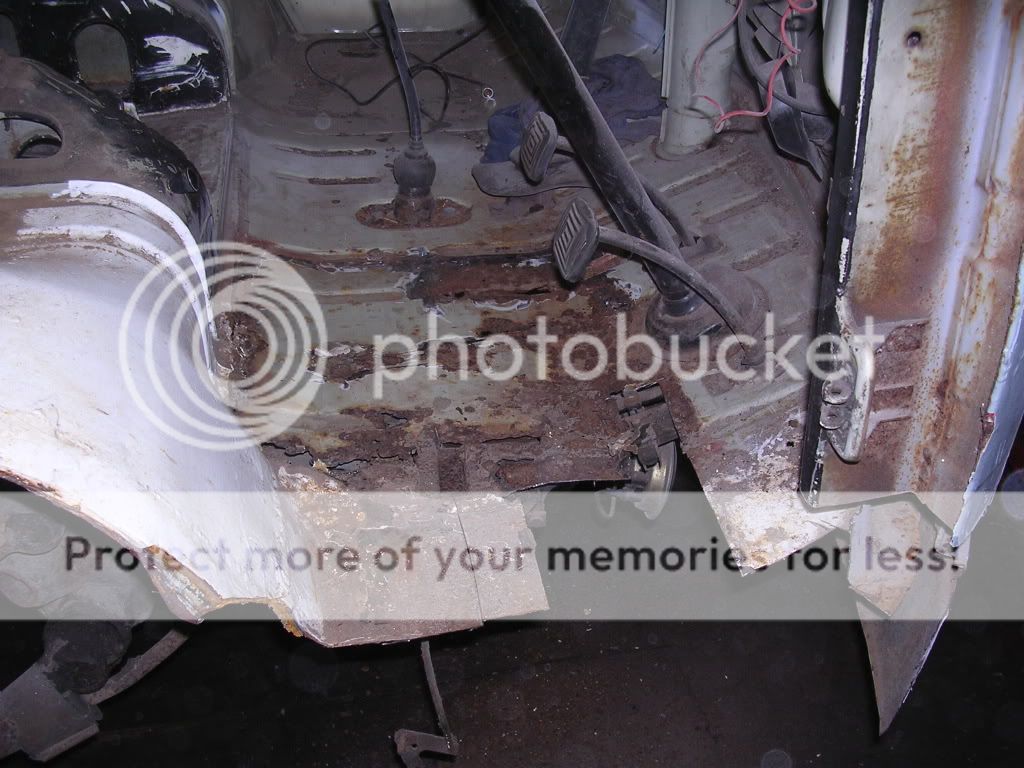

Another two cutting discs and I'm left with this.
Can you spot the brake pipe I cut with the grinder
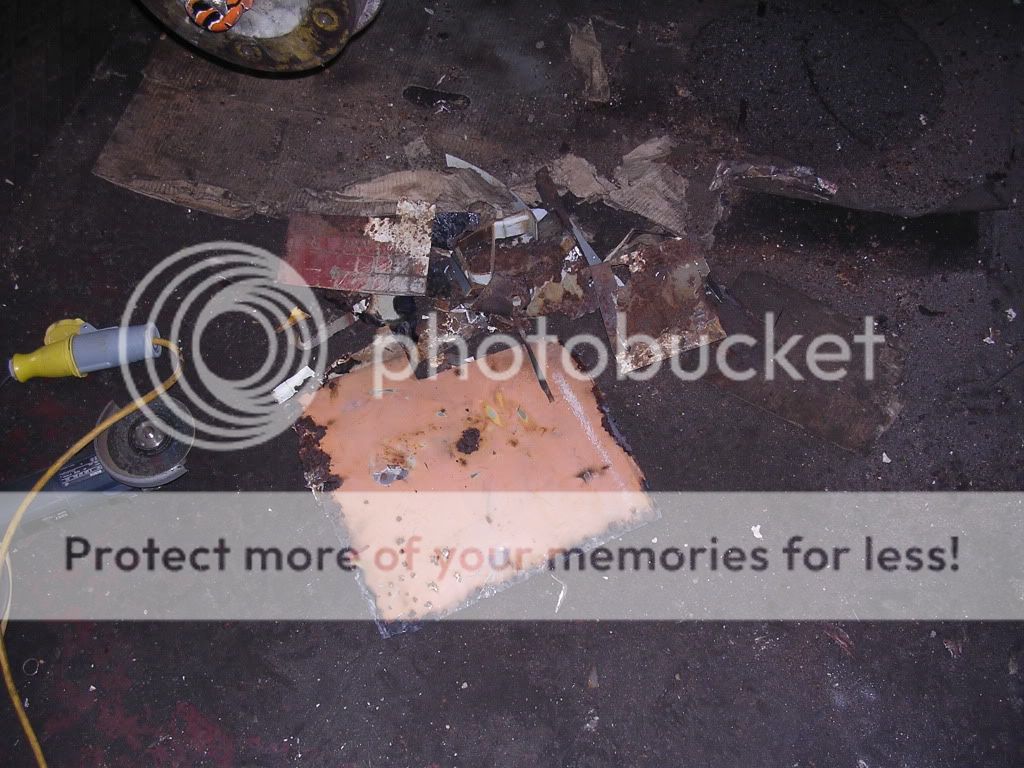
Another pile of scrap. Plate on top is the remainder of the enamelled sign used to repair the NS cab floor.
Cut gash repairs off. These have made the floor rot more than if it had been left :x


Another two cutting discs and I'm left with this.

Can you spot the brake pipe I cut with the grinder

Another pile of scrap. Plate on top is the remainder of the enamelled sign used to repair the NS cab floor.

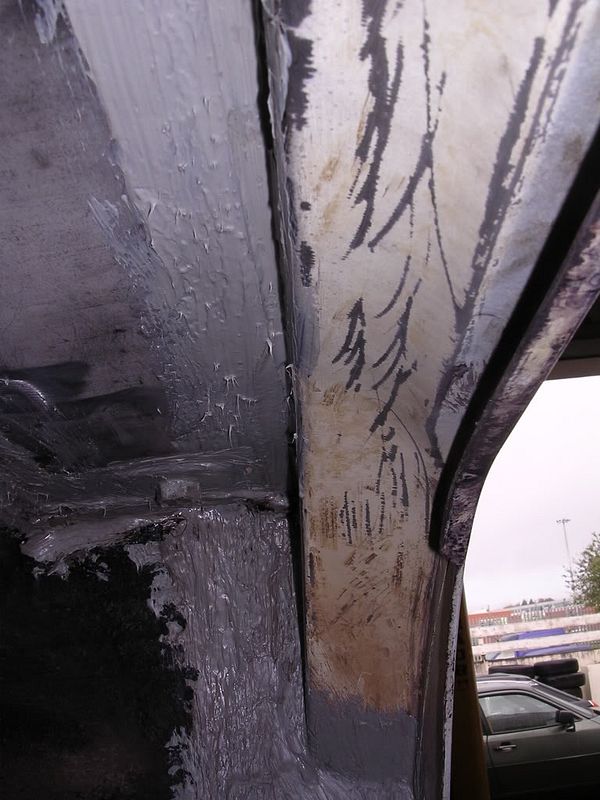
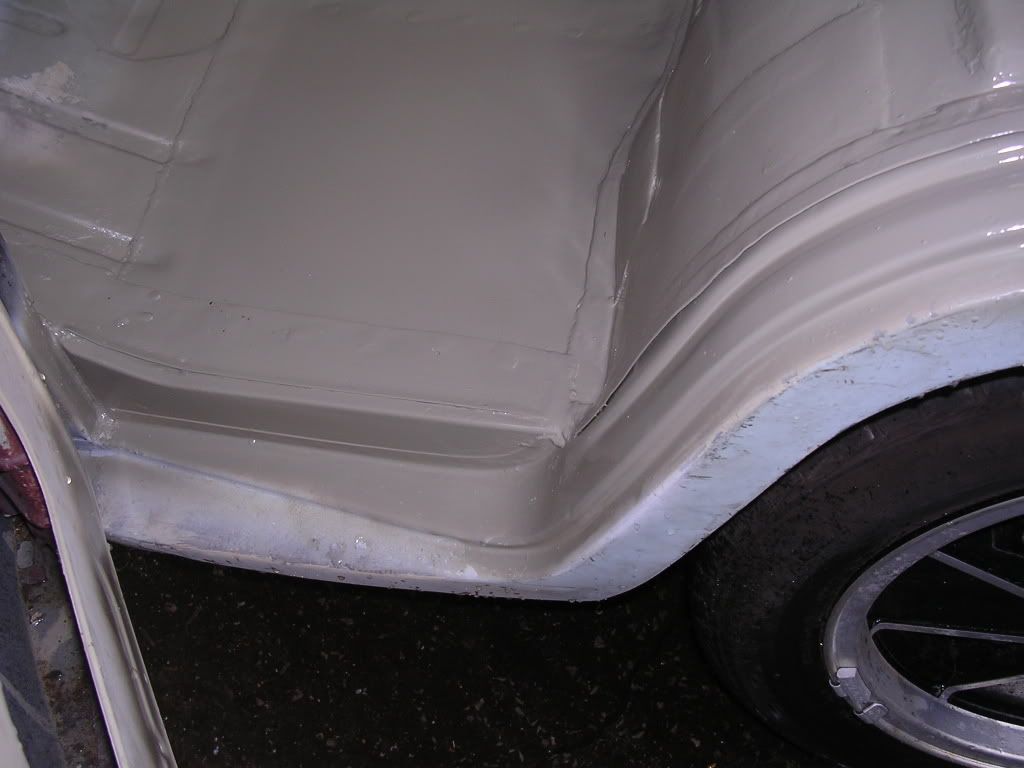
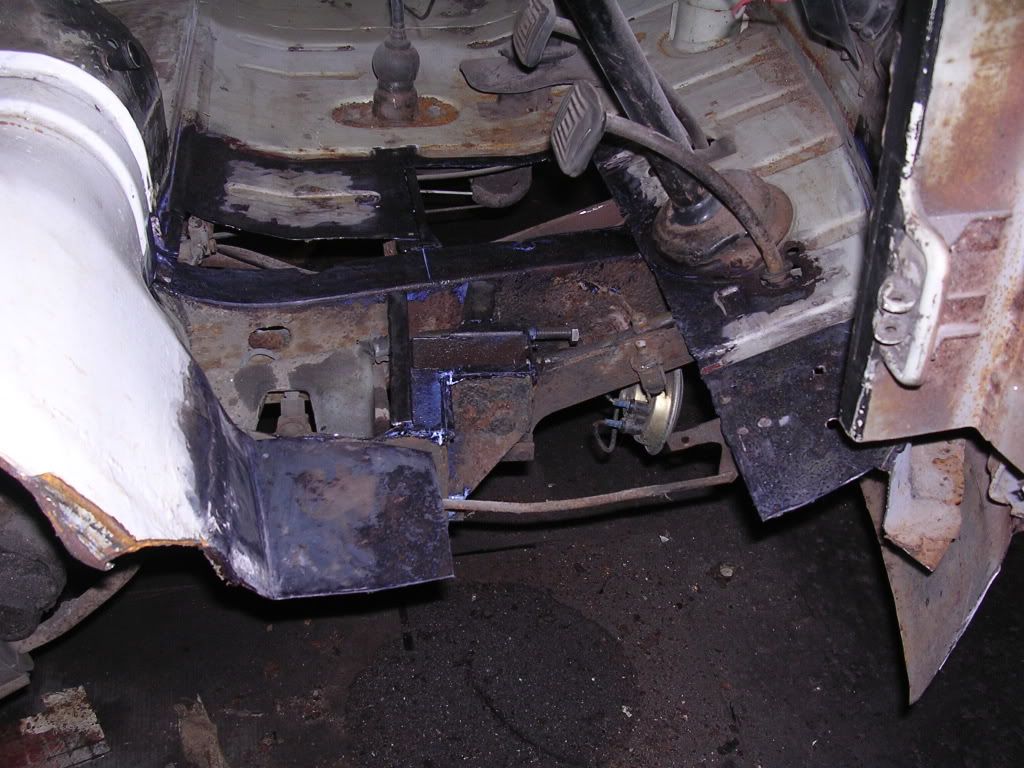
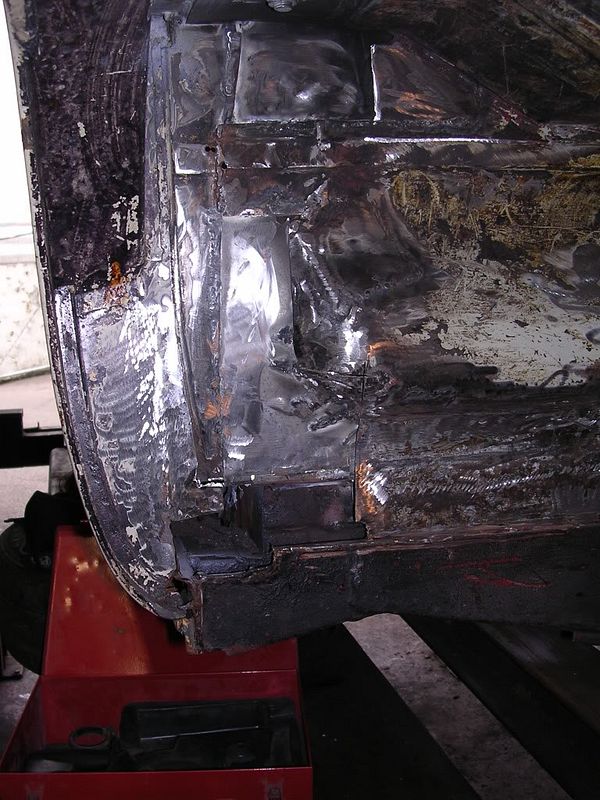
Next installment, after a couple of weekends where a lot was done, but not much achieved, the os arch is finally on
We were a bit worried about structural integrity with all the metal cut out of the front corner, and after a quick dig with a screwdriver, we were right to be worried :lol:
Dormobile owners beware!
All strengthened now the arch is fitted.

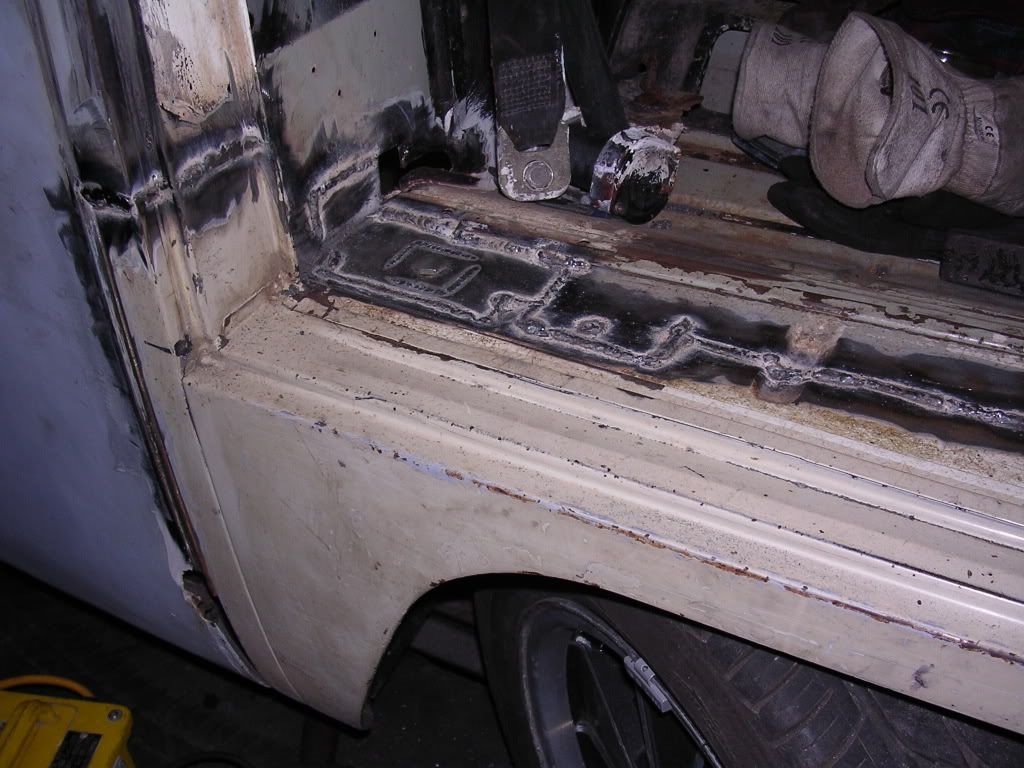
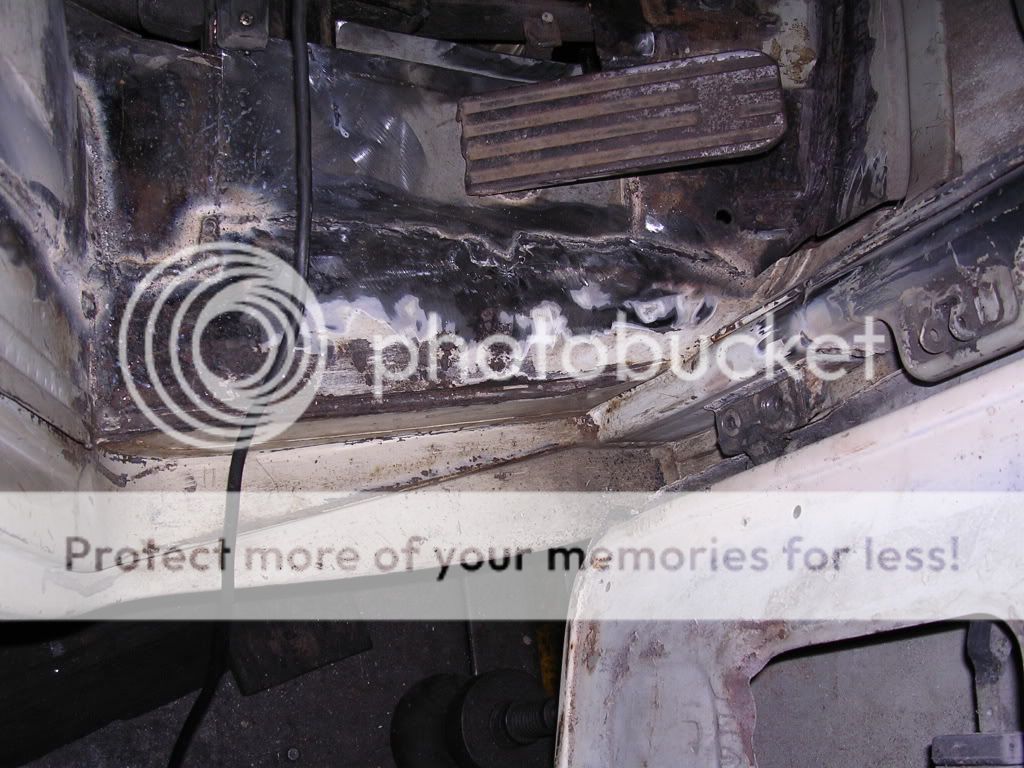
Not too impressed with arch cut though, found a load of perforations after cleaning the paint off of the step area.
Anyway, just a bit of tidying to do, a lick of filler and some paint. Job done.
We were a bit worried about structural integrity with all the metal cut out of the front corner, and after a quick dig with a screwdriver, we were right to be worried :lol:


Dormobile owners beware!
All strengthened now the arch is fitted.


Not too impressed with arch cut though, found a load of perforations after cleaning the paint off of the step area.
Anyway, just a bit of tidying to do, a lick of filler and some paint. Job done.
Next instalment
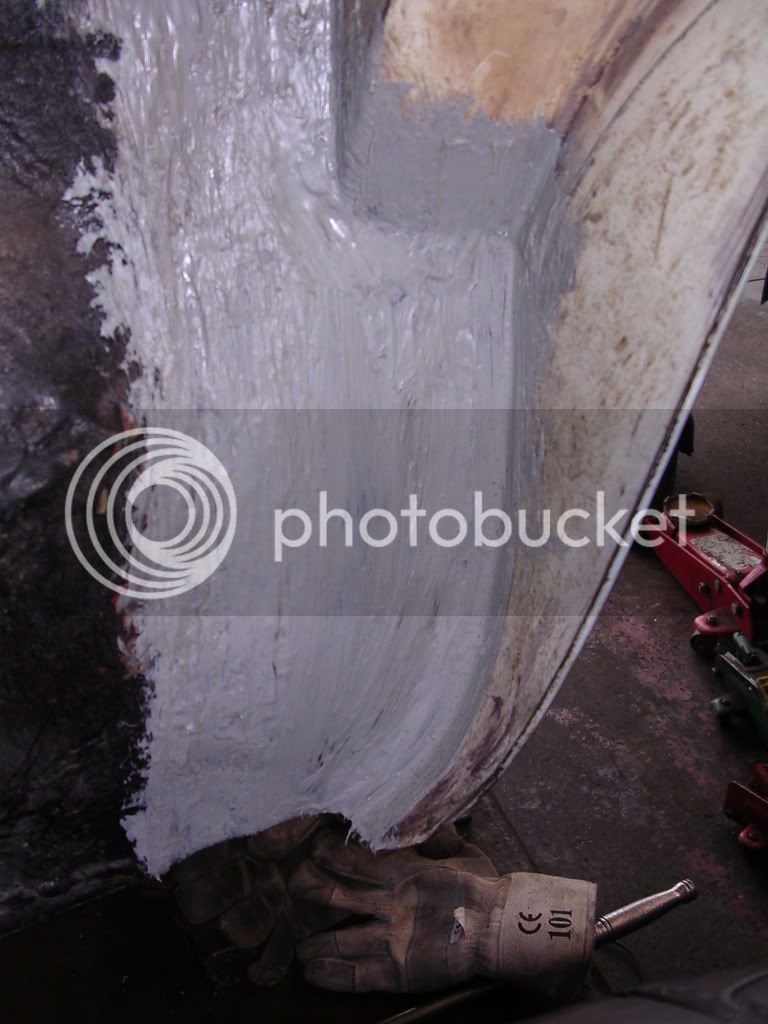
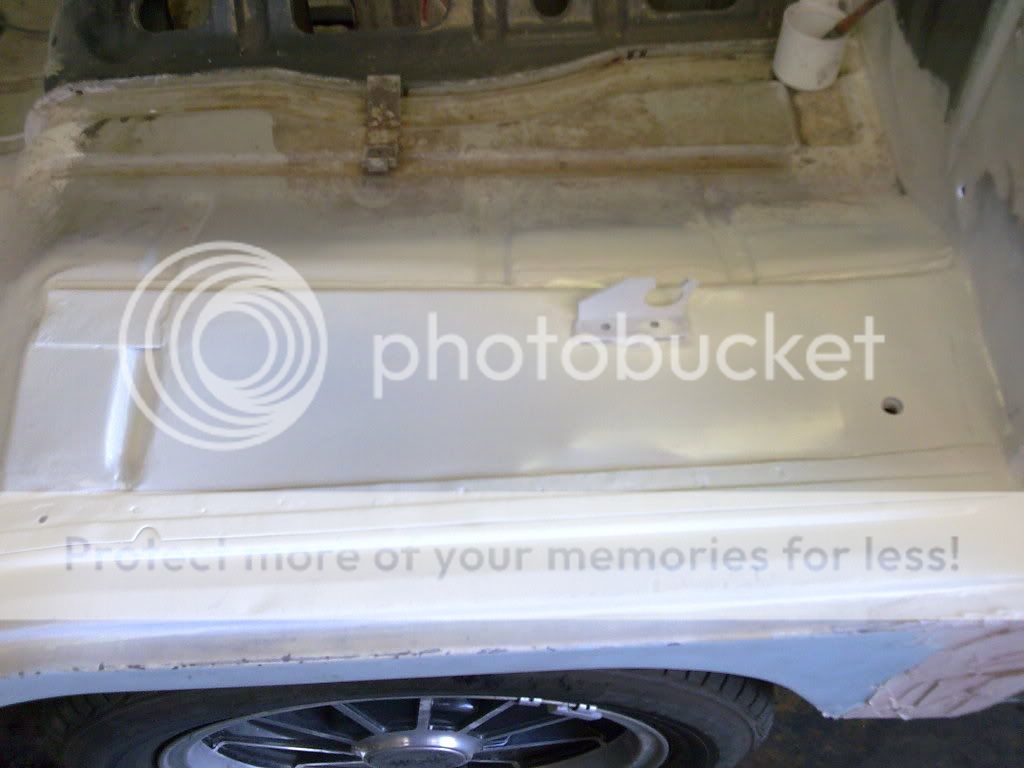
os cab floor plate fitted, welds cleaned, and a coat of primer


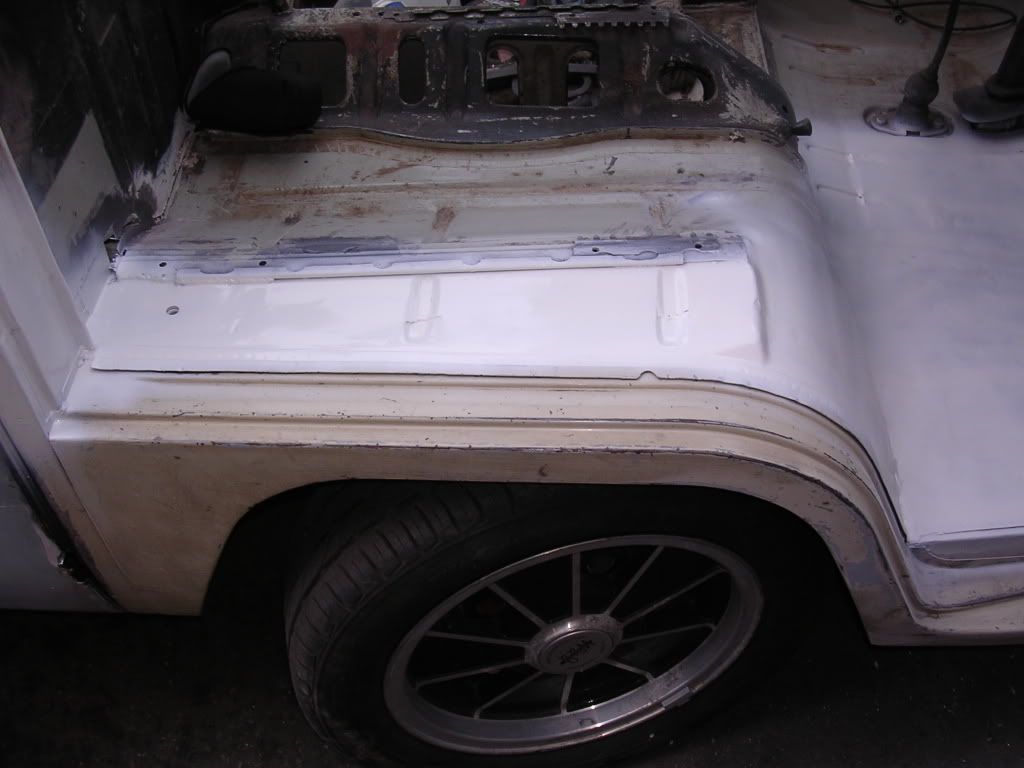
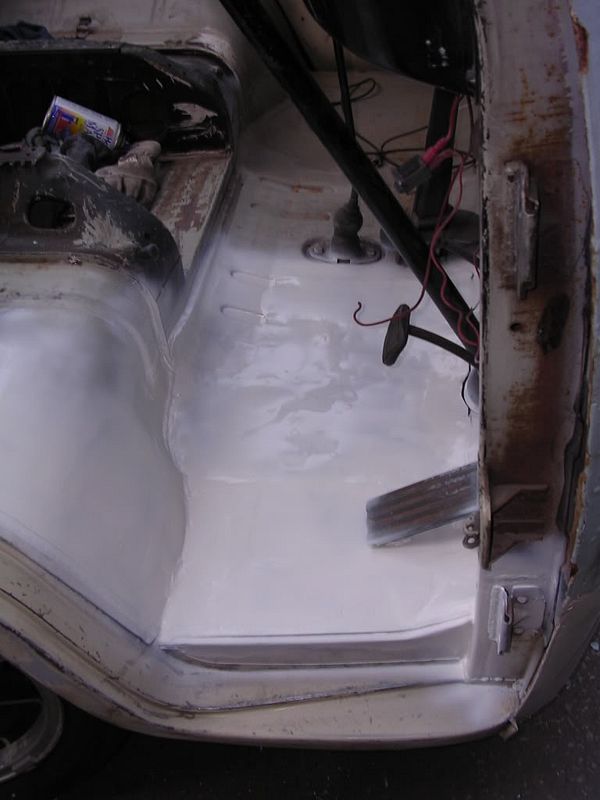

door on, and first top coat on the front panel

os cab floor plate fitted, welds cleaned, and a coat of primer


door on, and first top coat on the front panel


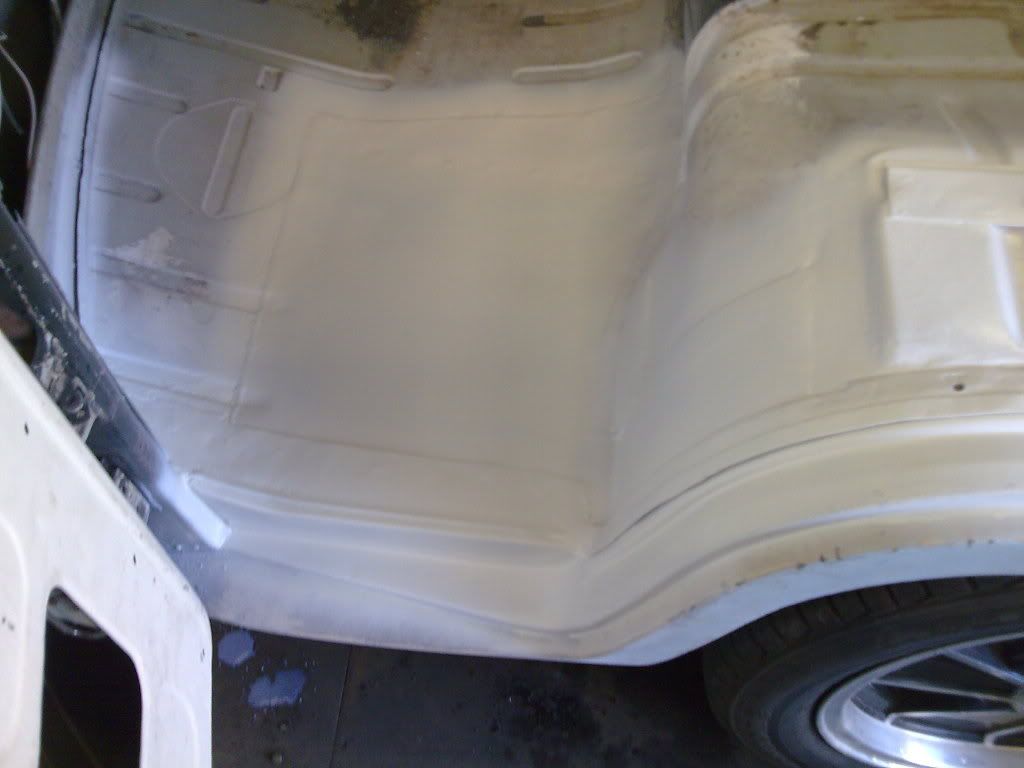
forgot to say, I scraped the white emulsion off of the wheel tub and found a nice coat of og paint
Can just see in the pics....
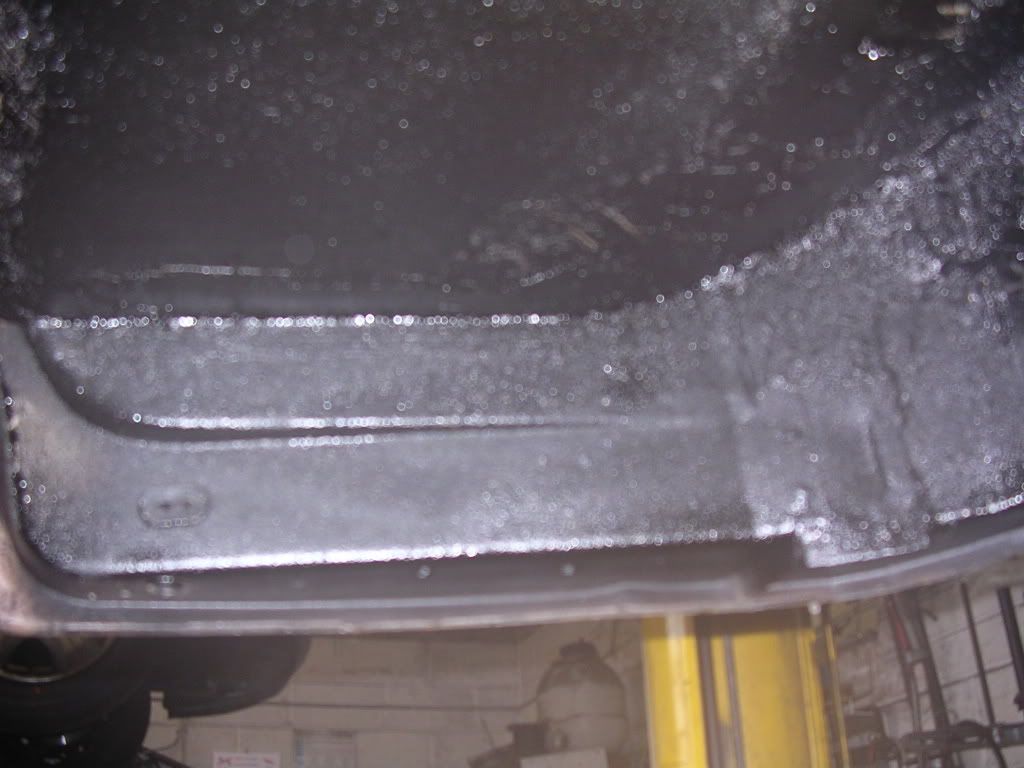
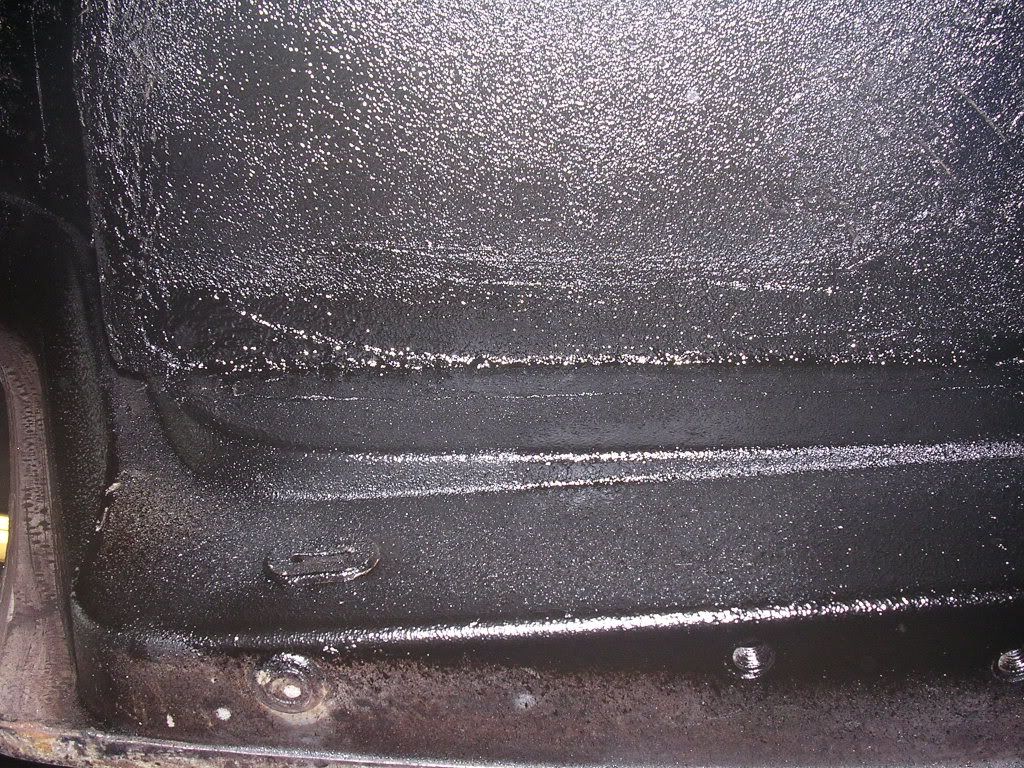
Not much to report today, cleaned seam sealed and undersealed ns arch. All done underneath this side now, looks like new.
Sorry about pic quality.

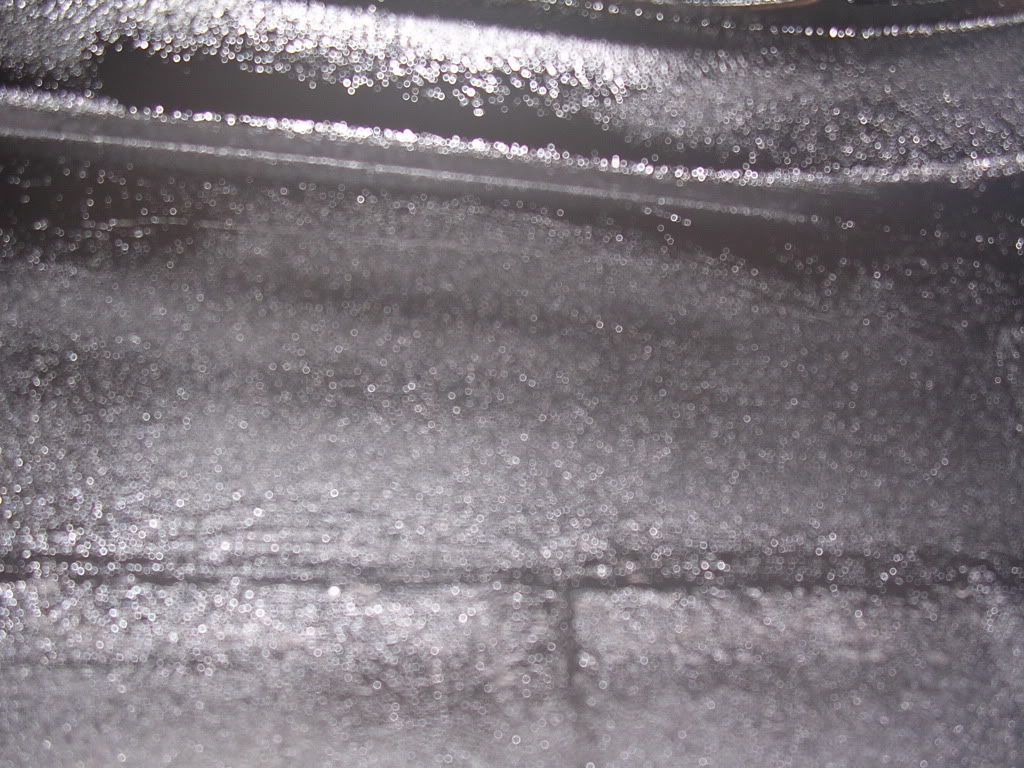

Sorry about pic quality.


Still getting the o/s arch finished underneath.
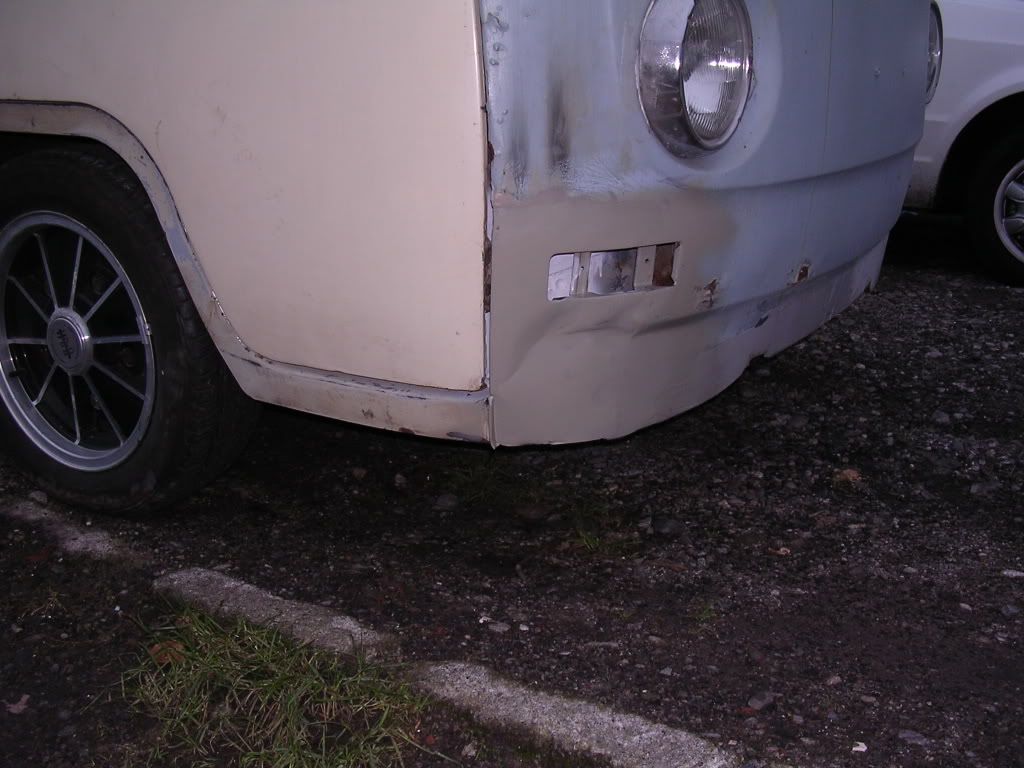
Was going to have a go at the front panel next, but started taking the paint off and the lower front panel is paper thin.
So bit the bullet and ordered, right then, deep breath............
front panel, lower front panel, lower inner front panel, windscreen inner repair sections, wiper spindle kits, accelerator linkage kit, r/h cargo floor plate, cab door hinge bolts, ignition switch, and fresh air flap pivots.
Have decided that I might call the bus Tetley, you know, 1001 perforations.............. :roll:
Still on a brighter note, eBay came up trumps. Scat bus shifter for a tenner including postage
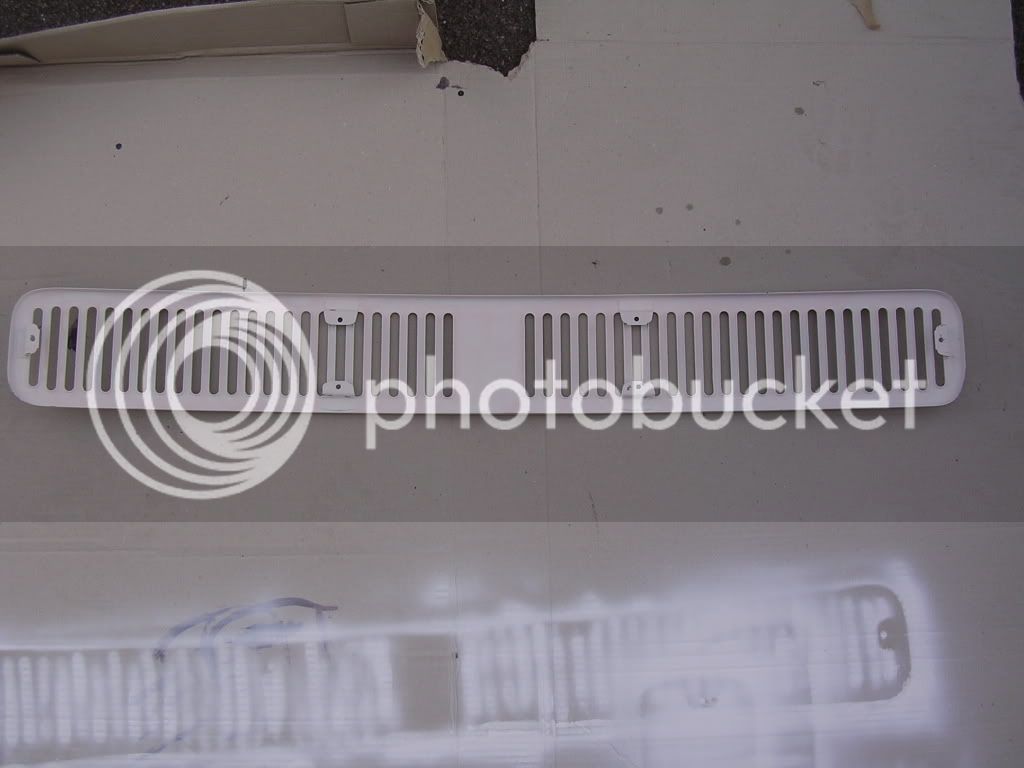
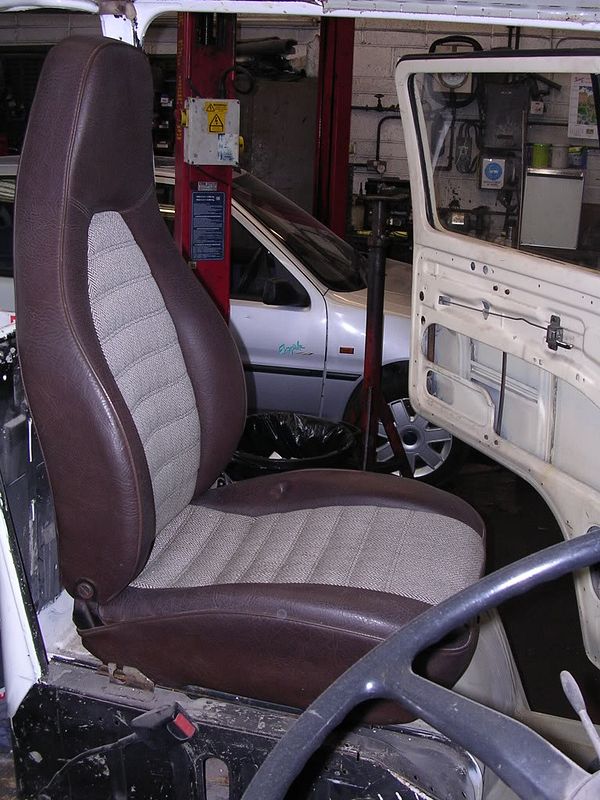
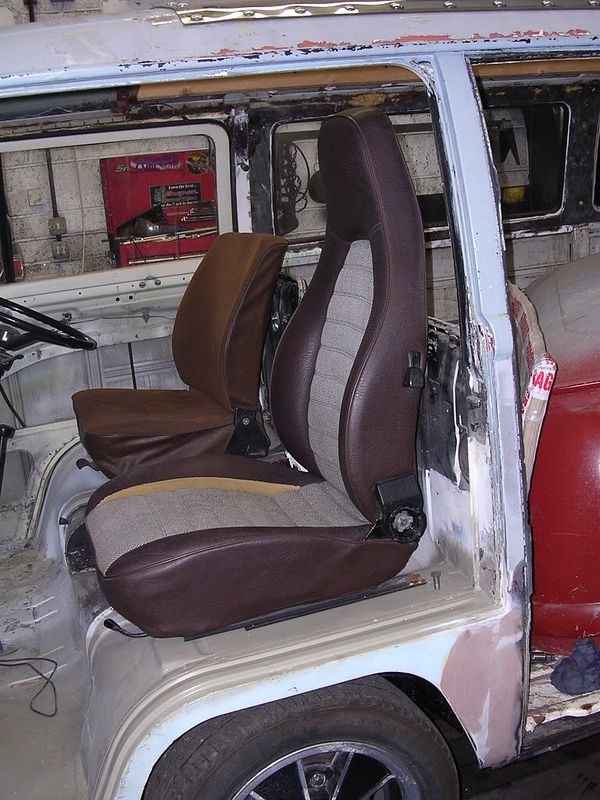
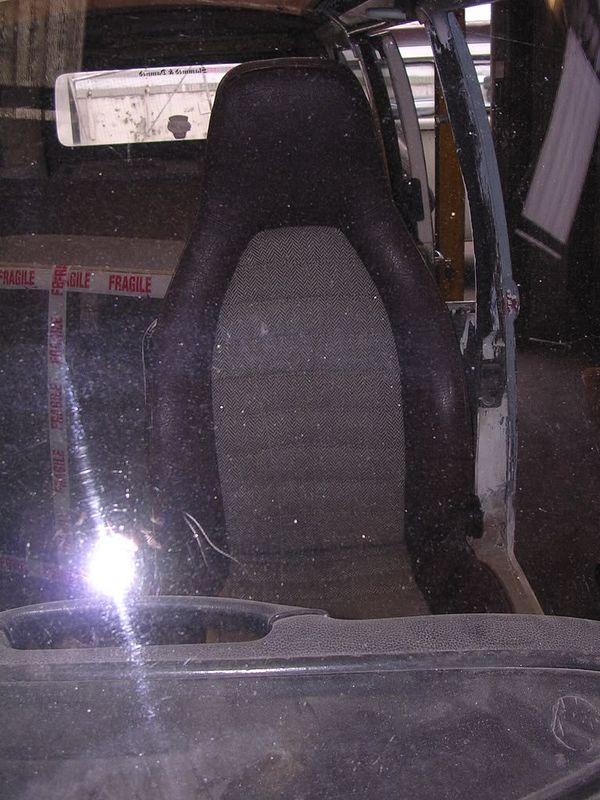
and these for £22.76 :mrgreen:
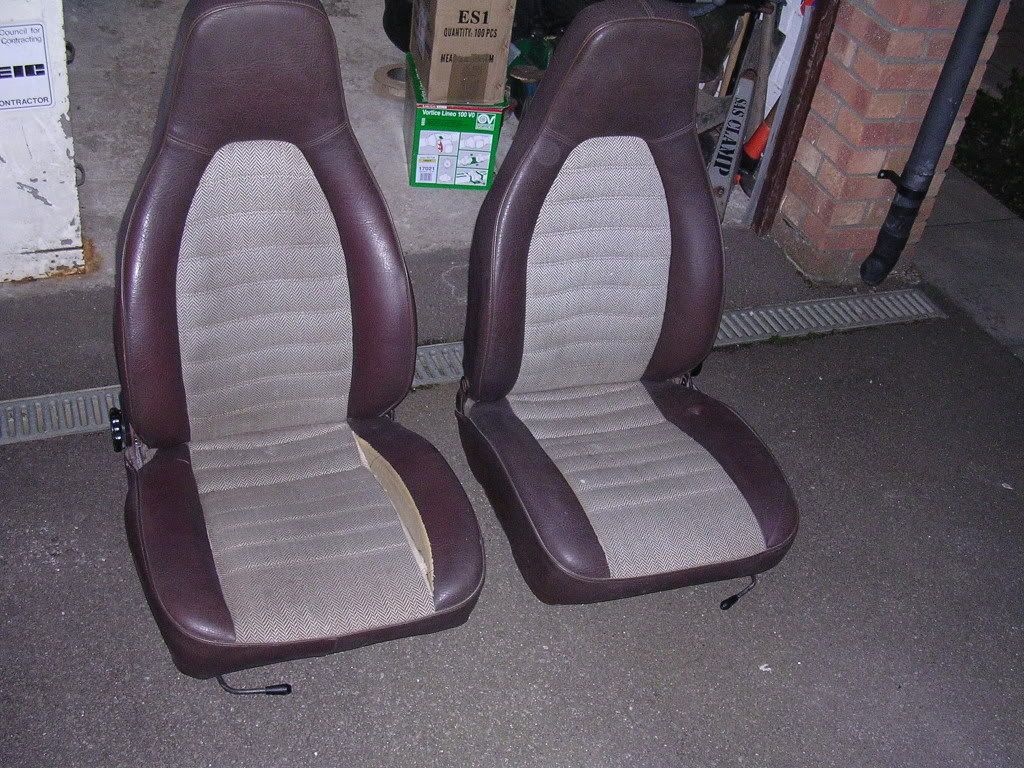
just to see what they look like.......


Was going to have a go at the front panel next, but started taking the paint off and the lower front panel is paper thin.
So bit the bullet and ordered, right then, deep breath............
front panel, lower front panel, lower inner front panel, windscreen inner repair sections, wiper spindle kits, accelerator linkage kit, r/h cargo floor plate, cab door hinge bolts, ignition switch, and fresh air flap pivots.
Have decided that I might call the bus Tetley, you know, 1001 perforations.............. :roll:
Still on a brighter note, eBay came up trumps. Scat bus shifter for a tenner including postage
and these for £22.76 :mrgreen:

just to see what they look like.......


