say hello to the Beeglebus.....!

Early Bay Forum

Help Support Early Bay Forum:

This site may earn a commission from merchant affiliate links, including eBay, Amazon, and others.
Hi Carole, looks fantastic, just had a bit of a deja-vu momment. i went through pretty much the same proccess earlier this year with my 72 crossover. it came in from Cali pretty much rust free but also with a dodgy spray job and perished rubbers. well worth the effort, its gonna look amazing when you get it all back togrther, can't wait to see the pics when its done.
 
Thankyou for all the kind comments guys.... :D :oops:

been busy with all the new ply interior panels today, more piccies tomorrow.....

carole
 
Hi Scampi,

I made them myself from three sheets of 5' x 5' 3mm ply (£10 a sheet from my local woodyard), using the old ones as templates. The originals were a bit rotten so I decided to replace them, but they were good enough to use as patterns. You can cut the ply with scissors......!

2 coats of clear satin yacht varnish gave them a nice warm natural colour.

If diy is not your thing I'm pretty sure that VW Evolution are doing repro sets in various finishes, but have no idea of price....doubtless cheaper to make your own!

carole
 
managed to get some more done today.... :D :D

here's a shot of the original panels on a new sheet of 4mm ply, ready for marking out, cutting up and then varnishing, as easy and quick as it sounds....:shock:.....not!

DSCN2347.jpg


then on with the interior. more roof felt for sound deadening...

DSCN2348.jpg


then yet more foil bubble wrap......and a thin layer of foam (the same stuff used under laminate flooring) before laying the original under-flooring sheet.

DSCN2355.jpg


DSCN2352.jpg


and then finally the new panel!

DSCN2357.jpg


you might notice that the I decided to paint the panel trims as well that are attached to the van in black as they're pretty dull on their own but can't be polished....here they are in primer.....

DSCN2353.jpg


and lastly fitted the panel behind the wardrobe!

DSCN2362.jpg


now I'm off for a cup of tea......


:lol: :lol: :roll: :roll: :roll:
 
a good job being jobbed there 8)
 
No probs Scampi....in actual fact I think the stuff I used for the headlining was actually 2mm thick (or thin...!) it's very bendy! If you PM me I can send you a bit in the post if you like so you can check it out for yourself.

just got a couple of bits done this morning whilst the kids were at school...... :wink:

jail bars and rear hatch panel in, more roof felt, bubble wrap and waxoyl before putting the panel on....!

DSCN2359.jpg


and then just used some of the savannah beige paint left over from the paint shop to paint the rear bulkhead, tidy it up a bit. You'll only see it when you lift up the r+r bed, but I'll know it's there...I like to finish it off properly!

DSCN2364.jpg


can't do much more to the rear interior now until I get the flooring in so off to the woodyard at some point to get a big sheet of ply for that. I think I'll get on with the cab seats and stuff in the meantime just to have something different to do........

:lol: :lol: :lol:
 
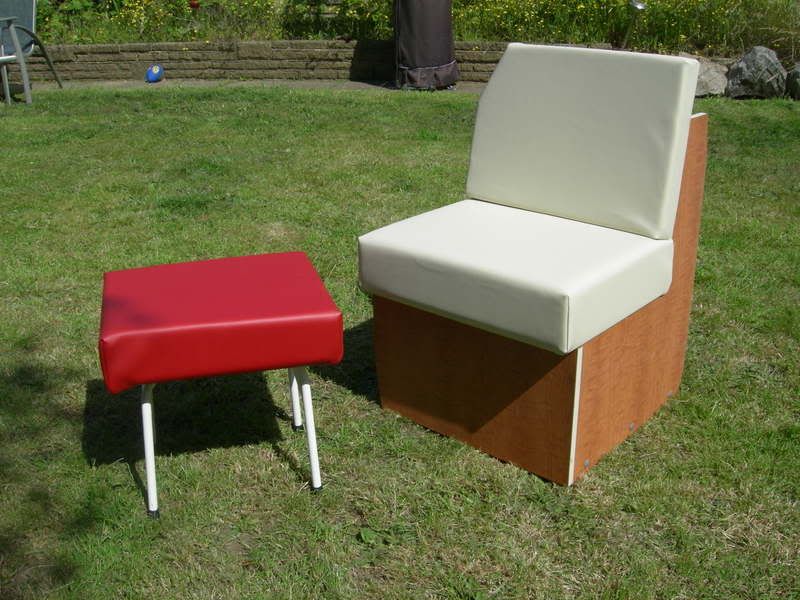
Thanks to the foul weather of late I've not been in the mood to get the van out so have been getting on with some upholstery indoors in the warm and dry!

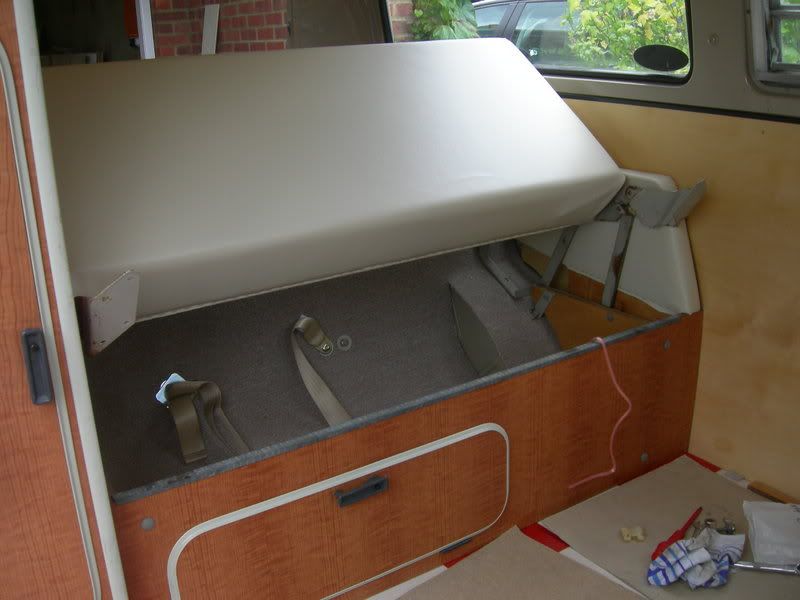
covered the repro westy stool, and then new foam and vinyl used to re-cover the buddy seat, halfway through the R+R bed but will post some piccies when that's done.....the colours are the same as the new cab seat covers that I've got, hopefully be putting them on tomorrow. (not looking forward to that job...........!)

DSCN2382.jpg


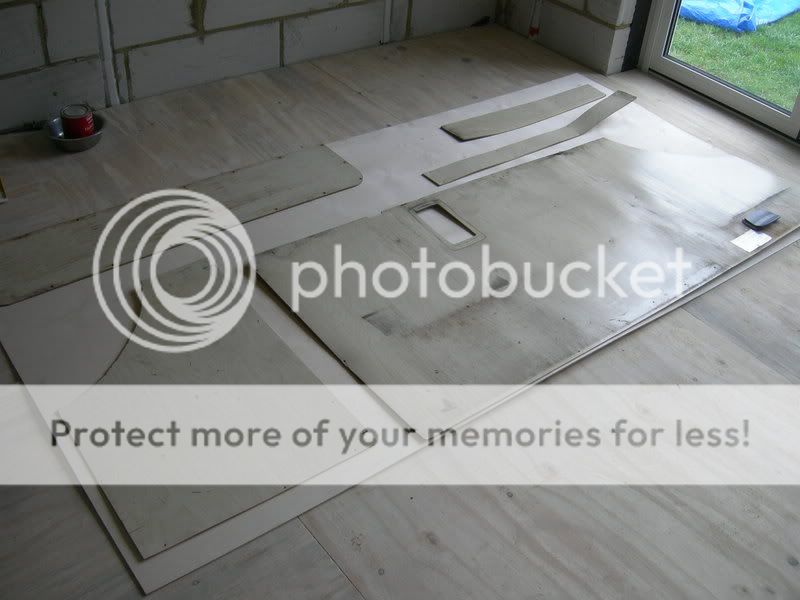
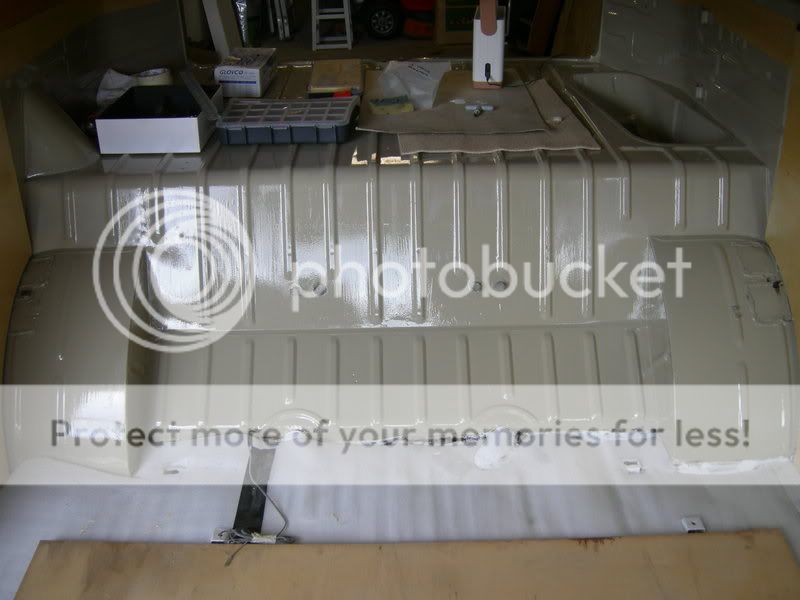
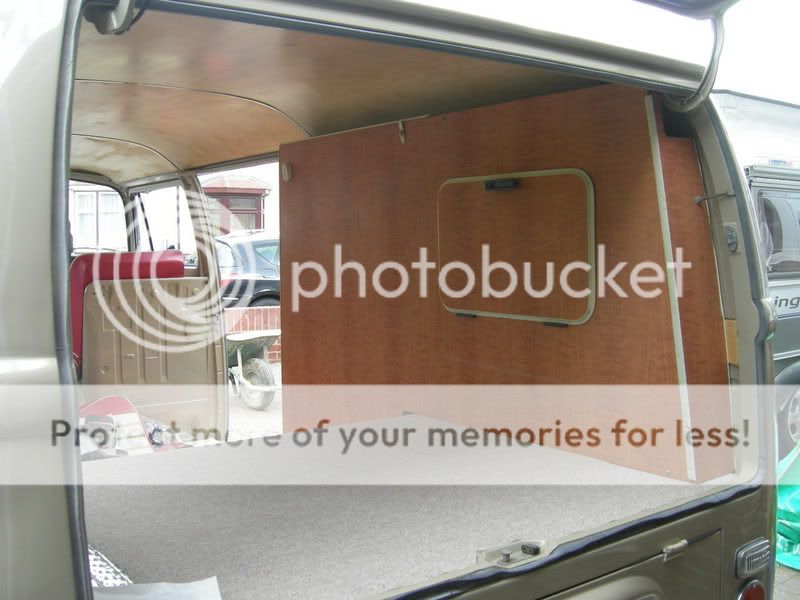
And finally got my bum down to the woodyard for a 5x5 sheet of ply for the new flooring.......

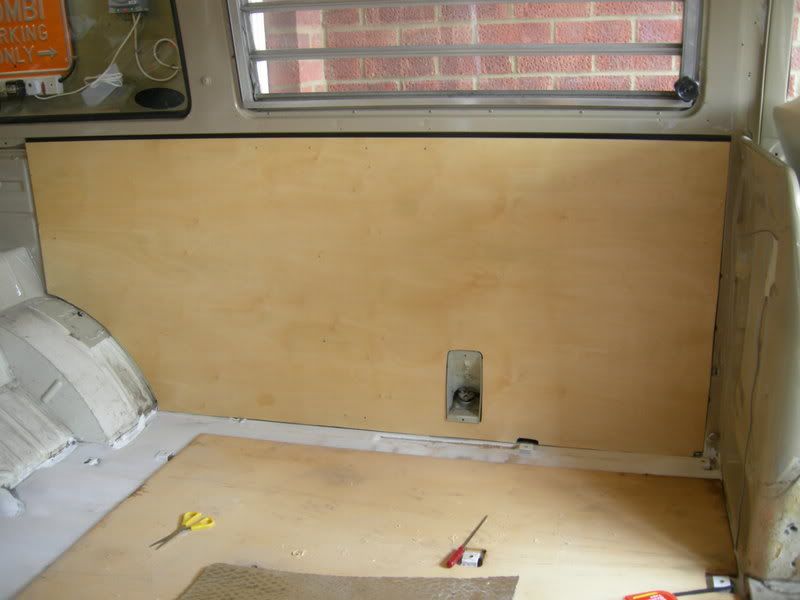
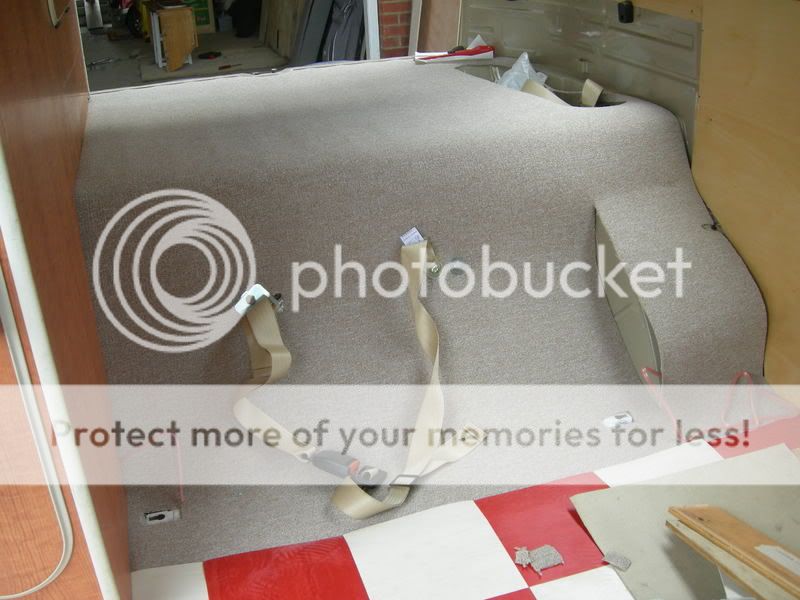
used the old one as a template to cut all the holes in the right places, remembered to run some speaker cables underneath for later on and then put it in the van.

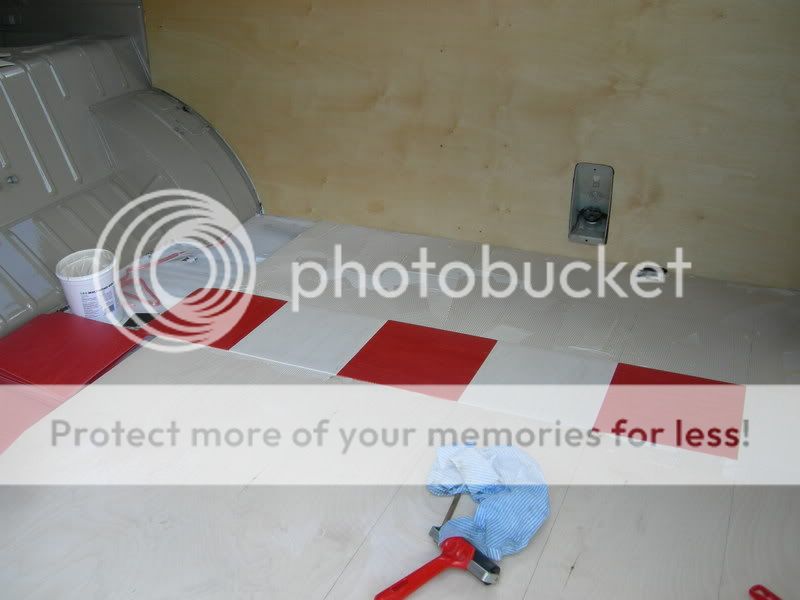
managed top get some 9" square floor tiles from a guy at Stanford so measured it all up, laid down the adhesive and put the first line down...
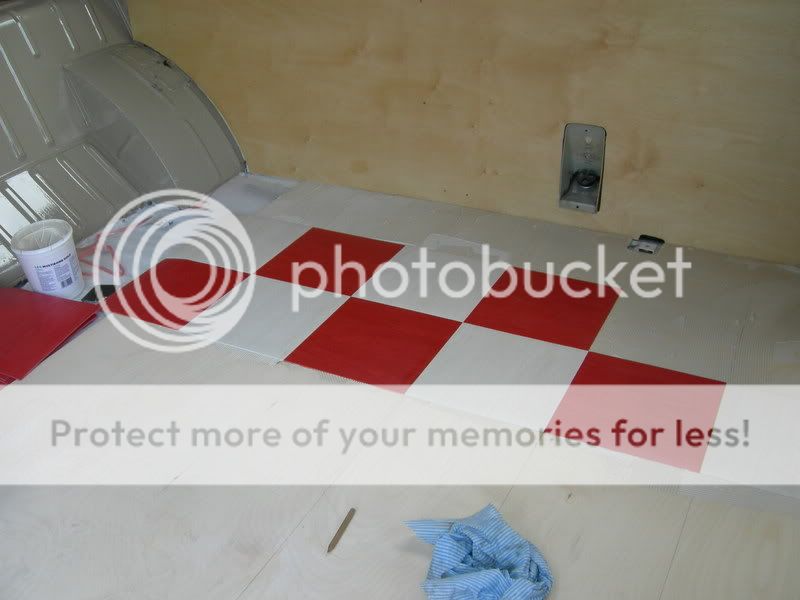
DSCN2375.jpg


a few more......

DSCN2377.jpg


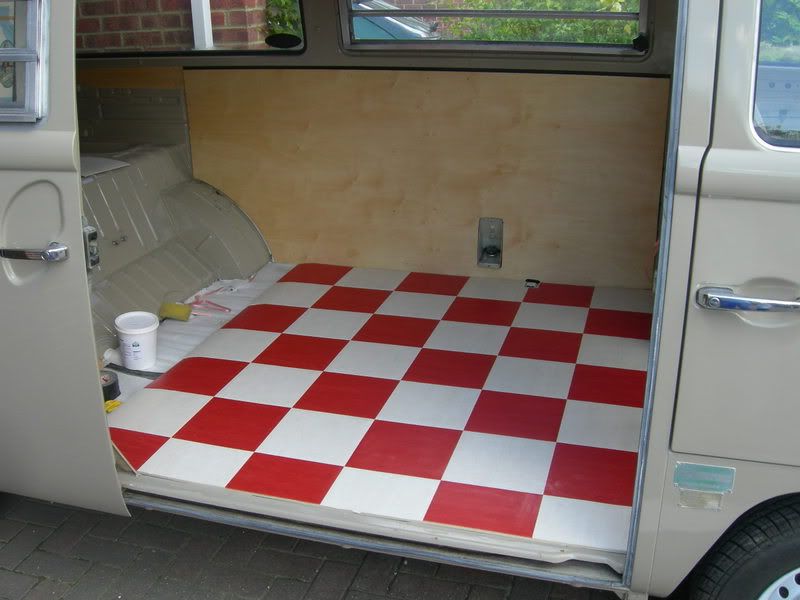
and then I was on a roll.........Voila!

DSCN2379.jpg


Really pleased with the way that went in, so now I can put the buddy seat back in tomorow. lets hope we have another dry day!

Carole
 
Hi rony b, thankyou for your kind comments..... :lol:

the headliner is 2mm birch ply. really bendy but went in great.

been very busy at home with DIY.... :shock: so not had too much time to work on the bus....however did get a day last week, here are some piccies...

new carpet in the rear and over the bulkhead:

DSCN2399.jpg


DSCN2400.jpg


DSCN2401.jpg


as you can see the wardrobe is back in along with the r+r bed. the base of the bed is back in too, but I haven't taken any photos yet!

new engine goes in next week, I'm dead excited! will post some more piccies at the end of the week.

carole
 
That looks sweet as Carole ,where did you get your jailbars from they look the real deal 8)
 
Very tidy job there, the ali trim on the headlining where'd you get that from? or was it the original.
I saw the guy with the floor kits at Stanford hall but I've lost his details dont suppose you've got a number/website for him have you?

:D :D :D
 
I'll keep that in mind hopefully she will be ready soon meant to pop into the spray shop but the days just not long enough...
 
really starting to come together now, looking ace! 8)
 

Latest posts

Top