You are using an out of date browser. It may not display this or other websites correctly.
You should upgrade or use an alternative browser.
You should upgrade or use an alternative browser.
Cunning Bus Project
- Thread starter cunning plan
- Start date


Help Support Early Bay Forum:
This site may earn a commission from merchant affiliate
links, including eBay, Amazon, and others.
cunning plan
Well-known member
- Joined
- Jul 15, 2008
- Messages
- 2,625
- Reaction score
- 1
- Location
- Northamptonshire
- Year of Your Van(s)
- 1968
- Van Type
- Clipper / Microbus
Cheers gninnam 
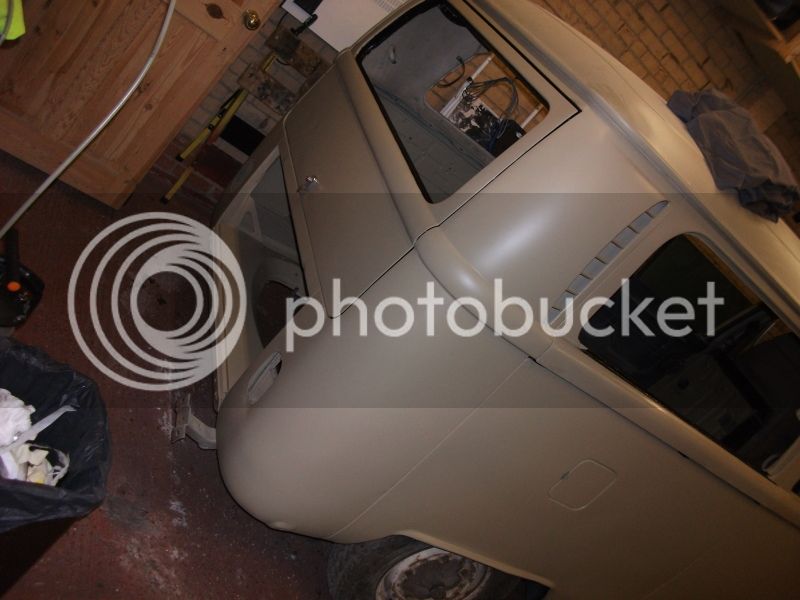
I've had a bit of a break from the bus as I have been concentrating on other things, but recently I have been putting together a speadsheet to plan out how to put everything back together properly and organise what's left to buy.
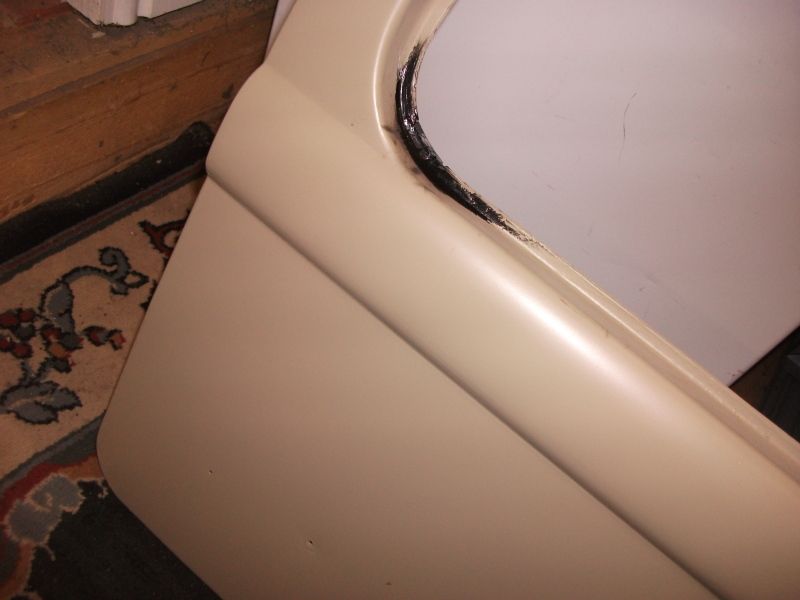
I also forgot to take some broken bolts out of one of the side-covers. As I tried to extract the bolt, it damaged the fresh paint :roll: :|
Re-tapping the captive nut didn't work, so I ground off the nut ends to weld on a new nut and fix with fresh stainless bolts.
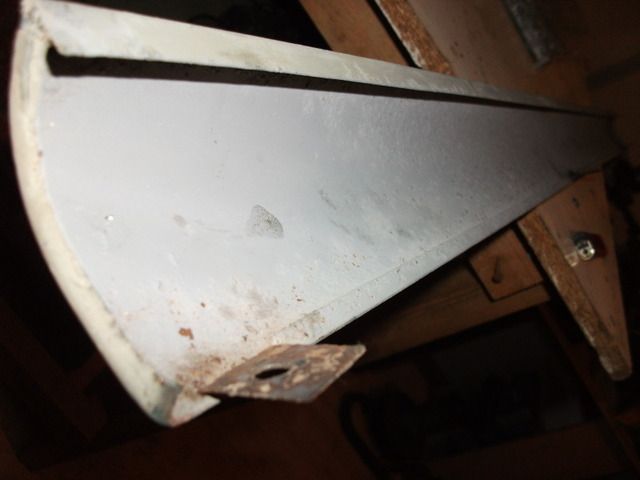
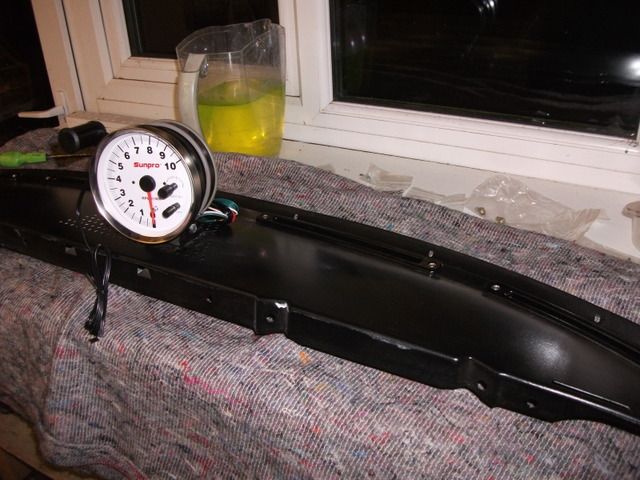
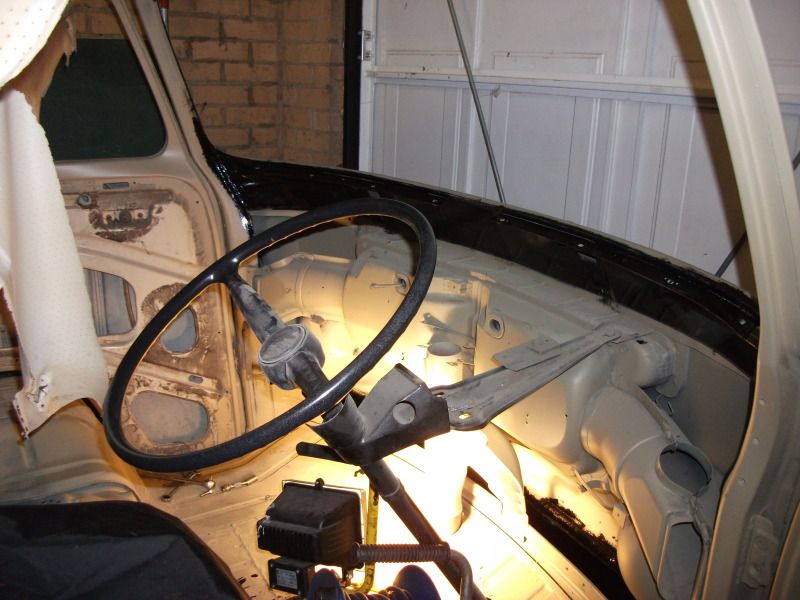
I finished the dash-top though. All ready to go in when I complete the dash area.
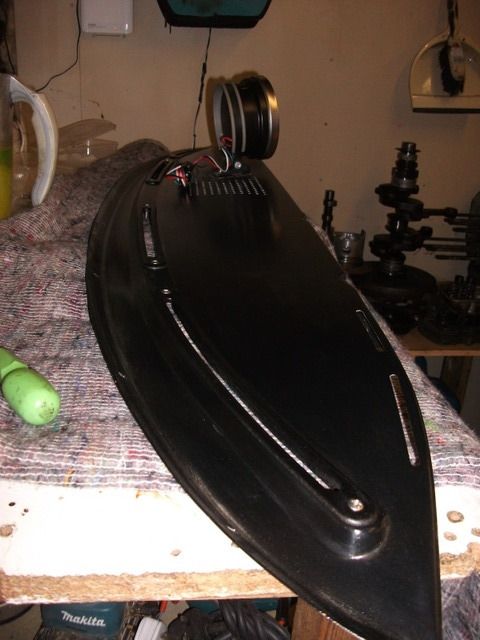
All new stainless screws from Volksbolts. 8) Something very satisfying putting together new, fresh parts :mrgreen:
I've had a bit of a break from the bus as I have been concentrating on other things, but recently I have been putting together a speadsheet to plan out how to put everything back together properly and organise what's left to buy.
I also forgot to take some broken bolts out of one of the side-covers. As I tried to extract the bolt, it damaged the fresh paint :roll:
:| Re-tapping the captive nut didn't work, so I ground off the nut ends to weld on a new nut and fix with fresh stainless bolts.
I finished the dash-top though. All ready to go in when I complete the dash area.
All new stainless screws from Volksbolts. 8) Something very satisfying putting together new, fresh parts :mrgreen:
cunning plan
Well-known member
- Joined
- Jul 15, 2008
- Messages
- 2,625
- Reaction score
- 1
- Location
- Northamptonshire
- Year of Your Van(s)
- 1968
- Van Type
- Clipper / Microbus
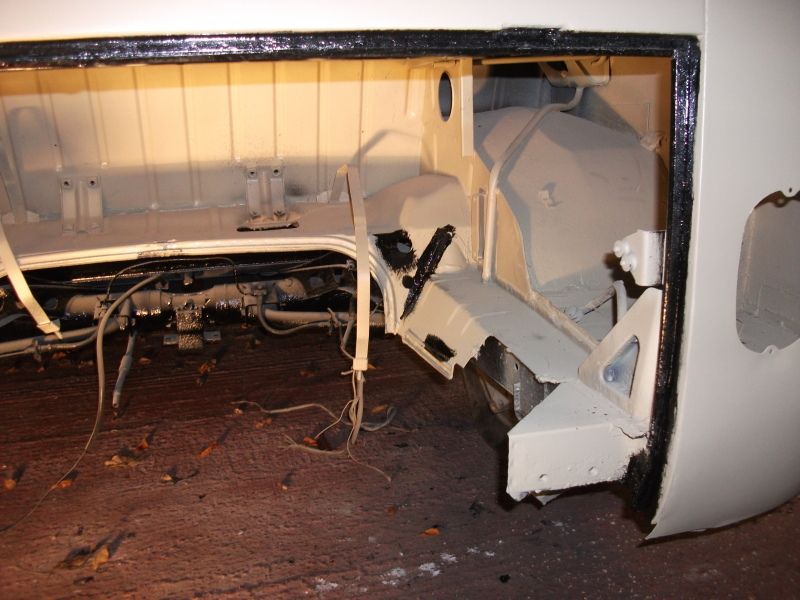
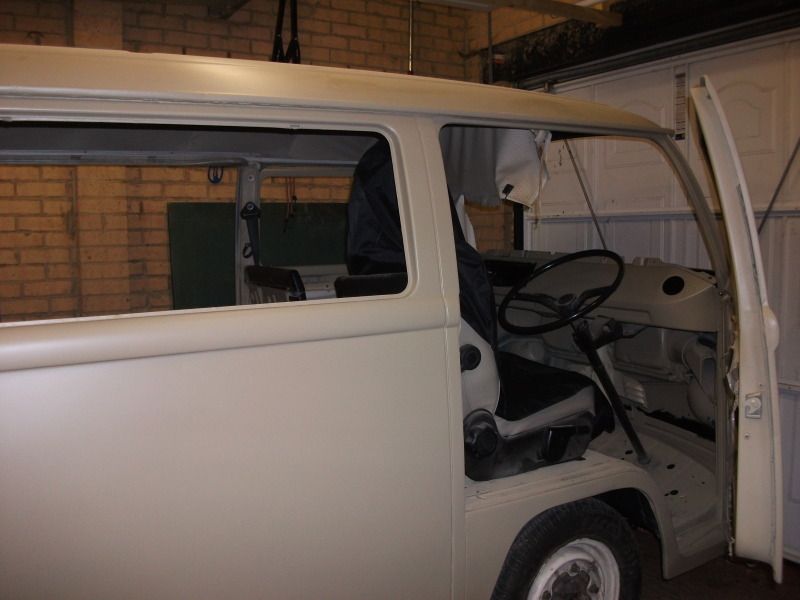
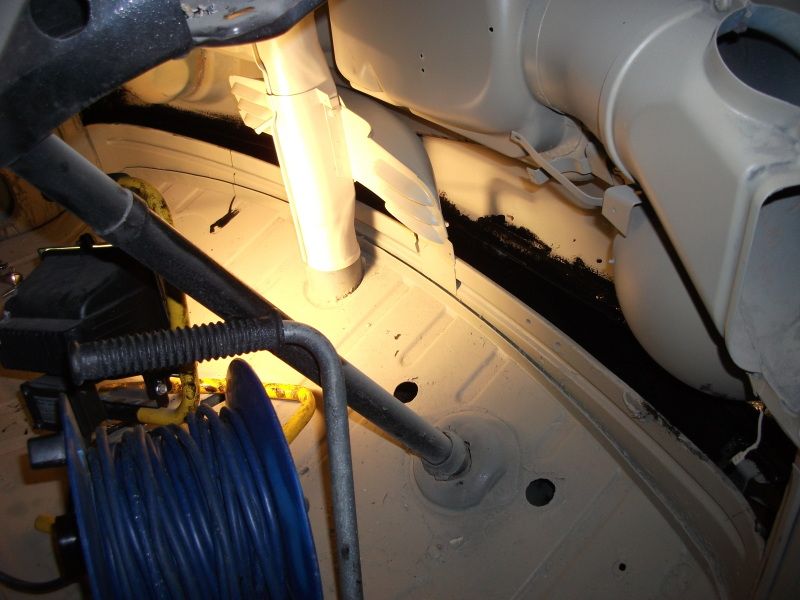
Most of the work over xmas was preparation work ready to start the rebuild.
Dash
The other-side of the welded dash was cleaned up and given a layer of POR15, ready to go in when the loom's done.
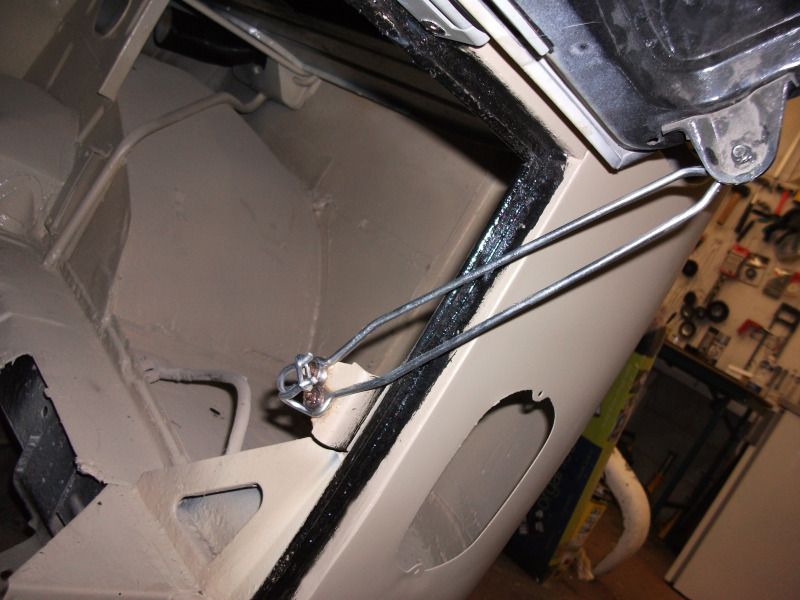
Rear Hatch
POR15 paint down ready to give that extra protection against standing water. It looks tidy as the rubber seal sits on top of it.


New stainless fixings 8)
New seal nicely in.
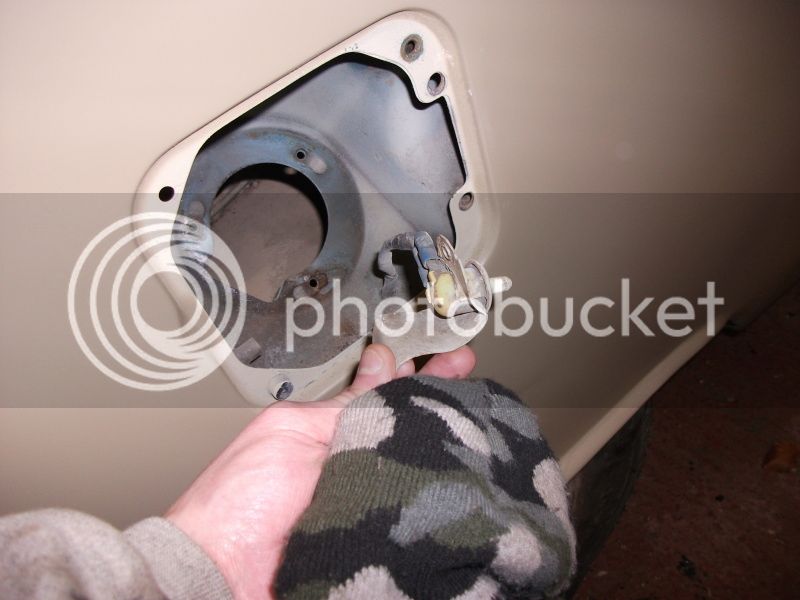
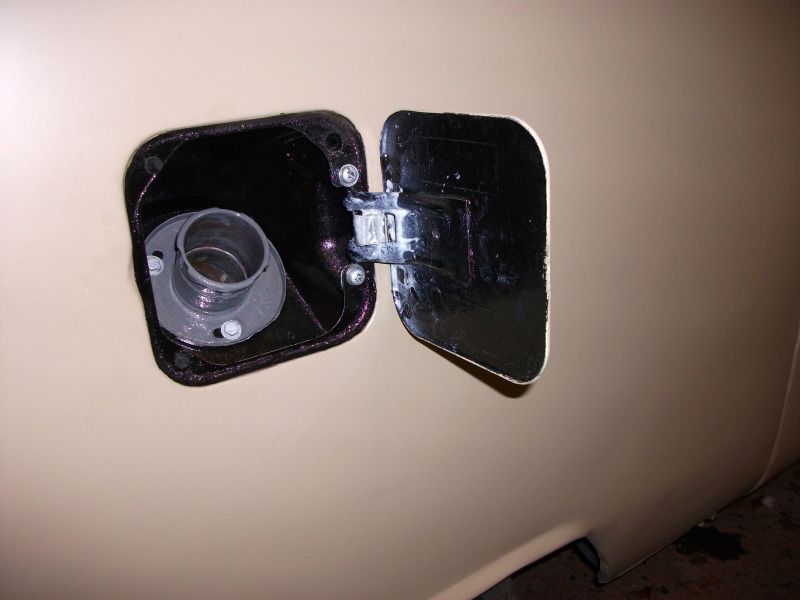
Fuel Filler Cap
Took this section apart to clean up properly and put protection paint down.
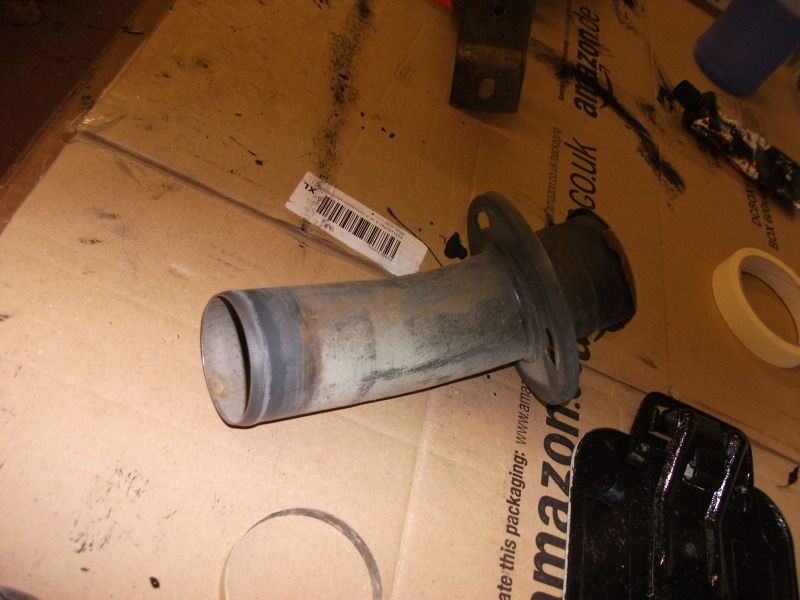
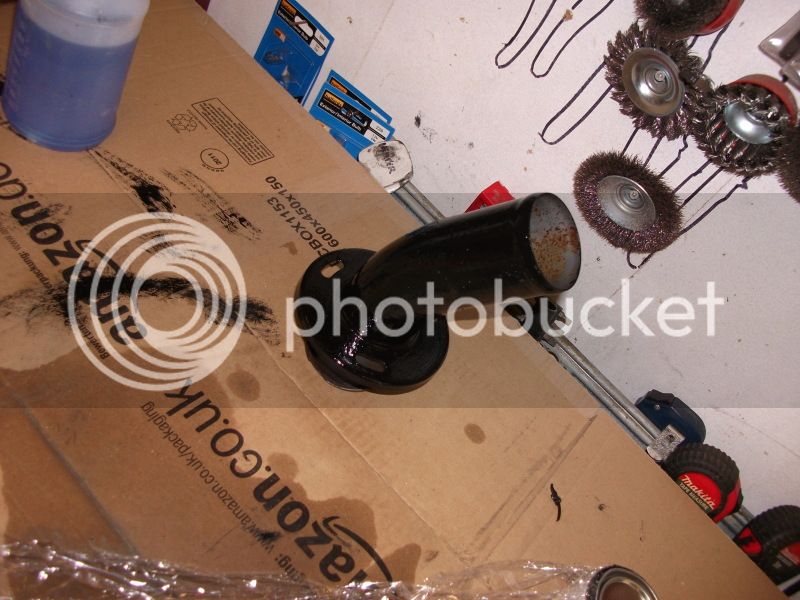
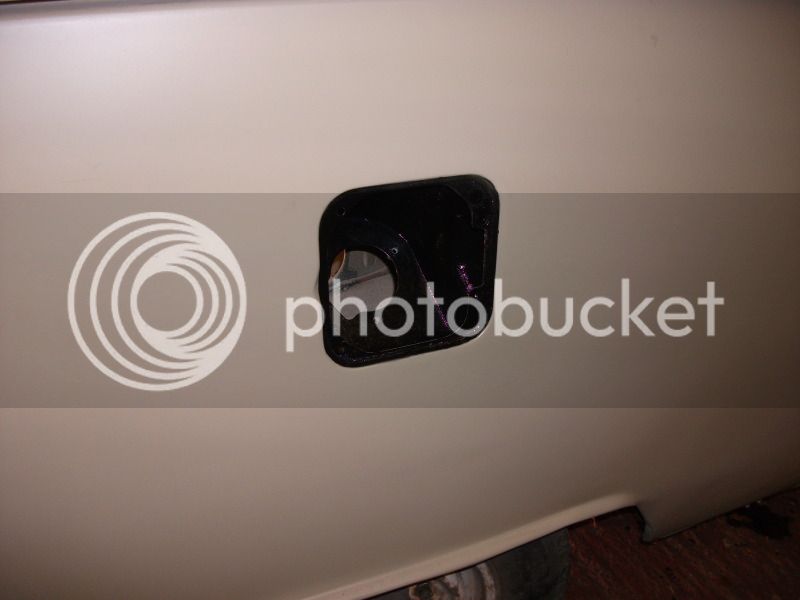
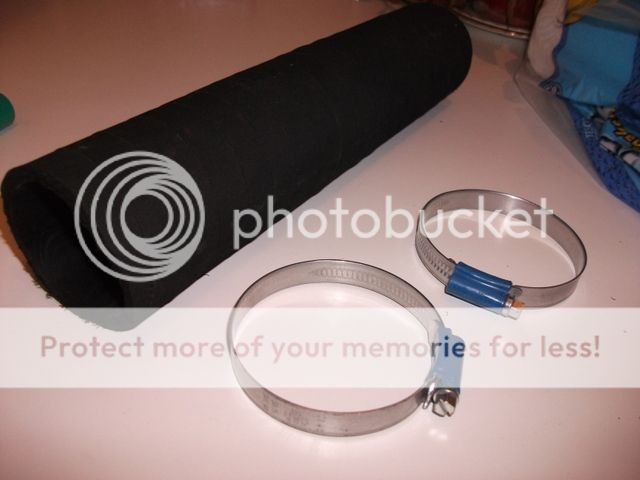
I also sourced a new filler pipe and clips from Demon Tweeks as the one on VW Heritage is wrong!
Deck Lid
Did some straightening out of the metal lip ready to accept the rubber seal, then put down protection paint again.
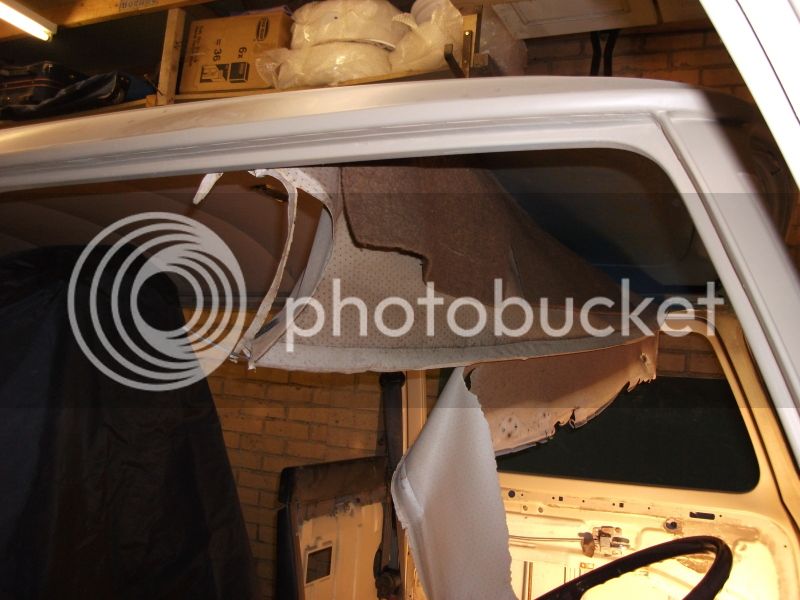
Headlining
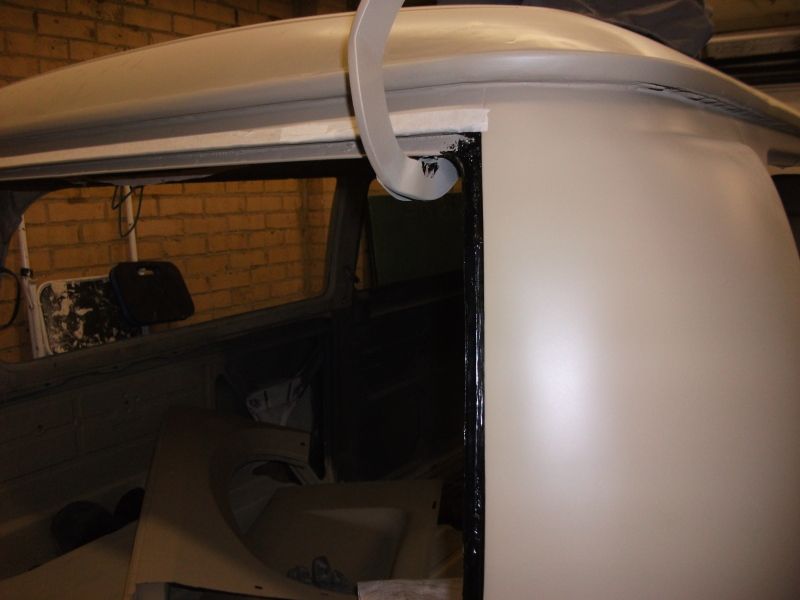
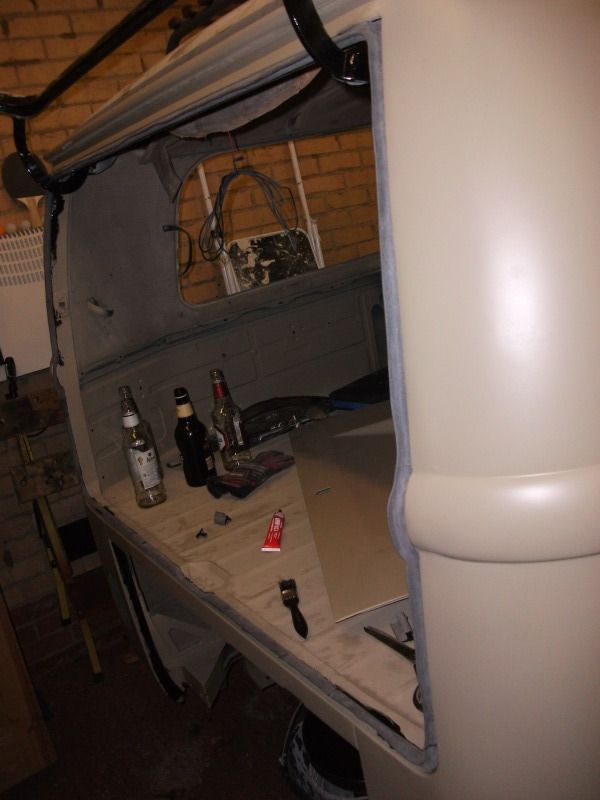
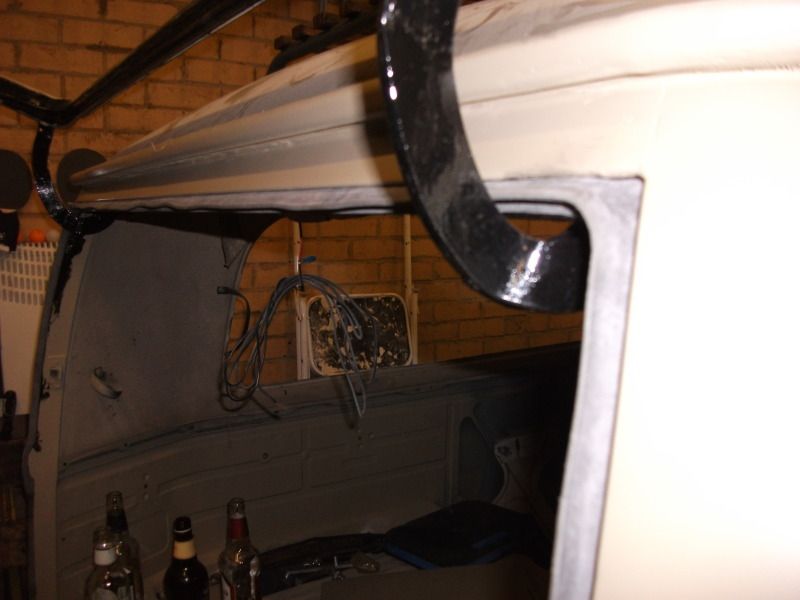
Started pealing back the old headlining so I can put some protection paint around the window seal areas. Plus I need this down anyway ready to install a new one. I might POR15 the whole inside roof depending on condition. Then build up sound proofing / headlining
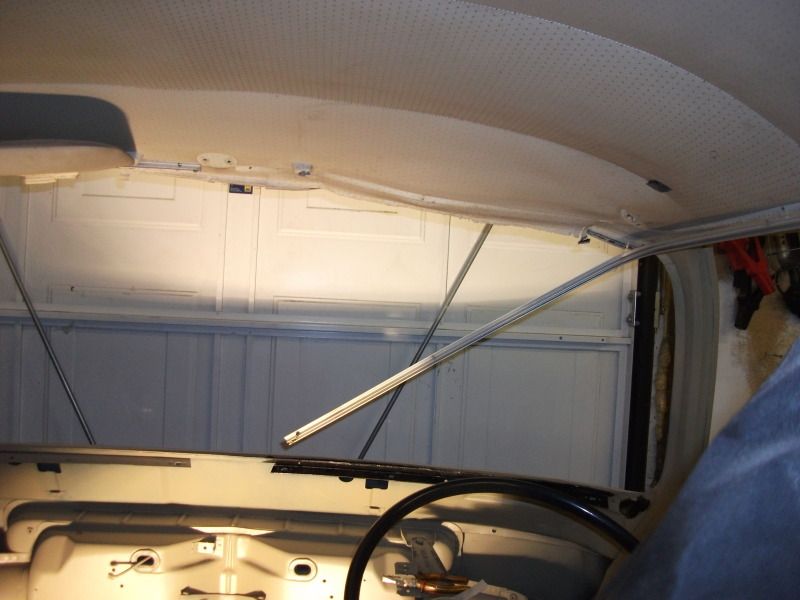
Front Screen and Clip
Following on from the above. I also put as much P15 as I could over the inside-lower clip area. I imagine condensation will like to pool there.
Front screen surround done.
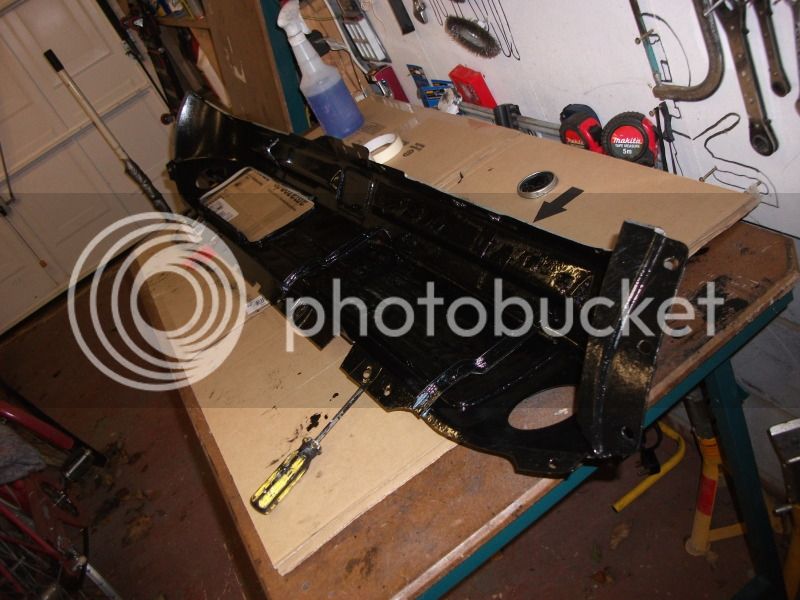
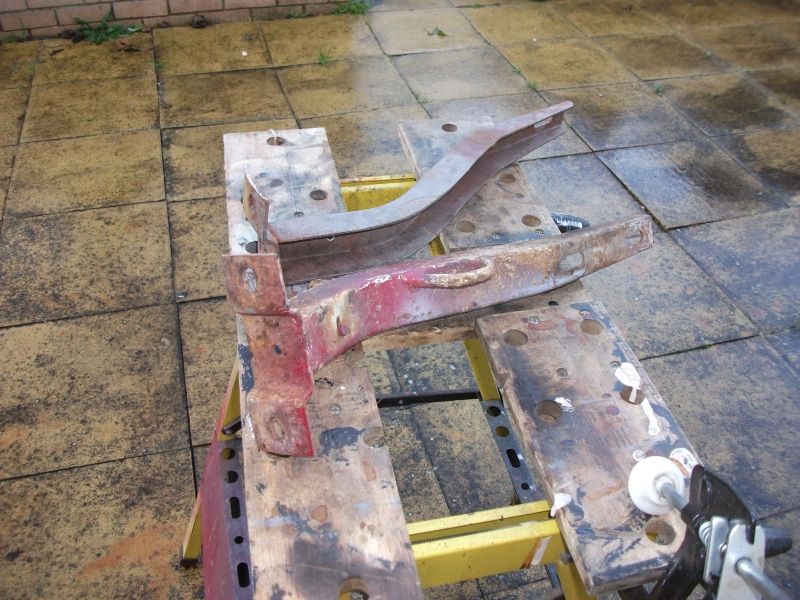
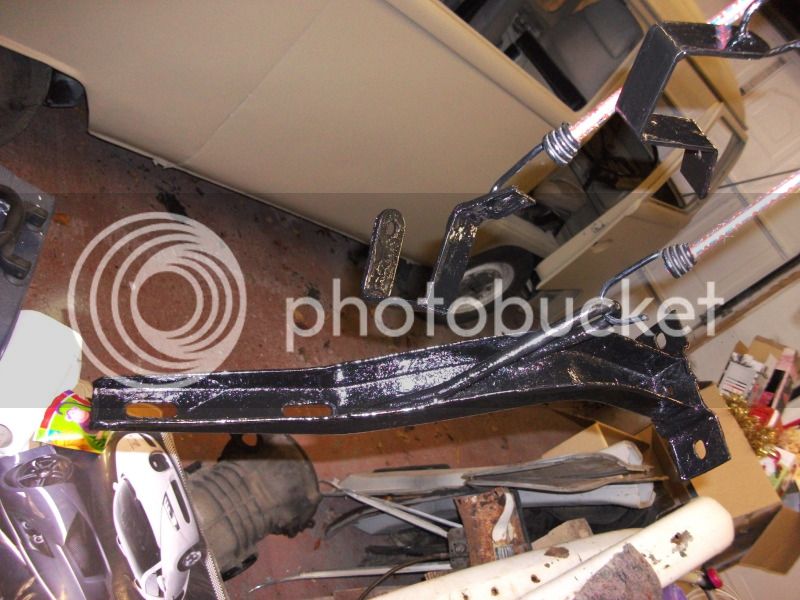
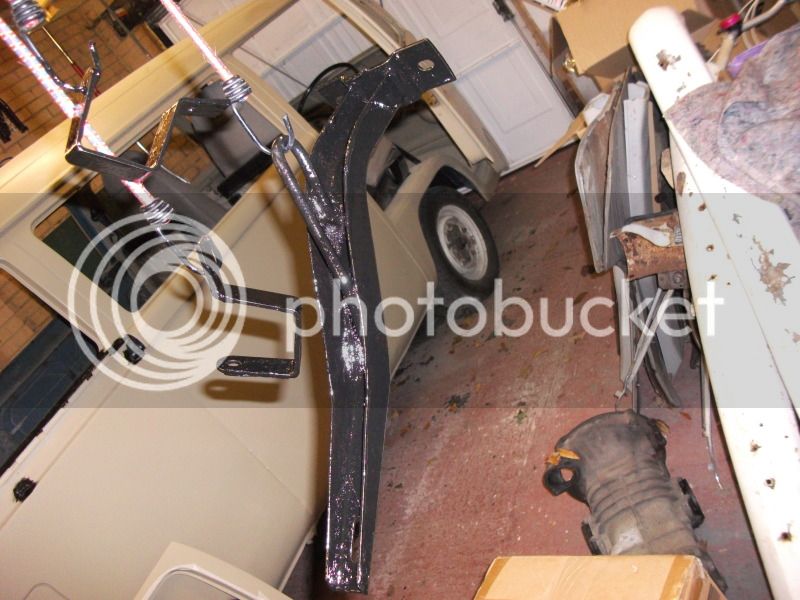
Rear Bumper Irons and Spot Light Brackets
Cleaned up some South African rear bumper irons and coated in a couple of layers of P15 along with some spot-light brackets.
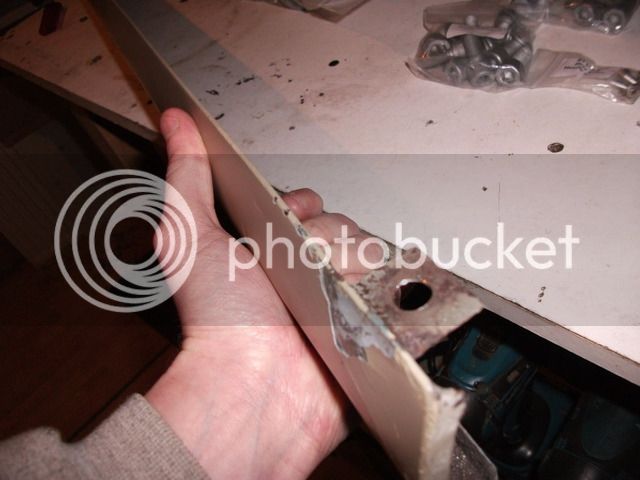
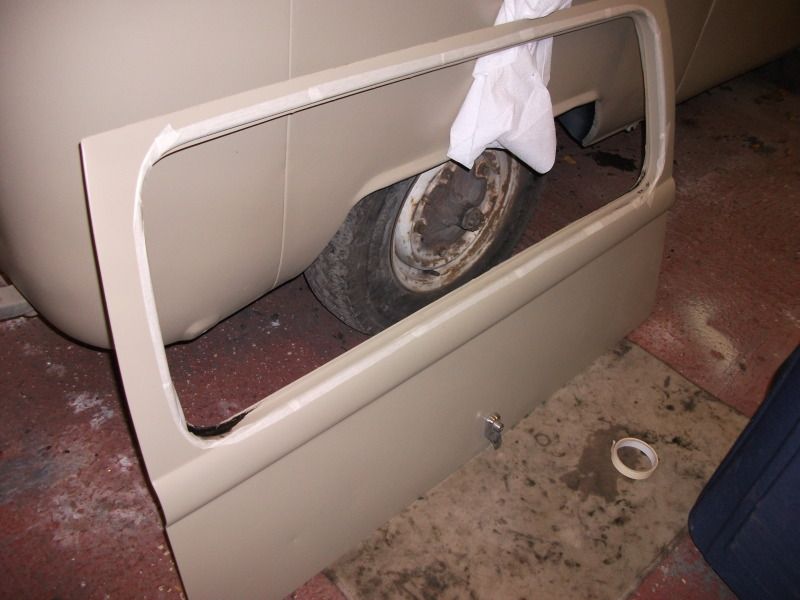
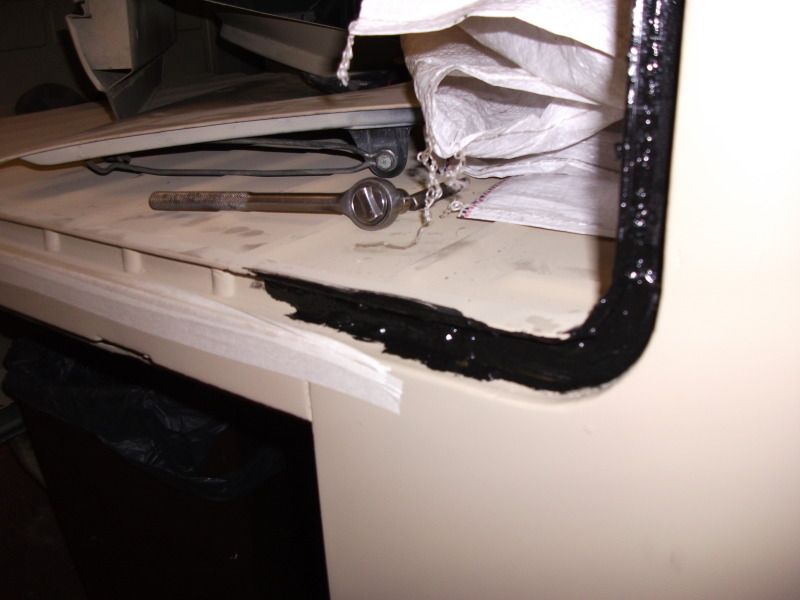
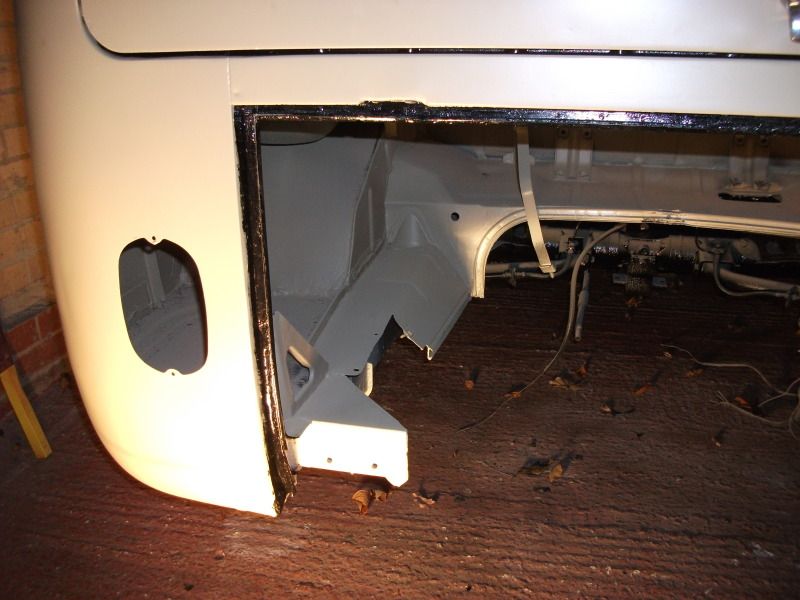
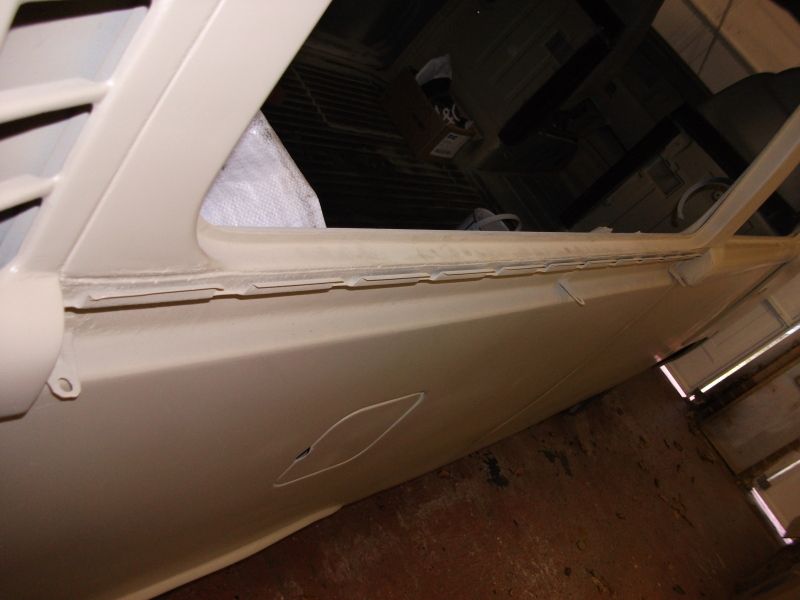
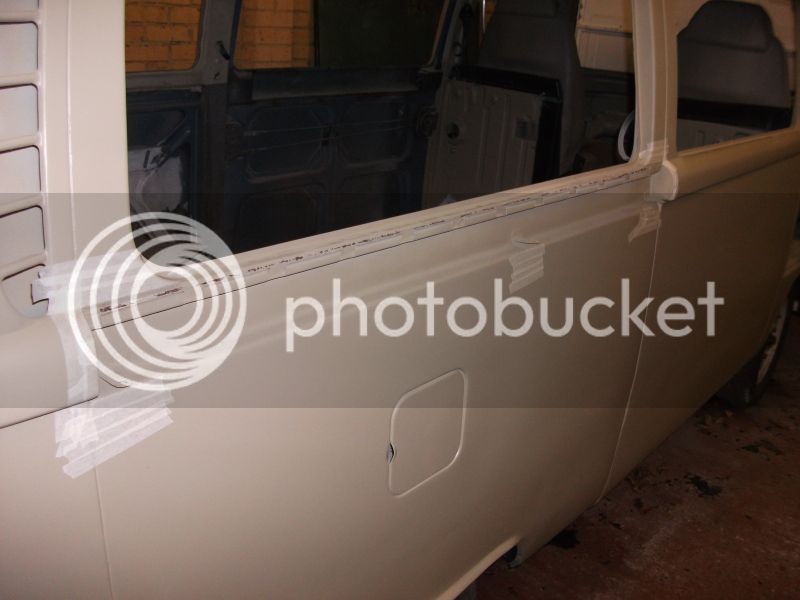
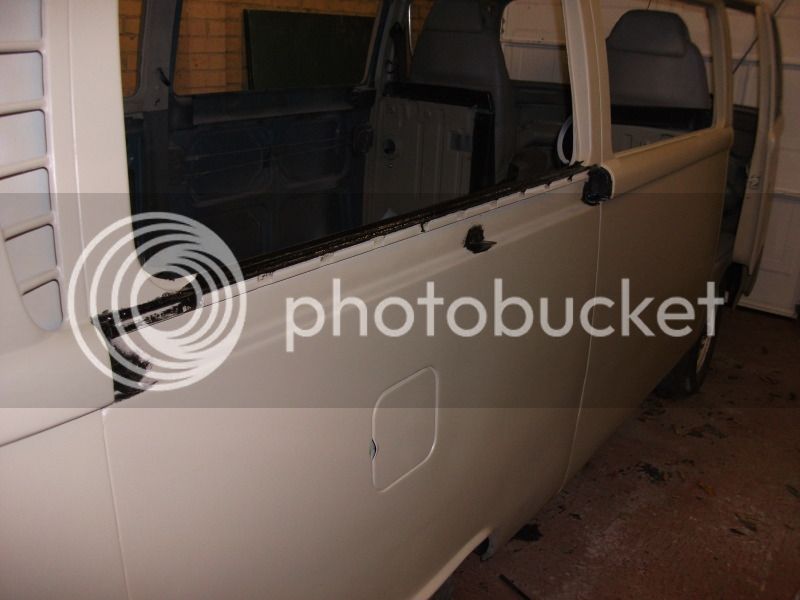
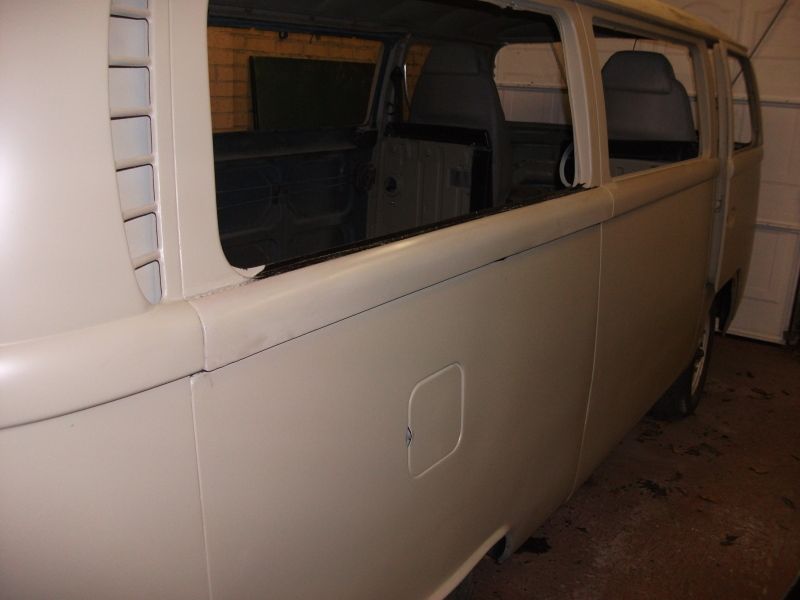
Side Cover
O/S side cover, straightened up the locating metal lip and again applied protection paint down on inside of covers and around shell location, new fixings and welded captive nuts.
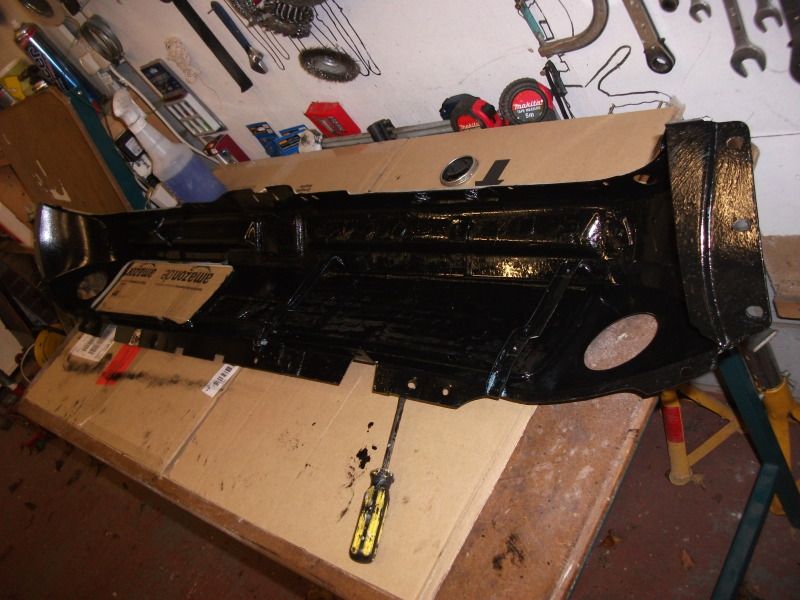
Dash
The other-side of the welded dash was cleaned up and given a layer of POR15, ready to go in when the loom's done.
Rear Hatch
POR15 paint down ready to give that extra protection against standing water. It looks tidy as the rubber seal sits on top of it.
New stainless fixings 8)
New seal nicely in.
Fuel Filler Cap
Took this section apart to clean up properly and put protection paint down.
I also sourced a new filler pipe and clips from Demon Tweeks as the one on VW Heritage is wrong!
Deck Lid
Did some straightening out of the metal lip ready to accept the rubber seal, then put down protection paint again.
Headlining
Started pealing back the old headlining so I can put some protection paint around the window seal areas. Plus I need this down anyway ready to install a new one. I might POR15 the whole inside roof depending on condition. Then build up sound proofing / headlining
Front Screen and Clip
Following on from the above. I also put as much P15 as I could over the inside-lower clip area. I imagine condensation will like to pool there.
Front screen surround done.
Rear Bumper Irons and Spot Light Brackets
Cleaned up some South African rear bumper irons and coated in a couple of layers of P15 along with some spot-light brackets.
Side Cover
O/S side cover, straightened up the locating metal lip and again applied protection paint down on inside of covers and around shell location, new fixings and welded captive nuts.
Nice job 8)
But - I thought for POR 15 to do its job properly it requires to be painted either on rusty (not flakey though) metal or bar metal that has been etched - have you been applying over the primer and if so have you found that this is OK??
But - I thought for POR 15 to do its job properly it requires to be painted either on rusty (not flakey though) metal or bar metal that has been etched - have you been applying over the primer and if so have you found that this is OK??
cunning plan
Well-known member
- Joined
- Jul 15, 2008
- Messages
- 2,625
- Reaction score
- 1
- Location
- Northamptonshire
- Year of Your Van(s)
- 1968
- Van Type
- Clipper / Microbus
Technically, you're right, slightly rusty metal is what is has been formulated to work best with, but it will stick to practically anything. I have it on my fuel tank, right over the old paint and it has stuck solid for years 8)
So, it will be fine! Anyway, it isn't primer, it just hasn't got a gloss layer
So, it will be fine! Anyway, it isn't primer, it just hasn't got a gloss layer
cunning plan
Well-known member
- Joined
- Jul 15, 2008
- Messages
- 2,625
- Reaction score
- 1
- Location
- Northamptonshire
- Year of Your Van(s)
- 1968
- Van Type
- Clipper / Microbus
ZedBed said:Looking good CP. Did you sort out the jammed front suspension?
Cheers Zed.
I haven't touched the front suspension yet, but I have been trying it from time to time and it does seem to have more spring in it the longer it has been on its wheels. I will have to take a proper look when I go back over all the front suspension. I have it on my list to go back through to double check and re-torque up.
I'll let you know if I find anything broken as I know you were interested for future reference.
____
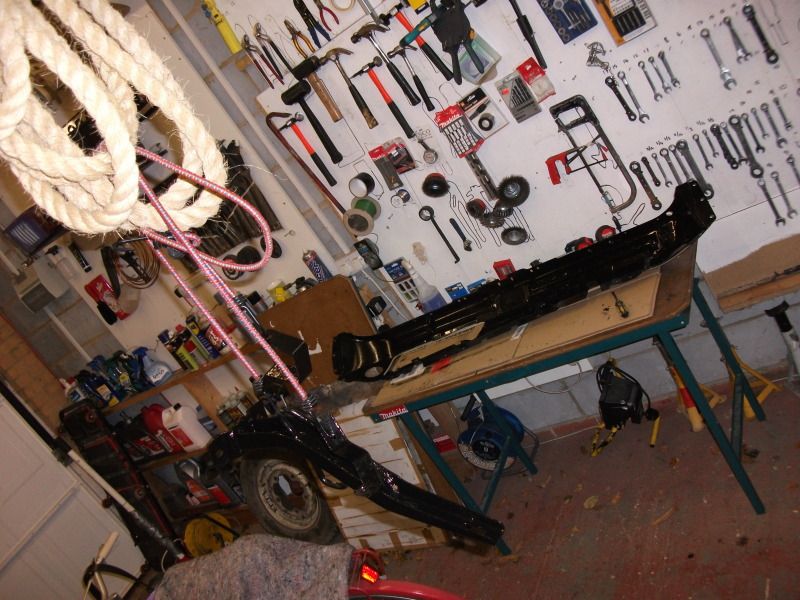
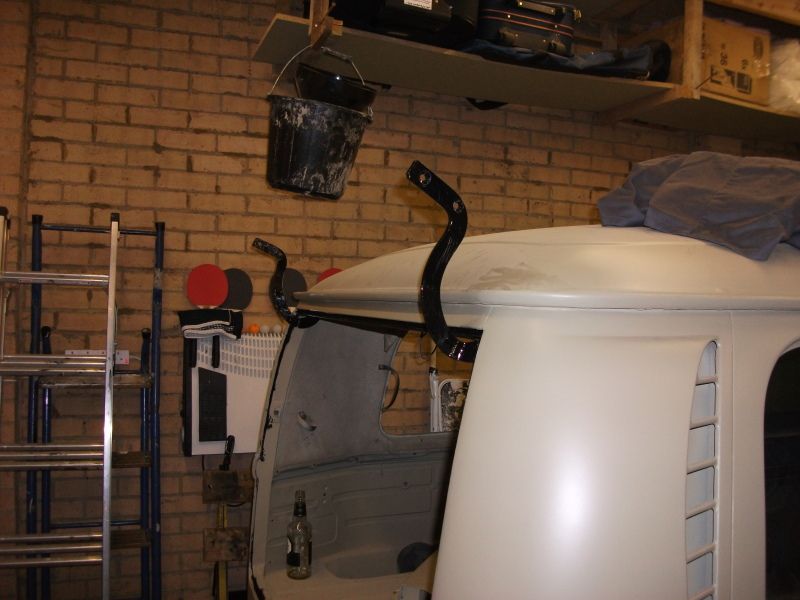
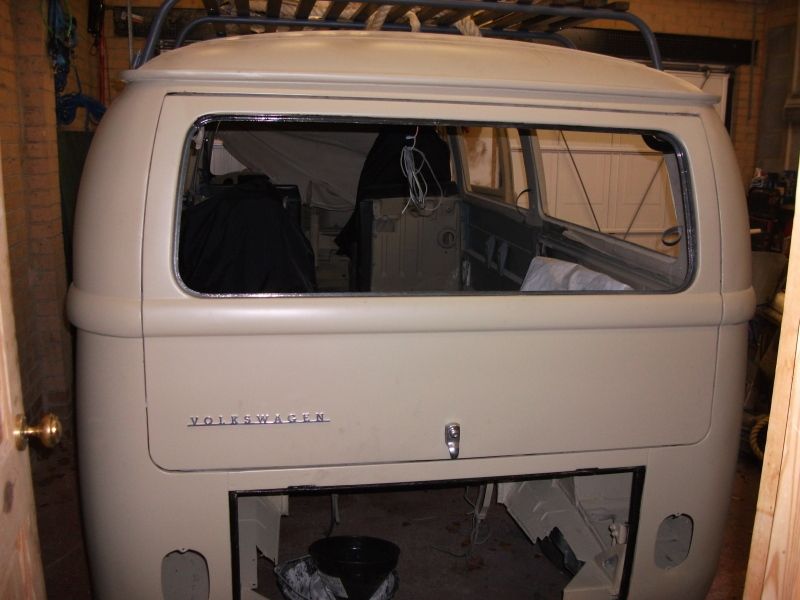
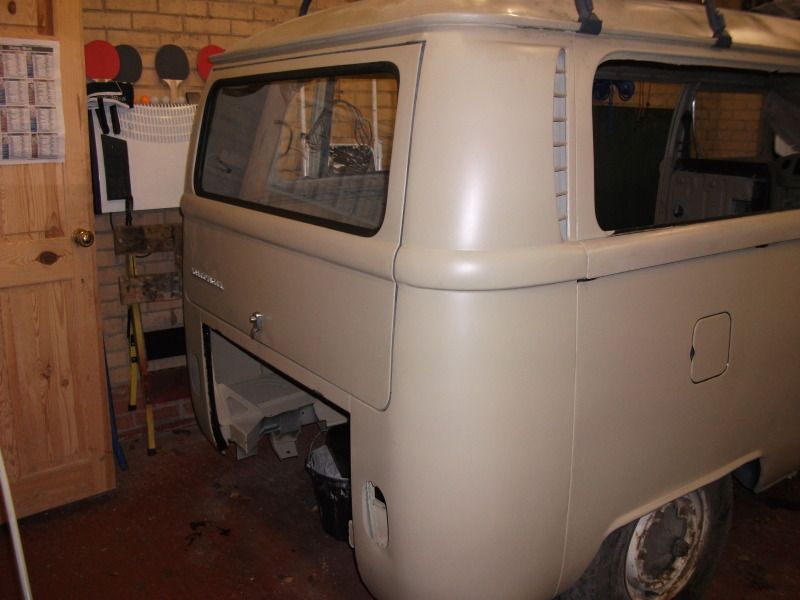
Rack goes on!
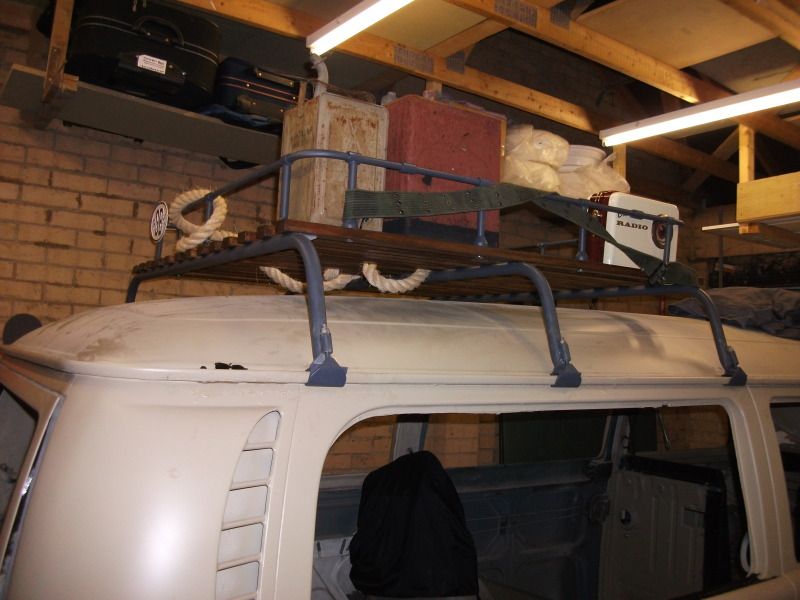
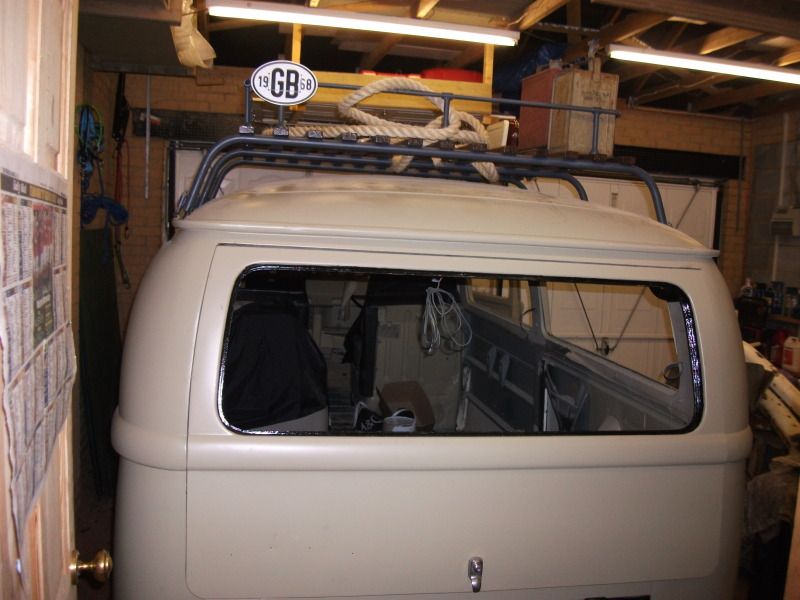
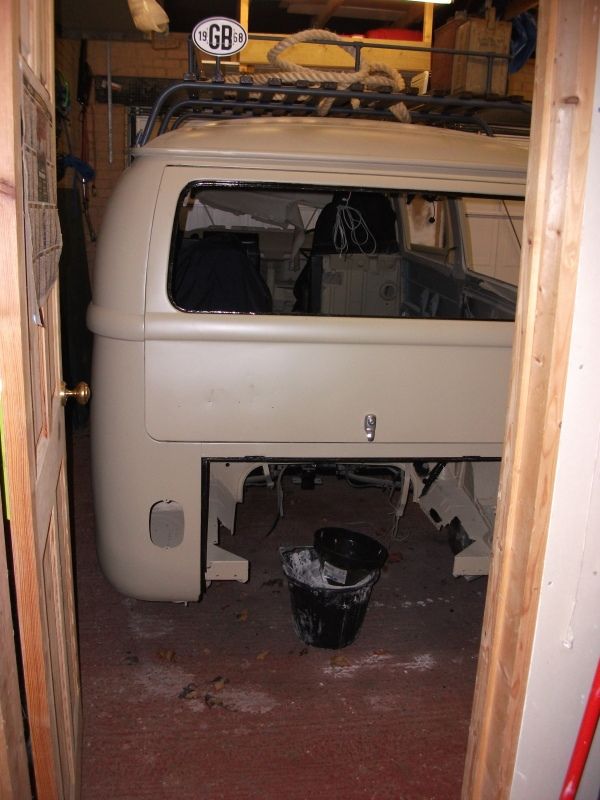
A little early for the rack - sure, but I wanted it off the floor before it got damaged, plus I can actually use it as storage! I also need a bit of motivation out in the garage in the cold winter nights :|
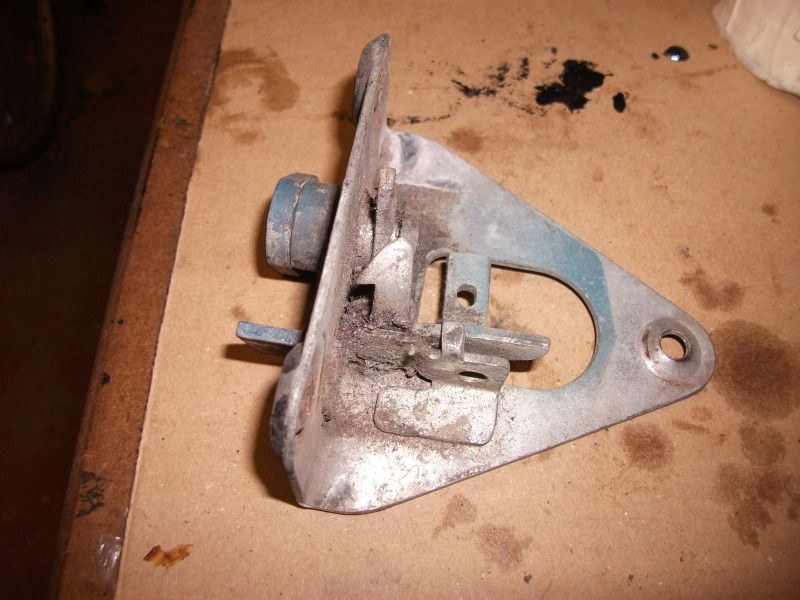
Also started cleaning up the rear-hatch mechanism.
cunning plan said:Technically, you're right, slightly rusty metal is what is has been formulated to work best with, but it will stick to practically anything. I have it on my fuel tank, right over the old paint and it has stuck solid for years 8)
So, it will be fine! Anyway, it isn't primer, it just hasn't got a gloss layer
Fair enough mate
Rack looks good perched on the roof 8)
cunning plan
Well-known member
- Joined
- Jul 15, 2008
- Messages
- 2,625
- Reaction score
- 1
- Location
- Northamptonshire
- Year of Your Van(s)
- 1968
- Van Type
- Clipper / Microbus
:mrgreen:
:satanlook:
:satanlook:
cunning plan
Well-known member
- Joined
- Jul 15, 2008
- Messages
- 2,625
- Reaction score
- 1
- Location
- Northamptonshire
- Year of Your Van(s)
- 1968
- Van Type
- Clipper / Microbus
Parts arrival!
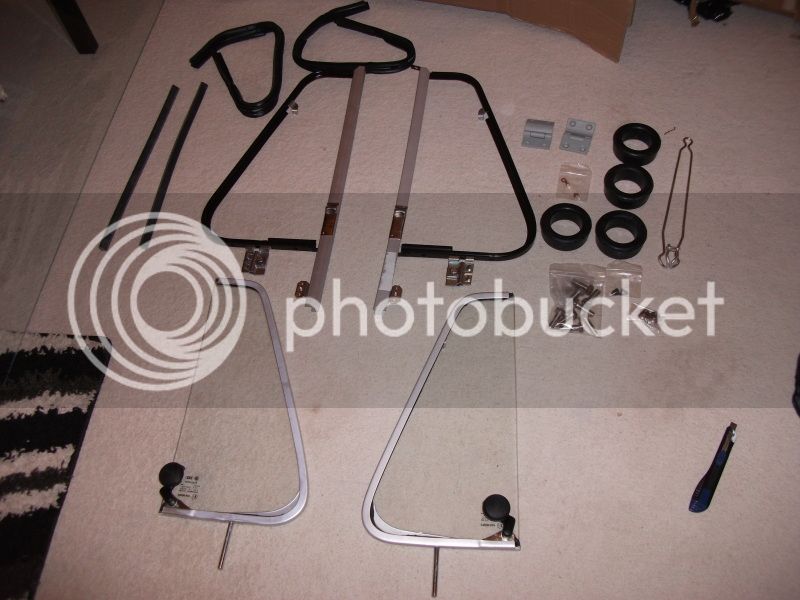
Assorted fresh parts along with brand new front opening quarter lights 8)
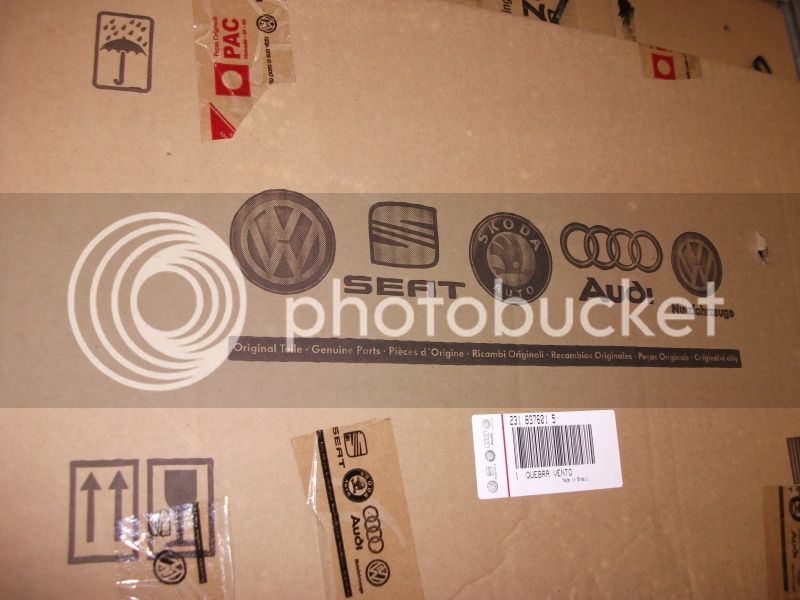
All genuine, although stamped made in Brazil, so I will have to watch how they do against the English weather. :?
New glass too, rear screen and both cab door drop-glass.
Assorted fresh parts along with brand new front opening quarter lights 8)
All genuine, although stamped made in Brazil, so I will have to watch how they do against the English weather. :?
New glass too, rear screen and both cab door drop-glass.
Airtime
Well-known member
Good to see progress again! Rack looks great and may I ask where you found those new opening quarter lights? :msn4:
Rack looks great and may I ask where you found those new opening quarter lights? :msn4: cunning plan
Well-known member
- Joined
- Jul 15, 2008
- Messages
- 2,625
- Reaction score
- 1
- Location
- Northamptonshire
- Year of Your Van(s)
- 1968
- Van Type
- Clipper / Microbus
Airtime said:Good to see progress again!
Cheers dude 8)
Sure, here:
http://www.customandcommercial.com/details.aspx?id=1136&Sub_Category=1735&group=61&category=210" onclick="window.open(this.href);return false;
http://www.customandcommercial.com/details.aspx?id=1137&Sub_Category=1735&group=61&category=210" onclick="window.open(this.href);return false;
As you made me look again, it made me notice that the frame is Aluminium, so I won't have to worry about:
cunning plan said:although stamped made in Brazil, so I will have to watch how they do against the English weather. :?
:mrgreen:
Airtime
Well-known member
Thanks! The complete kit is more expensive (well only 0.15 GBP) that when you buy all parts separate? Great! :mrgreen:
dubs and classics
Well-known member
Looks like its all coming together nicely Craig 8)
Did you find the engine hatch hinges in the end?
Did you find the engine hatch hinges in the end?
cunning plan
Well-known member
- Joined
- Jul 15, 2008
- Messages
- 2,625
- Reaction score
- 1
- Location
- Northamptonshire
- Year of Your Van(s)
- 1968
- Van Type
- Clipper / Microbus
Hey Jas,
No I didn't - no idea where they have gone :roll: I bought some new ones instead :|
I also can't find the slam-catch for the rear-hatch I am sure when the bus is back together, I will find all these parts that I have put in a 'special box in a special place'. :sign0023:
No I didn't - no idea where they have gone :roll: I bought some new ones instead :|
I also can't find the slam-catch for the rear-hatch
I am sure when the bus is back together, I will find all these parts that I have put in a 'special box in a special place'. :sign0023:cunning plan
Well-known member
- Joined
- Jul 15, 2008
- Messages
- 2,625
- Reaction score
- 1
- Location
- Northamptonshire
- Year of Your Van(s)
- 1968
- Van Type
- Clipper / Microbus
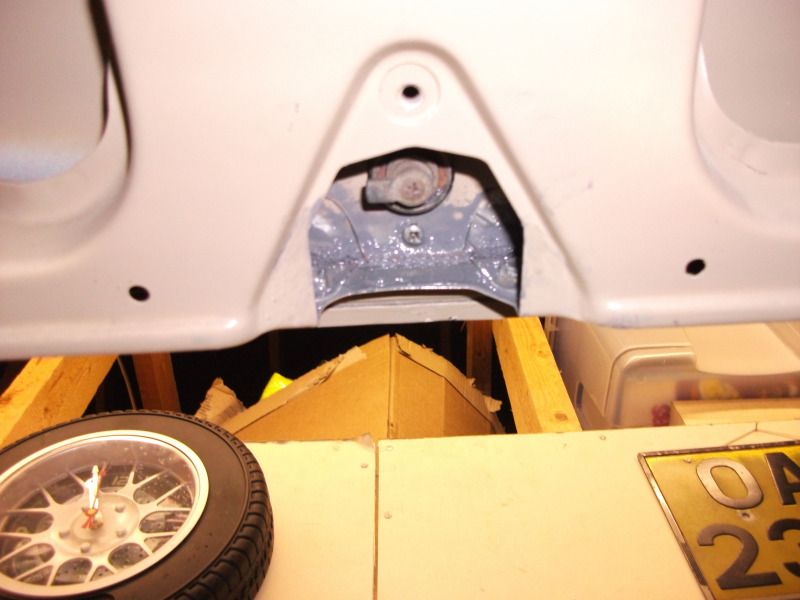
Fuel flap sorted.
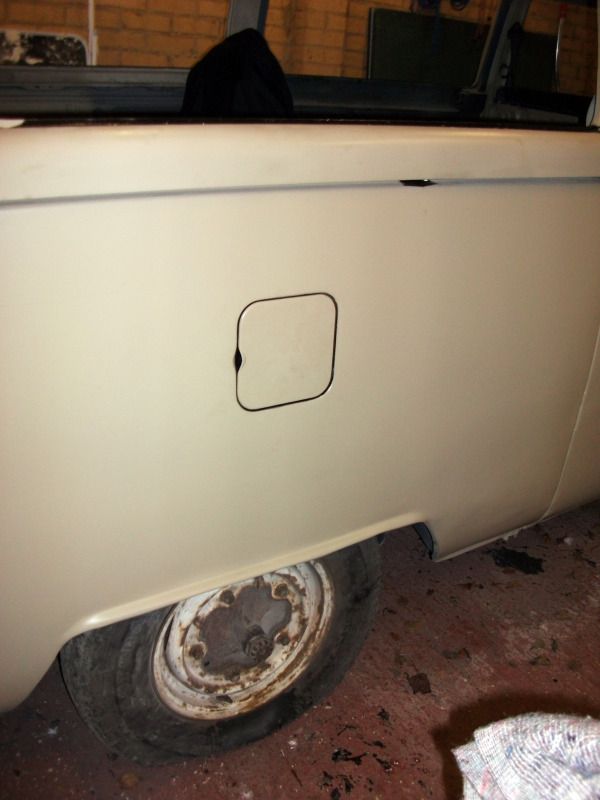
Locking chrome cap was damaged in the post, picking a new one up from the C&C boys at a show (helpful dudes).
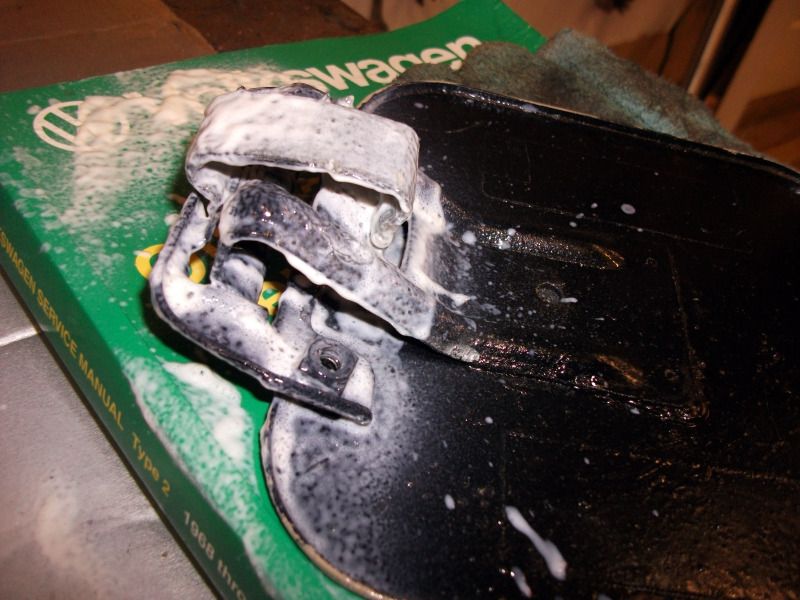
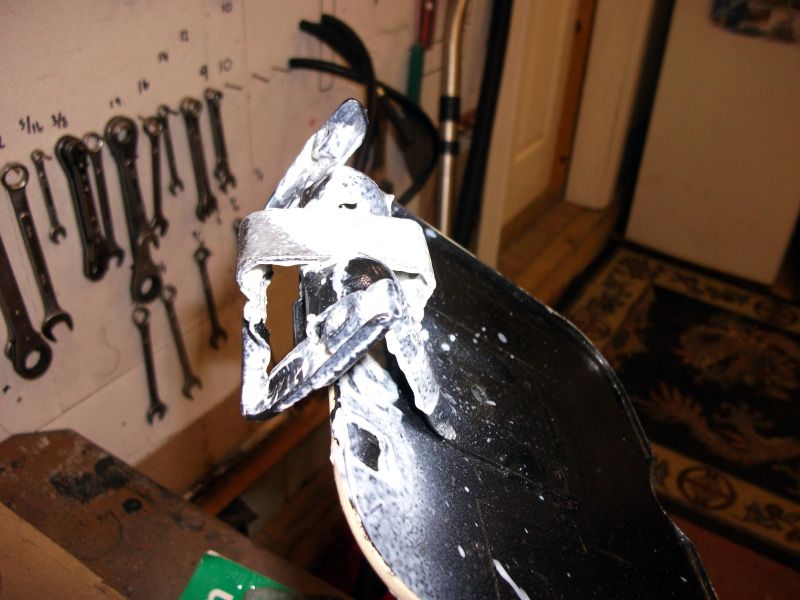
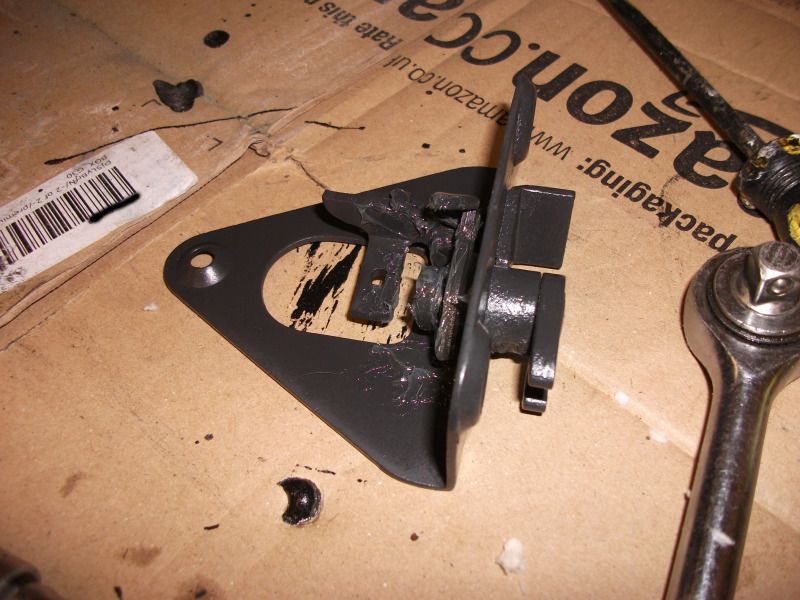
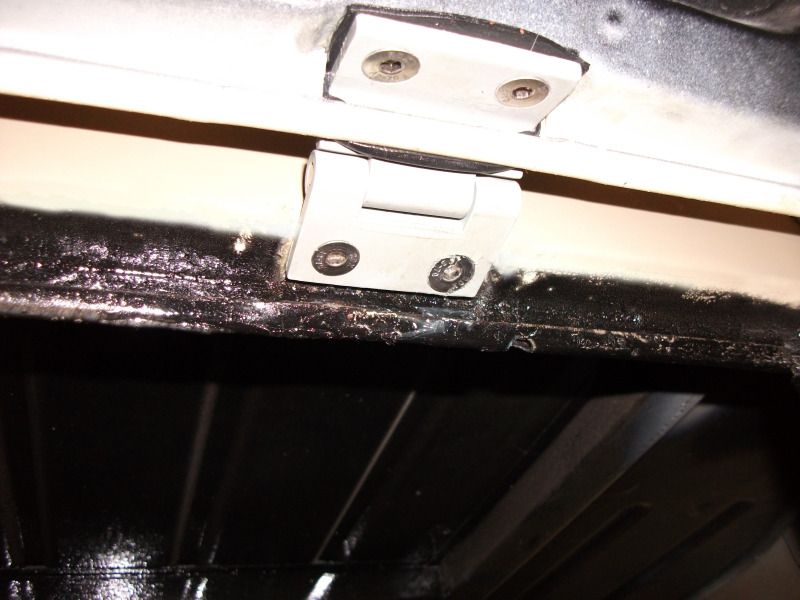
Hatch catches done:
Rear hatch on and aligned. It isn't perfectly in the middle though which is annoying me, but it is as good as I can get it. Might take it to Dubs and Classic's Jason to apply his skills on when it is back on the road..
Locking chrome cap was damaged in the post, picking a new one up from the C&C boys at a show (helpful dudes).
Hatch catches done:
Rear hatch on and aligned. It isn't perfectly in the middle though which is annoying me, but it is as good as I can get it. Might take it to Dubs and Classic's Jason to apply his skills on when it is back on the road..
cunning plan
Well-known member
- Joined
- Jul 15, 2008
- Messages
- 2,625
- Reaction score
- 1
- Location
- Northamptonshire
- Year of Your Van(s)
- 1968
- Van Type
- Clipper / Microbus
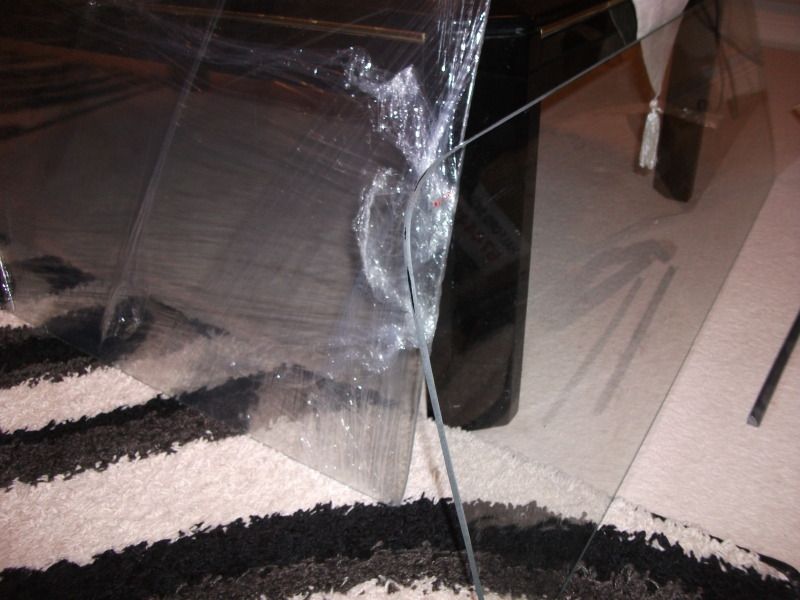
Rear hatch glass in.
cunning plan
Well-known member
- Joined
- Jul 15, 2008
- Messages
- 2,625
- Reaction score
- 1
- Location
- Northamptonshire
- Year of Your Van(s)
- 1968
- Van Type
- Clipper / Microbus

Deck lid on.
All new fittings - new prop here.
New hinges and stainless fixings.
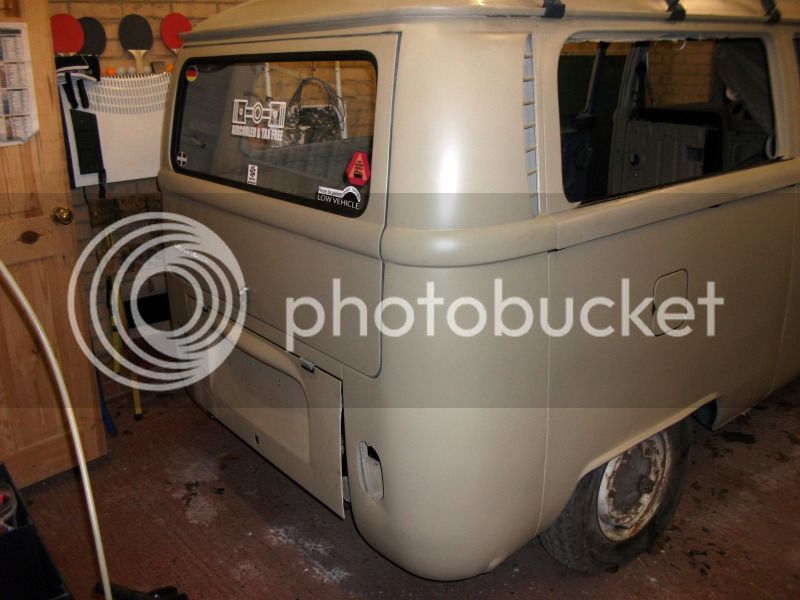
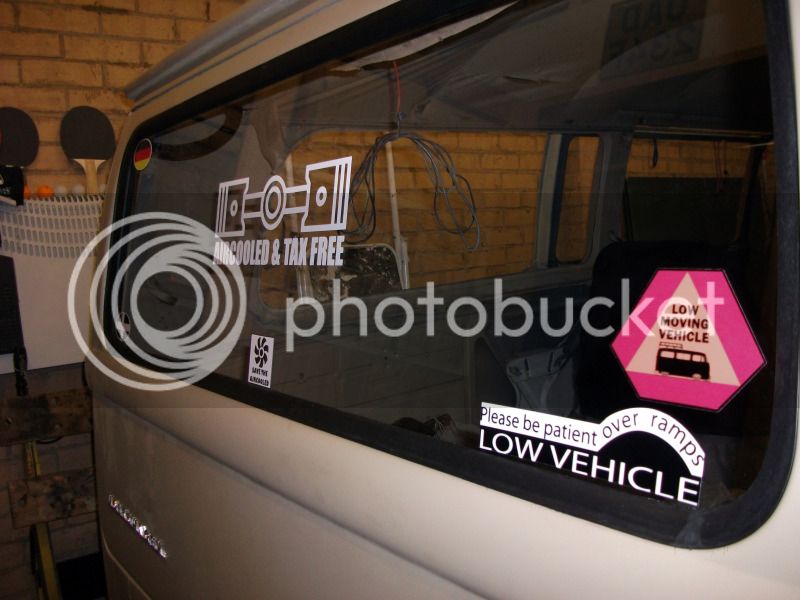
Sneaky look at some new stickers 8)
Spence68
Well-known member
Loving the "low" stickers :lol: Where did you get them from?
cunning plan
Well-known member
- Joined
- Jul 15, 2008
- Messages
- 2,625
- Reaction score
- 1
- Location
- Northamptonshire
- Year of Your Van(s)
- 1968
- Van Type
- Clipper / Microbus
Spence68 said:Loving the "low" stickers :lol: Where did you get them from?
Thanks buddy.
Check my signature :shadey:
Similar threads
- Replies
- 0
- Views
- 90