You are using an out of date browser. It may not display this or other websites correctly.
You should upgrade or use an alternative browser.
You should upgrade or use an alternative browser.
GLADYS: GOING "BACK TO BEIGE' 68 RESTO.
- Thread starter Mickey Sam
- Start date


Help Support Early Bay Forum:
This site may earn a commission from merchant affiliate
links, including eBay, Amazon, and others.
Mickey Sam
Well-known member
Cheers Andy. Getting there slowly !
Just got back from Type 2 Detectives workshop after discussing lowering options ( read ££££'s ) with Paul.
I'm just deciding whether I'm going for dropped spindles and adjustable rear spring plates
OR just dropping the front on adjusters but still having adjustable spring plates on the back - or maybe just down one spline :?: :?:
I've got to change the front beam as it's rotten and have already captured an adjustable one which is sitting in the garage.
Still can't make my mind up on the wheels - 14" stock or 15" Empi wide 5's - what do you reckon ?
louismacrides
New member
- Joined
- Dec 14, 2009
- Messages
- 4
- Reaction score
- 0
brilliant thread ,really enjoyed it and learnt alot.
Mickey Sam said:Cheers Andy. Getting there slowly !
Just got back from Type 2 Detectives workshop after discussing lowering options ( read ££££'s ) with Paul.
I'm just deciding whether I'm going for dropped spindles and adjustable rear spring plates
OR just dropping the front on adjusters but still having adjustable spring plates on the back - or maybe just down one spline :?: :?:
I've got to change the front beam as it's rotten and have already captured an adjustable one which is sitting in the garage.
Still can't make my mind up on the wheels - 14" stock or 15" Empi wide 5's - what do you reckon ?
Stock 14's for me 8)
Roger the lodger
New member
- Joined
- Nov 22, 2011
- Messages
- 2
- Reaction score
- 0
Mickie!!!
Gladys looks amazing! She's come a long way since me and Gladys last hung out!
Keep the pics coming! Hopefully she's all done by the next time I come and make a nuisance of myself") and we can go for a spin!!
and we can go for a spin!!
Roj
Gladys looks amazing! She's come a long way since me and Gladys last hung out!
Keep the pics coming! Hopefully she's all done by the next time I come and make a nuisance of myself
and we can go for a spin!!Roj
Mickey Sam
Well-known member
Mad Roj ! :shock: How's life in Oz ?
If the bus is finished by the next time you hit England I'll pick you up from the airport in her.
Might be a bit of a drafty ride though - I'm still waiting for the rust free Australian RHD sliding
door you were going to ship over !! :lol:
I'll be sending you a VW shopping list for next time you come over !!
Roger the lodger
New member
- Joined
- Nov 22, 2011
- Messages
- 2
- Reaction score
- 0
Uh oh!! Sorry mickie!!!!!! Somehow fell way down on the 'to do' list.Ok I'll go door shopping on Tuesday!
So what is it you need? A '68 sliding door ' ? I'm gonna get it sorted mick!!
Roj
Somehow fell way down on the 'to do' list.Ok I'll go door shopping on Tuesday!So what is it you need? A '68 sliding door ' ? I'm gonna get it sorted mick!!
Roj
Mickey Sam
Well-known member
Too late Roj, been there , done that , :lol:
http://i1176.photobucket.com/albums/x336/Mick8211/VW%20RESTO%2015/14092011423.jpg" onclick="window.open(this.href);return false;
http://i1176.photobucket.com/albums/x336/Mick8211/VW%20RESTO%2015/14092011423.jpg" onclick="window.open(this.href);return false;
Mickey Sam
Well-known member
UPDATE:
Still prepping for the paint job:
All panels now in polyester to ready to flat
Sorry , but got to have a few boring photo's for the record.... it's compulsory !
Polyester spray filler all flatted .
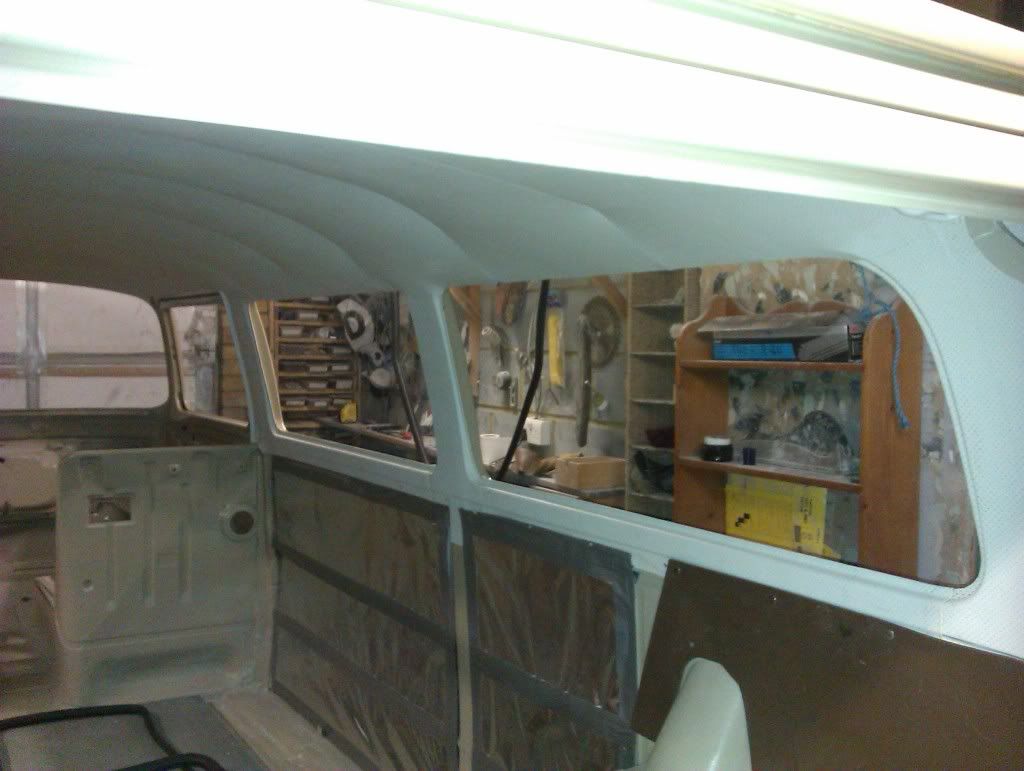
All the body shell now in primer and flatted ready for the top coat
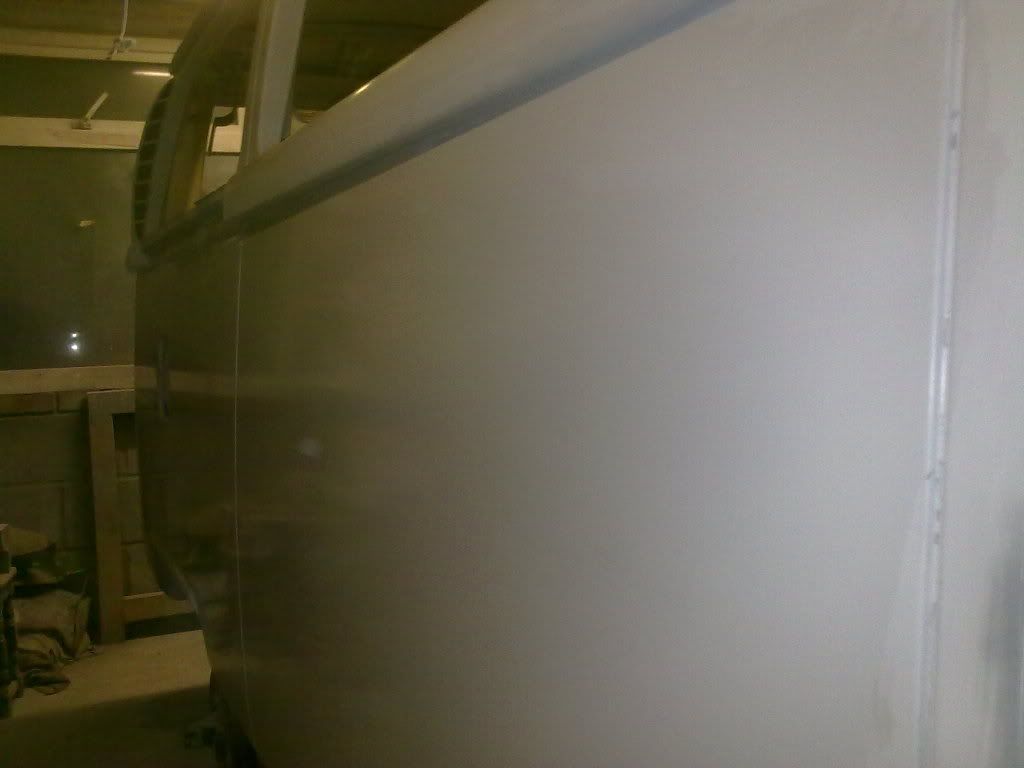
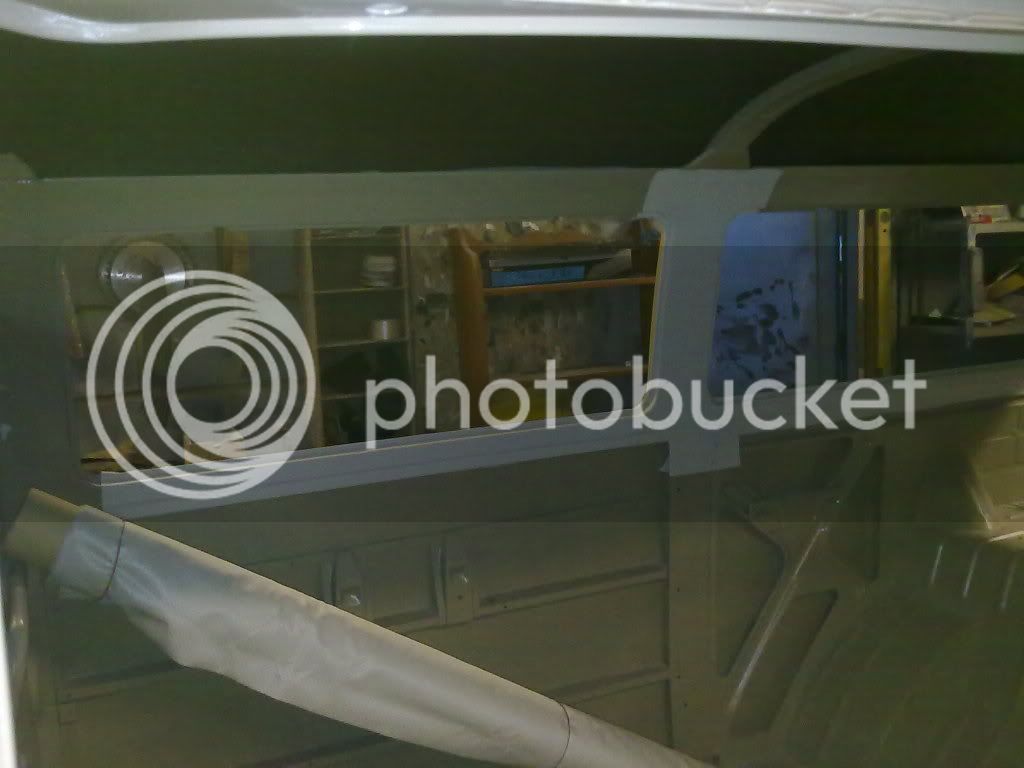
So that's that's all the doors and shell ready for the paint job.
Definately not a job I'd do again but judging by the reflection on the primer, it looks pretty flat.
Best not say too much at this stage........
Also been playing with a few other bits....
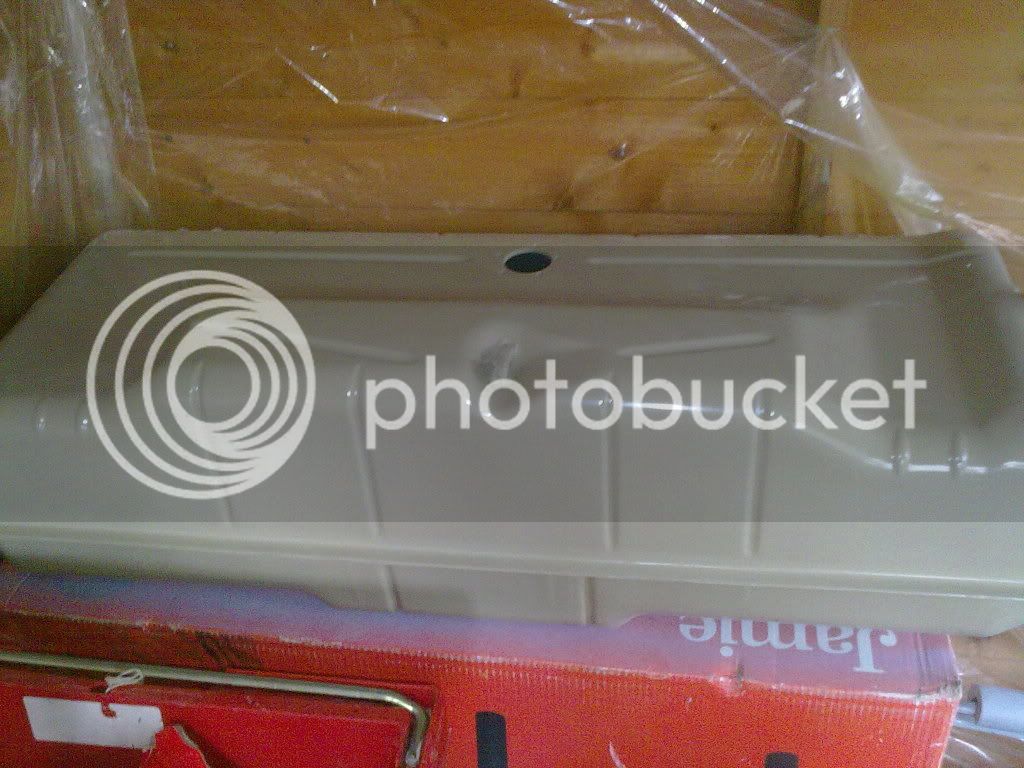
Fuel tank in primer...
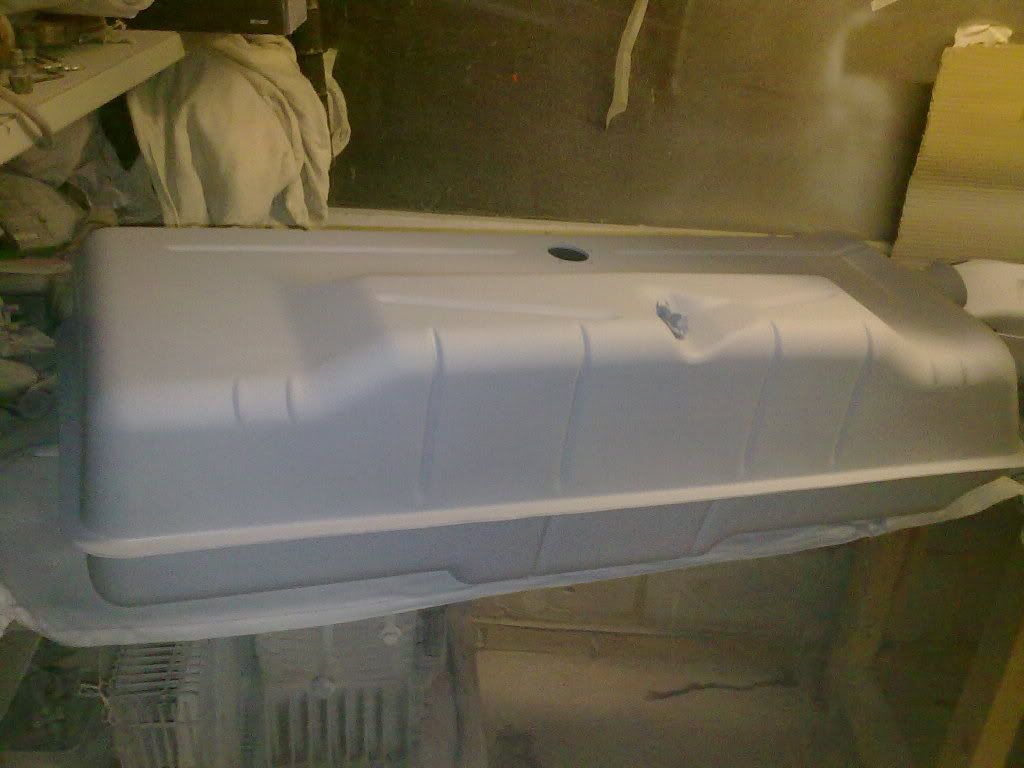
And top coat of Savannah Beige but thinking this might look better in Satin Black :roll:
(Got a fuel tank restoration kit from Frosts so I'll know the tanks good inside and out.)
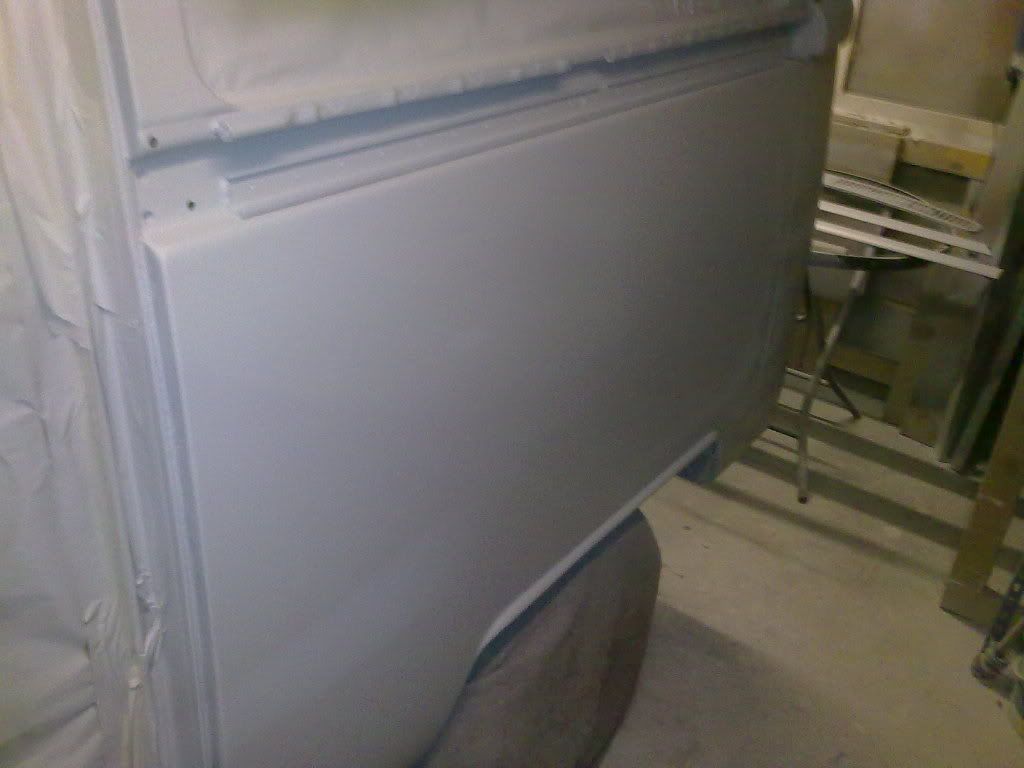
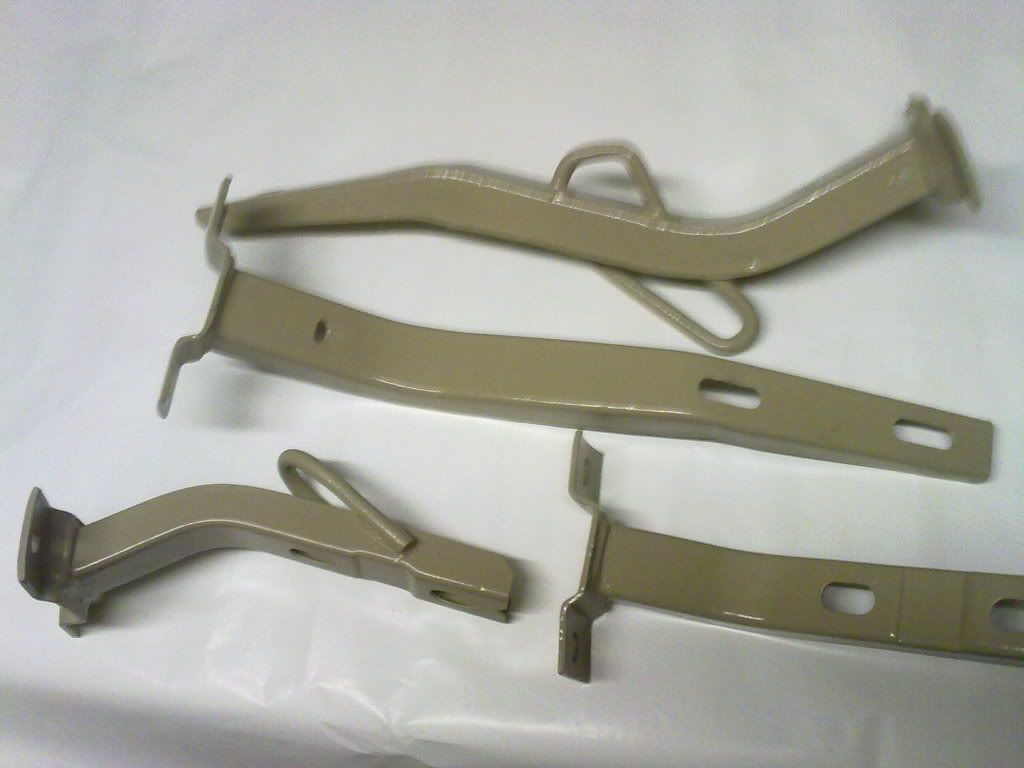
Few more body parts primed and ready...

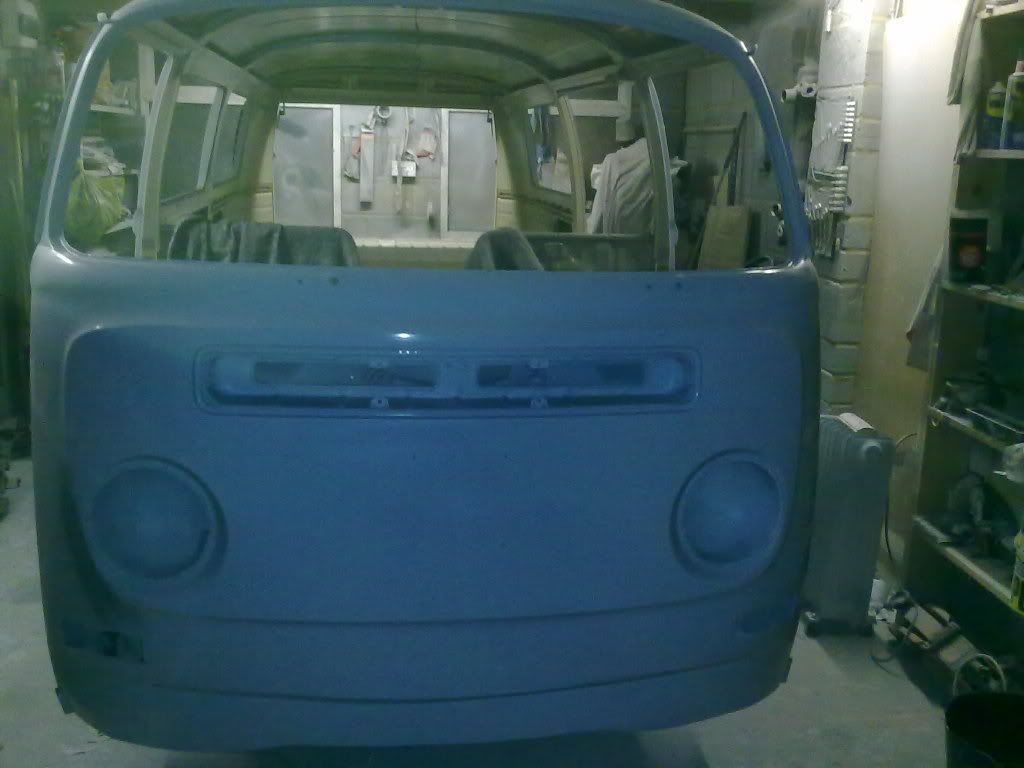
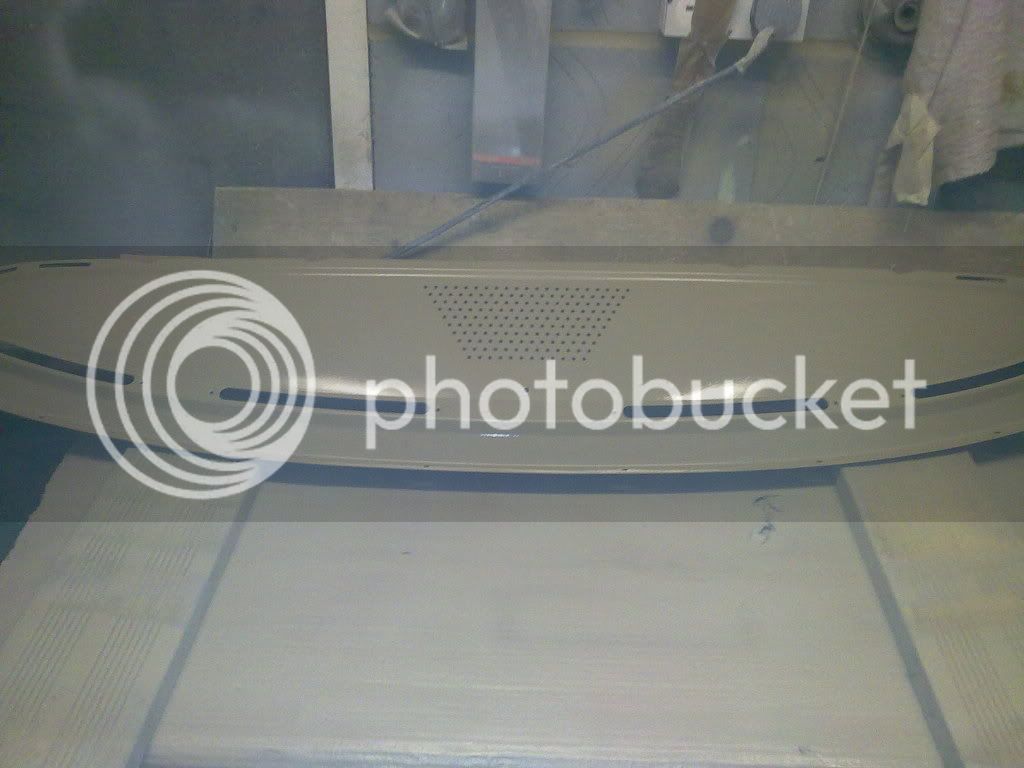
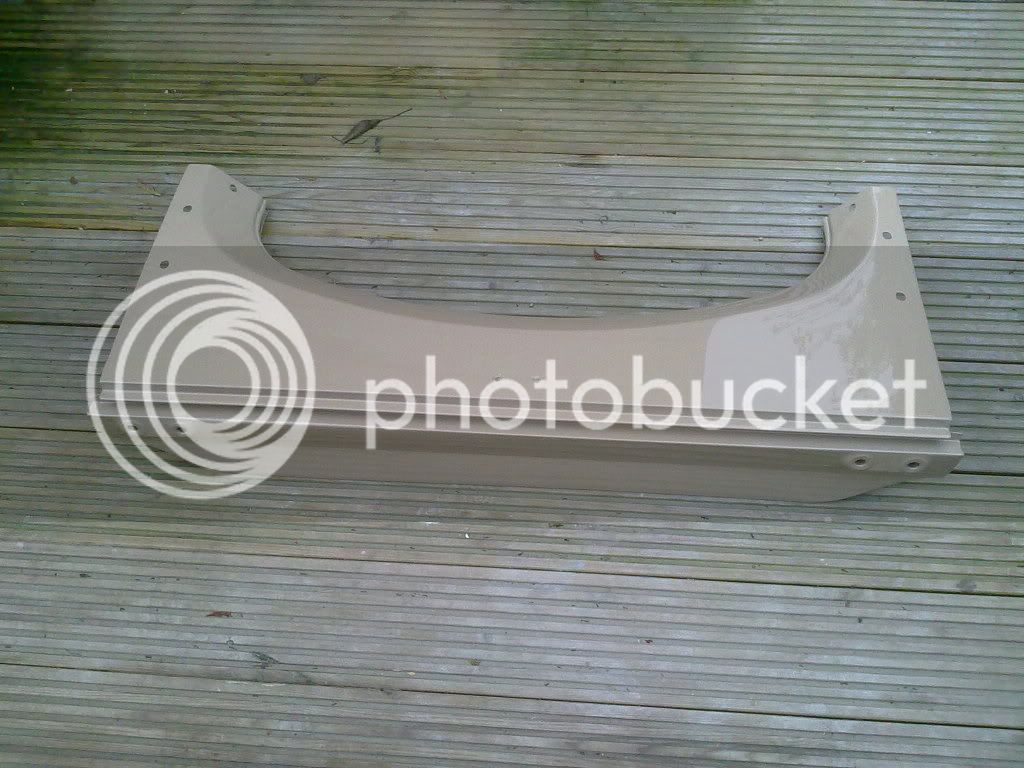
Dashboard primed and ready for body colour..
And sprayed Savannah Beige , ready for final polish and fitting..
and dash top.....
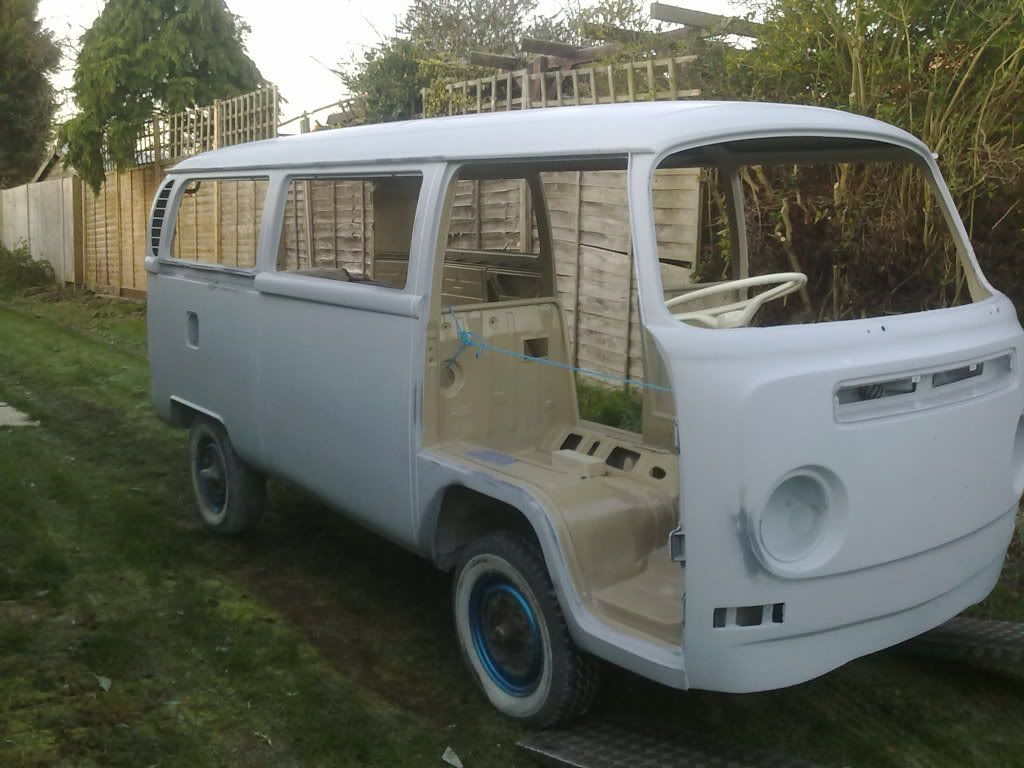
I was originally going to paint it myself in my garage with cellulose but have been talked out of it so,
in three days time, it's going on a trailer to a local paint shop and is getting treated to a spray job in 2 Pack and baked in a professional oven.....
Got to admit, I feel like a kid waiting for Christmas.
Just can't wait to see how it turns out as it's my first crack at bodywork and I'm feeling a little apprehensive, still , I'll know by Saturday night .
Fingers crossed it comes out OK.
Still prepping for the paint job:
All panels now in polyester to ready to flat
Sorry , but got to have a few boring photo's for the record....
it's compulsory !
Polyester spray filler all flatted .
All the body shell now in primer and flatted ready for the top coat
So that's that's all the doors and shell ready for the paint job.
Definately not a job I'd do again but judging by the reflection on the primer, it looks pretty flat.
Best not say too much at this stage........
Also been playing with a few other bits....
Fuel tank in primer...
And top coat of Savannah Beige but thinking this might look better in Satin Black :roll:
(Got a fuel tank restoration kit from Frosts so I'll know the tanks good inside and out.)
Few more body parts primed and ready...
Dashboard primed and ready for body colour..
And sprayed Savannah Beige , ready for final polish and fitting..
and dash top.....
I was originally going to paint it myself in my garage with cellulose but have been talked out of it so,
in three days time, it's going on a trailer to a local paint shop and is getting treated to a spray job in 2 Pack and baked in a professional oven.....
Got to admit, I feel like a kid waiting for Christmas.
Just can't wait to see how it turns out as it's my first crack at bodywork and I'm feeling a little apprehensive, still , I'll know by Saturday night .
Fingers crossed it comes out OK.
Mickey Sam
Well-known member
Cheers Andy.
Sorry to hear about you losing your garage, bit of a bummer this time of year, good luck with it.
Good to see the boys on the forum chipping in with some help as usual.
Spent last night seam sealing between all the panels and checking the body
work for bits I might have missed - 2 days and counting...longest 2 days of my life :lol:
Mickey Sam said:Cheers Andy.
Sorry to hear about you losing your garage, bit of a bummer this time of year, good luck with it.
Good to see the boys on the forum chipping in with some help as usual.
Spent last night seam sealing between all the panels and checking the body
work for bits I might have missed - 2 days and counting...longest 2 days of my life :lol:
Cheers for that
Glad to see yours is moving ever closer - keep up the good work :mrgreen:
Mickey Sam
Well-known member
UPDATE:
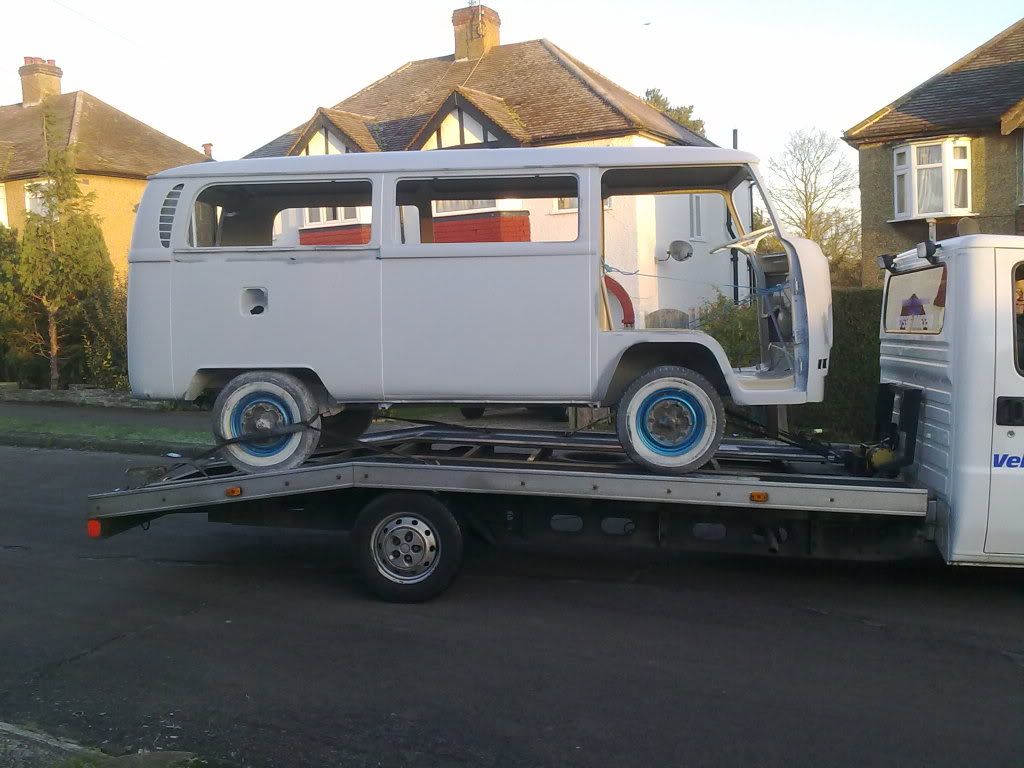
Finally finished last minute fine prep details by 11 o clock Friday night - just as well as I had the paint oven
booked for 8 o clock Saturday morning (no pressure then :lol
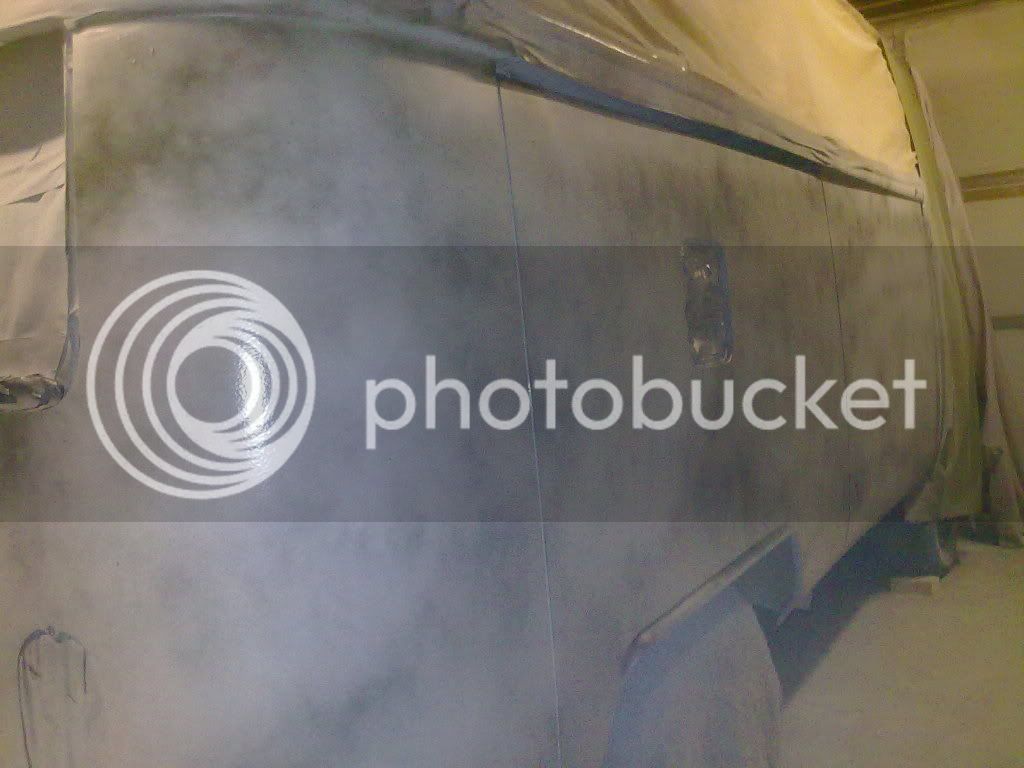
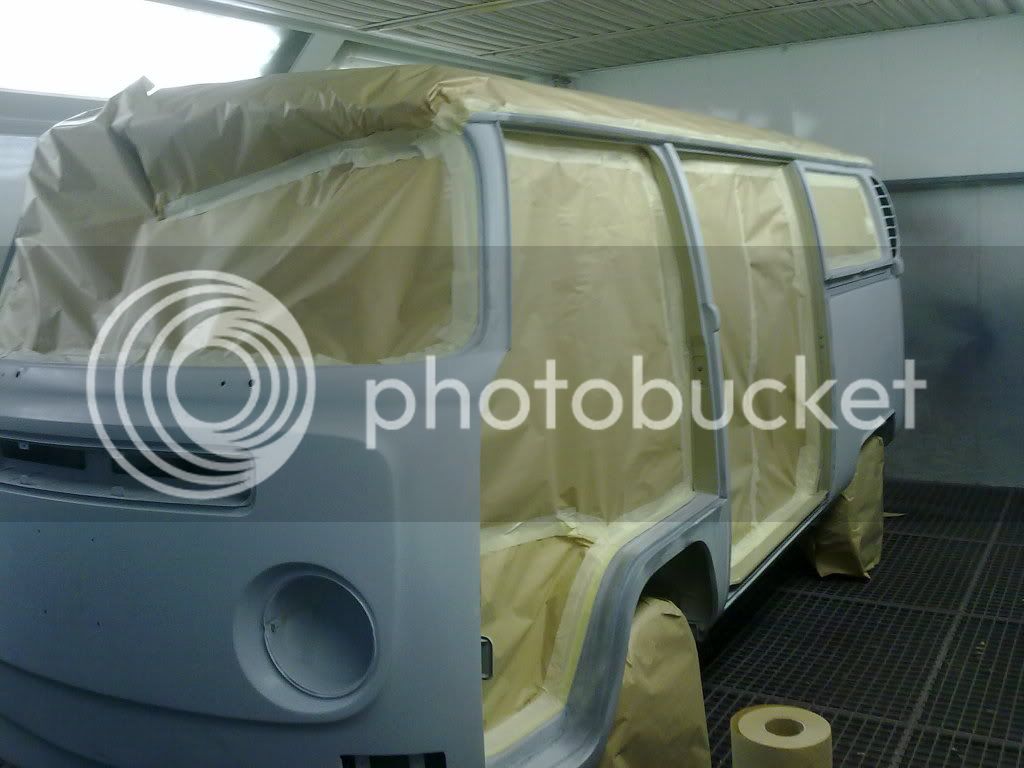
First time the old girl has seen daylight for over 4 years ..primed and ready to go..
Compulsory trailer shot .... and off for painting at last !
Masked up for painting the roof...
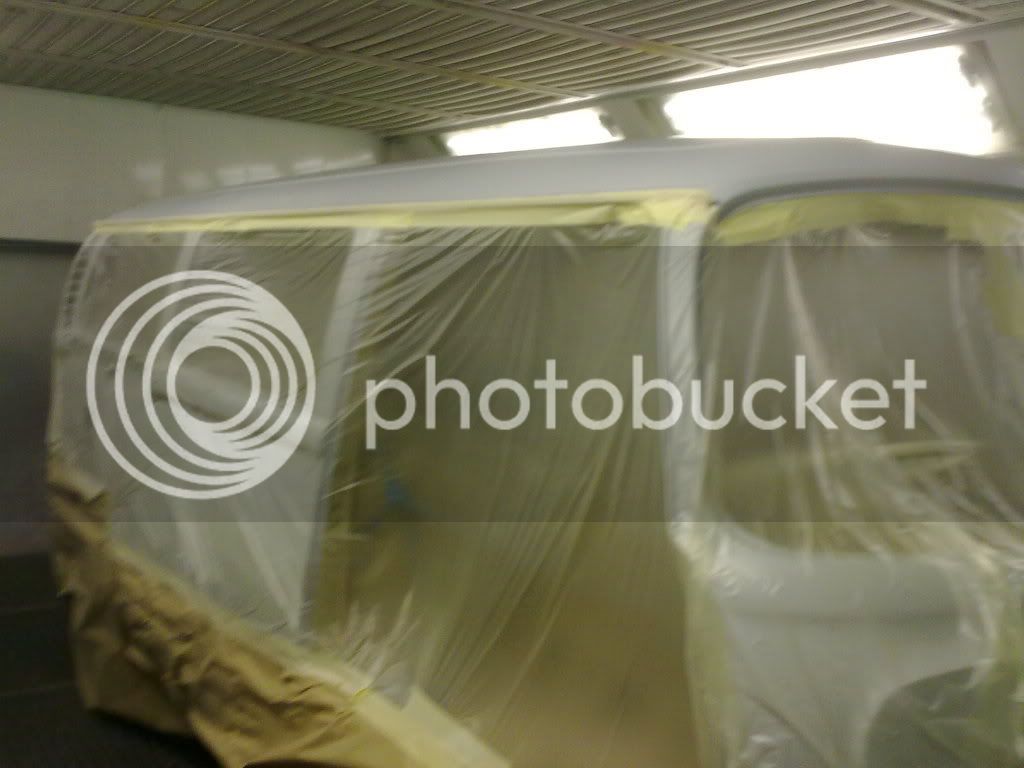
Roof painted..
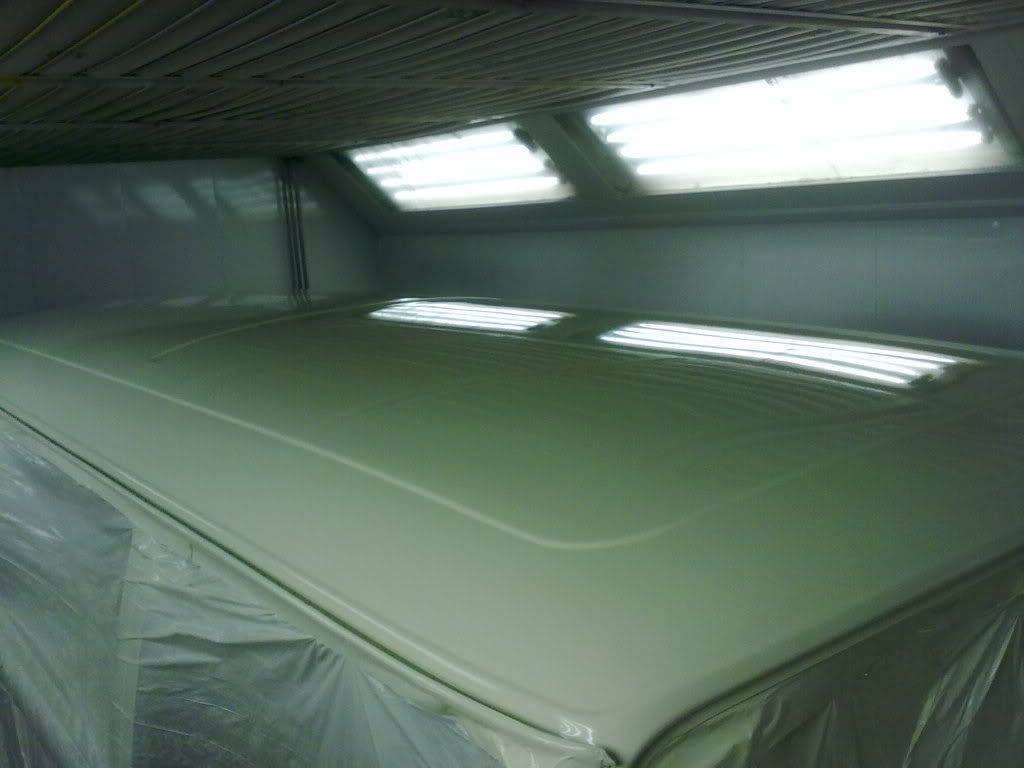
After an hour of baking in the oven , roof masked ready for the beige shell...
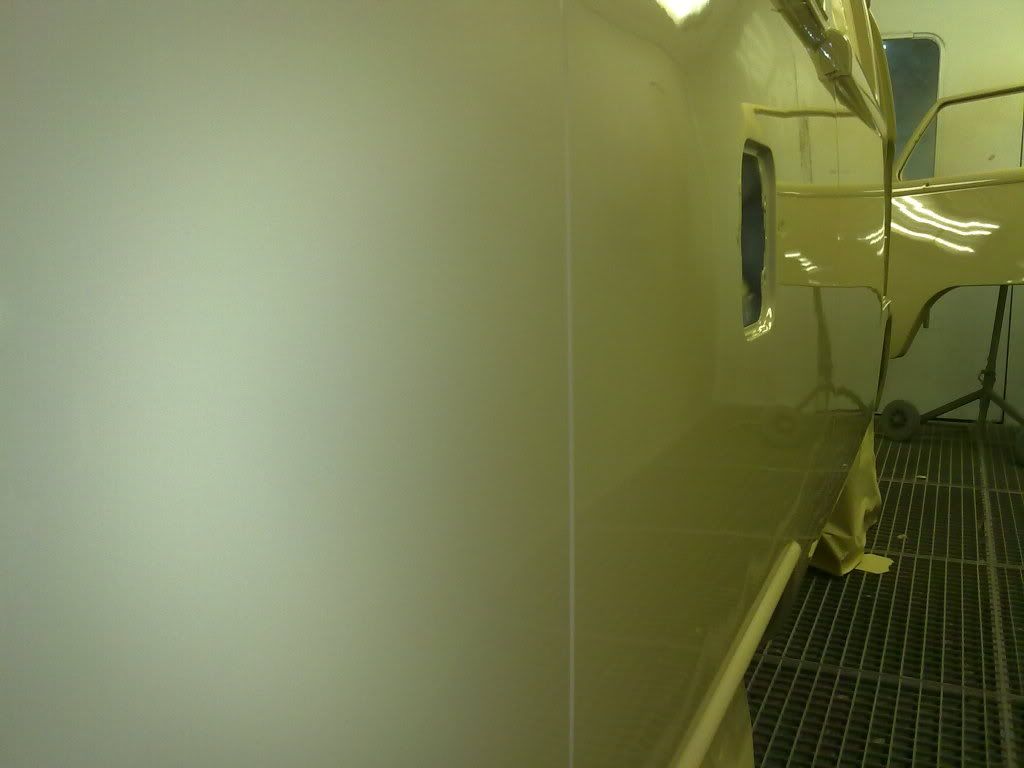
And the shot I've been waiting for......after all the blood sweat and tears I put into straightening and
flatting the long side I was pleased with the finished job.
It was dark by the time I got to loading the bus back on the trailer and back in my garage so did'n't get as many
photo's on the day as I wanted.
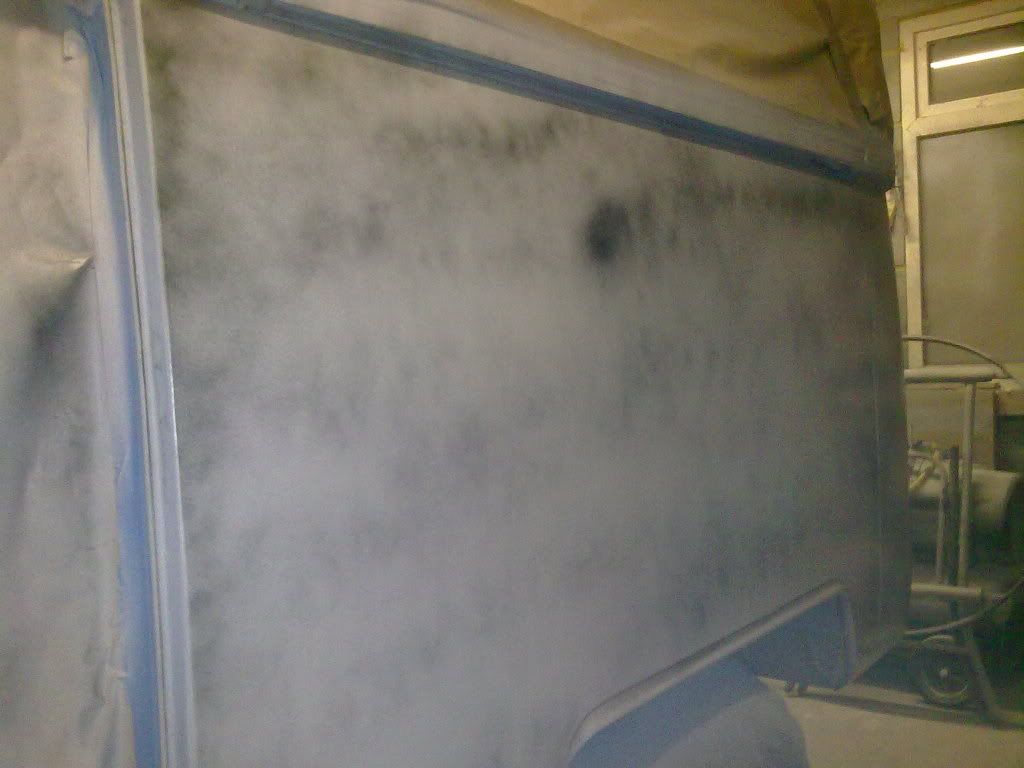
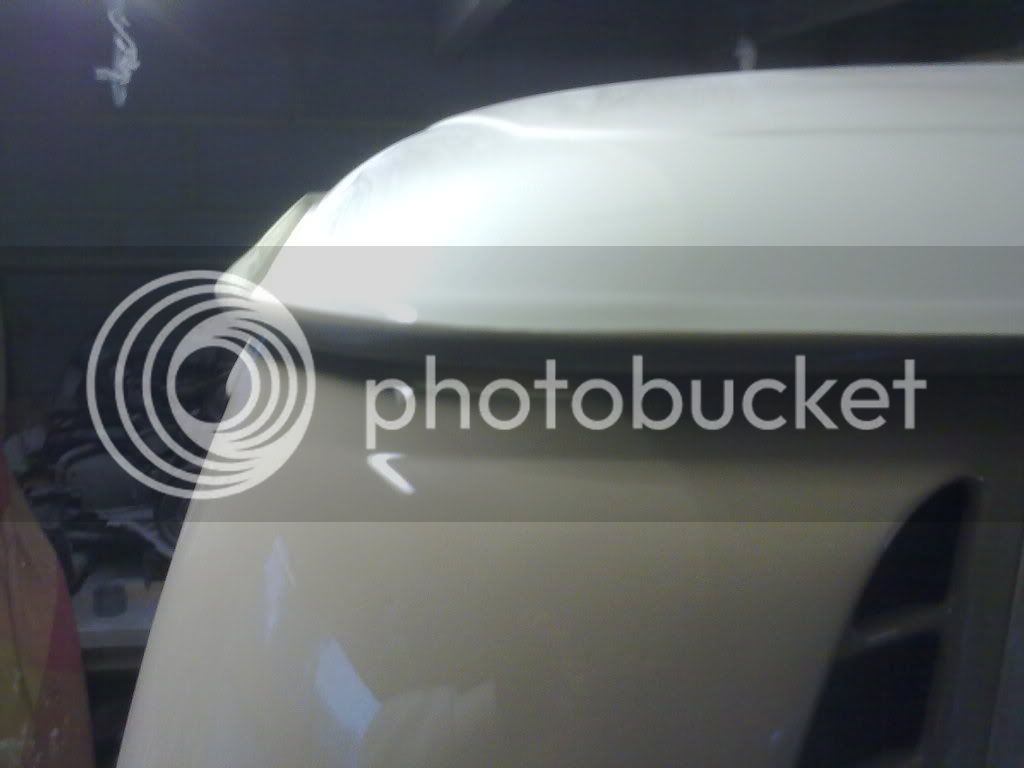
There's not a lot of room to take photo's in my garage but here's a few shots of the bodywork...
Crap quality photo's don't really show the contrast well but looks good...
( I could put my hand through this part if the roof a year ago )
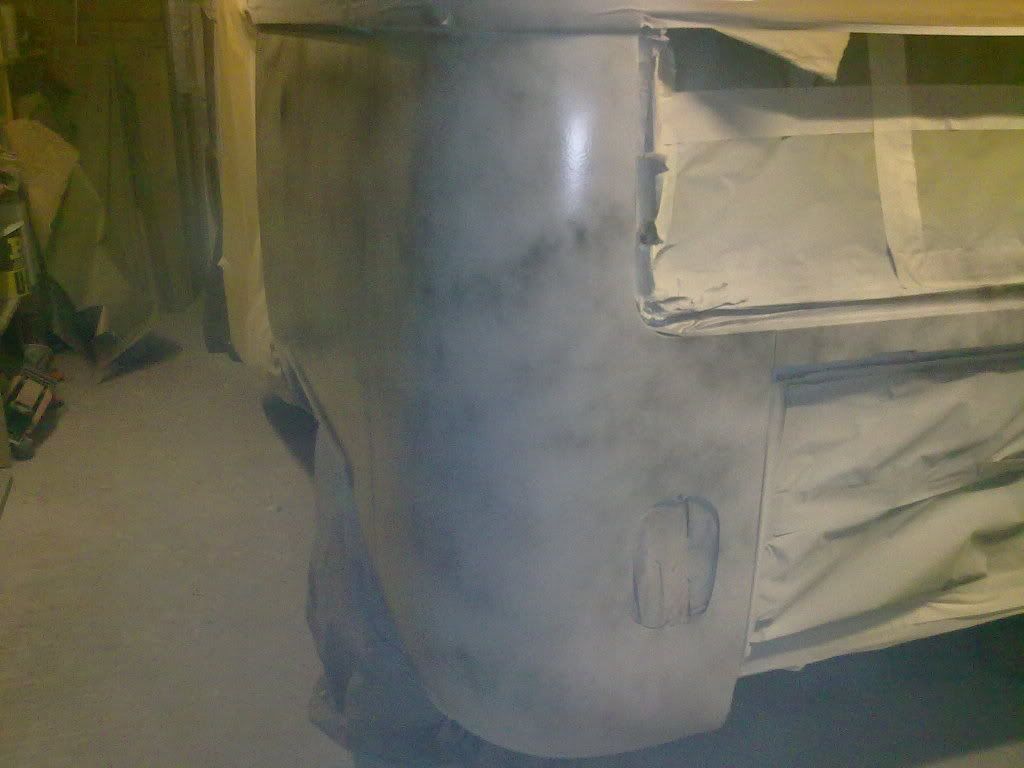
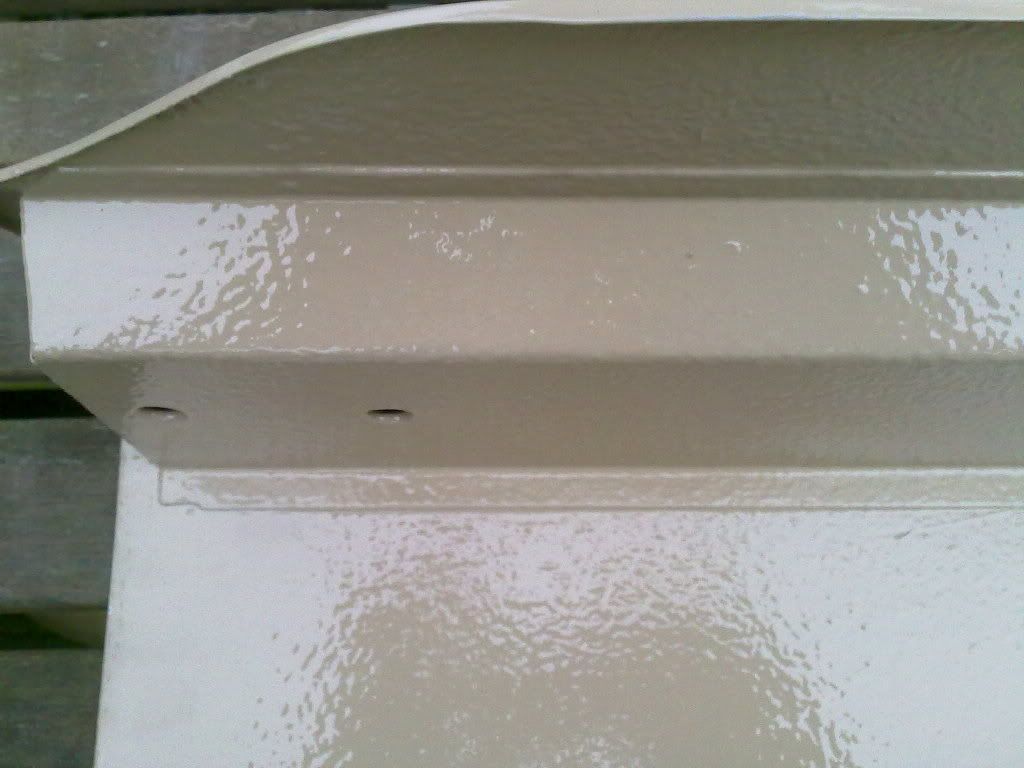
Rear corner..
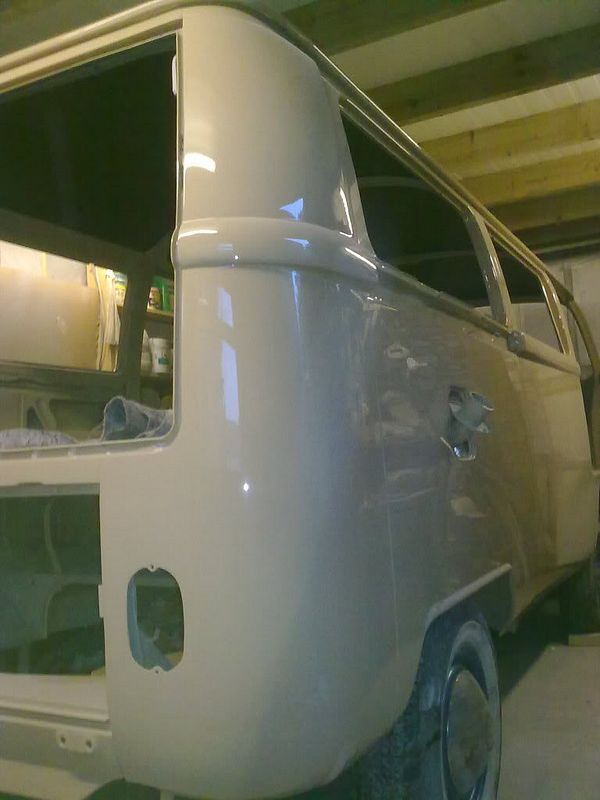
.
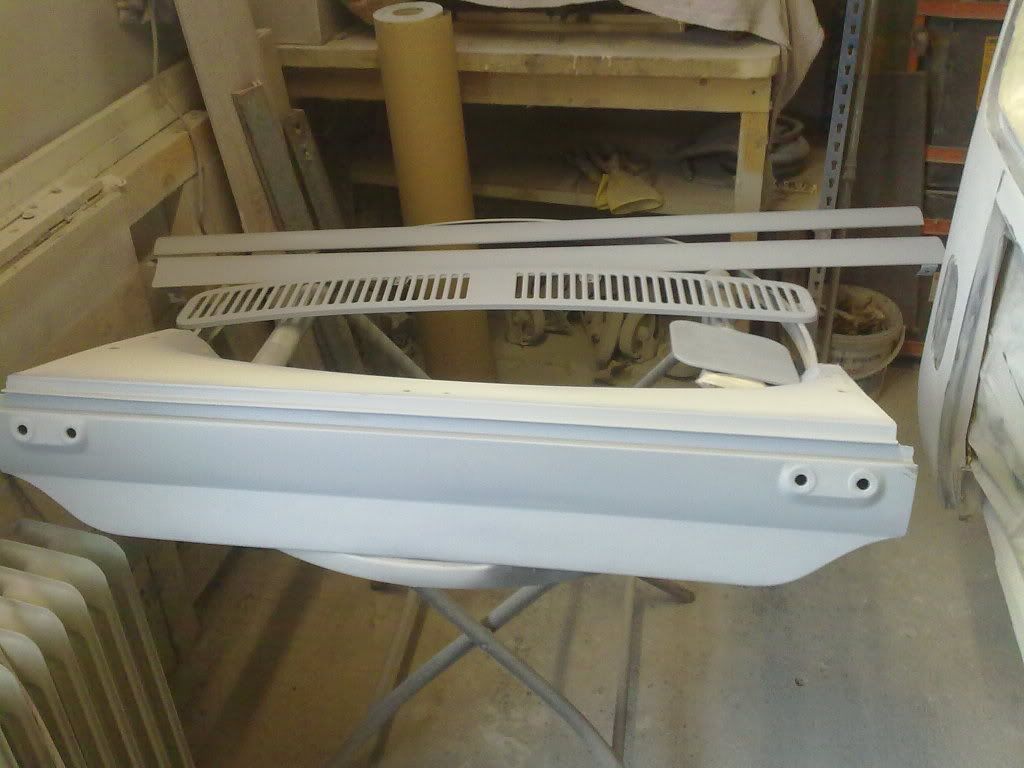
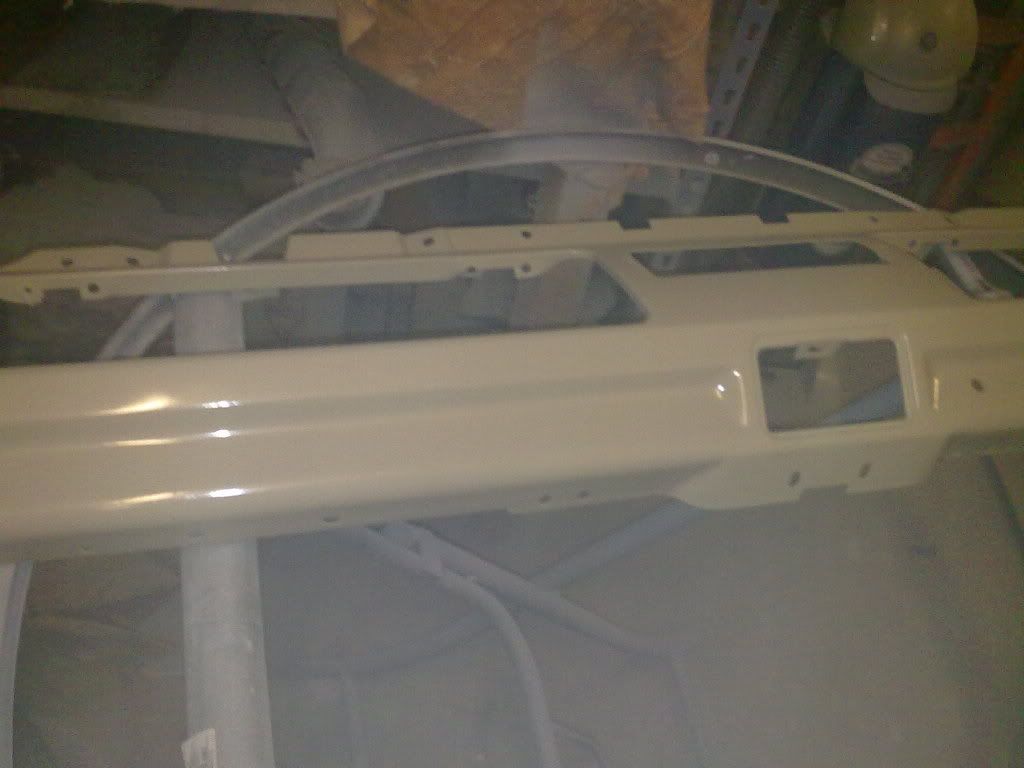
Rear valance.....
Front wheel arch...
N/S rear panel....
Front panel....

And a few more photo's 'for the record'.....got to have loads of photo's at this stage
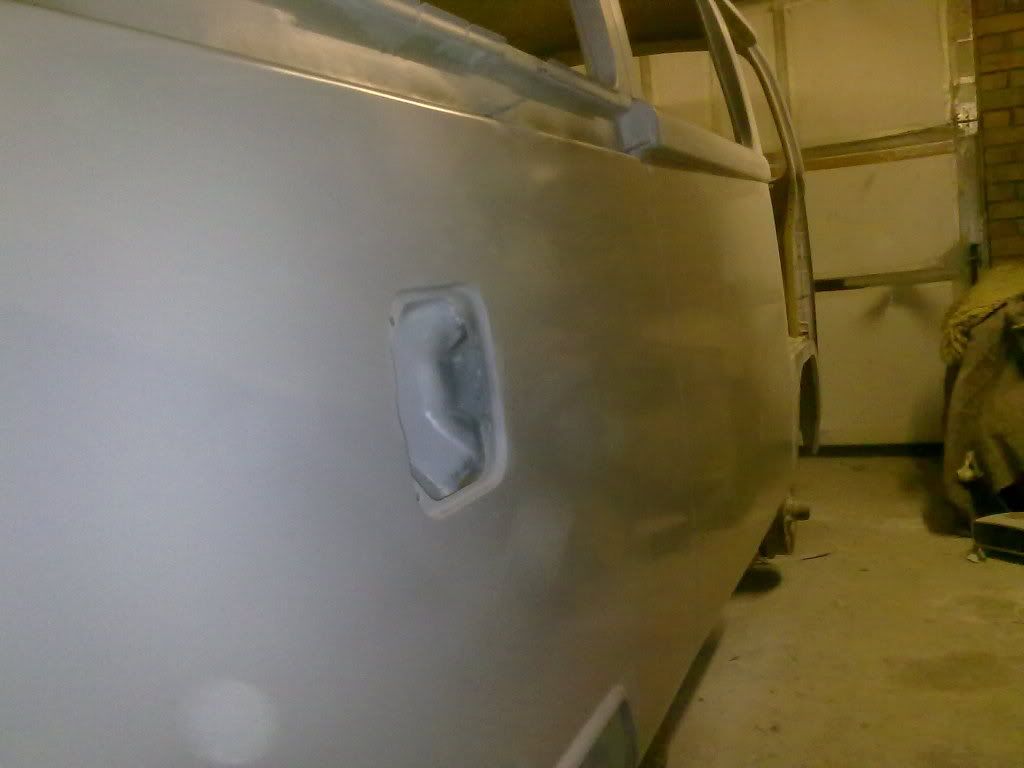
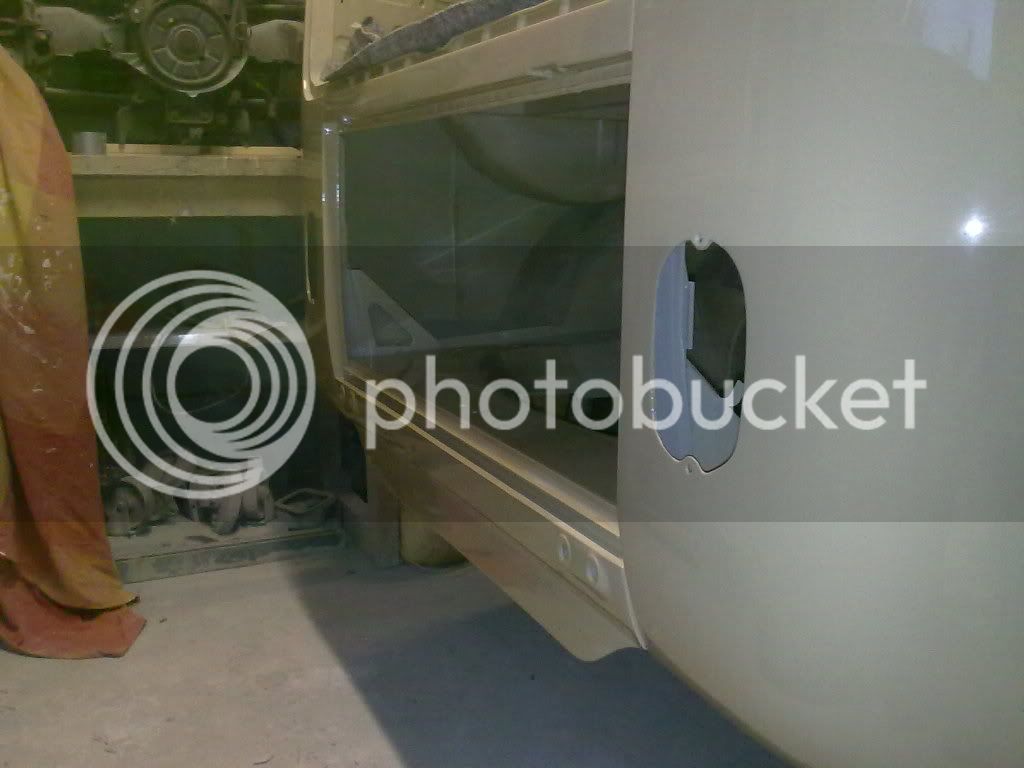
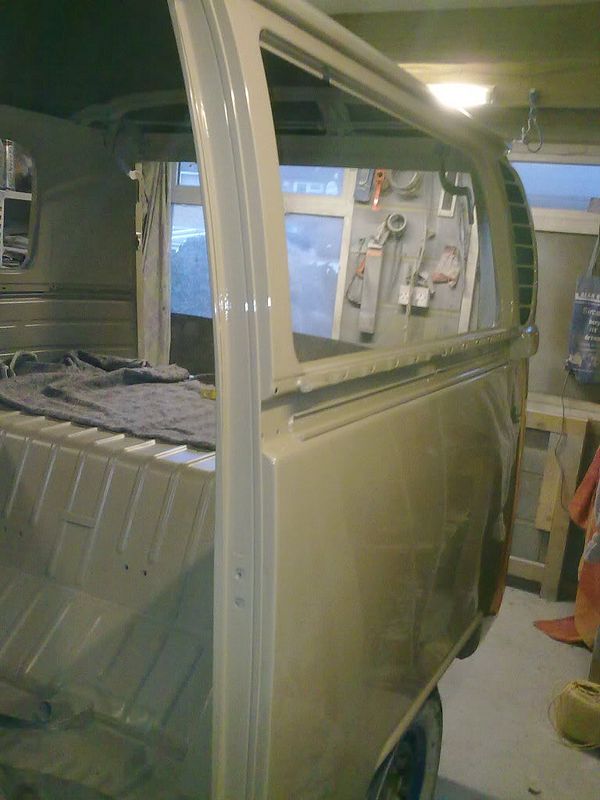
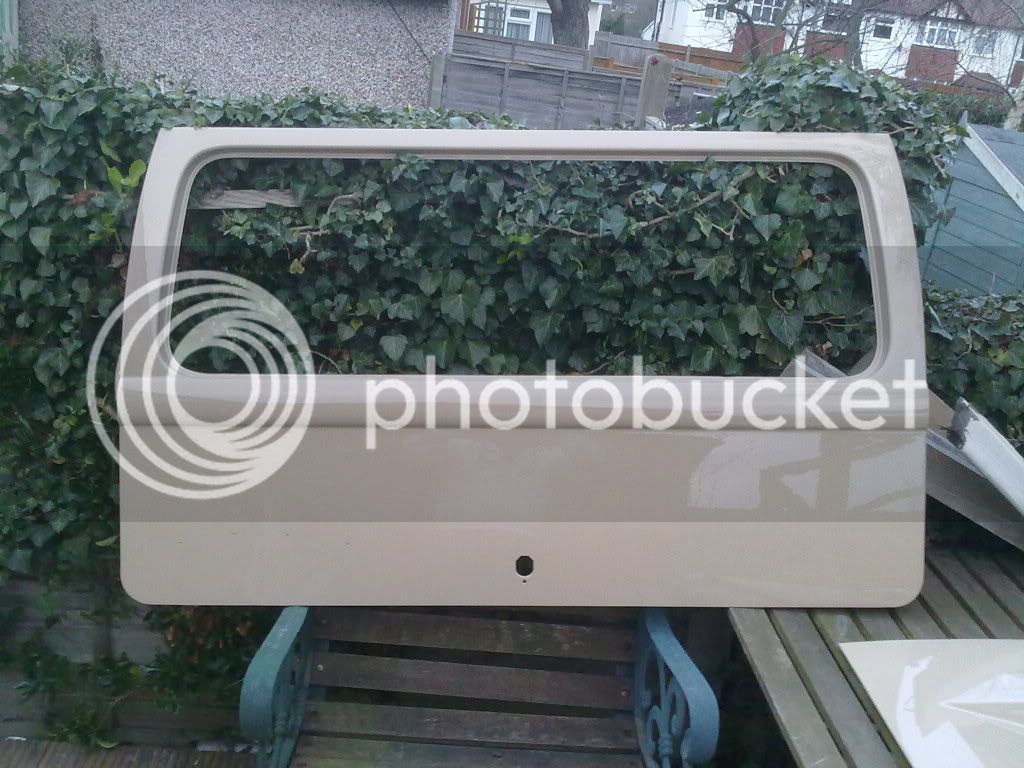
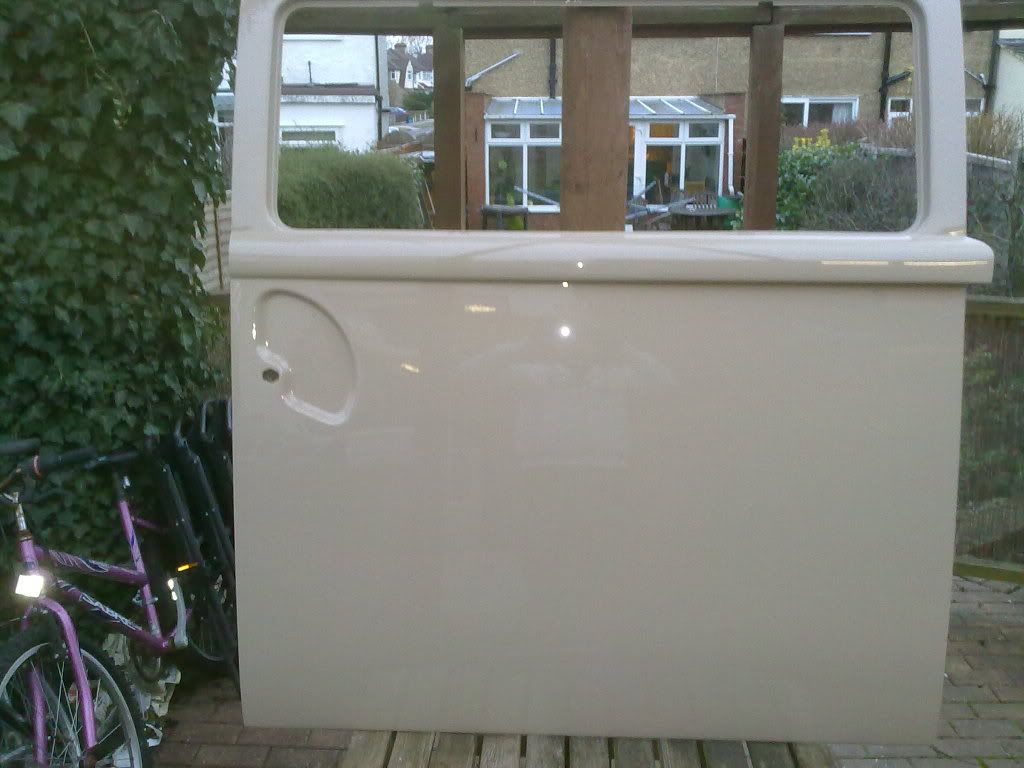
Sliding door runner...
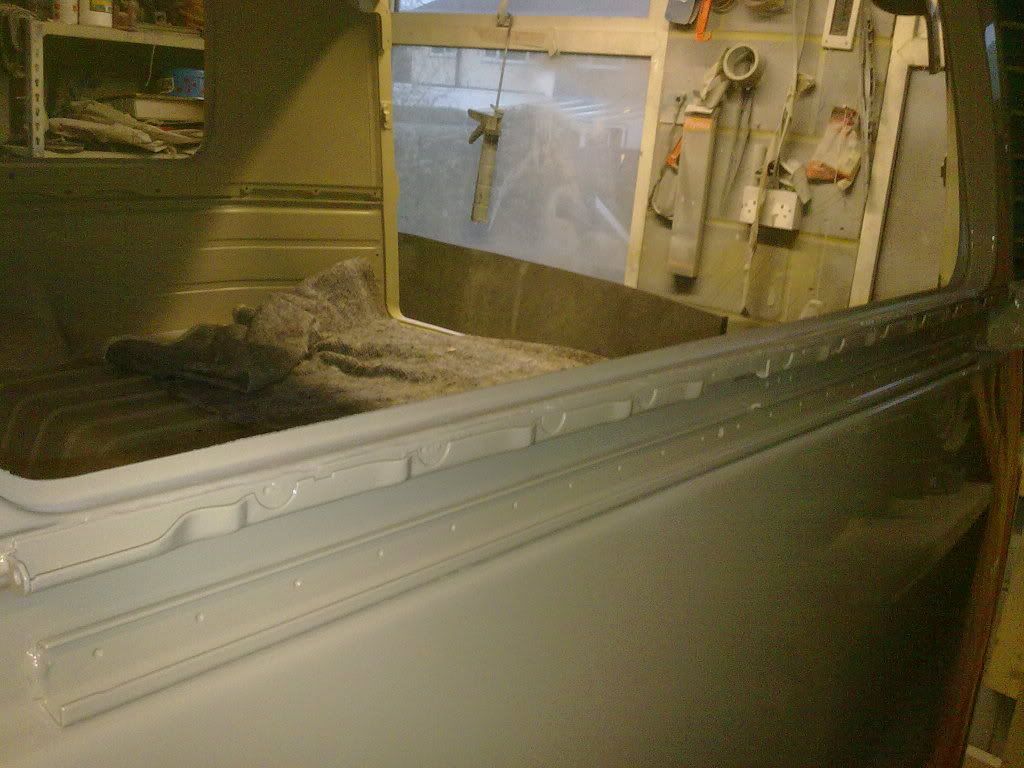
Opposite sliding door...
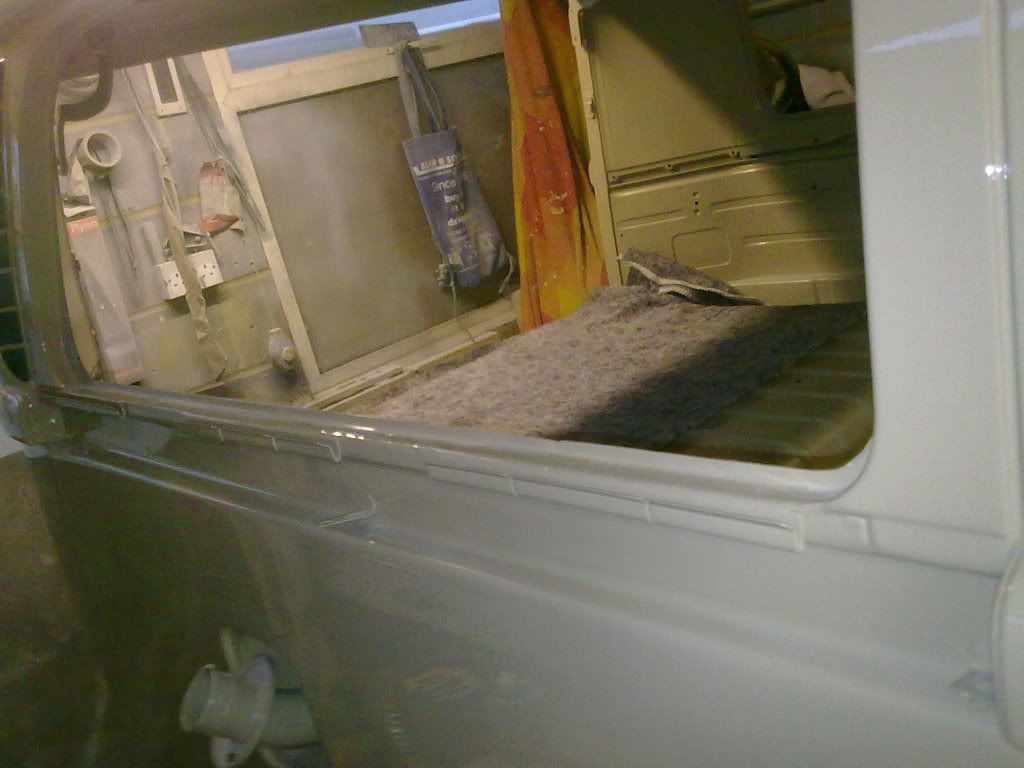
Door shuts all ready for another 44 years,....
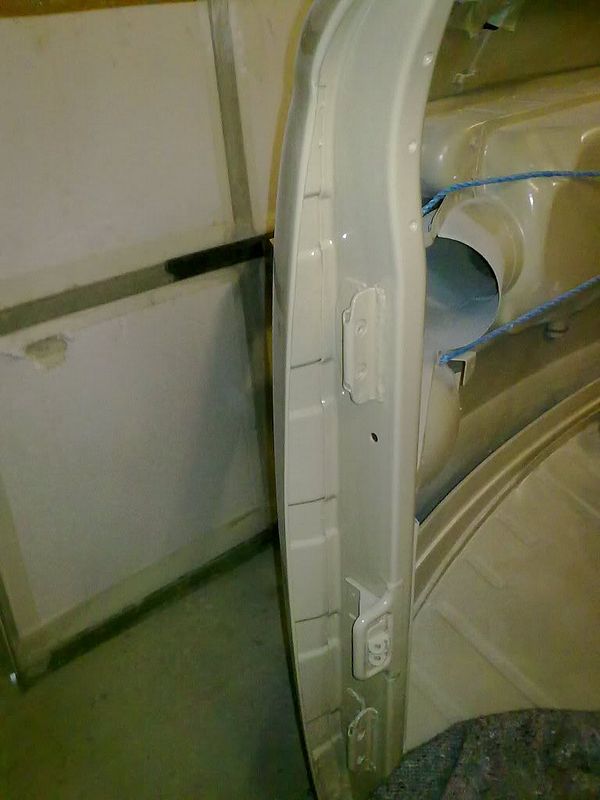
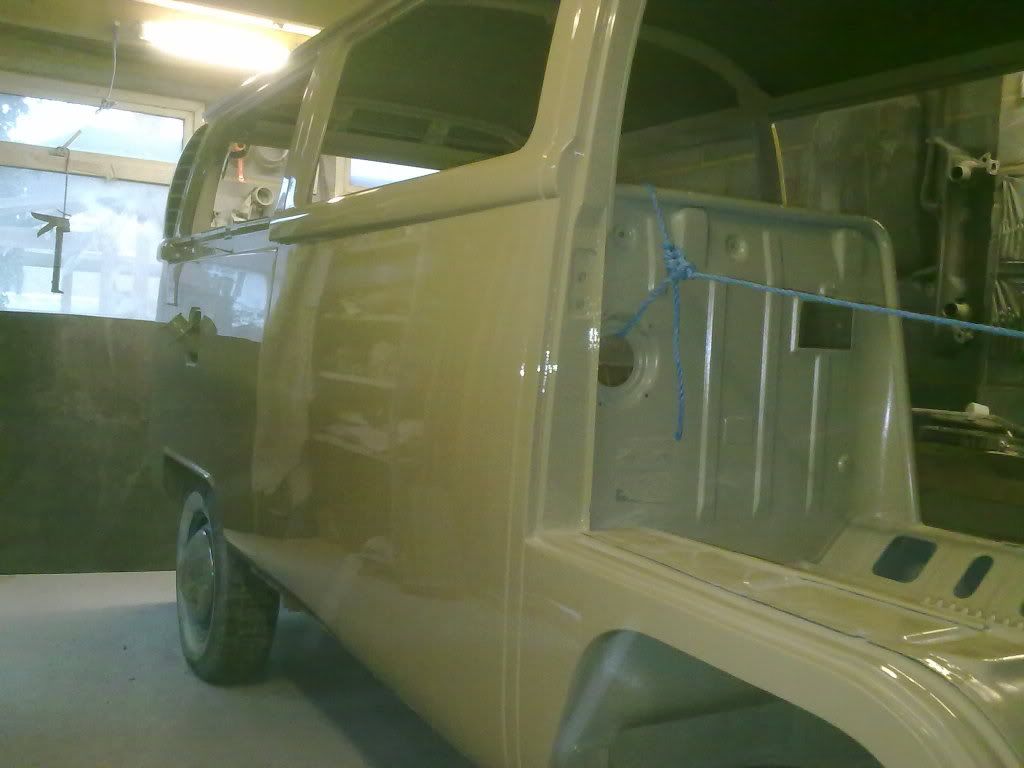
And the doors etc.....
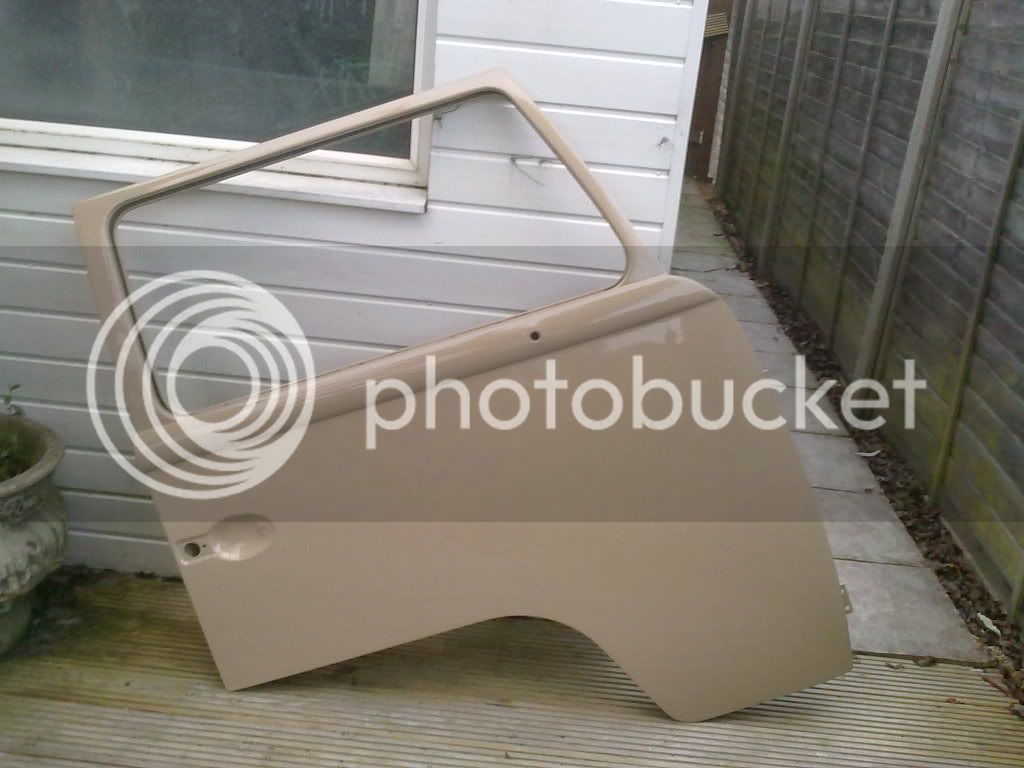
Yeah, I know it's a bit anal but yes, I did rub down, prime , flat and paint inside all the doors !!!!! :roll:
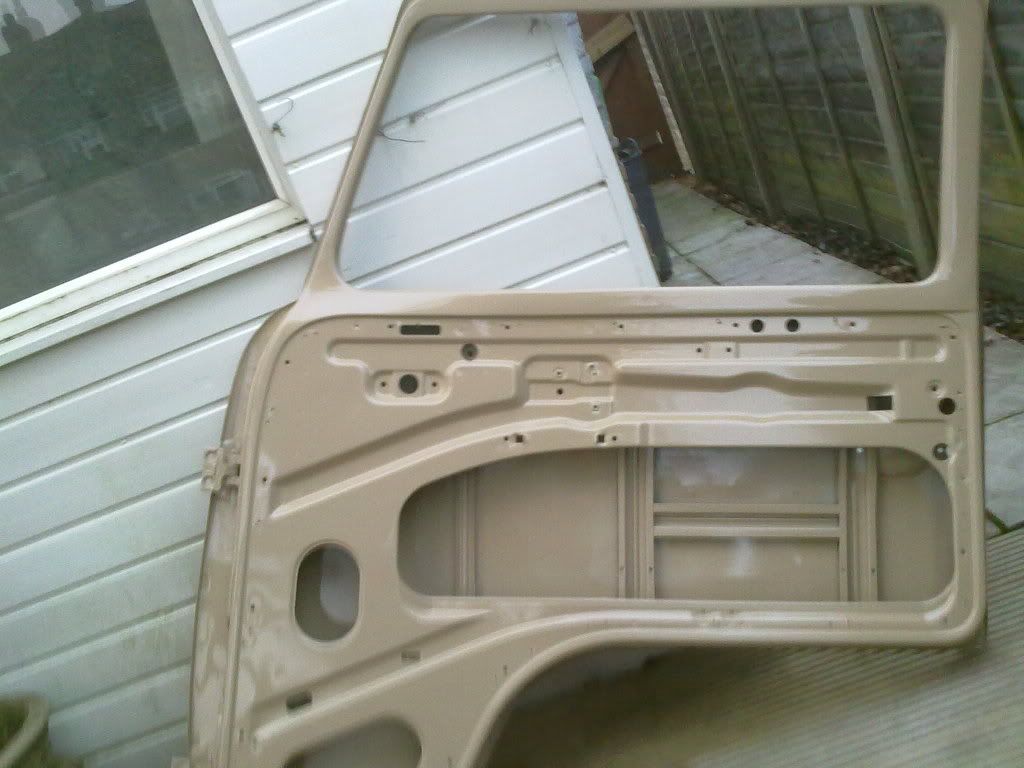
Rear door.....
Slider.....
Engine hatch lid....
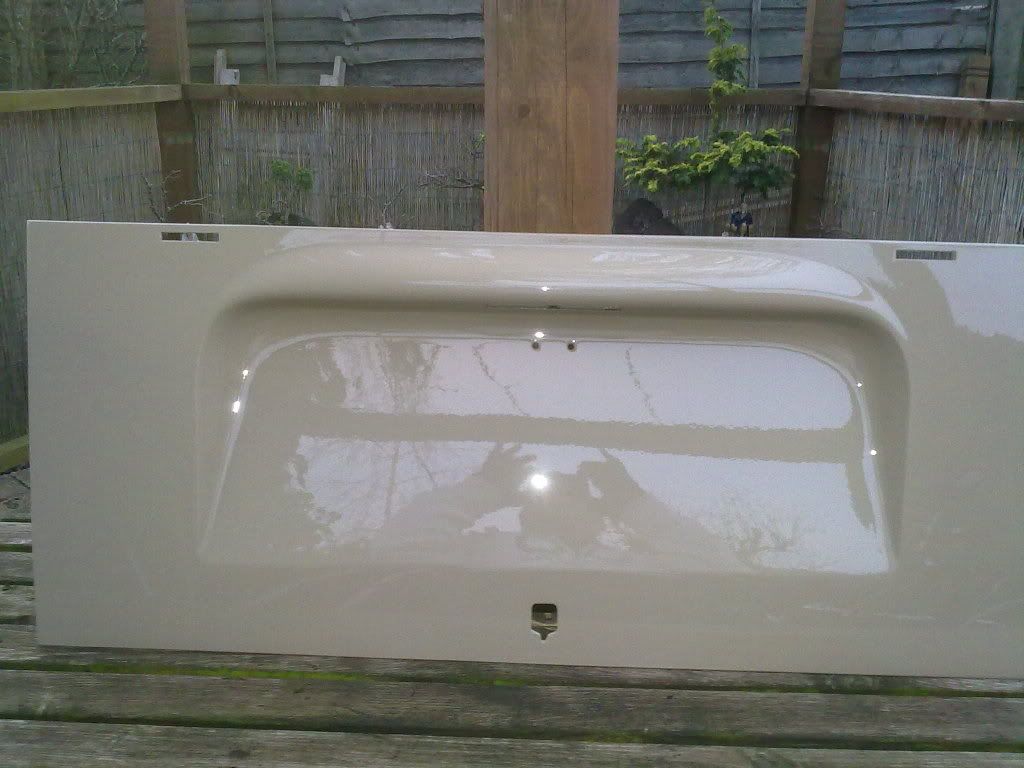
Valance.....
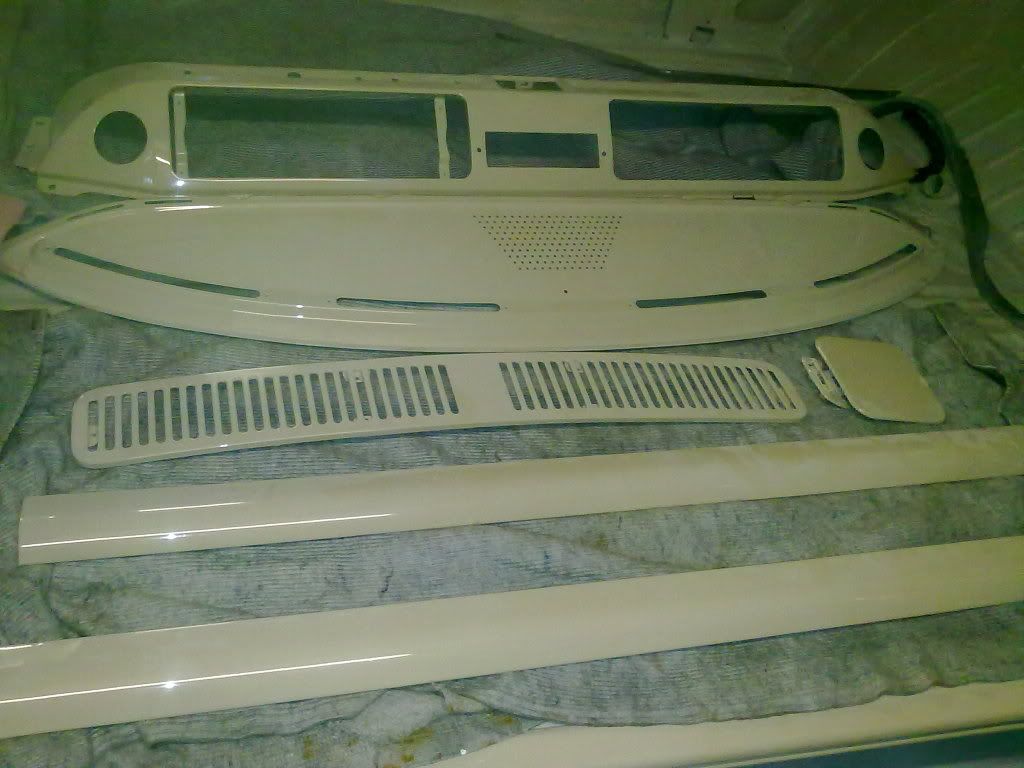
Dash, dash top, sliding door covers grill etc......
So that's the outside body work painted. TFFT !
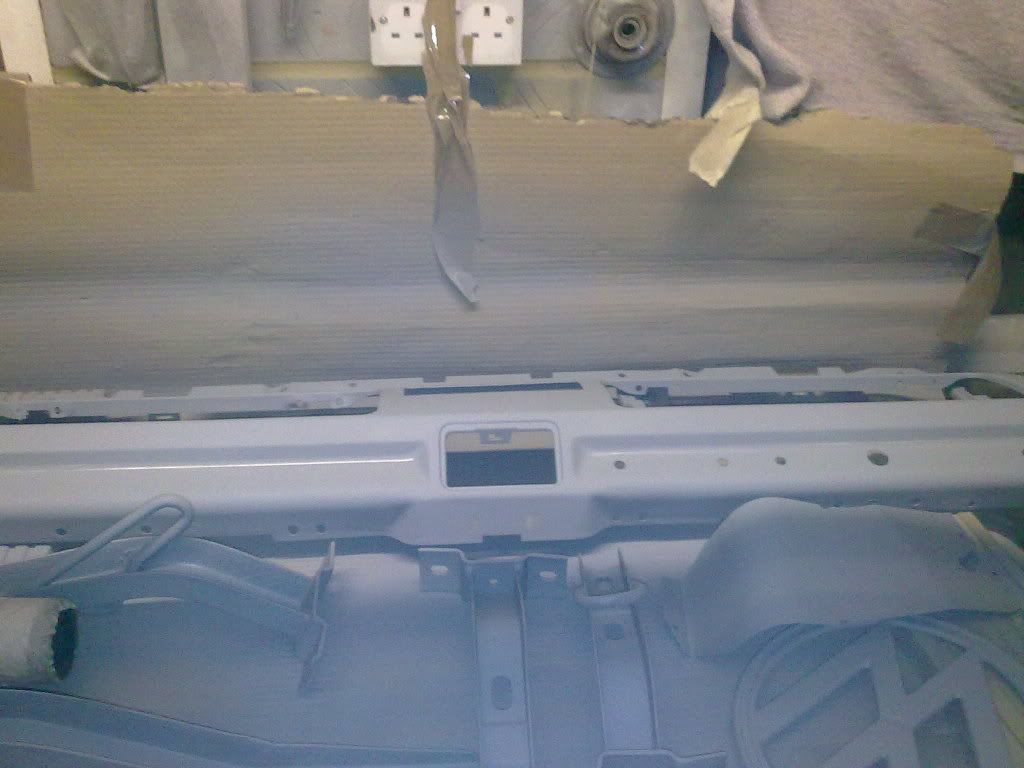
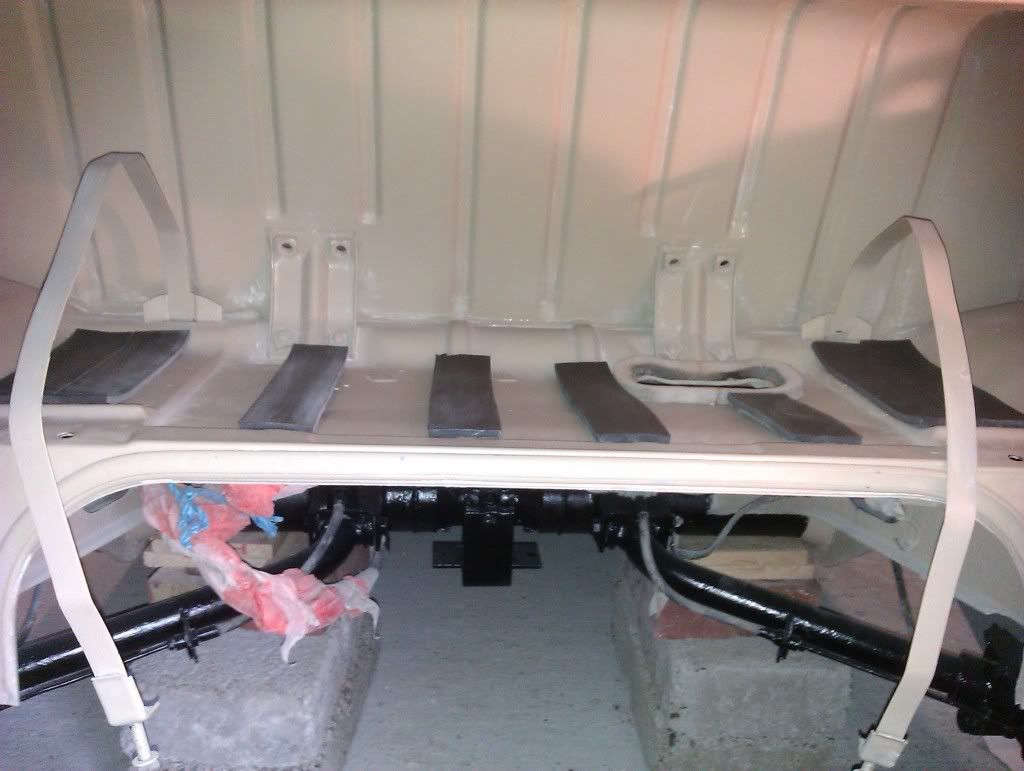
All the chassis , under floor and wheel arches are coated in 'stonechip' and painted in body colour like the underside of the rear valance shown below .....
Once I've finished the work underneath on the brakes, suspension, new loom etc, the underneath will get a good coating of wax oil to protect it further.
Finally finished last minute fine prep details by 11 o clock Friday night - just as well as I had the paint oven
booked for 8 o clock Saturday morning (no pressure then :lol
First time the old girl has seen daylight for over 4 years ..primed and ready to go..
Compulsory trailer shot .... and off for painting at last !
Masked up for painting the roof...
Roof painted..
After an hour of baking in the oven , roof masked ready for the beige shell...
And the shot I've been waiting for......after all the blood sweat and tears I put into straightening and
flatting the long side I was pleased with the finished job.
It was dark by the time I got to loading the bus back on the trailer and back in my garage so did'n't get as many
photo's on the day as I wanted.
There's not a lot of room to take photo's in my garage but here's a few shots of the bodywork...
Crap quality photo's don't really show the contrast well but looks good...
( I could put my hand through this part if the roof a year ago )
Rear corner..
.
Rear valance.....
Front wheel arch...
N/S rear panel....
Front panel....
And a few more photo's 'for the record'.....got to have loads of photo's at this stage
Sliding door runner...
Opposite sliding door...
Door shuts all ready for another 44 years,....
And the doors etc.....
Yeah, I know it's a bit anal but yes, I did rub down, prime , flat and paint inside all the doors !!!!! :roll:
Rear door.....
Slider.....
Engine hatch lid....
Valance.....
Dash, dash top, sliding door covers grill etc......
So that's the outside body work painted. TFFT !
All the chassis , under floor and wheel arches are coated in 'stonechip' and painted in body colour like the underside of the rear valance shown below .....
Once I've finished the work underneath on the brakes, suspension, new loom etc, the underneath will get a good coating of wax oil to protect it further.
Mickey Sam
Well-known member
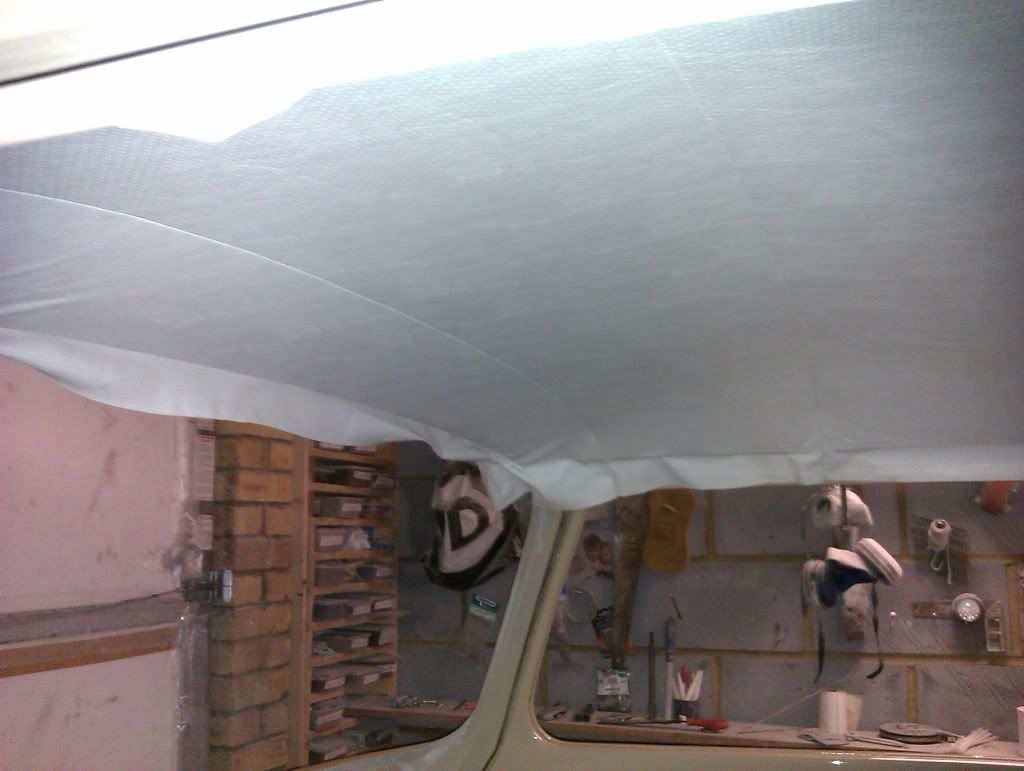
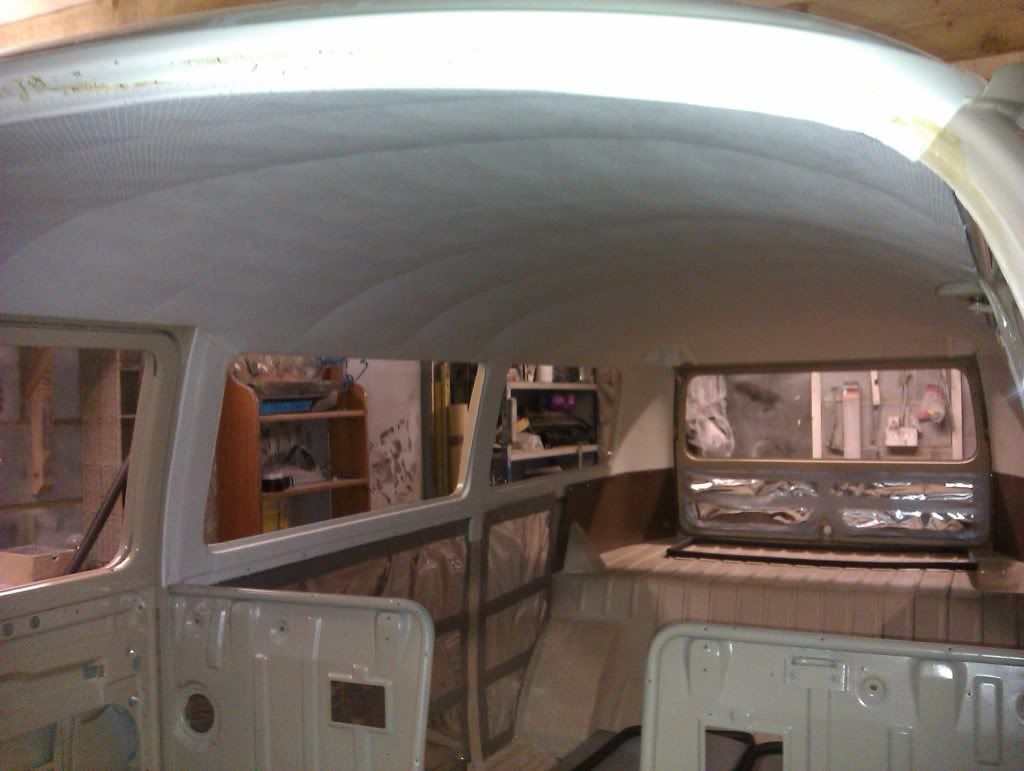
I insulated the ceiling ready for the new perforated headliner. I used closed cell foam as it will not hold moisture ...
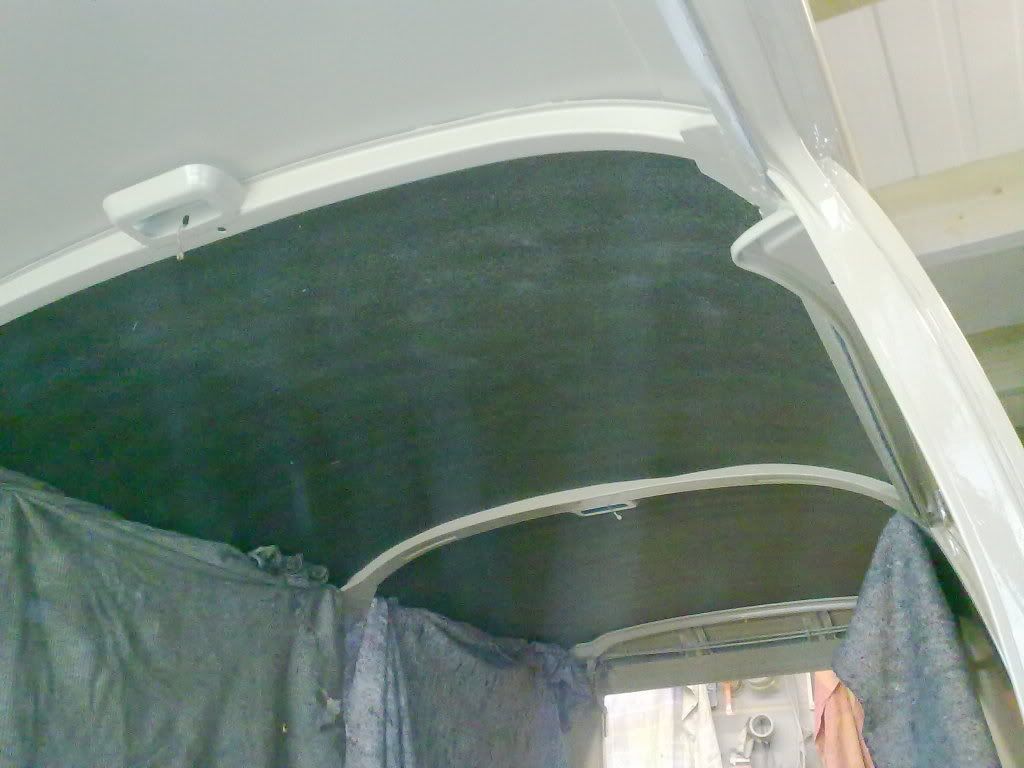
I glued the insulation insulation into place but left the last 4 inches along the sides free of glue
in case the insulation interfered with the installation of the headliner bows. If it does get in the way
I can easily cut some of the insulation back to suit...
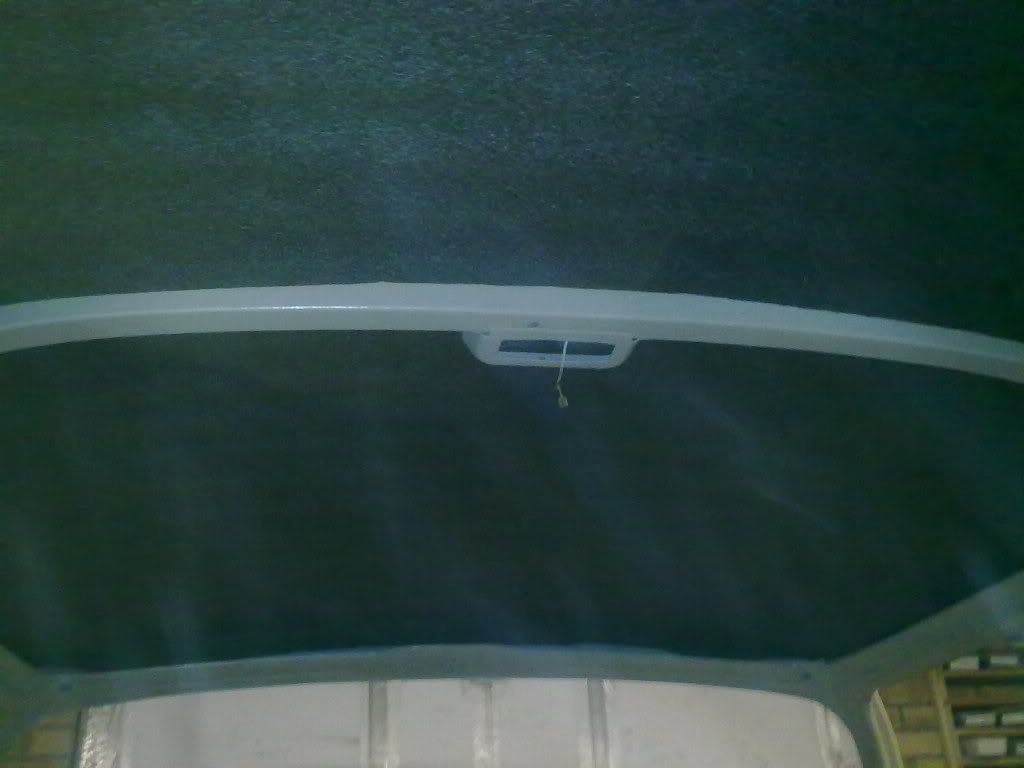
Just got to check the interior light wires and I'm ready for the headliner.
I glued the insulation insulation into place but left the last 4 inches along the sides free of glue
in case the insulation interfered with the installation of the headliner bows. If it does get in the way
I can easily cut some of the insulation back to suit...
Just got to check the interior light wires and I'm ready for the headliner.
rallye dale
Well-known member
Its all on the prep
Well done mate :mrgreen:
Well done mate :mrgreen:
Mickey Sam
Well-known member
UPDATE:
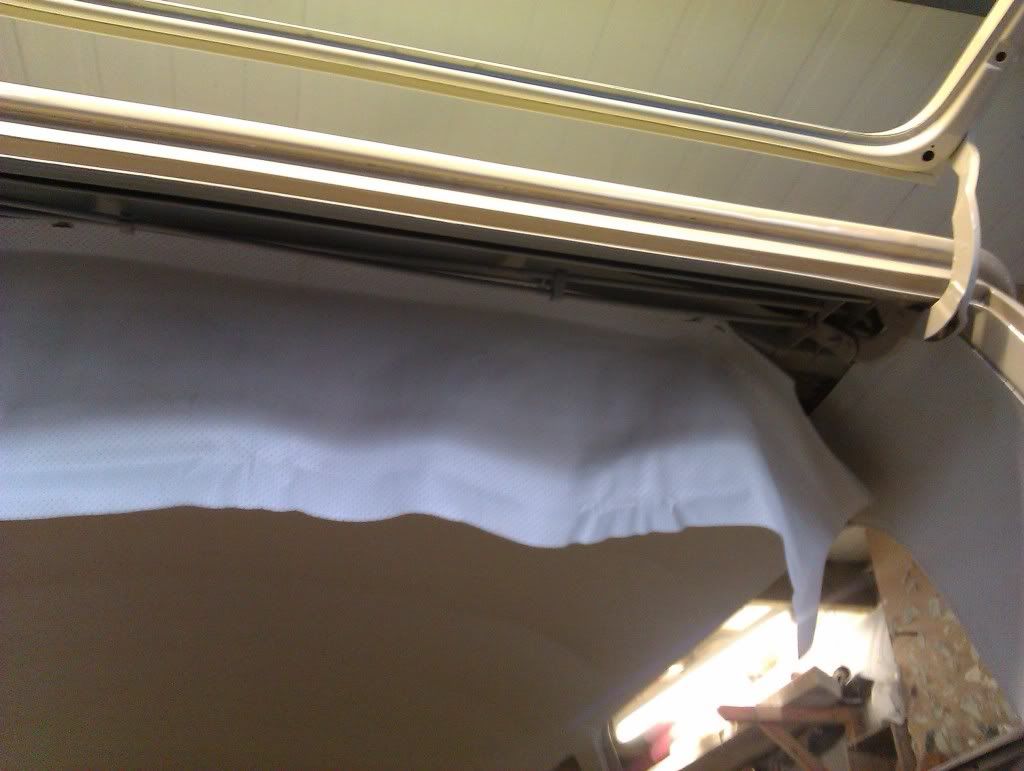
I noticed a couple of days after I had fitted the new insulation that some small areas of the insulation were not stuck properly.
I didn't feel 100% confident that the spray adhesive I used on the insulation would hold and thought that if it
came unstuck in places it could create condensation underneath and cause hidden rust problems.
So , after a fight with my conscience, I decided to remove the newly installed insulation I put in a couple of
weeks ago, and splashed out on some purpose made sound deadening pads for peace of mind ... :roll:
It wasn't as bad a job as I thought.
I just cut through the centre of the insulation and carefully removed it and stuck the new pads in place ....
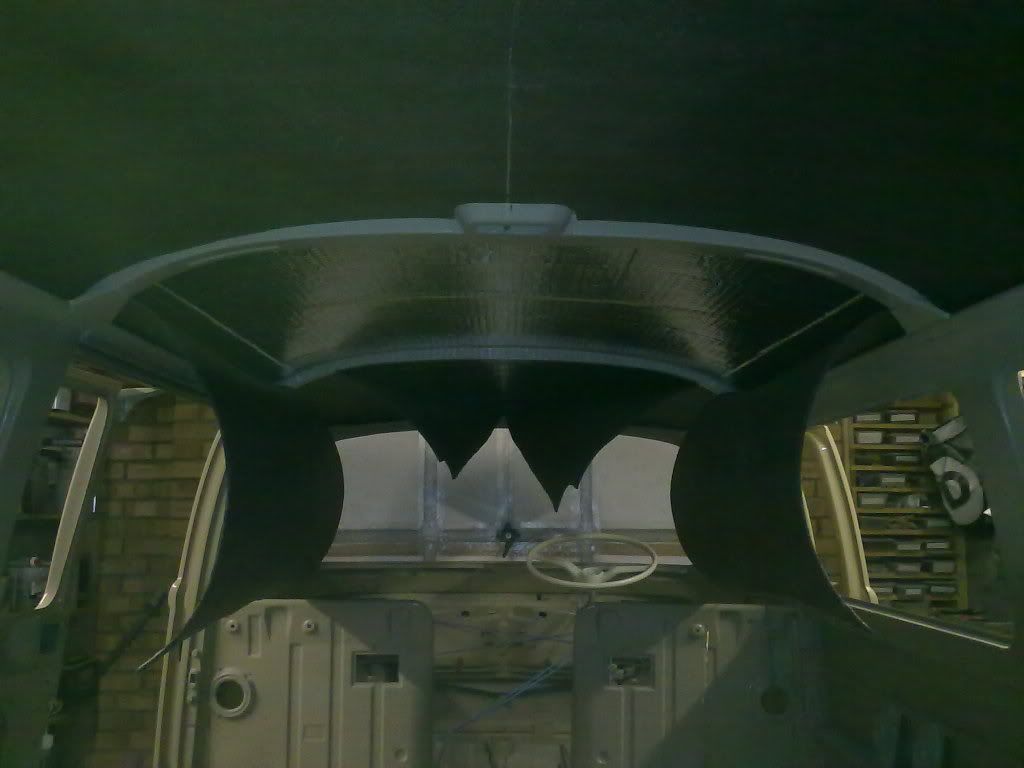
Then re-glued the closed cell foam on top of the new sound deadening panels..
Well pleased with the final result. Did the ' bang on the roof ' test and it sounds 100% better.
It's definately lost that empty 'tinny' sound - it sounds more like you're knocking on an oak door
Should now sound a lot quieter when driving and stay a lot warmer when camping......
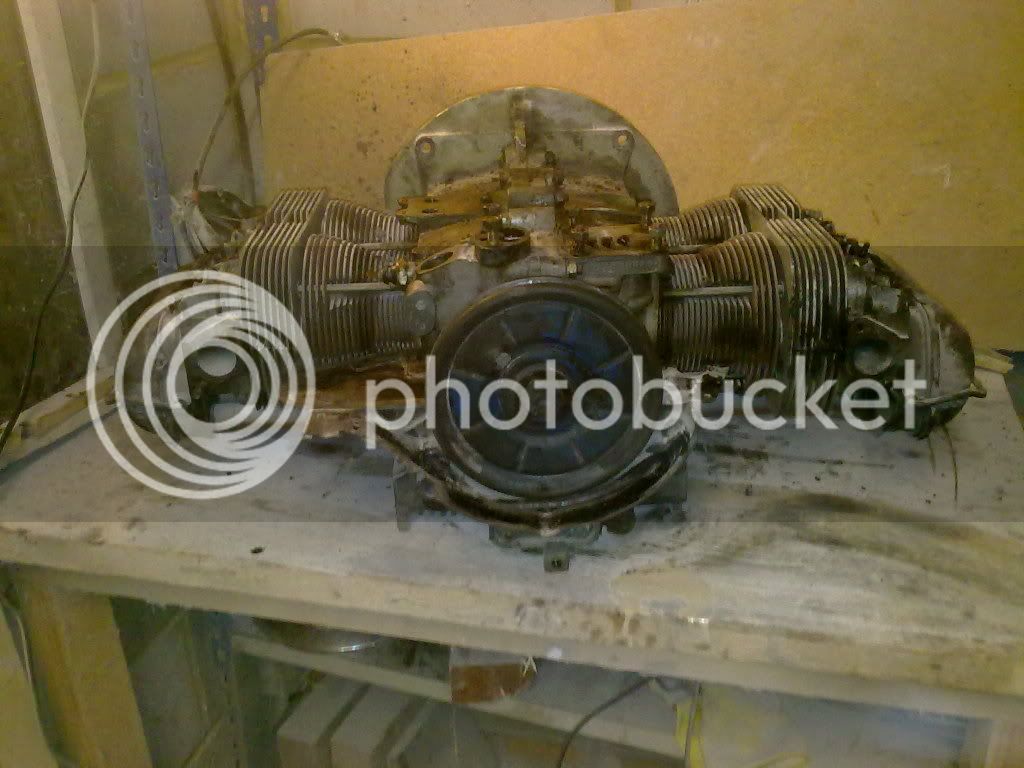
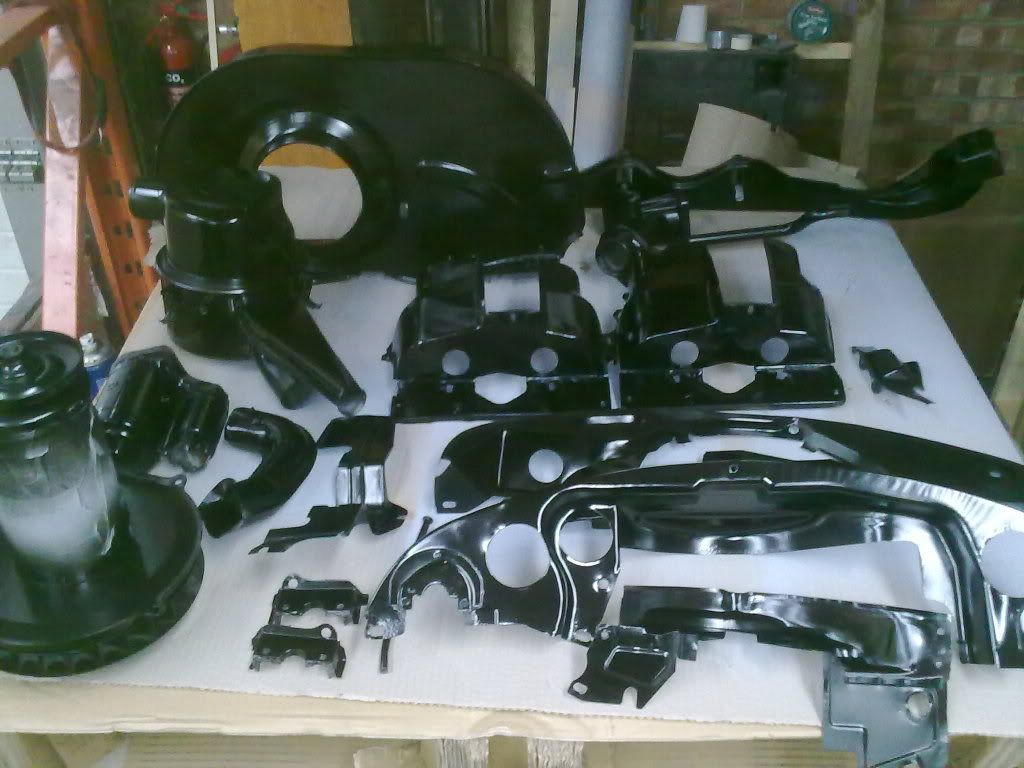
Started work on the engine...
Stripped the ancillaries and tin ware....
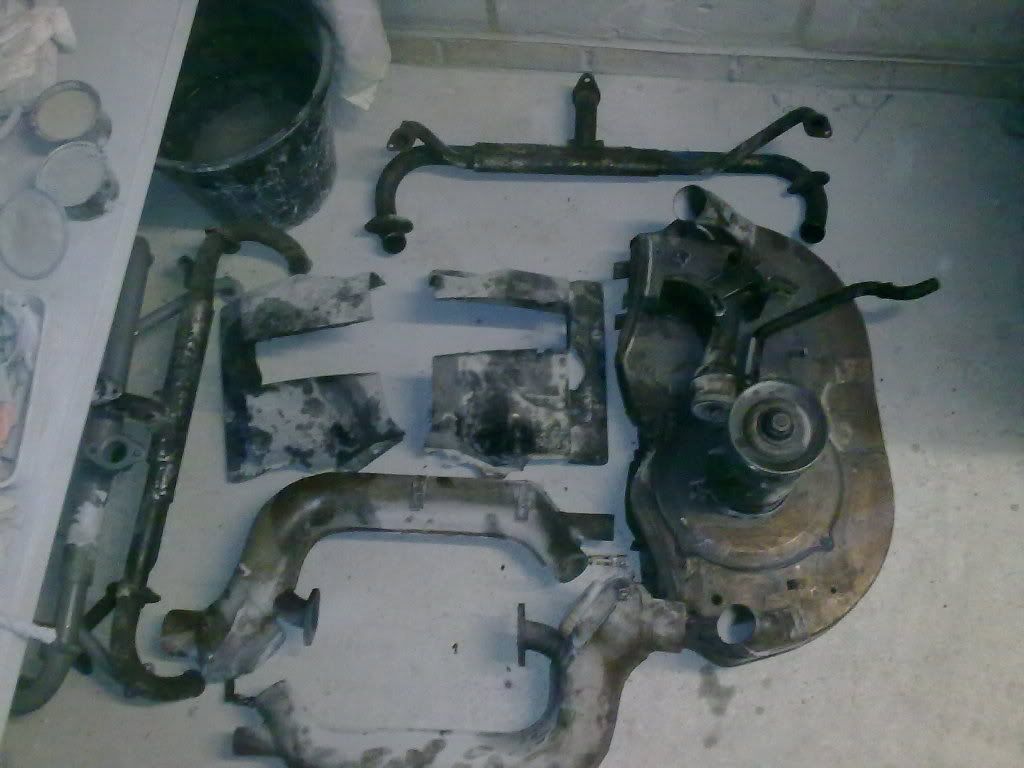
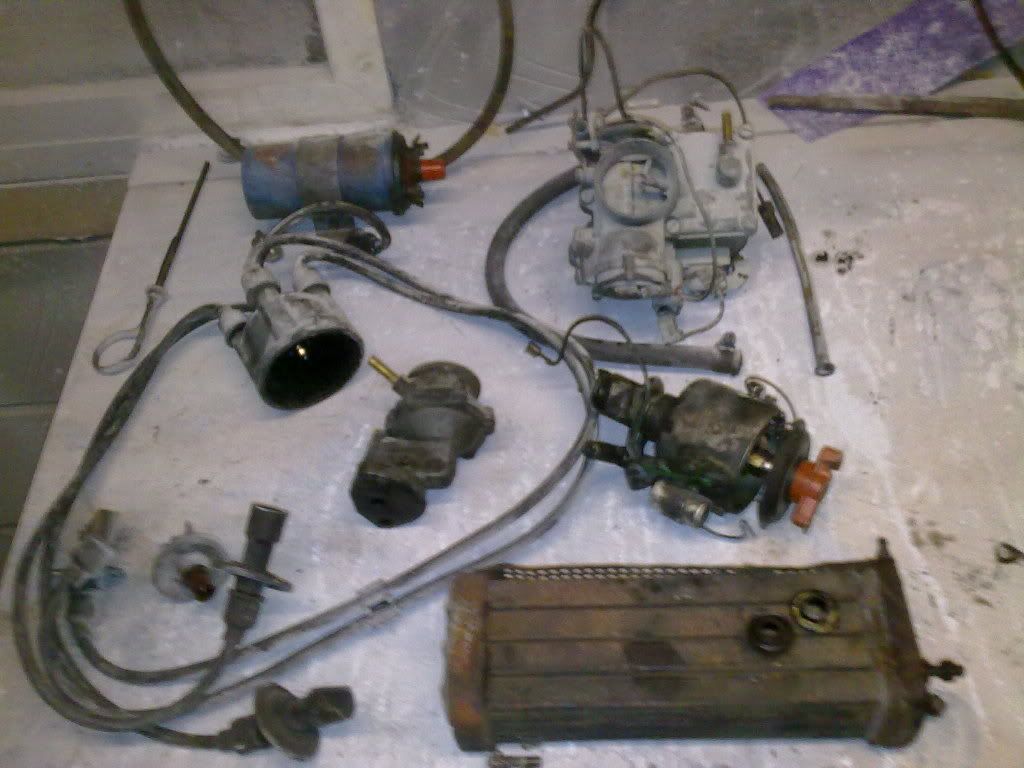
Ready for some investigative work....
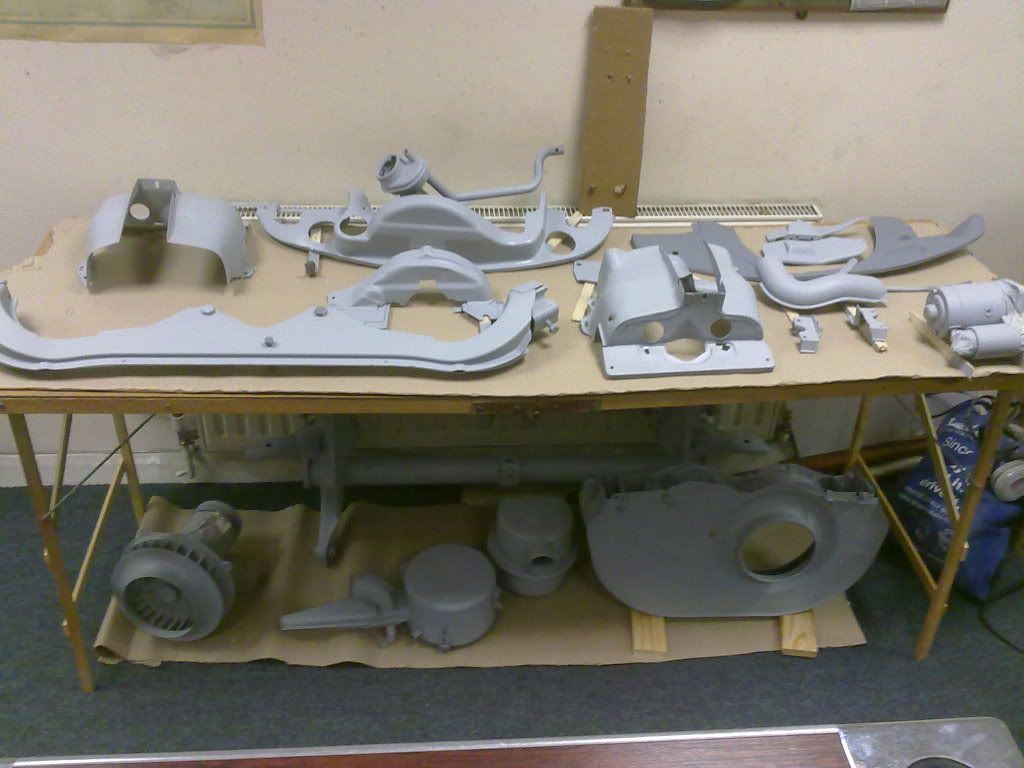
Spent a bit of time stripping the tin ware and is now in 2 pack primer waiting for the frost to go.
Once the weather breaks I will spray the tinware in 2 pack Satin Black.
But for now .....
Gearbox in the process of being de-greased and cleaned....
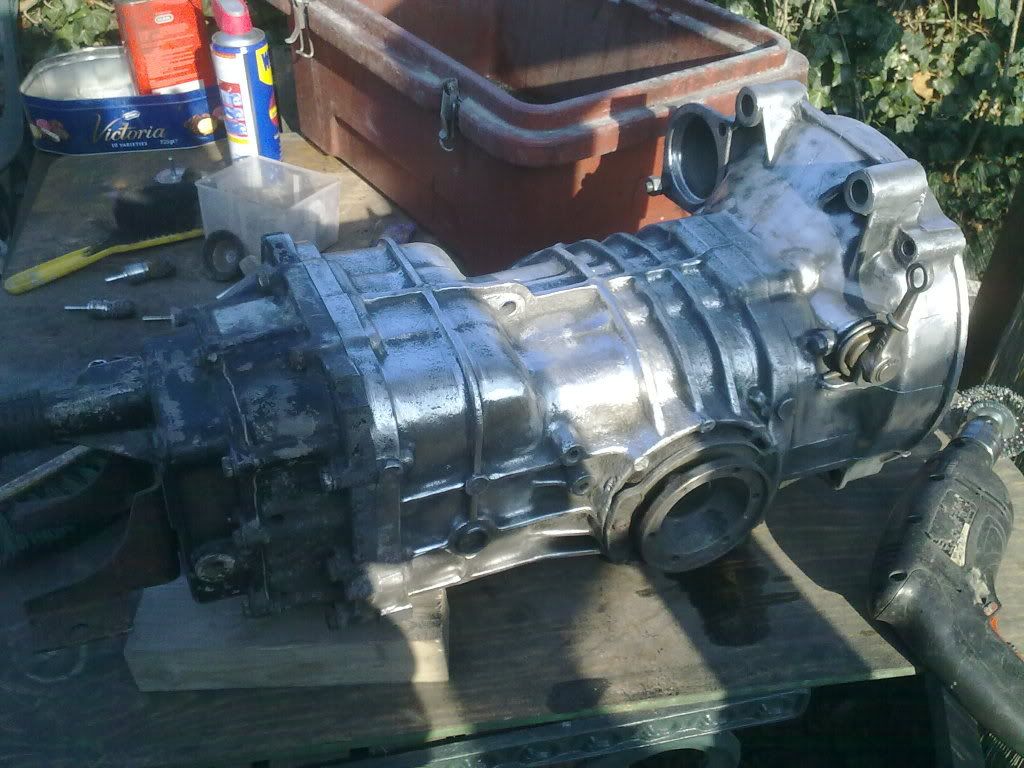
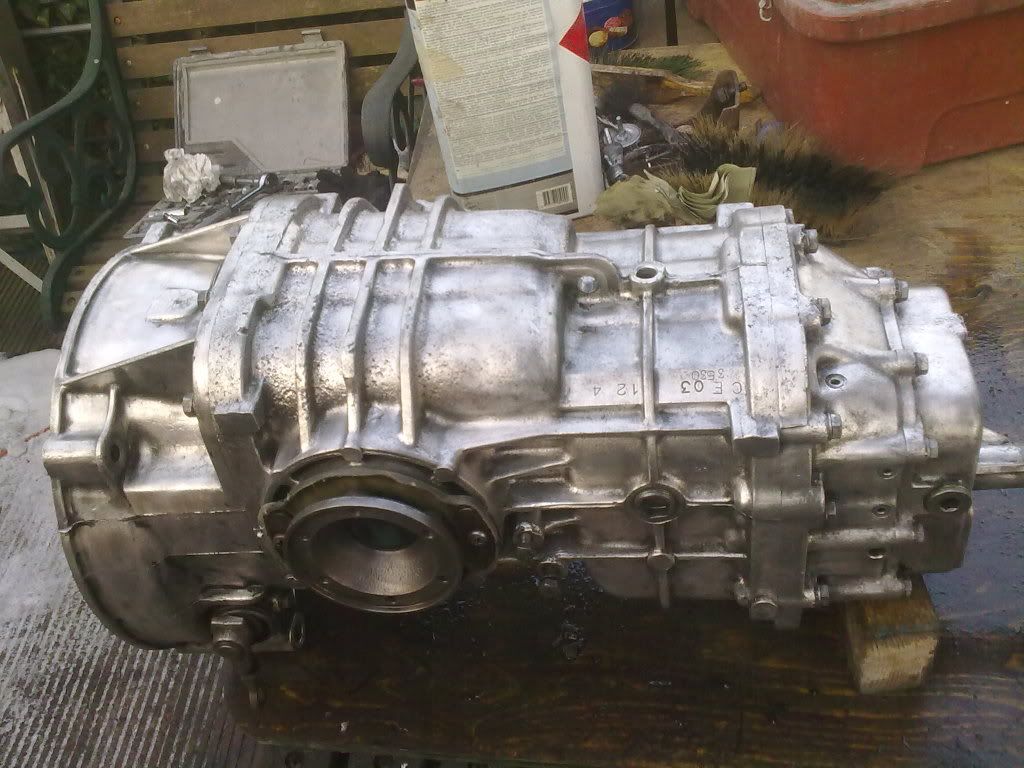
And etch primed.....
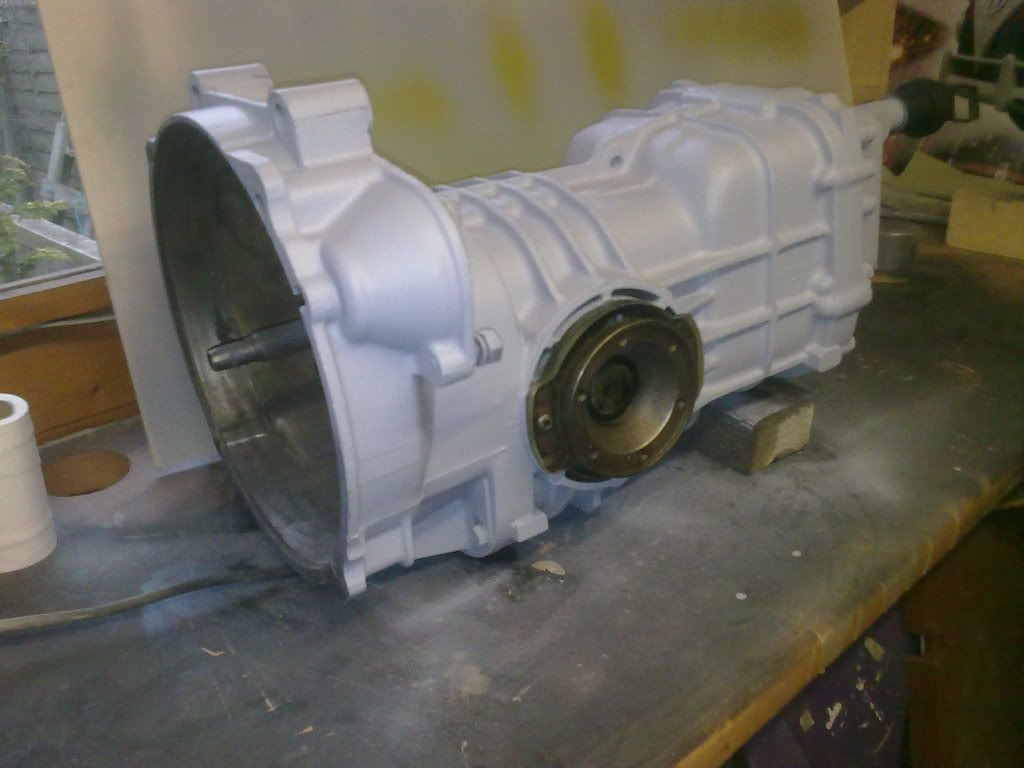
Major 'open wallet surgery' due very soon !
Need to order adjustable spring plates, dropped spindles, adjustable track rods, trailing arms ,
ball joints, coil overs etc for the suspension .
Also need to order a complete set of window rubbers and seals from Status VW and have sent my old wiring loom
to 'Rocket' Ron at VW Endangered Species for him to use as a copy to make me a new one .
Guess it's 'Happy Shopper' value foods and staying in for a few months :lol:
I noticed a couple of days after I had fitted the new insulation that some small areas of the insulation were not stuck properly.
I didn't feel 100% confident that the spray adhesive I used on the insulation would hold and thought that if it
came unstuck in places it could create condensation underneath and cause hidden rust problems.
So , after a fight with my conscience, I decided to remove the newly installed insulation I put in a couple of
weeks ago, and splashed out on some purpose made sound deadening pads for peace of mind ... :roll:
It wasn't as bad a job as I thought.
I just cut through the centre of the insulation and carefully removed it and stuck the new pads in place ....
Then re-glued the closed cell foam on top of the new sound deadening panels..
Well pleased with the final result. Did the ' bang on the roof ' test and it sounds 100% better.
It's definately lost that empty 'tinny' sound - it sounds more like you're knocking on an oak door
Should now sound a lot quieter when driving and stay a lot warmer when camping......
Started work on the engine...
Stripped the ancillaries and tin ware....
Ready for some investigative work....
Spent a bit of time stripping the tin ware and is now in 2 pack primer waiting for the frost to go.
Once the weather breaks I will spray the tinware in 2 pack Satin Black.
But for now .....
Gearbox in the process of being de-greased and cleaned....
And etch primed.....
Major 'open wallet surgery' due very soon !
Need to order adjustable spring plates, dropped spindles, adjustable track rods, trailing arms ,
ball joints, coil overs etc for the suspension .
Also need to order a complete set of window rubbers and seals from Status VW and have sent my old wiring loom
to 'Rocket' Ron at VW Endangered Species for him to use as a copy to make me a new one .
Guess it's 'Happy Shopper' value foods and staying in for a few months :lol:
Mickey Sam
Well-known member
UPDATE: ( a bit picture heavy but it's all for the record )
Still waiting for suspension parts and a few other bits etc so got on with a few other jobs.
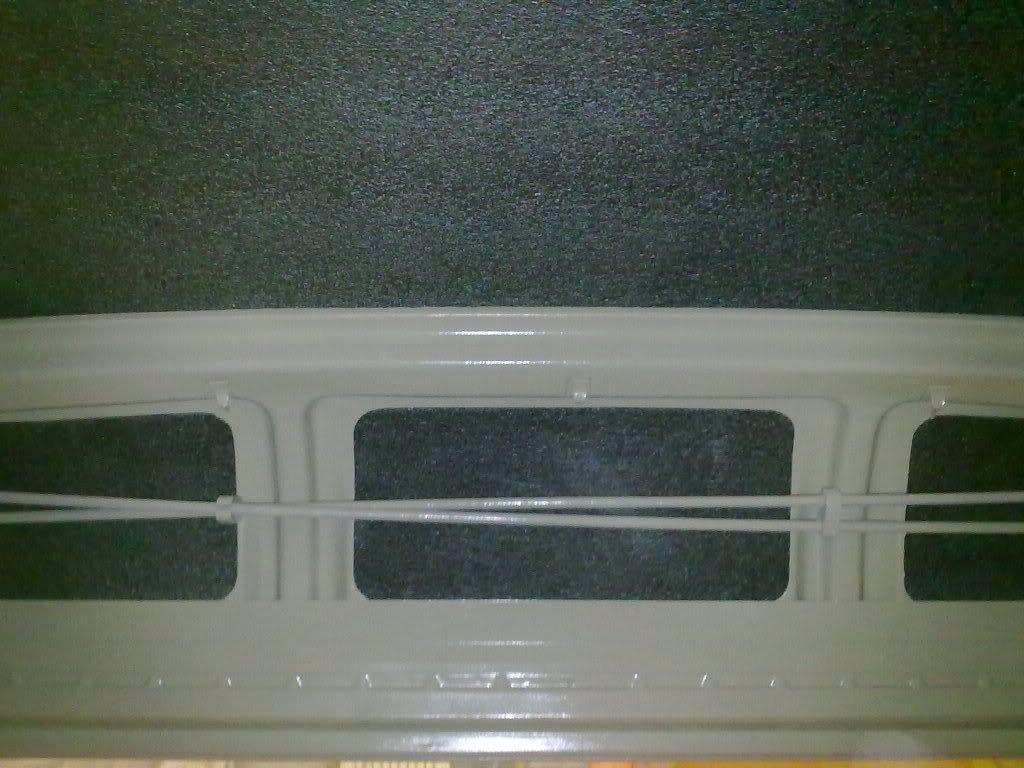
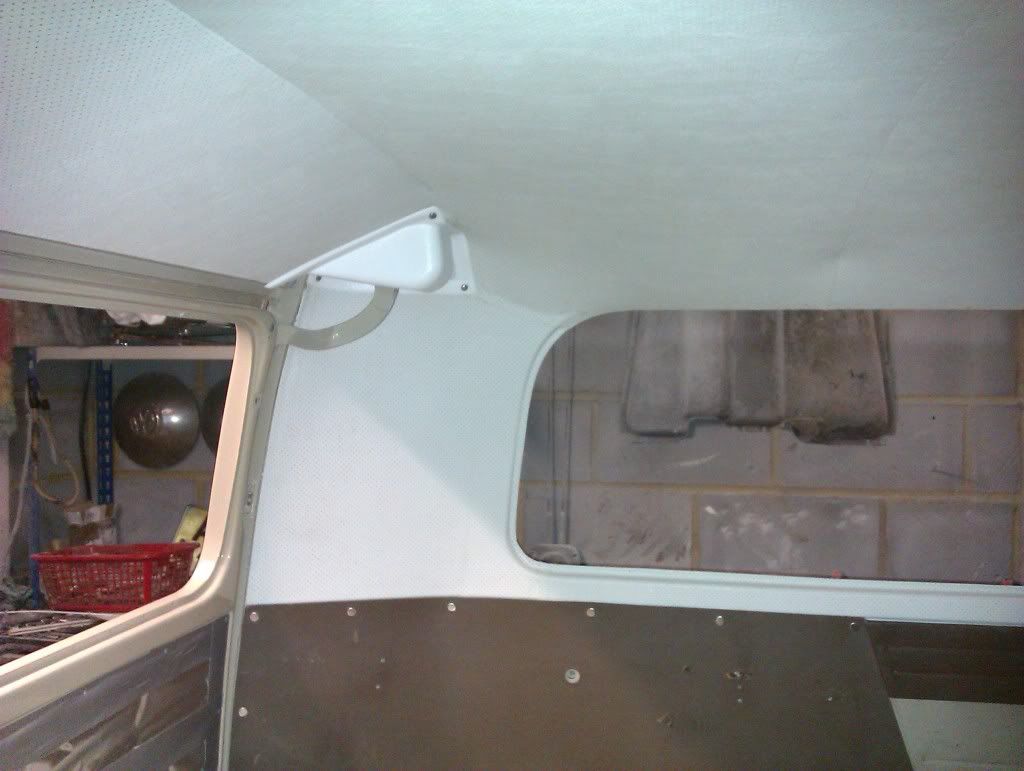
Headliner material around the window apertures...
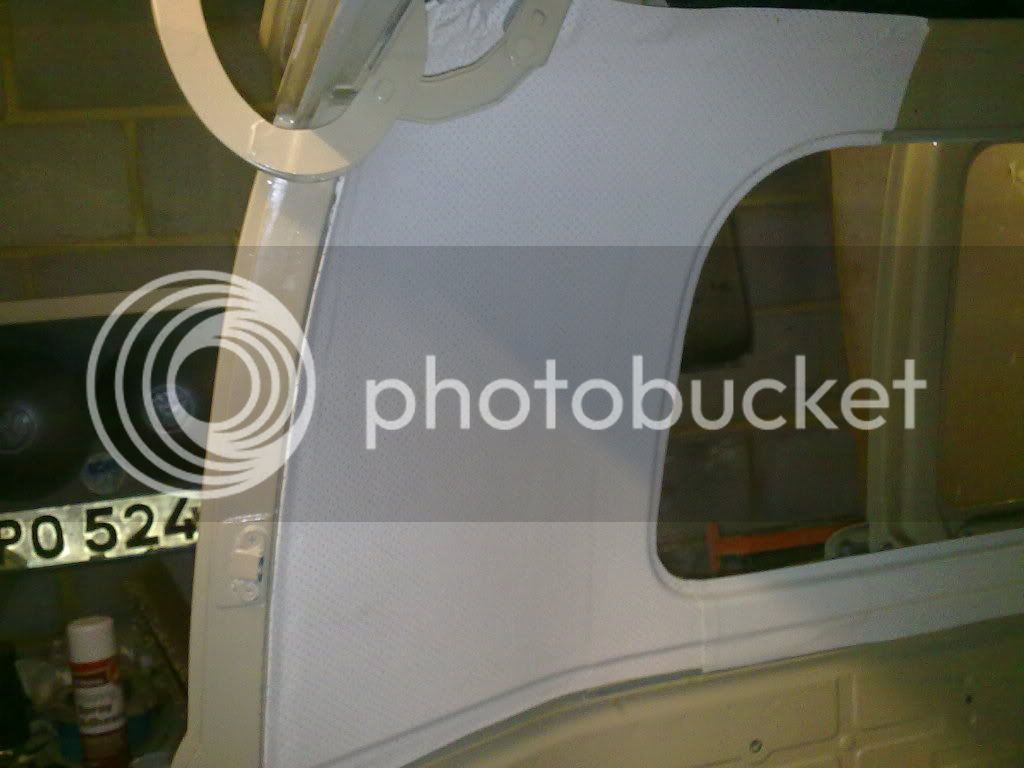
Headliner up, stretched and glued...
Trimmed in...

Over cab doors

And hinge covers..
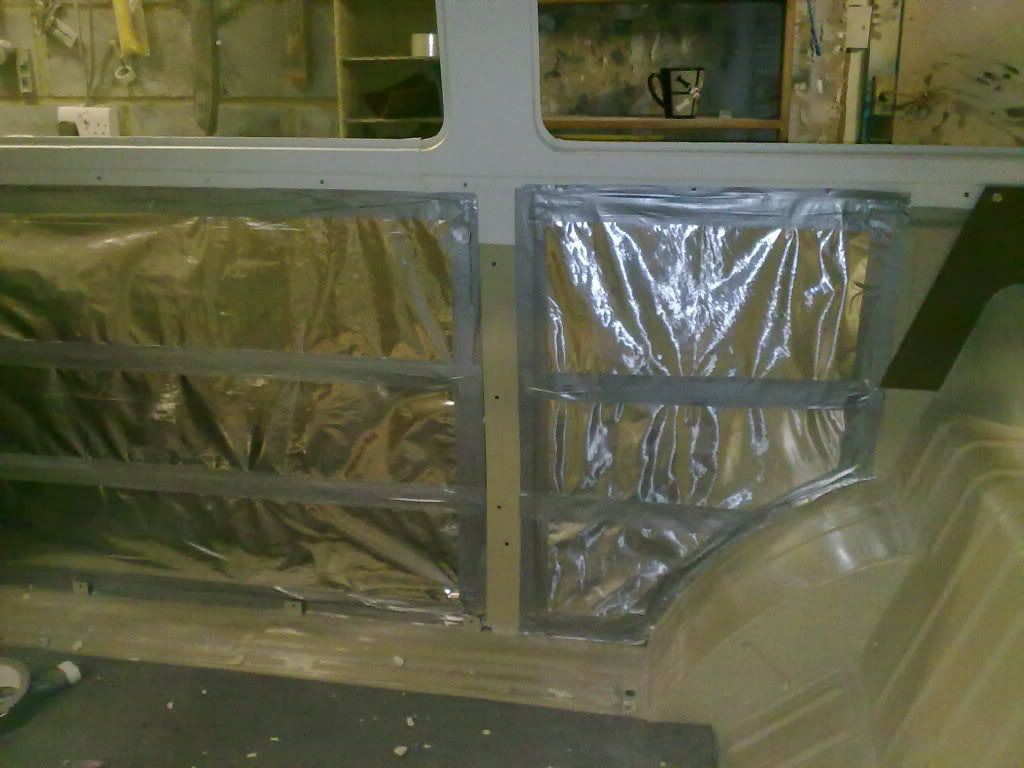
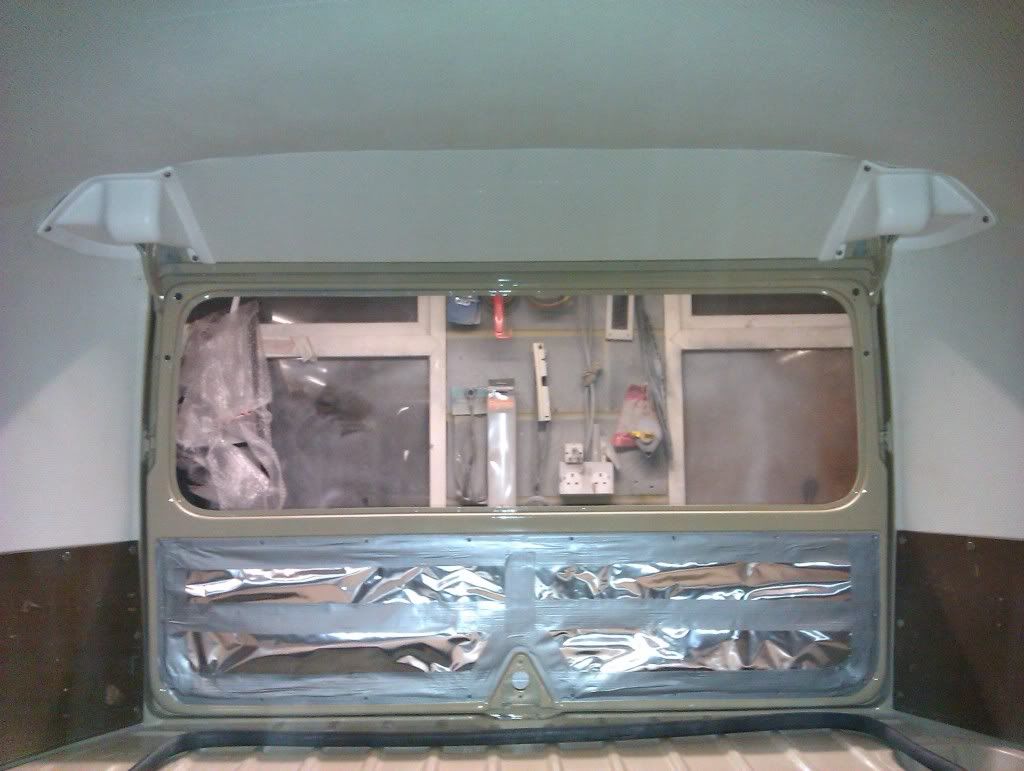
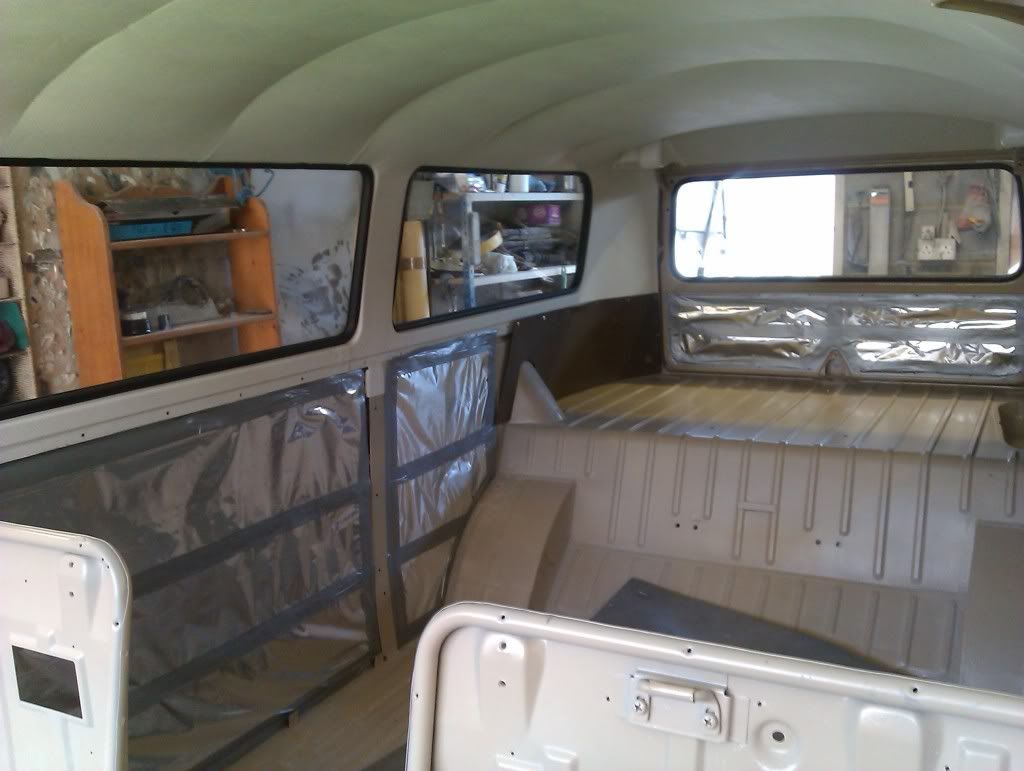
Insulation...
Sound deadening in the doors..

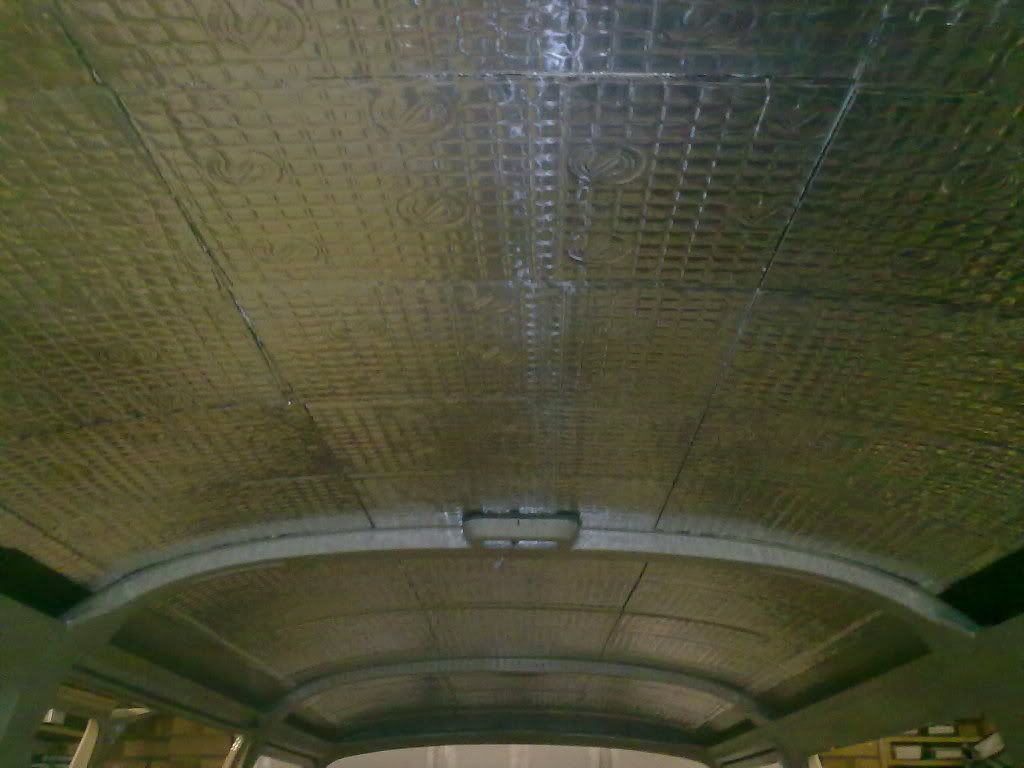
Started with sound deadening, followed by lightweight celotex insulation
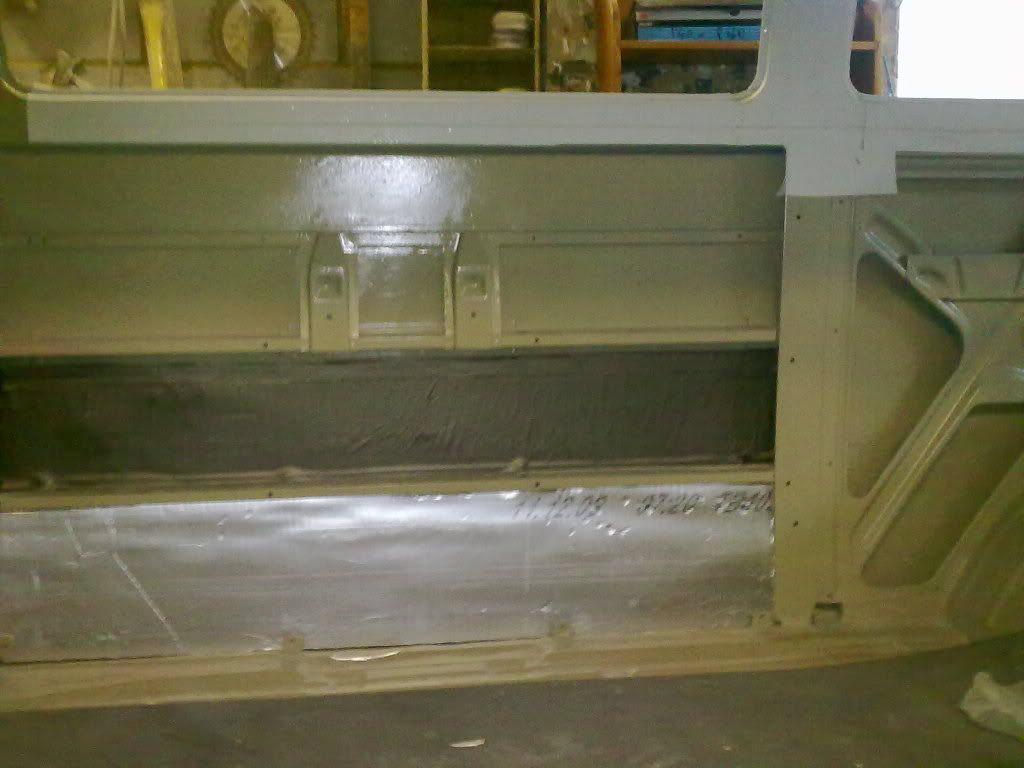
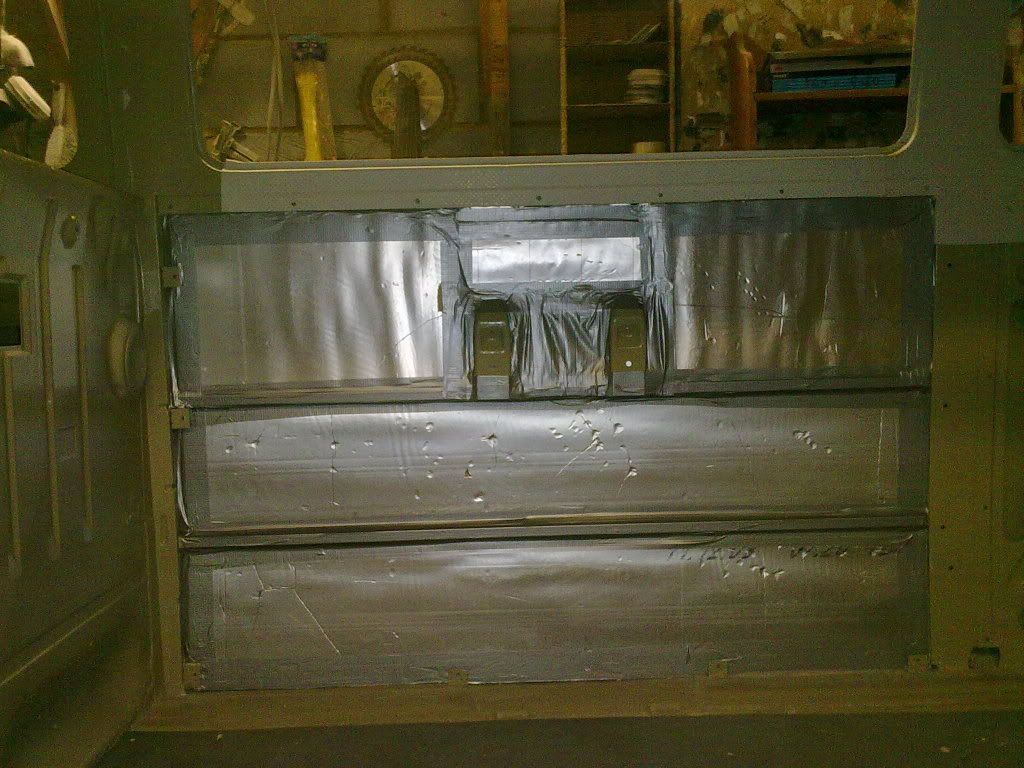
Finished with heavy duty foil sheeting...
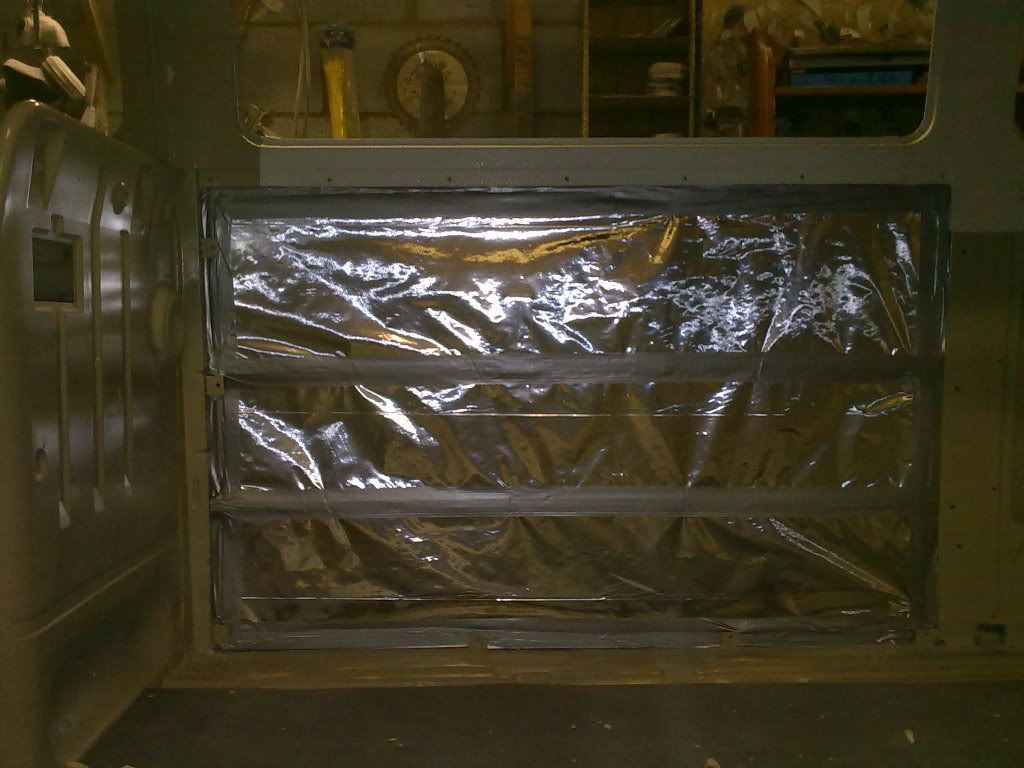
Insulated all the open panels..
Decided to stay with the original 14" steels so stripped ....
.
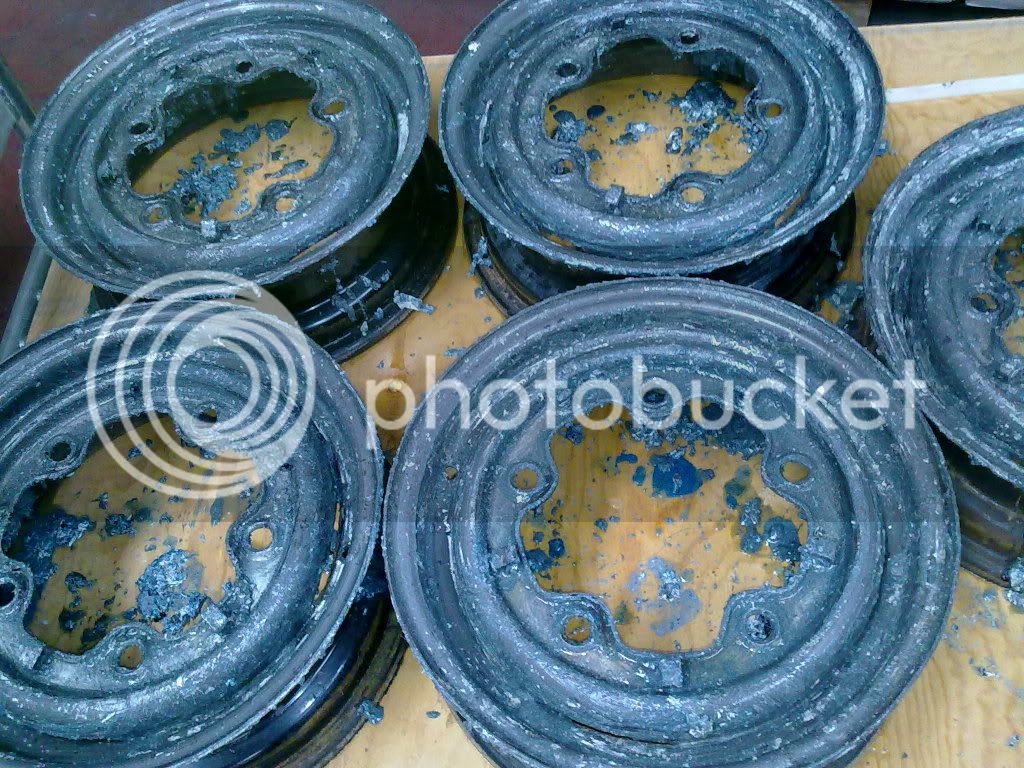
Treated......
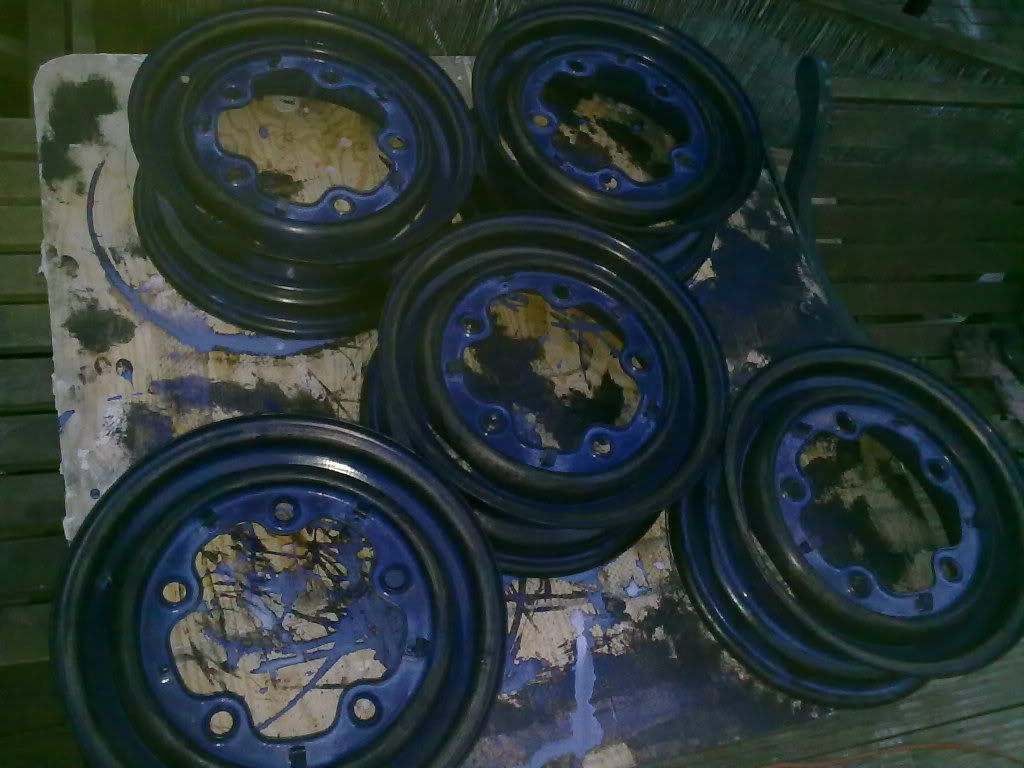
And primed...
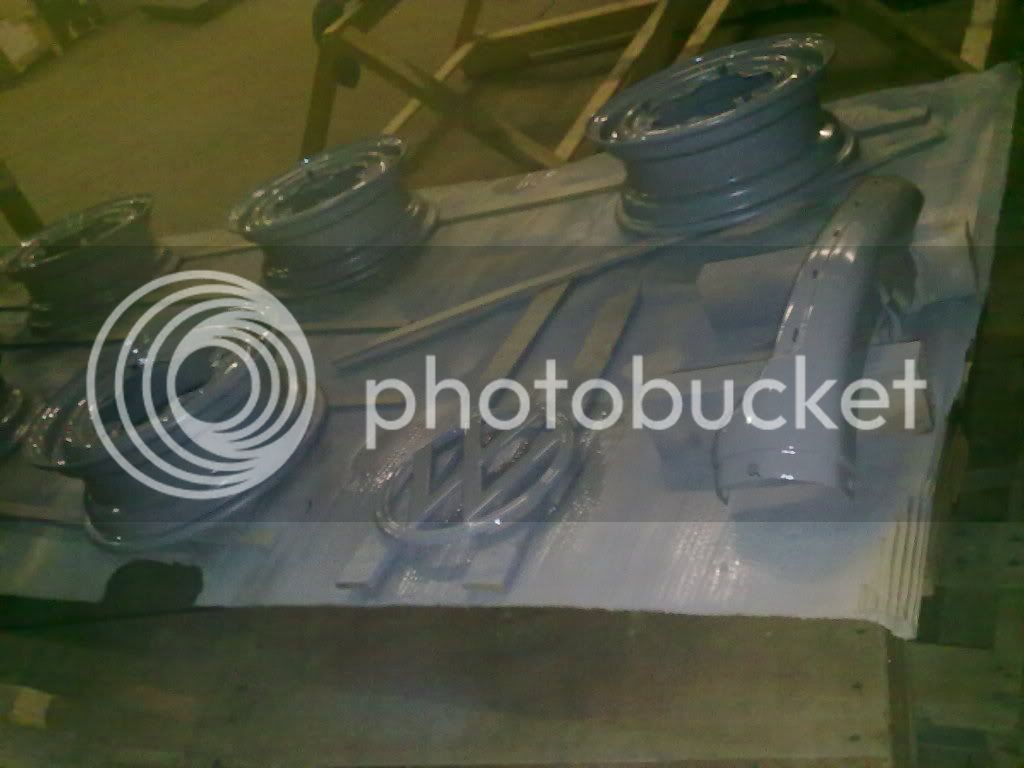
Sprayed the insides beige..
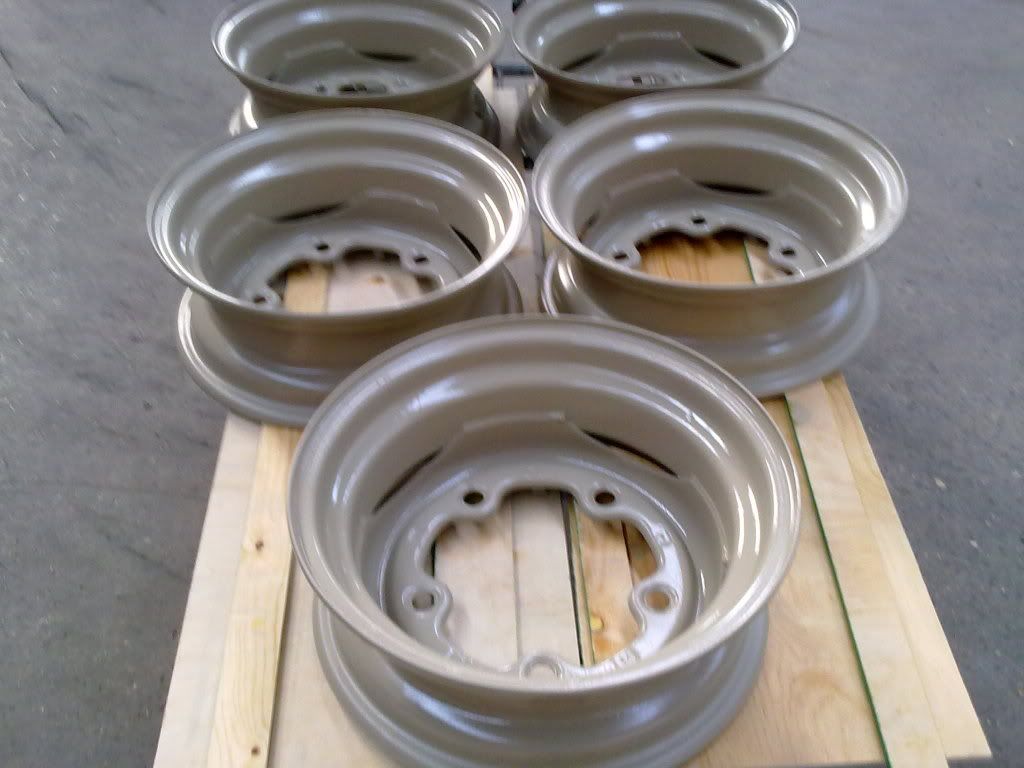
Outsides of the wheels, bumpers and front badge will all be the same white as the roof..
Final prep on the bumpers...
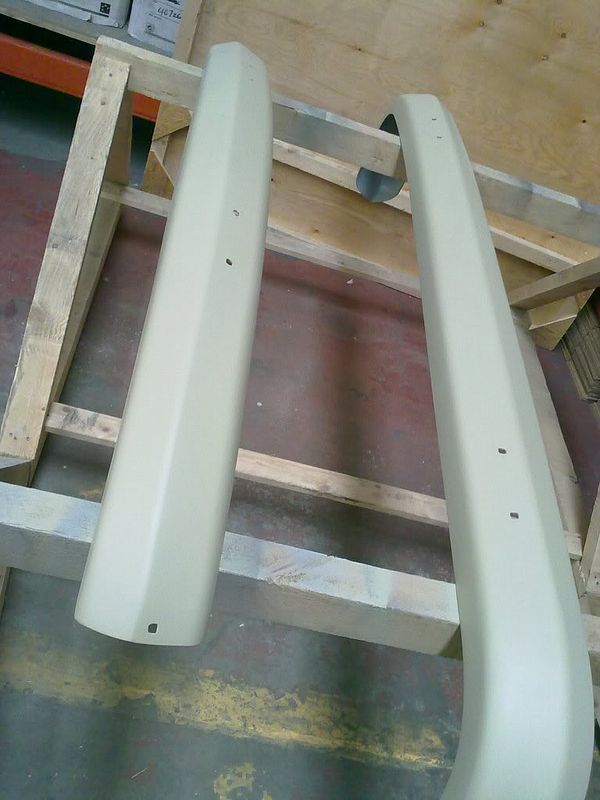
Bumper irons stripped and re-sprayed...
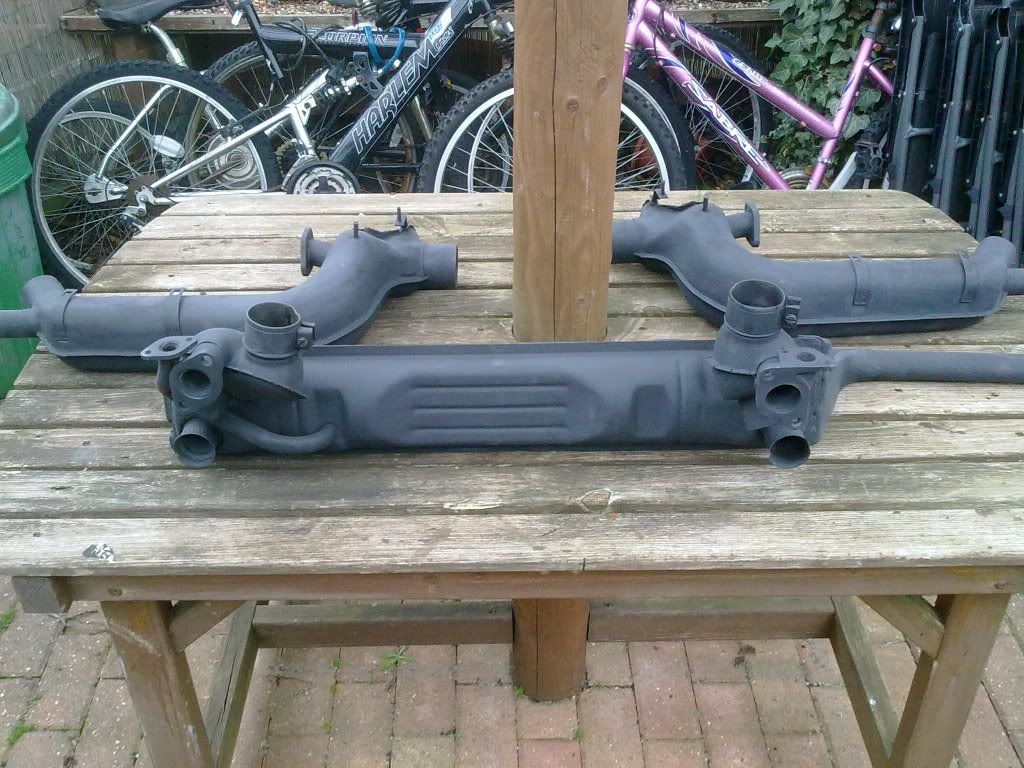
Exhaust given a coat of VHT paint ( bit of bullshit )
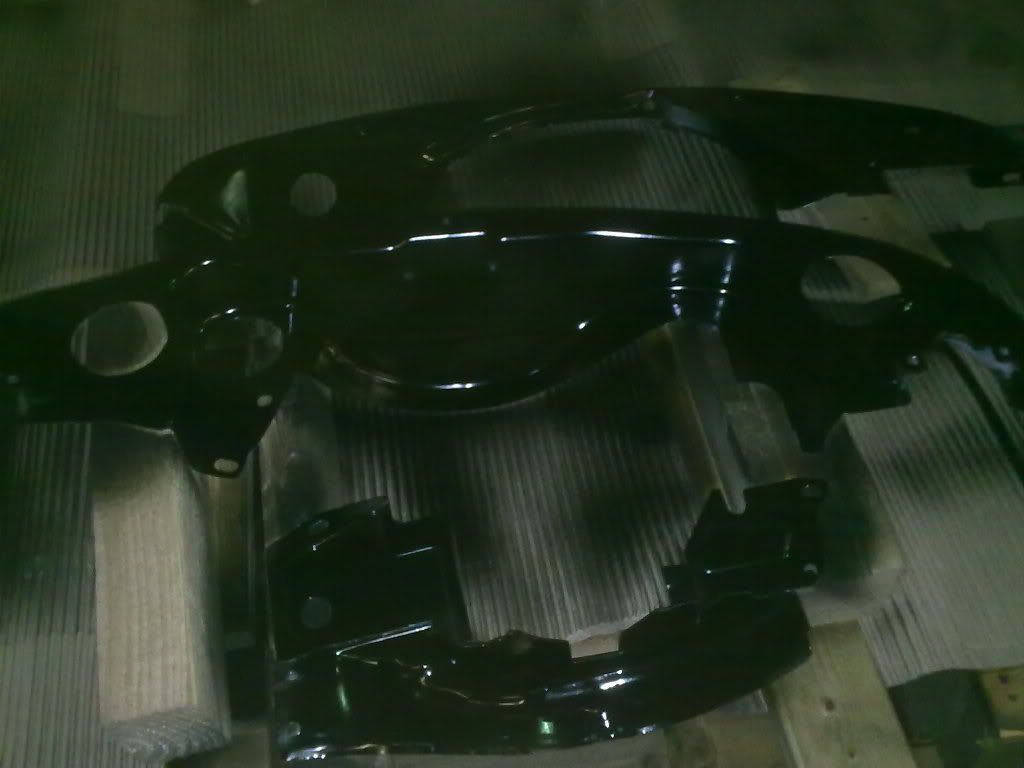
Tinwear top coated satin black...
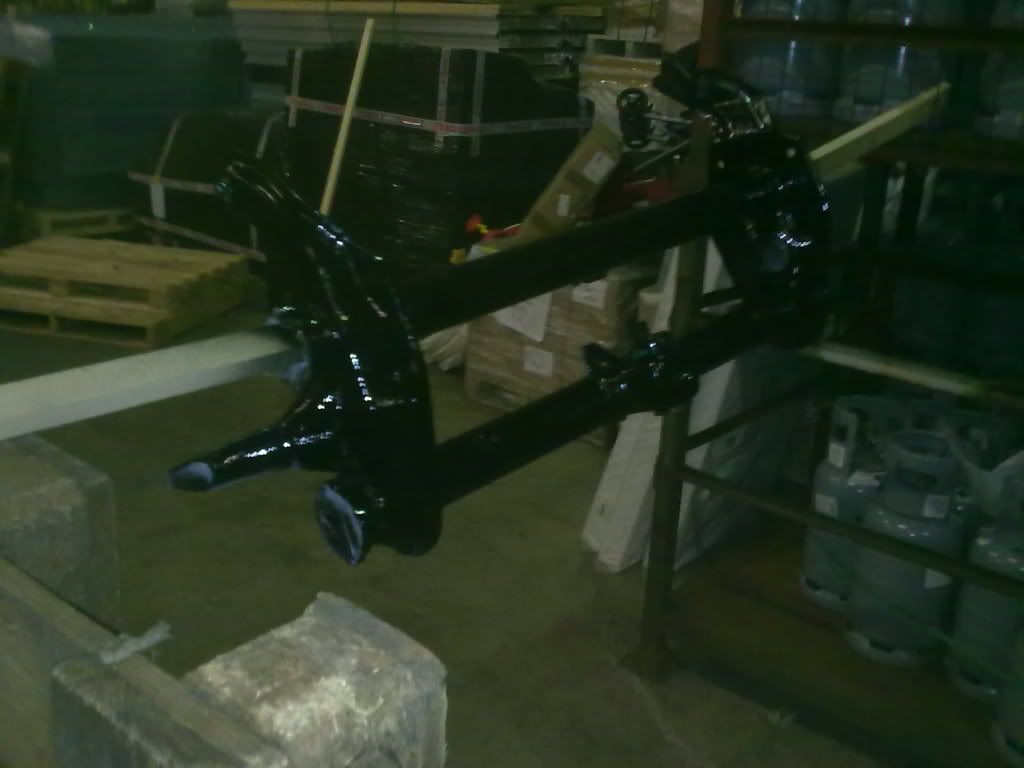
Same for the beam...primed..
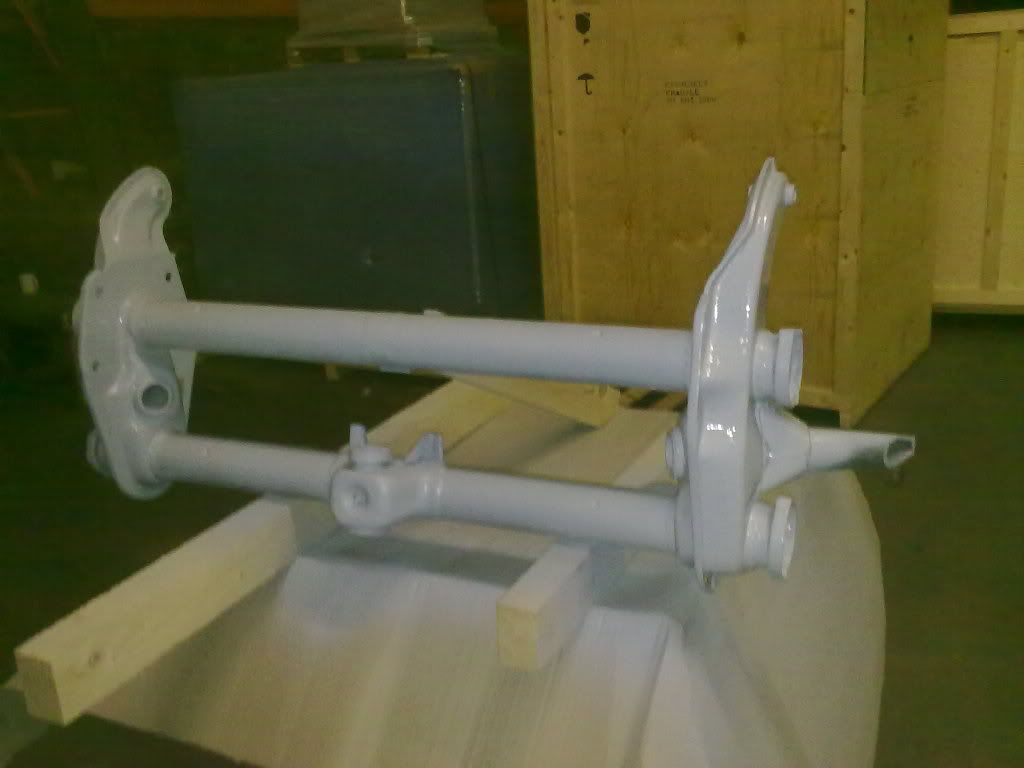
2 pack satin black....
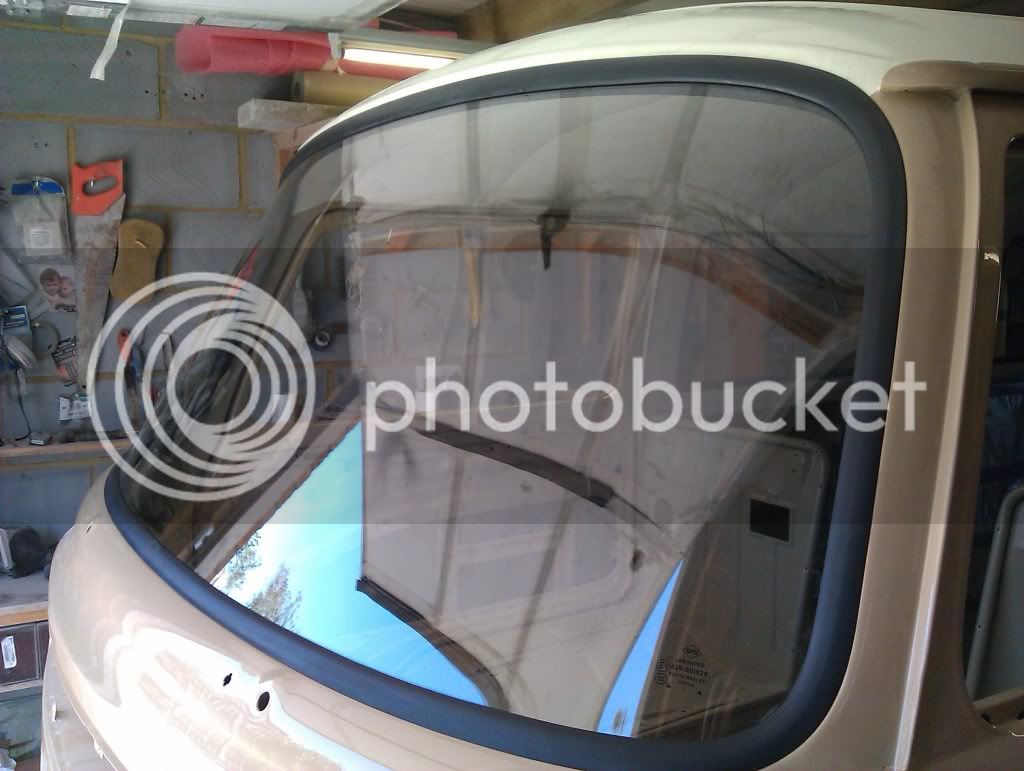
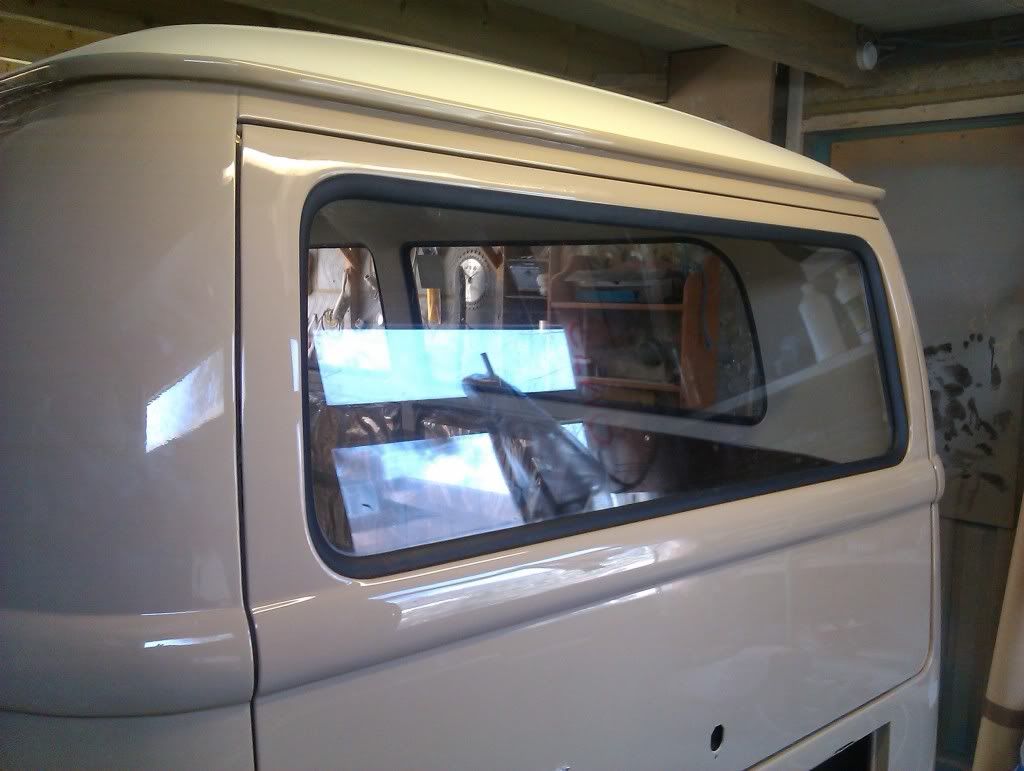
And then a big box arrived from Status VW, including a full rubber kit ..
So in went the windows....
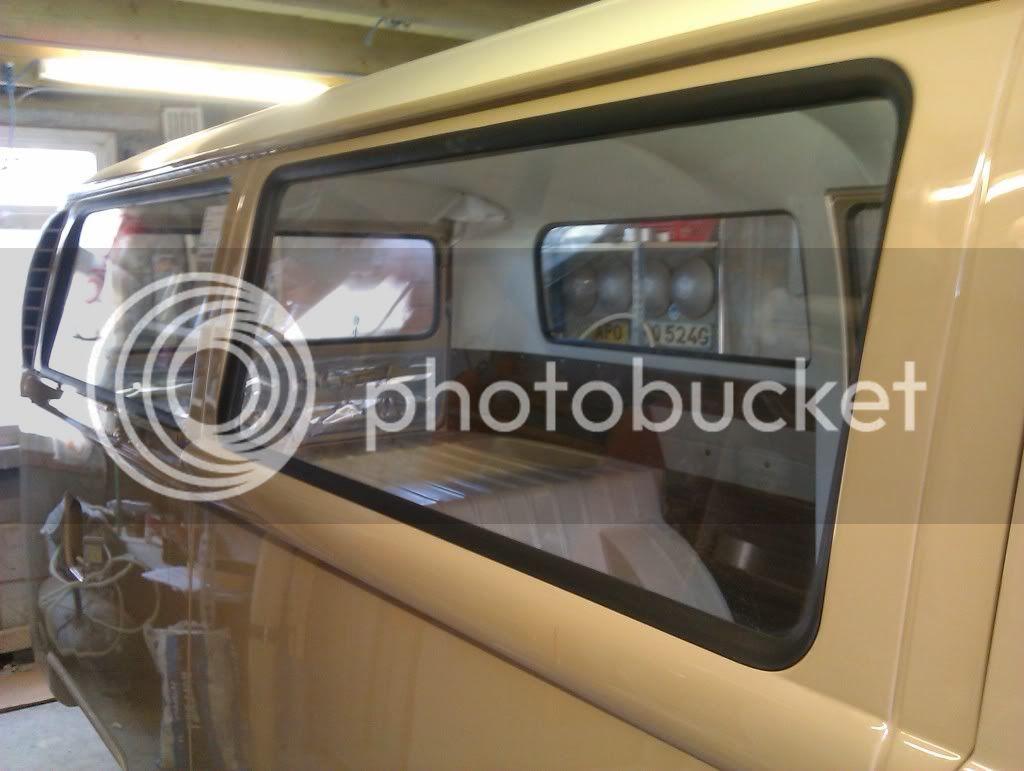
Starting to see the light at the end of the tunnel but there's still a long way to go yet !!!!!
)Still waiting for suspension parts and a few other bits etc so got on with a few other jobs.
Headliner material around the window apertures...
Headliner up, stretched and glued...
Trimmed in...
Over cab doors
And hinge covers..
Insulation...
Sound deadening in the doors..
Started with sound deadening, followed by lightweight celotex insulation
Finished with heavy duty foil sheeting...
Insulated all the open panels..
Decided to stay with the original 14" steels so stripped ....
.
Treated......
And primed...
Sprayed the insides beige..
Outsides of the wheels, bumpers and front badge will all be the same white as the roof..
Final prep on the bumpers...
Bumper irons stripped and re-sprayed...
Exhaust given a coat of VHT paint ( bit of bullshit
)
Tinwear top coated satin black...
Same for the beam...primed..
2 pack satin black....
And then a big box arrived from Status VW, including a full rubber kit ..
So in went the windows....
Starting to see the light at the end of the tunnel but there's still a long way to go yet !!!!!
Mickey Sam
Well-known member
Just back from a 2 week break and I'm still waiting for suspension parts and a few other bits to be delivered so got on with few little more bits ...
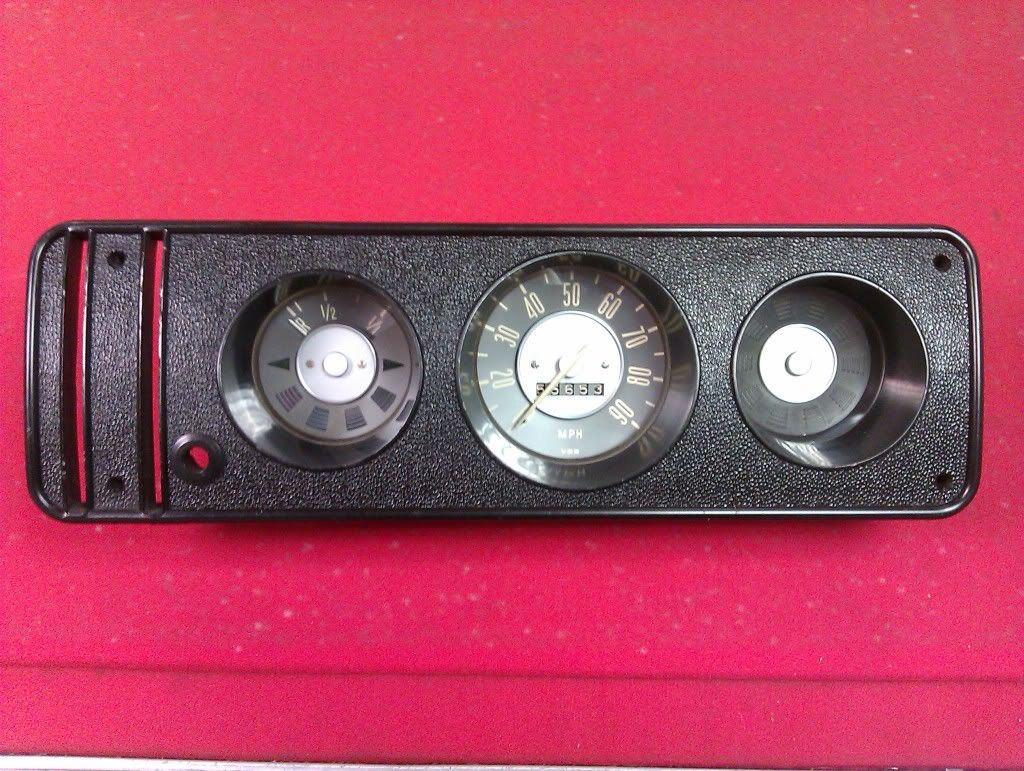
Cleaned up the speedo etc and sprayed the vinyl. I used the proper vinyl paint which I think looks OK as long as you don't spray it too thick...
Then put a bit of sound deadening behind the front panel..
Then 4 mm of closed cell foam.
I might add another couple of layers of foam in later but don't want to obstruct the instalation of the new loom at this stage..
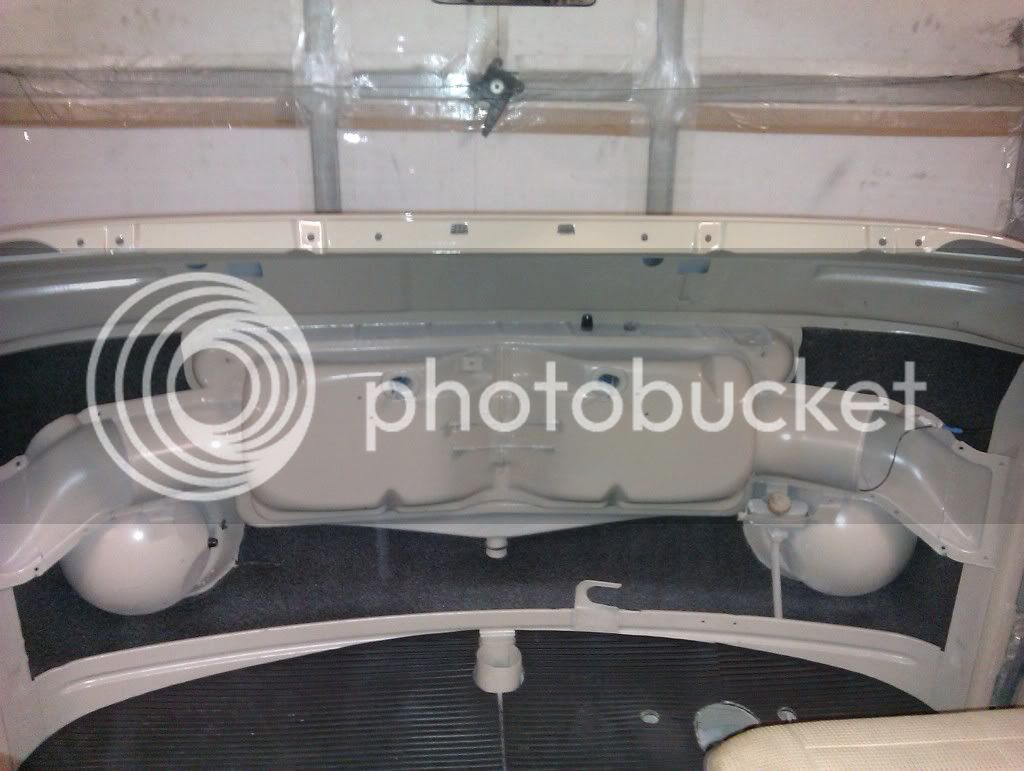
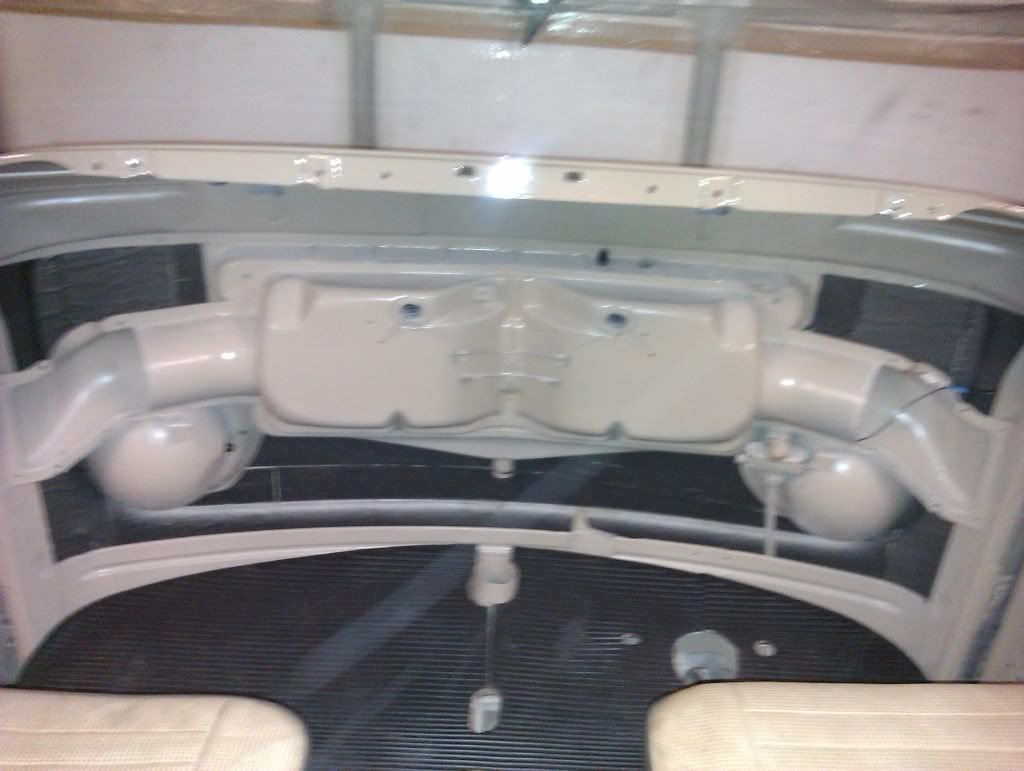
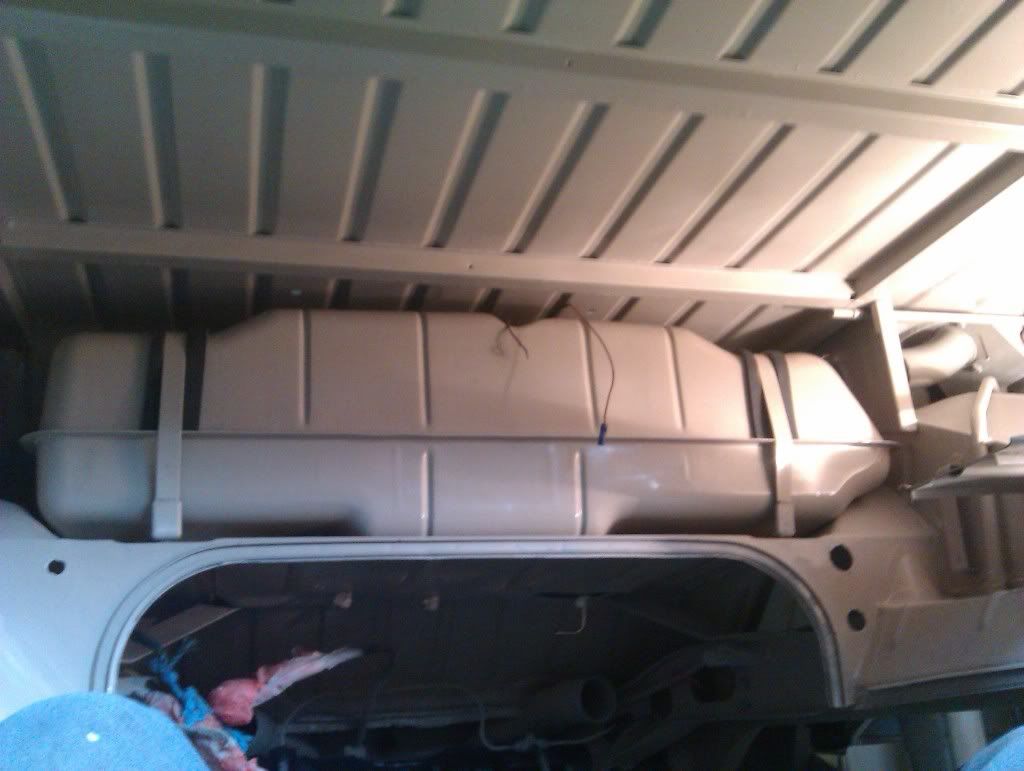
Then prepared to re-install the fuel tank using nob absorbent foam..

And then then strapped the tank back in place..
Cleaned up the speedo etc and sprayed the vinyl. I used the proper vinyl paint which I think looks OK as long as you don't spray it too thick...
Then put a bit of sound deadening behind the front panel..
Then 4 mm of closed cell foam.
I might add another couple of layers of foam in later but don't want to obstruct the instalation of the new loom at this stage..
Then prepared to re-install the fuel tank using nob absorbent foam..
And then then strapped the tank back in place..
Similar threads
- Replies
- 20
- Views
- 1K
Vehicle For Sale
1971 genuine Westfalia early bay, plus complete camping equipment.
- Replies
- 2
- Views
- 2K