PumpKINstien

Early Bay Forum

Help Support Early Bay Forum:

This site may earn a commission from merchant affiliate links, including eBay, Amazon, and others.
muntz70 said:
I would suggest just cutting slits in the mat and having the mat just rest on the base of the shifter. That way if you ever put the old shifter back in you don't see the floor where mat "used" to be. Keeps you from destroying a perfect rare mat...

I'll work a way to fit with fewer cuts as possible, just needed more time yesterday, not really a job I want to rush to be honest.

Des
 
Well, I was going to put the engine in this weekend but had a few other jobs to complete.

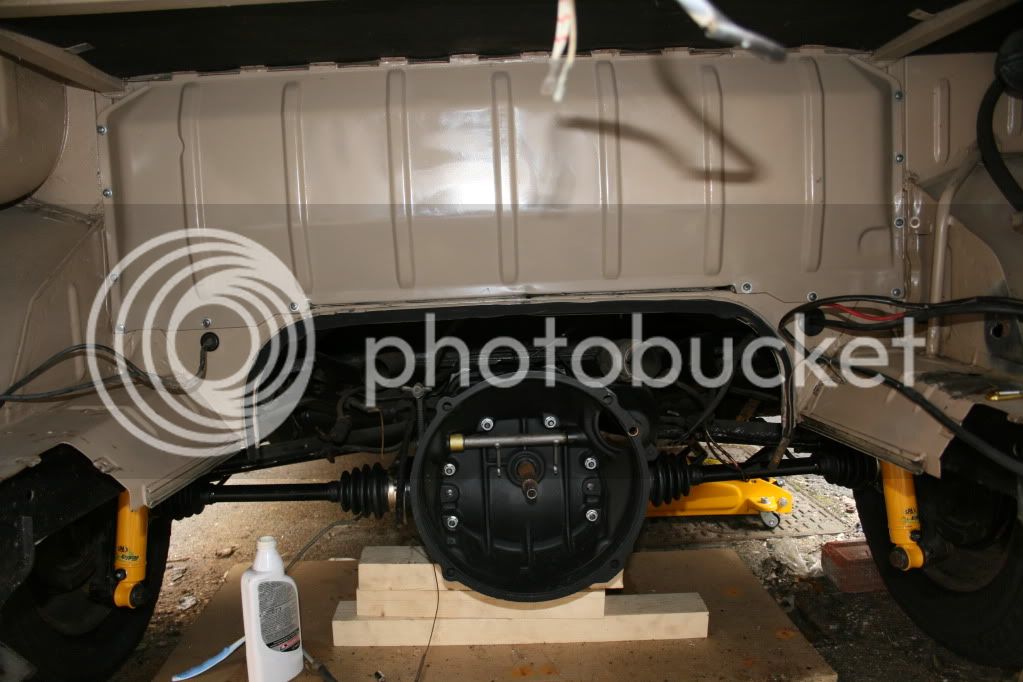
Installed my drive shafts and I finished installing my fuel tank so that's all sealed up and ready. Oh and fitted my gearbox seal from Status (top tip leave the seal in the sun before fitting, slides in a treat)

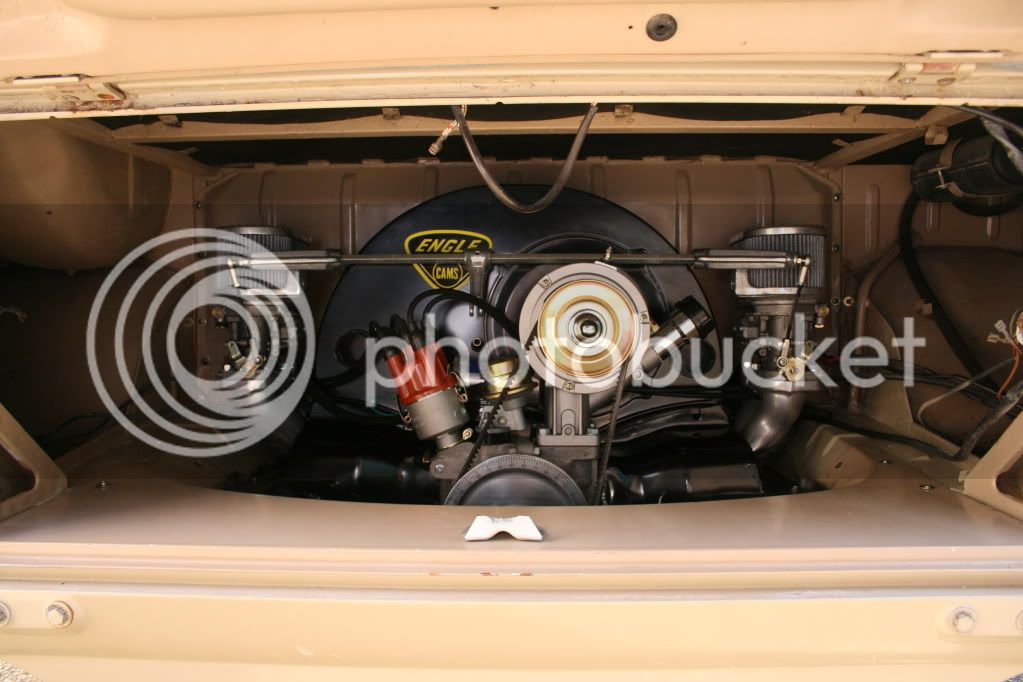
I also cleaned up the engine bay and cut out the tray that the air filter arrangement would sit on it I didn't have twin carbs.

IMG_7027.jpg


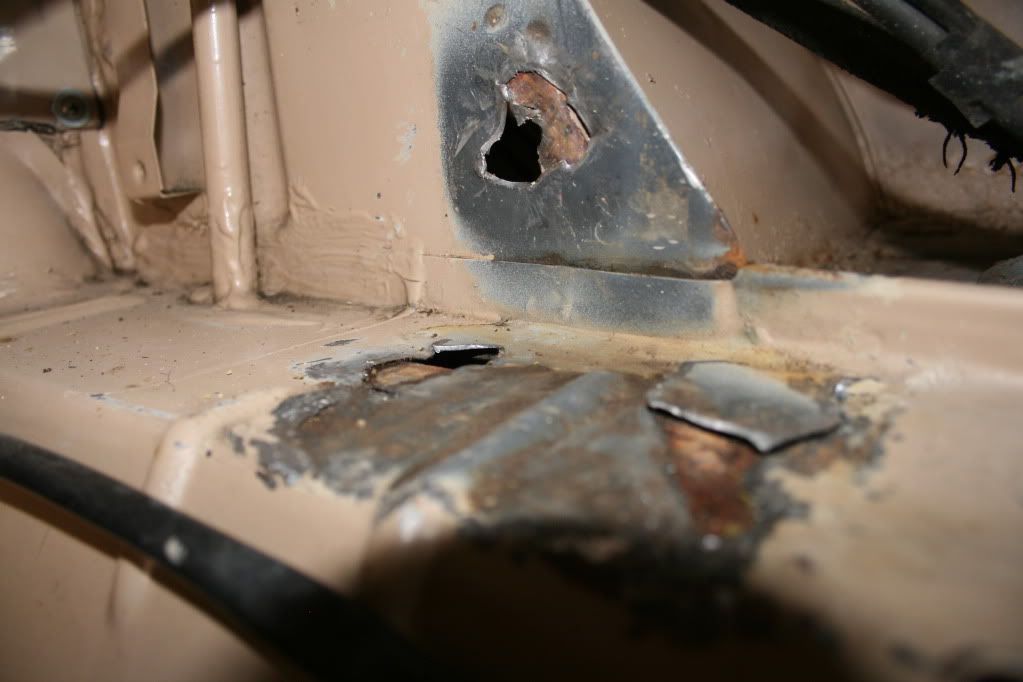
However, by removing the tray which really didn't want to move I created a couple of holes in the engine bay metal work :cry:

IMG_7029.jpg


So I need to sort those out before I drop the engine in, I got vexxed at this point so stopped what I was doing and did some gardening instead. Not sure if I can fill these or will need to weld a small plate in?

So my next gallery post will be of my engine in place.

IMG_7030.jpg


Des
 
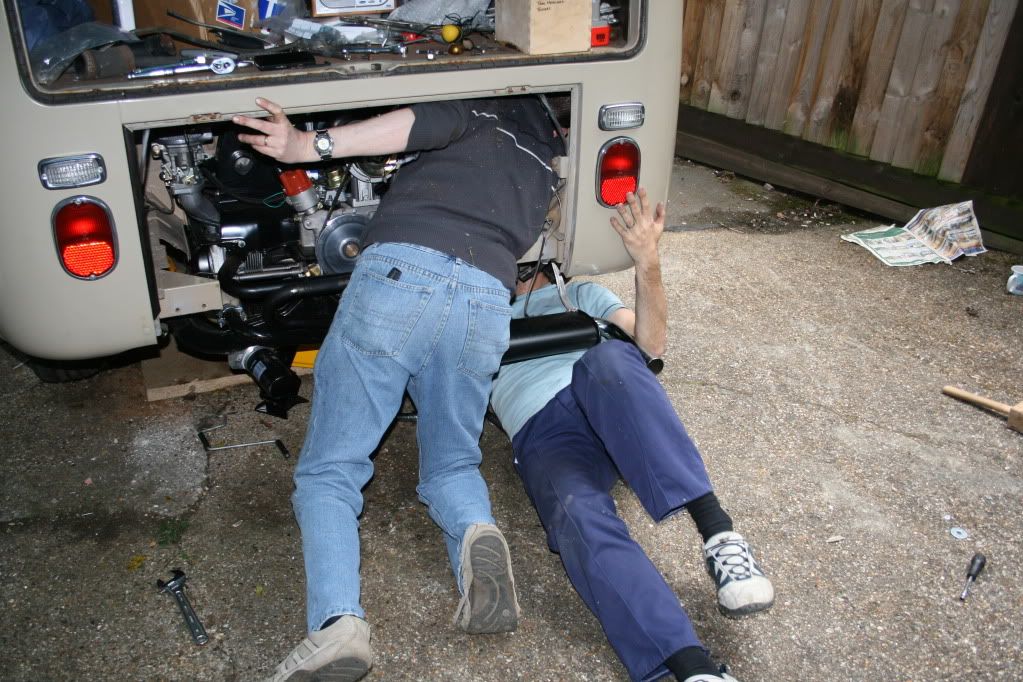
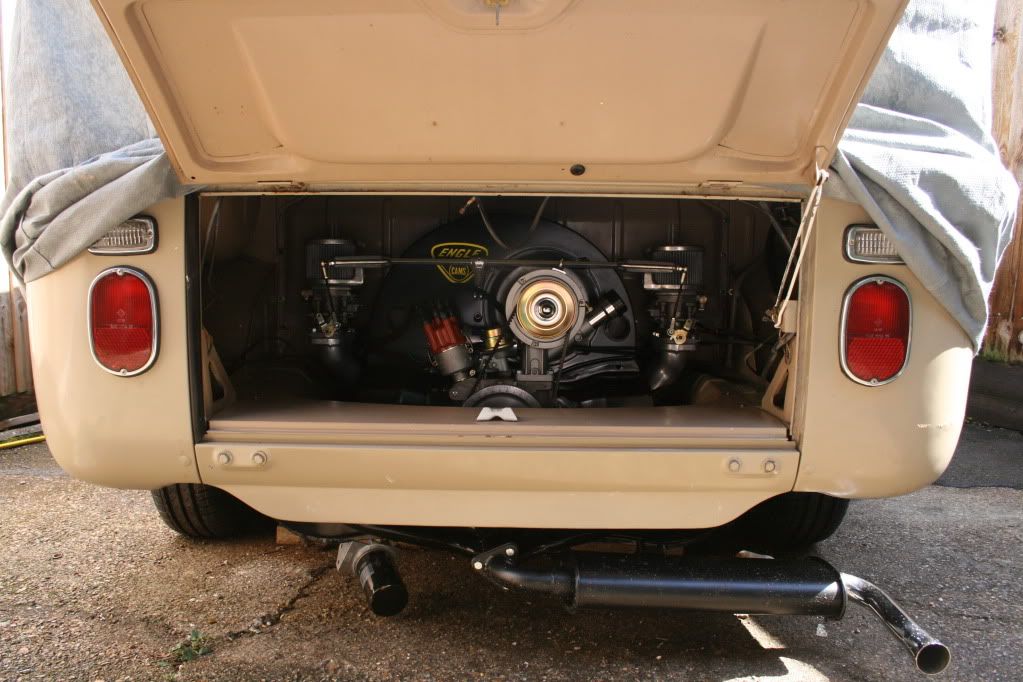
Engine in ;)

My sister took some pictures on her phone of us wobbling the engine down to the bus, however I'd look like a right amatuer if I posted that :mrgreen:

IMG_7120.jpg


Think I need to junk the US spec charcoal filter to clean up the engine bay.

IMG_7128.jpg


and sort out somewhere to mount the oil filter.

IMG_7130.jpg


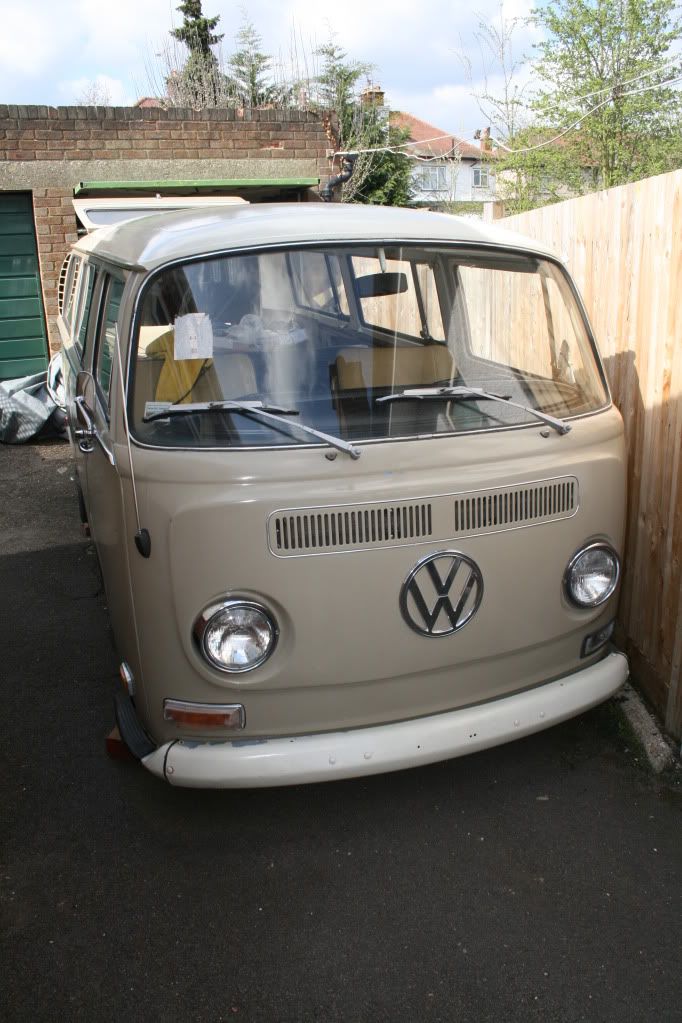
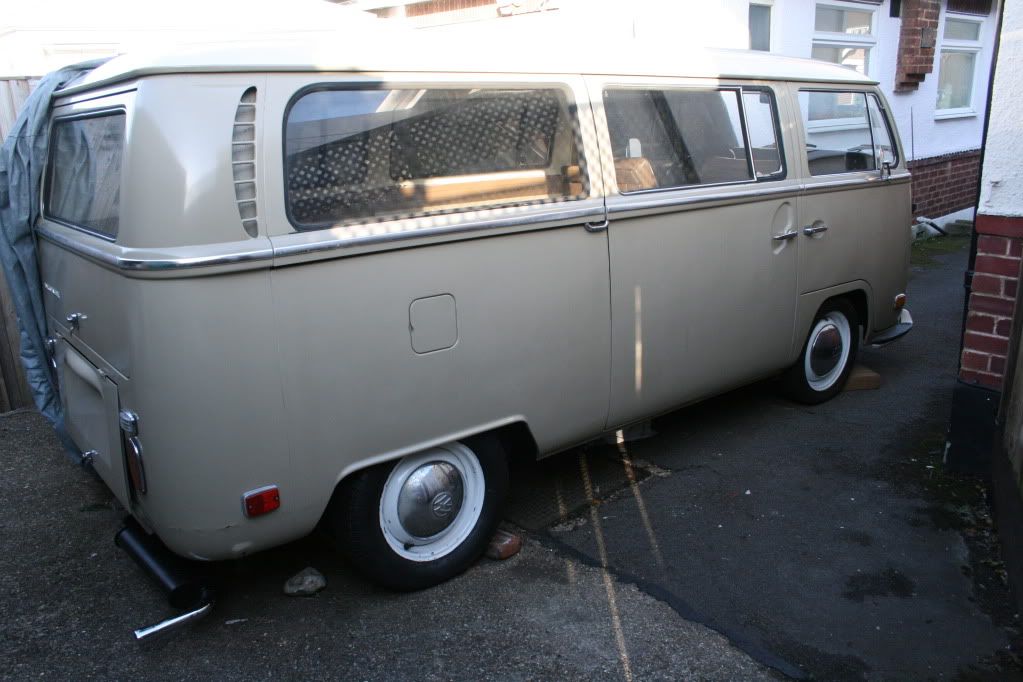
Final stance red9Wb, red9 4" plates - 195/65 and 175/55 tyres (Think I'll drop the front a lil bit though)

IMG_7131.jpg


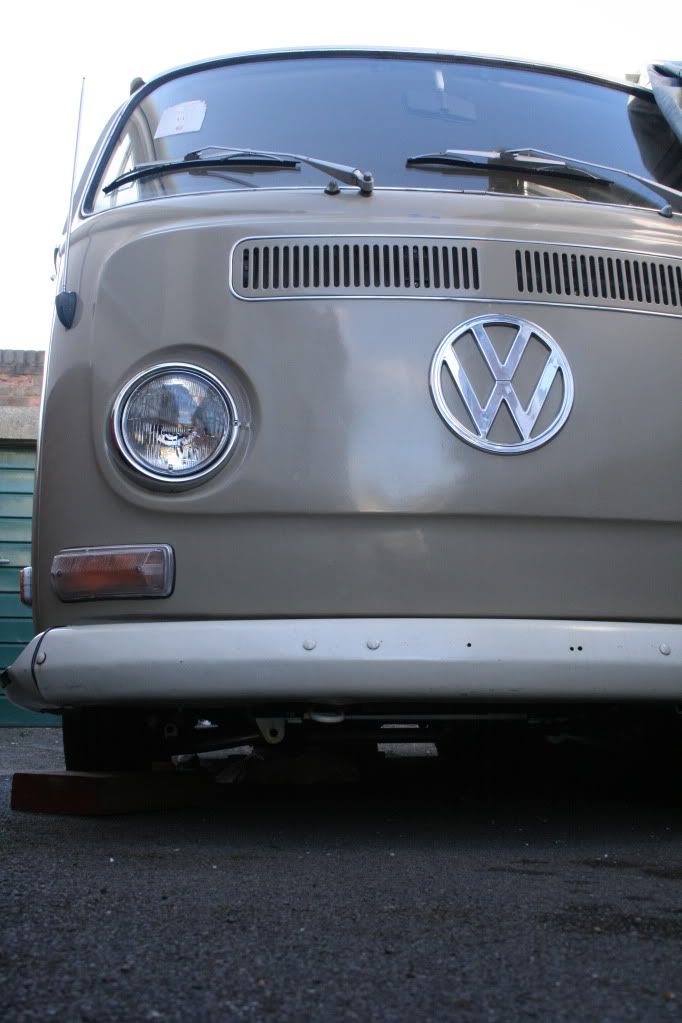
Like this shot with the red9 poking out from underneath.

IMG_7134.jpg


Okay, so it's taken me some time to get to this stage, lack of experience, bare minimum of tools and a wife and 2 kids, finally seeing light at the end of the tunnel now. Now to wire up, replace the rear brakes, then a general check over and spruce up the interior.

Des
 
Des

Looking good but that exhaust tail box is looking a bit low and may cause you some problems,
 
Graham L said:
Des

Looking good but that exhaust tail box is looking a bit low and may cause you some problems,

Tell me, I've tripped over it twice. :lol: I'm going to change it for something else.

Des
 
5erge said:
Graham L said:
Des

Looking good but that exhaust tail box is looking a bit low and may cause you some problems,

Tell me, I've tripped over it twice. :lol: I'm going to change it for something else.

Des

Des
I more meant scrapping it on the ground not tripping over it but same effect I guess :lol:
 
5erge said:
Think I need to junk the US spec charcoal filter to clean up the engine bay.

IMG_7128.jpg


Des

The charcoal cannister is designed to filter out the fuel fumes/smell that you get when the temperature rises and the fuel expands. If you remove it, you will have a strong fuel smell. I've just actually purchased a used charcoal cannister to eliminate the overwhelming fuel smell in my garage on a hot day. Typically the fumes are routed back into the stock air cleaner, but I'm not sure how you would do that with your dual carb setup.

I would suggest holding on to it after removing it...just in case you can't deal with the fumes. ;)
 
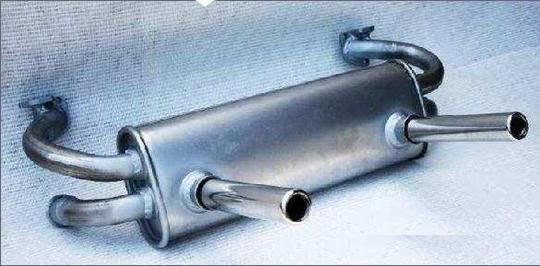
Try the Bergmann exhaust (dutch product) I've posted a groupbuy topic on http://www.vct2.nl" onclick="window.open(this.href);return false;

It looks like original (2 pipes though) but has 60% more flow!
 
jerupke said:
Try the Bergmann exhaust (dutch product) I've posted a groupbuy topic on http://www.vct2.nl" onclick="window.open(this.href);return false;

It looks like original (2 pipes though) but has 60% more flow!

My dutch is poor very poor - and the pics don't seem to work.

Possibly best to frop the moderators an email and see if we can put the group buy here too?
 
dubdubz said:
jerupke said:
Try the Bergmann exhaust (dutch product) I've posted a groupbuy topic on http://www.vct2.nl" onclick="window.open(this.href);return false;

It looks like original (2 pipes though) but has 60% more flow!

My dutch is poor very poor - and the pics don't seem to work.

Possibly best to frop the moderators an email and see if we can put the group buy here too?

Deze uitlaat heeft 60% meer doorstroming, maar klinkt als een originele uitlaat.
Enige nadeel is dat je 2 uitlaatpijpjes krijgt (a la kever).

This exhaust has 60% more flow, but sounds like an original exhaust
Only downside is that it has two exitpipes (beetle-style)


Maar rijdt en klinkt super.
Er zit een aluminium coating op die roesten nagenoeg voorkomt.

Runs and sounds great.
It's aluminum coated wich prevents rust.


Ik heb de mijne al, maar ik heb veel vragen erover gekregen, vandaar dit voorstel.

I already have one, but since I had so many people asking about it, I decided to propose this.

De leverancier kan vanaf 10 stuks de RVS uitlaatpijpjes er voor niets bij doen.
(afhaalprijs € 149,-, of via de VCT2koeriersdienst) voor nog eens € 10 euro extra heb je ook alle benodigde pakkingsets (A-kwaliteit), normaal kost dit ook nog eens € 21,50.

If we can get ten or more in a groupbuy, the suplier will ad the Stainless (RVS) endpipes for no extra charge € 149,- without shipment, for another € 10,- he will ad the neccesary mountkit (best quality), normal cost €21,50

I might very well be coming to the Brighton Breeze this year, so bringing it to Europe and England shouldn't be a problem.

Verdien er zelf niets aan hoor, is gewoon een beetje helpen naar 2 kanten!
I'm not making any profit on this, just helping 2 sides!
bergman.jpg
 
Replies ;)

dubdubz said:
very nice bus - good stance

where did you decide on the remote filter in the end? I believe they can be mounted horizontally under the 'leisure' battery tray

Not mounted it yet but need to extend the hoses. I'll try and mount it as high up as possible.

Johnny said:
lovely job, how long has it actually taken?

I've had the bus since Oct last year but only actually spent (in total) two weeks solid on it as a guesstimate. Hope to have her rolling by the end of the month.

muntz70 said:
The charcoal cannister is designed to filter out the fuel fumes/smell that you get when the temperature rises and the fuel expands. If you remove it, you will have a strong fuel smell. I've just actually purchased a used charcoal cannister to eliminate the overwhelming fuel smell in my garage on a hot day. Typically the fumes are routed back into the stock air cleaner, but I'm not sure how you would do that with your dual carb setup.

I would suggest holding on to it after removing it...just in case you can't deal with the fumes. ;)

Can't see temps rising much here, but I'll hold onto it for now ;)

jerupke said:
Try the Bergmann exhaust (dutch product) I've posted a groupbuy topic on http://www.vct2.nl" onclick="window.open(this.href);return false;

It looks like original (2 pipes though) but has 60% more flow!

Certainly an option but I prefer the single pipe style, good price though...

Des
 
Brakes up next

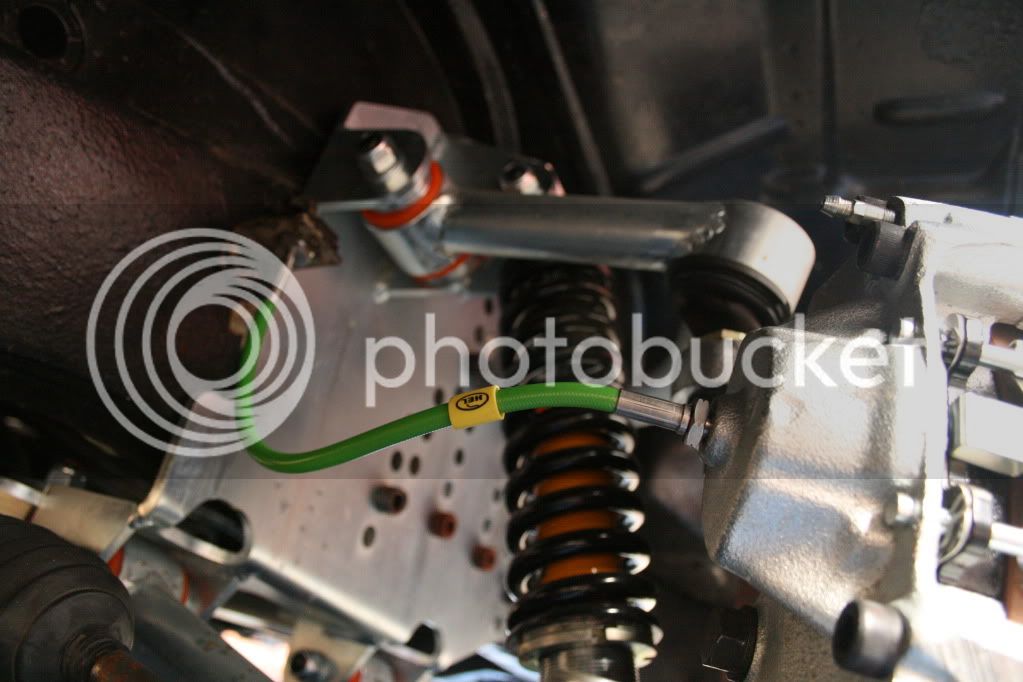
Needed new front brake flexi's, thought about getting standard rubber ones from Heritage but not much more I upgraded to HEL Braided lines from and rear in GREEN :mrgreen:

Front and rear lines cost £50 delivered.

IMG_7148.jpg


Need to cut down my wheel bolts though as the are fouling the calipers :?

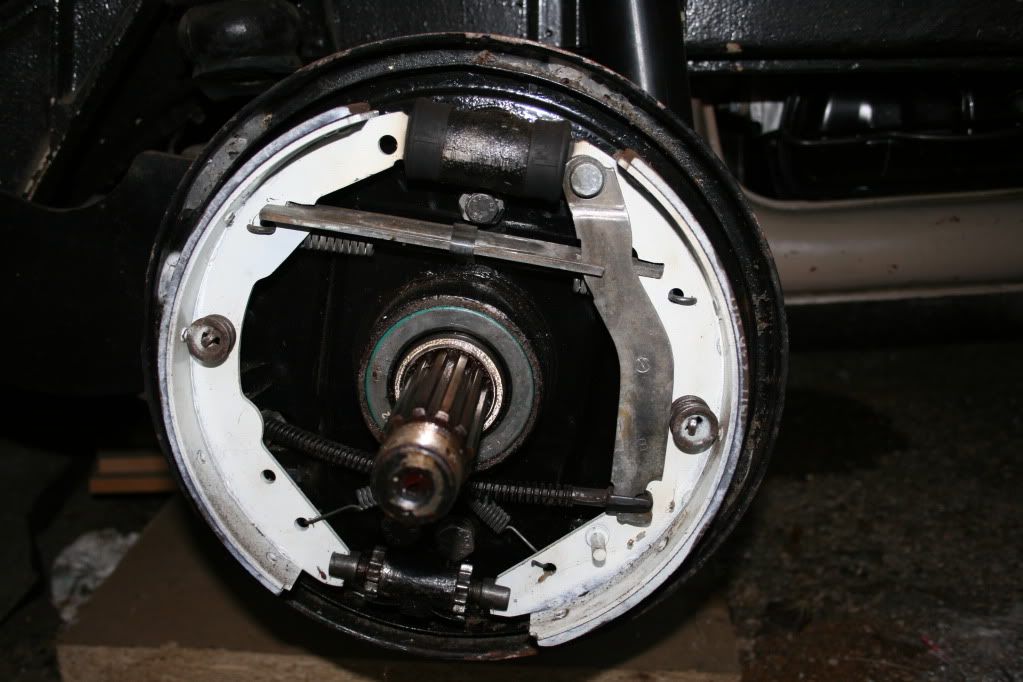
Was going to replace the rear shoes but they seem to be adequate for now.

IMG_7155.jpg


Onto firing up that engine now 8)

Des
 
Brake pipes look sick dude 8)

Looking forward to the engine firing up too ;)
 
Engine now running :mrgreen:

Needed a new starter motor, I had two old ones but they were both shagged. Wired everything up, oil in the engine, fuel in the tank and tried starting her up. The motor cranked over but would not fire, I had spark but the fuel wasn't getting through, put in another couple of litres and pushed the carb linkage till I heard the jets squirting in fuel 8)

Turned her over again and she burst into life, my wife was indoors at the time doing her hair so I blipped the throttle a few times, the wife was soon out :mrgreen: What a noise this thing makes, those carbs are something else you can hear them sucking away and there is a nice roar from the exhaust. Need to do a few more checks (hook up the throttle cable, brake fluid and bleed, double-check everything is all torqued up) before I drive her.

I did take a video so will post this up when I can be bothered to upload the files.

Des
 
Good result with the engine fireing up 8)

Looking forward to the vid (engine porn :msn4: )
 
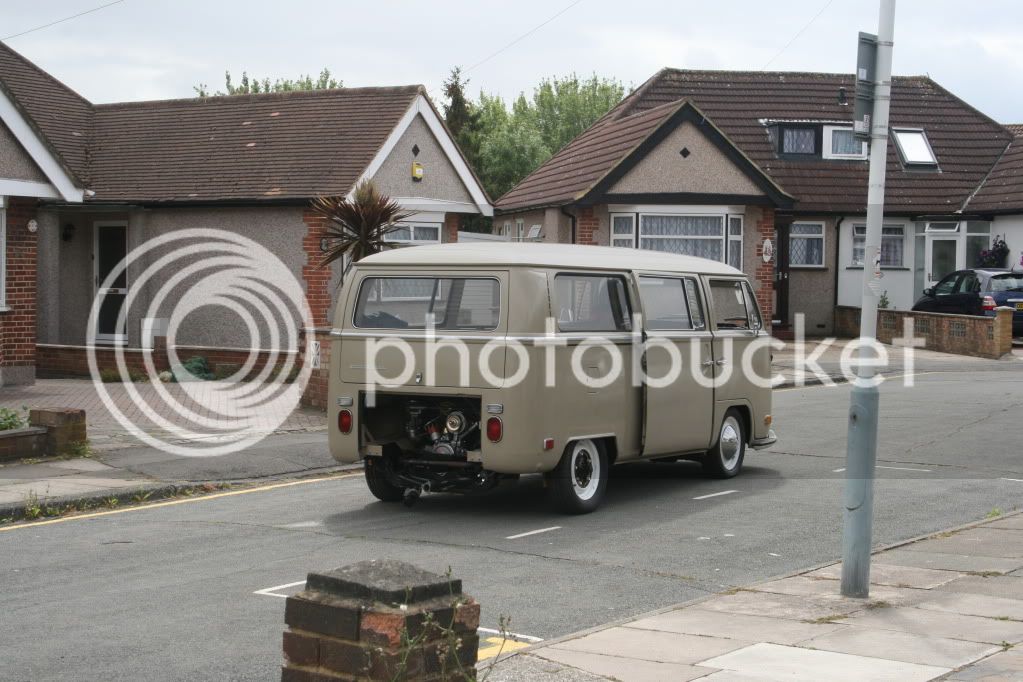
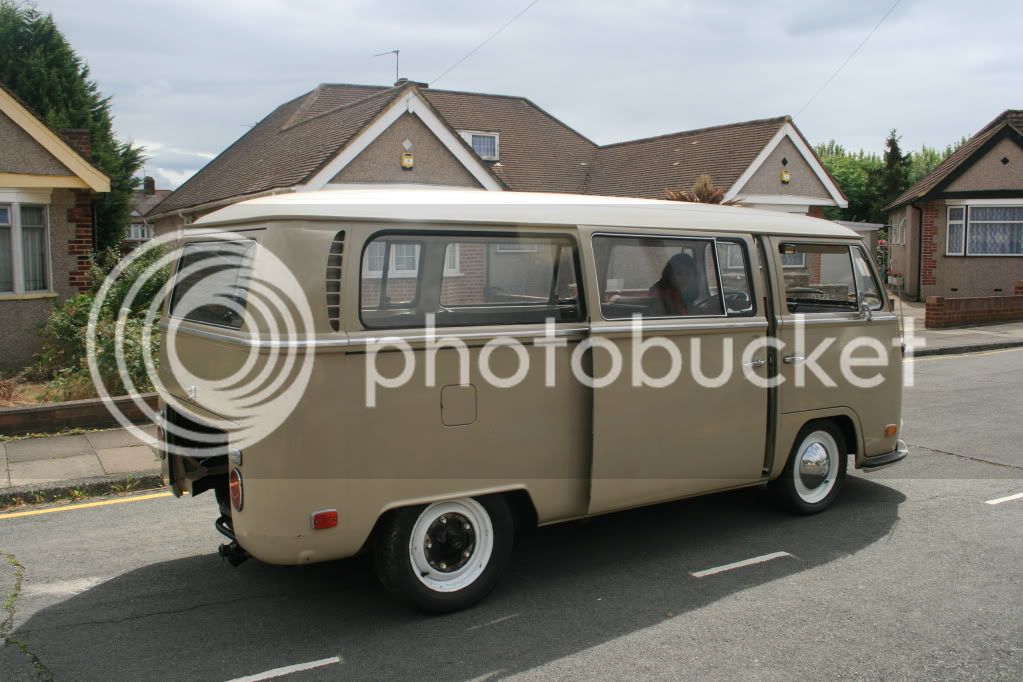
Getting there.

Needed to drop my engine at the weekend as my clutch was not disengaging properly, also slapped in a new clutch cable and managed to snap my accelerator cable, still managed to get her out onto the road :mrgreen:

First time I've really been able to see the stance, I may lower the coilovers a a couple of turns and I'm still tempted to get some 356 silver steels :roll:

IMG_7614.jpg


IMG_7616.jpg


Des
 

Latest posts

Top